Mocha Punch
/This post contains affiliate links. If you buy something using these links, Jennyblogs may receive a small commission, at no extra cost to you. This helps to support Jennyblogs. For further information see the privacy policy. Grazie!
On entering any coffee shop in America, you’ll easily find mocha on the menu. I usually think of black coffee and cappuccino as being among the most commonly ordered, vanilla latte and mocha closely following. Because after enjoying coffee in its purer forms it is logical to then pair it with two of the greatest flavors: vanilla and chocolate. No? But I’m not a barista, so if you are, you tell me. :)
This is not the case in Italy. Italy may be the birthplace of coffee as we know it today, but that doesn’t mean that they own ALL the copyrights to the best coffee drinks. Cappuccino, espresso, macchiato….but Vanilla Latte and Mocha are not on the menu here, unless you go to one of the few “American” coffee shops, such as Arnold. First of all, if you order a latte you will get….milk. And if you order a mocha you will get…a withering stare. Not the end of the world, especially with all of the other types of coffee you can order, but sometimes I just want a mocha, ya know? I usually order my cappuccino with cocoa powder on top, but that’s not quite the same.
What’s a person to do when they don’t have mocha readily available to them? Make it at home, of course! It’s so easy, and can be even easier in a pinch, see my notes below!
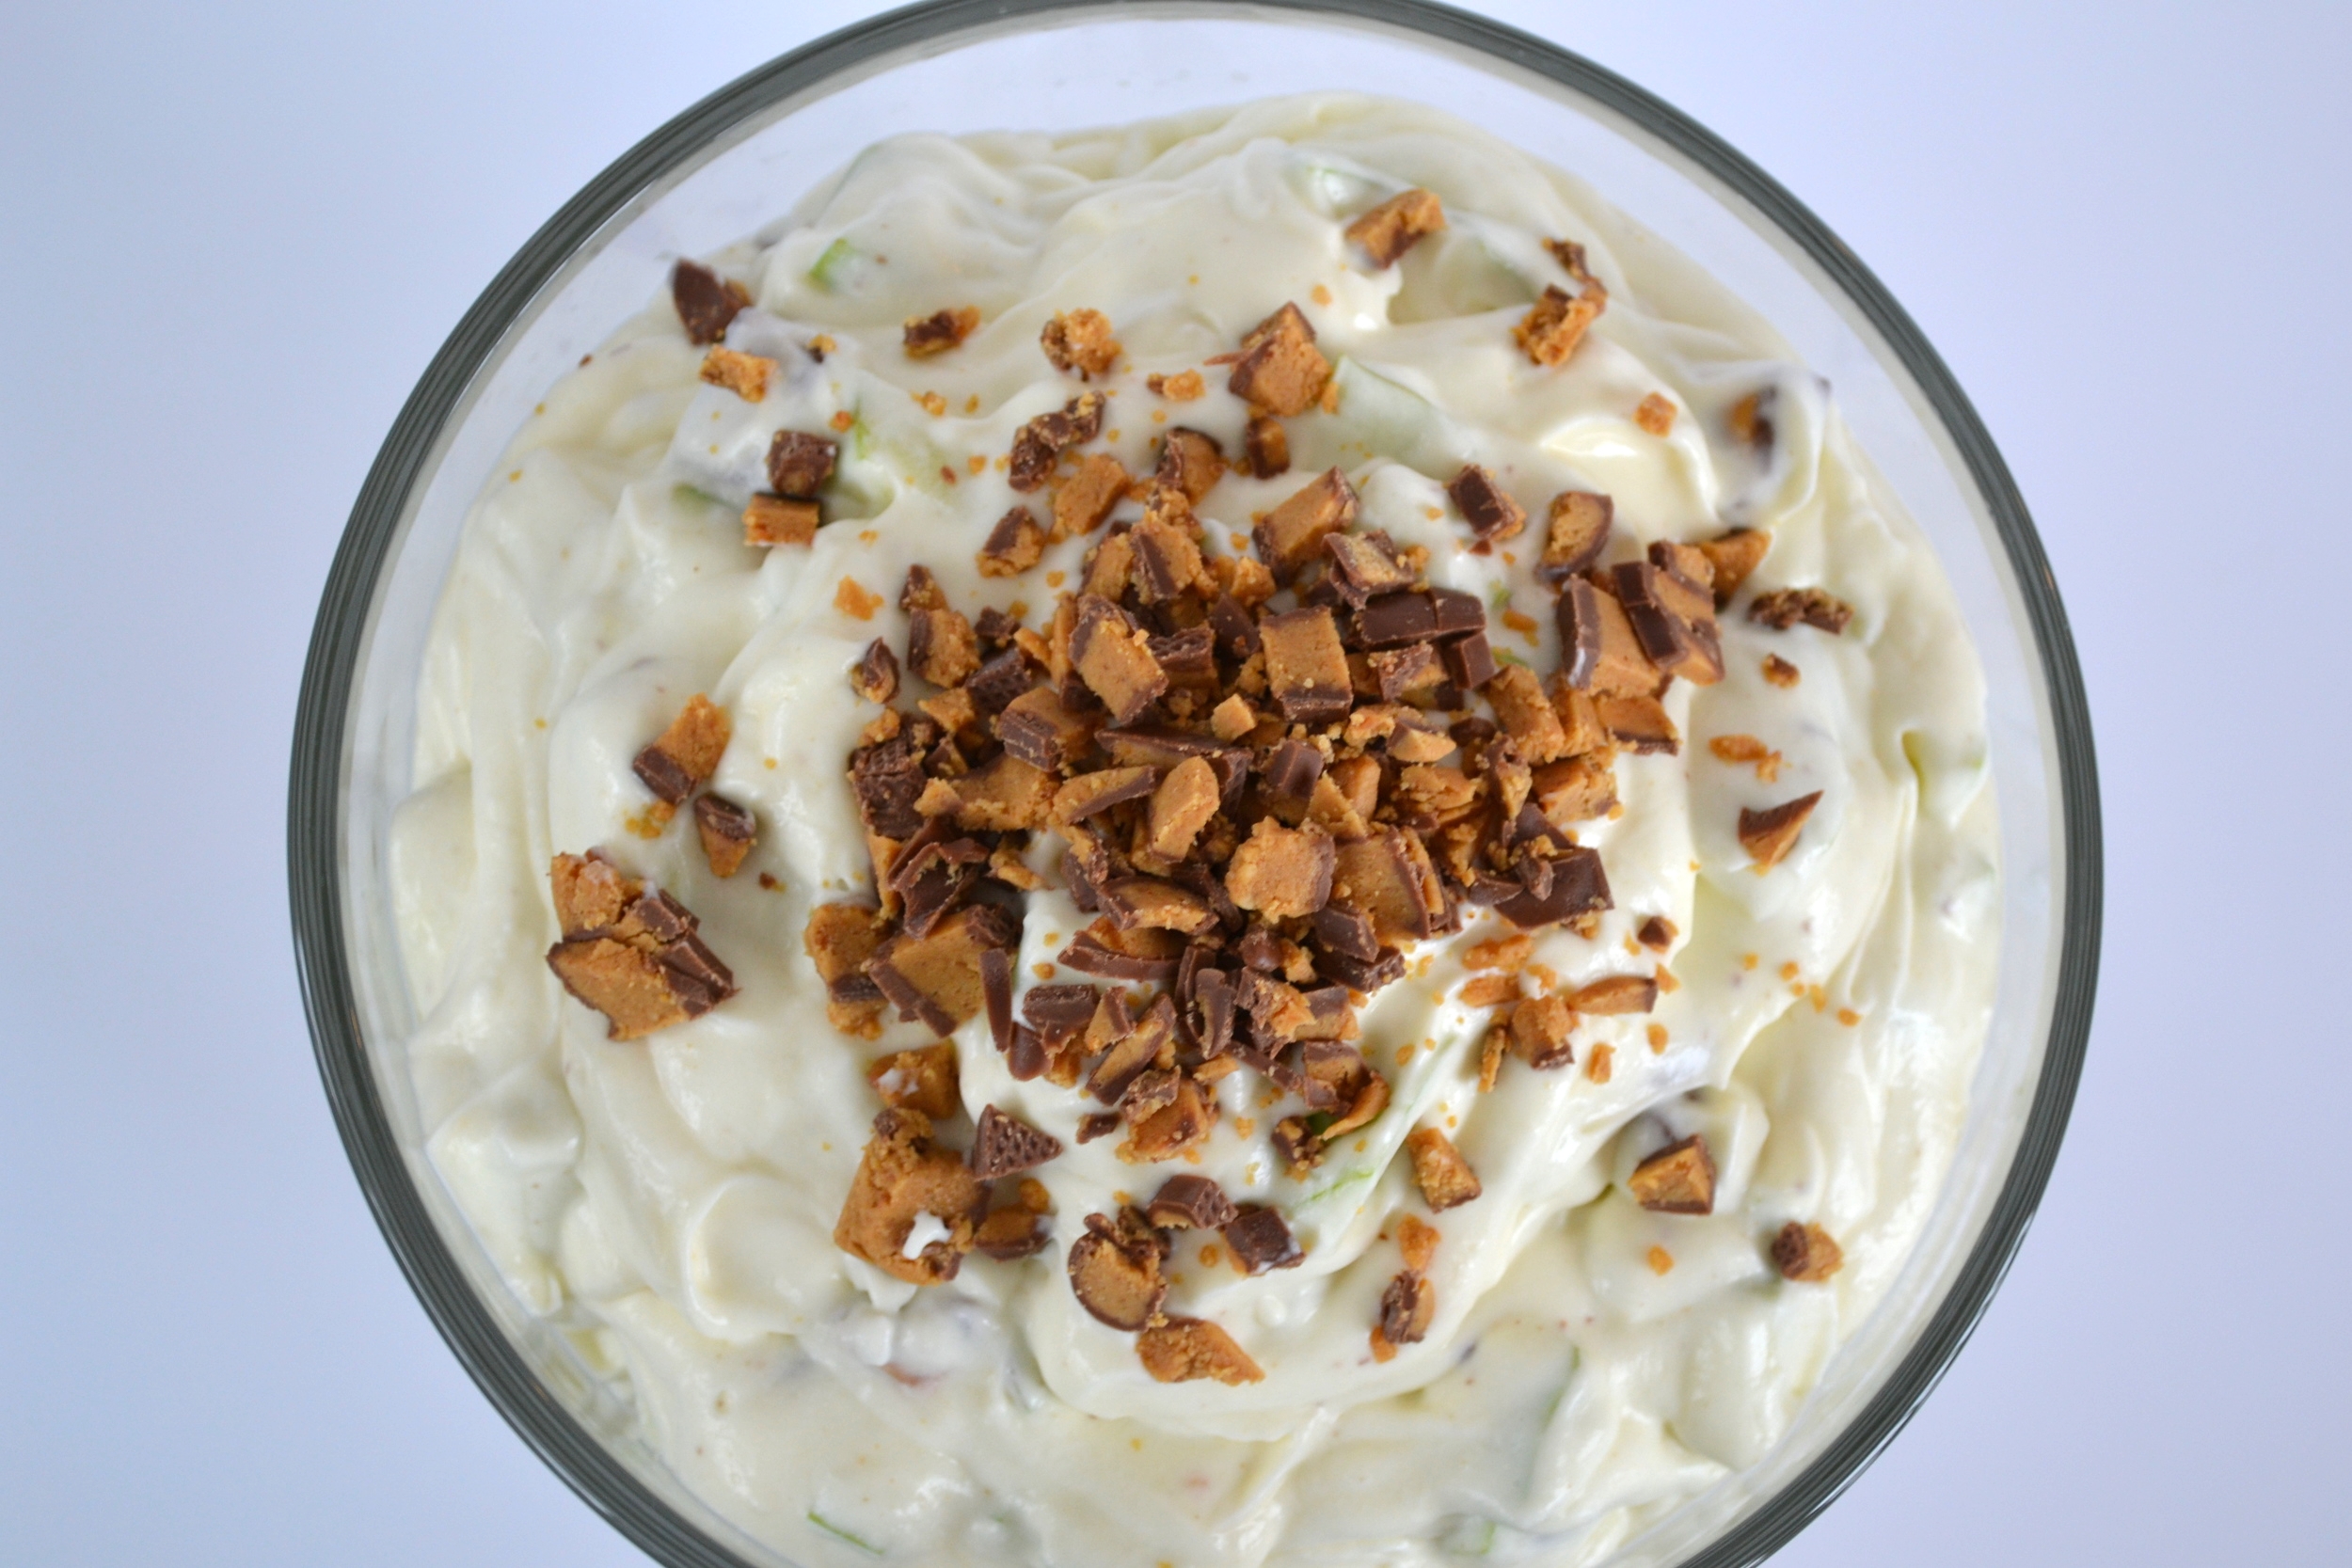
But doesn’t the title say punch, you ask? Yes, yes it does. The recipe that follows can be drunk as a classic mocha, hot or iced, by simply not adding the ice cream. Or, as per the recipe, pour the whole thing in a punch bowl, add scoops of ice cream, and voila! Mocha punch fit for any party.
Recipe adapted from a friend’s mama. :)
Mocha Punch
Serves about 20
Ingredients:
3 quarts / 3 L freshly brewed strong coffee
1 1/2 cups / 300g sugar
2 quarts / 2 L milk
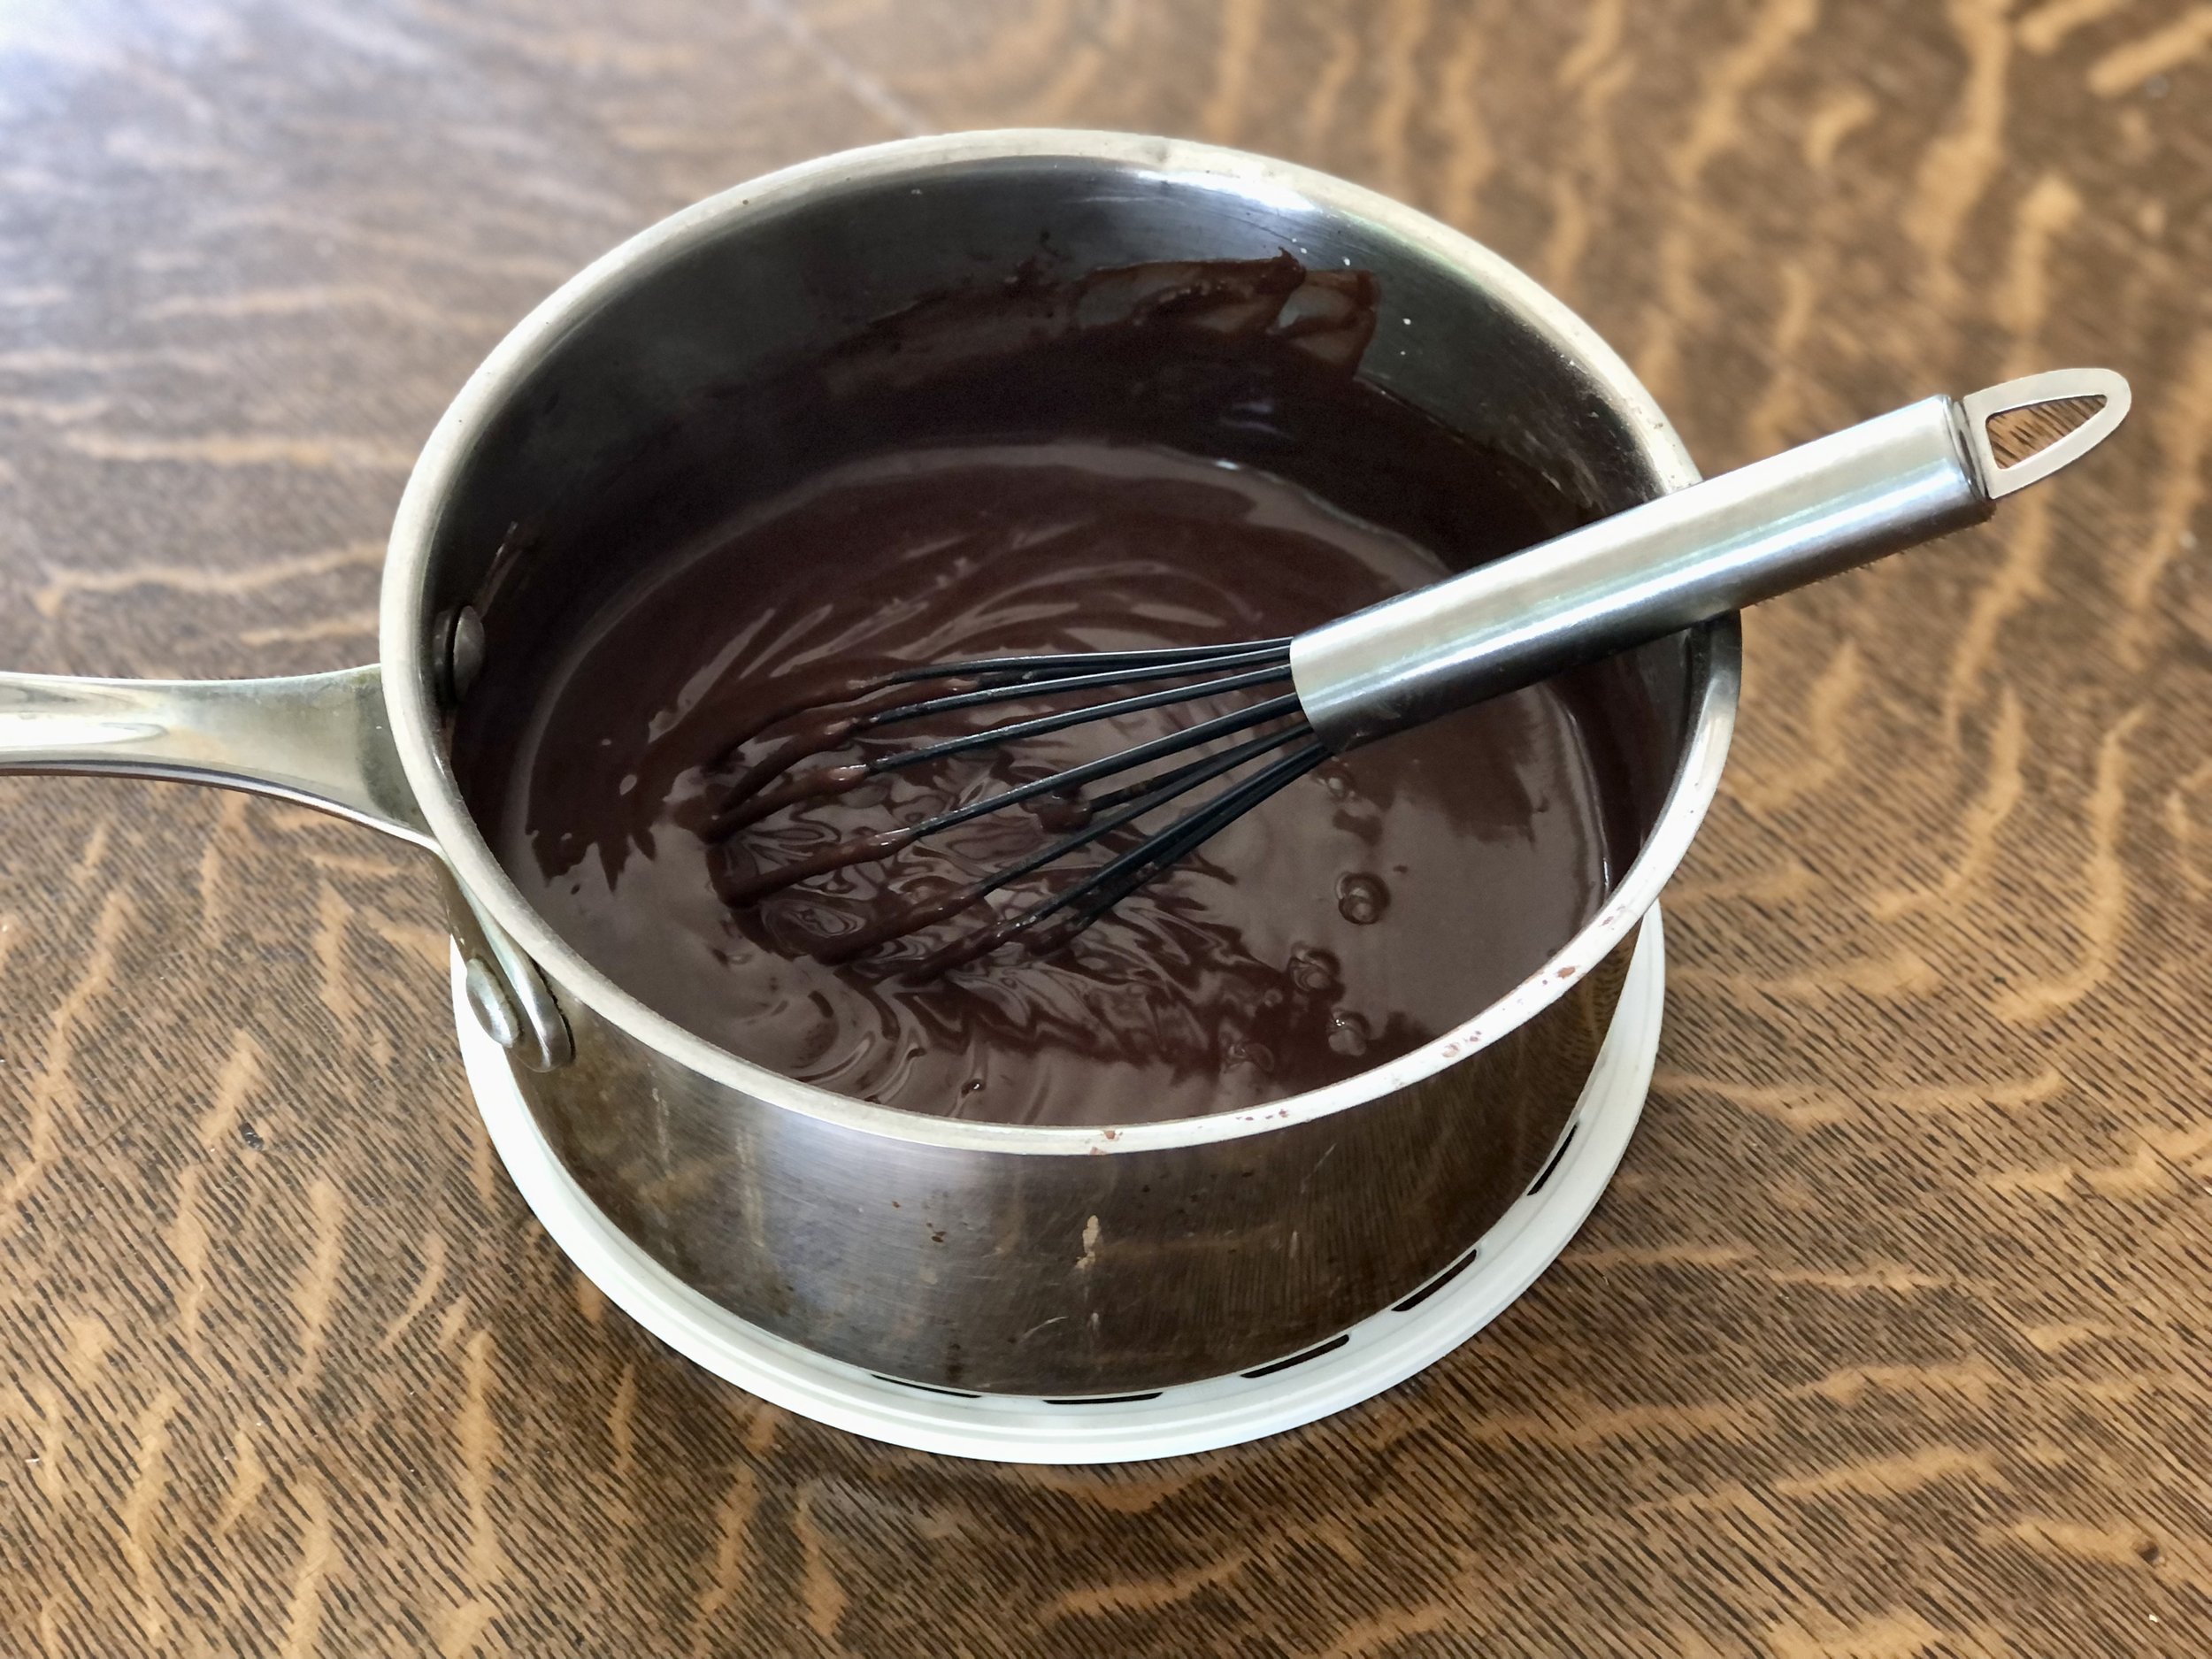
3/4 cup / 240g chocolate syrup, try this homemade recipe!
3 tsp vanilla extract
1/2 gallon (8 cups) / 1 kg vanilla ice cream
Directions:
Pour brewed coffee into a large pot, bowl, or other large container. Stir sugar into hot coffee until dissolved. Cool in fridge.
Remove coffee from fridge and add milk, chocolate syrup, and vanilla and stir until well combined.
Chill until cold or overnight.
Just before serving, pour into serving container, mix briefly, and scoop ice cream into the punch, allowing the ice cream to melt for a few minutes before serving. (Skip this step if not serving as a punch.)
Store in fridge.
Jenny’s Notes:
For an everyday mocha I reduce the sugar and milk, sometimes by up to half, as I usually drink my coffee black, and it makes it less indulgent.
You can substitute store-bought chocolate syrup for the homemade and use instant coffee instead of brewing, if you wish! I think the flavor will always be superior when you make things from scratch, or in this instance, use good and fresh coffee instead of instant!
If you choose to make the homemade chocolate syrup recipe, make a half recipe for exactly the quantity needed for this Mocha Punch. Or make a full recipe and enjoy the extra!
Of course, you don’t have to use vanilla ice cream, you could use chocolate or moose tracks or heck, coffee ice cream! Whatever you like.
When serving, you can choose to pour the whole recipe’s worth of punch into a punch bowl with ice cream, or, for smaller or longer parties, start with just a portion of the punch and ice cream, keeping the remainder in the fridge and freezer, respectively, so by the end the punch isn’t warm and the ice cream long melted.
This punch is easily stored in pitchers or empty milk jugs!


Mocha Punch
ingredients:
- 3 quarts / 3 L freshly brewed strong coffee
- 1 1/2 cups / 300g sugar
- 2 quarts / 2 L milk
- 3/4 cup / 240g chocolate syrup, try this homemade recipe!
- 3 tsp vanilla extract
- 1/2 gallon (8 cups) / 1 kg vanilla ice cream
instructions:
How to cook Mocha Punch
- Pour brewed coffee into a large pot, bowl, or other large container. Stir sugar into hot coffee until dissolved. Cool in fridge.
- Remove coffee from fridge and add milk, chocolate syrup, and vanilla and stir until well combined.
- Chill until cold or overnight.
- Just before serving, pour into serving container, mix briefly, and scoop ice cream into the punch, allowing the ice cream to melt for a few minutes before serving. (Skip this step if not serving as a punch.)
- Store in fridge.
NOTES:
Calories
202.41Fat (grams)
4.98Sat. Fat (grams)
3.02Carbs (grams)
33.94Fiber (grams)
0.49Net carbs
33.45Sugar (grams)
26.31Protein (grams)
5.27Sodium (milligrams)
91.66Cholesterol (grams)
19.30