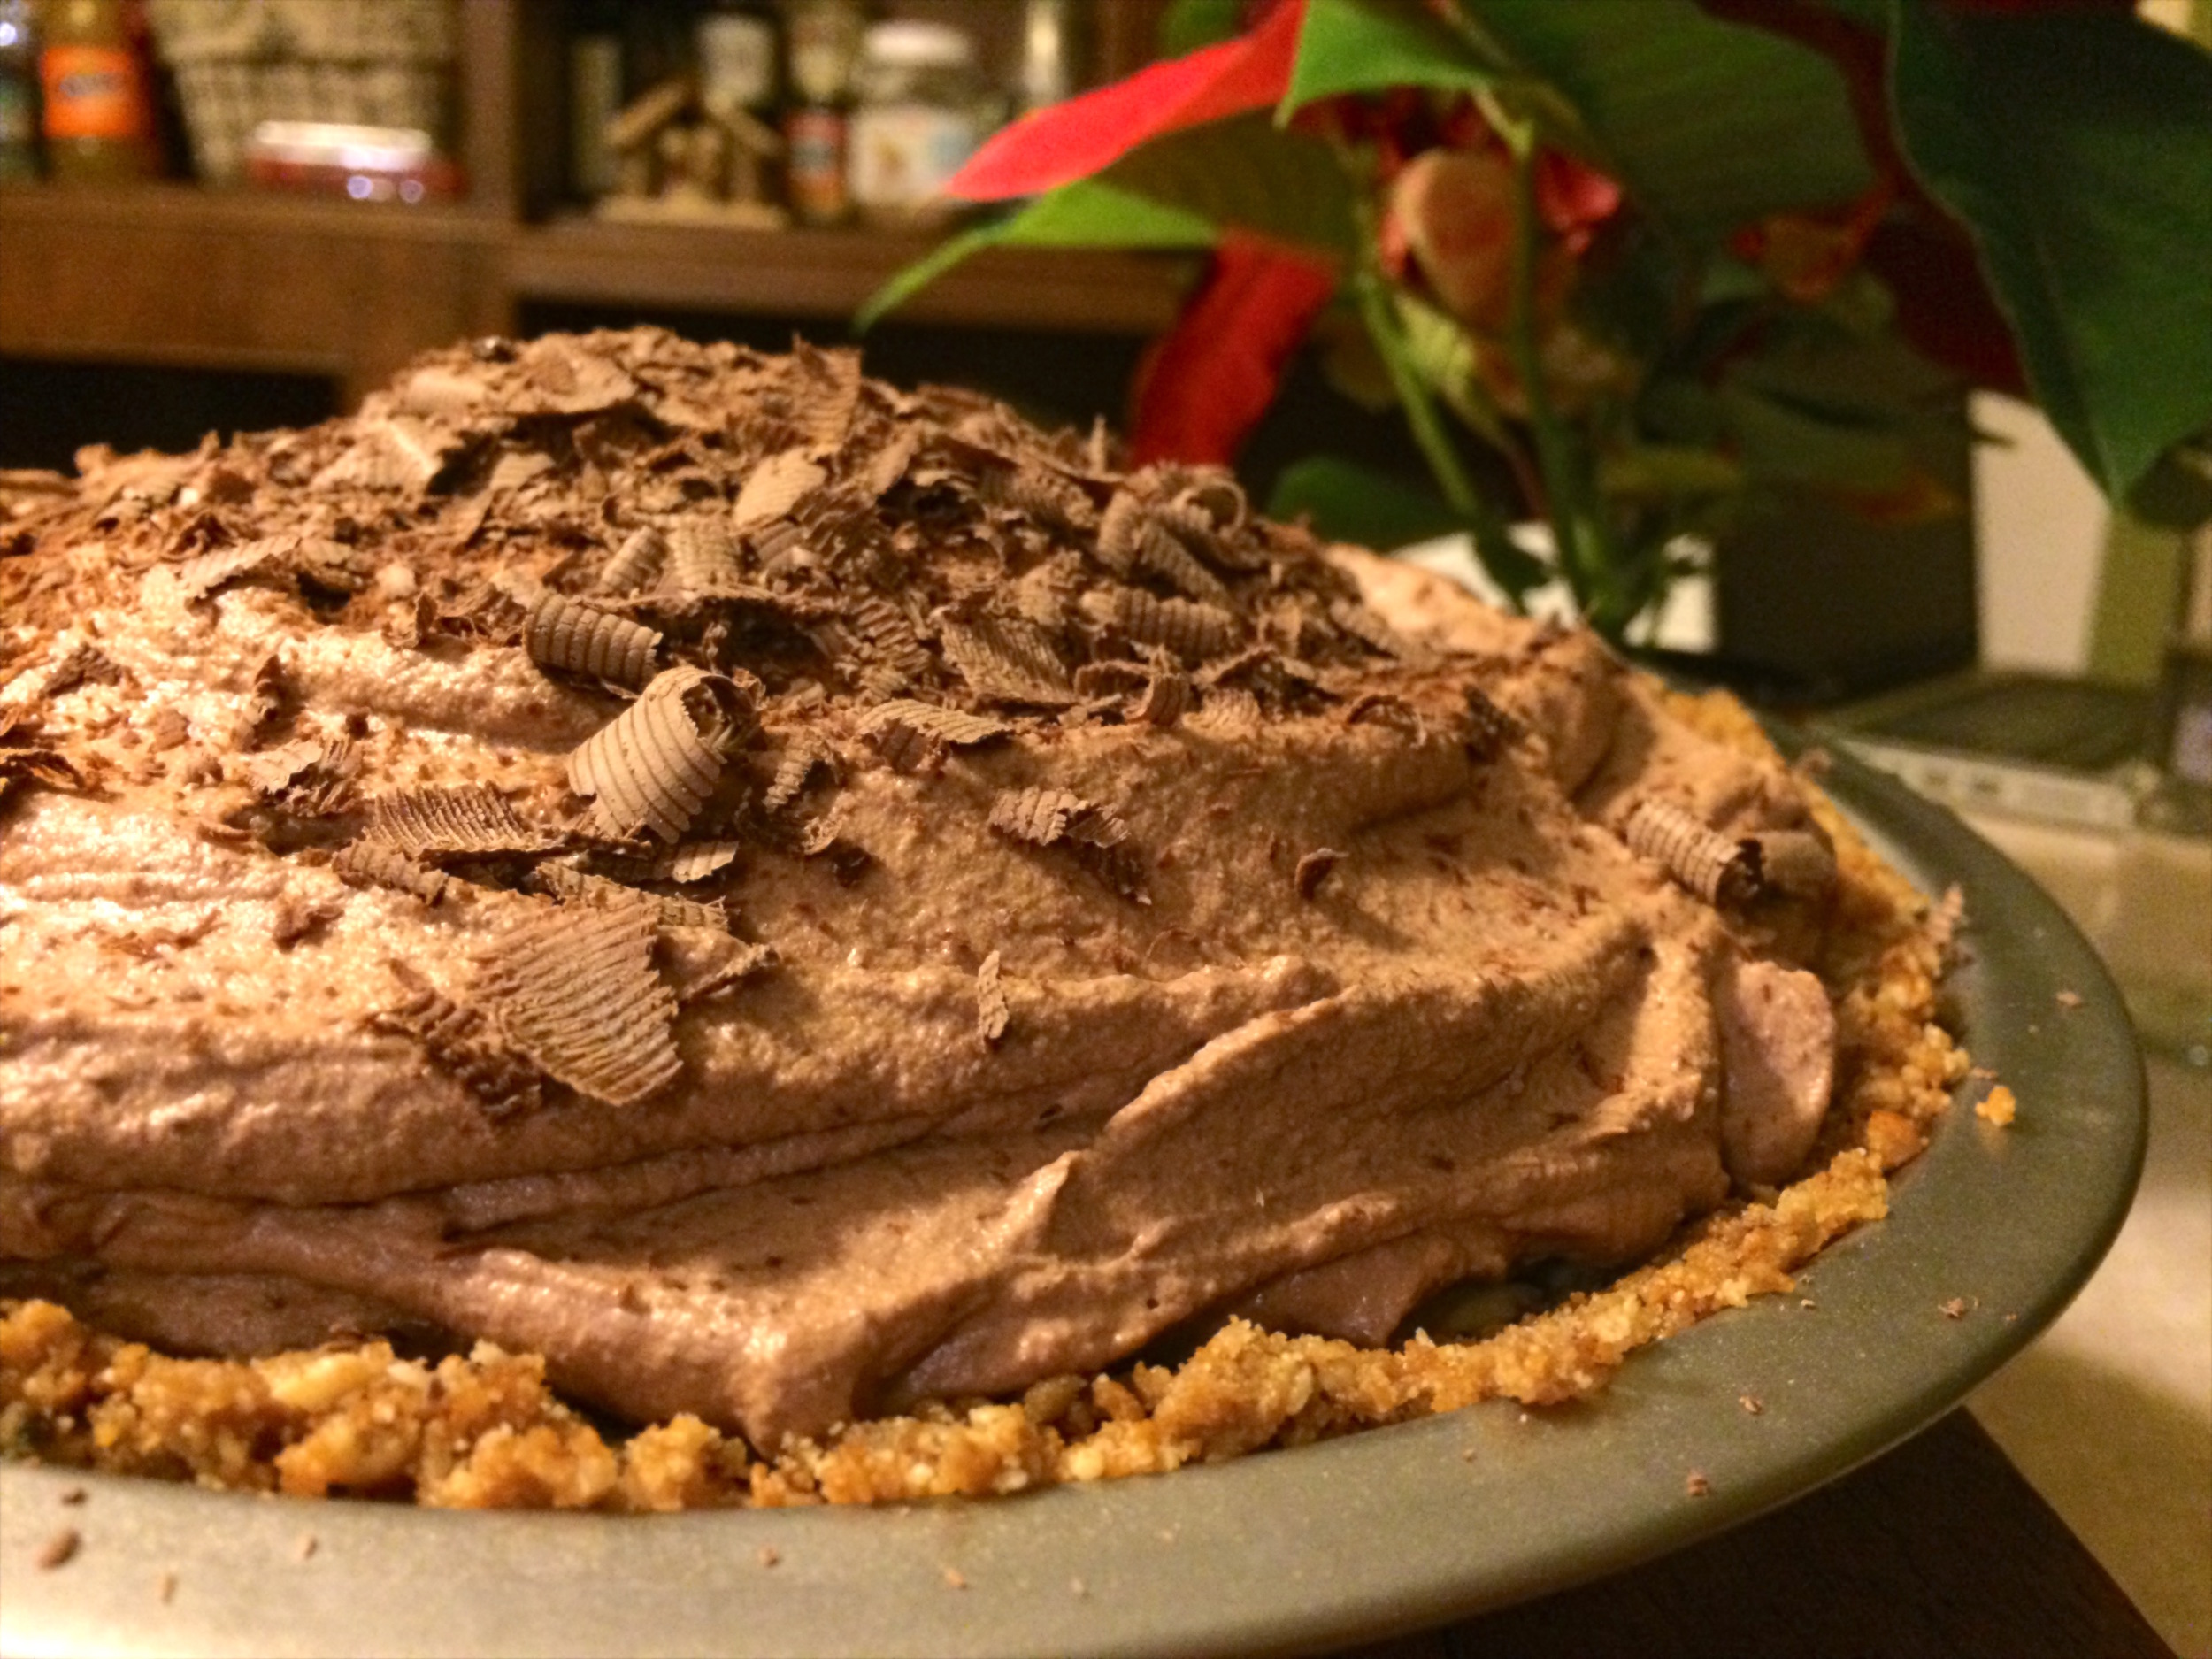
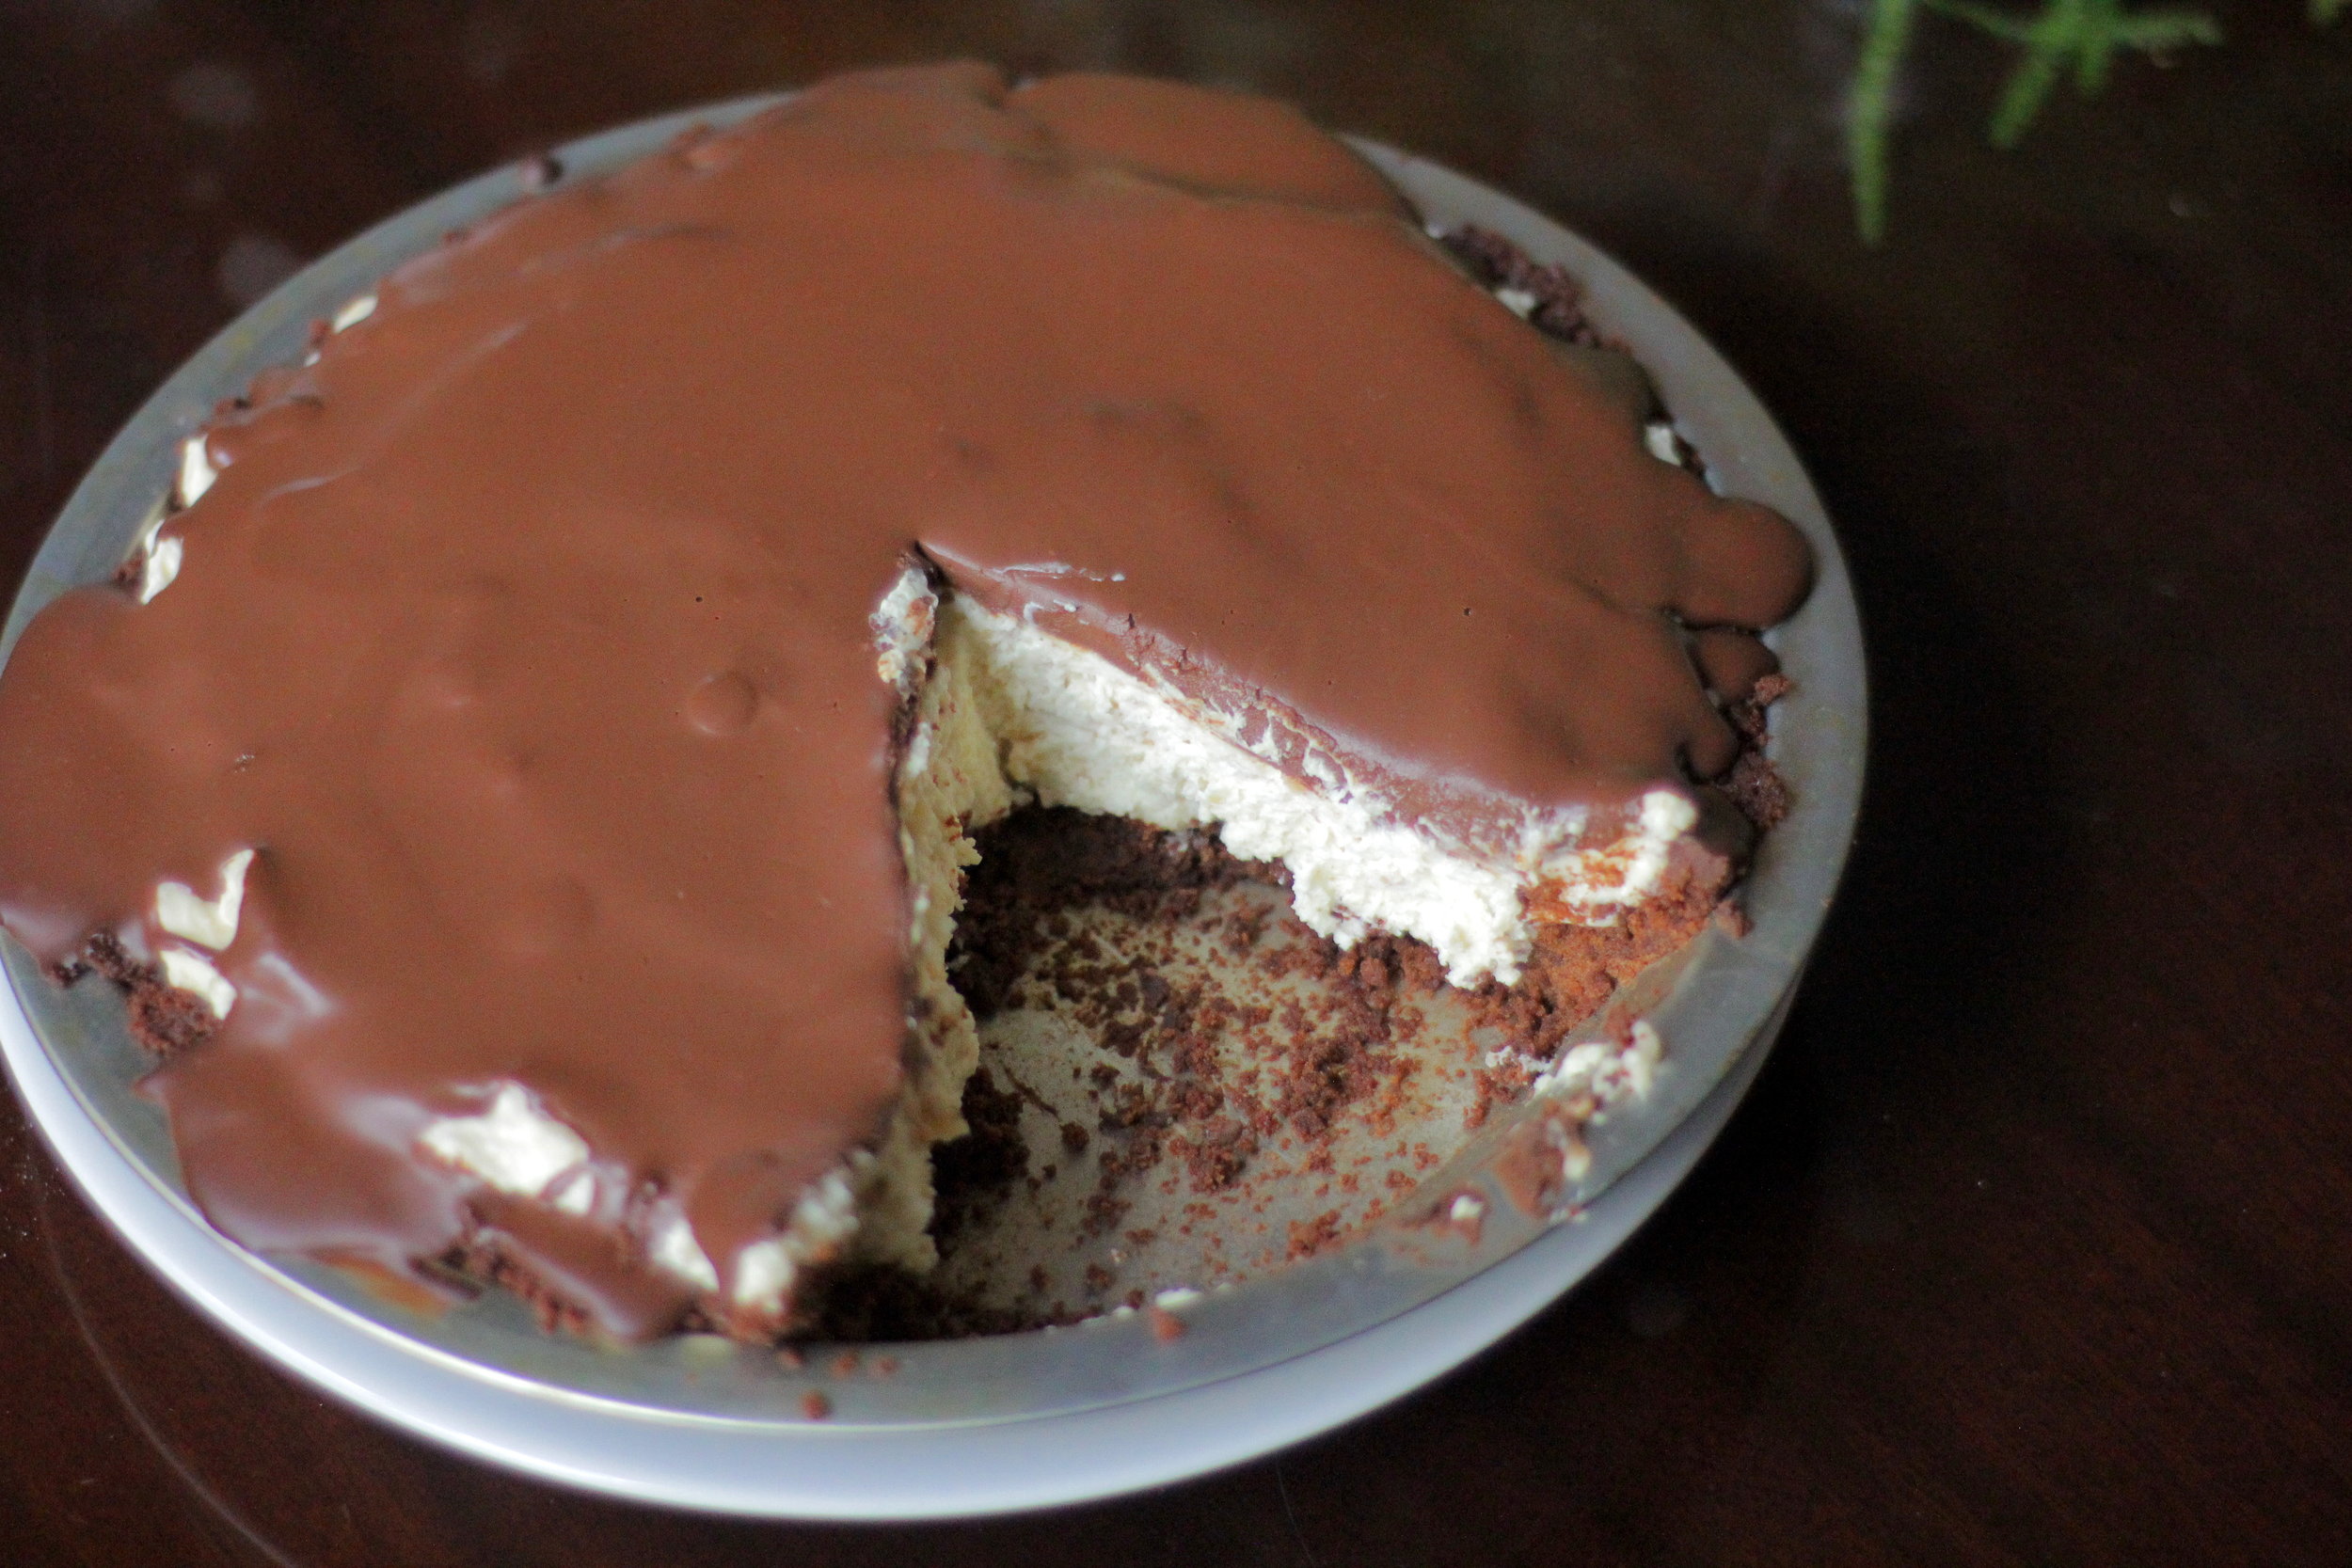
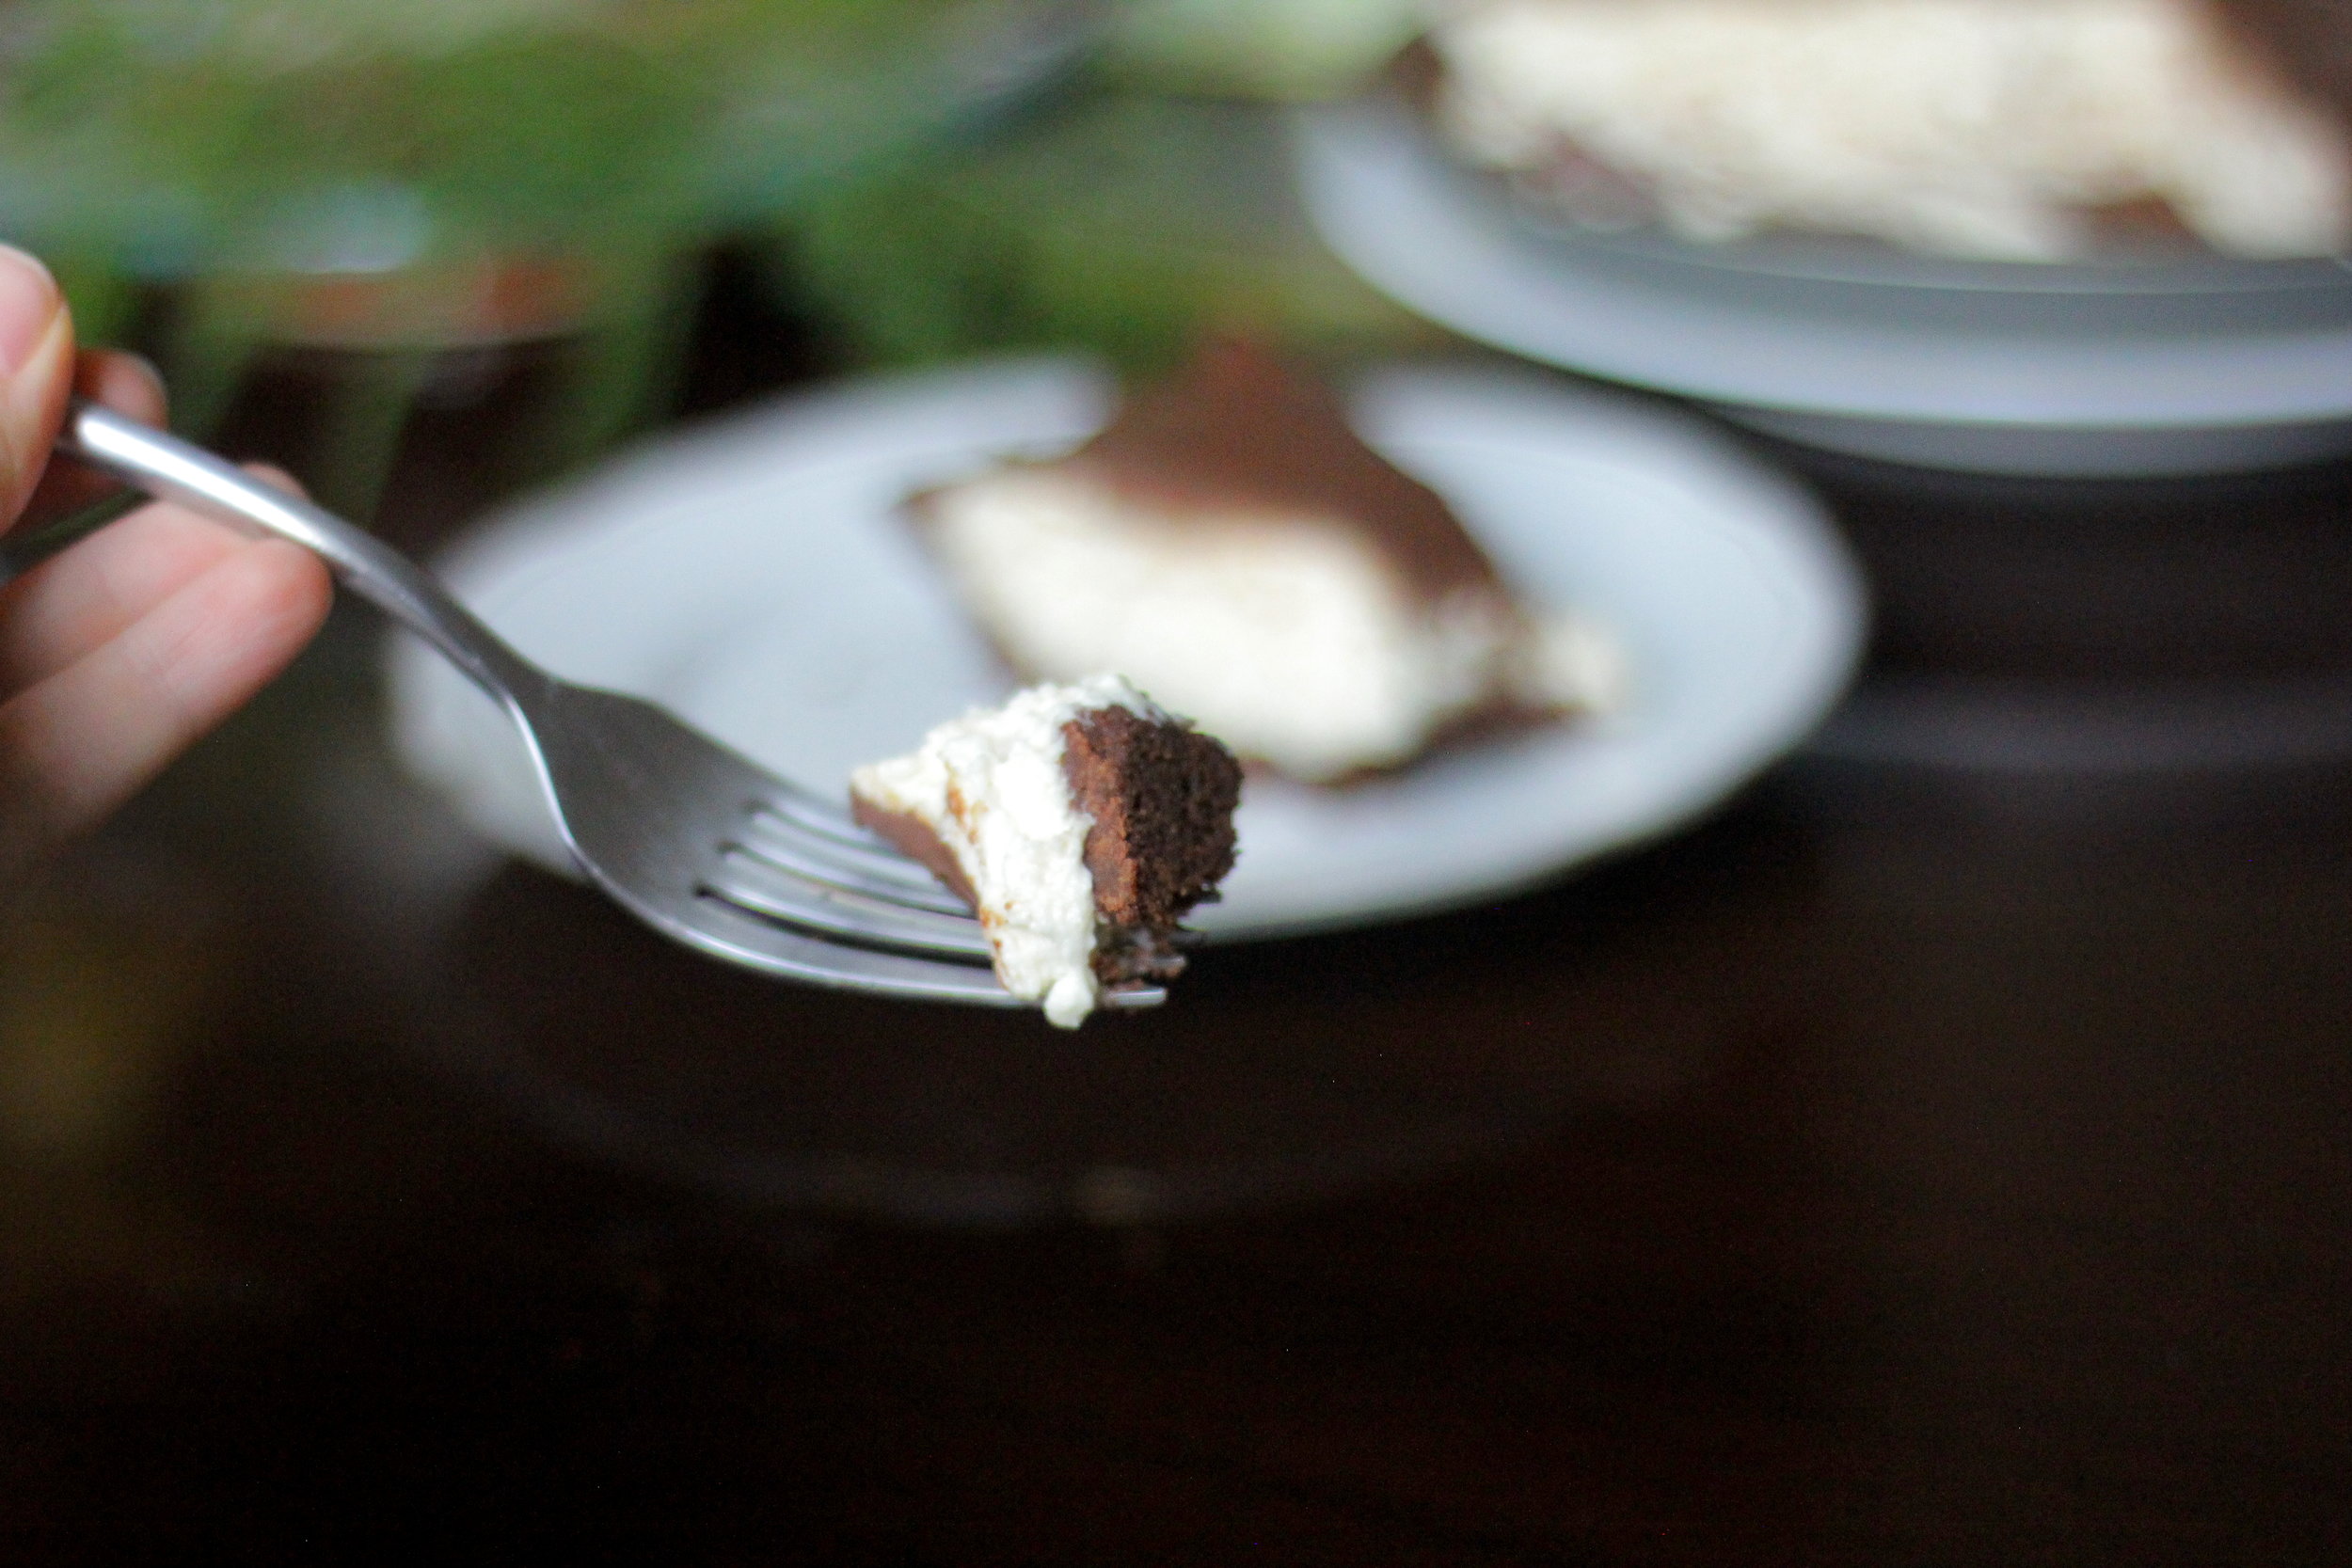
Triple Dark Chocolate Cheesecake
/This post contains affiliate links. If you buy something using these links, Jennyblogs may receive a small commission, at no extra cost to you. This helps to support Jennyblogs. For further information see the privacy policy. Grazie!
After more than two years in Italy, I have finally made a cheesecake.

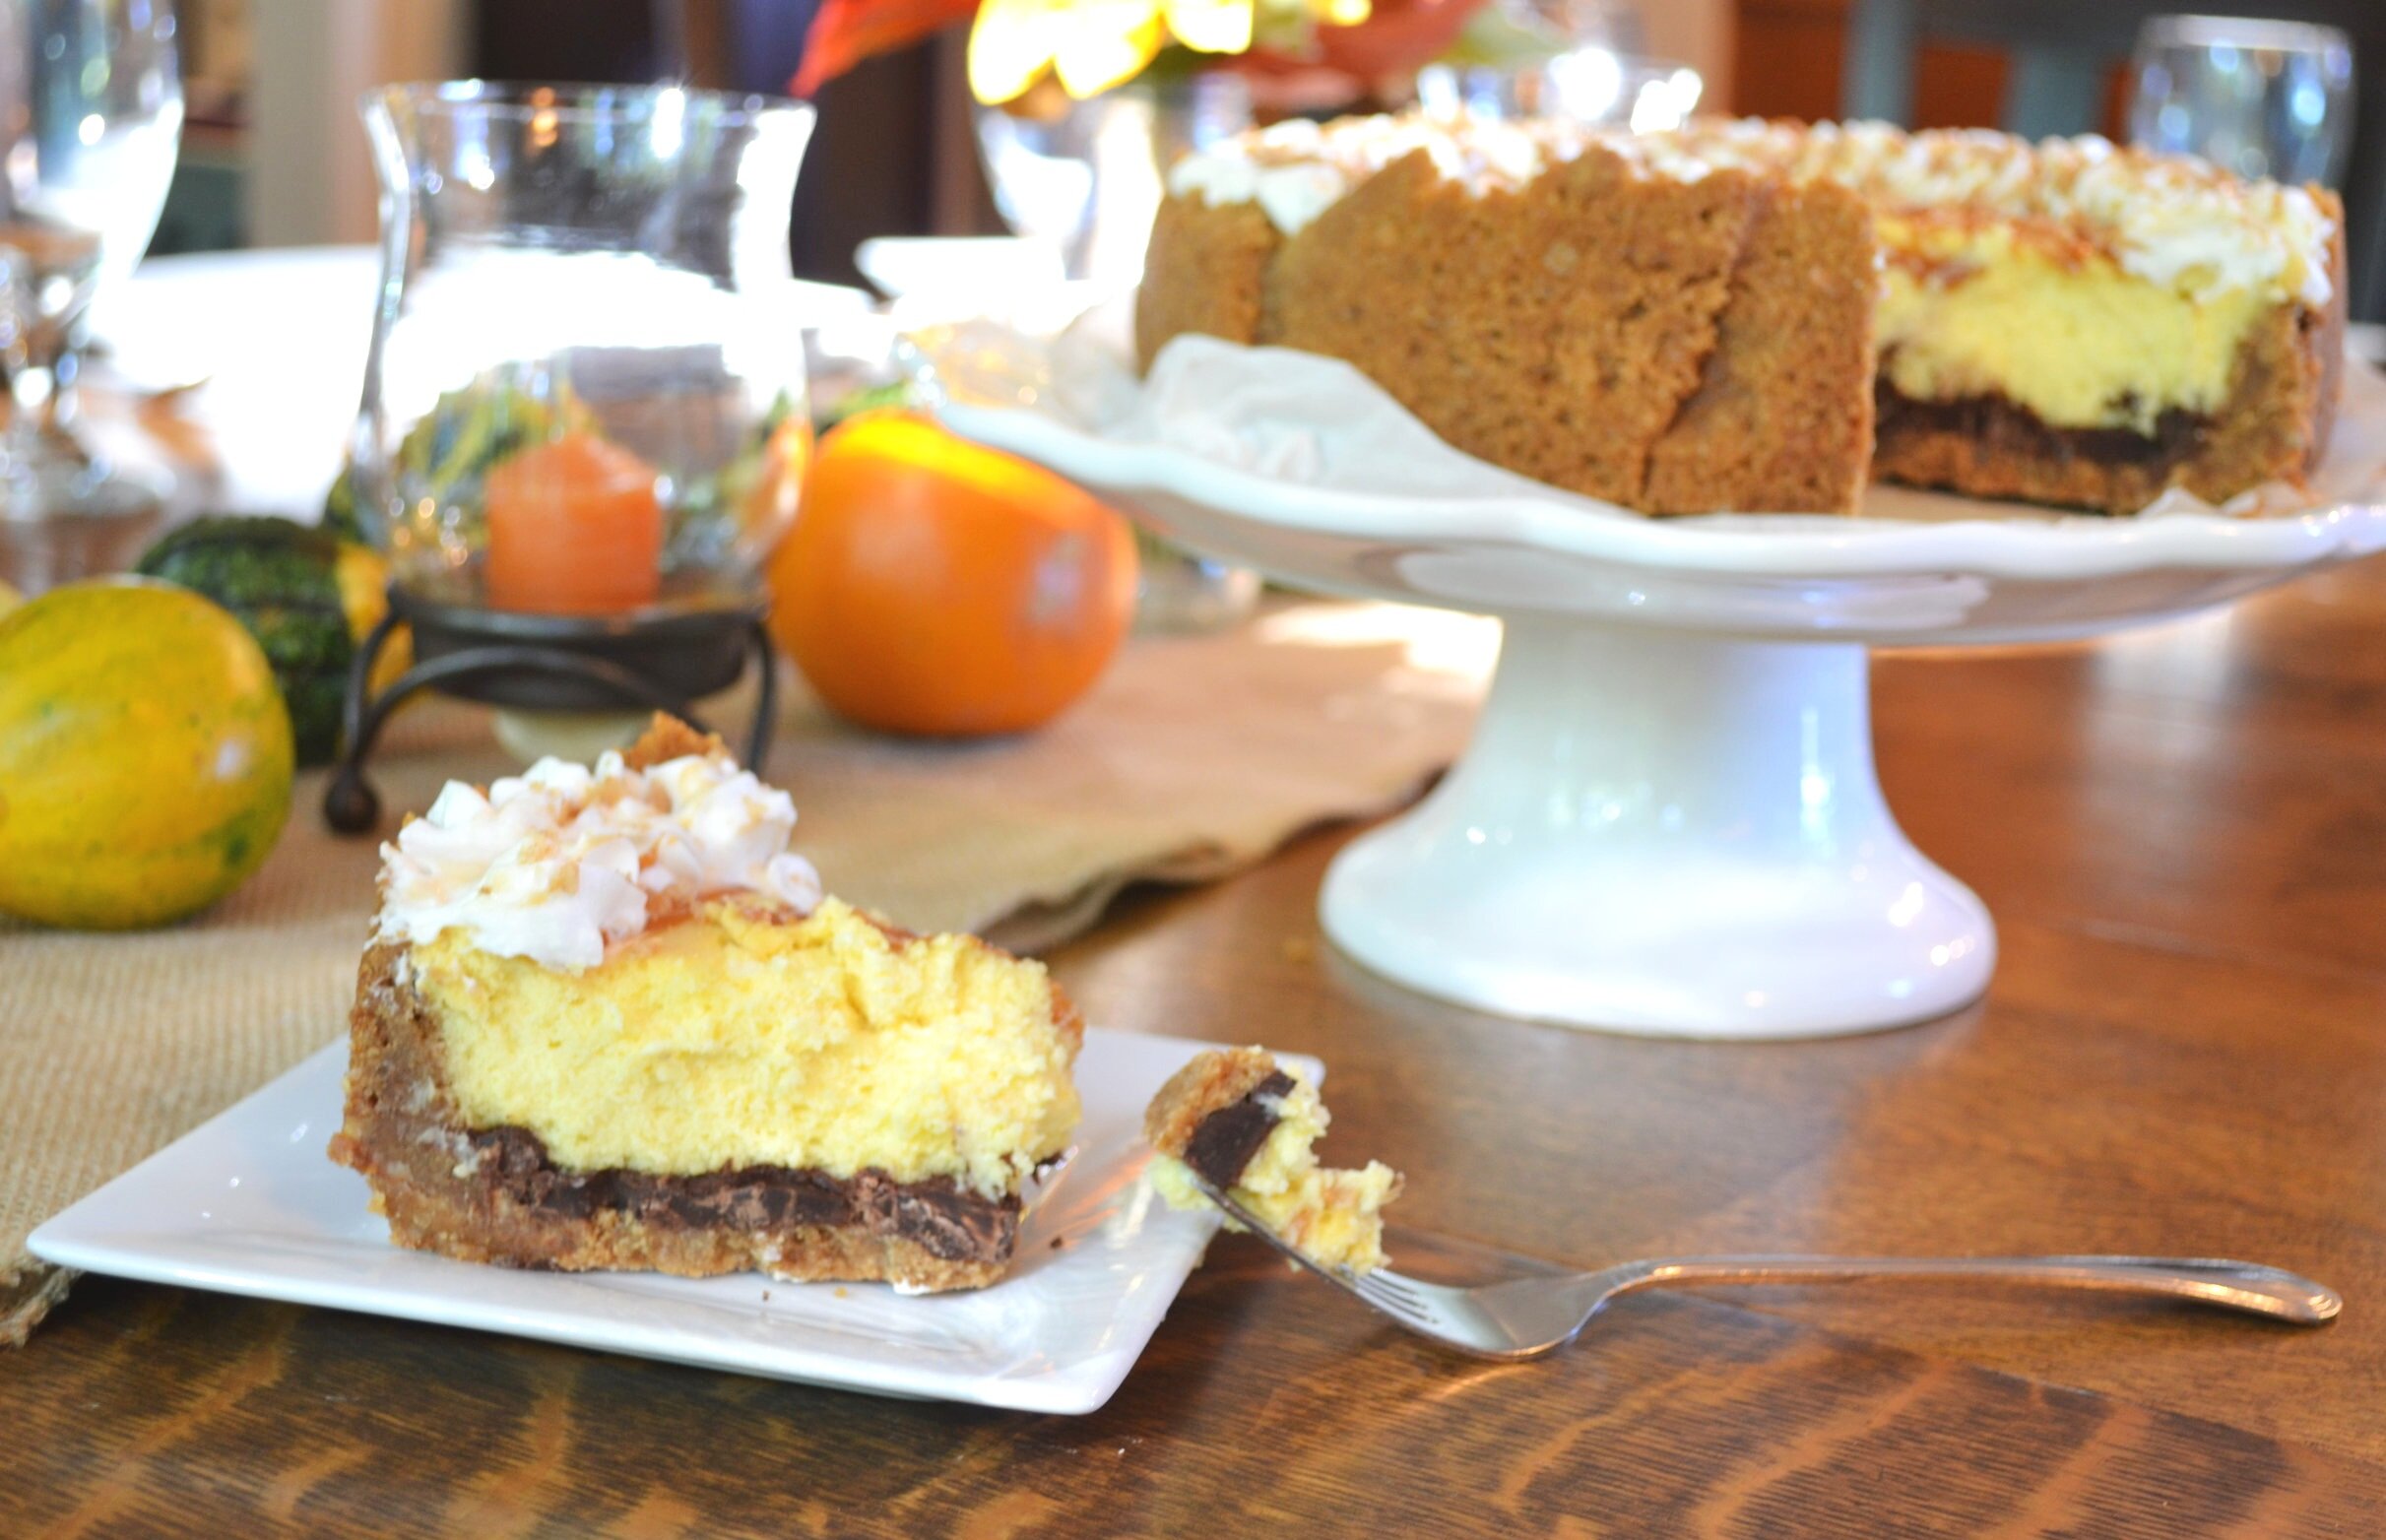
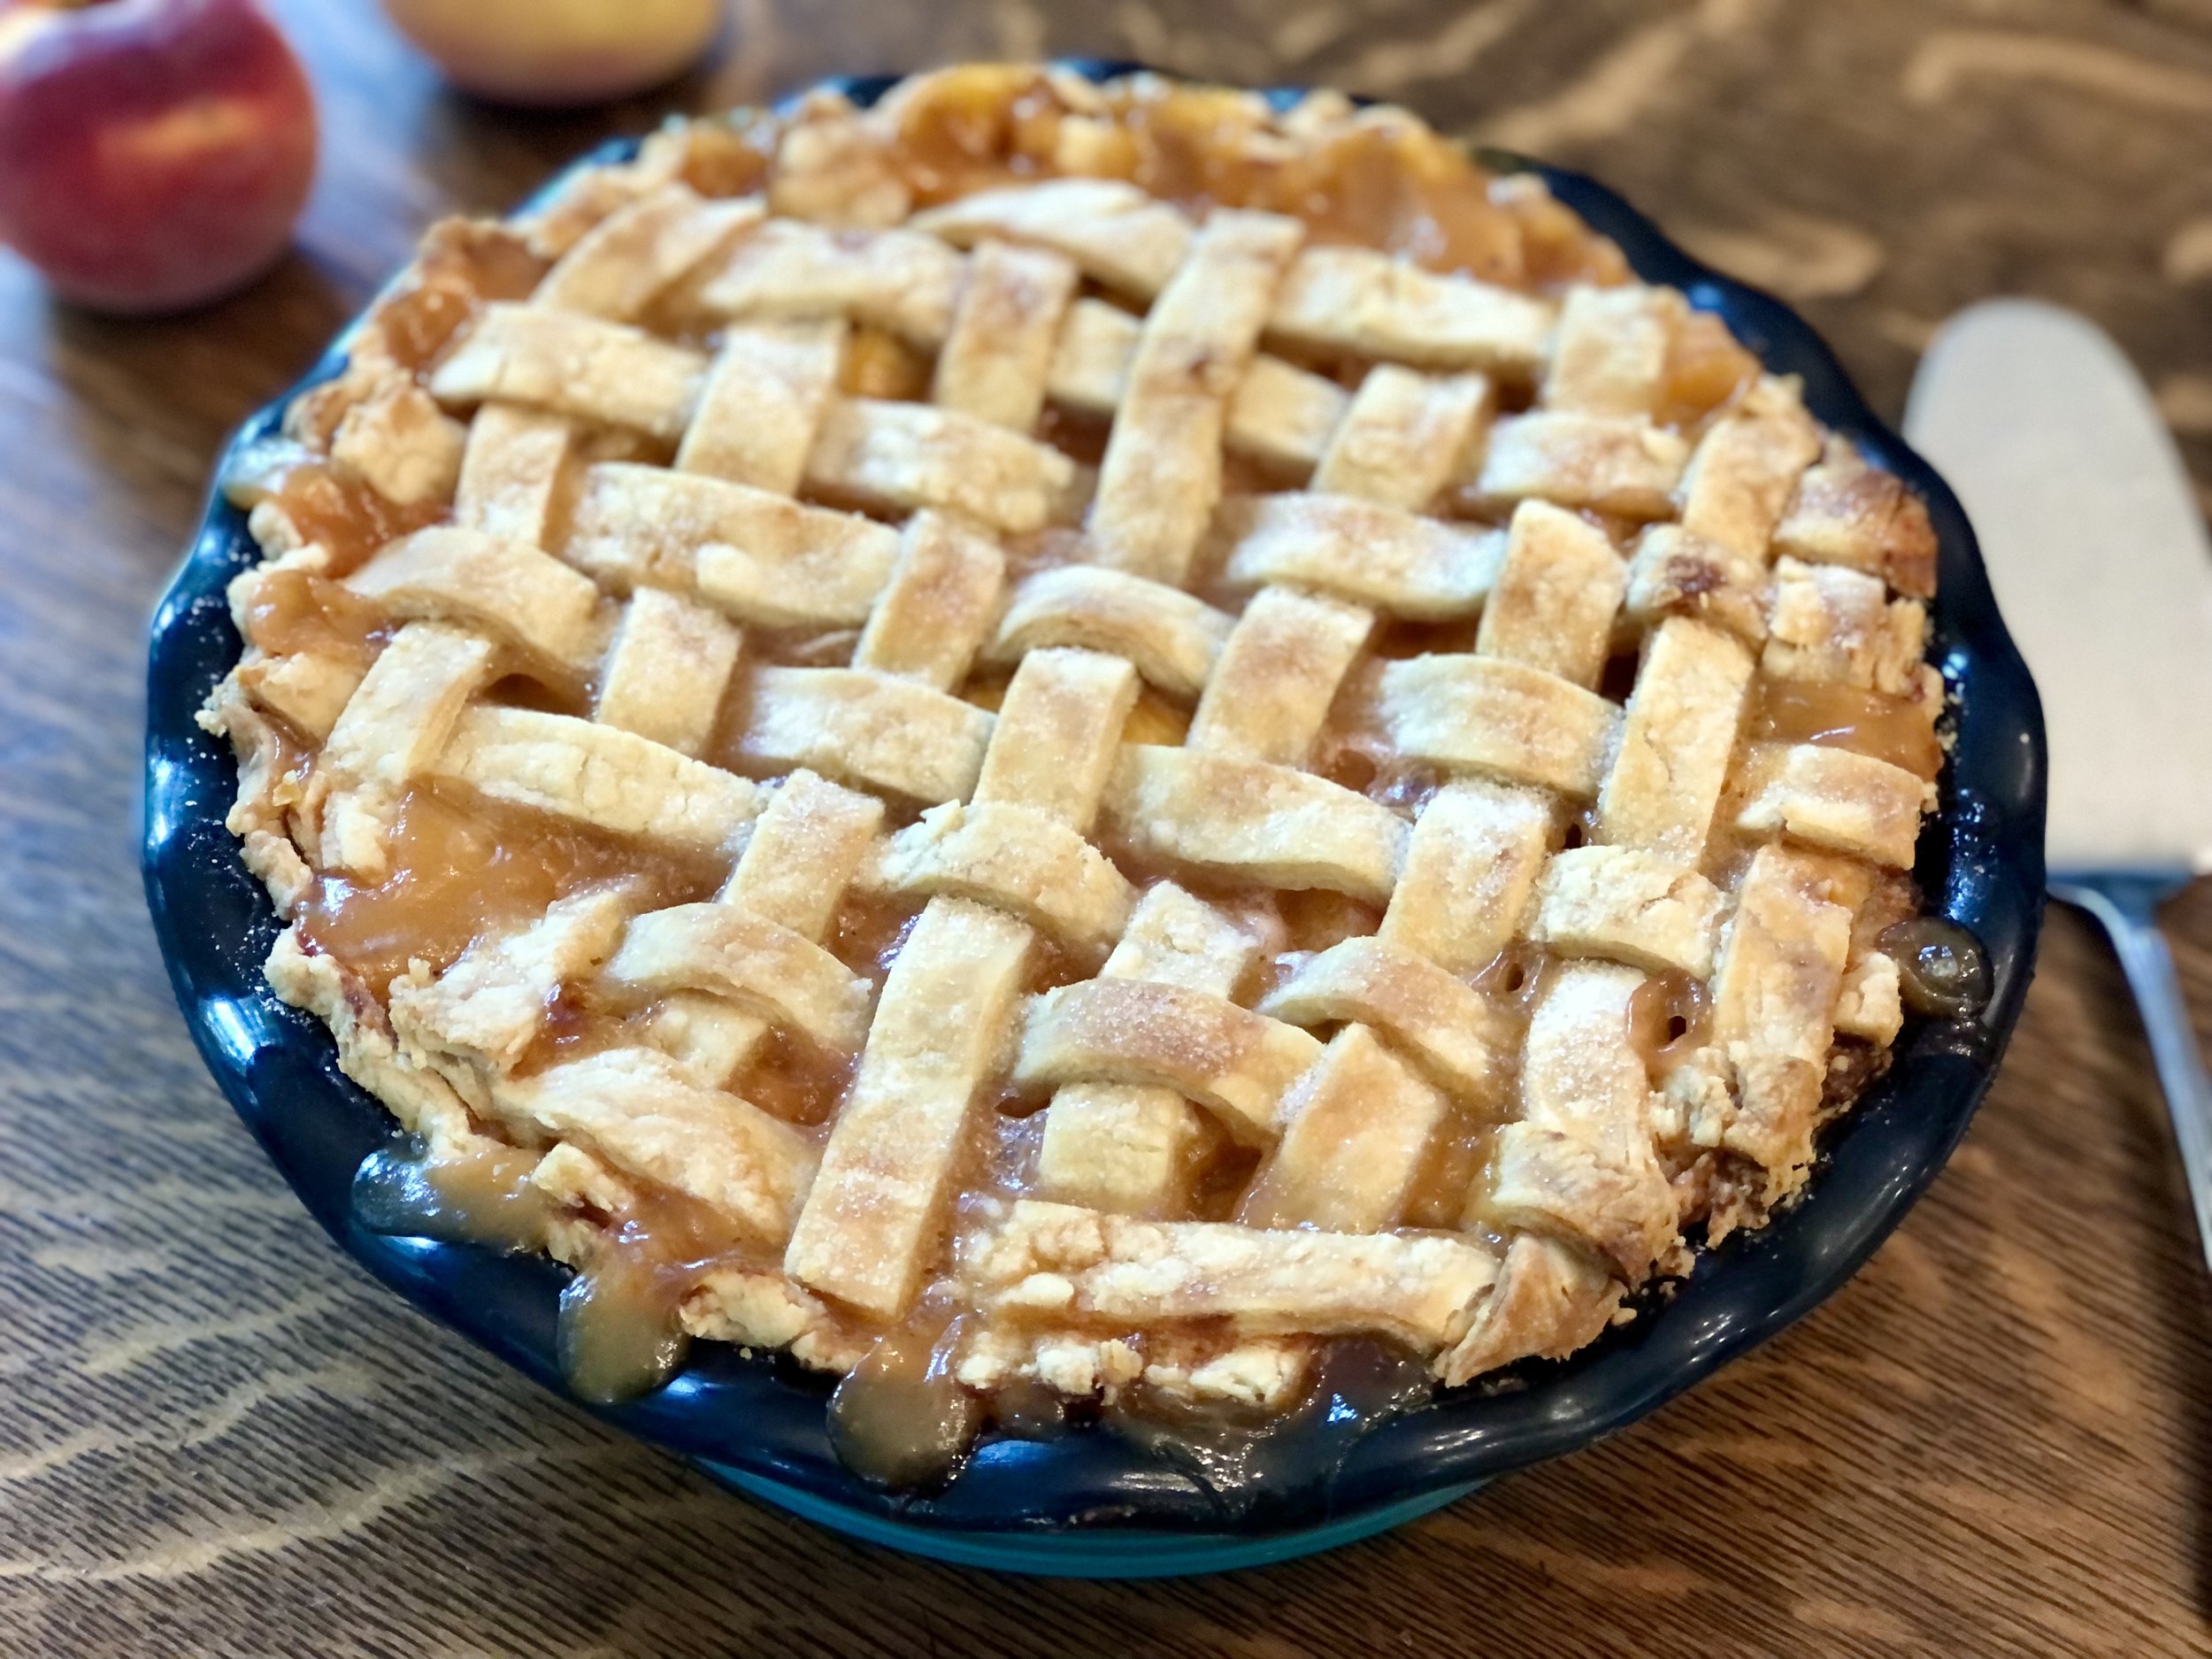
Proof that you don’t need a springform pan to bake a cheesecake
Cheesecakes are not hard to make, but the baking is important, probably the most important part, and has always been tricky for me. Cheesecakes are usually baked at a slightly lower temperature, usually around 325F, and just until the sides are set but the center is still jiggly. If the center sets, the cheesecake is over done, but if the center is too jiggly, then your cheesecake won’t set up in the fridge and you’ll end up with soup when you cut into it. You don’t want the cheesecake to crack, and some recipes will tell you to add a bain-marie (a hot water bath) to the oven to keep the atmosphere humid or to crack the oven door after you’ve turned it off so your cheesecake won’t cool down too quickly and yes, crack.
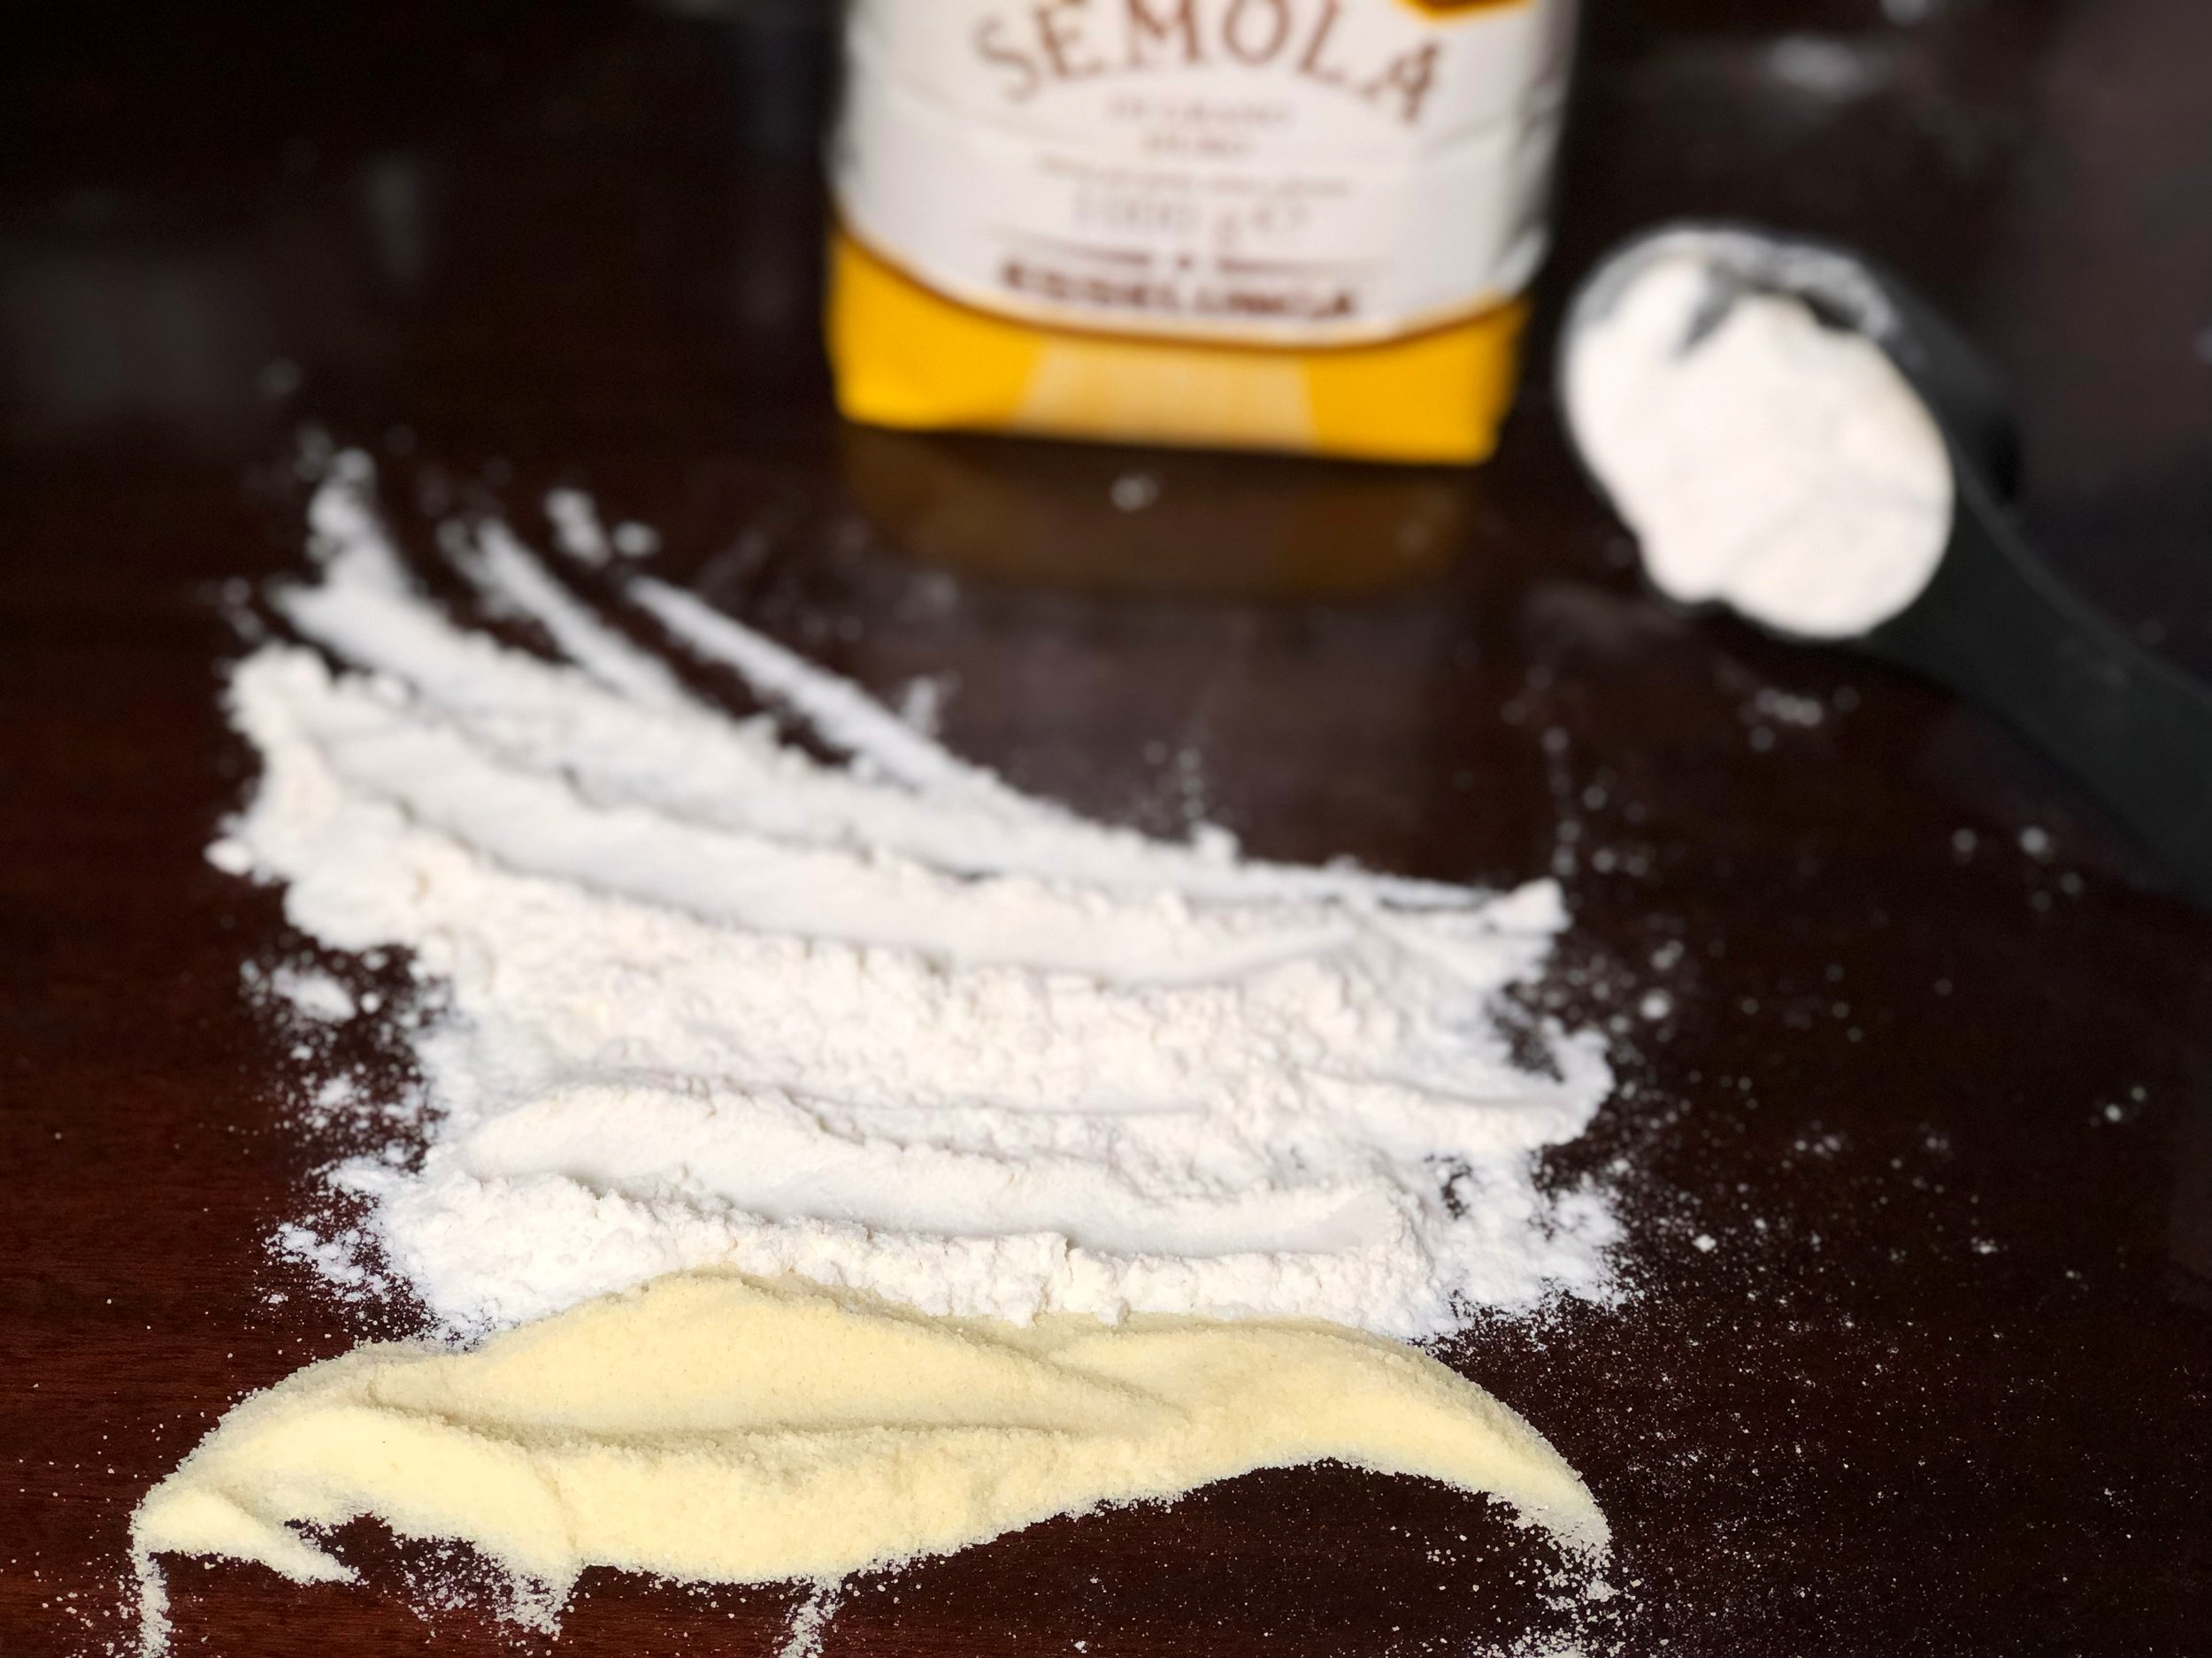
So when you live in Italy with strange ovens, you think twice before baking things when you can’t perfectly control the heat in your oven or where the heat is coming from. IF you’re able to tell the temperature of your oven at all. (I’m thinking of you, my oven two apartments ago. I DO NOT miss you!) Or if your oven is small and cooks things a lot quicker. Add on top of that the cream cheese here, “formaggio fresco” or literally translated fresh cheese, is…different. I’m not even sure what it is, it tastes similar to cream cheese in the States, but when you whip it it doesn’t become soupy like the American stuff, it becomes super creamy. Sometimes I think the American stuff is stickier too, maybe? The only brand here I’ve ever seen is Philadelphia, and it has had great success in Italy. But the cheesecakes I’ve eaten in restaurants or pastry shops? Always weird. They taste and look more like semi-freddo or a mousse. I therefore assumed when I made a cheesecake it would be weird like the other ones I’ve eaten here. So I never made one.
Along came Easter and I wanted to make a cheesecake. I didn’t even have a springform pan but found that pie dishes work pretty great as substitutes. And you know what? The cheesecake turned out delicious and not weird. And my husband and colleagues liked it so well I made the same one again and bought a springform pan. And if you know me, you know I rarely bake the same thing twice in a row. I’m always on to the next new recipe or at least something I haven’t made in a while. But this recipe asked to be made again. And so I did. And now you can make it, too, weird cream cheese or normal cream cheese!
Recipe adapted from omgchocolatedesserts
Triple Dark Chocolate Cheesecake
Serves about 12
Ingredients:
For the Oreo Crust

Crushing Oreos the old-fashioned way…
24 Oreos
1/4 cup / 56g butter, melted
For the Filling
7.5 oz / 225g dark chocolate, broken into small chunks
24 oz (3 8 oz packages) / 675g cream cheese, room temperature
1/2 cup + 2 Tbsp / 125g granulated sugar
2 Tbsp / 14 g cocoa powder
3 eggs
For the Ganache Topping
3/4 cup / 175g heavy whipping cream
6 oz / 180g dark chocolate, broken into small chunks
Directions:
Oven 350F / 177C. Grease an 8in - 9in / 20cm - 24cm springform pan.
Make the Oreo Crust
Chop the Oreos finely, either in a food processor, by crushing with a rolling pin on a clean surface or cutting board, or by putting in a resealable plastic bag and crushing with a rolling pin or meat tenderizer.
If using a food processor, pulse in the melted butter until crumbs are evenly moistened. If crushing the Oreos by hand, transfer to a bowl and stir in the butter.
Press mixture evenly into the bottom of the prepared springform pan and bake for 8 minutes.
Remove from oven and let cool while you prepare the filling.
Make the Filling

Spreading cream cheese mixture over baked crust
In a double boiler or pan over low heat, melt the chocolate, stirring constantly. Remove from heat when there are still small chunks of chocolate, and continue to stir until completely melted. In this way the chocolate won’t overheat or burn. Let chocolate cool.
In the bowl of a stand mixer or a large bowl with a handheld mixer, beat cream cheese and sugar on medium speed until smooth. Changing to low speed, carefully beat in cocoa powder so that it doesn’t “poof” everywhere. Every so often stop beating and scrape down the sides of the bowl well.
Beat in the eggs, one at a time, until smooth.
Beat in melted and cooled chocolate.
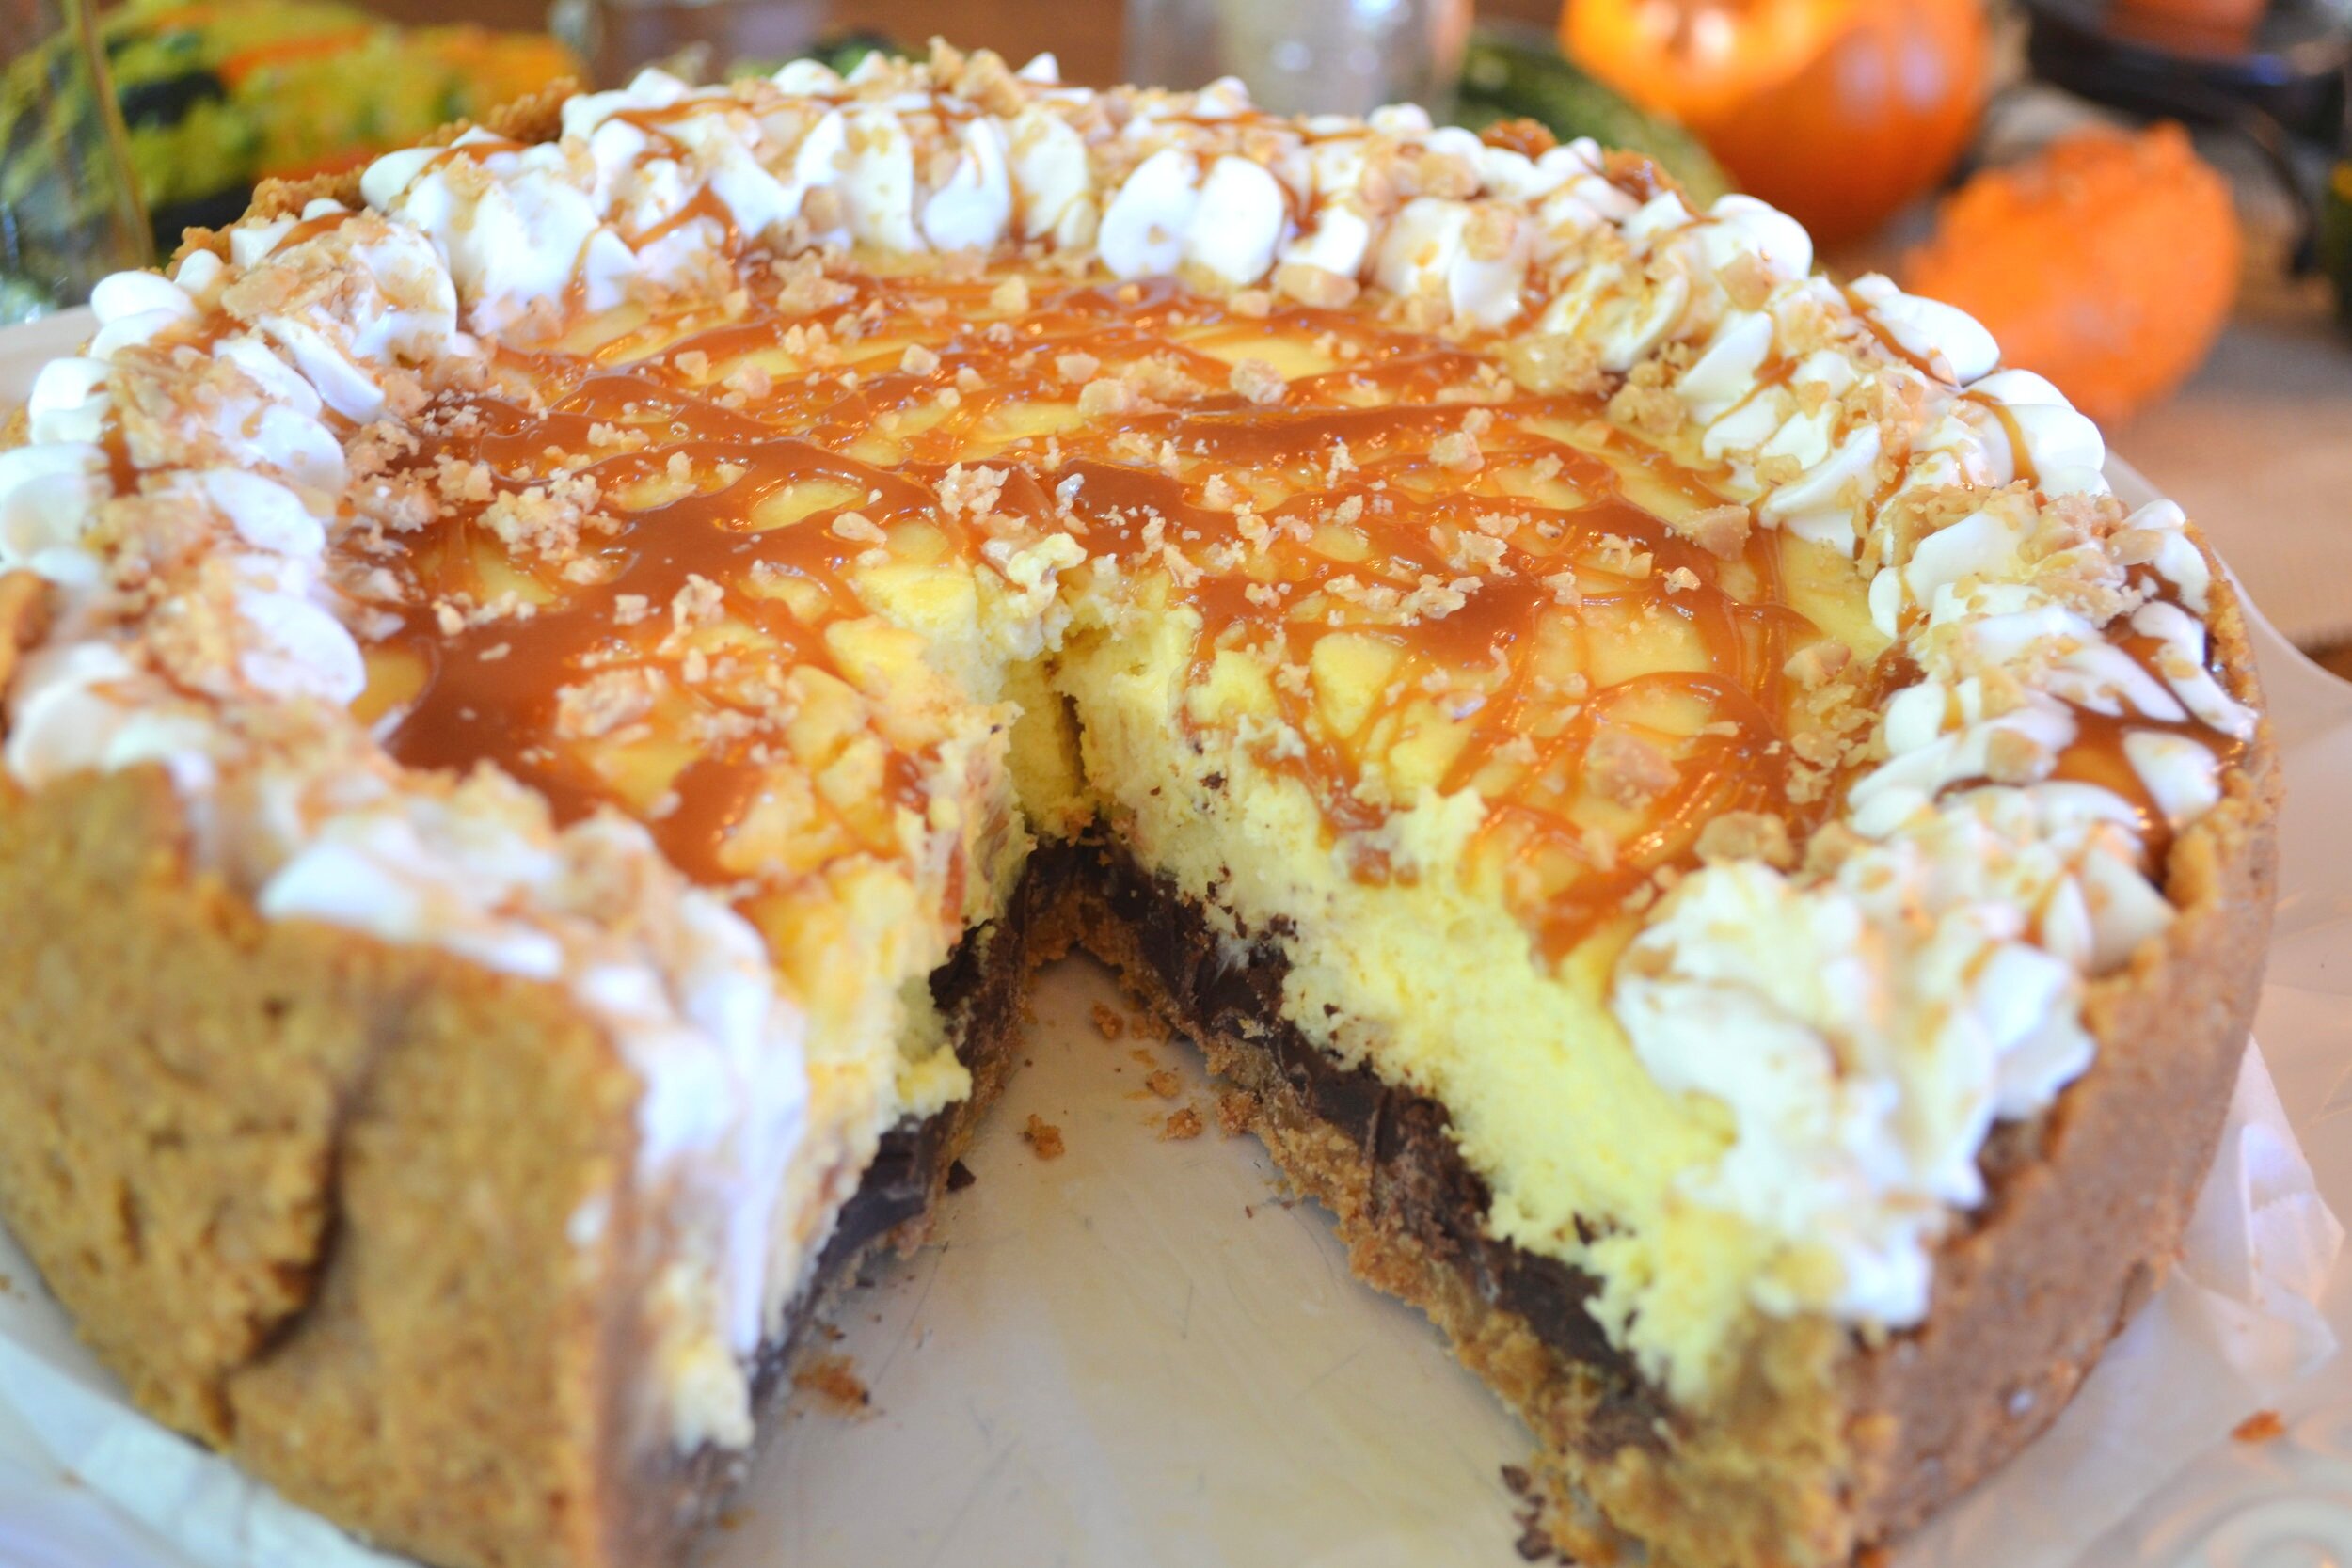
Pour mixture over the crust, smoothing the top.
Bake for 45 - 60 minutes, or until center is still slightly wiggly and the top looks dry.
Turn the oven off and crack open the door for about 10 minutes. Remove cheesecake from oven and place in fridge until completely cooled, 8 hours or overnight.
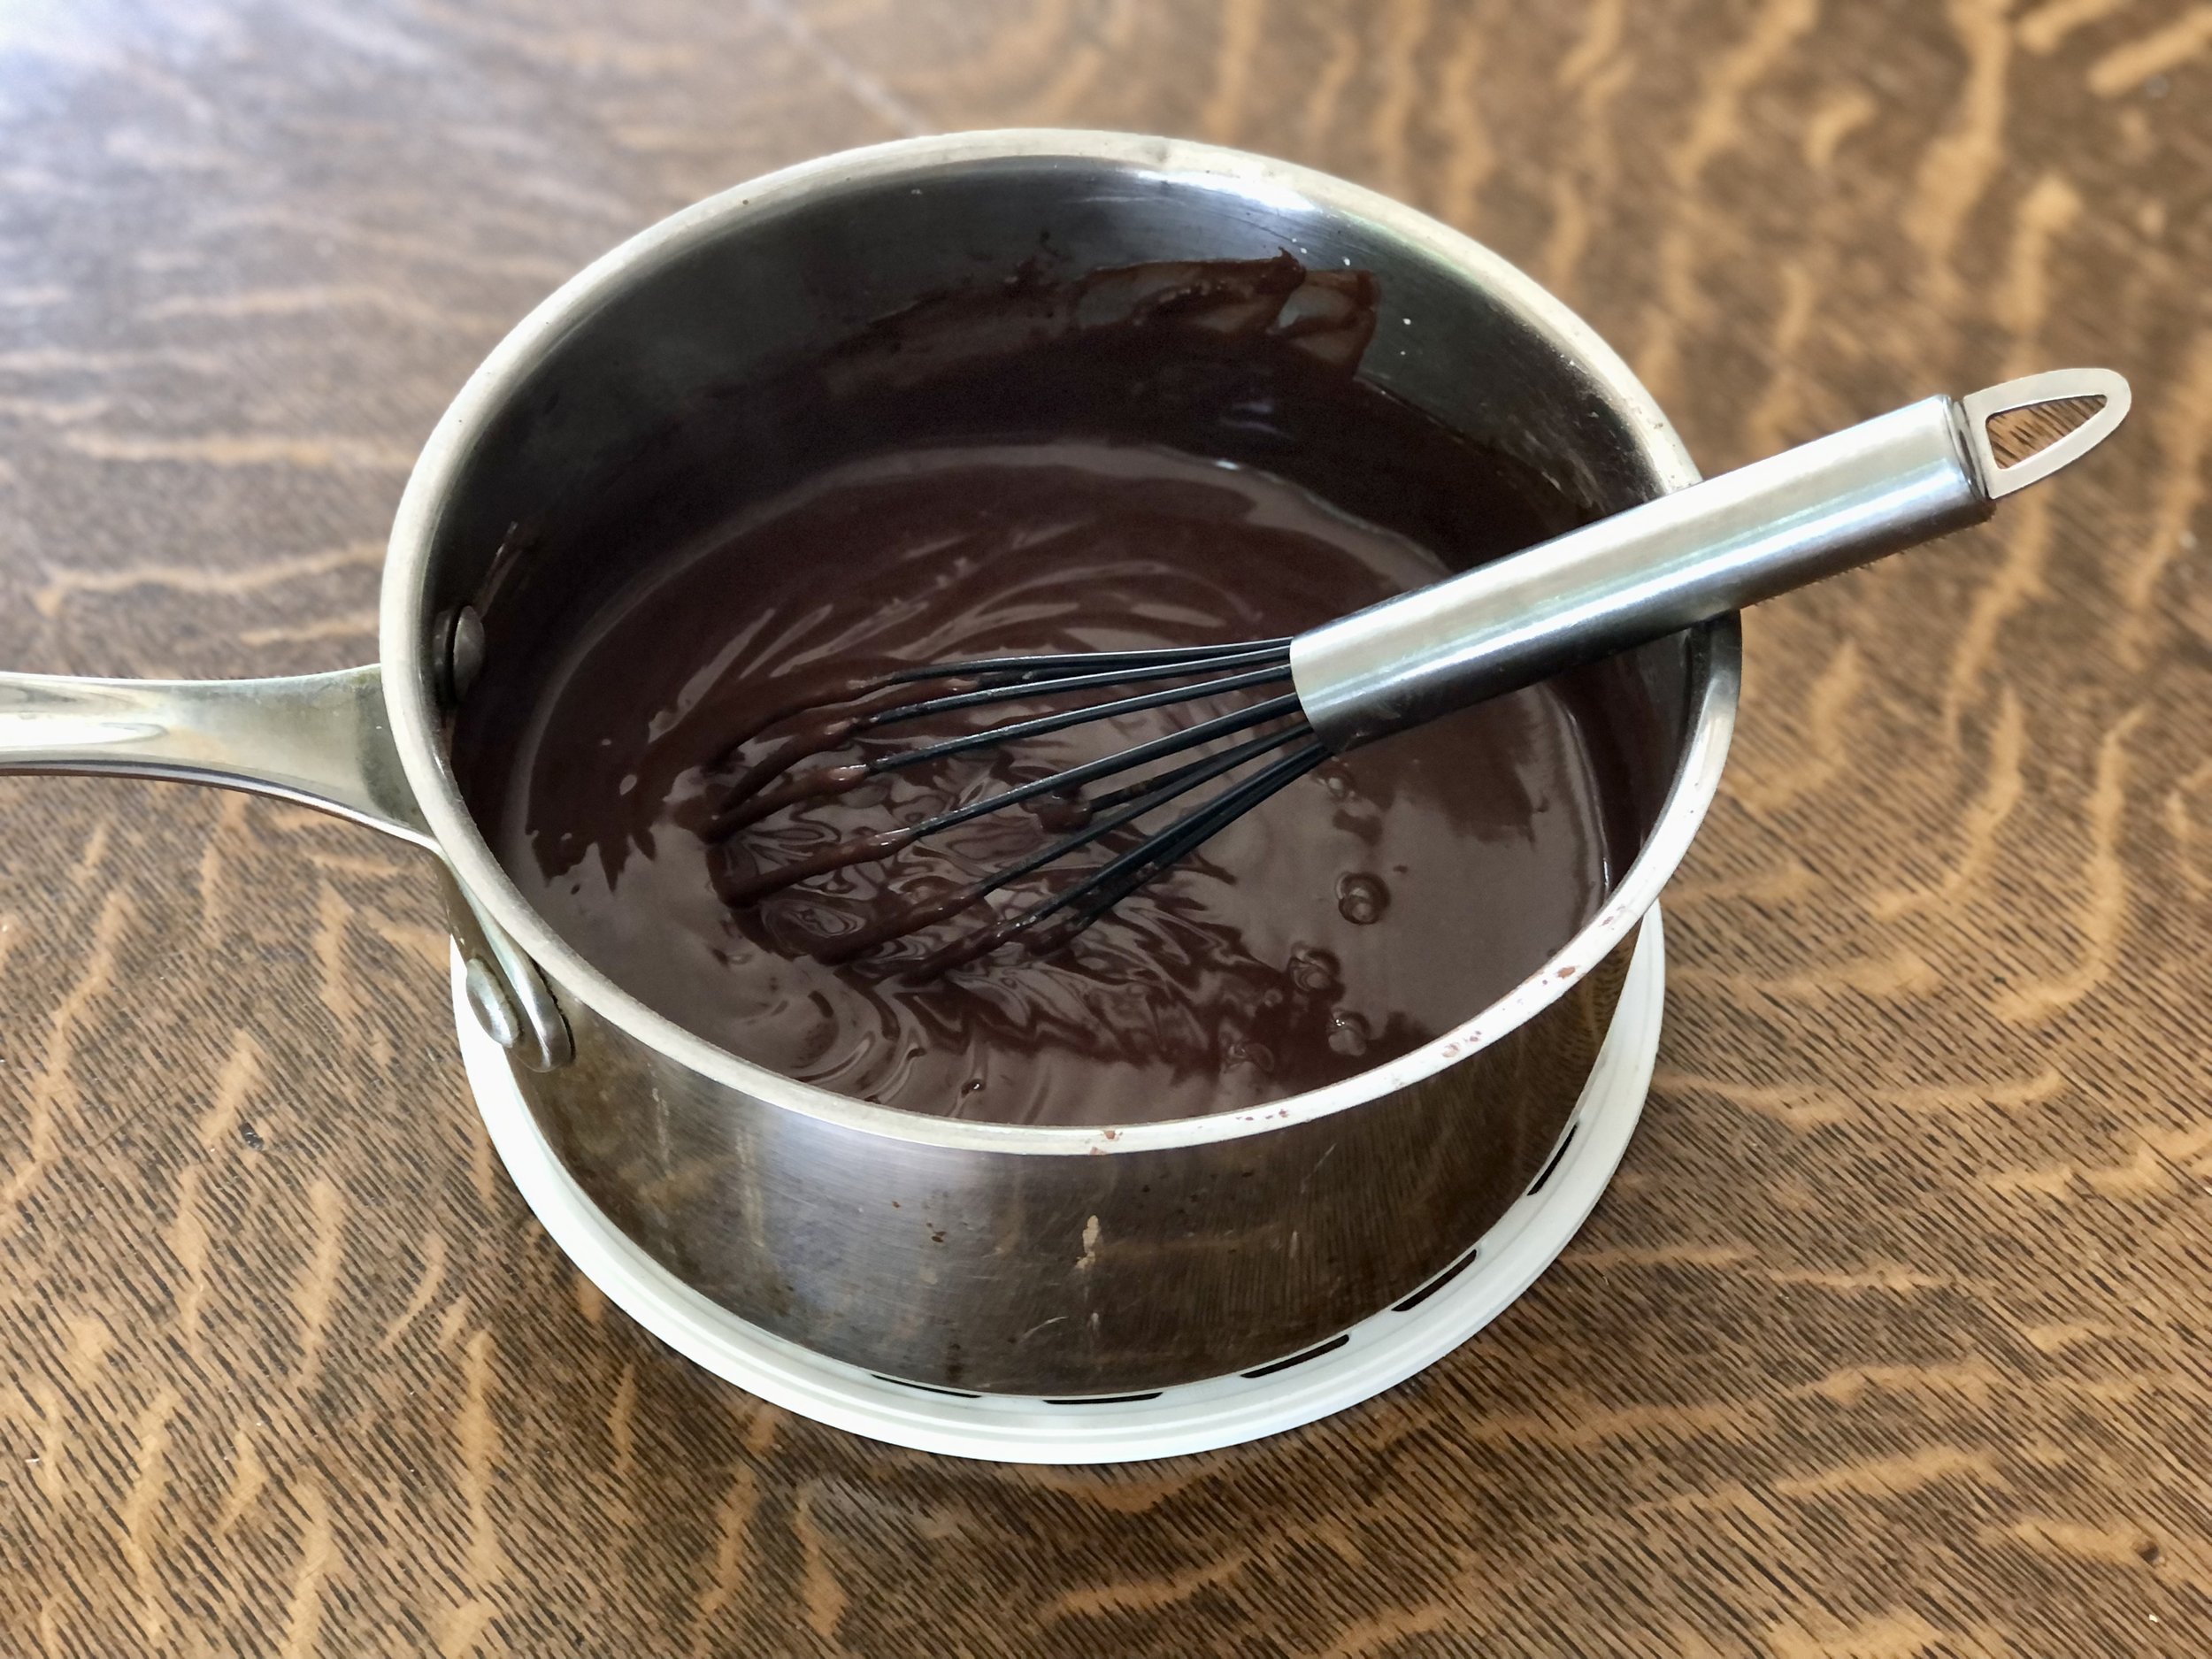
Make the Ganache Topping
In a small pan place heavy cream and chocolate over low heat. Stir constantly until the mixture is smooth and melted. Allow to cool slightly.
Remove cheesecake from fridge and pour ganache evenly over the top. Allow to set before running a dull knife around the edge of cheesecake and releasing from springform pan. Alternately, if you don’t need to transport the cheesecake anywhere, you can remove the ring of the springform first and then pour the ganache over, using a spoon to guide the ganache toward the edges and allowing some to dribble down the sides.
Jenny’s Notes:
Not a dark chocolate fan? Try it out with milk chocolate or a mixture of milk and dark to create your preferred bitterness!
If you don’t own a double boiler, you can make a makeshift one by placing a small pan with an inch or so of water in the bottom and bring to a simmer. Place the chocolate in a bowl big enough that it can sit on top of the pan without touching the water. Stir constantly and proceed as in the recipe. This might take a touch more effort than just melting the chocolate in a pan, but it’s safer if you’re not used to melting chocolate so as not to burn it.
Powdered sugar can be substituted for the granulated, use 1 cup / 110g.
For cleaner slicing, try running your knife under hot water for a few seconds between slices.

Triple Dark Chocolate Cheesecake
ingredients:
- 24 Oreos
- 1/4 cup / 56g butter, melted
- 7.5 oz / 225g dark chocolate, broken into small chunks
- 24 oz (3 8 oz packages) / 675g cream cheese, room temperature
- 1/2 cup + 2 Tbsp / 125g granulated sugar
- 2 Tbsp / 14 g cocoa powder
- 3 eggs
- 3/4 cup / 175g heavy whipping cream
- 6 oz / 180g dark chocolate, broken into small chunks
instructions:
How to cook Triple Dark Chocolate Cheesecake
- Preheat oven to 350F / 177C. Grease an 8in - 9in / 20cm - 24cm springform pan.
- Chop the Oreos finely, either in a food processor, by crushing with a rolling pin on a clean surface or cutting board, or by putting in a resealable plastic bag and crushing with a rolling pin or meat tenderizer.
- If using a food processor, pulse in the melted butter until crumbs are evenly moistened. If crushing the Oreos by hand, transfer to a bowl and stir in the butter.
- Press mixture evenly into the bottom of the prepared springform pan and bake for 8 minutes.
- Remove from oven and let cool while you prepare the filling.
- In a double boiler or pan over low heat, melt the chocolate, stirring constantly. Remove from heat when there are still small chunks of chocolate, and continue to stir until completely melted. In this way the chocolate won’t overheat or burn. Let chocolate cool.
- In the bowl of a stand mixer or a large bowl with a handheld mixer, beat cream cheese and sugar on medium speed until smooth. Changing to low speed, carefully beat in cocoa powder so that it doesn’t “poof” everywhere. Every so often stop beating and scrape down the sides of the bowl well.
- Beat in the eggs, one at a time, until smooth.
- Beat in melted and cooled chocolate.
- Pour mixture over the crust, smoothing the top.
- Bake for 45 - 60 minutes, or until center is still slightly wiggly and the top looks dry.
- Turn the oven off and crack open the door for about 10 minutes. Remove cheesecake from oven and place in fridge until completely cooled, 8 hours or overnight.
- In a small pan place heavy cream and chocolate over low heat. Stir constantly until the mixture is smooth and melted. Allow to cool slightly.
- Remove cheesecake from fridge and pour ganache evenly over the top. Allow to set before running a dull knife around the edge of cheesecake and releasing from springform pan. Alternately, if you don’t need to transport the cheesecake anywhere, you can remove the ring of the springform first and then pour the ganache over, using a spoon to guide the ganache toward the edges and allowing some to dribble down the sides.
NOTES:
Calories
715.12Fat (grams)
54.28Sat. Fat (grams)
31.43Carbs (grams)
52.73Fiber (grams)
3.26Net carbs
49.47Sugar (grams)
39.29Protein (grams)
7.29Sodium (milligrams)
316.65Cholesterol (grams)
118.98


&media=https://images.squarespace-cdn.com/content/v1/56c61656859fd03ce9b15cfa/1565002467394-9HPGEEG5VBA99GXG2X9G/ke17ZwdGBToddI8pDm48kJidP58N0PEQdaQACzvUdKJ7gQa3H78H3Y0txjaiv_0fDoOvxcdMmMKkDsyUqMSsMWxHk725yiiHCCLfrh8O1z4YTzHvnKhyp6Da-NYroOW3ZGjoBKy3azqku80C789l0gmXcXvEVFTLbYX9CdVcGe7_oYaPJmPk7SbXblG-WRJQdZGPxszrhAlMfuI7U6c38w/image-asset.jpeg?format=1000w)
")