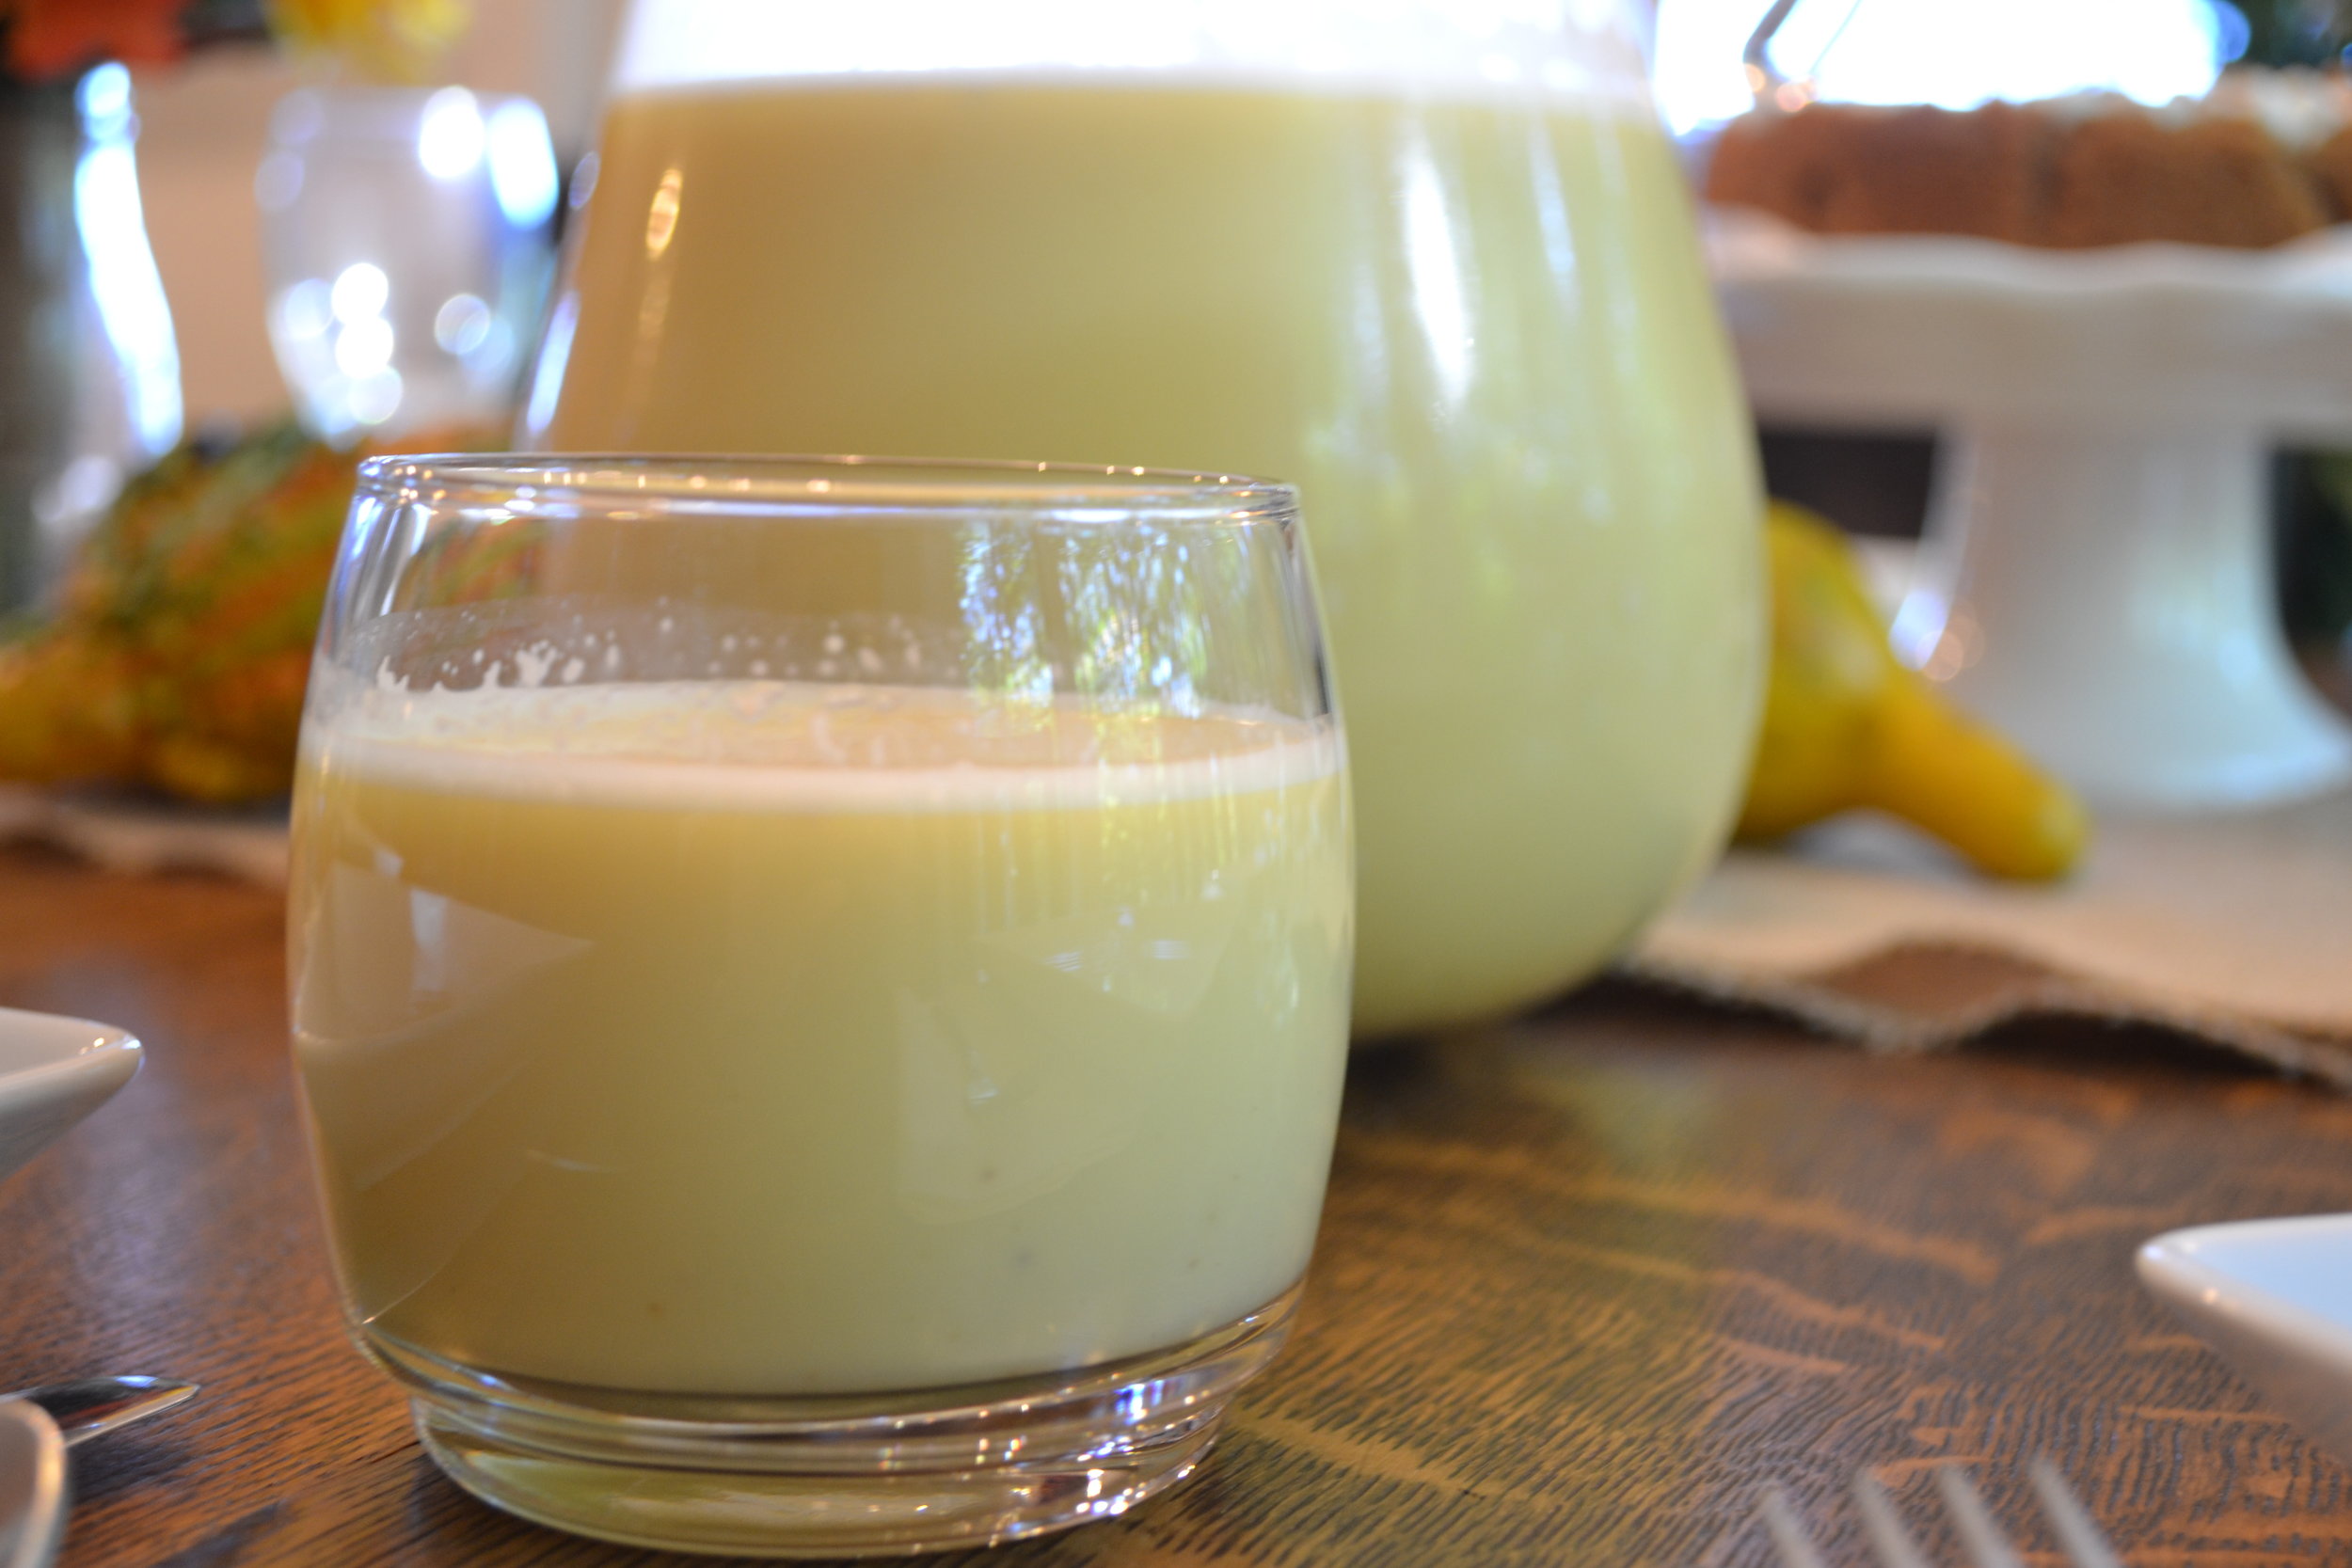
Strawberry Nutella Coconut Milkshake
/This post may contain affiliate links. If you make a purchase using these links, Jennyblogs may receive a small commission, at no extra cost to you. This helps to support Jennyblogs. For further information see the privacy policy. Grazie!
Buon Ferragosto!
Also known as the day where everything is closed and I feel slightly trapped. Hmmm the gelato place is closed so I’ll just run to the store and pick up some…oh wait, all the grocery stores are closed. Ok, well maybe I’ll go browse some shops, oh wait, all closed. I’ll go walk around in the center for a bit…nope, hardly any buses running today to get to the center. Even if I could find a bus, all the places I could buy a ticket are closed. Ok, so I’ll walk to the gym to work out and enjoy some air conditioning. Ah, closed. So, I hunker down and eat whatever food is in the house, try to stay cool. Actually we’ve come to a bit of a cool spell, today only has a high of 90°F. I’ll take it!
I actually planned ahead this year and went grocery shopping last night. I got fruit and veggies for lunch and dinner today, but why didn’t I get better snackies? But then I remembered that I have a good stash of gelato in the freezer, and made me think of this delectable milkshake I made a few weeks ago.
So with all this time on my hands, I shall be milkshaking and sharing this milkshake with you! What’s so great about this milkshake?
It’s a Strawberry Nutella Coconut Milkshake. That’s such a long name, and kinda going against my own rule of not listing every ingredient in the title, but otherwise I didn’t quite know how to get the dream across, ya know?
How about this: Strawnutelloco Milkshake. Stranucoco Milkshake. Conuterry. Strawconutella. Regardless, this milkshake tastes like a chocolate covered strawberry rolled in coconut with a hint of hazelnut.
I have a confession to make. I originally made this milkshake to try and hide this not-awesome gelato I bought. There was a sale on a brand I had never tried before at the grocery store, and they had coconut and I love coconut but it just did not end well. Icy and so much coconut it was chewy. I didn’t want to waste it, but I also didn’t necessarily want to force myself to eat gelato?
Enter the milkshake idea. I had strawberries, Nutella, and milk, and this beautiful combo was born. The copious amounts of coconut from the gelato still rendered my milkshake a bit chewy, but if you have a GOOD brand of coconut ice cream, or even vanilla ice cream with a bit of flaked coconut and maybe a drop of coconut extract or two thrown in, you’ve got yourself the perfect summer day’s treat.
So thank you, gelato brand that shall remain unnamed, for the not delicious gelato that prompted me to create a delicious milkshake.
Strawberry Nutella Coconut Milkshake
Serves 2

Ingredients:
2 cups coconut ice cream, slightly softened
1/2 cup milk, any variety
1/2 cup hulled strawberries, fresh or frozen
2 heaping Tbsp Nutella
Dash of vanilla extract, optional
Whipped cream, optional
Directions:
Add all ingredients except whipped cream to a blender and blend until smooth. Check consistency and add more milk if desired.
Spoon into 2 glasses and top with whipped cream. Serve immediately.
Jenny’s Notes:
Don’t have coconut ice cream but still want that coconut taste? Substitute chocolate or vanilla ice cream and add a bit of flaked coconut and a drop or two of coconut extract.
For creamier shakes, use whole milk.
For thinner shakes you can sip, add more milk. For thicker, spoonable shakes, add less milk. Some blenders don’t blend thicker shakes well, so if yours is having problems, either wait a minute or two for the ice cream to soften a bit more before continuing to blend, or add a touch more milk.
To make fresh whipped cream, whip about 1/4 cup / 60g heavy whipping cream with 1 Tbsp / 14g sugar in the bowl of a stand mixer fitted with whisk attachment, or with a handheld mixer. This makes about 1/2 cup fresh whipped cream. Store in fridge, best if used within a few days.


Strawberry Nutella Coconut Milkshake
ingredients:
- 2 cups coconut ice cream, slightly softened
- 1/2 cup milk, any variety
- 1/2 cup hulled strawberries, fresh or frozen
- 2 heaping Tbsp Nutella
- Dash of vanilla extract, optional
- Whipped cream, optional
instructions:
How to cook Strawberry Nutella Coconut Milkshake
- Add all ingredients except whipped cream to a blender and blend until smooth. Check consistency and add more milk if desired.
- Spoon into 2 glasses and top with whipped cream. Serve immediately.
NOTES:
Calories
440.85Fat (grams)
23.21Sat. Fat (grams)
19.31Carbs (grams)
54.51Fiber (grams)
3.87Net carbs
50.64Sugar (grams)
40.58Protein (grams)
6.95Sodium (milligrams)
49.23Cholesterol (grams)
9.42