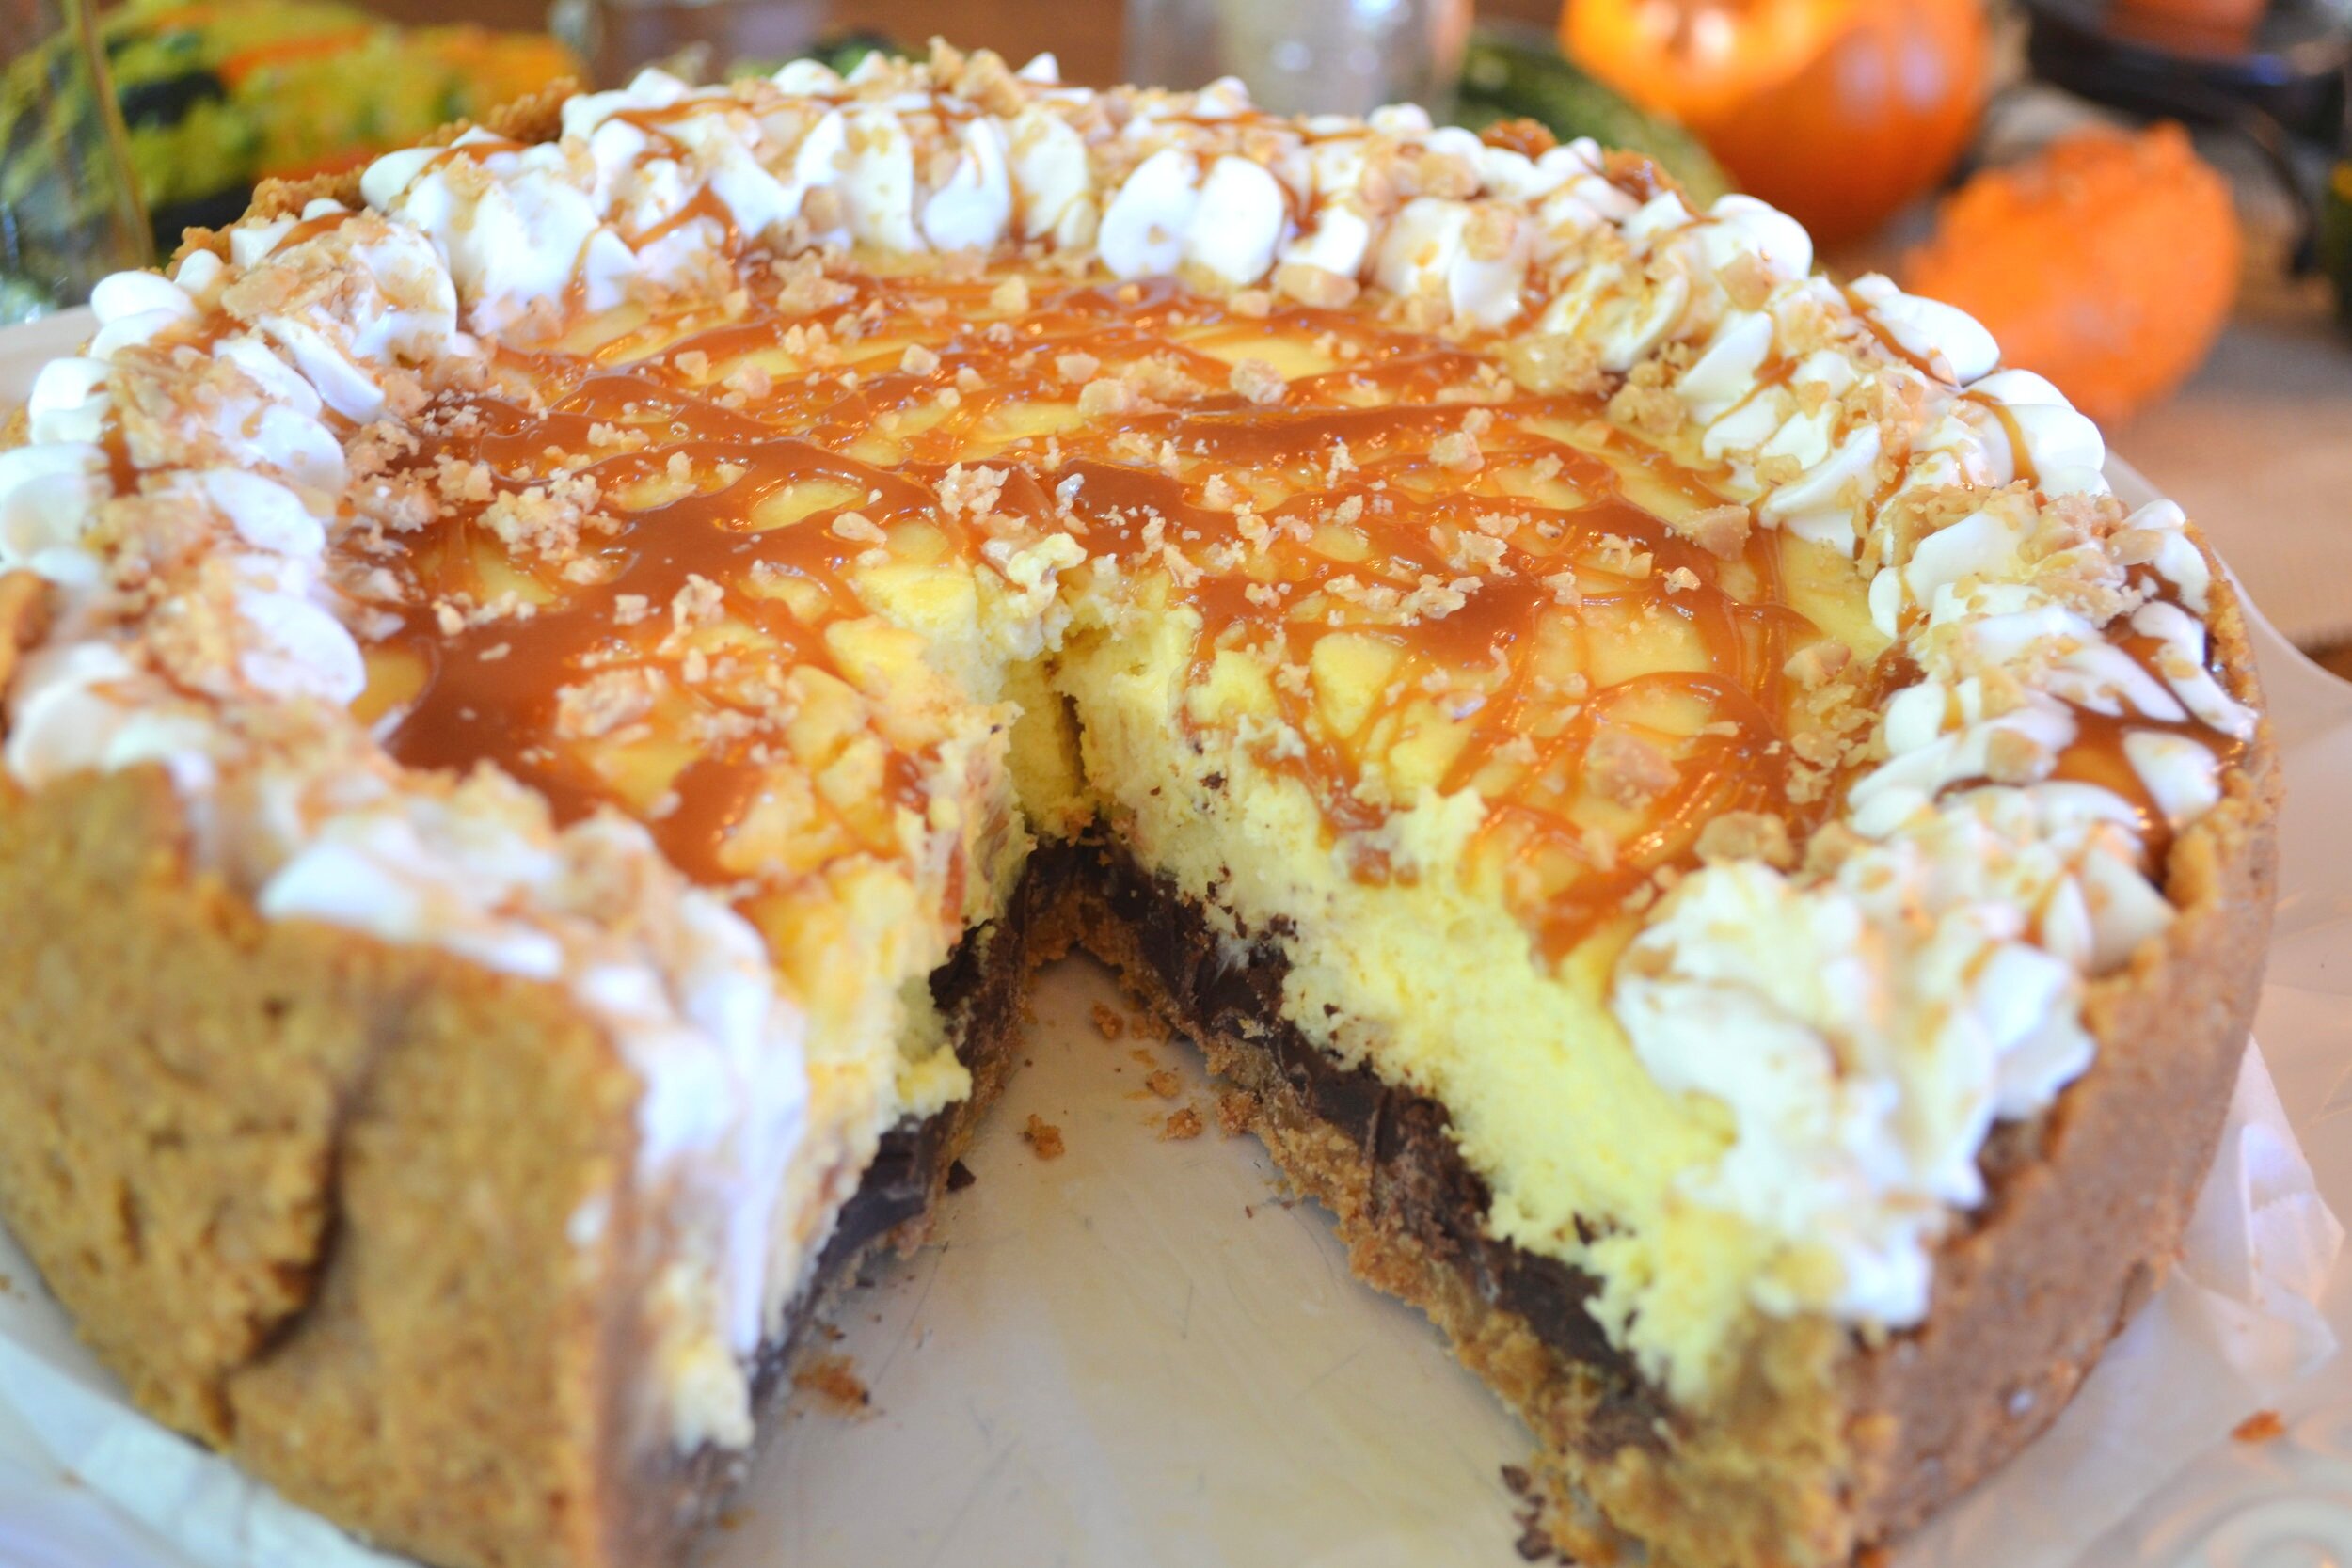
Caramel Cream Pie
/Fellow citizens of the webs, I've missed you! It's been a dreadfully long time since I've posted a new recipe. Not that I haven't been baking, oh no, but going home for Christmas, festivities, and general merry-making have kept me quite occupied. It has been difficult to find the time to carve out a window of several hours not only to bake something blog-worthy, but photograph said something, upload photos, edit photos, write the nonsense that is what you are currently reading, type up the recipe, add finished photos, proof read, and post the now finished blog form.
It's quite the process for something that is merely a hobby and even though I enjoy the blogging process, sometimes I don't feel that good at any of it. Except the baking, that's the one thing I feel somewhat competent in. And even then, there are definitely off days, off recipes, or off concentration. And I think to myself, does the world need one more baking blog? One that's, well, not fantastic? (At least not yet, mwahaha.) There are so many great ones out there. But I think the blogs that inspire me the most, the ones that come across as fantastic, are the ones that are passionate about what they do. Yes, they have picture-perfect photography, reliable recipes, and witty writing, (hey, look at all those alliterations!), but I don't think they all started that way. How did they arrive there? Passion, dedication, perseverance, and always looking for ways to improve, I think.
The world has enough perceived perfection, what we need are those hungry to learn, with a little talent and a lot of humility, and who are then willing to share what they've learned. I can only hope, in this tidbit of a clumsy blog, that you'd join me in this voyage of discovering and learning, average photography, and lots of good food. Oh, and feedback and questions are always welcome, that’s what the comments are for below!
Here's to a bright and shiny new year!
Now, back to that good food we were talking about...
This post may contain affiliate links. If you buy something using these links, Jennyblogs may receive a small commission, at no extra cost to you. This helps to support Jennyblogs. For further information see the privacy policy. Grazie!
Recipe adapted from Shugary Sweets
Caramel Cream Pie

Serves 8-12
Ingredients:
For the Crust
1 1/3 cup / 160g all-purpose flour
1/2 tsp / 2.5g salt
4 Tbsp / 56g butter, cold, cut into small pieces
4-6 Tbsp / 59 - 89g ice water
For the Caramel Cream filling and topping
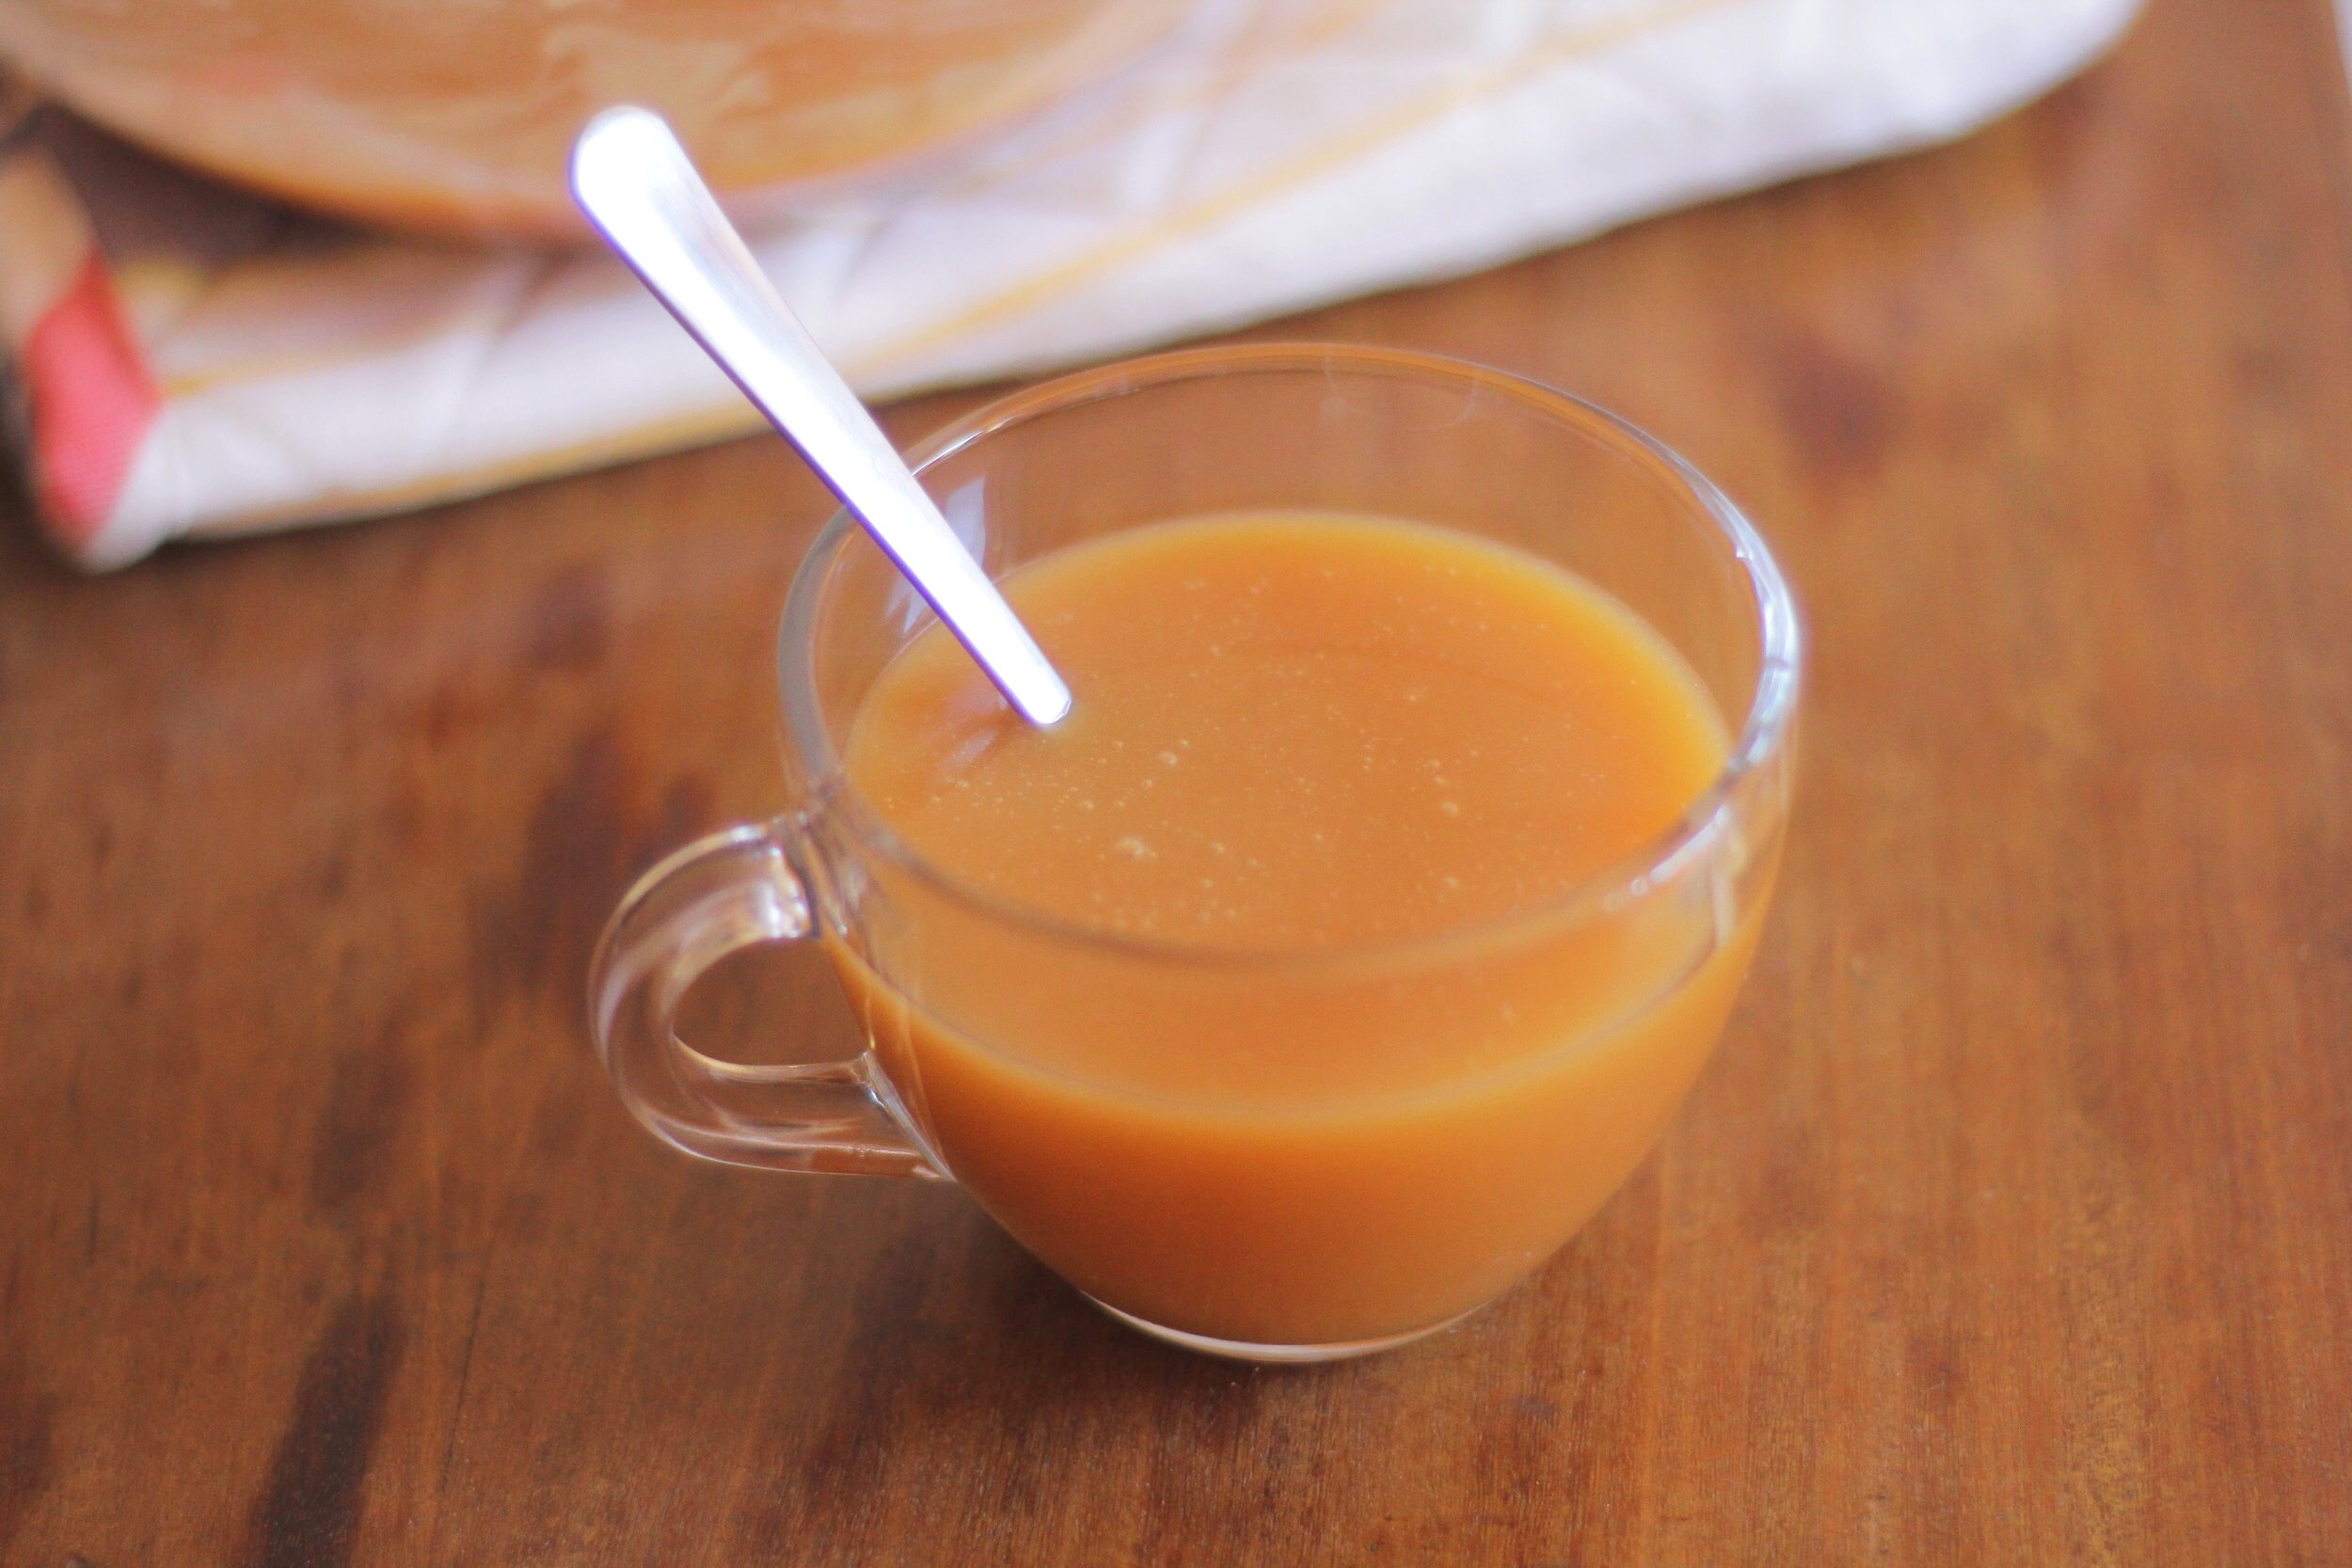
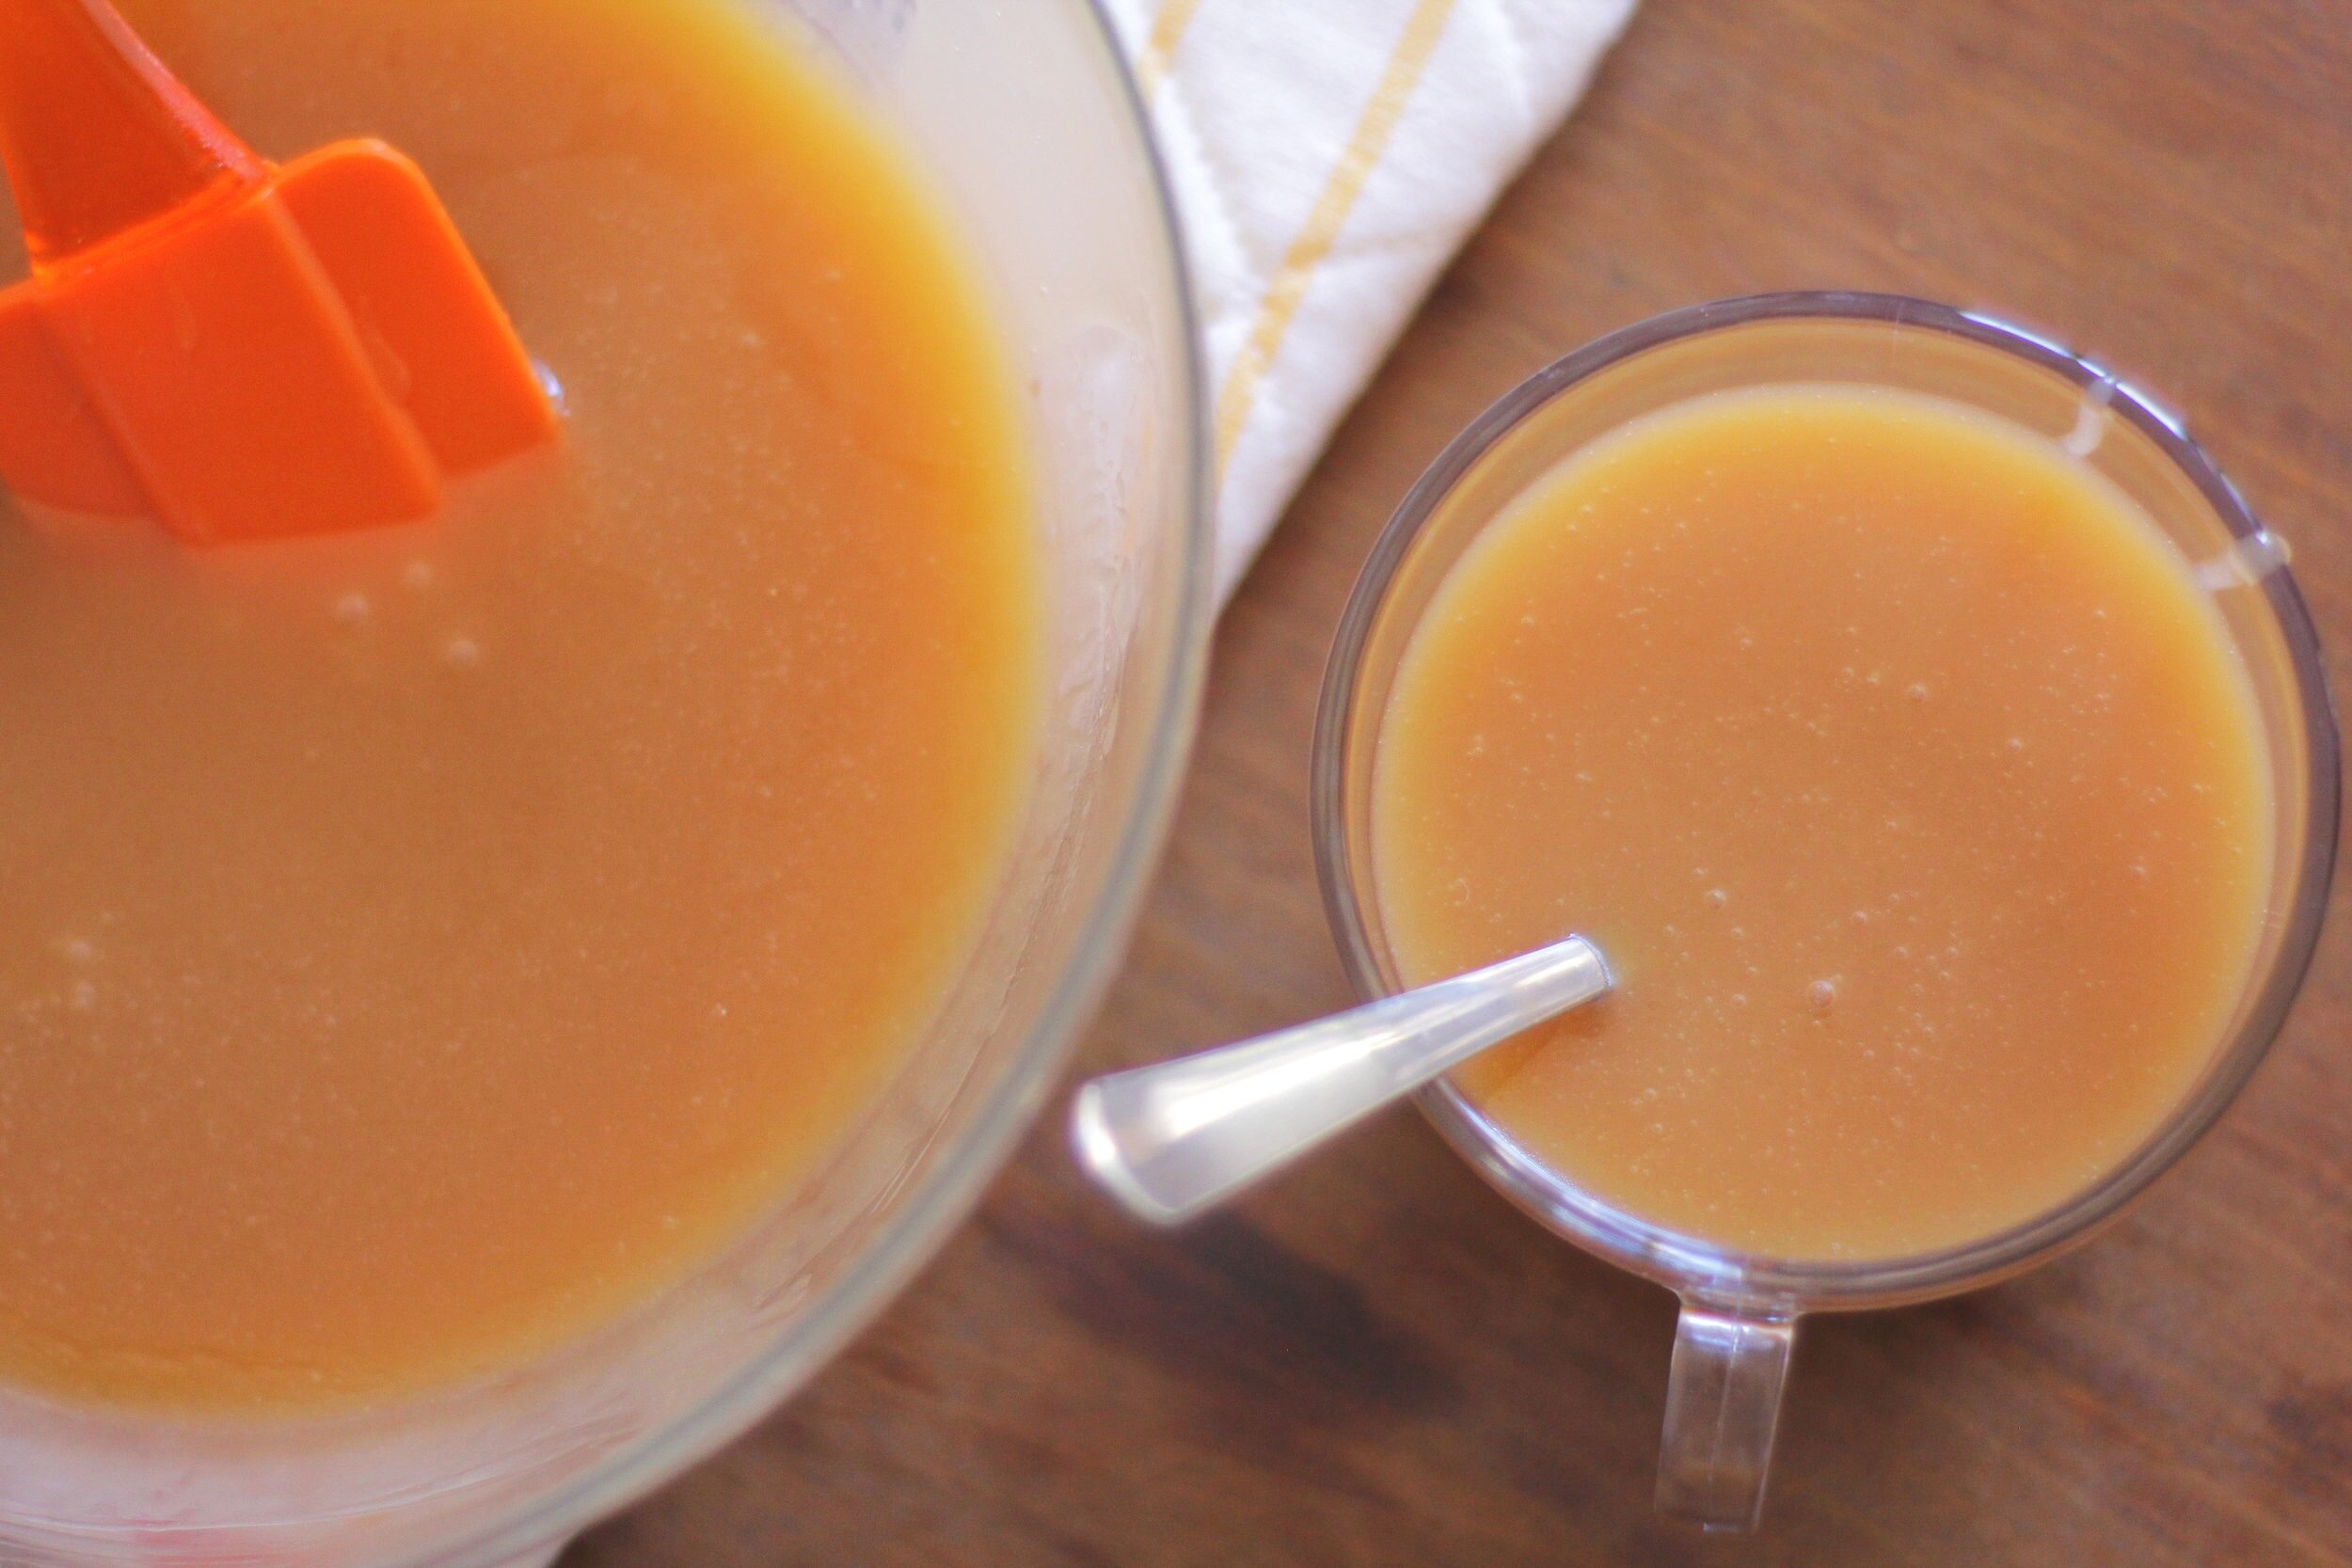
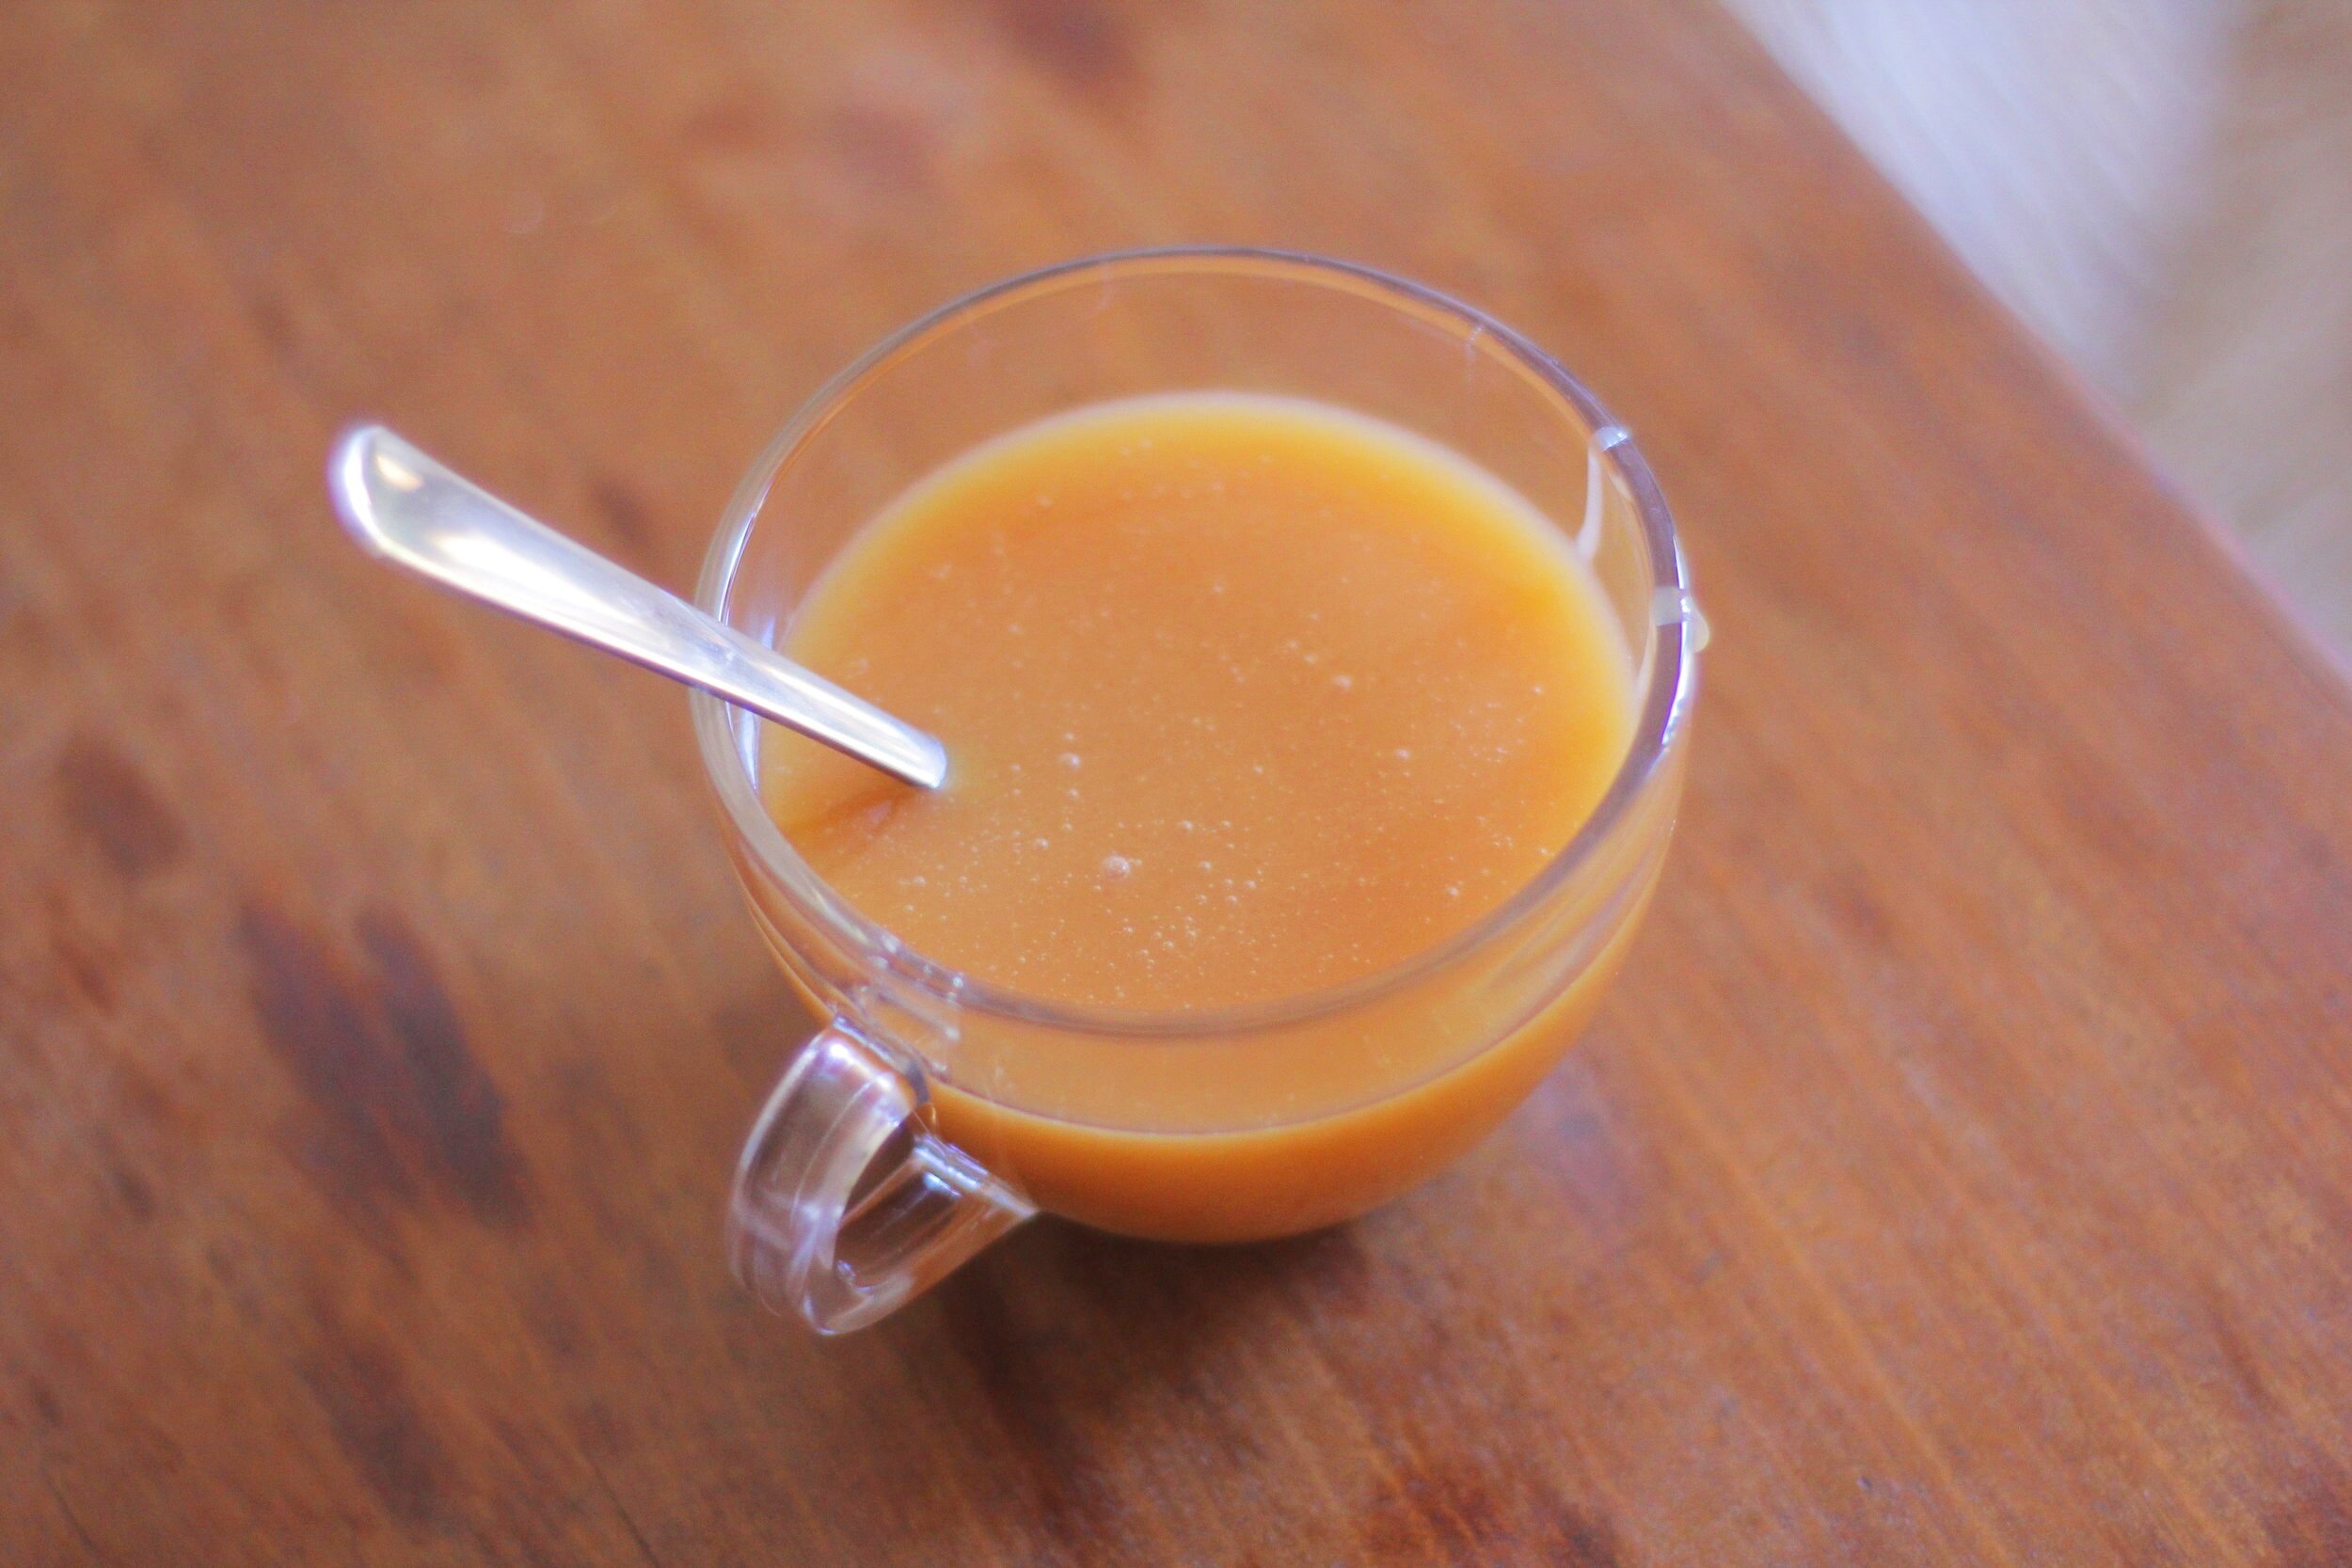
1 14oz can / 380g dulche de leche, your favorite caramel, or 1/2 recipe of this Caramel Sauce
8 oz / 225g cream cheese, room temperature
2 1/2 cups / 605g heavy whipping cream
1/4 cup / 50g sugar
Directions:
Make the Crust
Oven 425°F / 220°C. Ungreased 8 - 9in / 20 - 23cm pie dish.

In a medium bowl whisk together flour and salt. Blend in cold butter using a pastry cutter, fork, or your hands. You want the butter to end up in small pieces, like peas.
Add the ice water, starting with 4 Tbsp / 59g, mixing as little as possible. The dough should be able to hold together in a ball, without being too dry and shaggy or too wet. Add more water if necessary, 1 tablespoon at a time.
Place dough on a piece of plastic wrap, shape into a disc, and wrap tightly. Place in the fridge for 1 - 48 hours.
After the crust has rested, roll into a circle on a lightly floured surface or silpat. Roll a few times with your rolling pin in one direction before turning the crust 45° (quarter turn) and continuing with a few more rolls. Periodically check under the crust to make sure it isn’t sticking and sprinkling more flour if needed. Continue like this until your crust is nicely round and roughly 2in / 5cm larger than your pie dish.
Carefully transfer crust to pie dish (this is easier if using a silpat), trim the excess overhang if necessary, and fold the ends under. Crimp as desired, or press with a fork. Prick the bottom of the crust with a fork. The crust can also be refrigerated at this point, if needed.
Bake in preheated oven for 10-12 minutes, or until crust is lightly golden-brown. Cool completely.
Make the Caramel Cream filling and topping
In the bowl of a stand mixer, beat cream cheese with 1/2 cup / 120g caramel. Set aside.
In the clean bowl of a stand mixer, beat whipping cream and sugar until stiff peaks form. Reserve 1/2 cup for the topping. Fold the remaining whipped cream into cream cheese mixture, about a quarter at a time.
Reserve 1-2 tablespoons of the remaining caramel for the topping. Spread the rest into the bottom of the crust. Spread cream cheese mixture over caramel.
Top pie with reserved 1/2 cup whipped cream and caramel, using a spoon or piping desired.
Jenny's Notes:
For the crust, you can also use a food processor, pulsing in the butter until it has the desired consistency. Just be sure to remove the dough from the food processor and mix in the water with a fork or pastry cutter so you don't overwork the dough. You want to work it as little as possible once you add the water. The liquid helps to awaken the gluten, and the more you work it and the gluten strands develop, the tougher your crust will be. The minimum of 1 hour rest in the fridge allows what gluten inevitably developed to relax.
If you are having problems with a shrinking crust, try using a metal or ceramic pie dish and allowing the crust more time to rest before baking.
I have made this pie several times over the past year, and have always needed all 6 tablespoons of water, possibly because it was always during the dry winter. If you live in a really dry climate, you might need up to 7. Just be aware, an overly wet crust is more likely to glue itself to the pan during baking.


Caramel Cream Pie
Ingredients:
- 1 1/3 cup / 160g all-purpose flour
- 1/2 tsp / 2.5g salt
- 4 Tbsp / 56g butter, cold, cut into small pieces
- 4-6 Tbsp / 59 - 89g ice water
- 1 14oz can / 380g dulche de leche, your favorite caramel, or 1/2 recipe of this Caramel Sauce
- 8 oz / 225g cream cheese, room temperature
- 2 1/2 cups / 605g heavy whipping cream
- 1/4 cup / 50g sugar
Instructions:
- Oven 425°F / 220°C. Ungreased 8 - 9in / 20 - 23cm pie dish.
- In a medium bowl whisk together flour and salt. Blend in cold butter using a pastry cutter, fork, or your hands. You want the butter to end up in small pieces, like peas.
- Add the ice water, starting with 4 Tbsp / 59g, mixing as little as possible. The dough should be able to hold together in a ball, without being too dry and shaggy or too wet. Add more water if necessary, 1 tablespoon at a time.
- Place dough on a piece of plastic wrap, shape into a disc, and wrap tightly. Place in the fridge for 1 - 48 hours.
- After the crust has rested, roll into a circle on a lightly floured surface or silpat. Roll a few times with your rolling pin in one direction before turning the crust 45° (quarter turn) and continuing with a few more rolls. Periodically check under the crust to make sure it isn’t sticking and sprinkling more flour if needed. Continue like this until your crust is nicely round and roughly 2in / 5cm larger than your pie dish.
- Carefully transfer crust to pie dish (this is easier if using a silpat), trim the excess overhang if necessary, and fold the ends under. Crimp as desired, or press with a fork. Prick the bottom of the crust with a fork. The crust can also be refrigerated at this point, if needed.
- Bake in preheated oven for 10-12 minutes, or until crust is lightly golden-brown. Cool completely.
- In the bowl of a stand mixer, beat cream cheese with 1/2 cup / 120g caramel. Set aside.
- In the clean bowl of a stand mixer, beat whipping cream and sugar until stiff peaks form. Reserve 1/2 cup for the topping. Fold the remaining whipped cream into cream cheese mixture, about a quarter at a time.
- Reserve 1-2 tablespoons of the remaining caramel for the topping. Spread the rest into the bottom of the crust. Spread cream cheese mixture over caramel.
- Top pie with reserved 1/2 cup whipped cream and caramel, using a spoon or piping desired.
Notes:
Calories
652.74Fat (grams)
42.84Sat. Fat (grams)
26.73Carbs (grams)
56.39Fiber (grams)
0.54Net carbs
55.85Sugar (grams)
40.81Protein (grams)
6.75Sodium (milligrams)
437.41Cholesterol (grams)
128.91
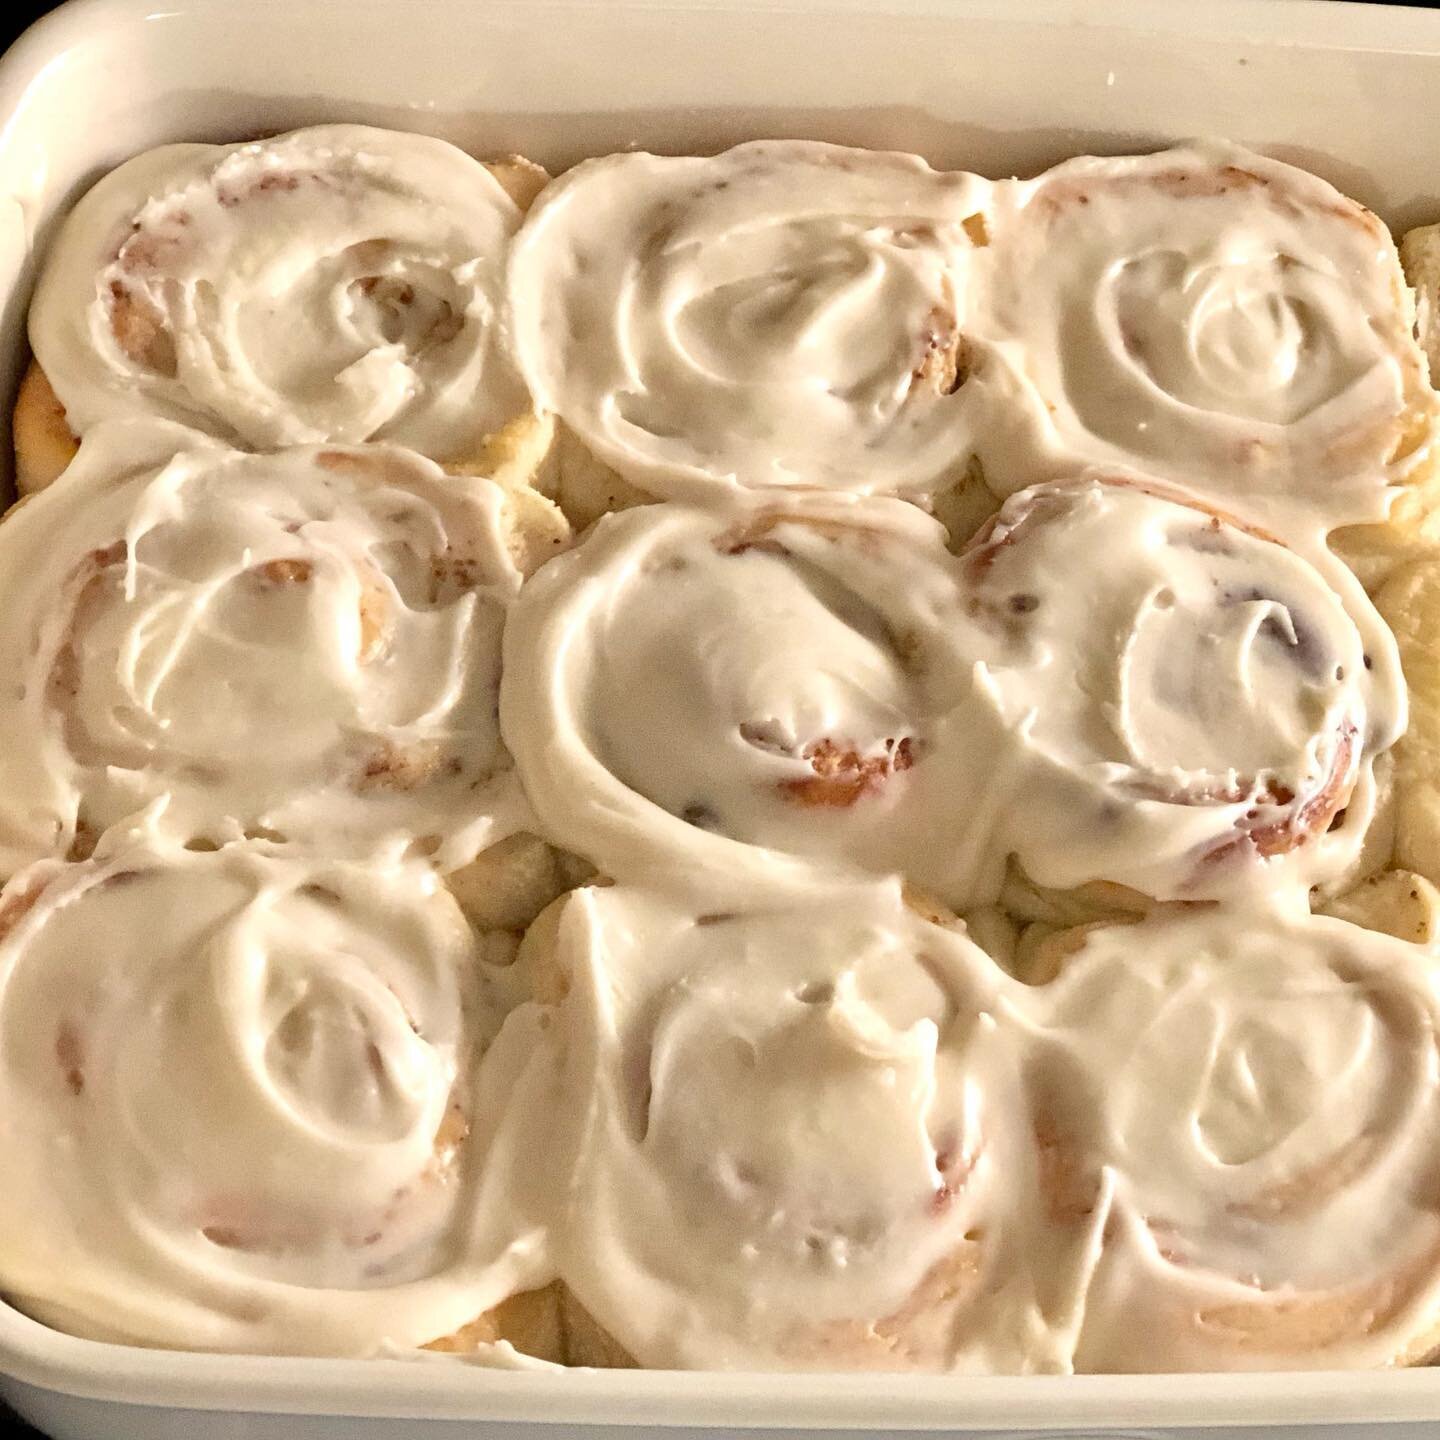
And yet, for as many times as I've made this pie, I've yet to get a photo of it sliced. Oh well, there's butter, caramel, and whipped cream, what more do you need to know?