Oil Pie Crust
/Last Updated July 31, 2024
Pie crusts are a baking staple, but one that can be intimidating, even if you’ve made them before. Once you master how to make crust, however, a whole world of baking and cooking opens up to you: sweet pies, savory pies, quiches, galettes, home-made pop tarts, etc.
The ingredients for pie crusts couldn’t be more simple. Flour, salt, fat, and water for a basic crust. They differ mostly in what kind of fat is used. Top choices are:
Lard - tends to be a more traditional choice, many family recipes handed down include lard. It’s supposed to make a very tender, melt-in-your mouth crust. I prefer to avoid it because of its health value, or lack thereof.
Shortening - one of the cheaper options, and is easier to work with, making it a good choice for those that want their crust to hold up and make designs or cutouts. Another I prefer to avoid because it is a very unhealthy fat.
Butter - usually touted for having the best flavor. Since butter easily melts while it’s being worked with, it can be slightly more finicky than the previous two to keep tender, and less reliable for designs and cutouts.
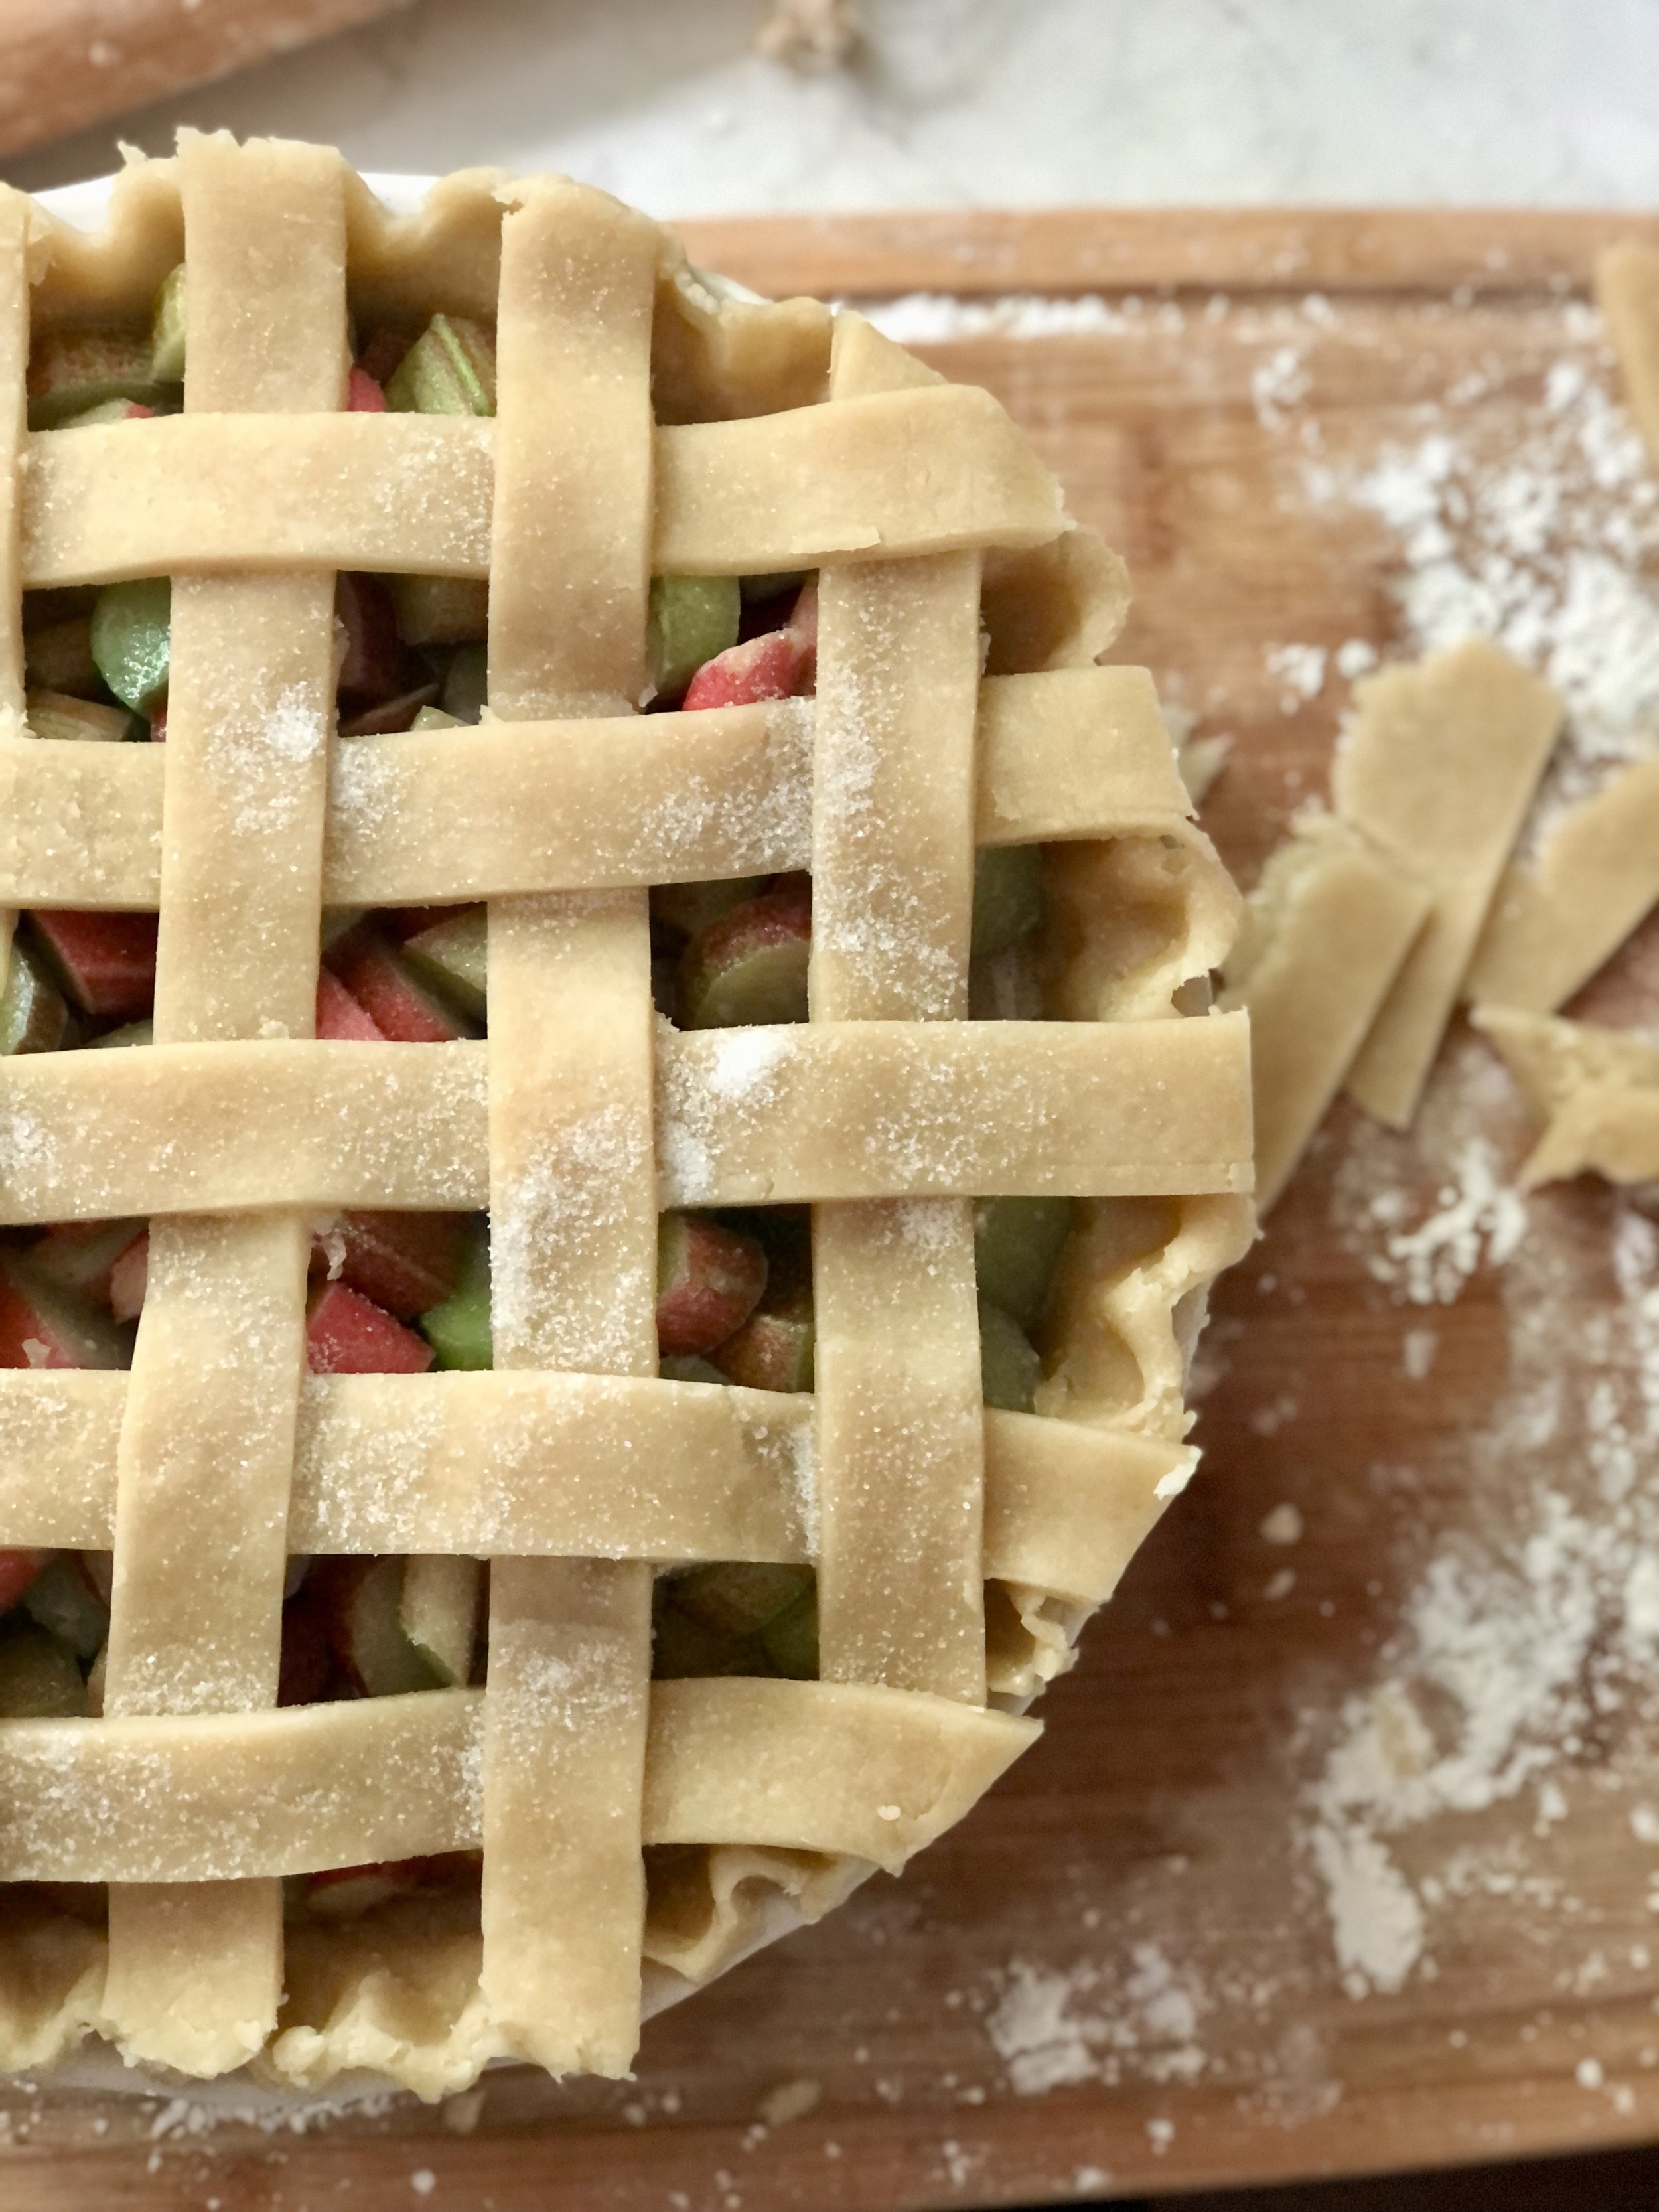
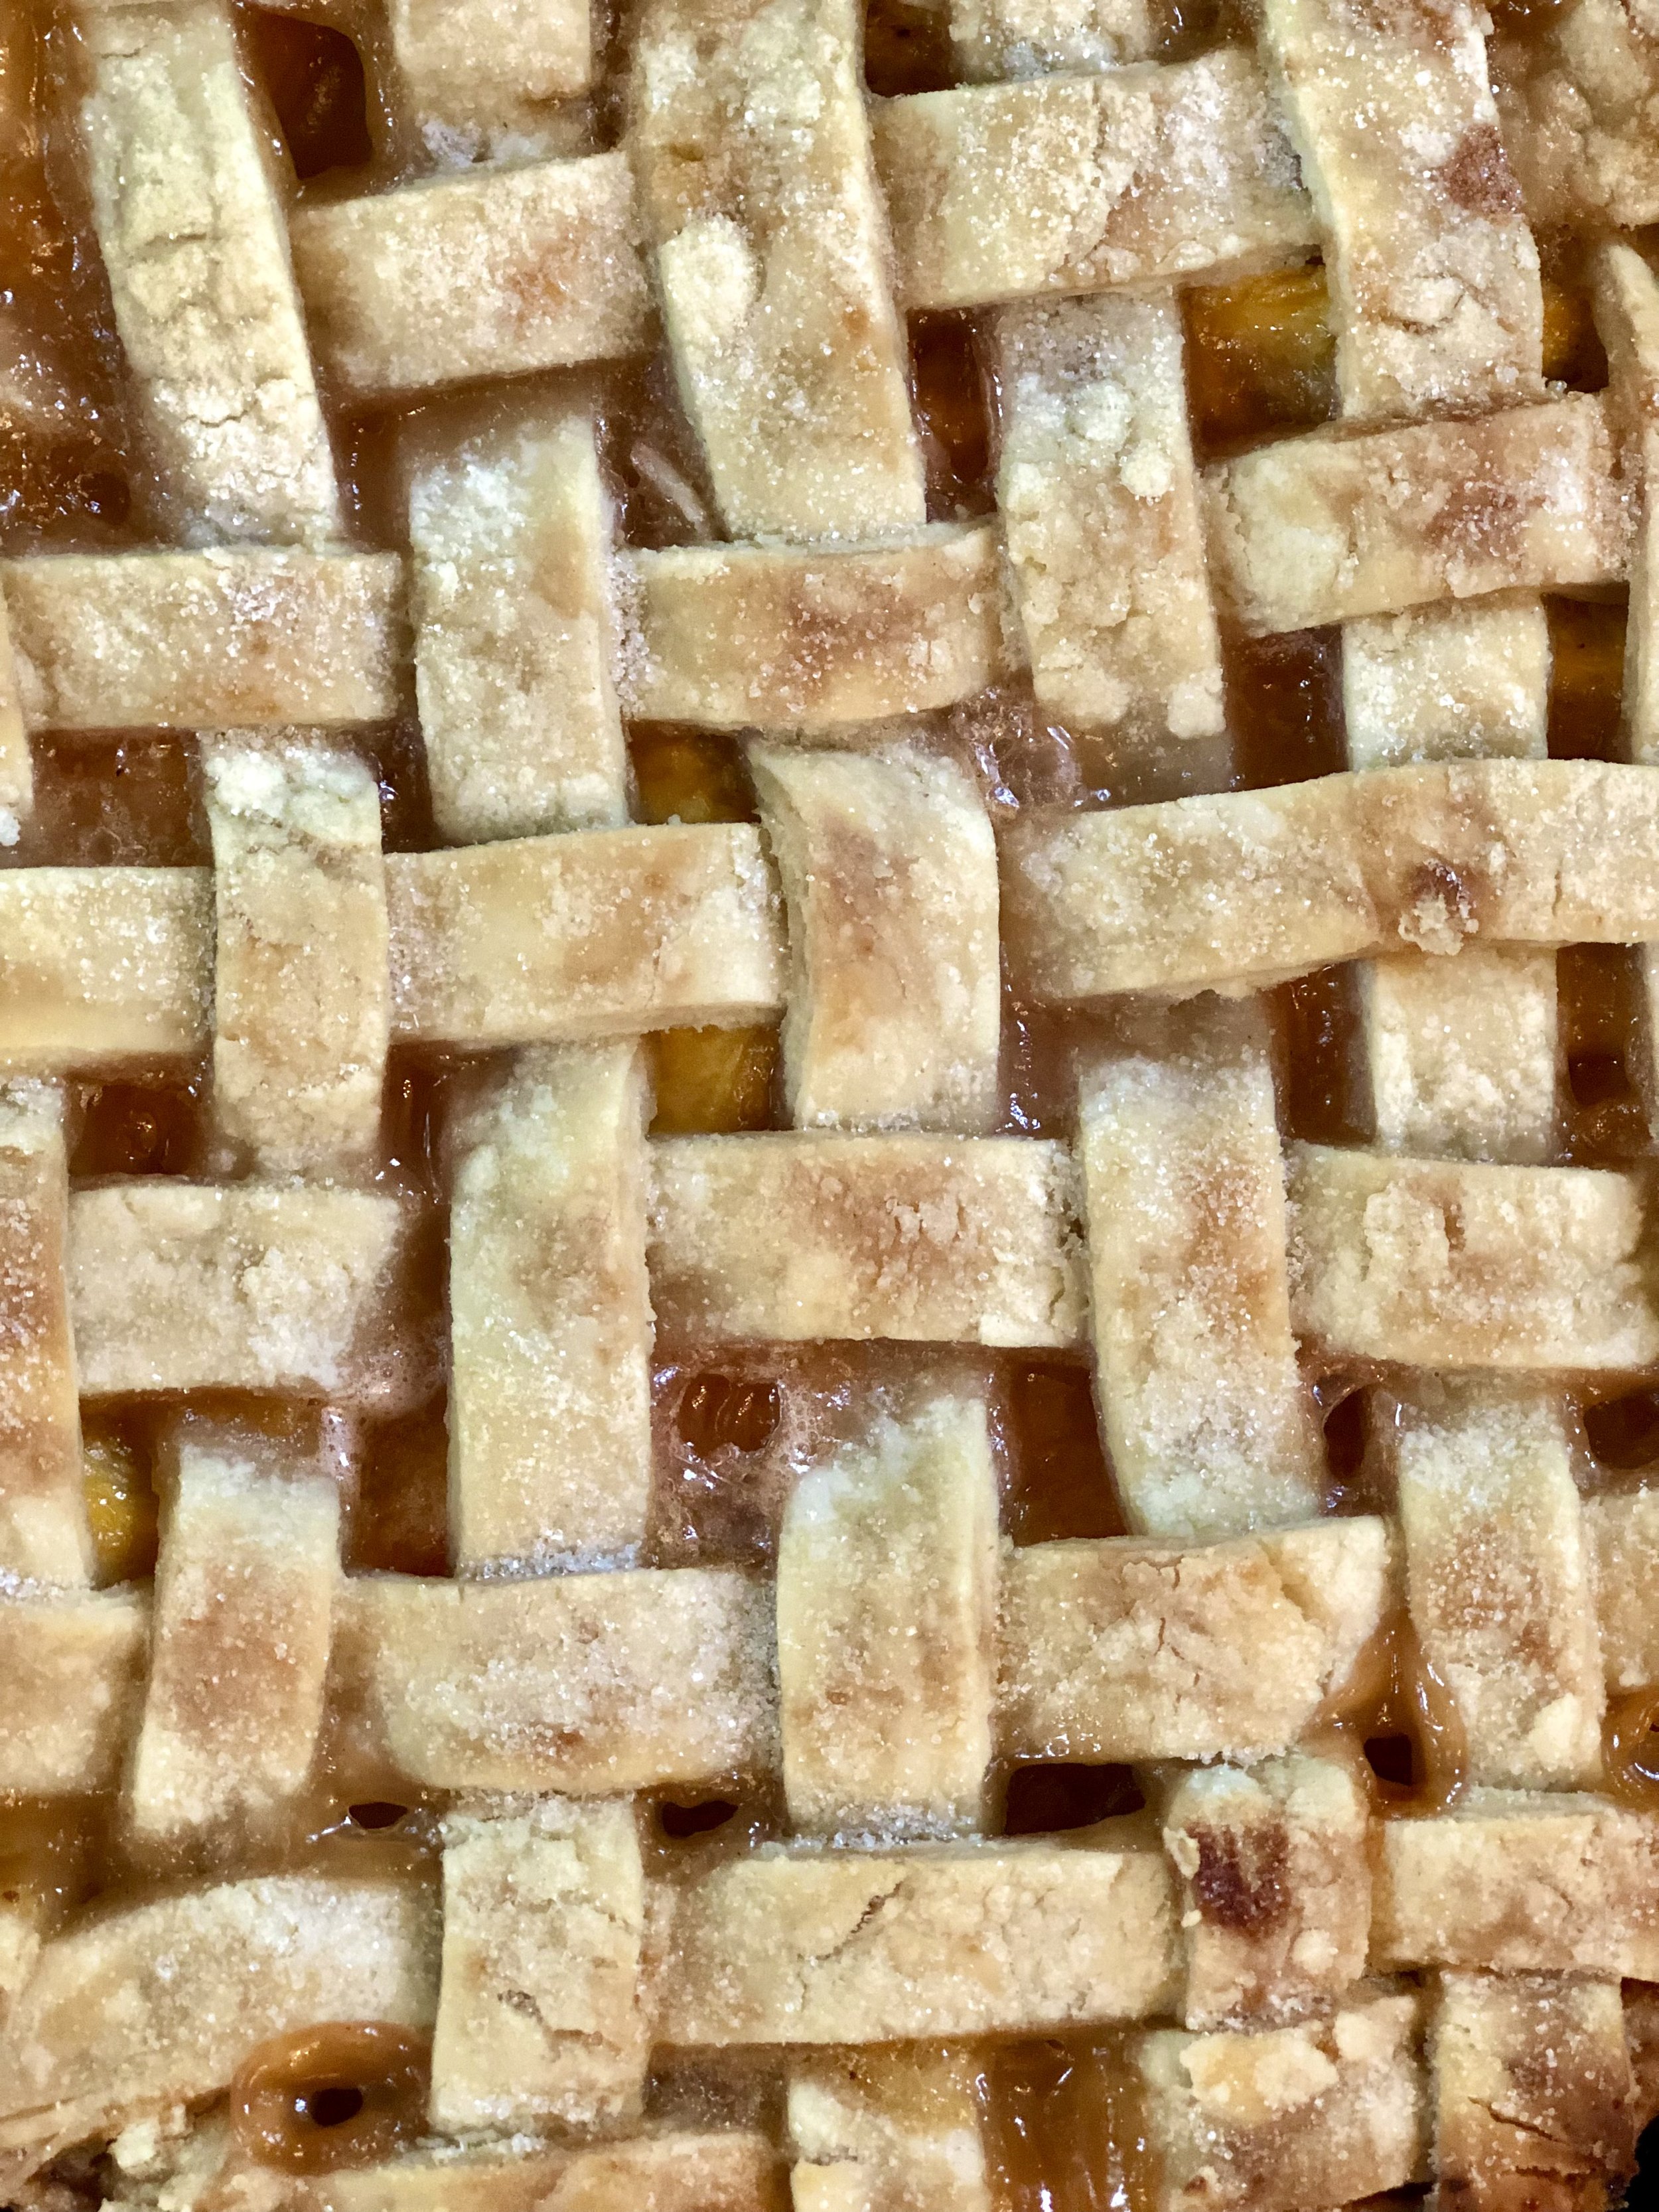
Oil - the trickiest to work with by far, few are the people I know who make oil crusts. Actually, my mom may be the only one I know who only makes oil crusts. It’s the healthiest option, as a lot of oils have good fats and you can choose which oil you want to use. I tend to go for a neutral flavored oil, like refined olive oil or peanut oil, but you could even go for extra virgin olive oil, especially if used for a savory pie! You can taste extra virgin olive oil, but yum! Oil crusts are almost useless when it comes to making designs and cutouts. With experience and patience you can get a lattice crust out of it, but if you go this route know it may not turn out and will look lovely and rustic.
Today we’re talking about oil crusts, the most fearful, yet arguably healthiest, of them all. While they can be notoriously tricky in my family to get a consistently tender crust, I’ve been working on my family’s recipe a lot over the past 2 years especially and have discovered a few tricks. I feel the recipe is just about foolproof, so I’ve decided to finally share it with you!
I’ll warn you, it is still not an “easy” pie crust to work with, but with a little patience, can yield a wonderful and very tender, melt-in-your-mouth crust. I’ll give you all the tricks and knowledge that I know of!
Flour Matters
What brand and what kind of flour you use DOES matter. While all-purpose flour is generally all-purpose, it’s helpful to know what the protein content is of the flour that you’re using. For pie crusts and other delicate baked goods, you may want to get some pastry flour for the best results.
For awhile there we were using Good & Gather’s organic all-purpose flour. Gradually, we both noticed our baked goods weren’t turning out like they used to. We kept chalking it up to bad baking days, or this or that. We finally came to the conclusion that the Good & Gather flour was always the common denominator in things turning out…with unusual results. We switched to King Arthur flours and all our recipes suddenly started turning out wonderfully.
Until the next few crusts we made. A little crusty. Tough. Then we realized, that’s because King Arthur’s all-purpose flour has a protein content of 11.7%. Some might say, a medium-strength bread flour. Bread flour’s have a higher protein content, which helps to develop gluten for bread. This is why bread’s are kneaded, to help develop that gluten. But you do NOT want gluten developing in a pie crust, which is why you mix minimally and use a low-protein flour. All-purpose flours are generally seen as well, all-purpose. High enough protein content to make decent breads, low enough to be able to still make cakes, cookies, etc. With King Arthur’s all-purpose flour having a higher than average protein content, this is why our crusts were turning out tough. For this reason, we now like to use Bob’s Red Mill pastry flour specifically for our pie crusts and those desserts of the most delicate nature.
Use Enough Oil
The single biggest difference between a potentially hard/crunchy crust, and a tender, melt-in-your-mouth crust? Making sure you are using sufficient fat, in this instance, oil. Once you add the oil, practically all the flour should be saturated. Like wet sand. Not some wet, a little dry. Not mostly dry. Well saturated. Which also means you may need less water. Adding less water can mean less mixing, which is another important aspect.
Don’t Over Mix
Never over-mix a pie crust once the water is added. Just a few turns with a spoon or spatula should suffice.
If Time, Let it Rest
Another trick is to let the dough rest before rolling it out. I’ve found success with two rests, if time allows. When you first add the water, let the mixture sit for a few minutes. Don’t mix the water in, just let it sit. Then gently mix. This gives the water more time to penetrate deep into the flour/oil, thus reducing the amount of time you may need to mix it.
A second rest, once you’ve gently mixed the dough, can be helpful. Form the dough into a ball, press into a disc, and wrap in plastic wrap. Let rest for anywhere from 10 minutes to overnight. The more time you give it, the more time the gluten has to relax and again, the water to absorb evenly throughout the dough. When you mix flour with water, gluten starts to form. This is good if you are making bread, helps give it a strong structure so it can rise, but bad if you are making crust. It will be tough. Neither of these rests are essential, but can be helpful, especially if you struggle with tough crusts.
How Do I Know How Much Water to Use?
The more you make this recipe the more you will become familiar with just how much water you need. The brand of flour you use, your kitchen, the temperature, humidity, elevation, season, etc. can all affect how much water you need. For example, in my kitchen, I almost always use exactly 5 Tbsp of water when I make this. However, in your kitchen, you may need 7. Somewhere else, maybe only 4. Each time you make your crust it becomes easier, knowing better how much water to add, what the consistency should look/feel like. Sometimes it can be hard to tell in the mixing stage, and despite your best guess, you may find your crust is too dry or too wet. That’s ok, just roll with it (aha literally), and make a note for next time. Once you’ve started rolling out your dough it’s too late to be adding more water, but you CAN add more flour while rolling it out if it’s a touch too wet. Carefully. Just enough at a time so that the dough isn’t sticking to the surface or the rolling pin. The first time making a recipe, especially a more technical one like a crust, is always the trickiest.
How Do You Transfer the Rolled Out Pie Dough into the Pie Plate?
It’s true, this step is more challenging when dealing with a more delicate oil pie crust, but certainly doable.
Option 1: First, I recommend rolling out the dough on a silpat, or even a large cutting board. Once it’s rolled to size, carefully slide a thin spatula under the edges of the dough, to ensure it hasn’t glued itself to the surface you rolled it out on. Place the pie plate upside down directly onto the crust, centered. Slide one hand under the silpat or cutting board, place the other hand on the bottom of the pie plate, and quickly flip all. Then gently peel off the silpat, or remove the cutting board. Some flour may go flying, but this is the way I’ve had most consistent success keeping an intact oil pie crust.
Option 2: Fold the dough in half once it’s been rolled out, then transfer it to one side of the pie plate. Unfold the crust, and adjust/repair as needed. With an oil crust, it’s common for it to “crack” where you folded it, but that’s easily repaired if it’s a bottom crust.
Option 3: Starting at one end of the rolled out dough, carefully and loosely roll the dough around the rolling pin. Slide it over to the pie plate, and unroll.
Some of these tips are repeated in the “Jenny’s Notes” section immediately following the recipe, so you can reference them should you choose to print the recipe. :)
This post may contain affiliate links. If you make a purchase using these links, Jennyblogs may receive a small commission, at no extra cost to you. This helps to support Jennyblogs. Where possible, links are prioritized to small businesses and ethically and responsibly made items. For further information see the privacy policy. Grazie!
Recipe from my mom
Oil Pie Crust
Makes 1 top and 1 bottom crust for a standard 8 inch / 20cm pie
Ingredients:
3 3/4 cup / 450g all-purpose flour
1 tsp / 5g salt
3/4 cup / 168g neutral-flavored oil
5-7 Tbsp / 70-98g ice water
Directions:
In a large bowl, whisk together flour and salt.
Stir in oil until flour is evenly moistened. It should look like wet sand with very little to no dry flour in the bottom of the bowl.
Take your ice water and start by measuring 5 Tbsp / 70g evenly over flour mixture. Gently stir until just moistened. Be very careful not to over mix. If there is still a lot of drier oil mixture at the bottom of the bowl and it can’t be formed into a ball without crumbling, add more water, 1 Tbsp at a time, mixing until just combined.
Divide dough into two equal pieces.
On a generously floured surface, (a silpat makes for easy transfer to pie plate) roll out one half of the dough into a circle about 2 inches / 5cm larger than your pie plate.
Carefully transfer dough to pie plate and press in.
Repeat the rolling out process for the other half of dough. Add your pie filling and transfer top crust over pie. Trim any excess overhang from top and bottom crusts.
Fold edge of top crust under edge of bottom crust, pressing and sealing together. Crimp with fingers or press with a fork. Use a knife or fork to poke some vent holes into the top.
Bake according to pie recipe.
Jenny’s Notes:
To help ensure you don’t over-mix the dough when you add the water, you can allow the crust to sit for a few minutes after you sprinkle over the 5 Tbsp of water, BEFORE mixing. Optional, but helpful.
Another optional, but helpful tip to ensure a tender crust: After the water has been gently mixed in, gently form dough into a ball, then flatten into a disc and wrap in plastic film. Place in refrigerator for anywhere from 10-30+ minutes, even overnight. The more time it sits the more the moisture from the water will evenly distribute throughout the dough, simultaneously allowing any gluten that formed while mixing the dough a chance to “relax”, thus creating a more tender crust.
While rolling out the dough, occasionally turn it OR run a thin spatula underneath the dough, to ensure it is not glueing itself to the surface you are rolling it out on. If needed, sprinkle more flour underneath.
To easily see if you’ve rolled the pie crust out into a large enough circle, flip your pie plate upside down and hover it over the dough. You should be able to see about 2 inches / 5cm extending beyond the edges of your pie plate in all directions.

Oil Pie Crust
Ingredients
Instructions
- In a large bowl, whisk together flour and salt.
- Stir in oil until flour is evenly moistened. It should look like wet sand with very little to no dry flour in the bottom of the bowl.
- Take your ice water and start by measuring 5 Tbsp / 70g evenly over flour mixture. Gently stir until just moistened. Be very careful not to over mix. If there is still a lot of drier oil mixture at the bottom of the bowl and it can’t be formed into a ball without crumbling, add more water, 1 Tbsp at a time, mixing until just combined.
- Divide dough into two equal pieces.
- On a generously floured surface, (a silpat makes for easy transfer to pie plate) roll out one half of the dough into a circle about 2 inches / 5cm larger than your pie plate.
- Carefully transfer dough to pie plate and press in.
- Repeat the rolling out process for the other half of dough. Add your pie filling and transfer top crust over pie. Trim any excess overhang from top and bottom crusts.
- Fold edge of top crust under edge of bottom crust, pressing and sealing together. Crimp with fingers or press with a fork. Use a knife or fork to poke some vent holes into the top.
- Bake according to pie recipe.
Notes
- To help ensure you don’t over-mix the dough when you add the water, you can allow the crust to sit for a few minutes after you sprinkle over the 5 Tbsp of water, BEFORE mixing. Optional, but helpful.
- Another optional, but helpful tip to ensure a tender crust: After the water has been gently mixed in, gently form dough into a ball, then flatten into a disc and wrap in plastic film. Place in refrigerator for anywhere from 10-30+ minutes, even overnight. The more time it sits the more the moisture from the water will evenly distribute throughout the dough, simultaneously allowing any gluten that formed while mixing the dough a chance to “relax”, thus creating a more tender crust.
- While rolling out the dough, occasionally turn it OR run a thin spatula underneath the dough, to ensure it is not glueing itself to the surface you are rolling it out on. If needed, sprinkle more flour underneath.
- To easily see if you’ve rolled the pie crust out into a large enough circle, flip your pie plate upside down and hover it over the dough. You should be able to see about 2 inches / 5cm extending beyond the edges of your pie plate in all directions.
Nutrition Facts
Calories
398.92Fat
21.57 gSat. Fat
1.64 gCarbs
44.71 gFiber
1.58 gNet carbs
43.13 gSugar
0.16 gProtein
6.05 gSodium
292.42 mgCholesterol
0 mgNutritional information is approximate. Based on 8 servings.


