No-Bake Oreo Cheesecake

Last Updated September 15, 2024

What do you do when you have 55 days until you move to another country?  Start thinking about all the food items and ingredients you won't be able to eat or buy while you're there. Naturally. 

I started to make a list of such things, and some of the items on there are rather tragic. No real vanilla extract? No Oreos (false, Oreos are readily available in Italy), Butterfingers, or other terribly wonderful processed American goodies? Pretzels only to be found of sketchy tough texture? Weird behaving marshmallows and graham crackers? (No S'mores for this girl.) Italians also don't understand our love for peanut butter. In all the grocery stores I've been in in Florence, (probably all of them because they're kinda my happy place) I have only seen Skippy, maybe Peter Pan once, and usually priced about 4-5 euros, roughly $6. There is a specialty Asian market, Vivi Market, that has an "American" section, and they sell the closest thing to real peanut butter I found. It's called Calve, made in the Netherlands, but it still has the hydrogenated oil and sugar added to it. Pumpkin is also a rarity over there. They make such wonderful pumpkin filled ravioli and pumpkins for carving come out for a couple weeks around Halloween, but to buy a 15 oz can of Libby's pumpkin costs over €4. Pumpkin pie, bread, muffins, cake, pudding, only for special occasions, I guess...

Now don't get me wrong, I'm really not that worried about missing American food. I did just fine for three months last fall, it's just a matter of understanding how different ingredients and substitutions behave in my favorite recipes. I mean, this is Italy we're talking about.  Home to some of the best food in the world. But I'm not partial or anything.  I keep a pretty good cover, though; you can't tell how much I love the food by the way I skip home from the super market with my arms full of pasta and heart bursting, waltz past the shelves of Nutella, guzzle acqua frizzante, double fist the cones of gelato, or giggle as I sweep the tubs of mascarpone that are cheaper than milk off the shelves. Nope. Not even around Christmas time when all the different kinds of panettone start filling the shelves and Jenny's shopping cart. 

I'm happy just thinking about all this wonderful food and its potential, but right now I am in the States, and I'm going to bake something I won't be able to for awhile. Something with Oreos.  Lots of Oreos. Or not bake, because this is a super easy no-bake cheesecake. Again, wasting my time, because I didn’t realize at the time of making this before moving to Italy that almost every grocery store carries Oreos.

This post may contain affiliate links. If you make a purchase using these links, Jennyblogs may receive a small commission, at no extra cost to you. This helps to support Jennyblogs. Where possible, links are prioritized to small businesses and ethically and responsibly made items. For further information see the privacy policy. Grazie!


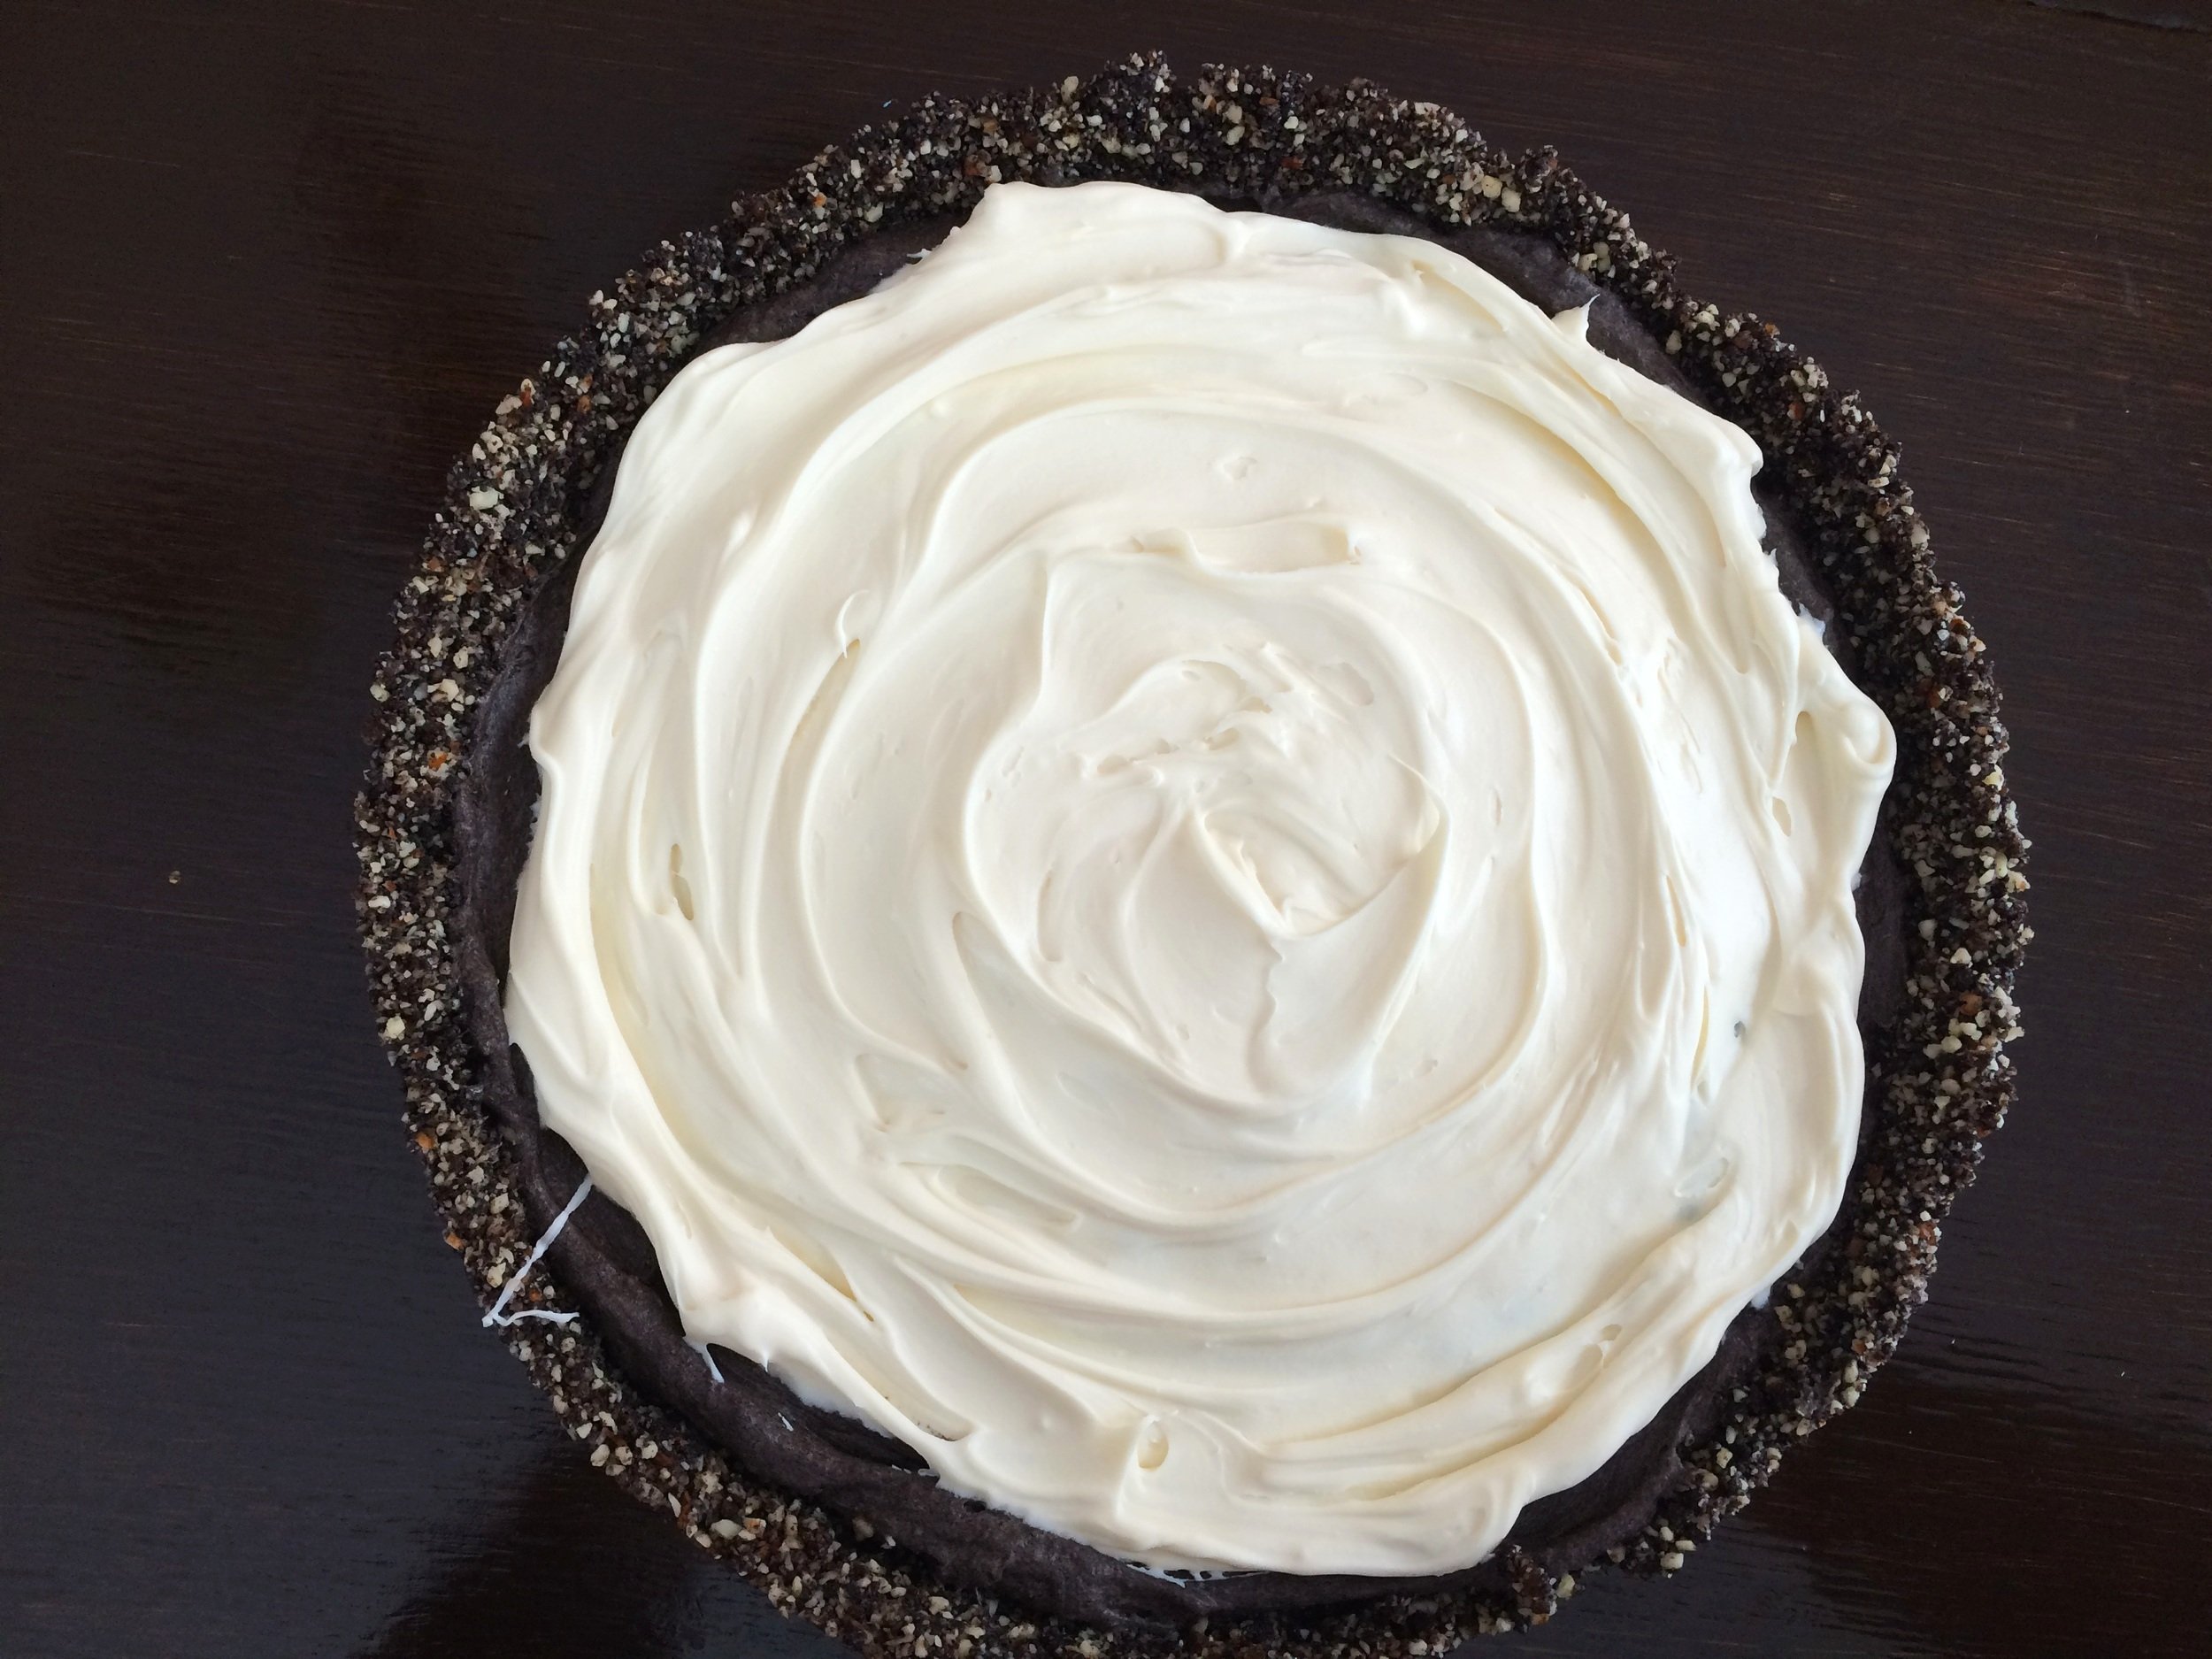
No-Bake Oreo Cheesecake

Serves about 12

Ingredients:

For the Crust:

  • 16-18 Oreos

  • 4 Tbsp / 56g butter, melted

For the Filling:

  • 1 cup / 237g heavy whipping cream

  • 24 oz / 675g cream cheese, room temperature

  • 1/2 cup / 100g sugar

  • 32 Oreos, coarsely chopped, divided

Directions:

Make the Crust:

  1. In a food processor, pulse Oreos until finely ground.  Add butter and pulse until combined. 

  2. Press into bottom and a bit up the sides of a 9 in. tart pan, pie pan, or springform pan.  Freeze while you make the filling.

Make the Filling:

  1. In the bowl of a stand mixer or with an electric mixer, whip cream until stiff peaks form. Set aside.

  2. Beat cream cheese in the bowl of a stand mixer or with an electric mixer until light and fluffy. Beat in sugar. 

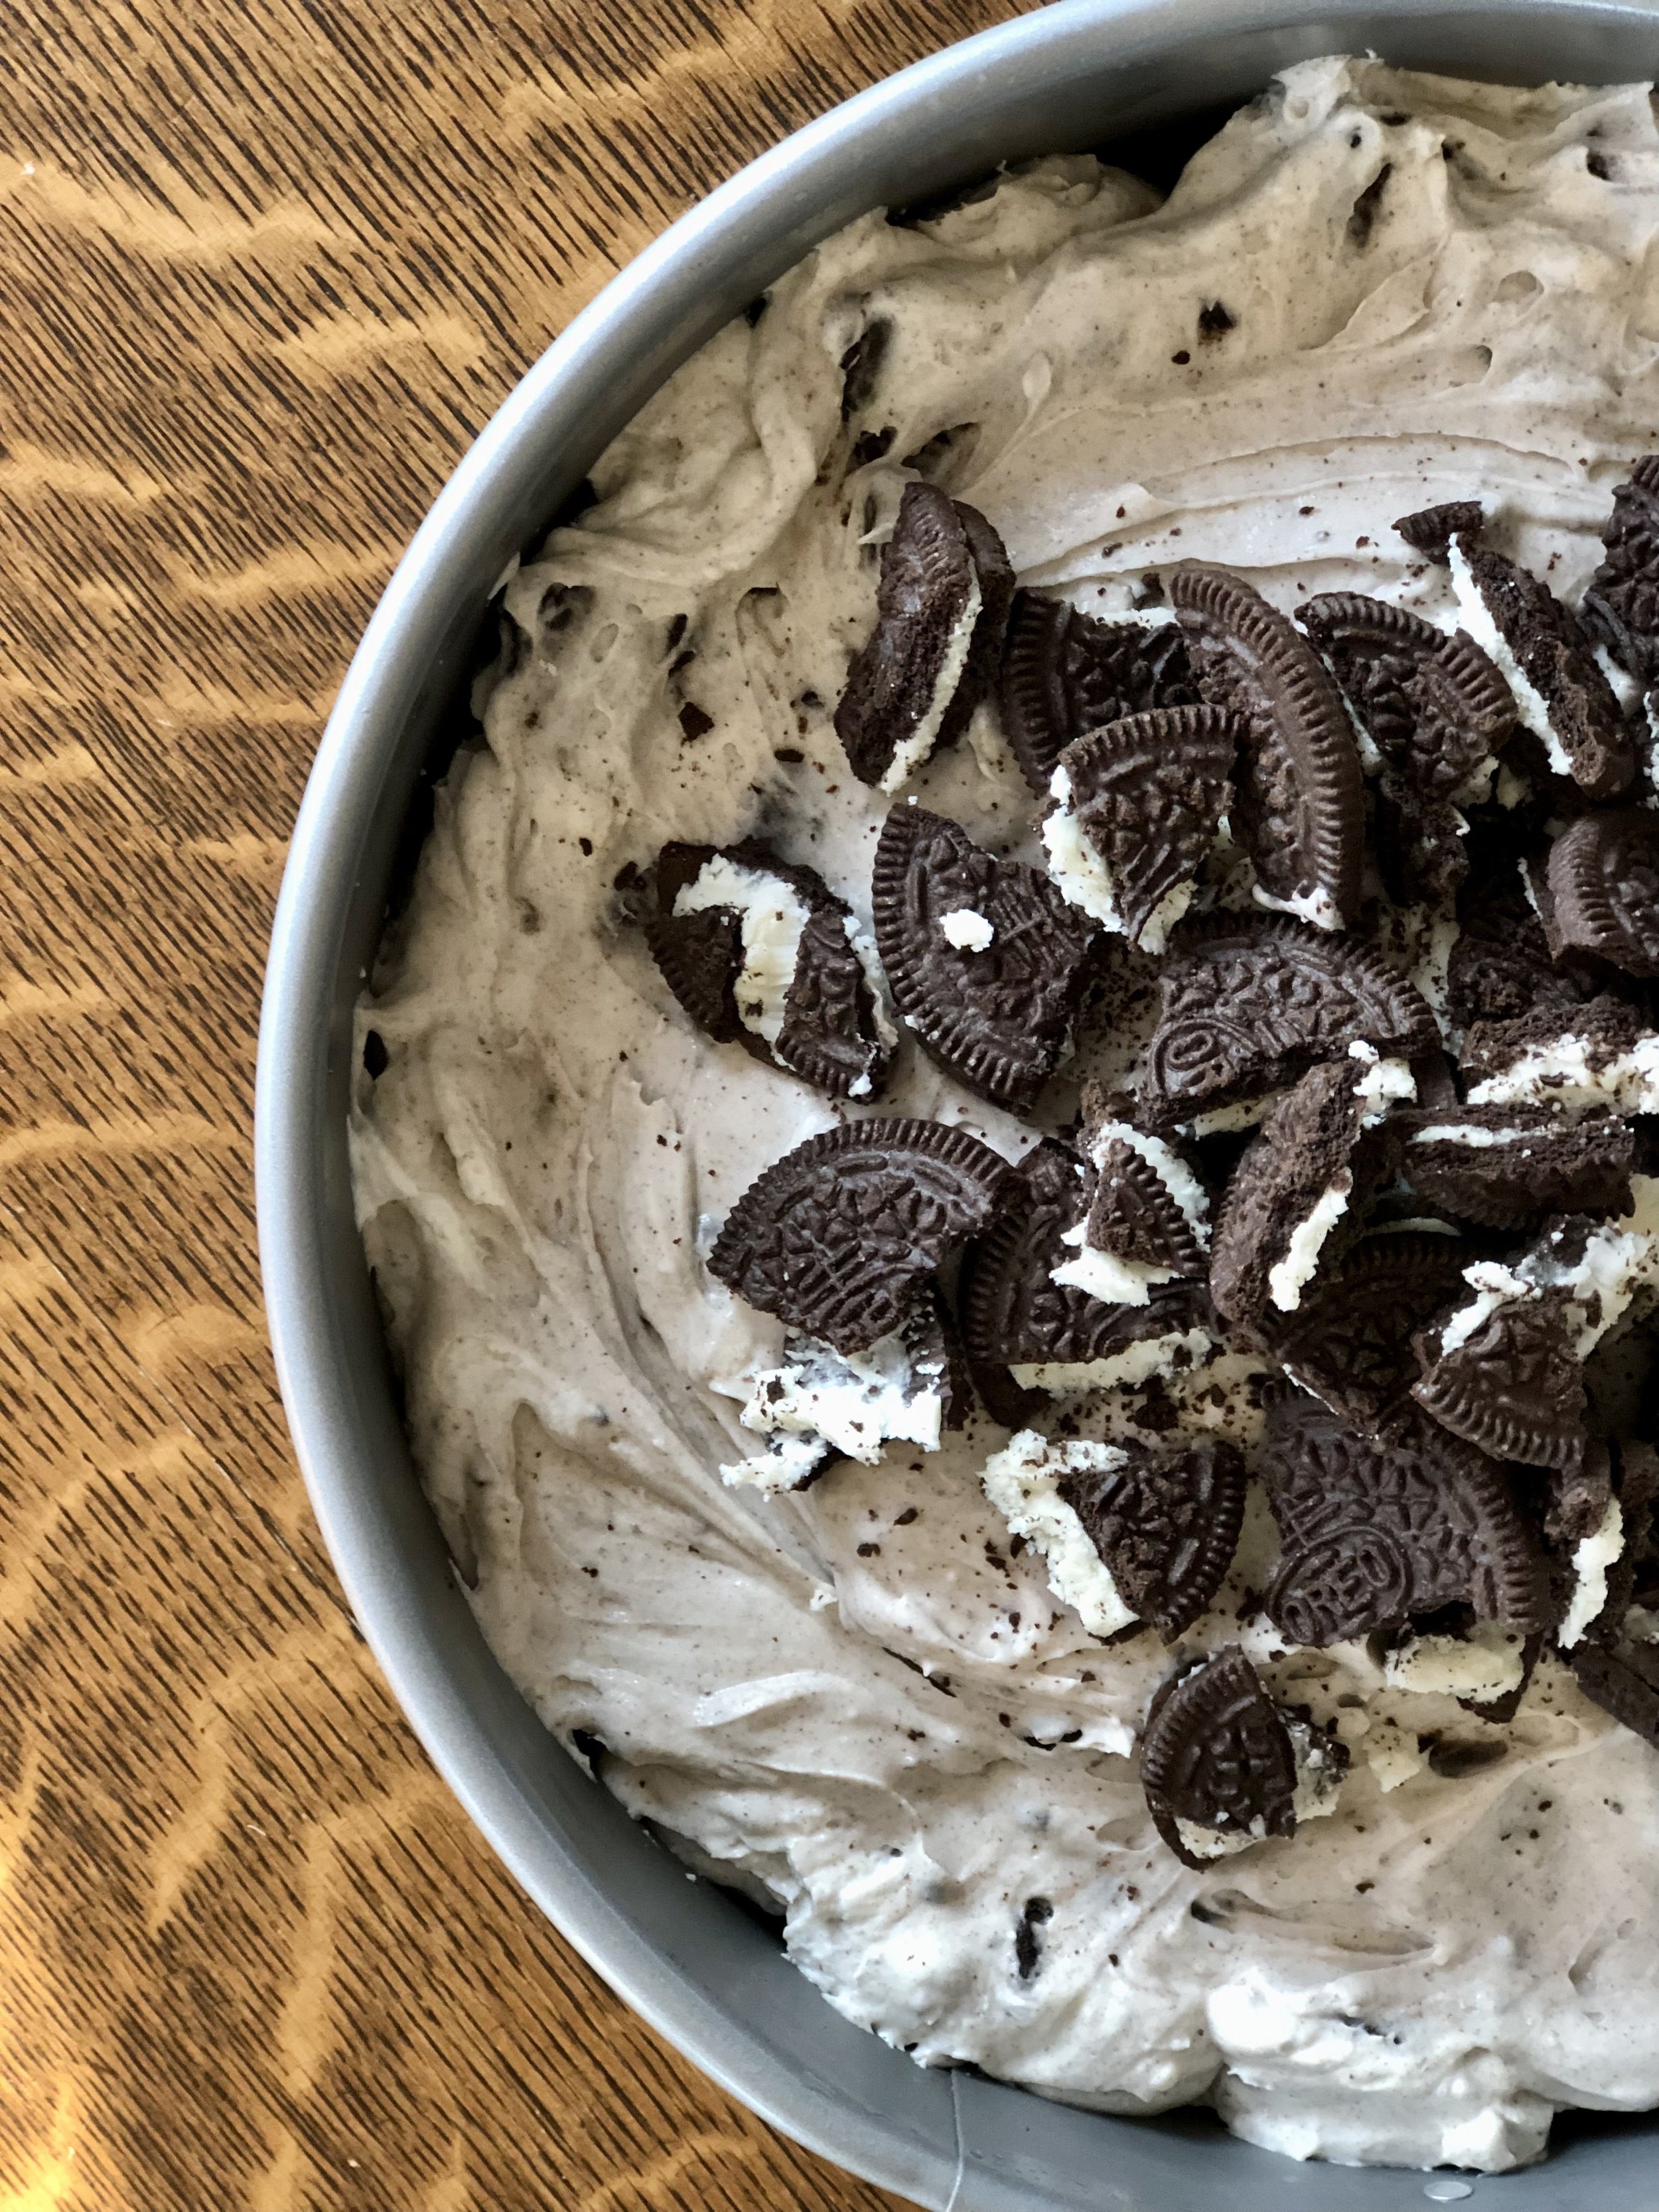
  3. Fold in 24 (about 3/4) of the coarsely chopped Oreos, then gently fold in whipped cream. 

  4. Remove crust from freezer. Pour in filling and smooth the top. 

  5. Sprinkle with remaining chopped Oreos and place in fridge until completely chilled, about 2 hours. 

Jenny's Notes:

  • This cheesecake can also be frozen. Allow to sit at room temperature for 10 minutes or so before slicing.
No-Bake Oreo Cheesecake
Yield 12
Author
Prep time
30 Min
Inactive time
2 Hour
Total time
2 H & 30 M

No-Bake Oreo Cheesecake

No-Bake Oreo Cheesecake features an easy Oreo crust with an ultra creamy, yet light filling with chunks of Oreos throughout and more Oreos on top.

Ingredients

For the Crust:
For the Filling:

Instructions

Make the Crust:
  1. In a food processor, pulse Oreos until finely ground. Add butter and pulse until combined.
  2. Press into bottom and a bit up the sides of a 9 in. tart pan, pie pan, or springform pan. Freeze while you make the filling.
Make the Filling:
  1. In the bowl of a stand mixer or with an electric mixer, whip cream until stiff peaks form. Set aside.
  2. Beat cream cheese in the bowl of a stand mixer or with an electric mixer until light and fluffy. Beat in sugar.
  3. Fold in 24 (about 3/4) of the coarsely chopped Oreos, then gently fold in whipped cream.
  4. Remove crust from freezer. Pour in filling and smooth the top.
  5. Sprinkle with remaining chopped Oreos and place in fridge until completely chilled, about 2 hours.

Notes

  • This cheesecake can also be frozen. Allow to sit at room temperature for 10 minutes or so before slicing.

Nutrition Facts

Calories

559.39

Fat

39.86 g

Sat. Fat

21.21 g

Carbs

43.69 g

Fiber

1.42 g

Net carbs

42.27 g

Sugar

22.65 g

Protein

6.65 g

Sodium

403.94 mg

Cholesterol

89.86 mg

Nutritional information is approximate, based on 1 serving if recipe serves 12.

no-bake cheesecake, oreo pie, oreo cream cheese pie, summer dessert
dessert
American
Did you make this recipe?
Tag @jennyblogsandbakes on instagram and hashtag it #jennyblogs

White Russian Tart

Last updated on September 15, 2024

This tart is a refreshingly scrumptious, not-as-guilty dessert. It is no-bake, gluten-free, refined-sugar free, and somehow delicious. It’s filled with healthy fats which help keep you satisfied for longer than sugary, carb-heavy desserts.

Crust

The crust is like a chewy Lara bar, made of dates, nuts, coconut and cocoa powder to make it dark and chocolatey.

Dark Chocolate Cream

Next, there is a smooth, dark chocolate layer spiked with vodka and Kahlua. You’d never guess the main ingredient for this “cream” is avocado.

Mascarpone Cream

The top layer is decadent and lightly sweetened mascarpone. Put the three layers together and you have yourself quite the treat!

A healthy dessert? Is it any good?

When I'm experimenting and trying new recipes in the "healthy" department (as defined by trying to limit refined-sugars or flours, using a vegetable or bean or something that doesn't normally go belong in desserts, or generally replacing healthier ingredients for less healthy ones) I look for the 3 different categories of reactions from my tasters:

  1. The category of "This is honest deliciousness."  When people ask for a recipe or have no idea that there are chickpeas or spinach powder hidden in what they're eating. Something a normal or even picky eater would eat. 

  2. The category of "It's good for a healthy dessert!"  So it's palatable and they're not gagging, but most would still take a slice of cheesecake over it. AKA, just not as good as it’s regular counterpart.

  3. The category of "I would rather just eat a salad."  If actual fruits and vegetables are tastier than the “dessert” that is trying to be passed off, then that recipe should probably be scrapped.

This tart is a solid category 1.  Even my mom and brother approved this, and they keep me pretty honest when it comes to healthy desserts. 

I bounce back and forth between decadent desserts and healthier desserts. I have a love and respect for both, and each have their place. Some days it's honey, nuts, and coconut oil; other days it's sugar, heavy whipping cream, and butter. Variety is the spice of life. Today, it's dates, avocado, and mascarpone.

This post may contain affiliate links. If you make a purchase using these links, Jennyblogs may receive a small commission, at no extra cost to you. This helps to support Jennyblogs. Where possible, links are prioritized to small businesses and ethically and responsibly made items. For further information see the privacy policy. Grazie!


White Russian Tart

Serves 8-12

Ingredients:

Chocolate Crust

  • 1-1/2 cups / 210g whole almonds

  • 2 Tbsp / 10g unsweetened shredded coconut

  • 4-5 medjool or 8-10 / 100g deglet dates, pitted

  • 1/2 tsp vanilla extract

  • 1 Tbsp / 7g unsweetened cocoa powder

  • 1/4 tsp salt

Chocolate Vodka Cream

  • 1/4 cup / 56g unrefined coconut oil, melted

  • 1 Tbsp finely ground coffee beans

  • 1 large ripe avocado, peeled, pit removed, and sliced

  • 3 Tbsp / 20g unsweetened cocoa powder

  • 1 tsp vodka

  • 1 tsp rum or Kahlua (of course the Kahlua option adds sugar)

  • 2 Tbsp / 40g+ maple syrup, or more to taste

Mascarpone Cream

  • 8 oz / 225g mascarpone cheese

  • 1 Tbsp / 20g maple syrup

  • 1 tsp vanilla extract

Directions:

Make the Chocolate Crust

  1. In a food processor, combine almonds and coconut and pulse until small crumbles. 

  2. Add dates, vanilla, cocoa powder, and salt.  Process until well combined. 

  3. Press into the bottom of a 8 or 9 inch spring-form pan or pie plate.

Make the Chocolate Vodka Cream

  1. Combine melted coconut oil, coffee, avocado, cocoa powder, vodka, Kahlua, and maple syrup in a food processor until smooth. Stop and scrape down sides and bottom occasionally. 

  2. Spread over crust and place in freezer for about 30 minutes.

Make the Mascarpone Cream

  1. Combine mascarpone, maple syrup, and vanilla in a small bowl.  Take the tart out of the freezer and spread mascarpone mixture over it. 

  2. Place in fridge for about 2 hours before serving.   

Jenny's Notes:

  • This tart is not very sweet and really lets the mascarpone shine through.  However, if you or your guests prefer things a little on the sweeter side, feel free to add more maple syrup in either of the creams. 

  • Also, I like to use black cocoa powder in this recipe.  Black cocoa powder is what gives Oreos their signature black color.  (I didn't know the flavor of Oreo was supposed to be chocolate until I was an adult.)  If you can get your hands on it, it's really great. I usually order it from Amazon. 

White Russian Tart
Yield 8-12
Author
Prep time
35 Min
Inactive time
2 Hour
Total time
2 H & 35 M

White Russian Tart

Chewy chocolate almond and date crust, creamy chocolate cream, topped with a lightly sweet mascarpone cream. This dessert is decadent and also gluten-free, refined sugar-free, no-bake, and full of healthy fats.

Ingredients

Chocolate Crust
Chocolate Vodka Cream
Mascarpone Cream

Instructions

Make the Chocolate Crust
  1. In a food processor, combine almonds and coconut and pulse until small crumbles.
  2. Add dates, vanilla, cocoa powder, and salt. Process until well combined.
  3. Press into the bottom of a 8 or 9 inch spring-form pan or pie plate.
Make the Chocolate Vodka Cream
  1. Combine melted coconut oil, coffee, avocado, cocoa powder, vodka, Kahlua, and maple syrup in a food processor until smooth. Stop and scrape down sides and bottom occasionally.
  2. Spread over crust and place in freezer for about 30 minutes.
Make the Mascarpone Cream
  1. Combine mascarpone, maple syrup, and vanilla in a small bowl. Take the tart out of the freezer and spread mascarpone mixture over it.
  2. Place in fridge for about 2 hours before serving.

Notes

  • This tart is not very sweet and really lets the mascarpone shine through.  However, if you or your guests prefer things a little on the sweeter side, feel free to add more maple syrup in either of the creams. 
  • Also, I like to use black cocoa powder in this recipe.  Black cocoa powder is what gives Oreos their signature black color.  (I didn't know the flavor of Oreo was supposed to be chocolate until I was an adult.)  If you can get your hands on it, it's really great. I usually order it from Amazon. 

Nutrition Facts

Calories

358.31

Fat

29.26 g

Sat. Fat

15.72 g

Carbs

22.26 g

Fiber

5.01 g

Net carbs

17.27 g

Sugar

14.6 g

Protein

5.29 g

Sodium

92.3 mg

Cholesterol

28.35 mg

Nutritional information is approximate. Based on 8 servings.

no bake, refined sugar free, gluten free dessert, raw dessert
dessert
American
Did you make this recipe?
Tag @jennyblogsandbakes on instagram and hashtag it #jennyblogs

Blueberry Icebox Pie

Serves 10-12

A day late and a dollar short on pi day, I know.  But hear me out! If 3/14 is pi day, do you know what comes after the .14? That's right.  .1415.  Emphasis on the 15, because that's today.  Pie the food is so great it should get two days of recognition anyway. There, there, pie, I didn't forget about you.  But you didn't come here to listen to me ramble, you're probably here because you love pie, or blueberries, or math, or all of the above.  Moving on, before this post accidentally ends up on 3/16.

This is a simple recipe, fairly quick and delicious to eat!  The only baking required is for the crust.  Great for summer time, especially when blueberries are in season.

This post may contain affiliate links. If you make a purchase using these links, Jennyblogs may receive a small commission, at no extra cost to you. This helps to support Jennyblogs. Where possible, links are prioritized to small businesses and ethically and responsibly made items. For further information see the privacy policy. Grazie!

Blueberry Icebox Pie

Ingredients:

  • 1 sleeve graham crackers

  • 4 Tbsp butter, melted

  • 2 cups fresh blueberries (or frozen and thawed)

  • 2 Tbsp lemon juice

  • 2 tsp unflavored powdered gelatin, or 1 1/4-oz packet

  • 16 oz. cream cheese (2 blocks), room temperature

  • 14 oz can sweetened condensed milk

Directions:

Preheat oven to 350 F.

In a food processor, process graham crackers until fine.  Alternately, you can always crush them with a rolling pin on a cutting board or in a seal-able plastic bag. Add melted butter and pulse until graham cracker crumbs hold together some.  Press into a 9 in. spring form pan or pie plate.

Bake for 10 minutes.

Purée 1 1/2 cups of the blueberries in a food processor or blender.  Add lemon juice. 

Transfer to a small saucepan and sprinkle gelatin over the surface.  Let sit for 10 minutes.

Place blueberry mixture on the stove over medium-low, heating until gelatin has just dissolved. Remove from heat.

In a bowl with electric beaters or with a stand mixer, beat cream cheese for about a minute.  Add condensed milk.  On low speed, slowly add blueberry mixture.  Increase speed and beat until smooth.

Pour over baked crust, top with remaining blueberries, and chill until set. 

To serve, garnish with fresh mint, if desired.

Jenny's Note:  This can also be frozen, perfect for the hottest of summer days.  Just let set at room temperature for about 10 minutes before slicing.

Disclaimer on the ahem, er, photography.  It can only get better from here, right?

Disclaimer on the ahem, er, photography.  It can only get better from here, right?

And do you know what number comes after 3.1415? Yep. 926.  And guess what? I was writing this post at 9:26.  Oh yes, I went there.  Enjoy your pi. I mean, pie.

And here is a pie chart to go with your pie on the day after pi.  Sincerely, Jenny Leslie Knope Morris.

Recipes Currently Waiting to be Made

Recipe adapted from Self