How to Test Your Flour's Hydration Capacity
/Knowing how to test the hydration capacity of your flour is a useful little trick that can save you time and ingredients in sourdough baking.
How much water can your flour hold, and why is it important to know this? In a word, how much water can you add to your loaf and it still be able to keep its shape?
This post may contain affiliate links. If you make a purchase using these links, Jennyblogs may receive a small commission, at no extra cost to you. This helps to support Jennyblogs. Where possible, links are prioritized to small businesses and ethically and responsibly made items. For further information see the privacy policy. Grazie!
Every Flour is Different
Each flour has a different capacity for holding water. The higher the protein content, the easier it will hold higher hydration amounts. All-purpose flours hold less water than bread flour or high-protein bread flour. Even one all-purpose flour to the next will have different capacities, depending on protein content.
Whole wheat flours are considered “thirsty” flours, and can hold more water.
The best way to figure out what the hydration capacity of your flour is, is to do a little test. If you’re unfamiliar with baker’s formula, what follows is a quick explanation to make sure we’re all on the same page.
Baker’s Formula
When baking bread, especially sourdough and artisan breads, you will often hear bakers talking about their ingredients in percentages. This is called baker’s formula, or baker’s math.
If you’re just getting into sourdough, and even for all other baking, here is another prompt to start using a kitchen scale if you are not already.
Why You Should Use a Baking Scale
In baker’s formula, the flour in the recipe is always the 100%. Every other ingredient’s percentage is calculated from the flour’s weight. For example, a bread recipe that calls for 1000g of flour and 700g of water, means that it has 70% water, or 70% hydration.
Ingredient weight / Flour Weight x 100 = %
700g water / 1000g flour x 100 = 70%
This can be done with any or all ingredients in a bread recipe and is very helpful for understanding the recipe. You will start to notice that certain kinds of bread have lower hydration, like bagels, while others have quite high hydration, like ciabatta. You’ll be able to get a feel for what the dough will feel like and how the bread will turn out, without ever having made the recipe.
Hydration can vary widely in sourdough baking. Generally speaking, any recipe that calls for under 70% hydration is considered low hydration. Beginner recipes often hover around 65% hydration. Lower hydration means less tacky dough and easier to work with and shape. For an intermediate to experienced baker, 70-80% is usually a happy spot. Anything above 80% is usually considered high hydration and needs special handling and stronger flours.
Testing a Flour’s Hydration Capacity
Measure out a small amount of desired flour into several small bowls. 20g is a good amount in each bowl, keeping it small and manageable, but still a decent enough chunk to work with. You can test different flours side by side. Keep all the bowls labeled or use different colors/styles, so the different flours don’t get mixed up.
Decide which hydration levels you’d like to test with the flour. Start with a hydration you feel the flour can hold comfortably, probably under 70%, then work your way up from there. Increments of 5% usually work nicely.
Calculate how much water to add, and mix into each bowl.
Thoroughly mix each bowl, kneading and working until a smooth dough has formed. If you don’t want to continue kneading a bunch of tiny pieces of dough, you can let them sit, covered, for several hours and check back.
Once the tiny bits of dough have had a chance for adequate gluten development, by kneading or by sitting, it’s time to check each one. You will probably have already noticed how each bowl of dough acts a little differently.
Now to Determine Which Hydration Levels the Flours Like
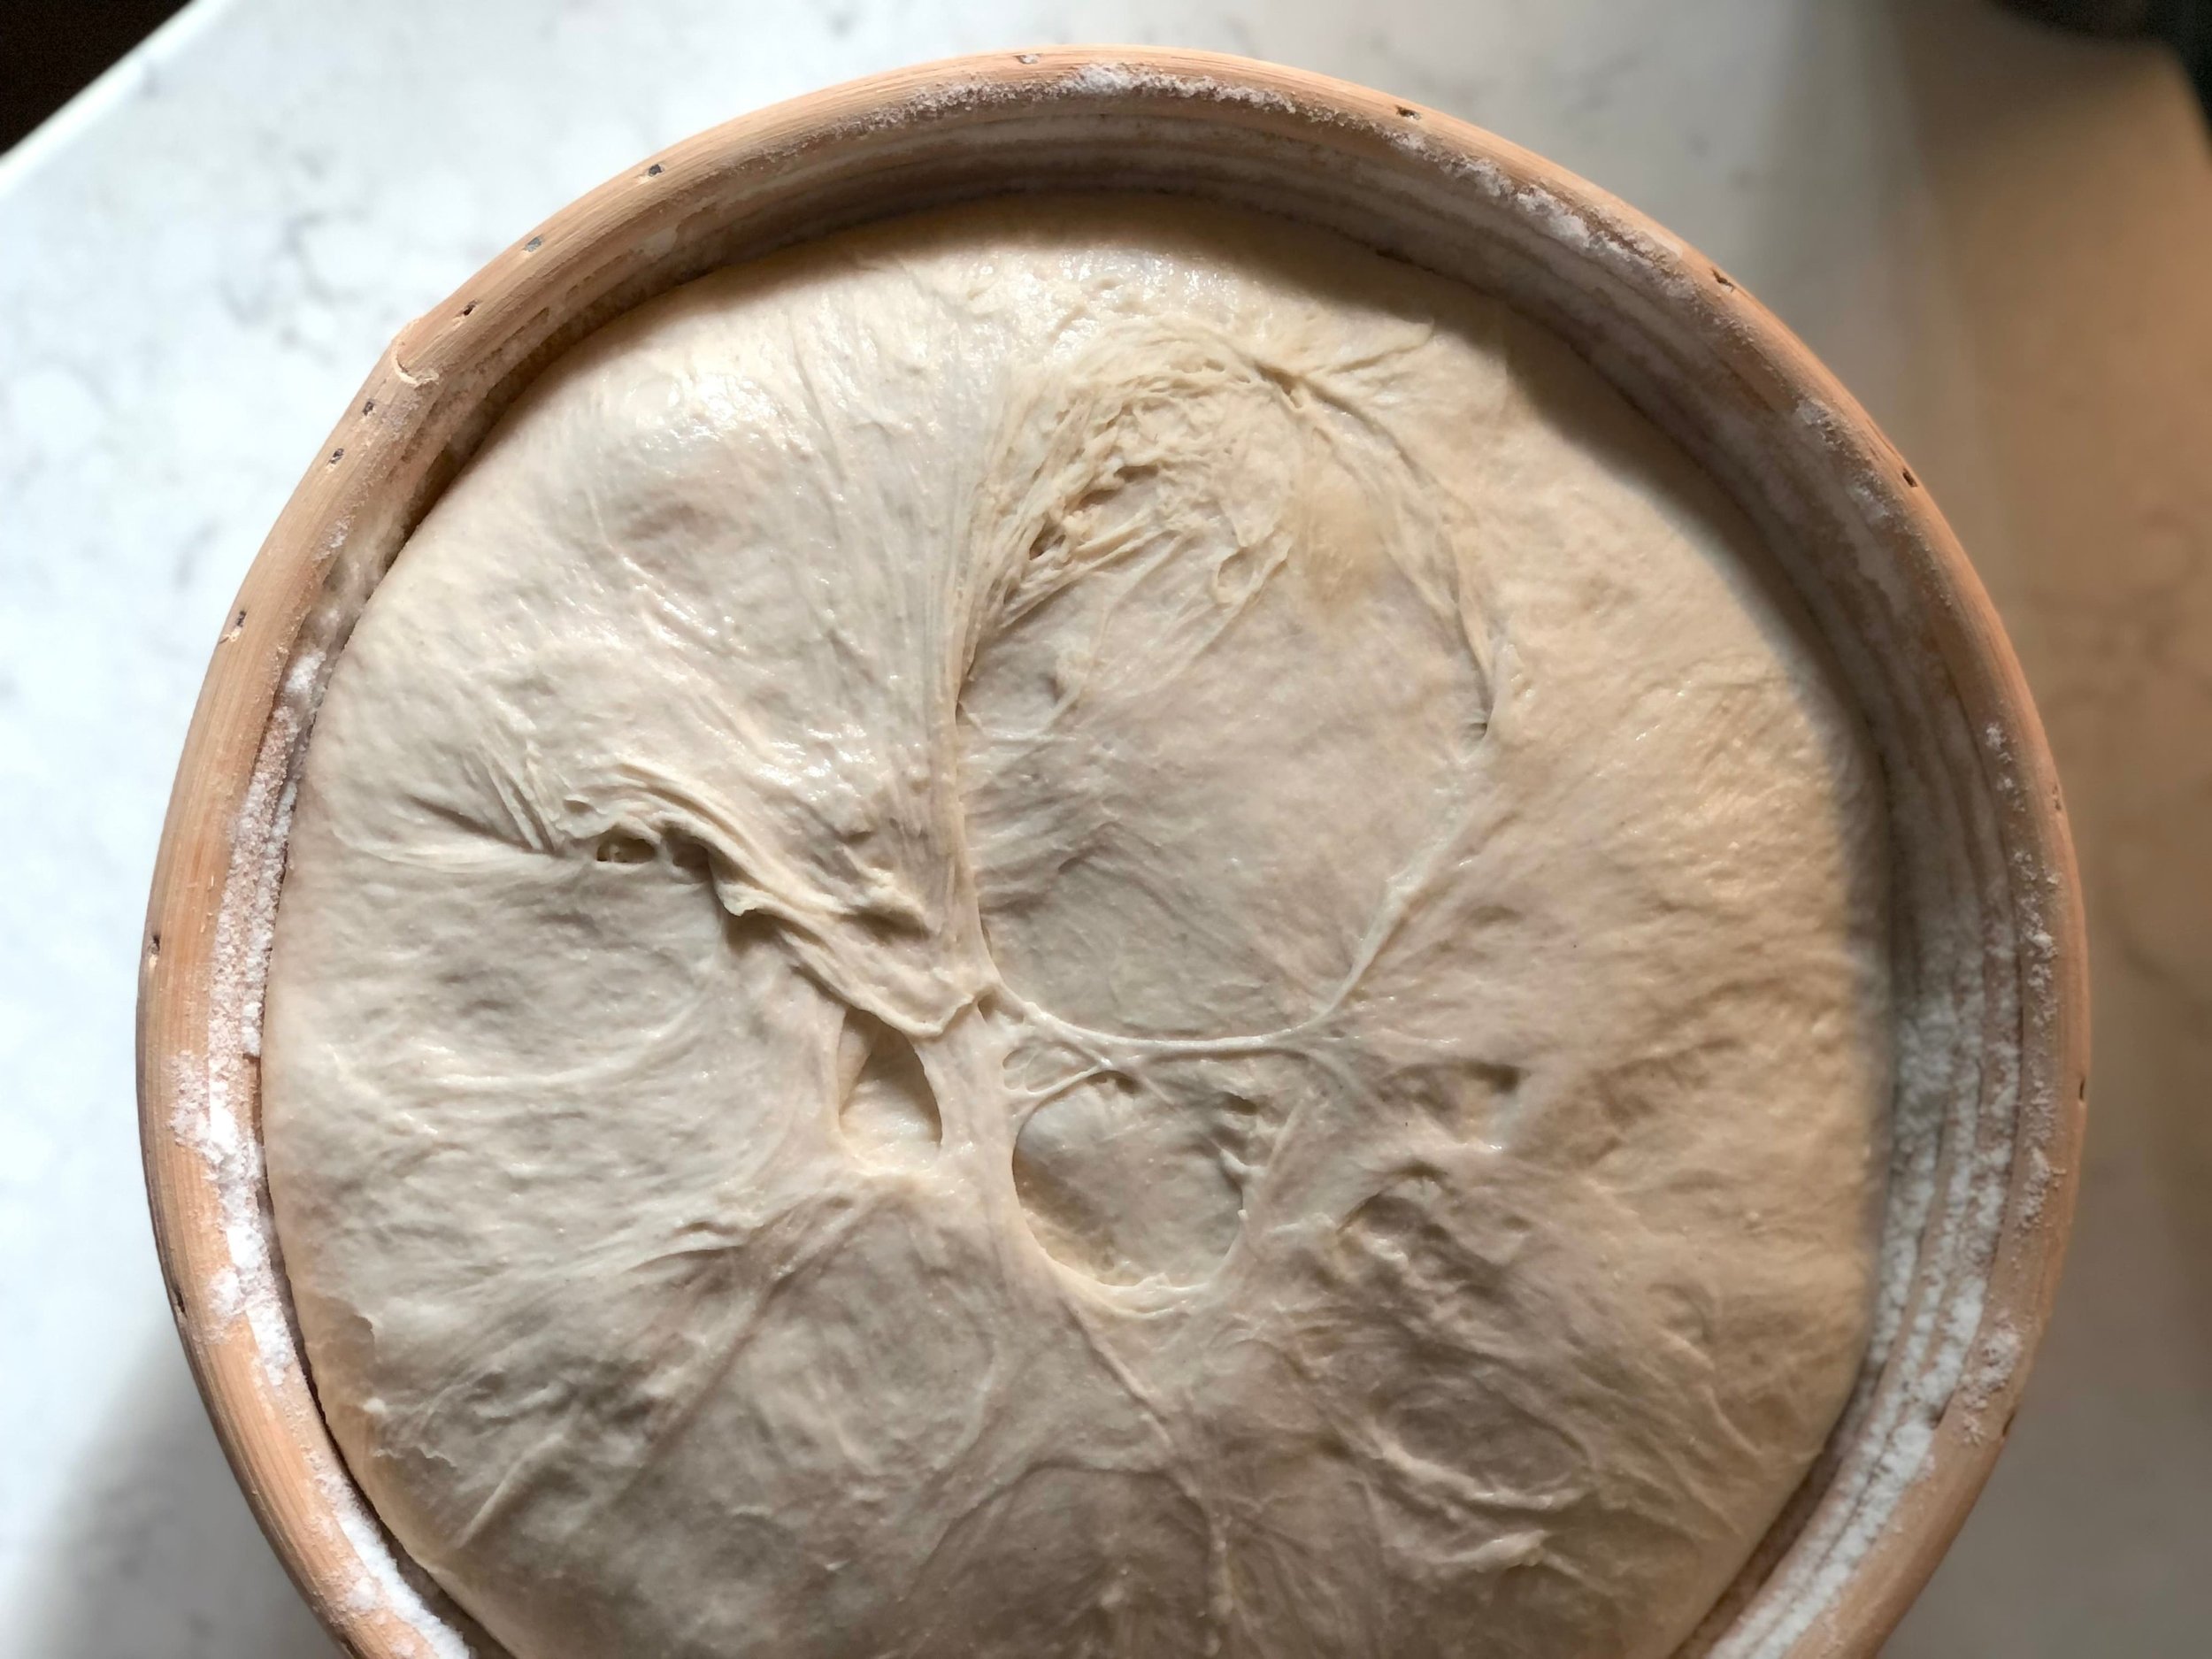
It’s easiest to start with lower hydration levels. The bit of dough should look smooth and feel elastic. It should pass the window pane test. If it doesn’t, the dough may need more time to sit or more kneading.
Work your way up the bowls, stretching, kneading, feeling as each bit of dough gets looser and stickier. You may notice as you work with the higher hydration bits that the dough will start to show some little tearing as you stretch it. Once the tearing becomes more noticeable, the dough doesn’t seem to be able to hold much shape, and the dough doesn’t pass the windowpane test, you have probably gone past the limit for that particular flour.
Two Flours Tested Side by Side
Here I tested out the hydration capacity of Kirkland Signature Organic All-Purpose Flour and King Arthur Bread Flour side by side.
I had five bowls for each kind of flour. Each bowl contained 20g of flour. I used a precision scale, but this isn’t necessary. The hydration levels were:
65% (20g flour, 13g water)
70% (20g flour, 14g water)
75% (20g flour, 15g water)
80% (20g flour, 16g water)
85% (20g flour, 17g water)
Each bowl was kneaded briefly, then left to sit for several hours. I inspected them after the initial kneading, later in the day, and again the next day. Each piece was stretched and shaped into a ball, and prodded plenty.
Conclusion:
Kirkland Organic All-Purpose Flour
This AP flour seemed to find its sweet spot around 75% hydration. The dough with 80% hydration tore easily and couldn’t quite seem to build up enough gluten to hold any kind of shape. Based on this, I would stay under 80%, maybe even under 75% for Kirkland Organic All-Purpose Flour.
Interestingly enough, shortly after I performed this experiment, a well-known sourdough master, Tom Cucuzza of The Sourdough Journey shared a post of a loaf he made. He said he used 90% Kirkland Organic All-Purpose Flour, and 10% whole wheat flour, and mentioned that he thought the Kirkland flour holds 80% hydration well. I found that highly interestingly, since in my own experience Kirkland flour is optimal at not much higher than 75%, as I found in this little test, beyond dozens of other loaves I have made with this flour. However, he also mentioned, and I have also seen others talk about, how Kirkland’s Organic All-Purpose Flour can yield inconsistent results. I can only guess, but perhaps being such a large chain with stores across the country, maybe they’re sourcing wheat from many different areas and fields, and thus, differing results. Their bags mention they are “mininum 11.5%” protein content, so presumably, some bags may contain higher protein and be able to hold those higher hydrations better, as some bakers have found.
King Arthur Bread Flour
The King Arthur Bread Flour did better at 80% hydration. It only started to lose its shape and show more signs of tearing at 85% hydration. Based on this, I would say the King Arthur Bread Flour can comfortably go up to 80%, perhaps a bit higher, but would need some high-protein flour mixed with it to go higher with good results, perhaps some King Arthur Sir Lancelot flour. I don’t normally prefer eating breads with hydration higher than 80% because of the larger holes.
Why Increase Sourdough Hydration?
Sourdough made with higher hydration is usually made for its open, lacey crumb. This particular structure is harder to achieve and thus one of the signs that “you’ve made it” in the sourdough world. While desirable aesthetically, many people (including myself) prefer a tighter crumb.
If you’re hoping for an open crumb or just want to play with a higher hydration for the fun of it, the method described in this post is a much easier way to test how much water your particular flour can hold rather than just making whole loaves and potentially having them not turn out, wasting time and ingredients.
Hydration Test Gone to Starter
Inadvertently, I left these bowls on the counter in nice summer weather for 2-3 days, trying to decide what to make with them. (I hate waste, I also don’t have a lot of free time between 3 small children.)
In the delay of deciding and formulating a recipe, these dough balls starting fermenting and turning into starter! I could’ve fed them and had 10 new bowls of starter, but one can have too much starter, you know! I turned these into some loaves of bread, instead.
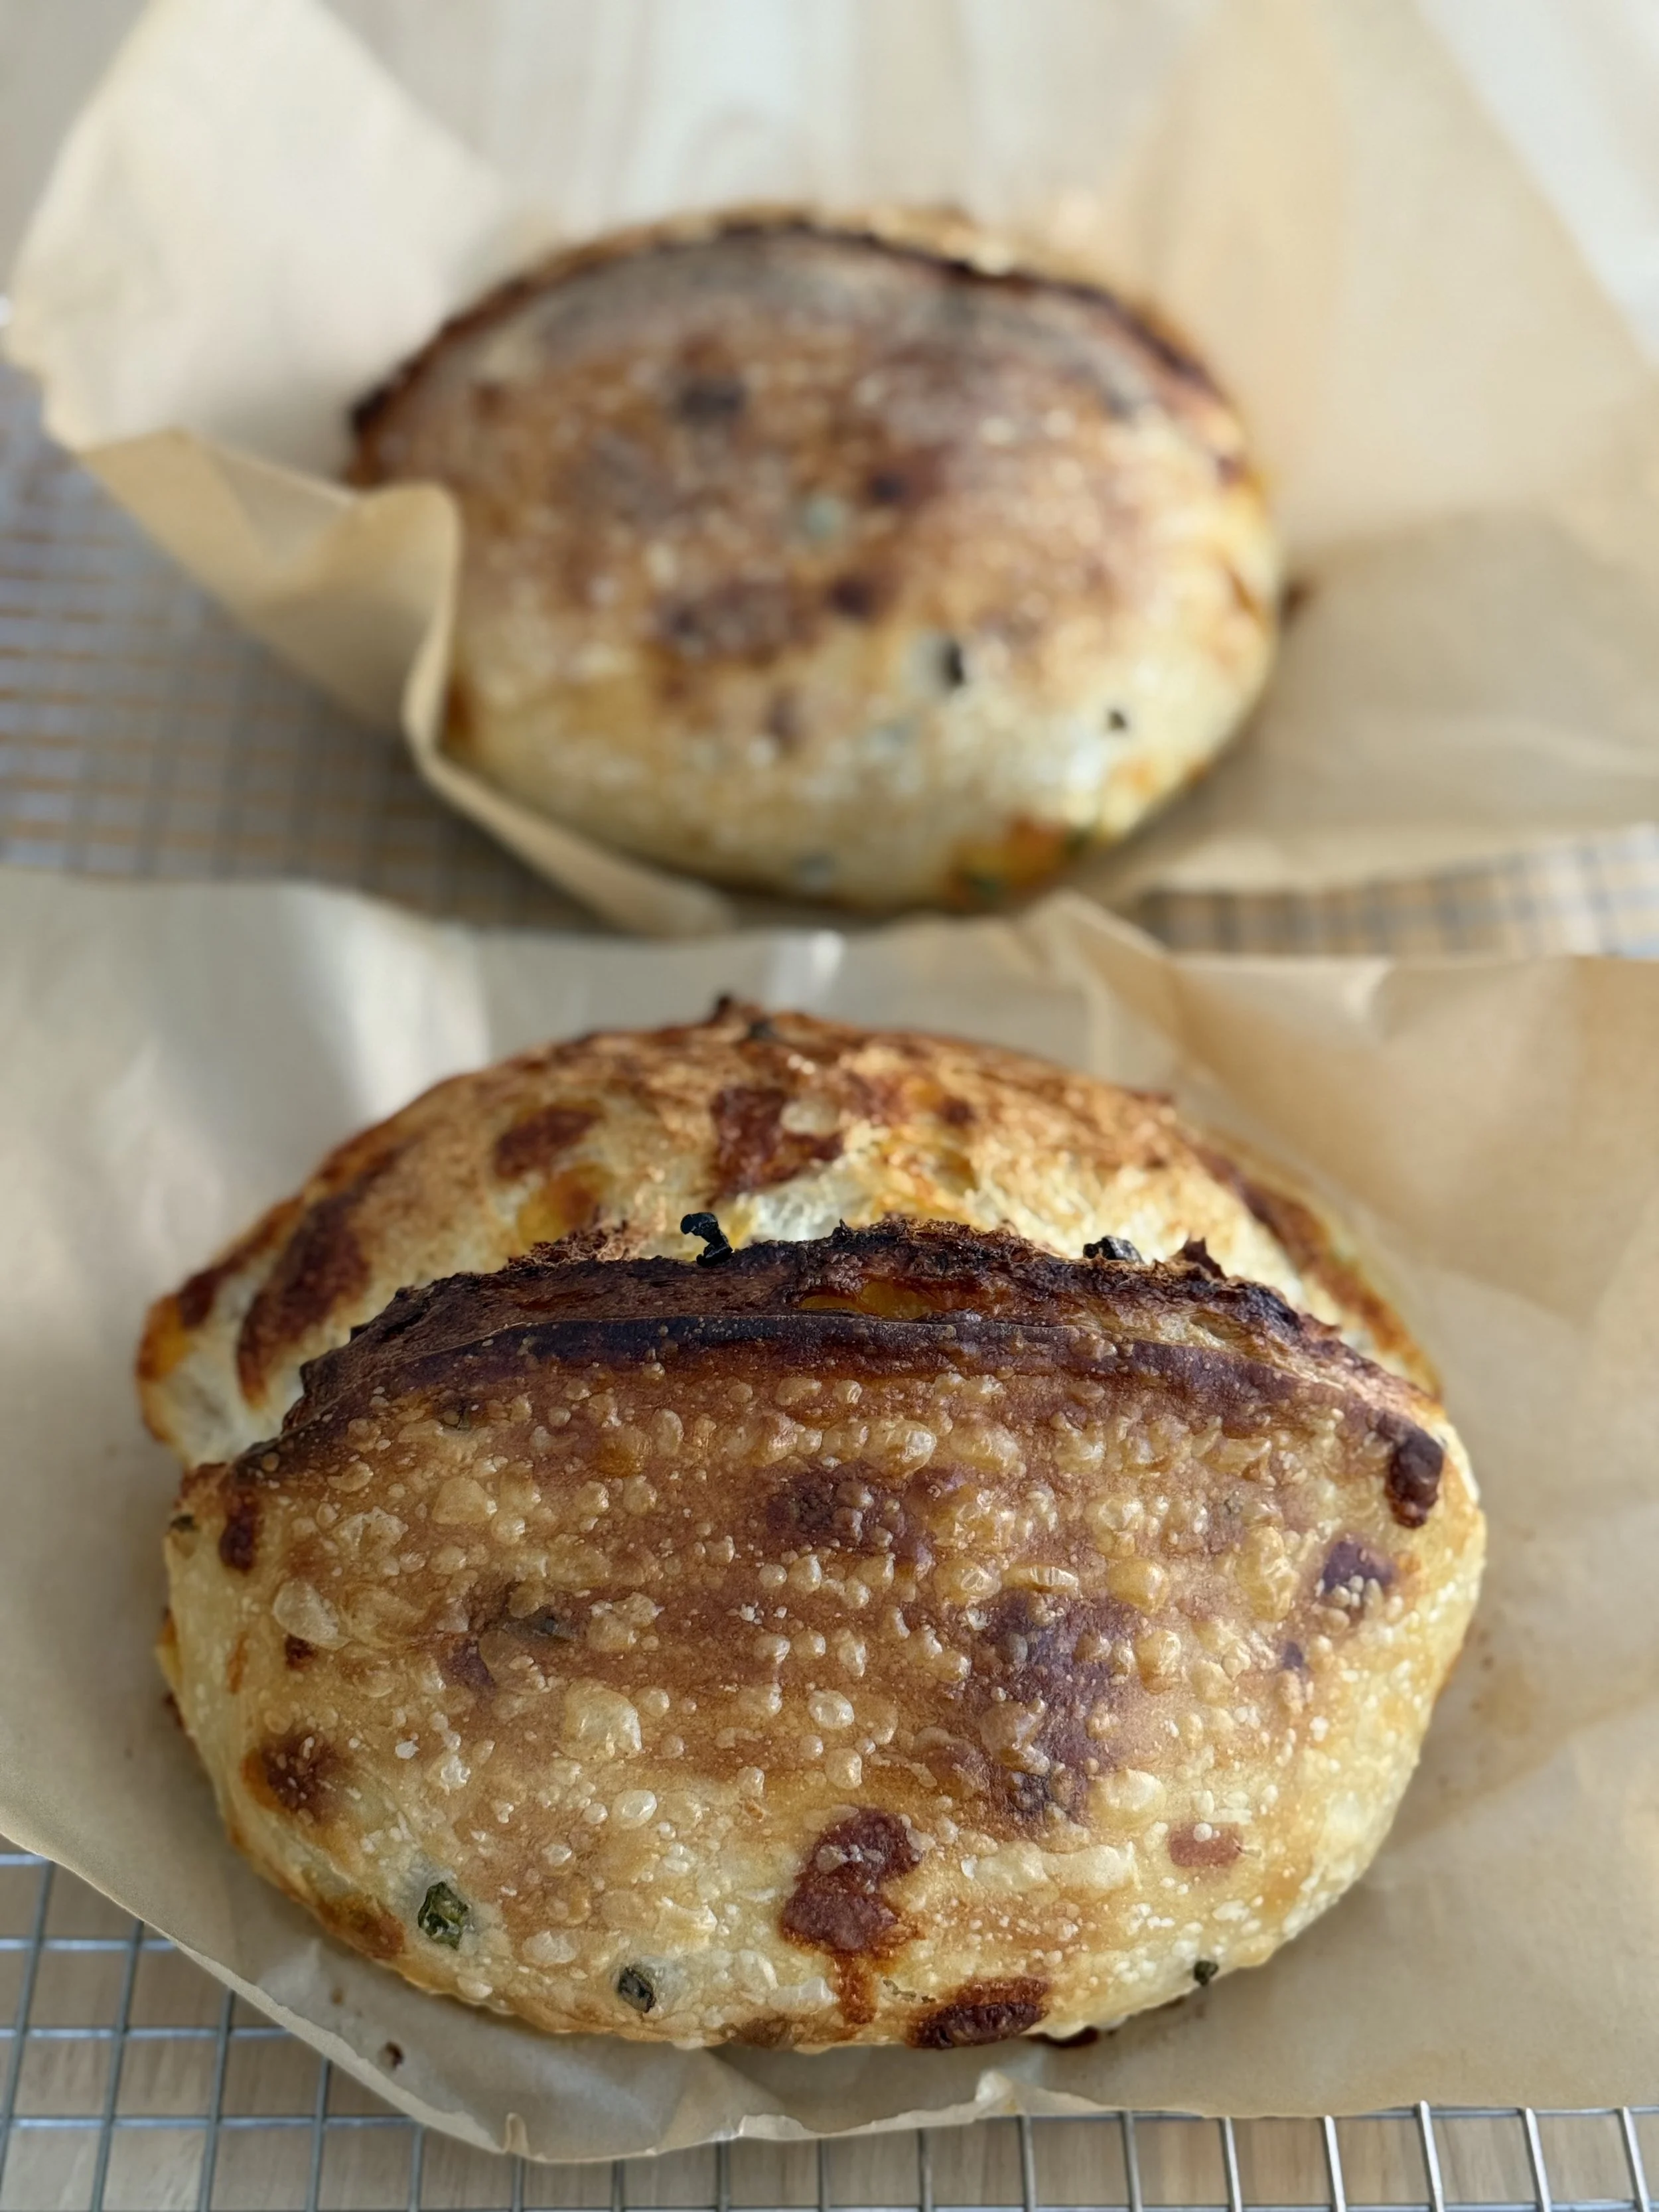
I made some Honey Oat Sourdough Loaves, and they turned out great. They were super tangy from all the fermenting flours from the hydration test, a touch sweet from the honey, and a bit nutty from the oats. Honestly, to this day they might be one of my favorite loaves I’ve made.


