Glossary of Sourdough Terms
Acetic Acid
A byproduct of fermentation.
Active starter
Lively, refreshed starter, fed in the last 12 hours and that at least doubles in volume: ready to be used in a recipe. Also known as “mature starter” and “ripe starter”
Acidic Starter
Starter that is not fed often enough or not given enough to eat at feedings can go acidic.
An acidic starter is weak and smells extra sour. If not feeding regularly, be sure to keep starter in the refrigerator as it can start going acidic within just a day or two at room temperature. Starters also stay happier and less acidic when given a higher feeding ratio, such as 1:5:5 or 1:10:10.
See also “feeding ratio”
Aliquot Method
A method for determining when bulk ferment is done.
This is done by taking a small amount of dough to fill up half of a 2oz container (such as the small plastic condiment containers that often come with take-out) and waiting for the dough to roughly double. It’s much easier to tell when in a small container than in a large bowl of dough, and the main dough also stays undisturbed.
All-purpose flour (AP flour)
A blend of flours meant for multi-purpose uses. Usually a blend of soft and hard wheats for anything from cakes to bread.
Not all all-purpose floors are created equal, so it would be important to know the protein content to know how well it would perform in sourdough bread. King Arthur’s All-Purpose flour has a higher than usual protein content at 11.7%, thus making it a good choice for sourdough and other breads, but not so much for pie crusts.
Alveolar Structure
The more technical term for “crumb” when talking about the inside structure of baked bread.
Ash Content
The mineral content of flour, as measured by burning the flour down to ashes, and measuring what is left.
Flour is usually 1.5 - 2% ash. The more whole grain the flour, using more of the germ, bran, and endosperm, the higher in ash content. Yeast feeds on the minerals, so more fermentation activity will be seen with whole grain flours, or flours with higher ash content.
Autolyse
A step sometimes included in sourdough recipes to activate the enzymes in the flour. It usually involves just flour and water mixed together before any other ingredients are added. An autolyse usually lasts anywhere from 20 minutes to 12 hours.
Including an autolyse aids in proper hydration of the dough, developing gluten and extensibility without kneading, and optimizing flavor in the bread.
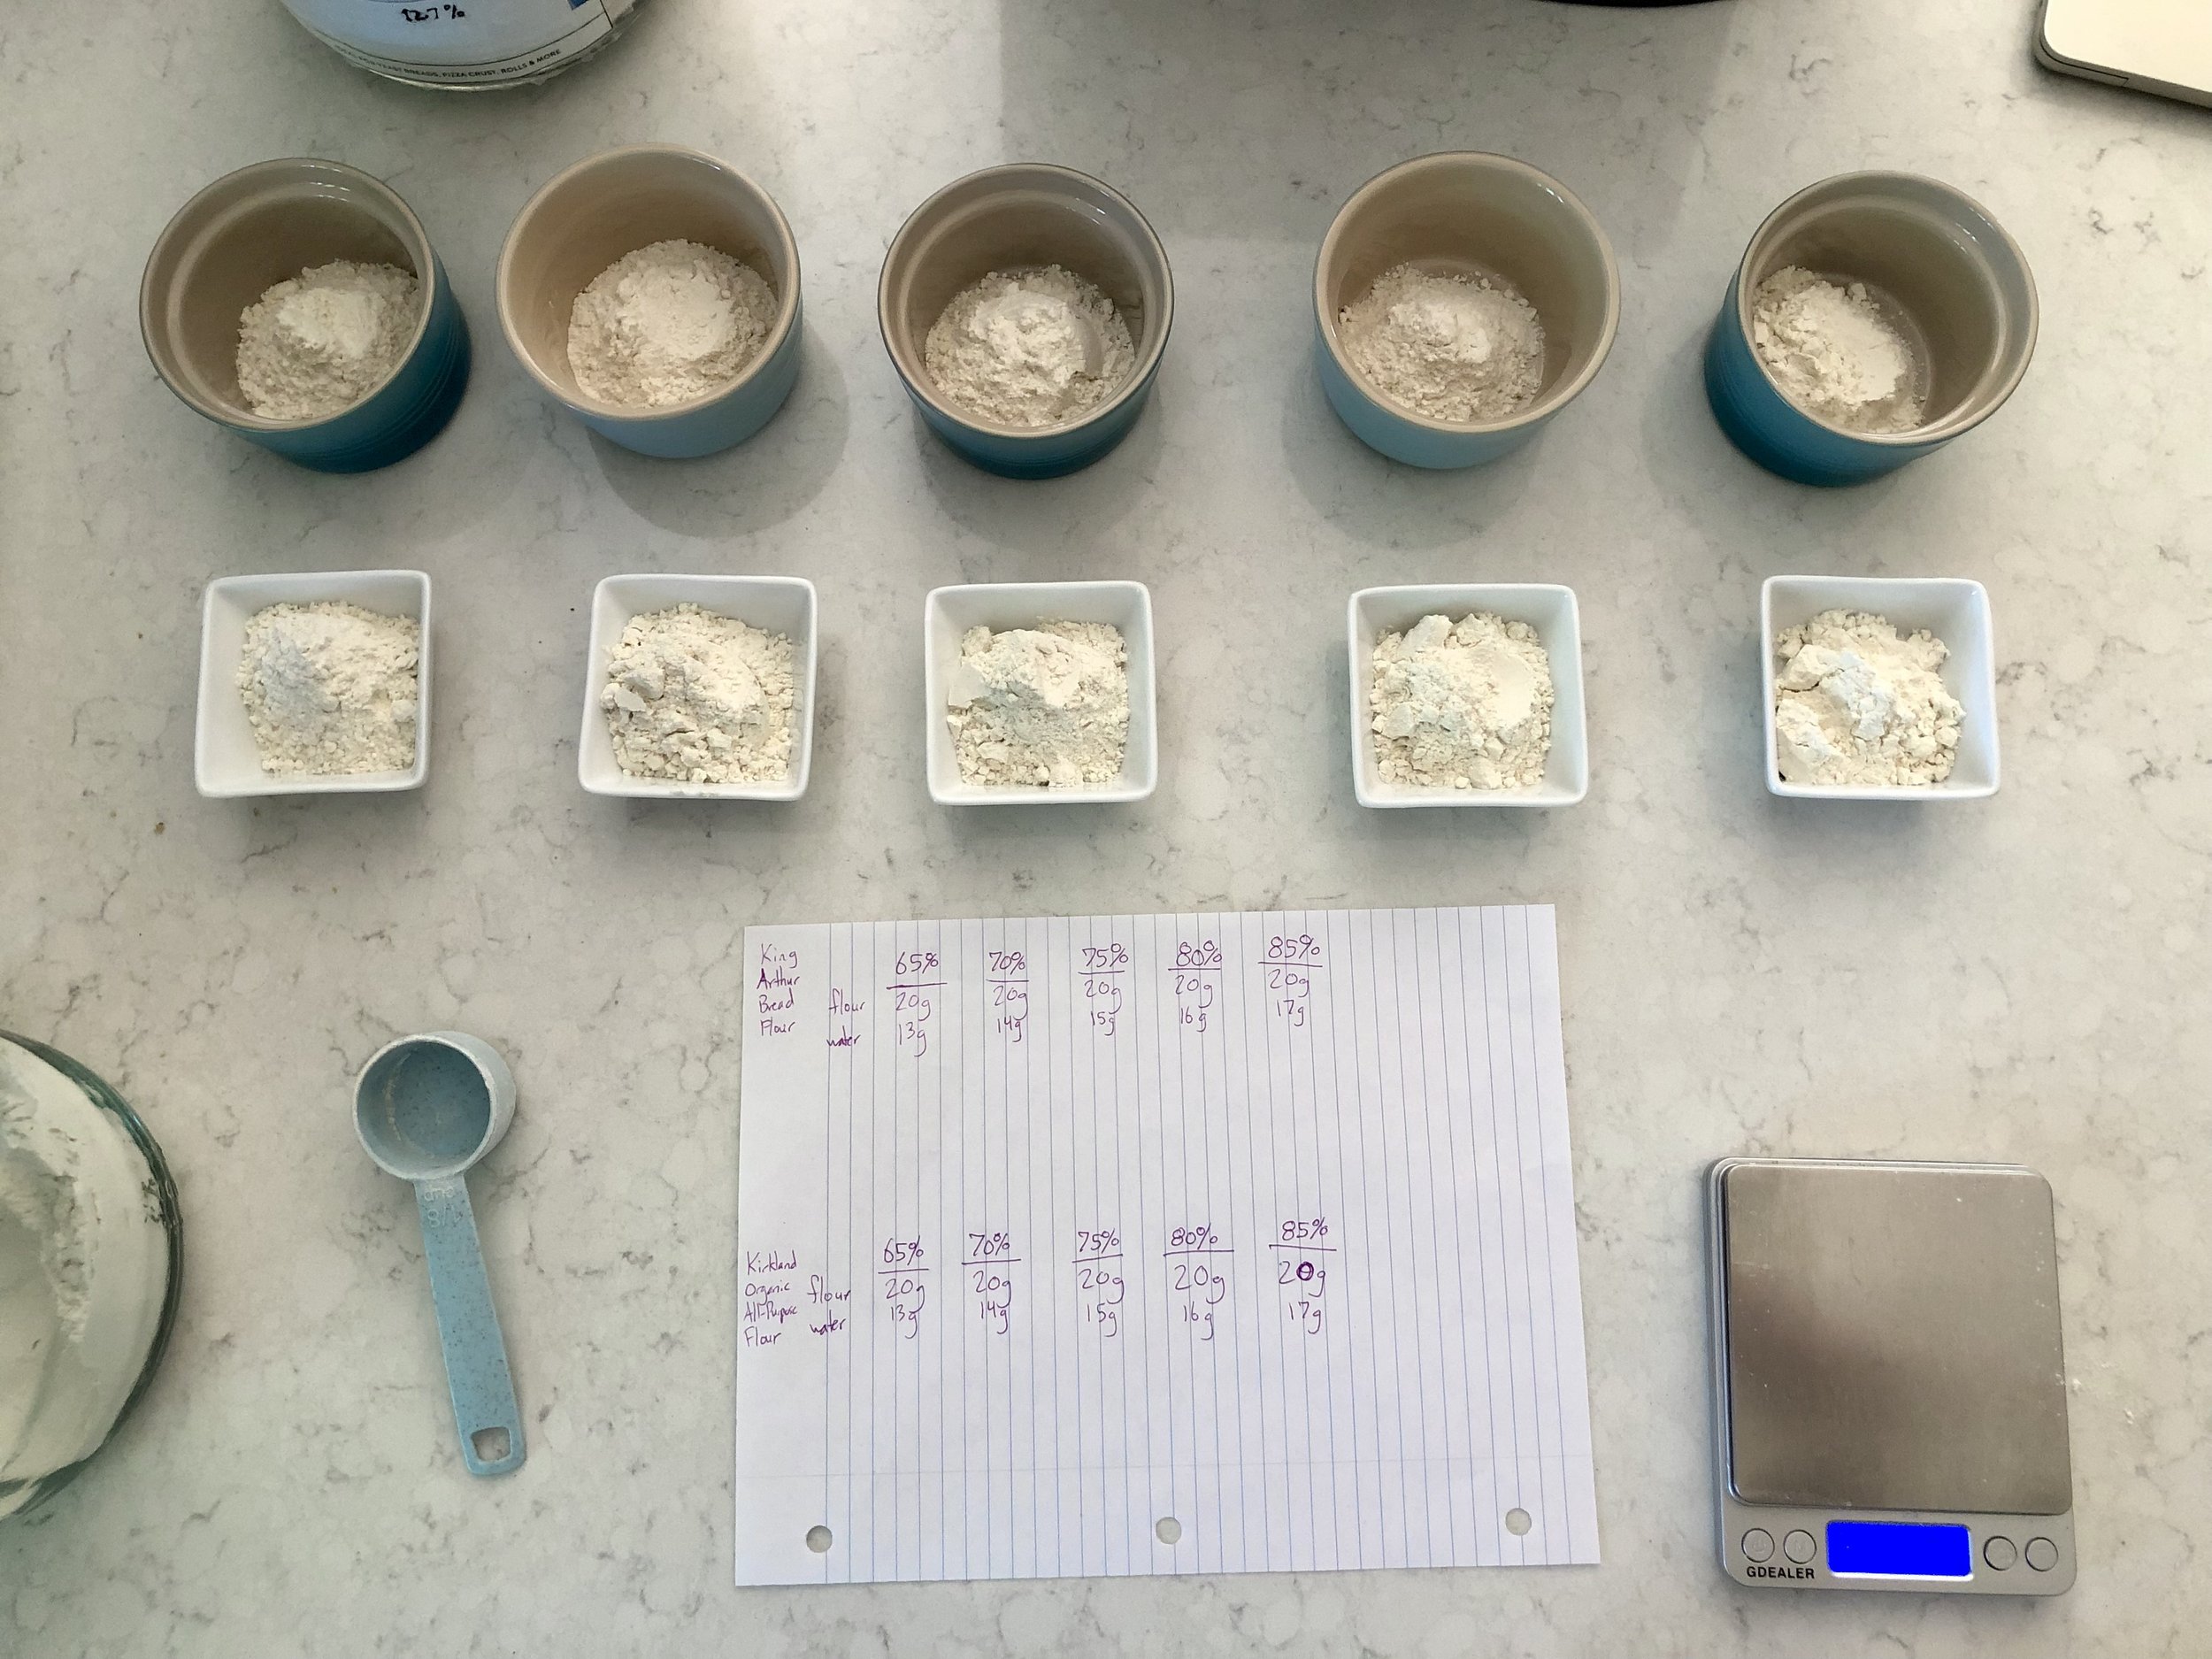
Baker’s Formula
The breakdown of a recipe’s ingredients into percentages.
This is always based on the flour’s weight, which is the “100%”. The other ingredients’ percentages are calculated based on the flour’s weight by taking the weight of an ingredient and dividing it by the weight of the flour. If a recipe calls for 500g of flour and 350g of water, divide 350 by 500, then multiply by 100 to get the water percentage. 350 / 500 = .7
.7 x 100 = 70
The water percentage in that recipe would be 70%.
Baker’s Schedule
An overview of the recipe according to time, often used in sourdough or recipes that take many hours/days to execute.
This is helpful to get a quick idea of a time frame for when you will want to start the recipe and when it will be done, rather than having to scan the whole recipe to figure out times and how they will work in your schedule. A sample baker’s schedule is given, so you know what it would look like to start that particular recipe at say, 8am. Sometimes 2 sample schedules are given, depending on if the recipe has different options for certain steps to be longer or shorter, or even just what it might look like to start the recipe at 8am, and another example of what it would look like to start it at 8pm.
A French term for the special baskets for proofing bread, often made of natural cane from the rattan plant, although they also come in silicone and other materials.
Banneton is also known as a brotform or bread proofing basket.
Bassinage / Bassinage Method
Coming form the French term meaning “to bathe” or “drench in water”, this method adds water at different times during the process.
Some of the water is added in the initial mixing of the dough, the rest is added later during bulk fermentation when the gluten has had a chance to strengthen. This allows flour to handle more water than if it was added all at once, and can be helpful for making higher hydration doughs.
Bâtard
An oval shaped loaf. From the French word for bastard, since it is an unusual shape for bread, neither long like a baguette nor perfectly round like a boule.
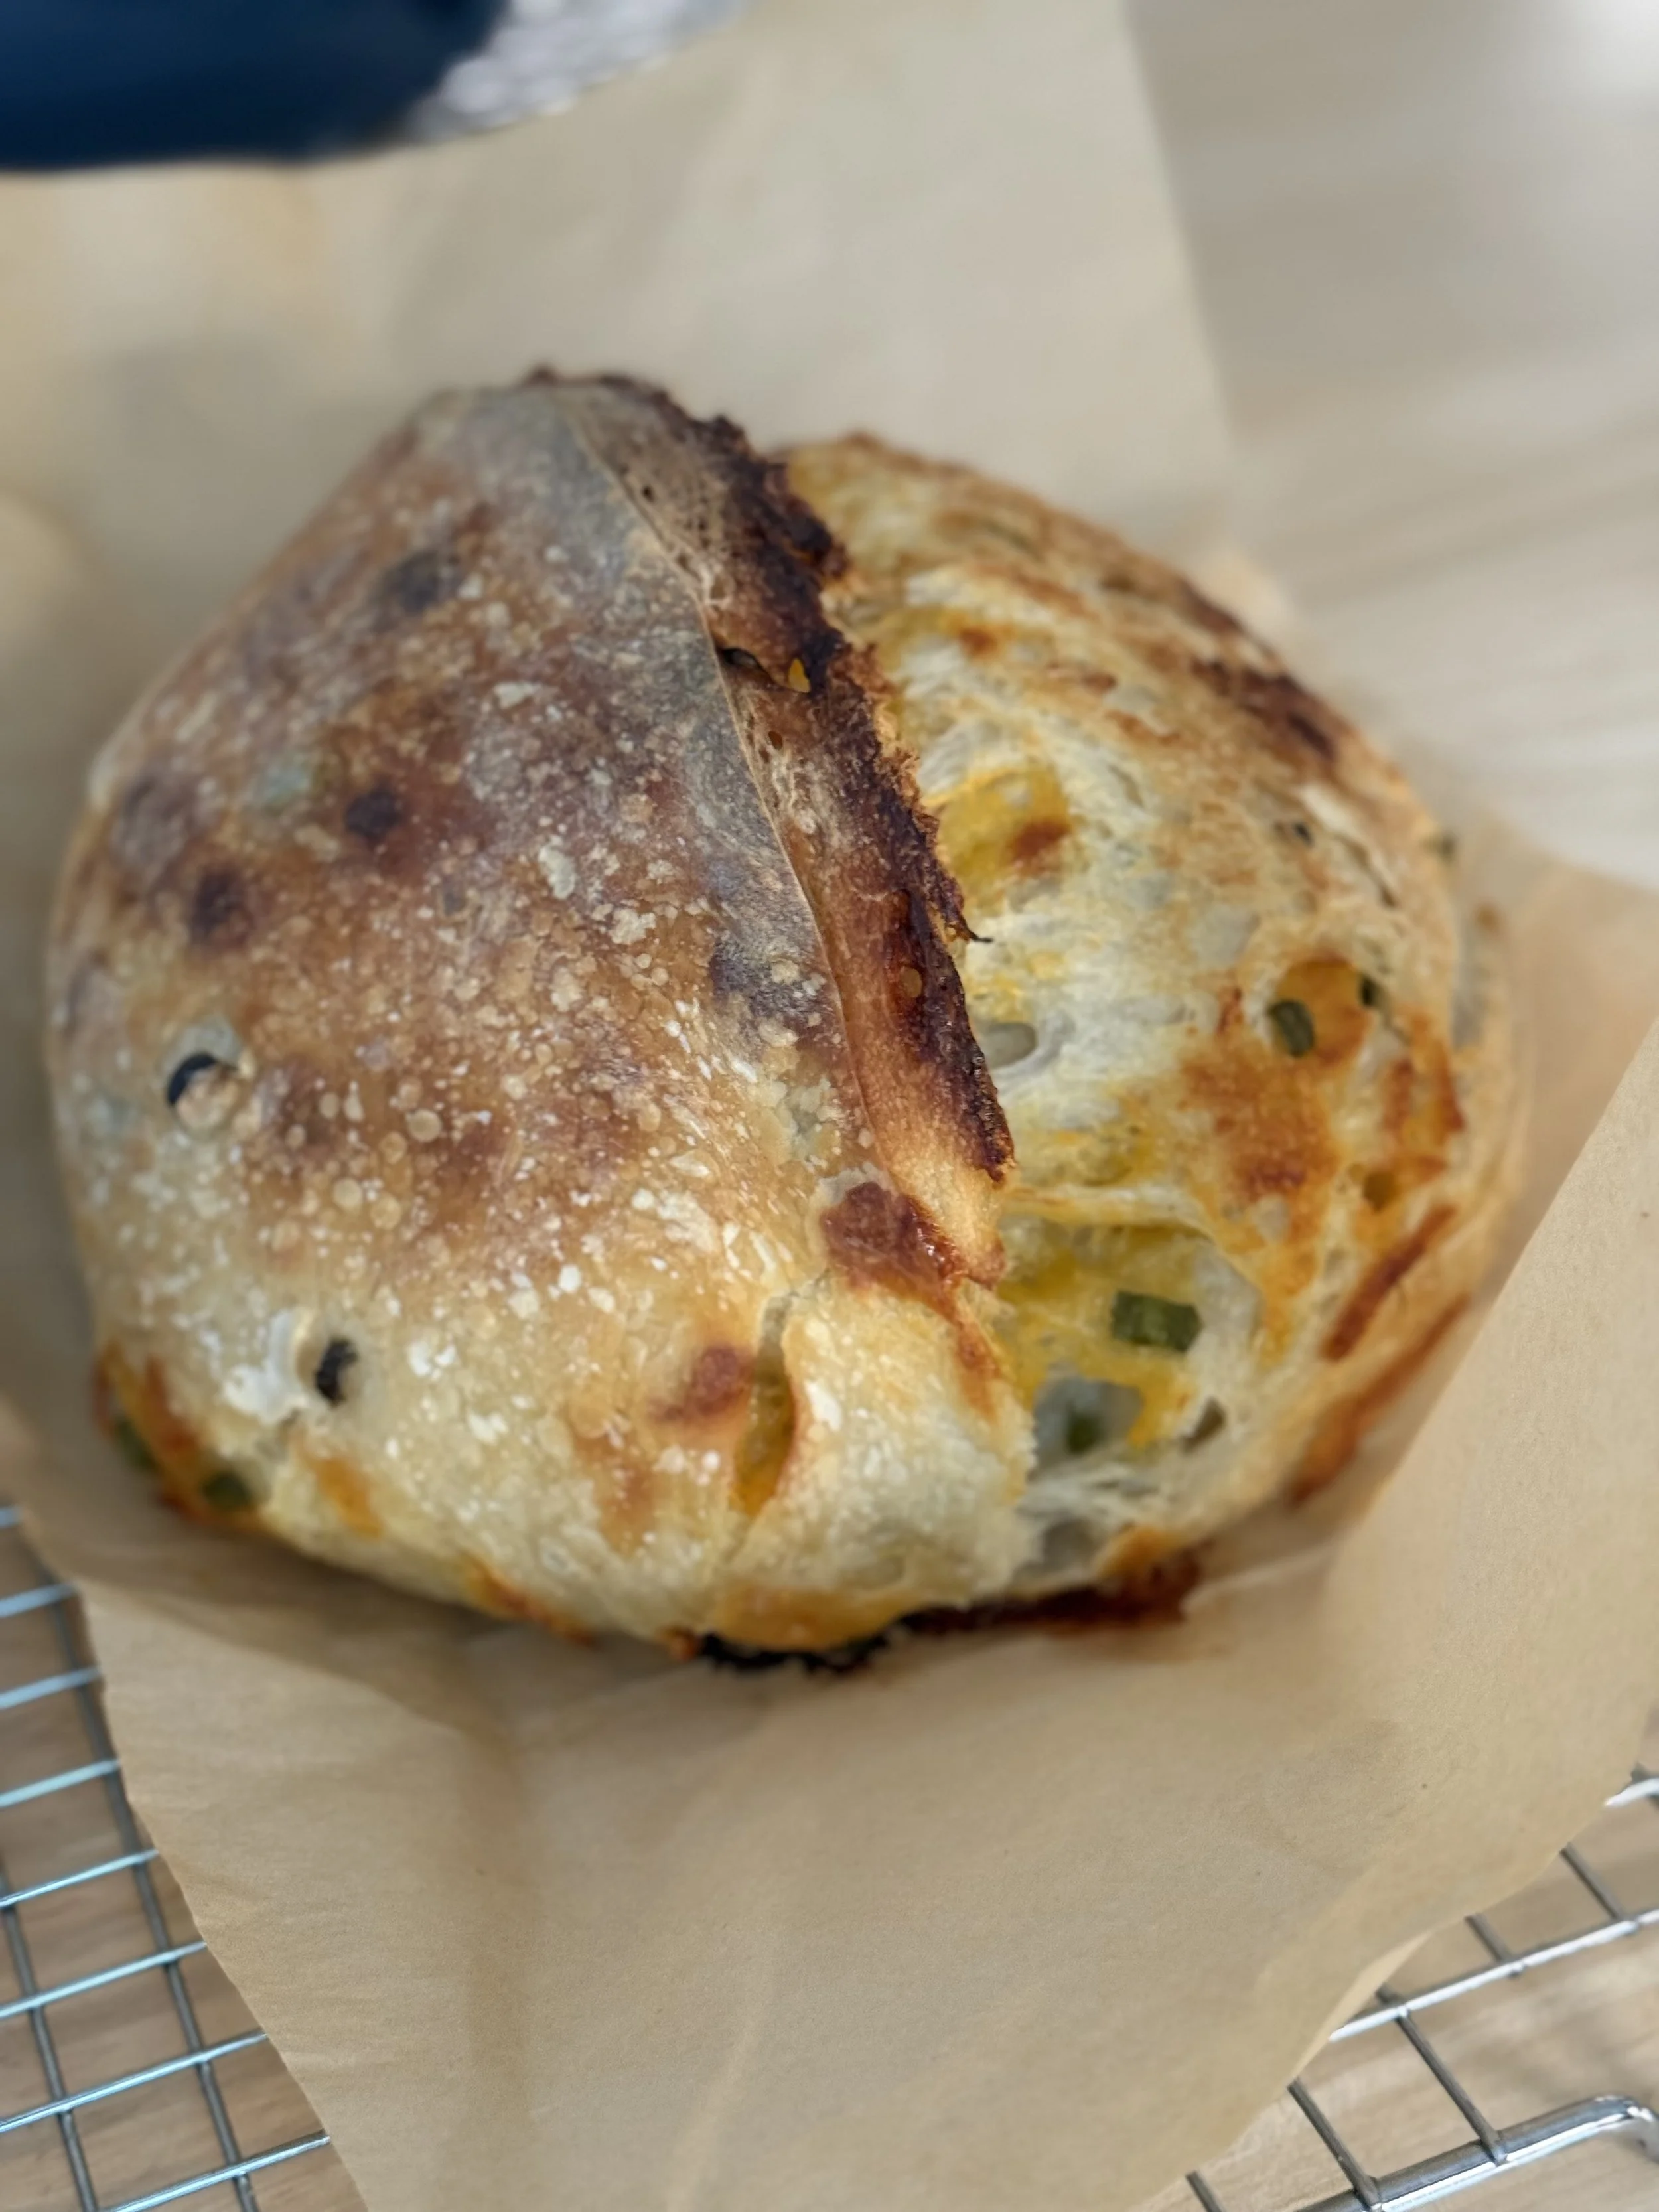
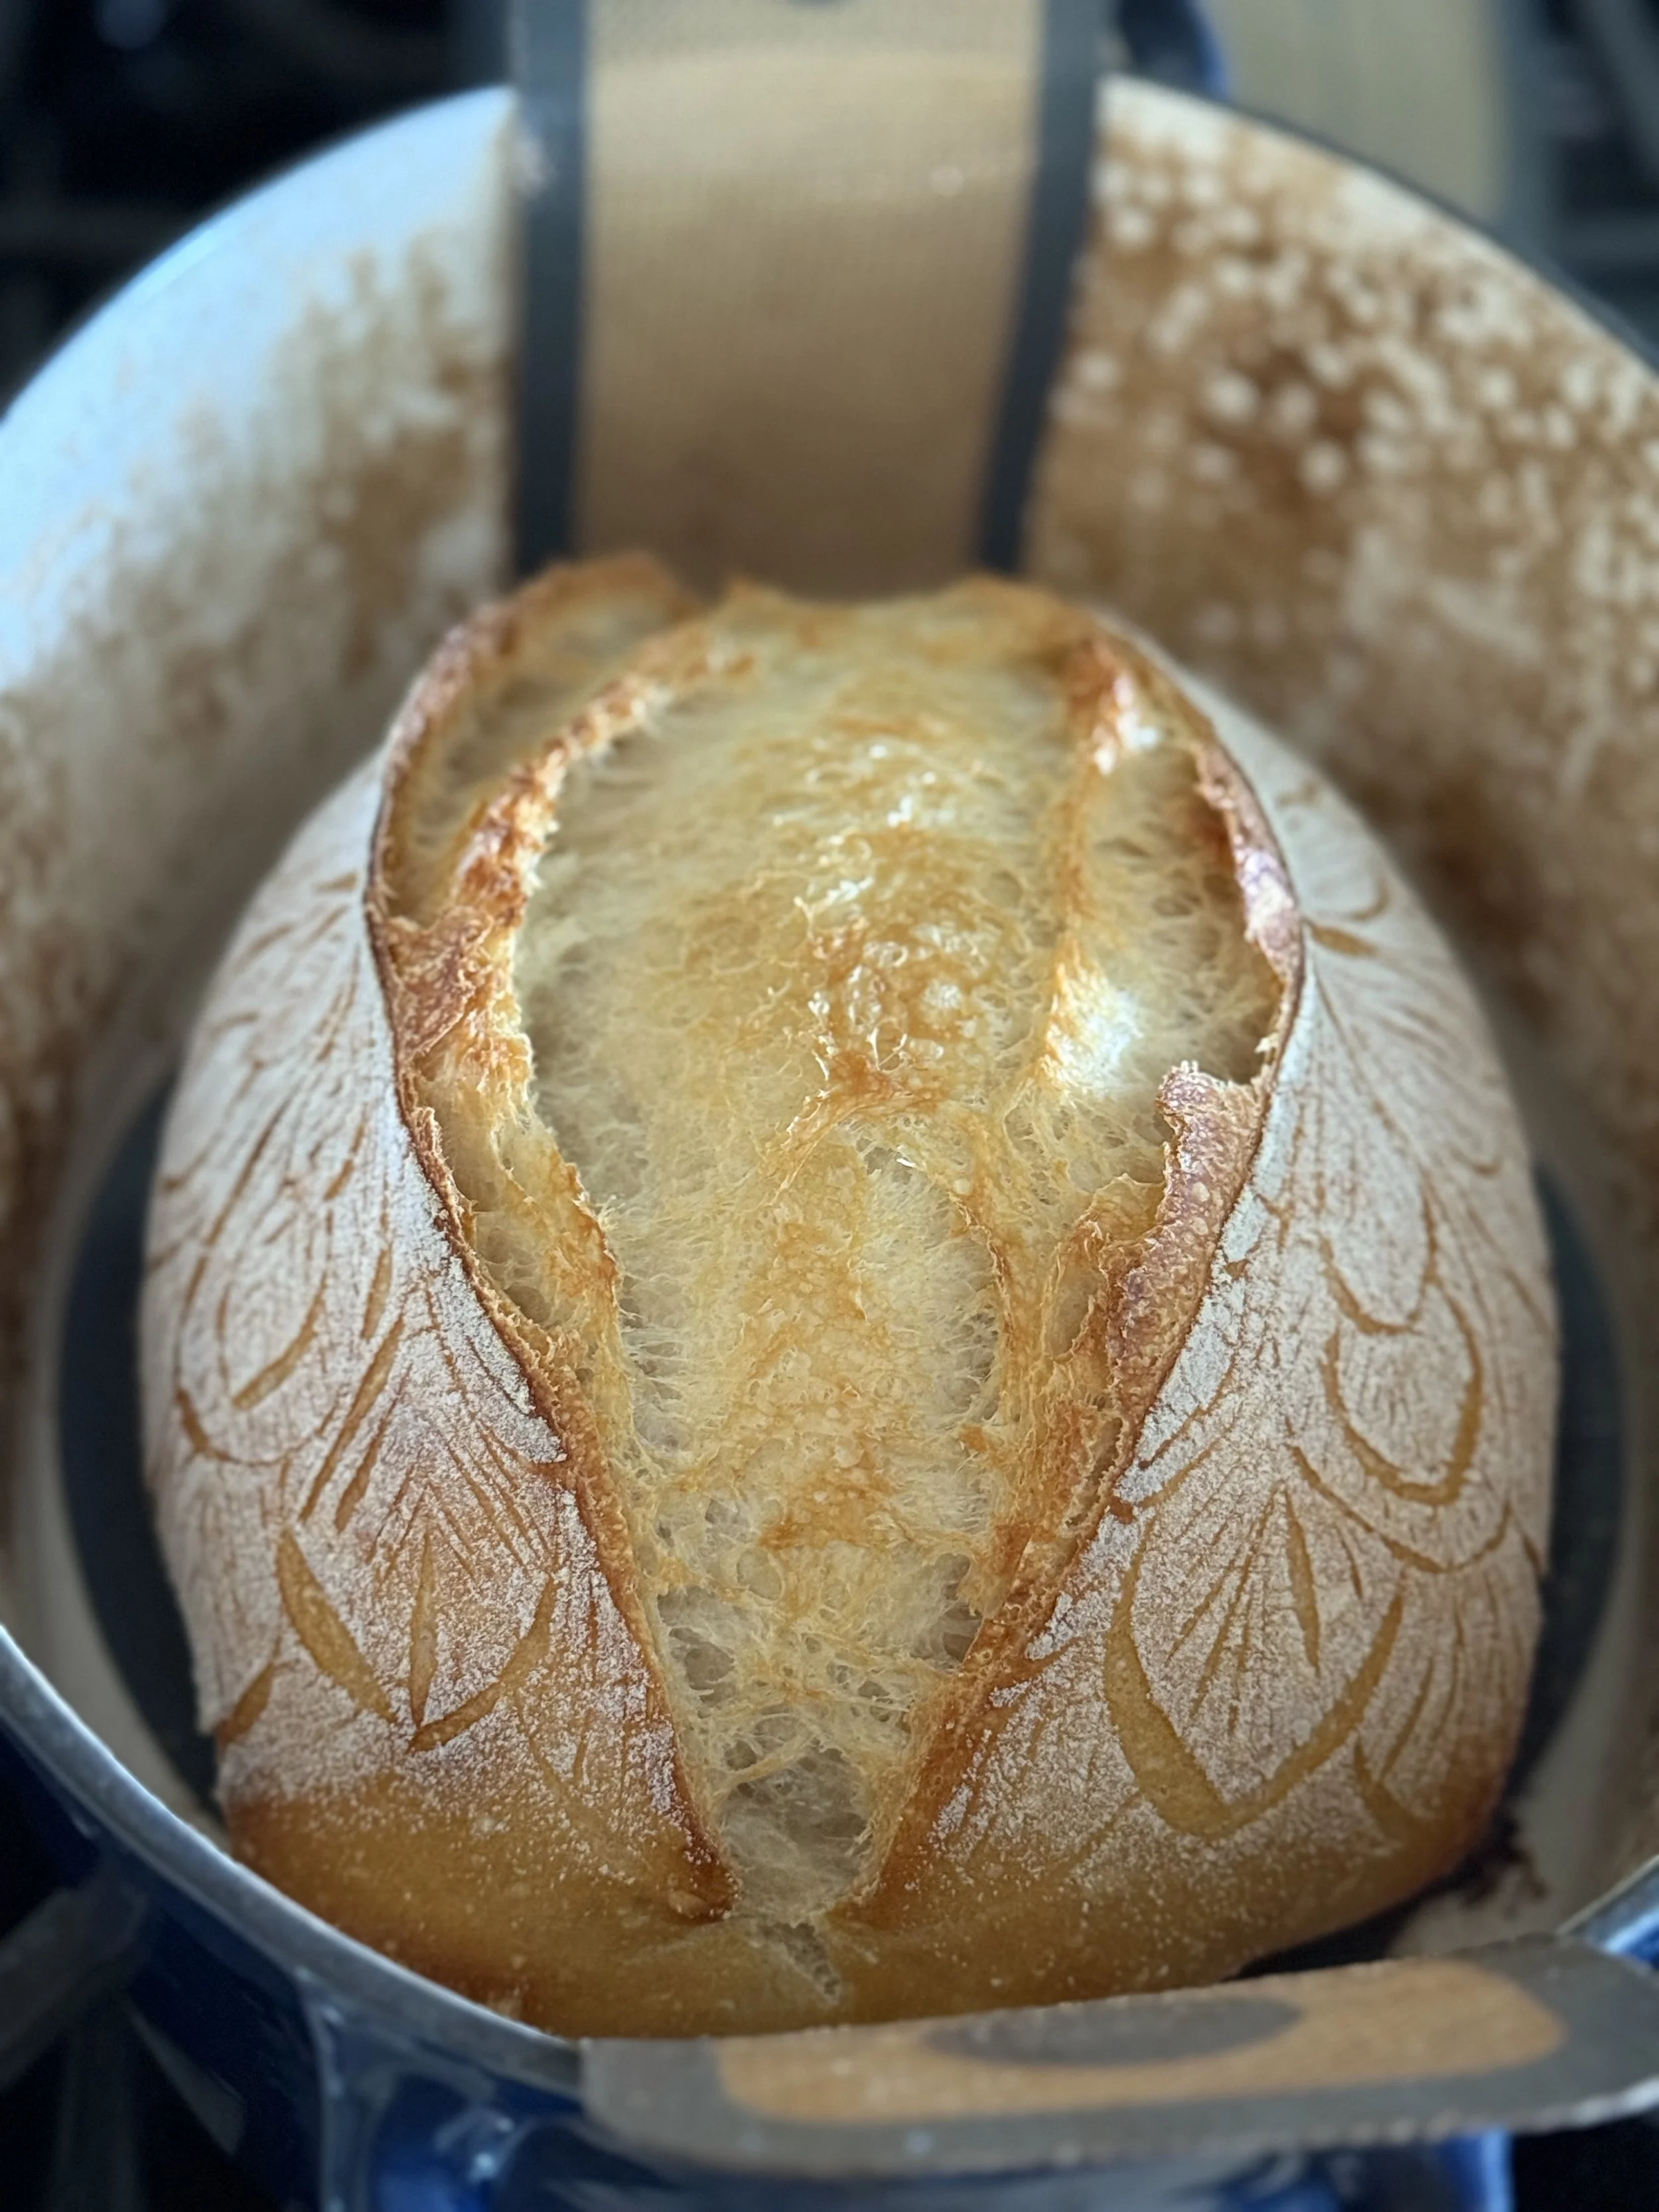
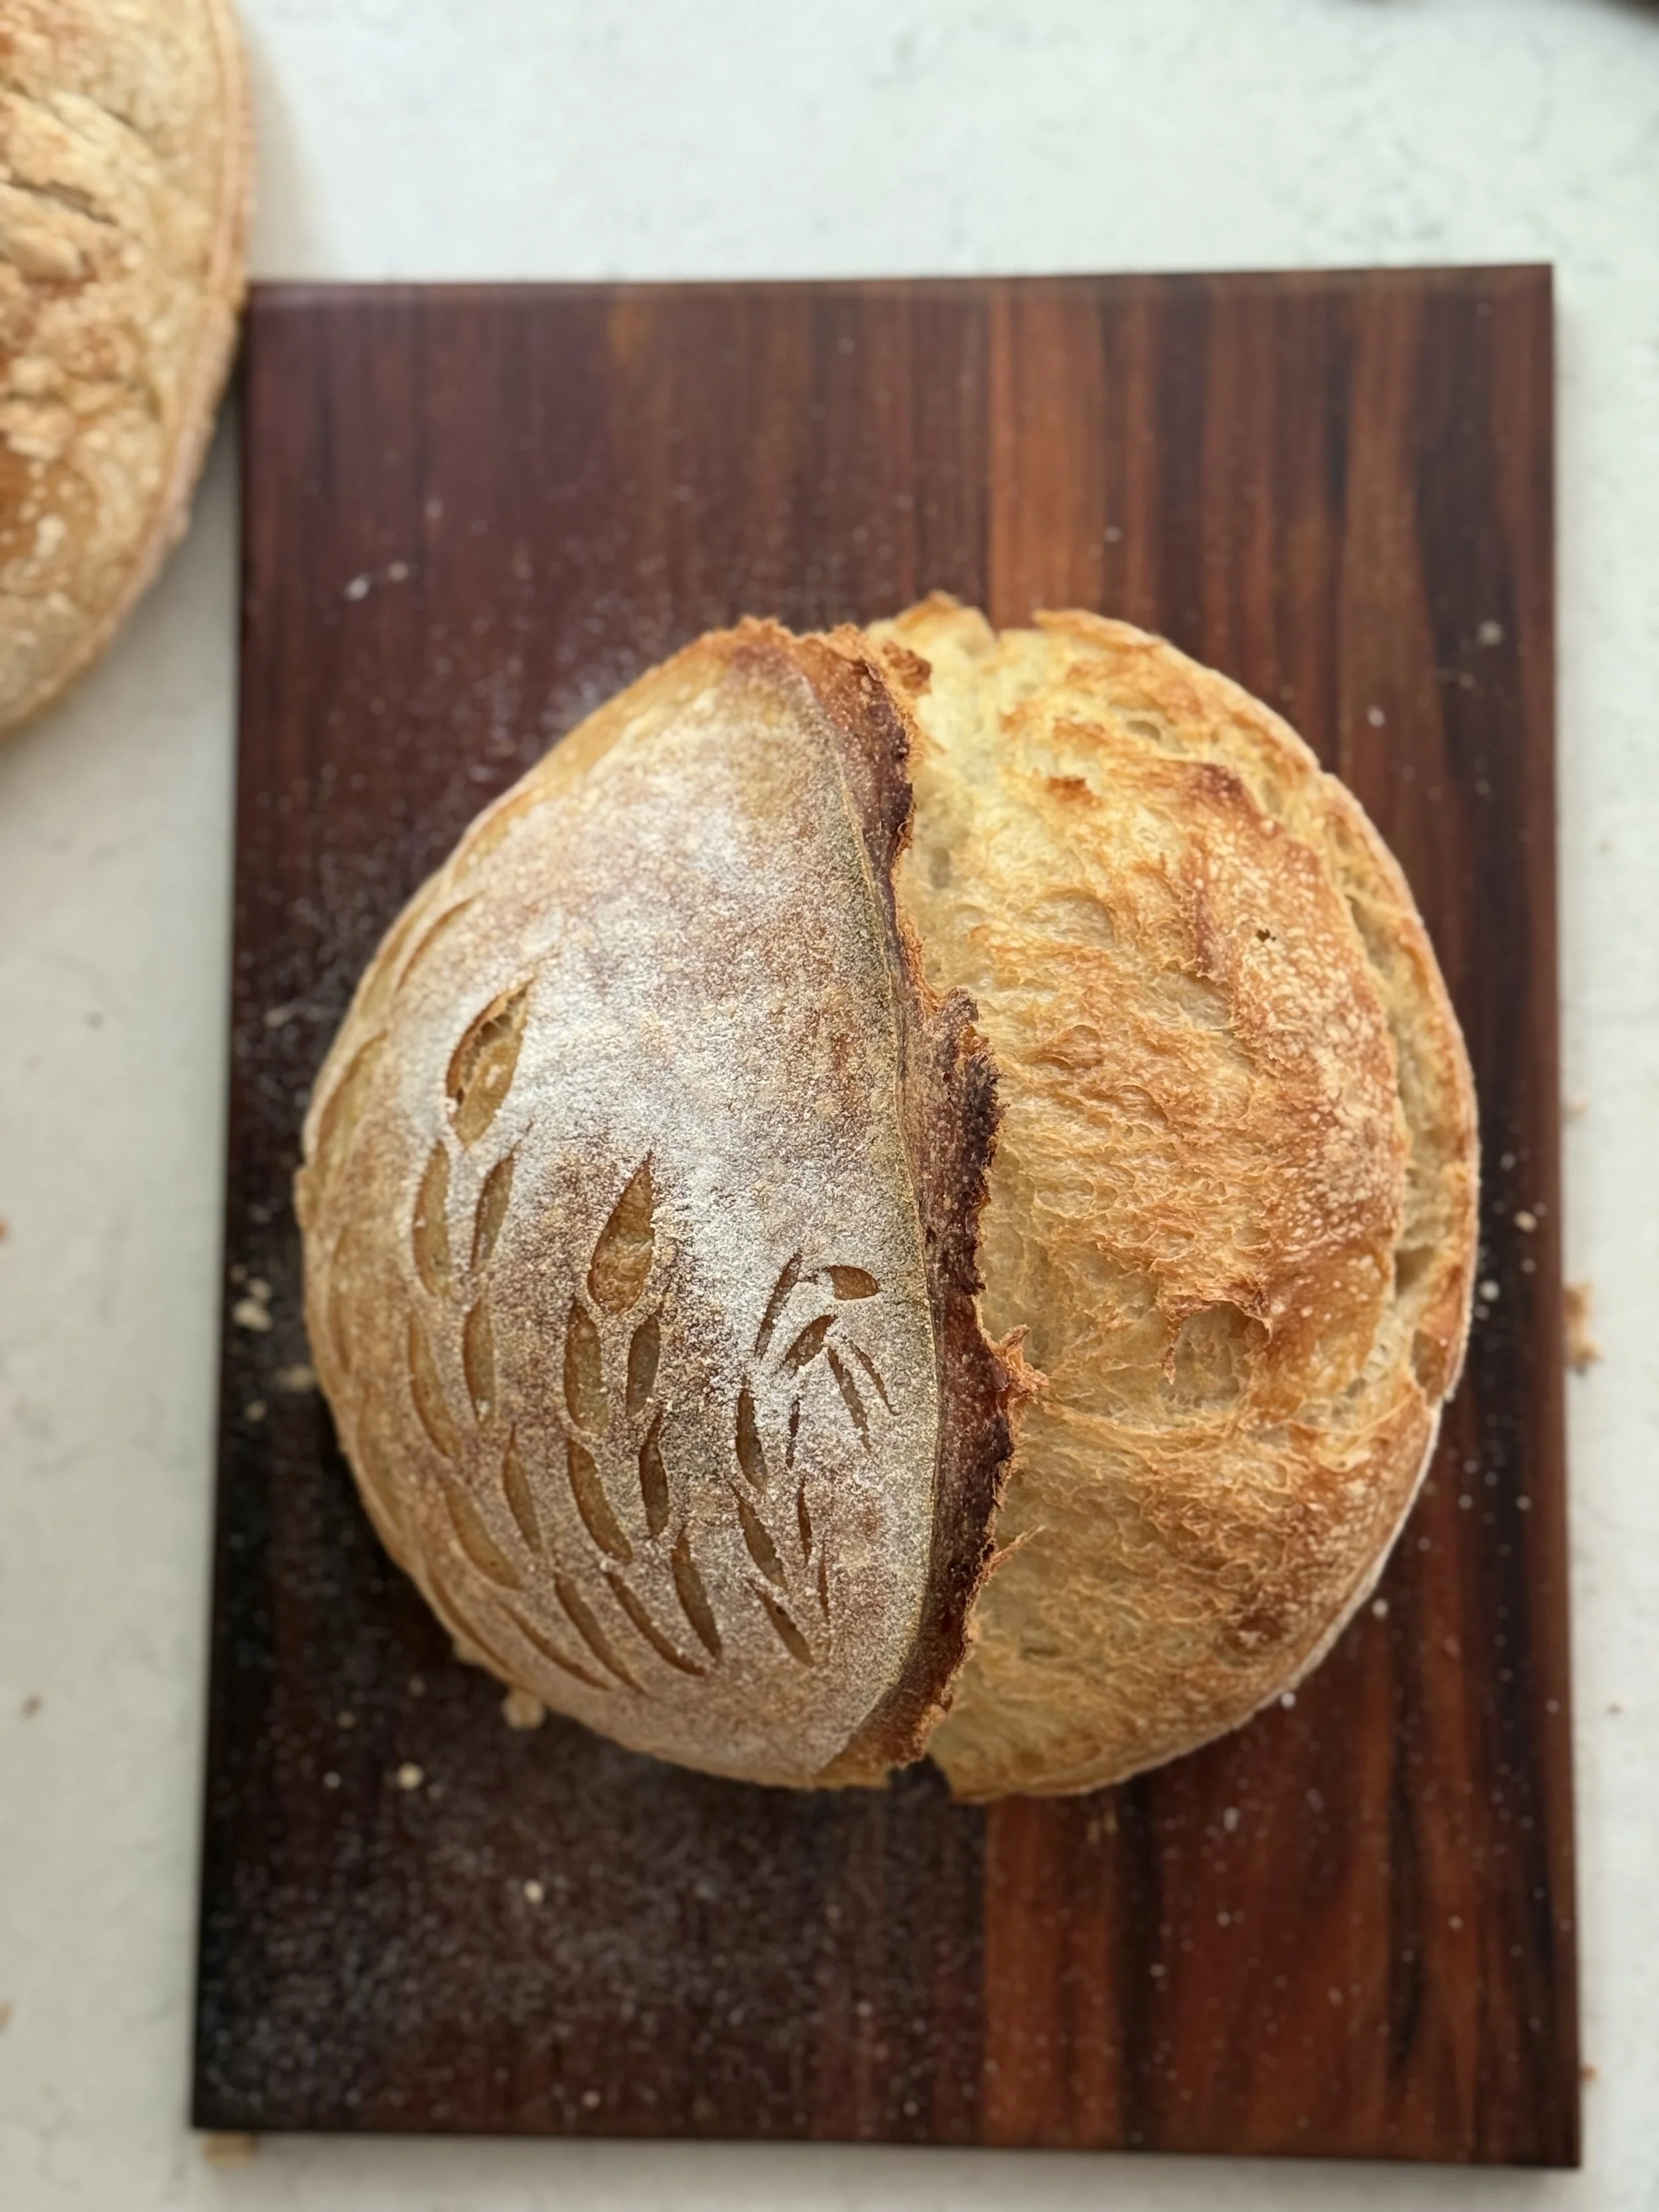
Belly
The part of a baked sourdough loaf that rises and pushes through the scored part during baking. The “belly” stretches from the score to the “ear”, or where the ear would be.
A big, rounded belly is an indication of a good loaf: good oven spring, a proper score, and generally a good process starting from a healthy starter all the way through to baking.
A baker’s tool used for easily cutting and handling dough, cleaning counters, among other things.
Biga
A preferment used in many traditional Italian breads.
It’s not necessarily sourdough, active-dry or instant yeast are used. It has a lower hydration than a levain, closer to stiff starter.
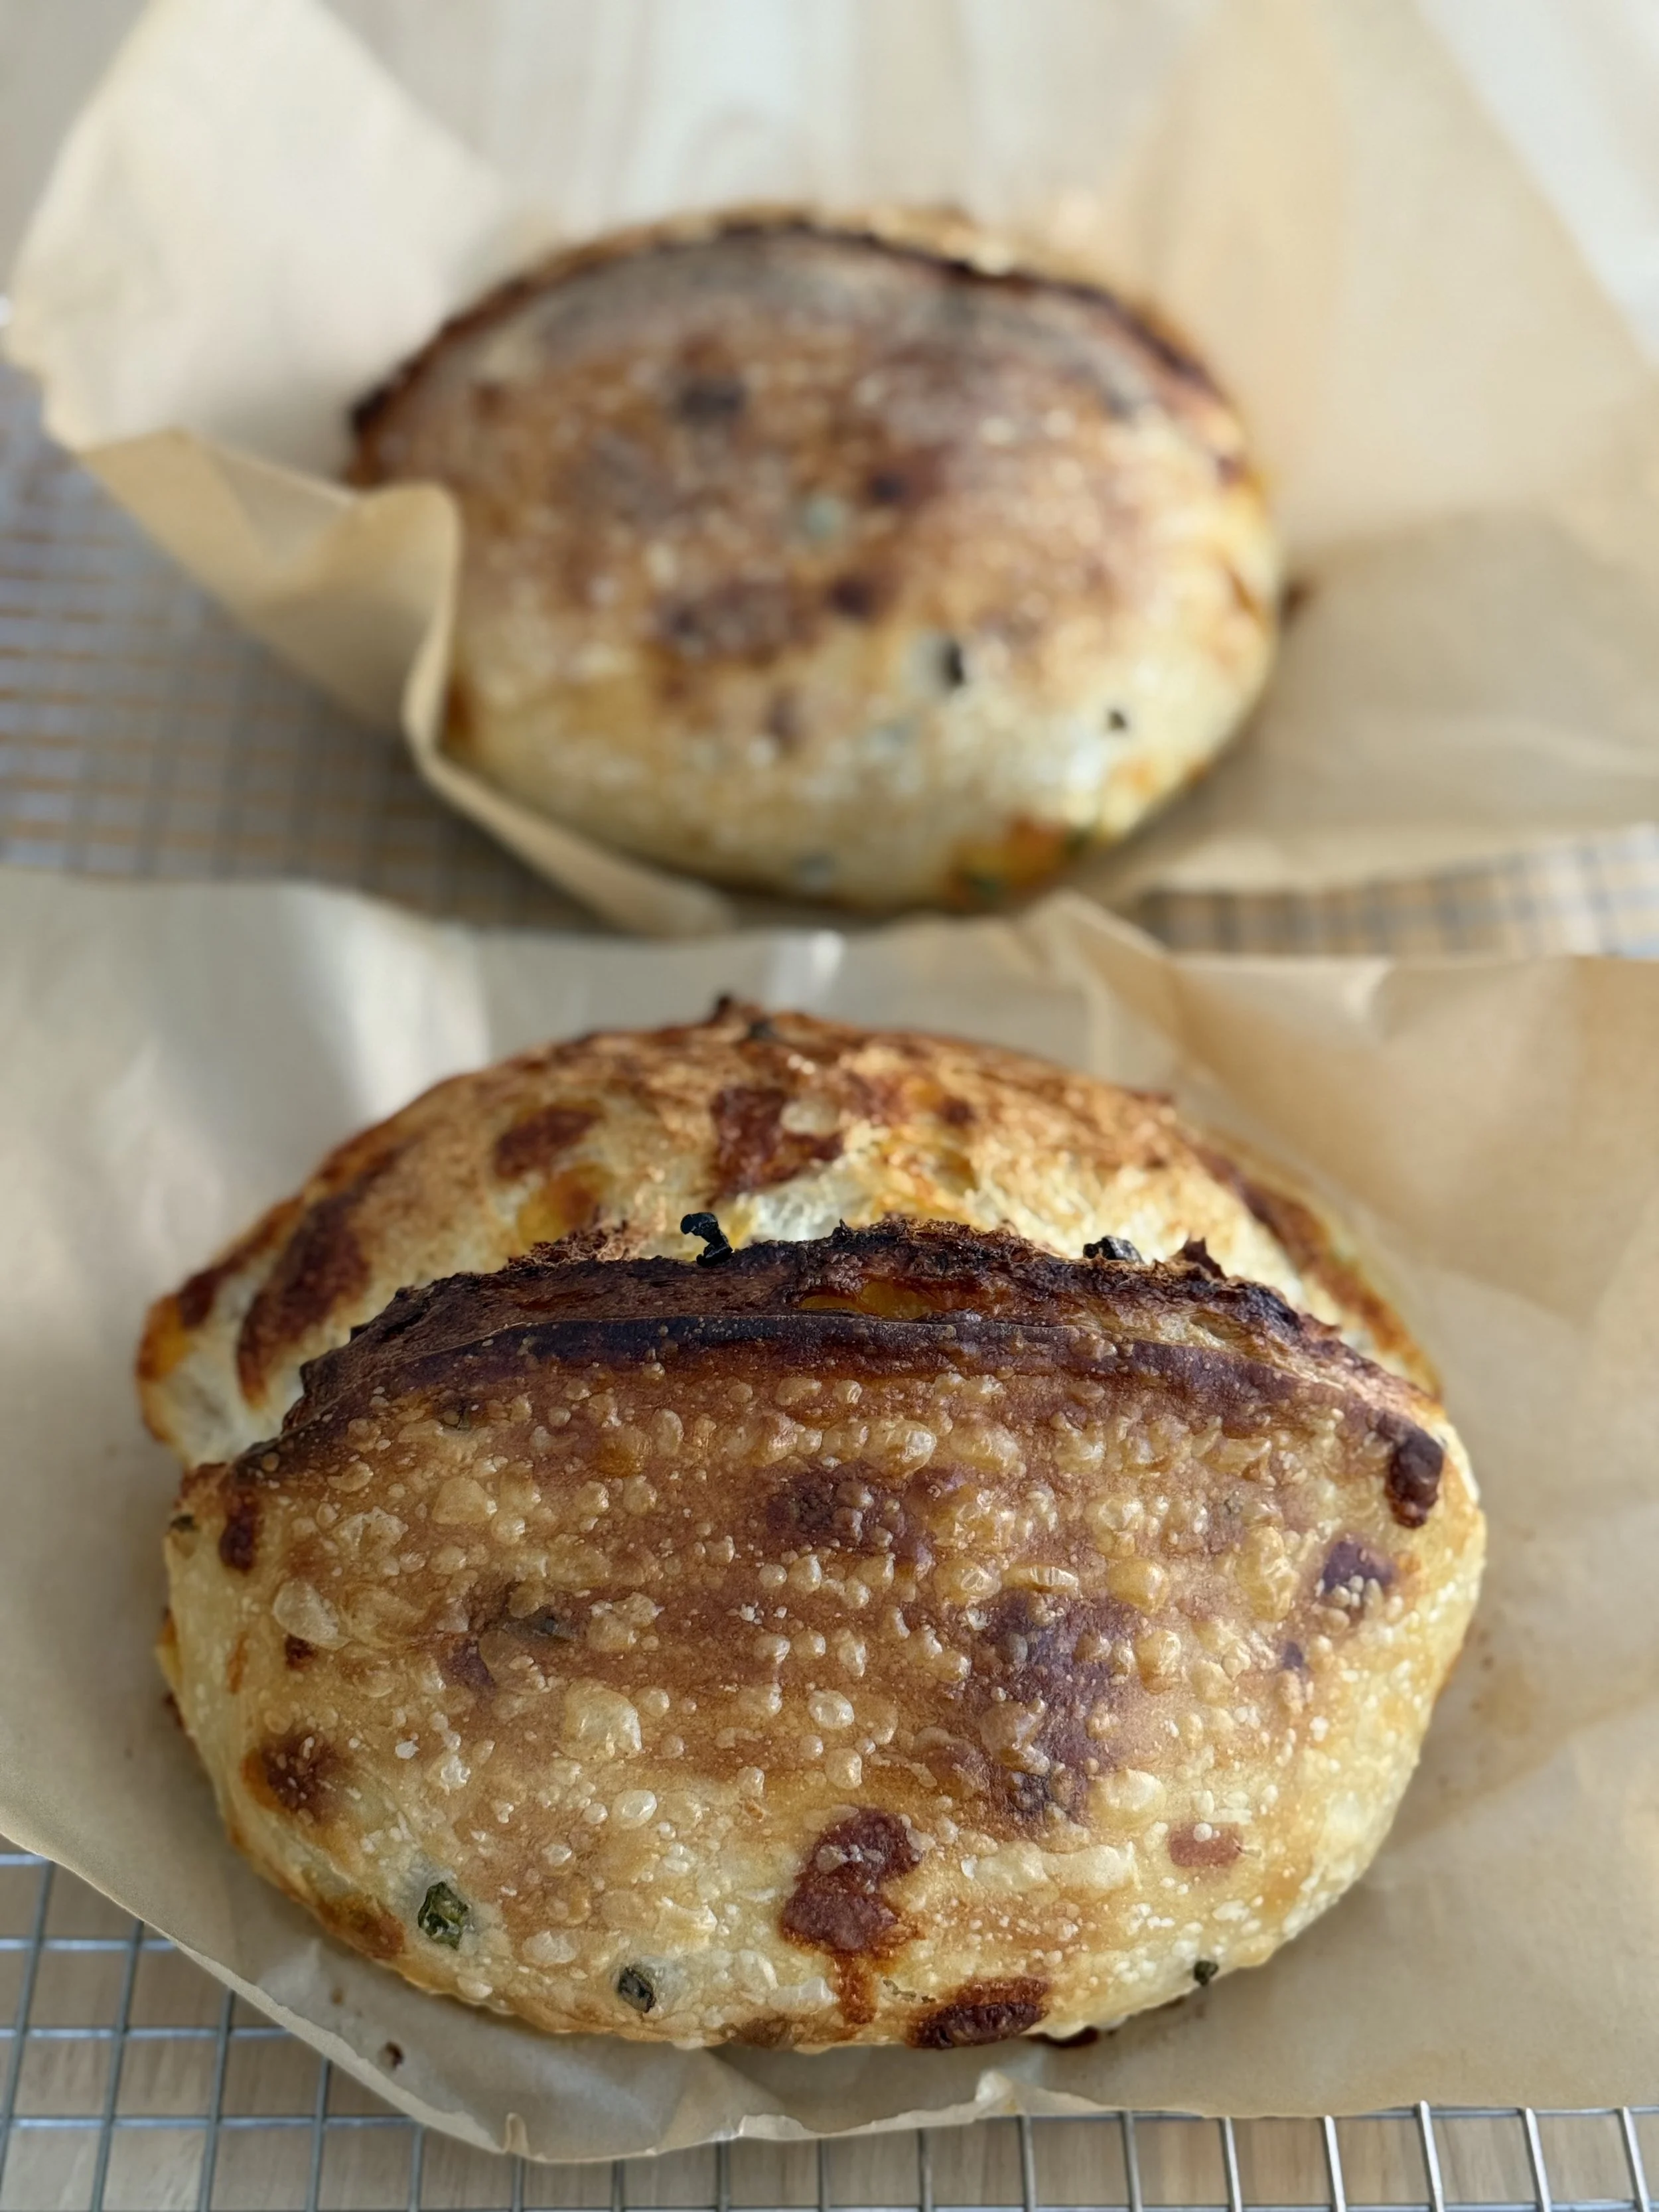
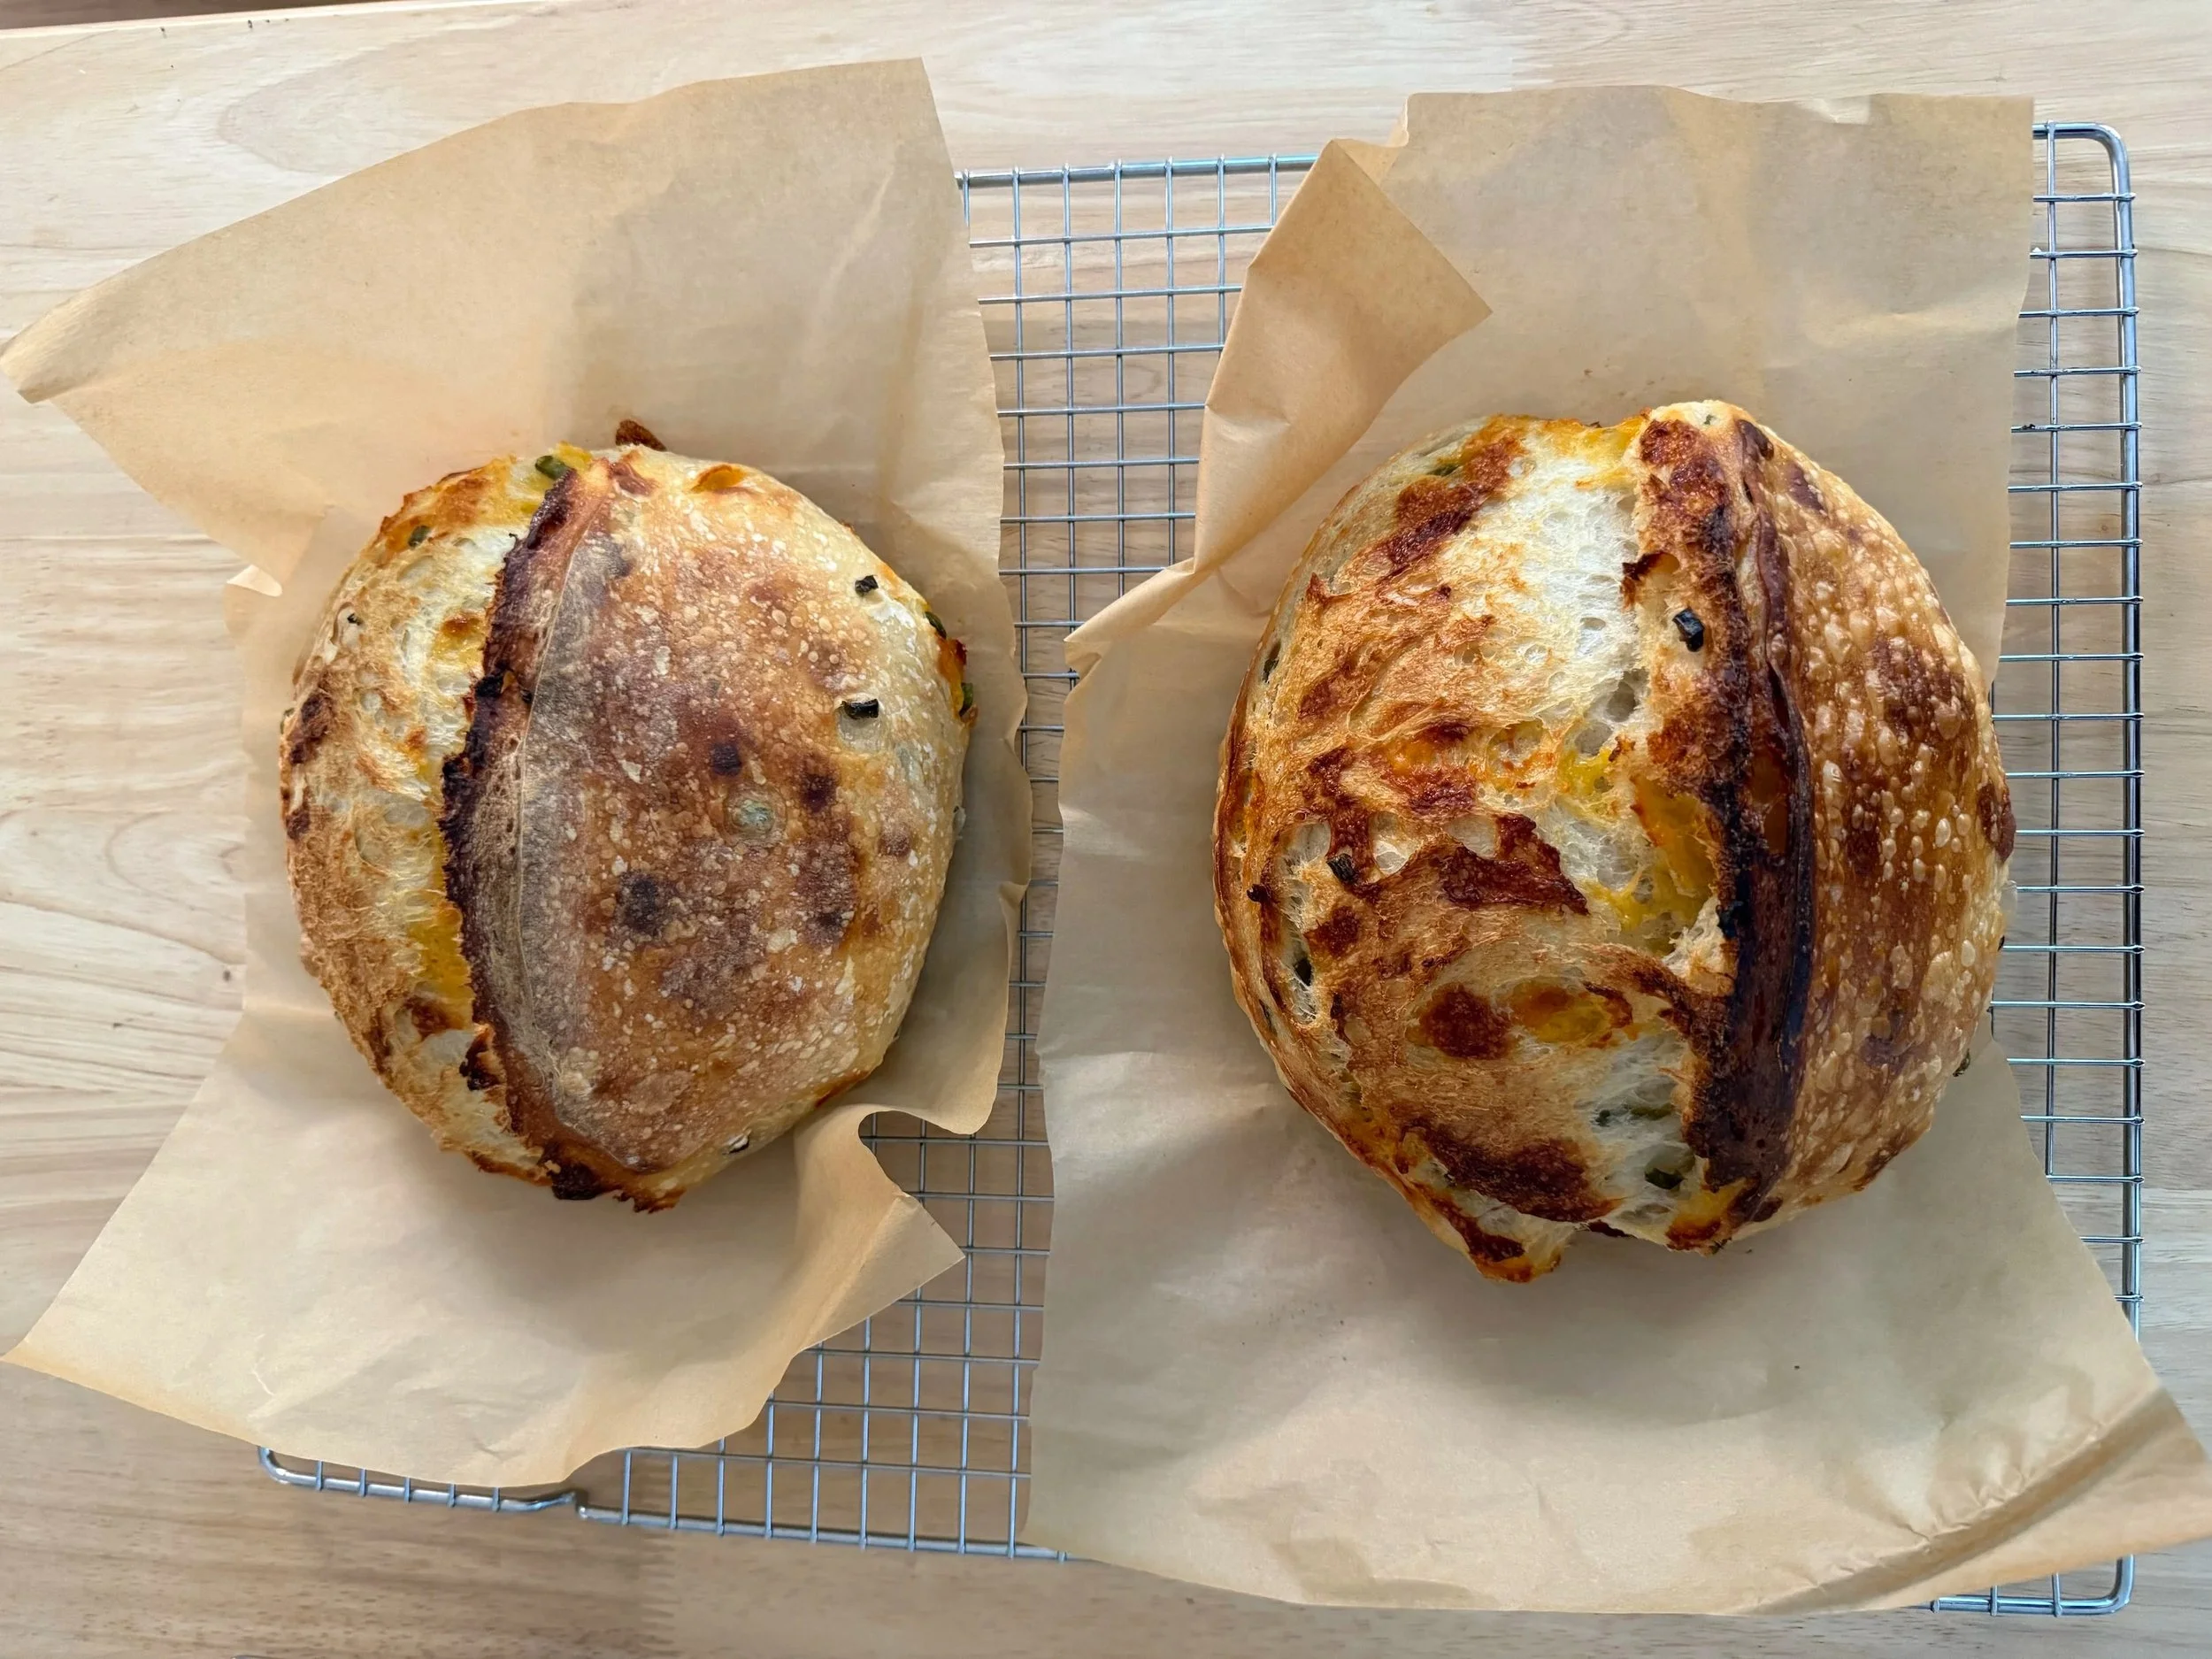
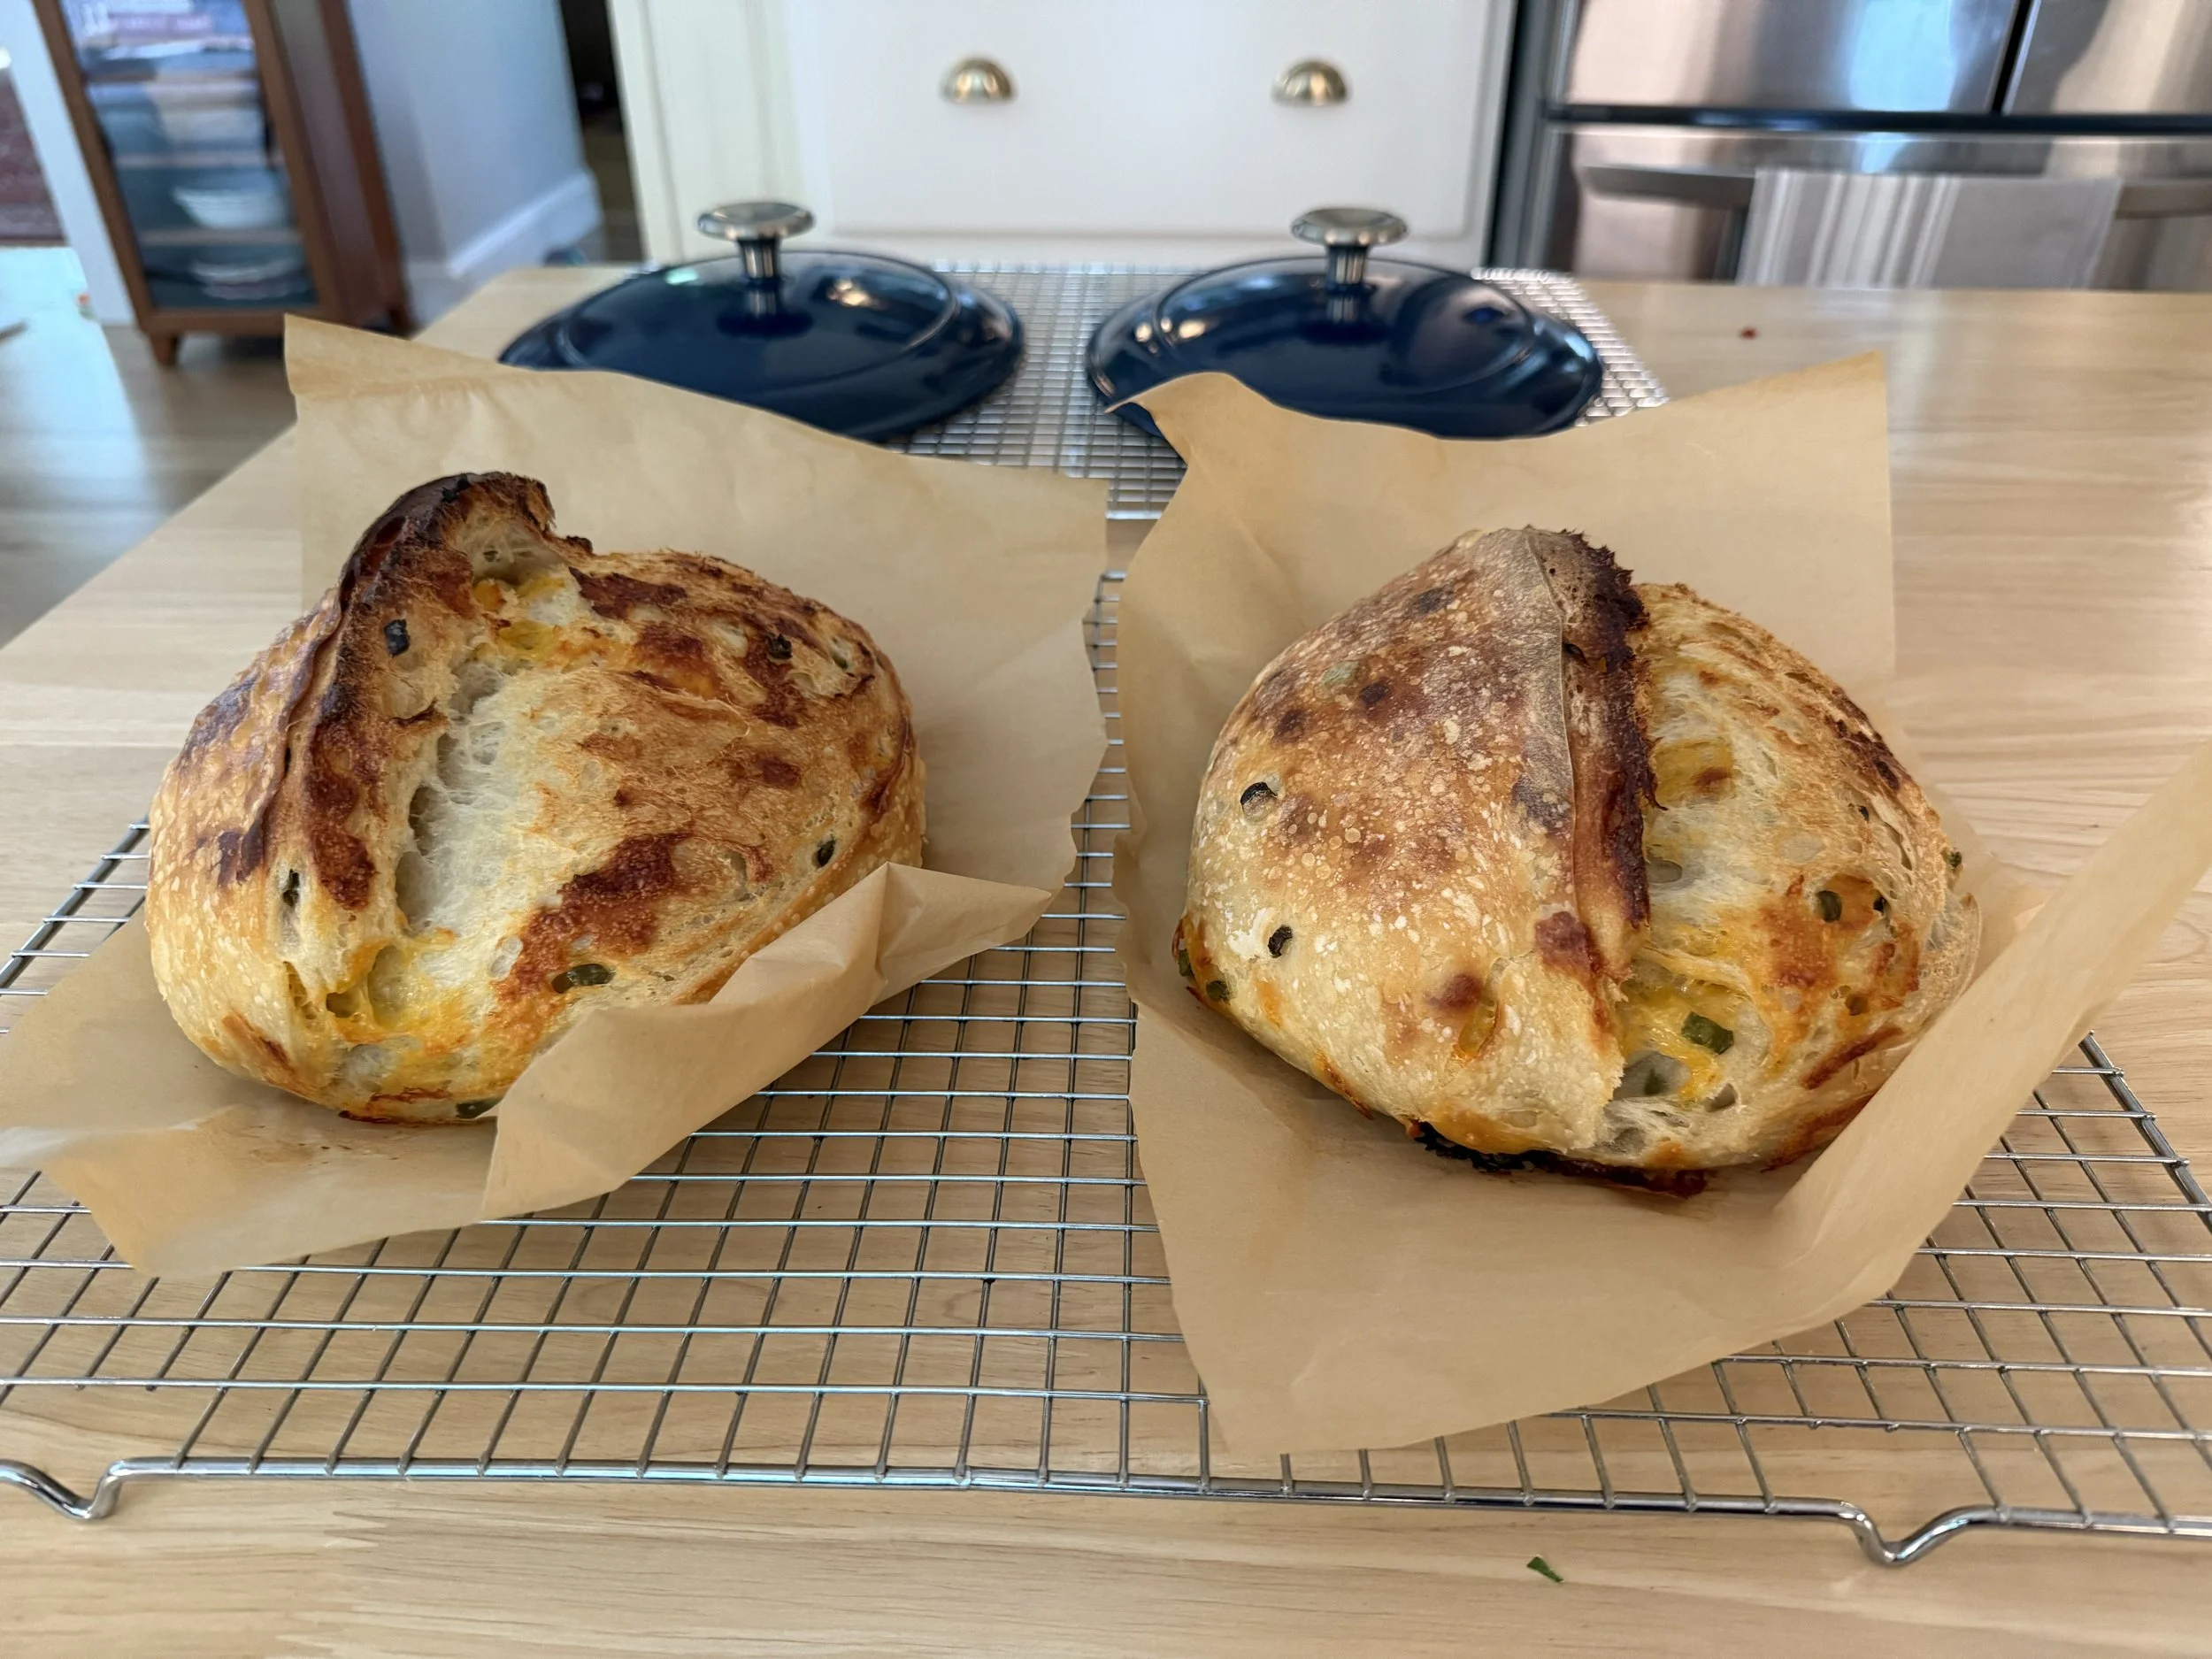
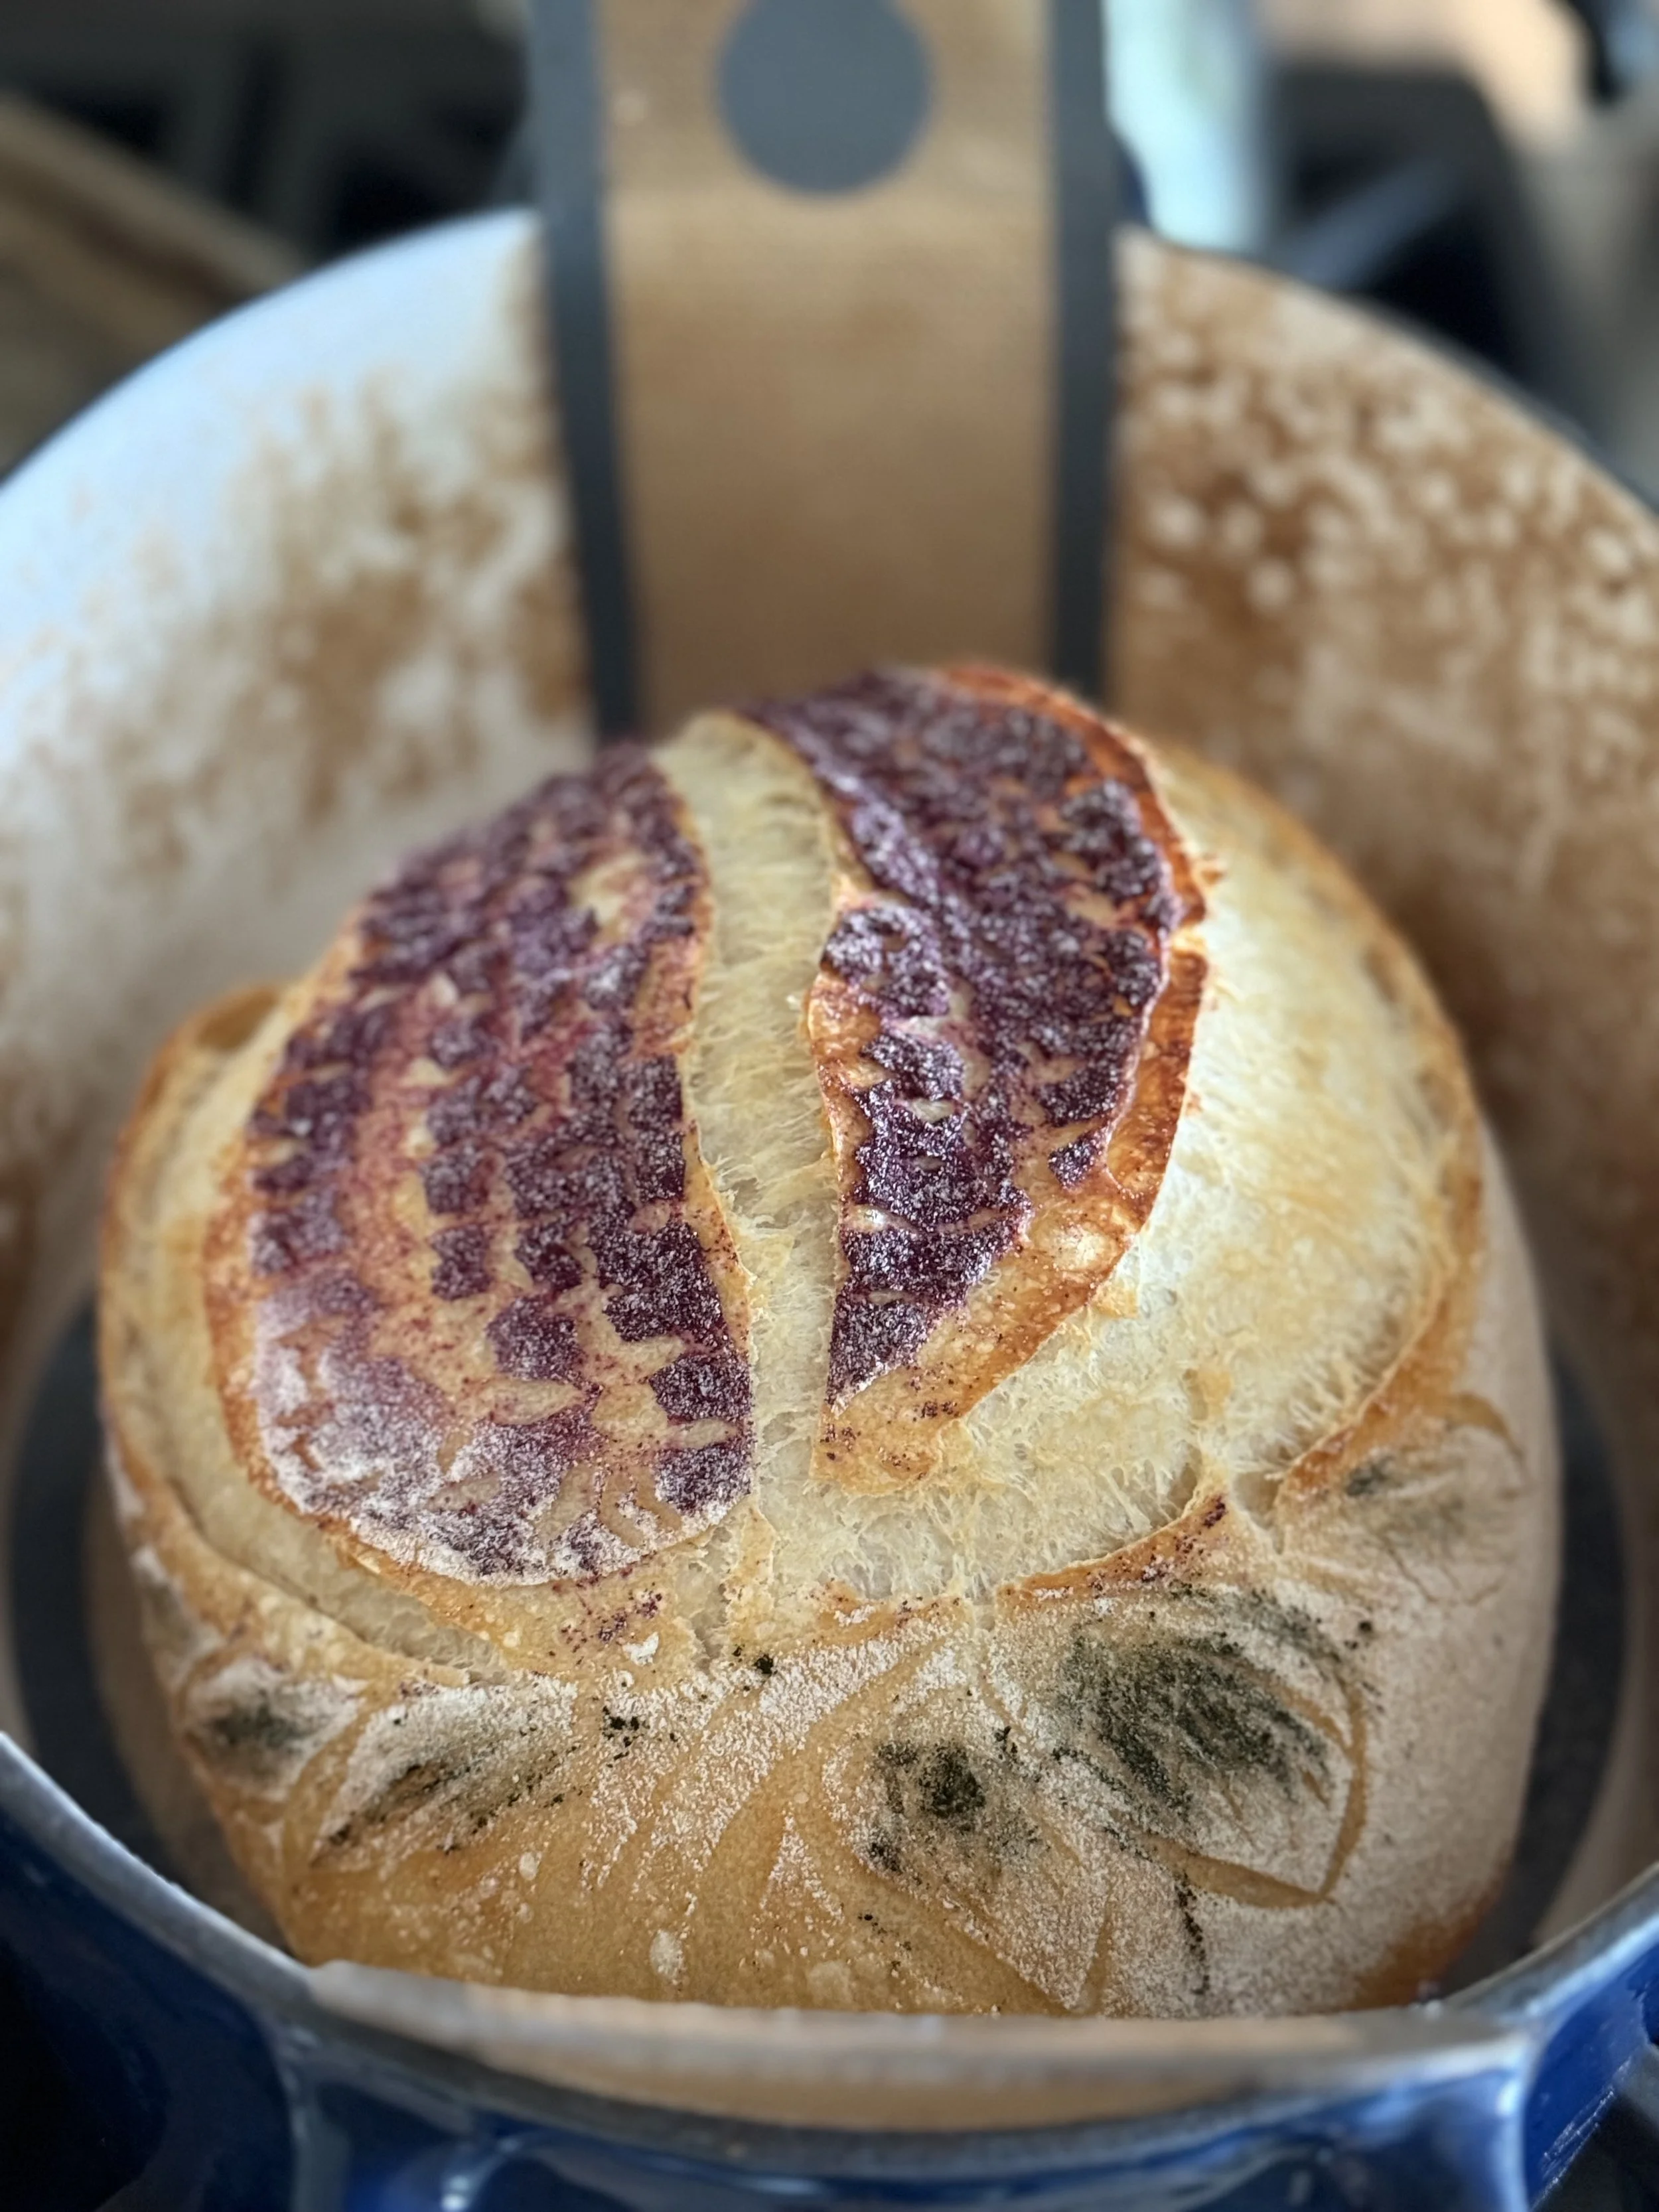
Blisters
The small bubbles that form on surface of the crust of sourdough as it bakes.
Often seen as desirable (at least in the US), blisters are achieved through proper fermentation of the dough, a cold ferment, and utilization of steam while the bread is baking.
Bloom
The rise of the bread in the oven through the scores or slashes.
A loaf with a nice bloom must have oven spring with appropriate scoring. Without these, the loaf won’t be able to bloom and won’t have a nice belly or much height.
See also “oven spring” and “belly”
Boule
A round loaf. From a French word meaning “ball”.
Flour with a higher protein content, ideal for making bread and other baked goods that require development of gluten.
A piece of silicone or parchment used for easy transfer of loaves into a Dutch oven.
You can get them round or oval, depending on loaf shape. You can buy them or make your own.
A basket used for proofing bread to help it keep its shape.
While any appropriately sized food-safe basket could be used, there are specific baskets made for this purpose. Bread proofing baskets are often called bannetons or brotforms.
A German term for the special baskets for proofing bread, often made of natural cane from the rattan plant, although they also come in silicone and other materials.
Brotform is also known as a banneton or bread proofing basket.
Bulk Ferment
The long ferment/rise of dough that begins when levain/starter is added to the dough and ends when the dough is shaped.
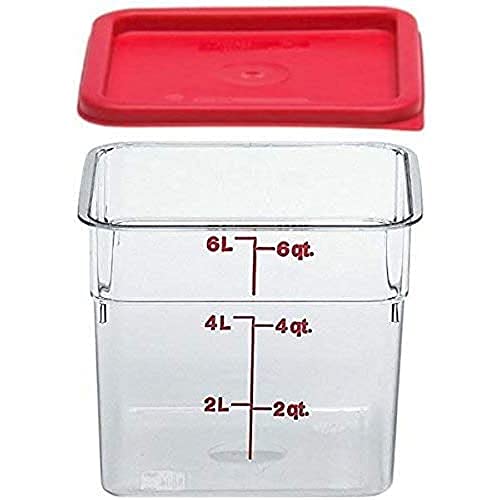
Any container that is big enough to hold the dough and give it room to double, while being able to perform stretch and folds or coil folds.
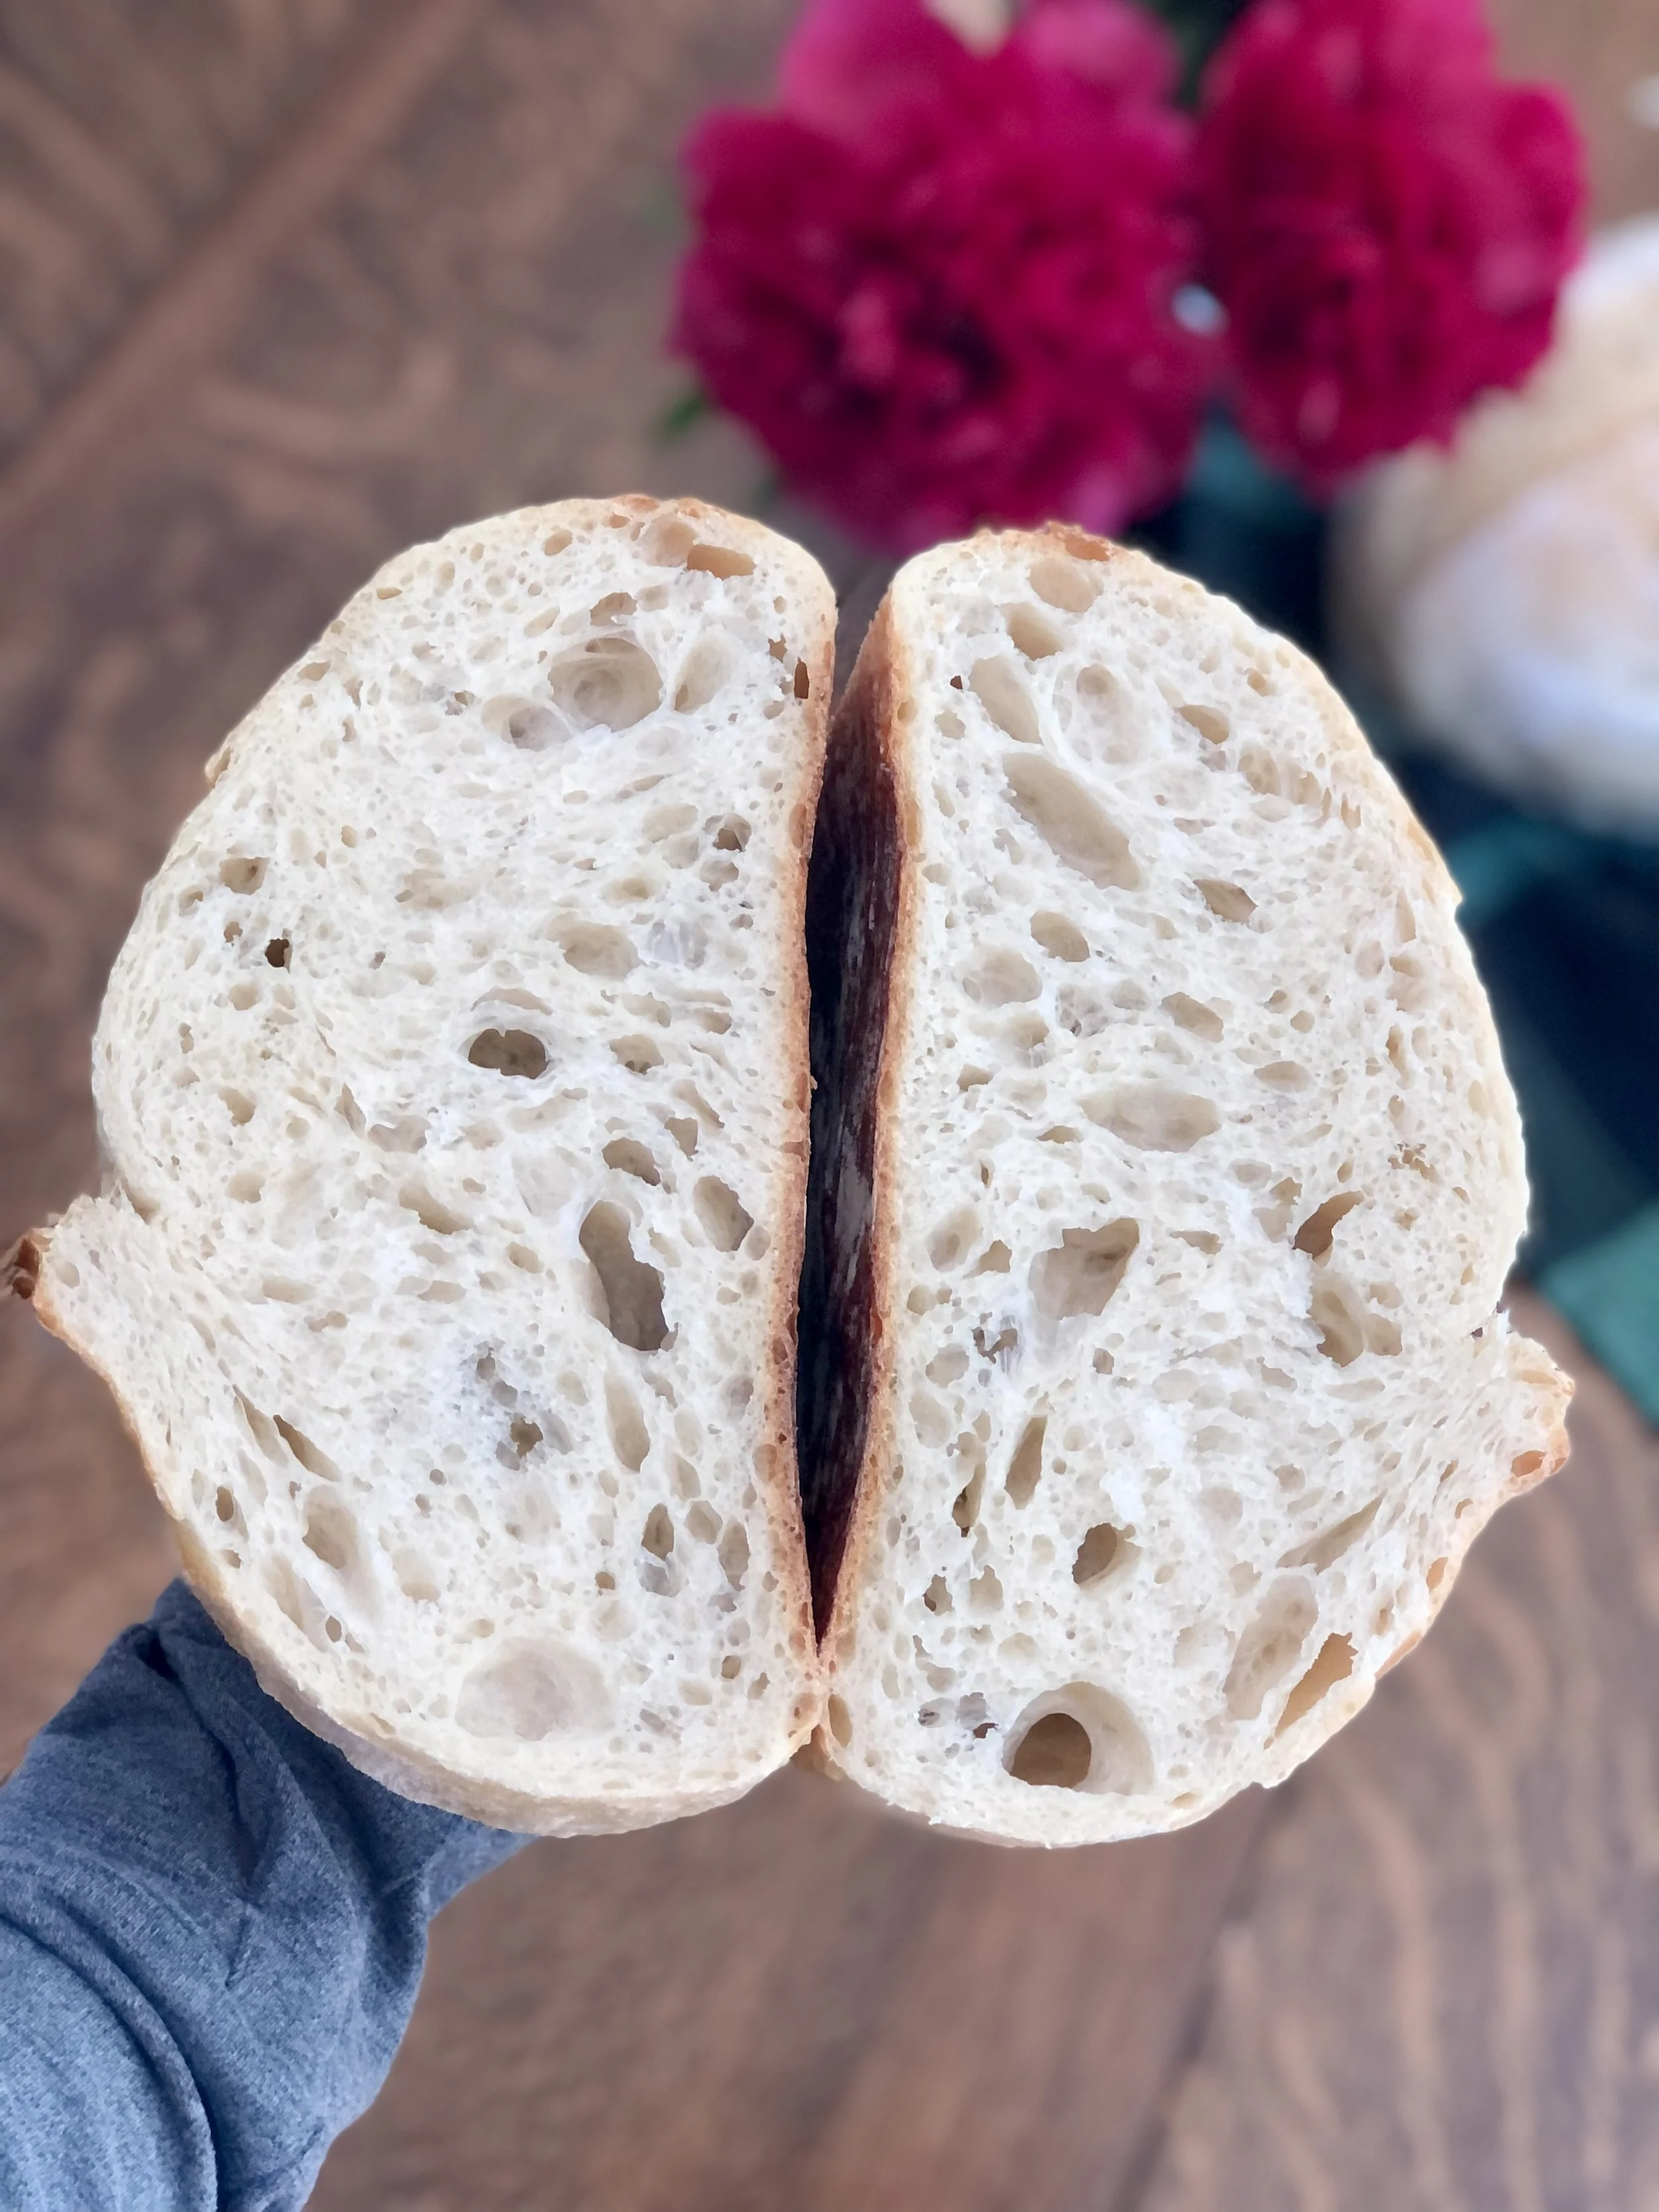
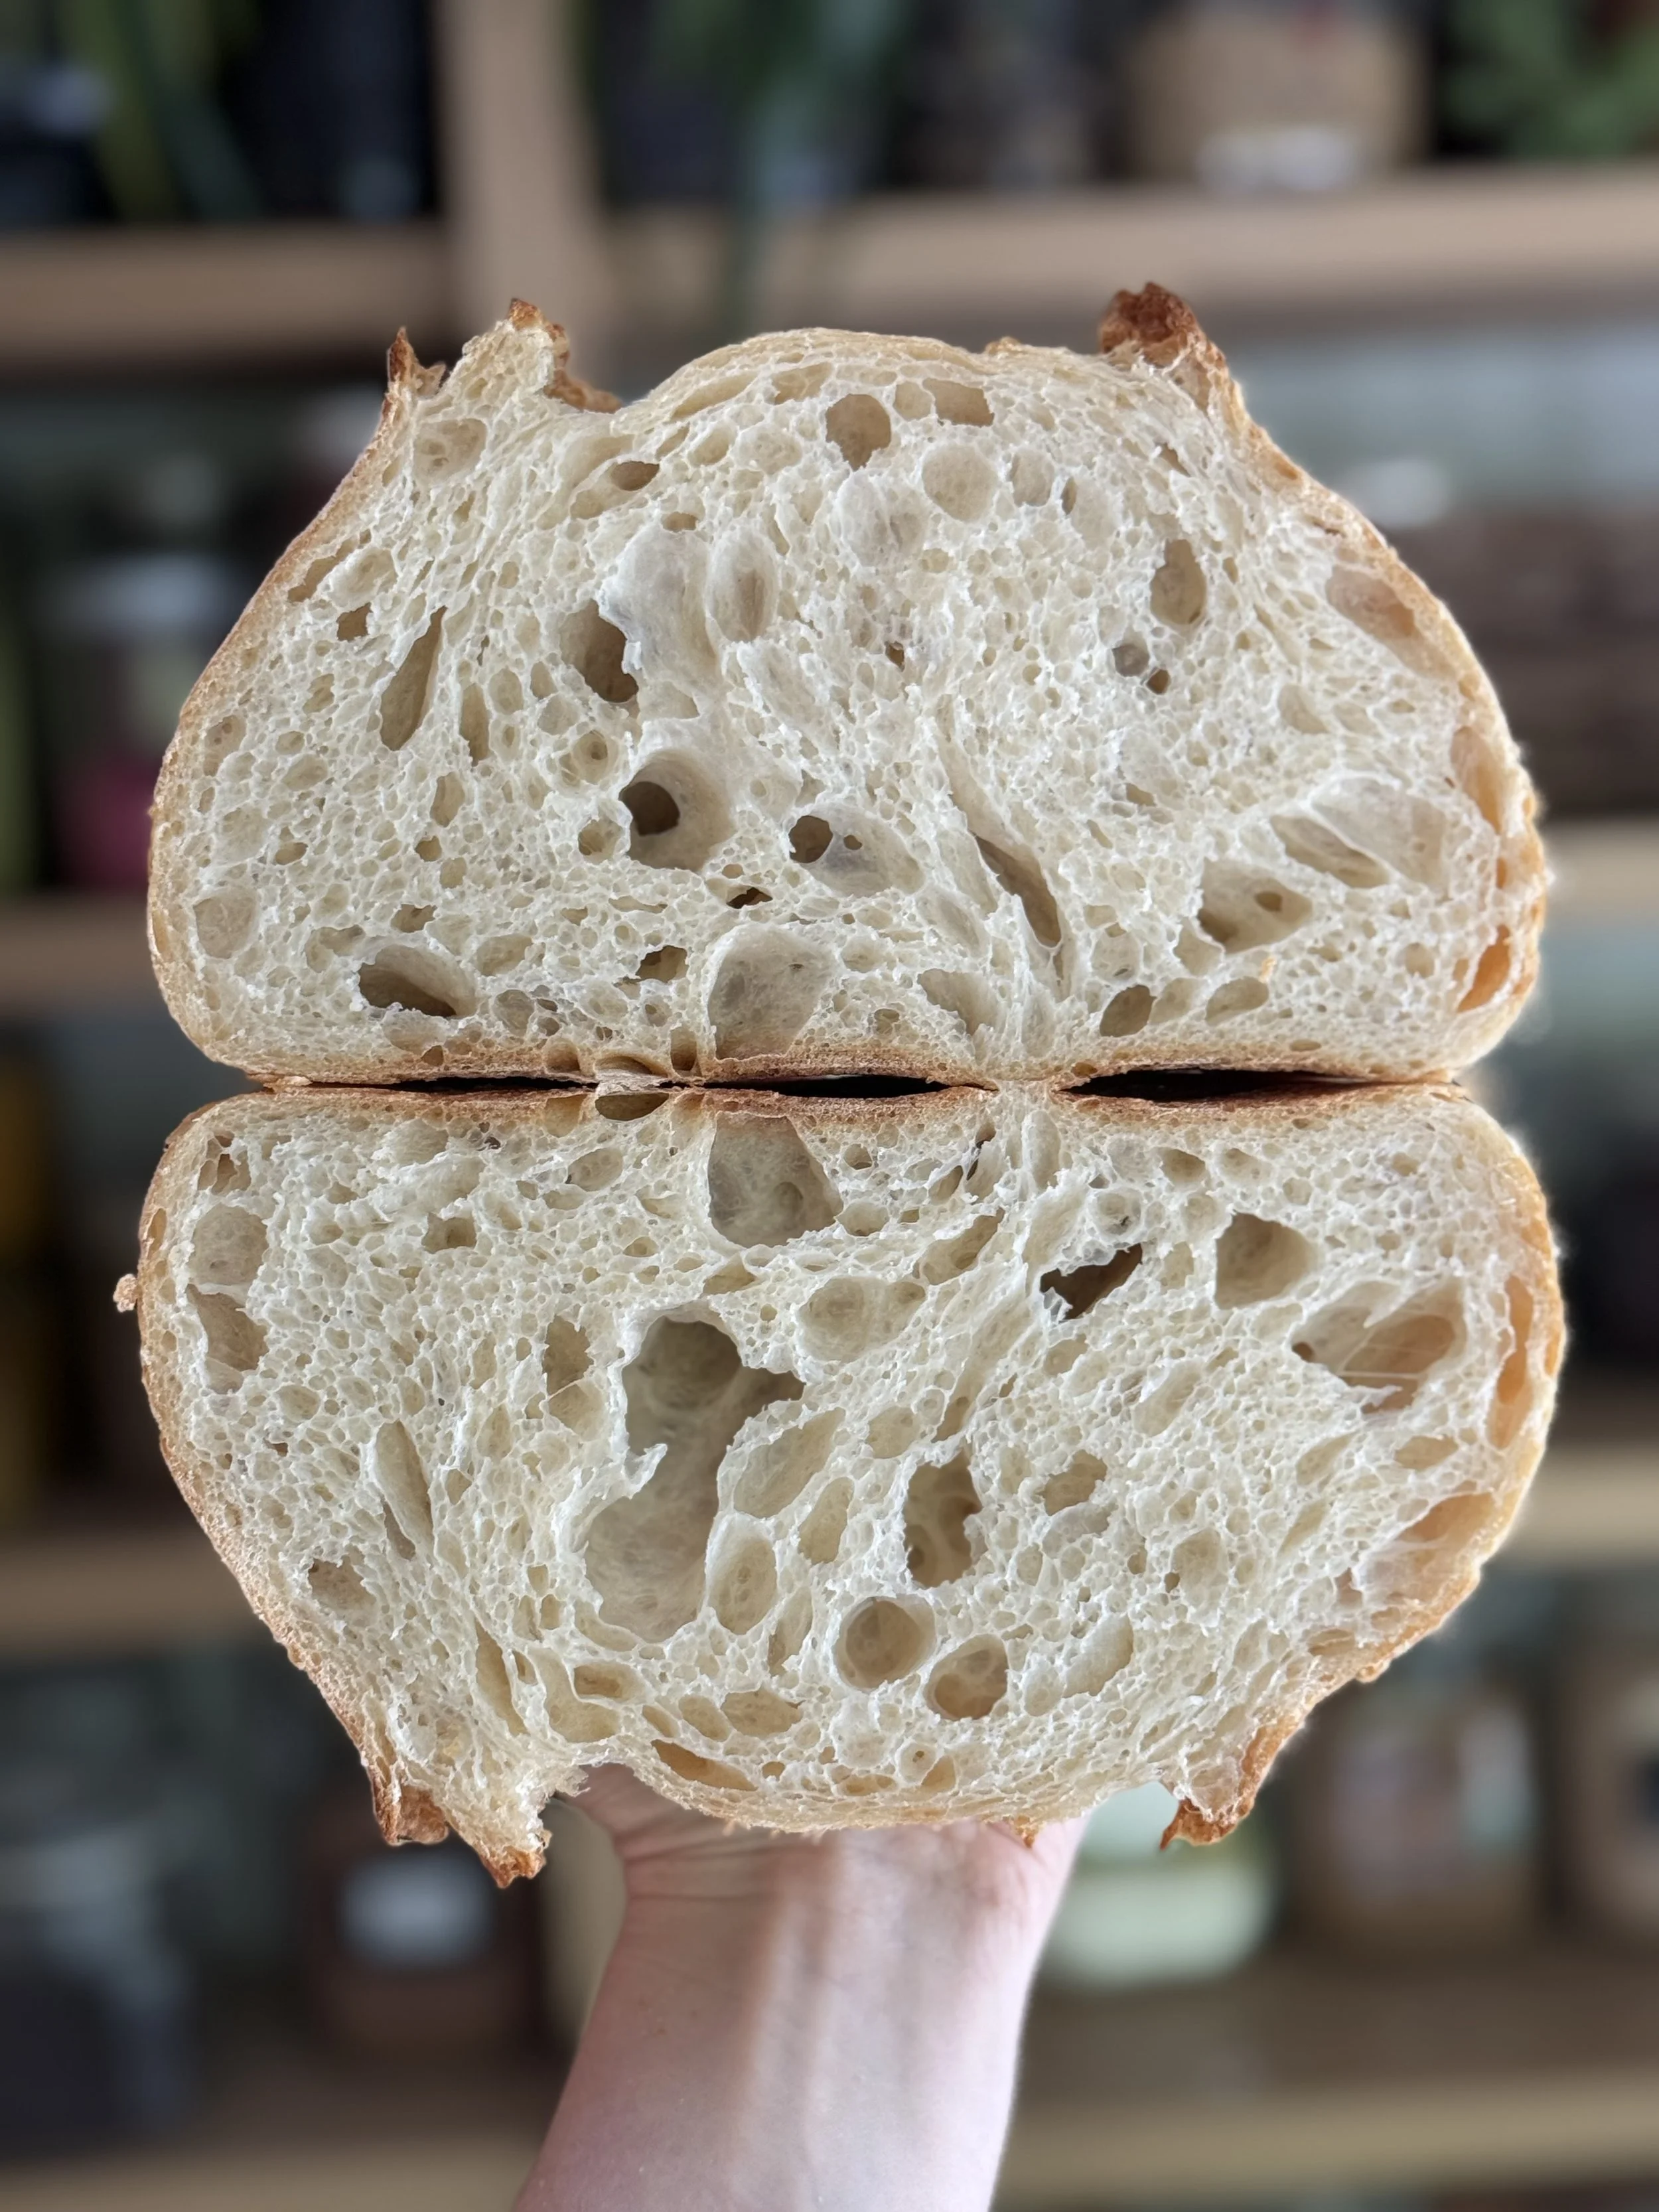
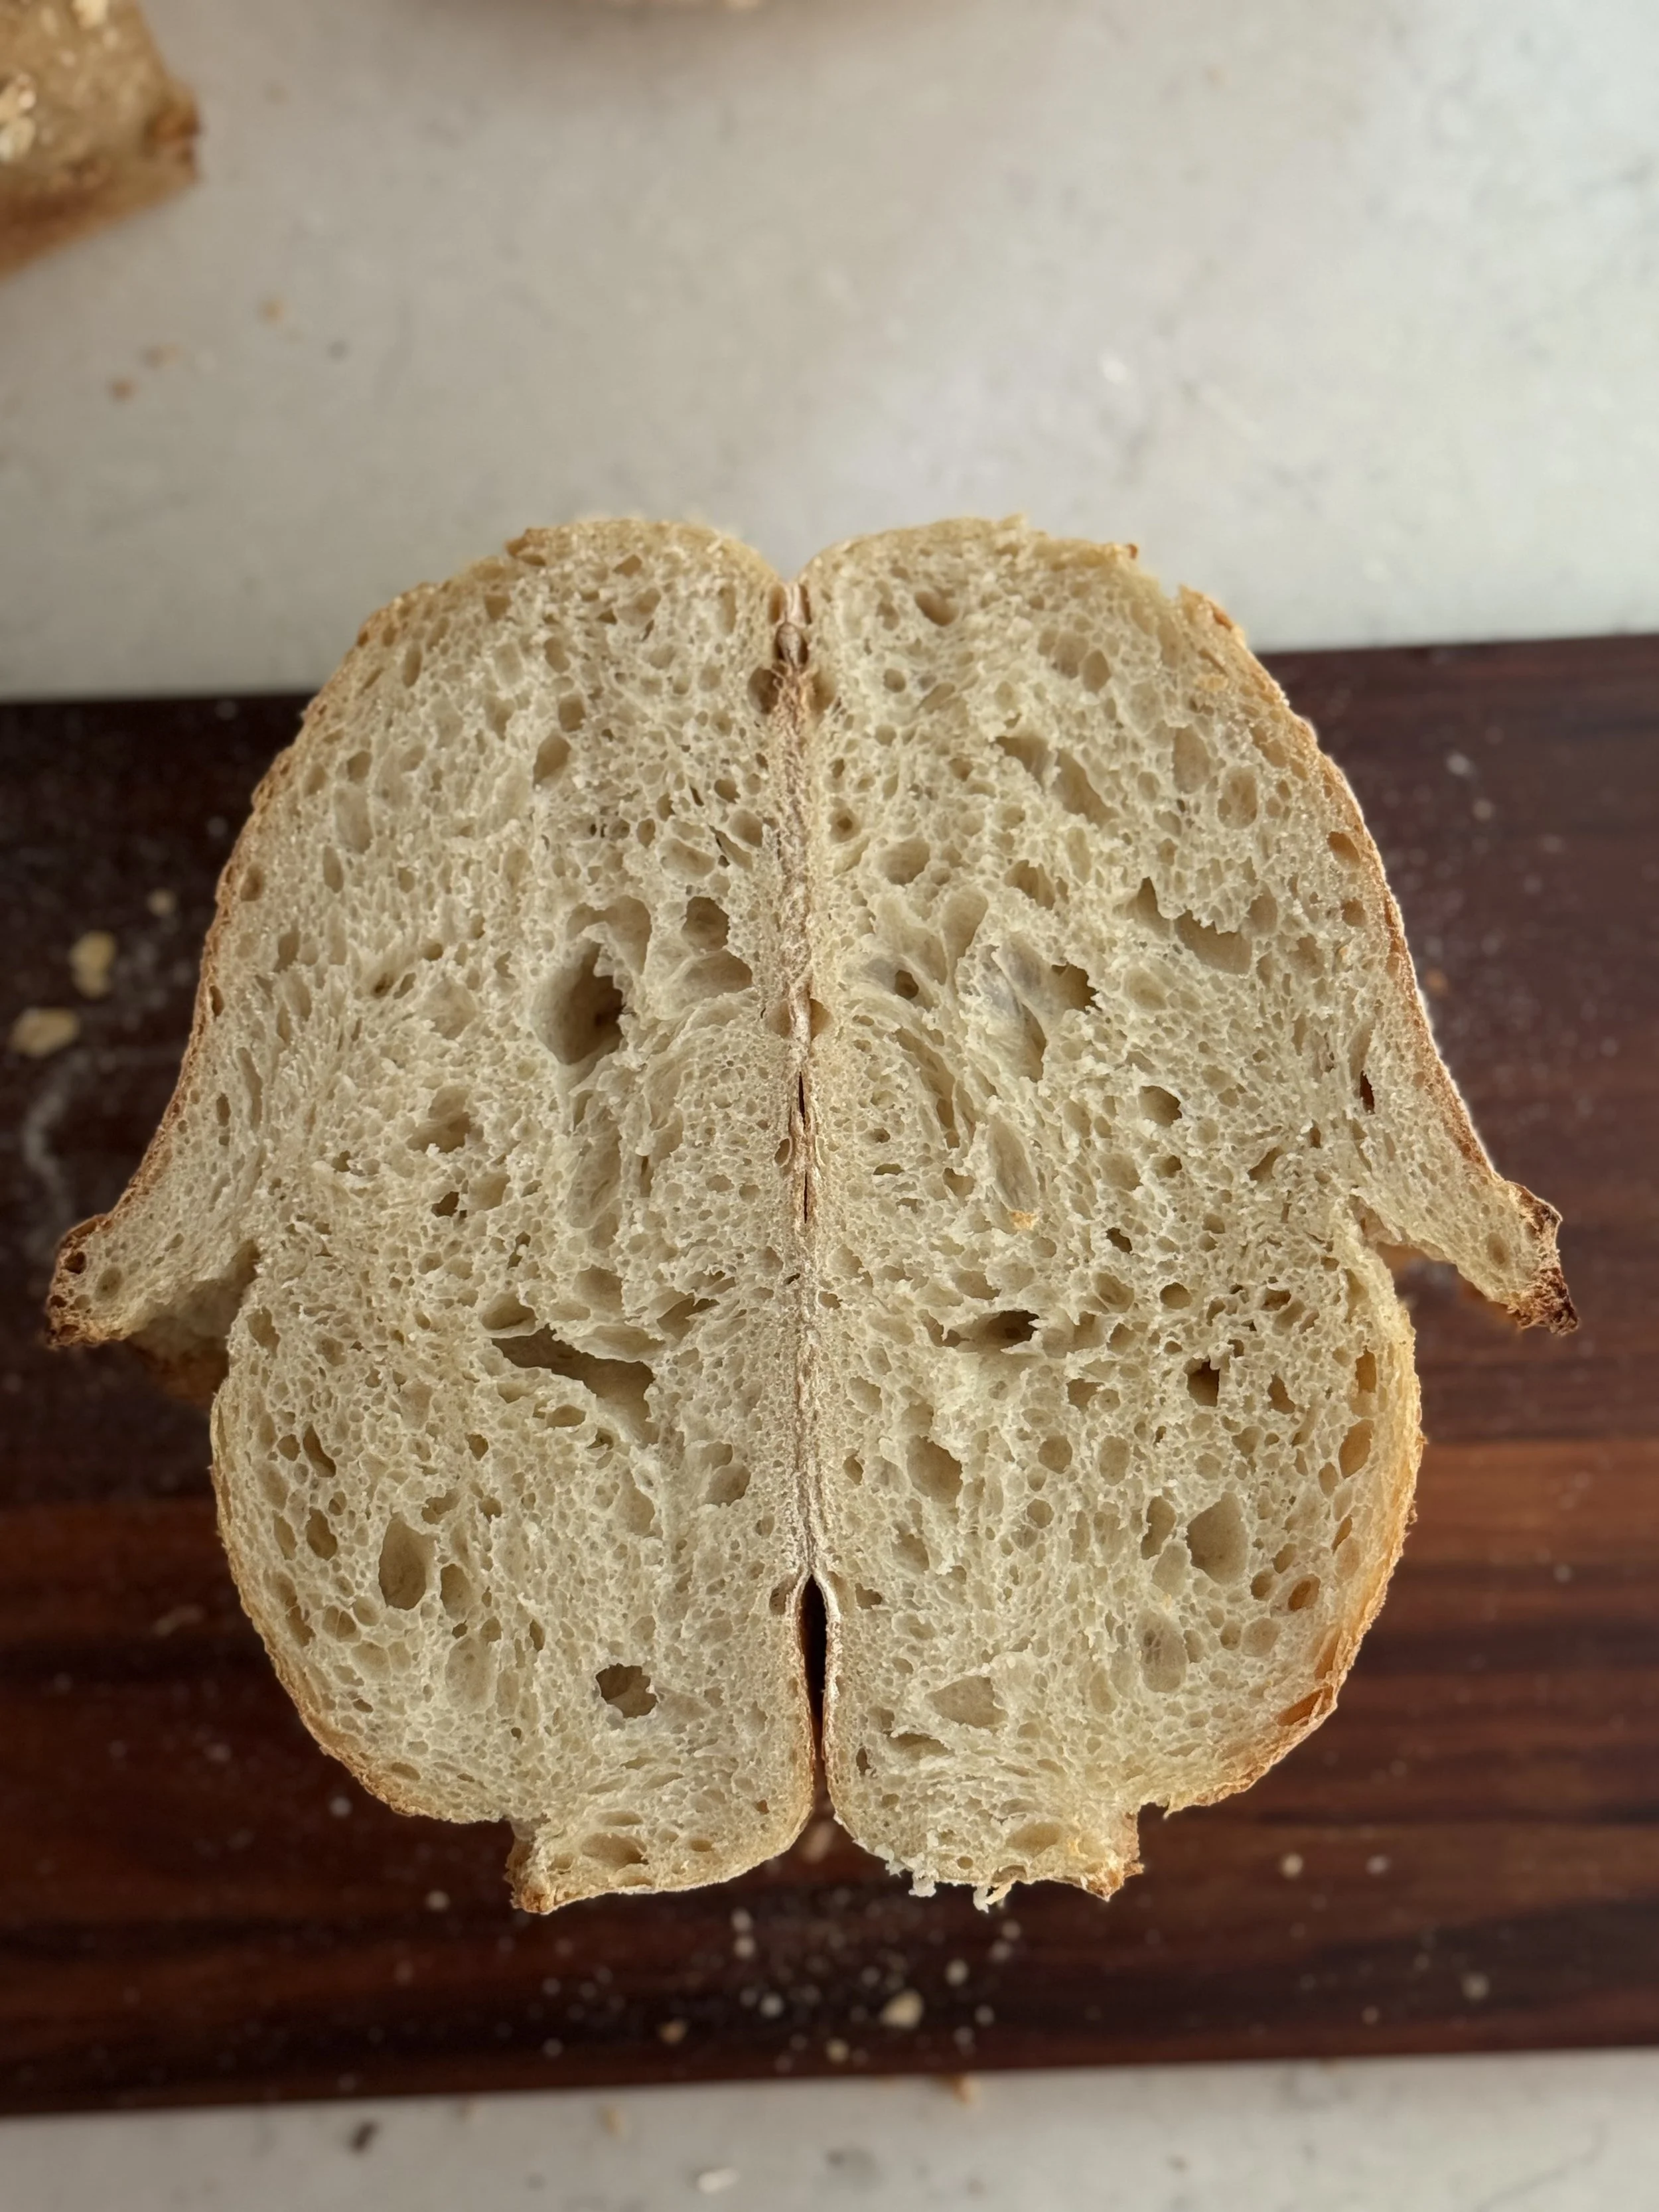
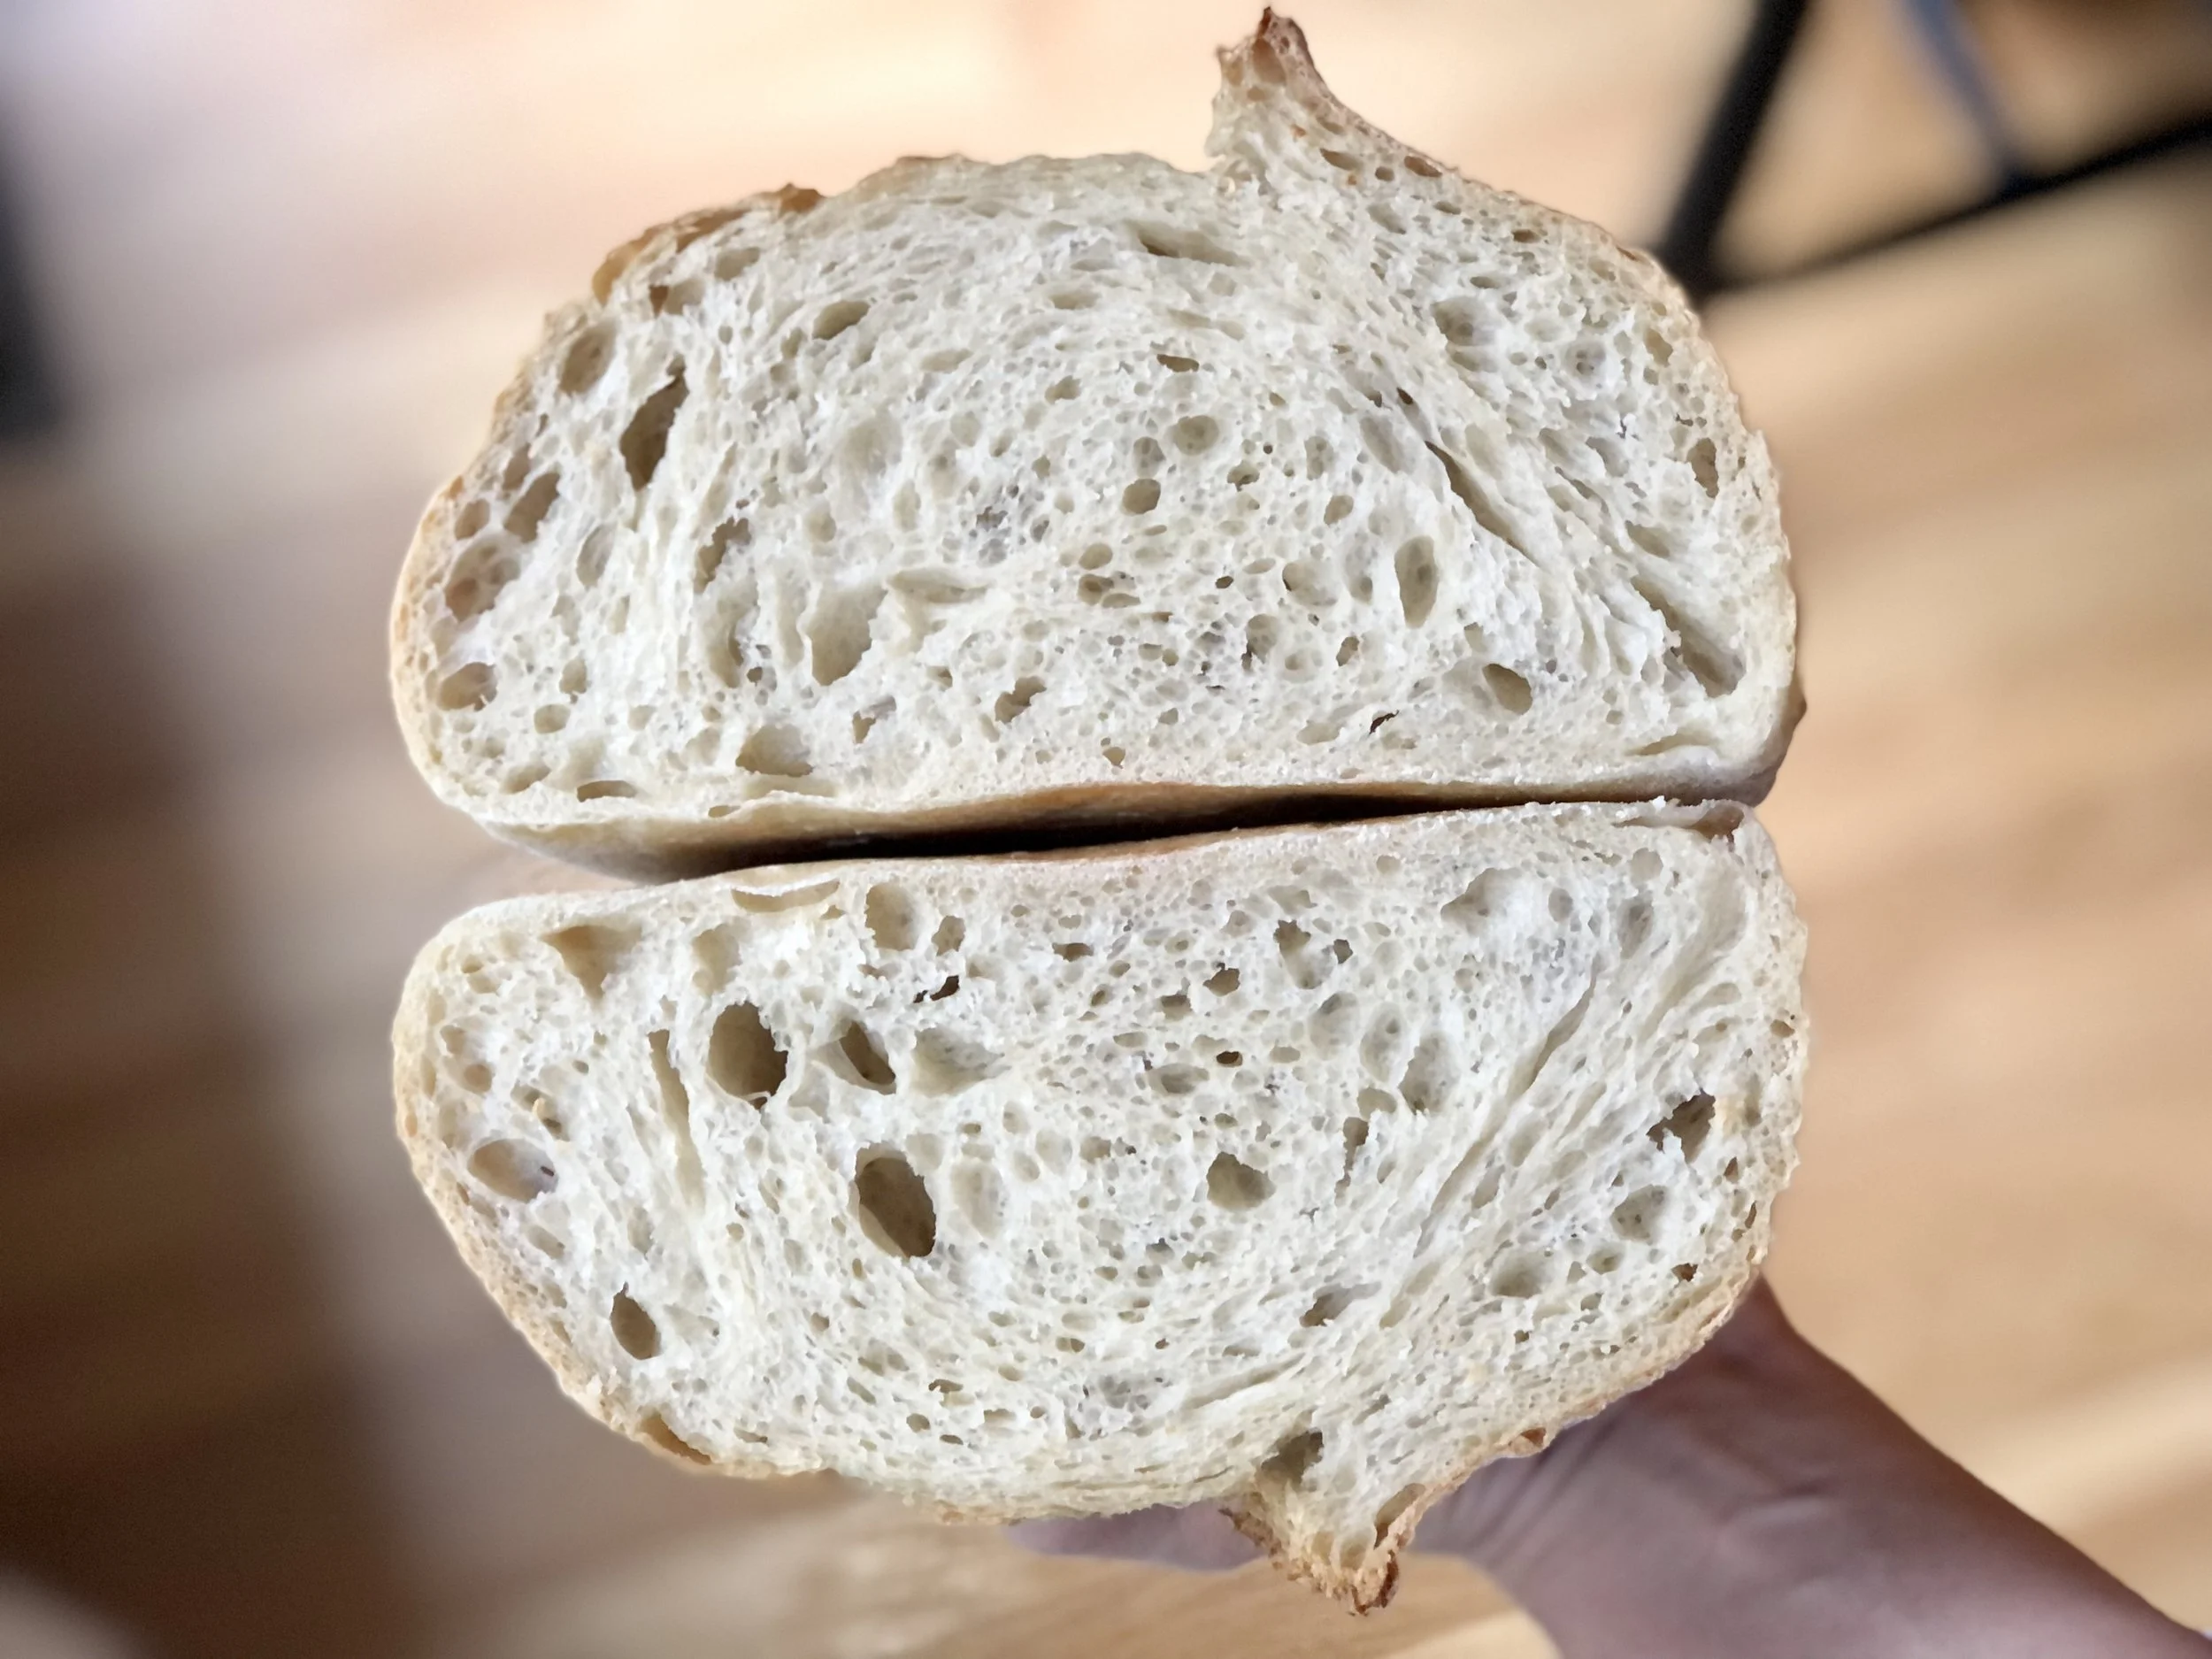
Bunny Profile
The profile of a loaf of sourdough when sliced that resembles a bunny, often indicative of a nicely fermented dough and a good oven spring.
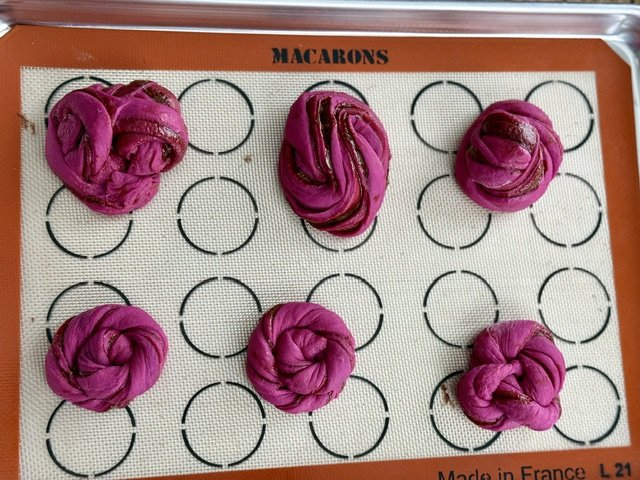
Caddy Clasp
A shaping technique.
This technique to shape dough into its final shape was invented by Wayne Caddy and uses minimal movements, squeezing rather than rolling or folding, to shape the dough and achieve surface tension.
A cast iron pan designed for bread baking, similar in idea to a dutch oven.
Closed Crumb
The inside structure of the bread having mostly small or tiny holes.
See also “fine crumb” and “tight crumb”
Coil Folds
A special way of developing gluten in sourdough. Usually done by wetting hands, then pulling the dough upwards from the middle until the ends detach from the bowl, allowing gravity to pull the ends down, then folding the dough back down into the bowl. This is repeated a few times during each coil fold.
Commercial Yeast
Wild yeast that has been harvested into fast-acting yeast, including instant yeast, active-dry yeast, and fresh yeast.
Crumb
The texture and appearance of the inside of baked sourdough bread.
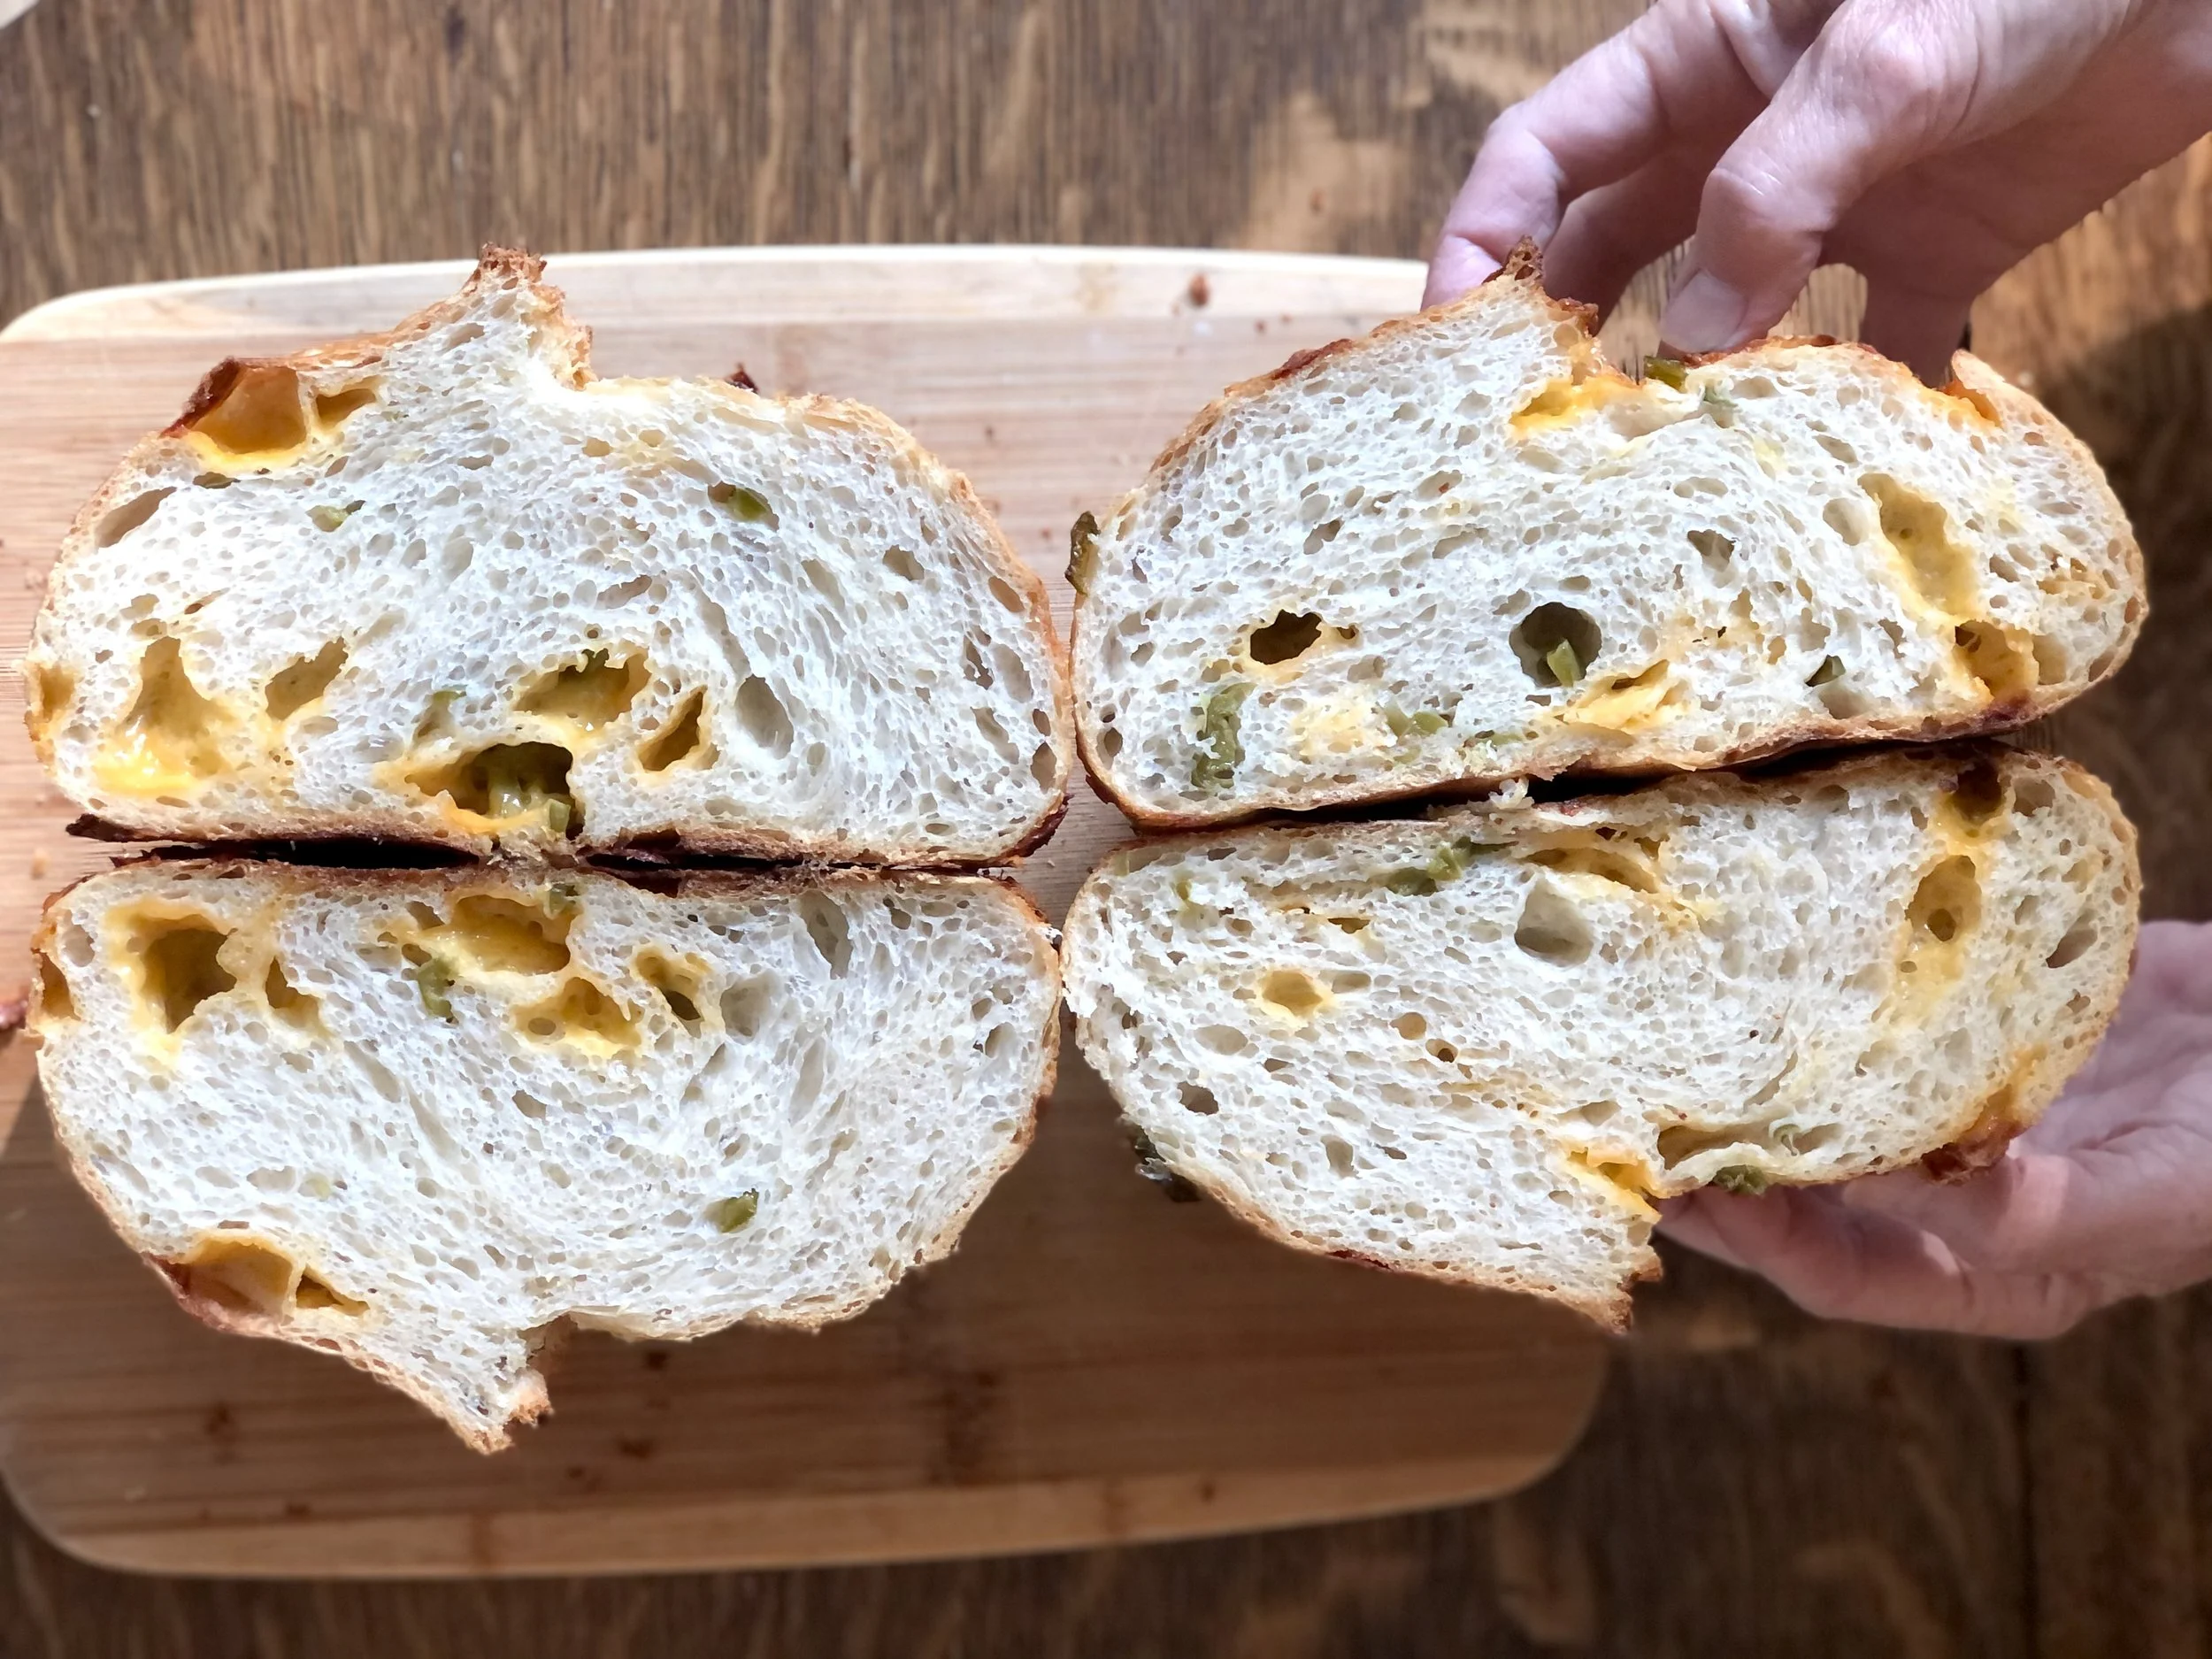
Crumb shot
The classic sourdough shot where the loaf gets sliced in half in the middle, then the bottoms get held together for a picture of the inside.
A type of whisk made with a coiled metal end, used especially for mixing bread doughs
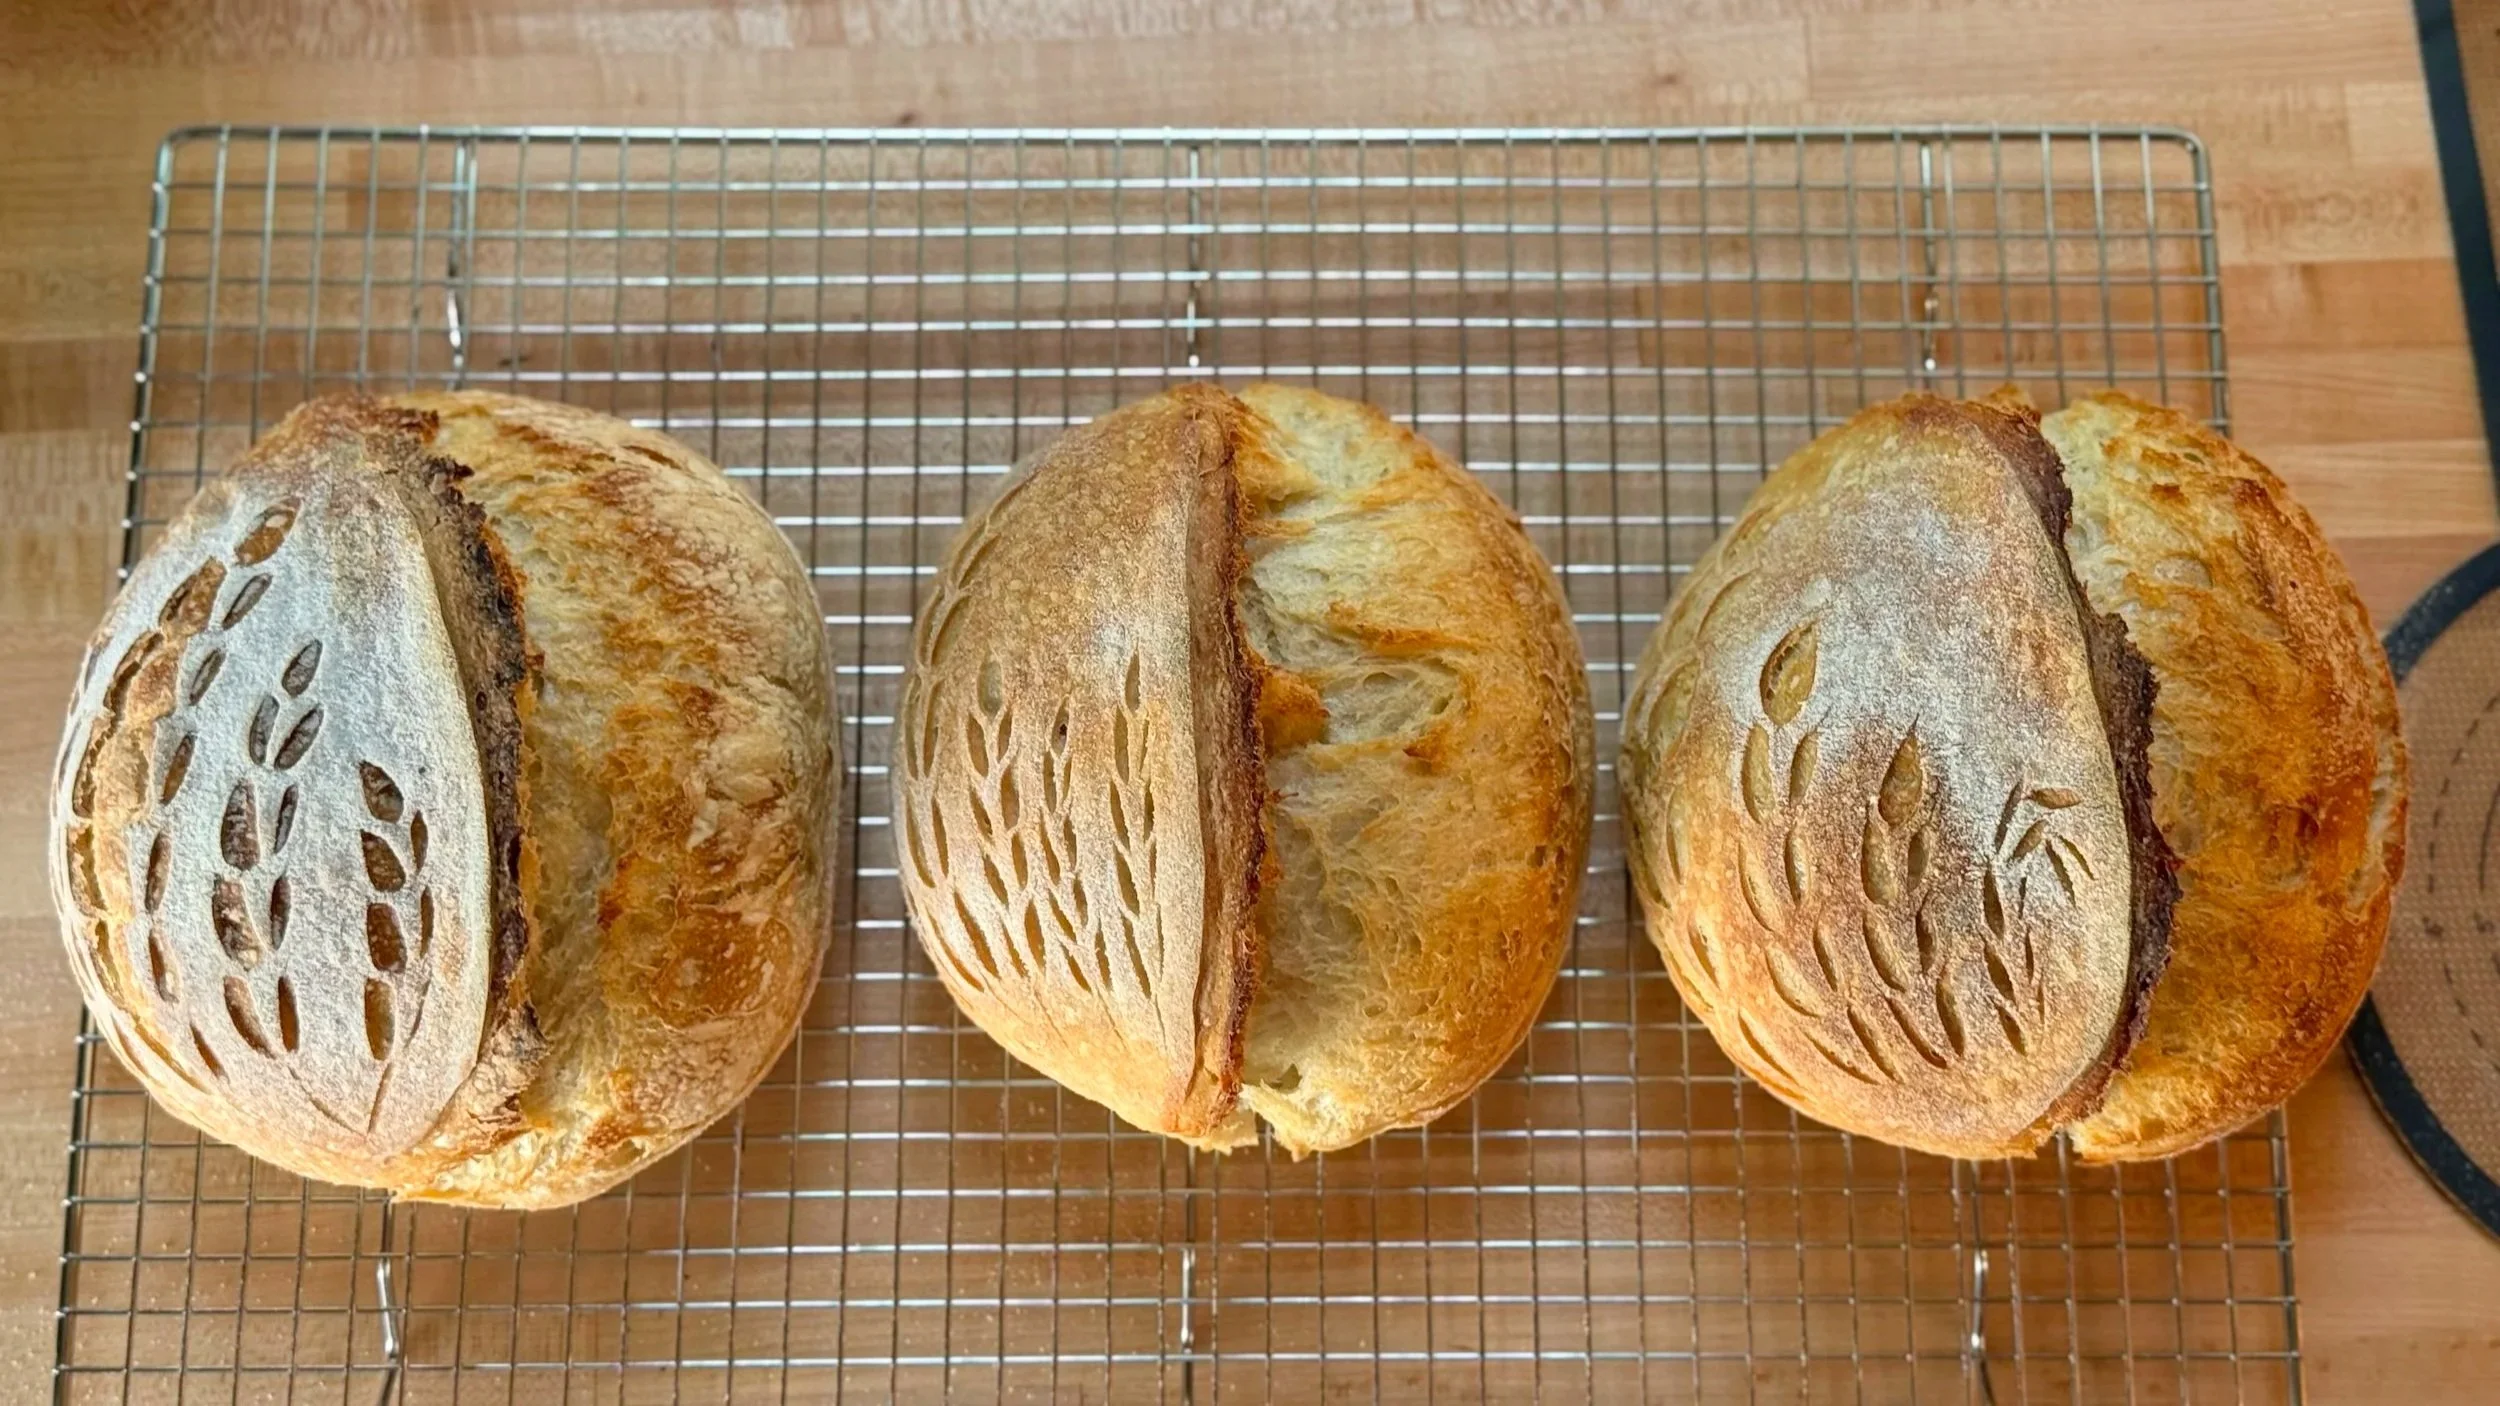
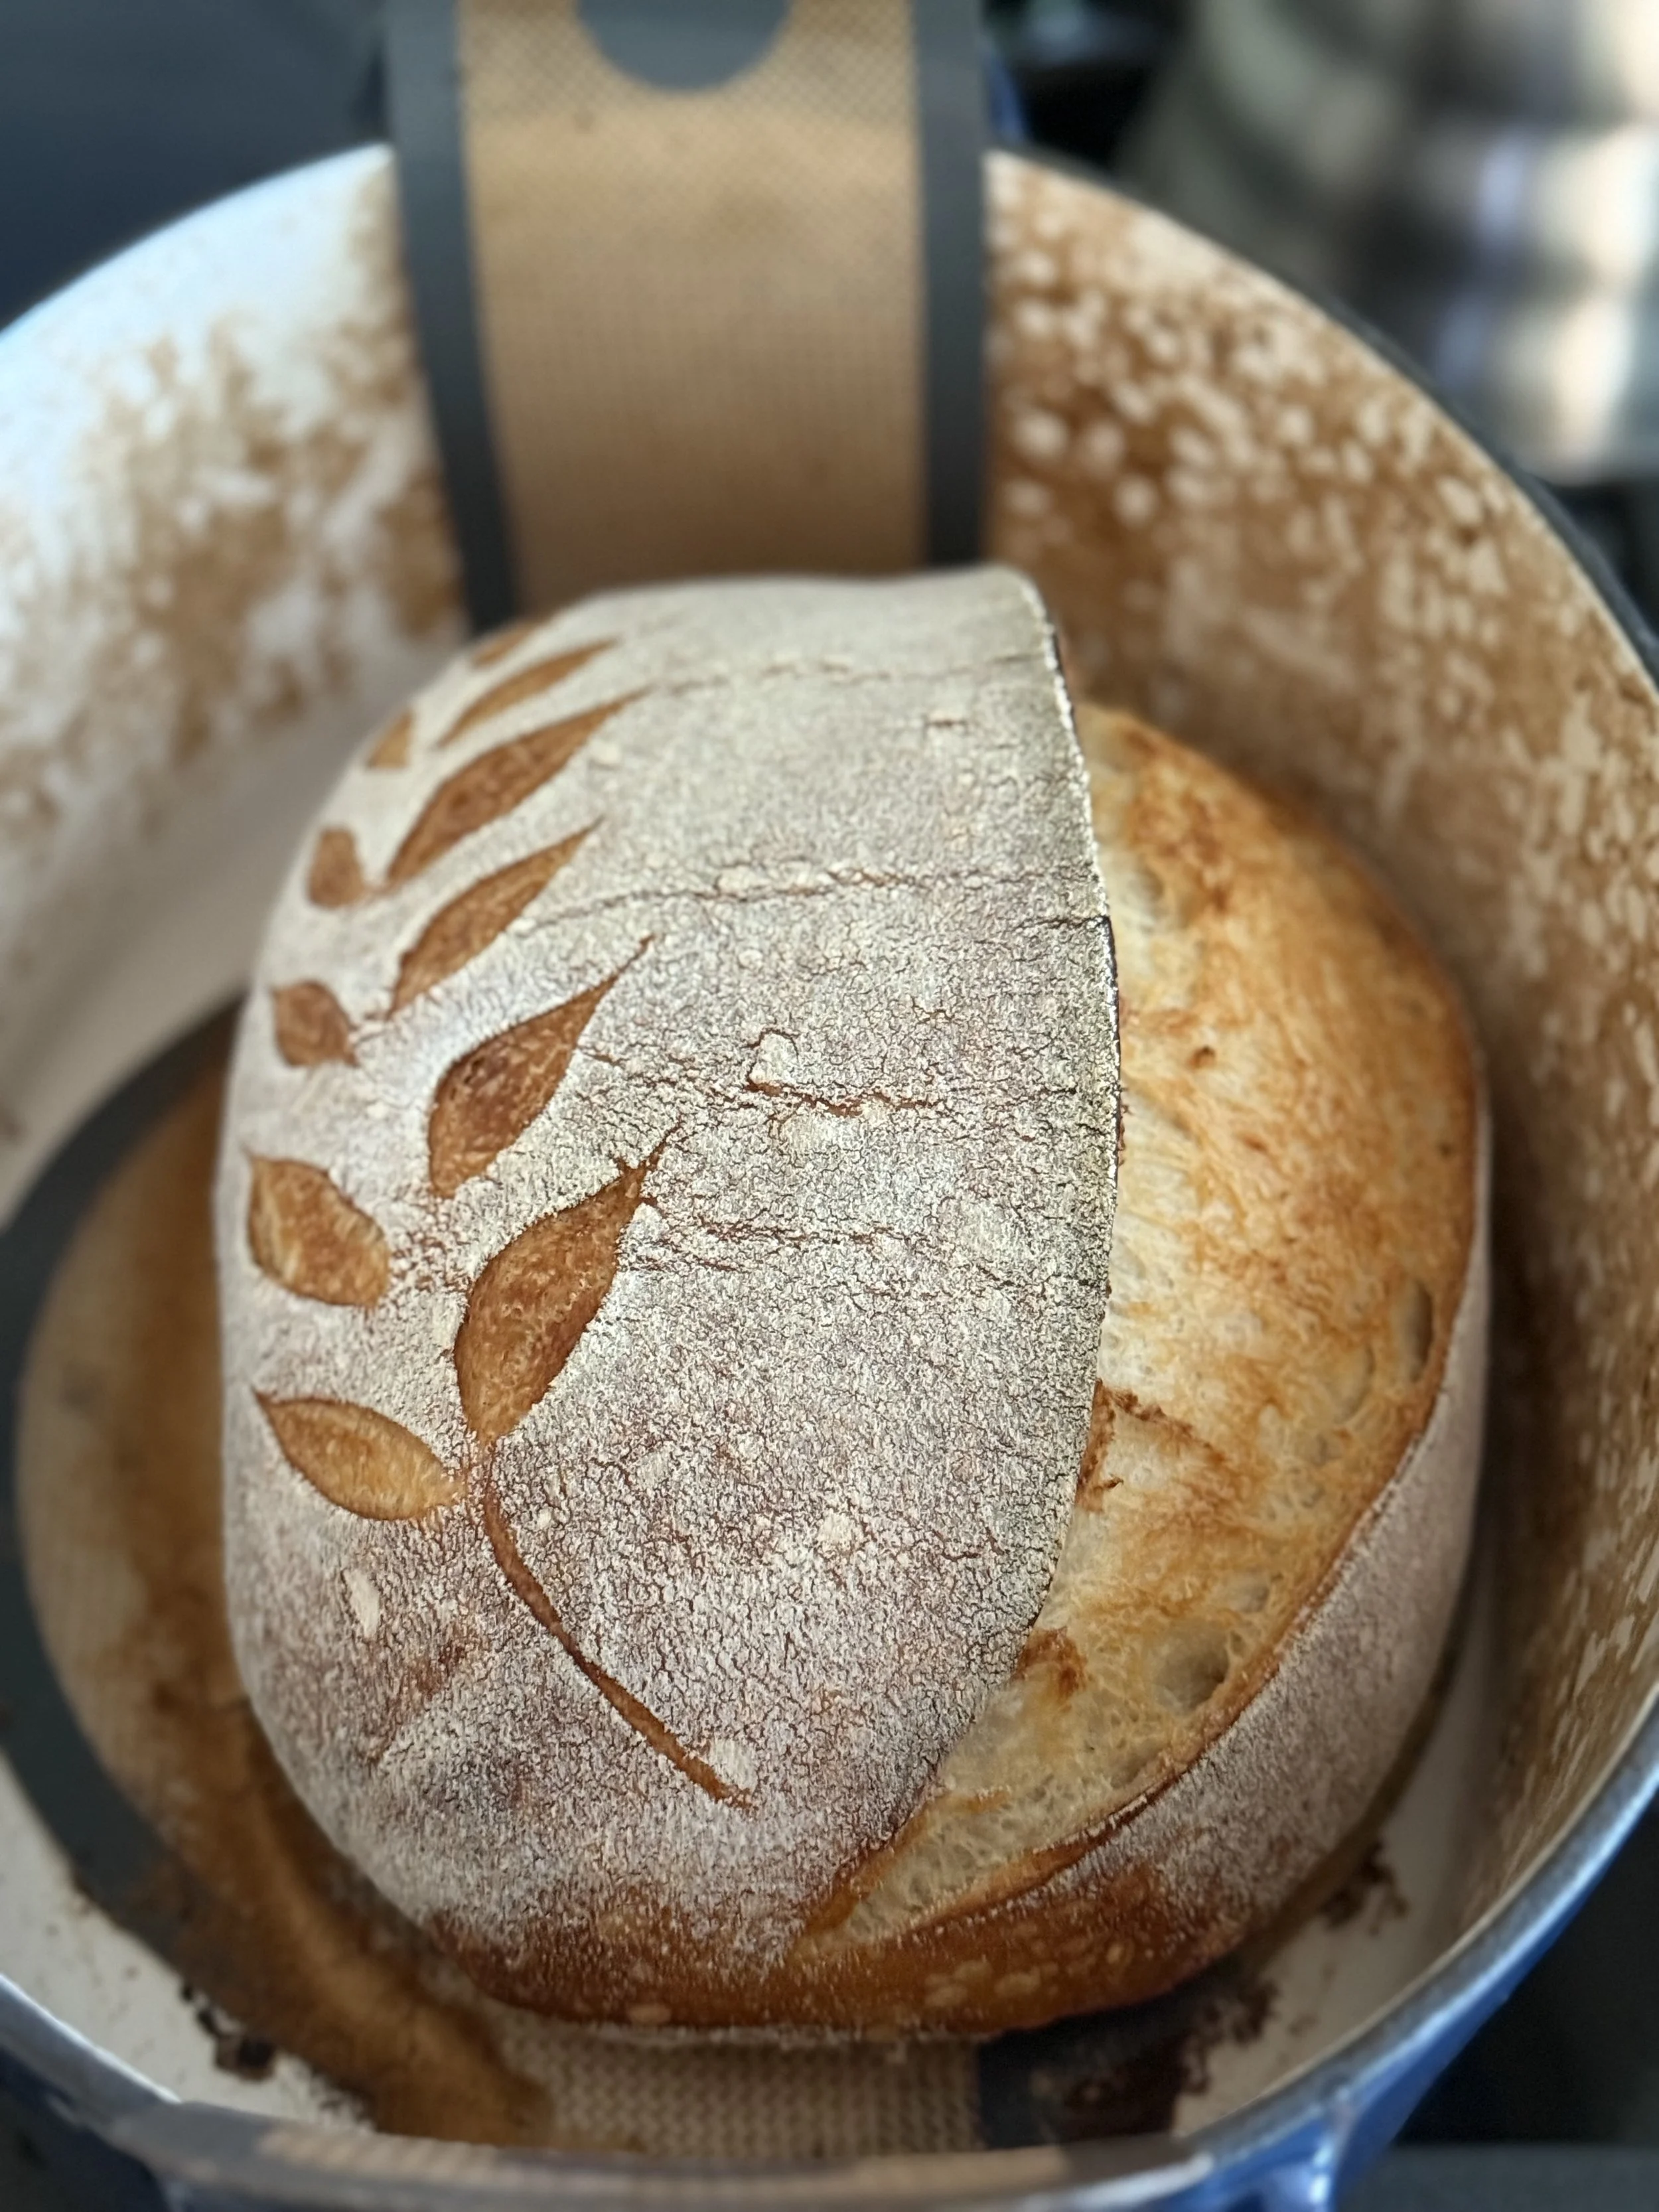
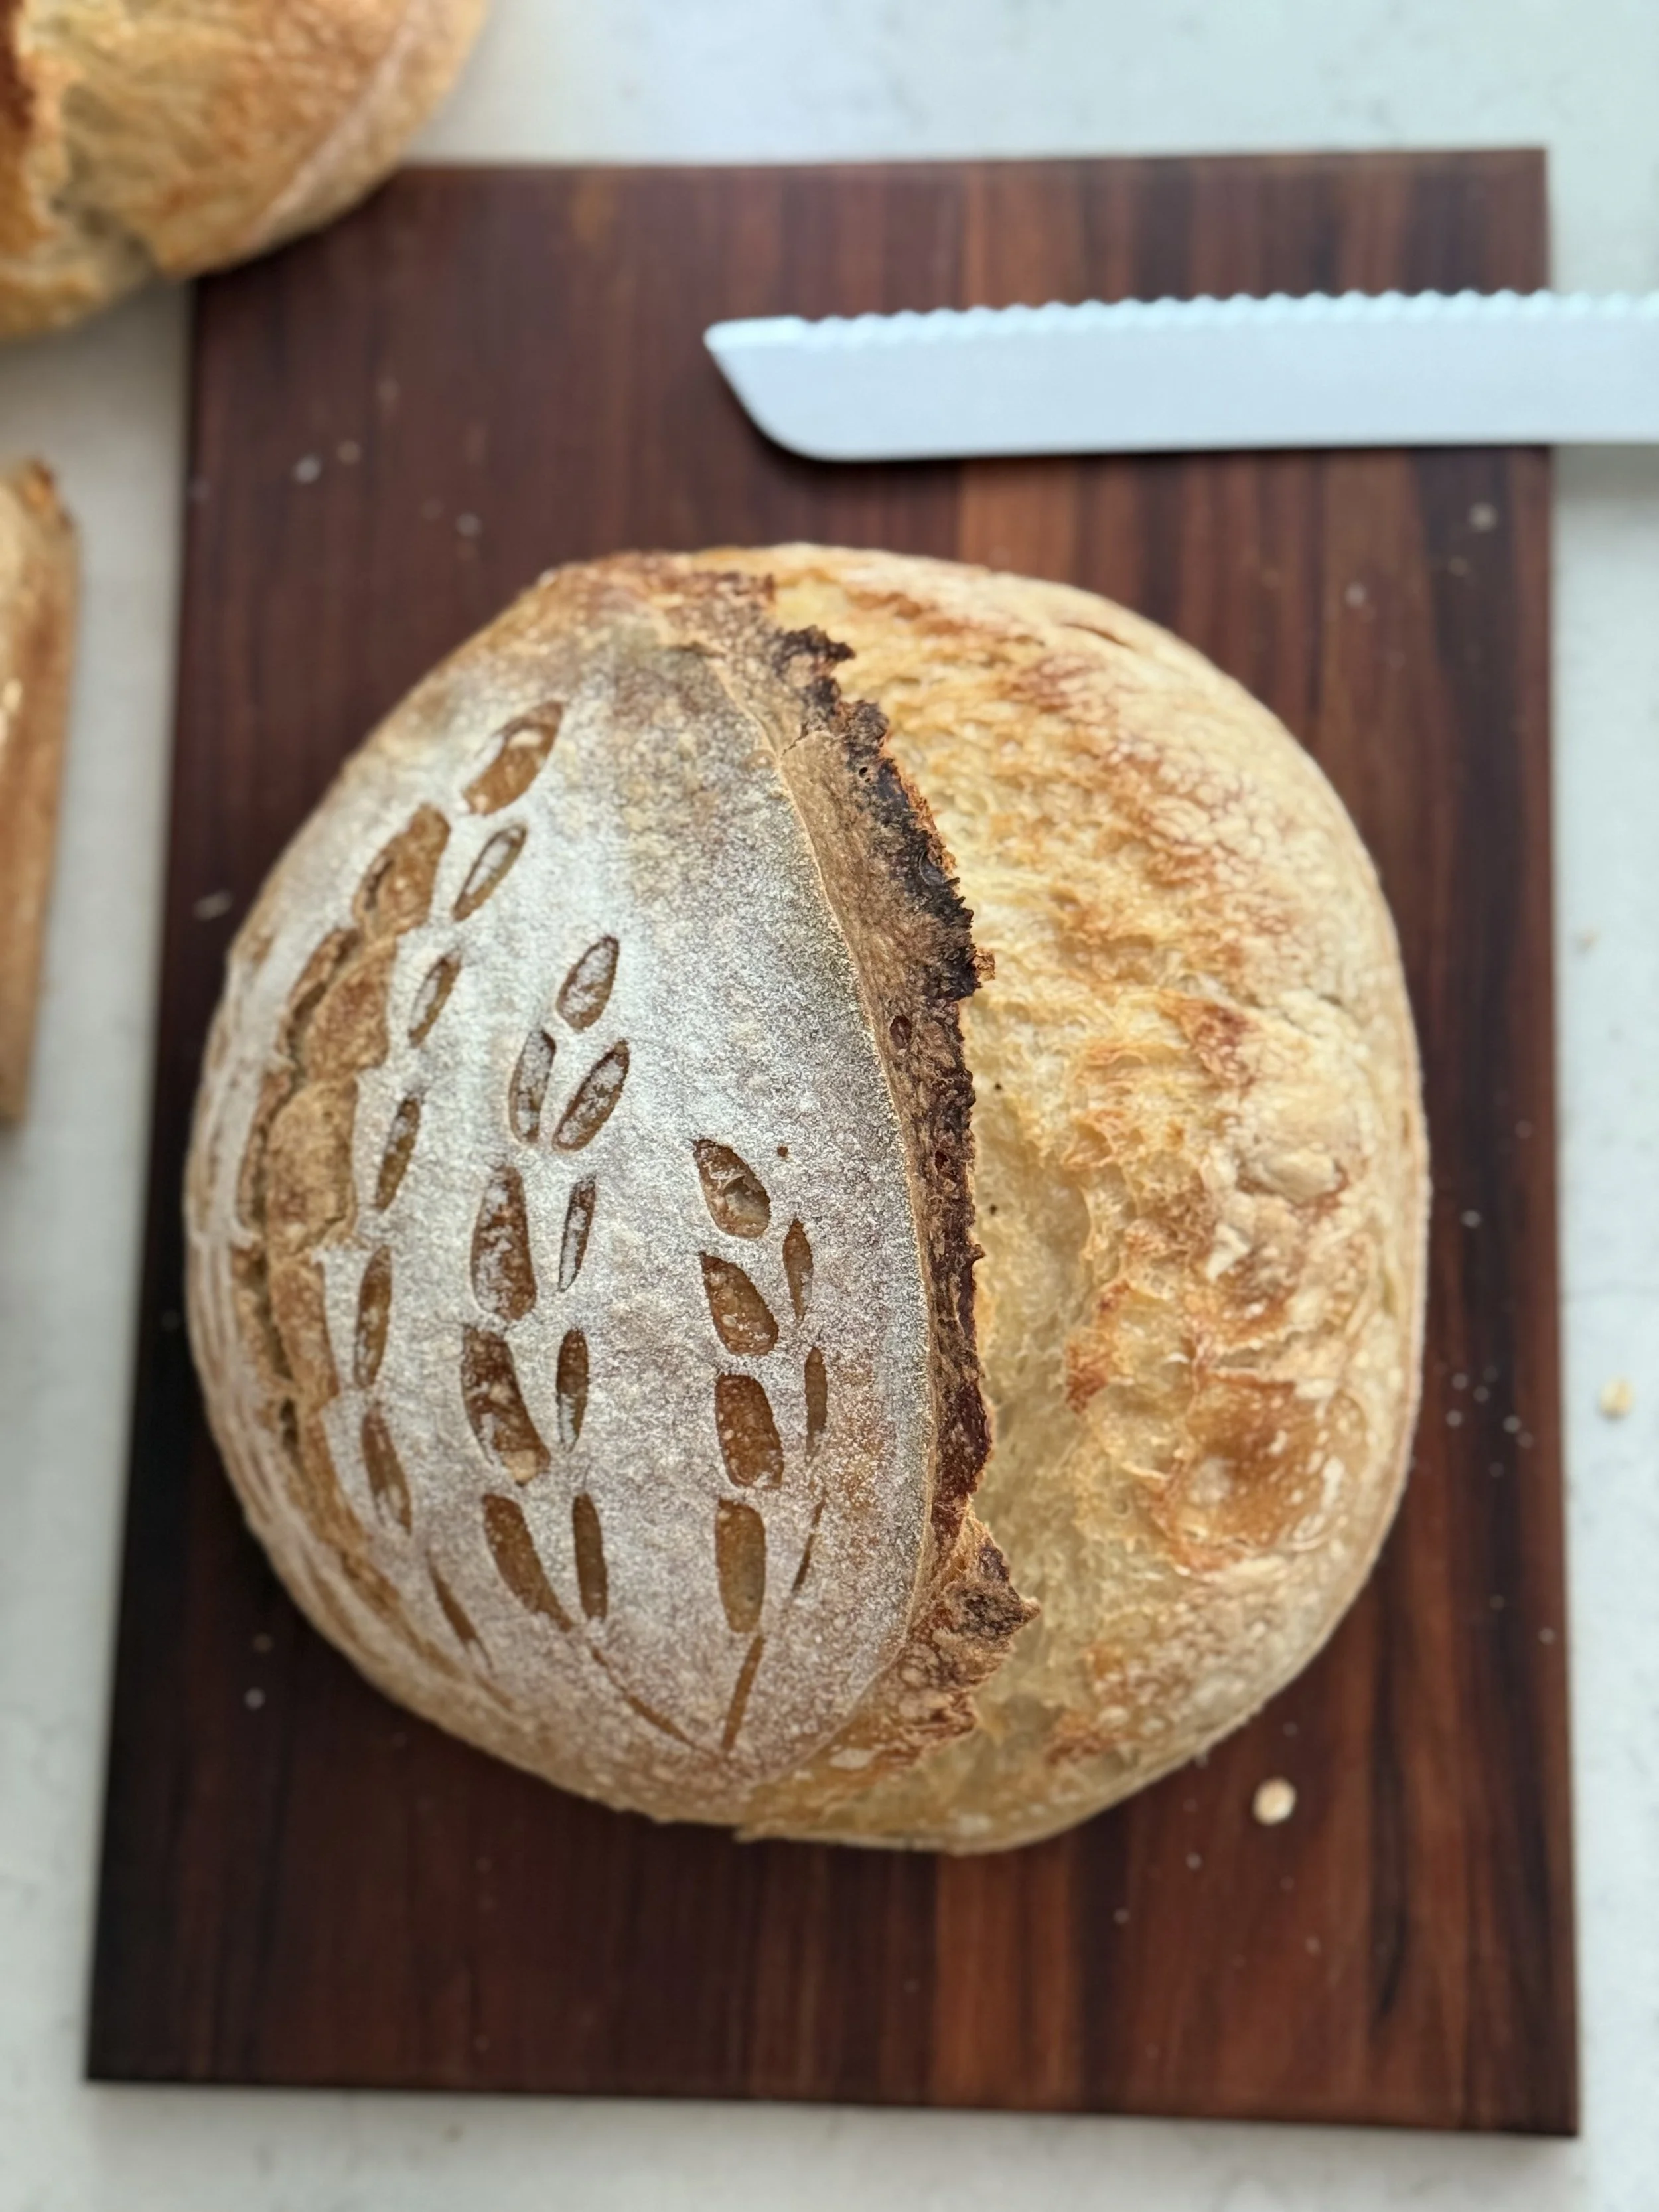
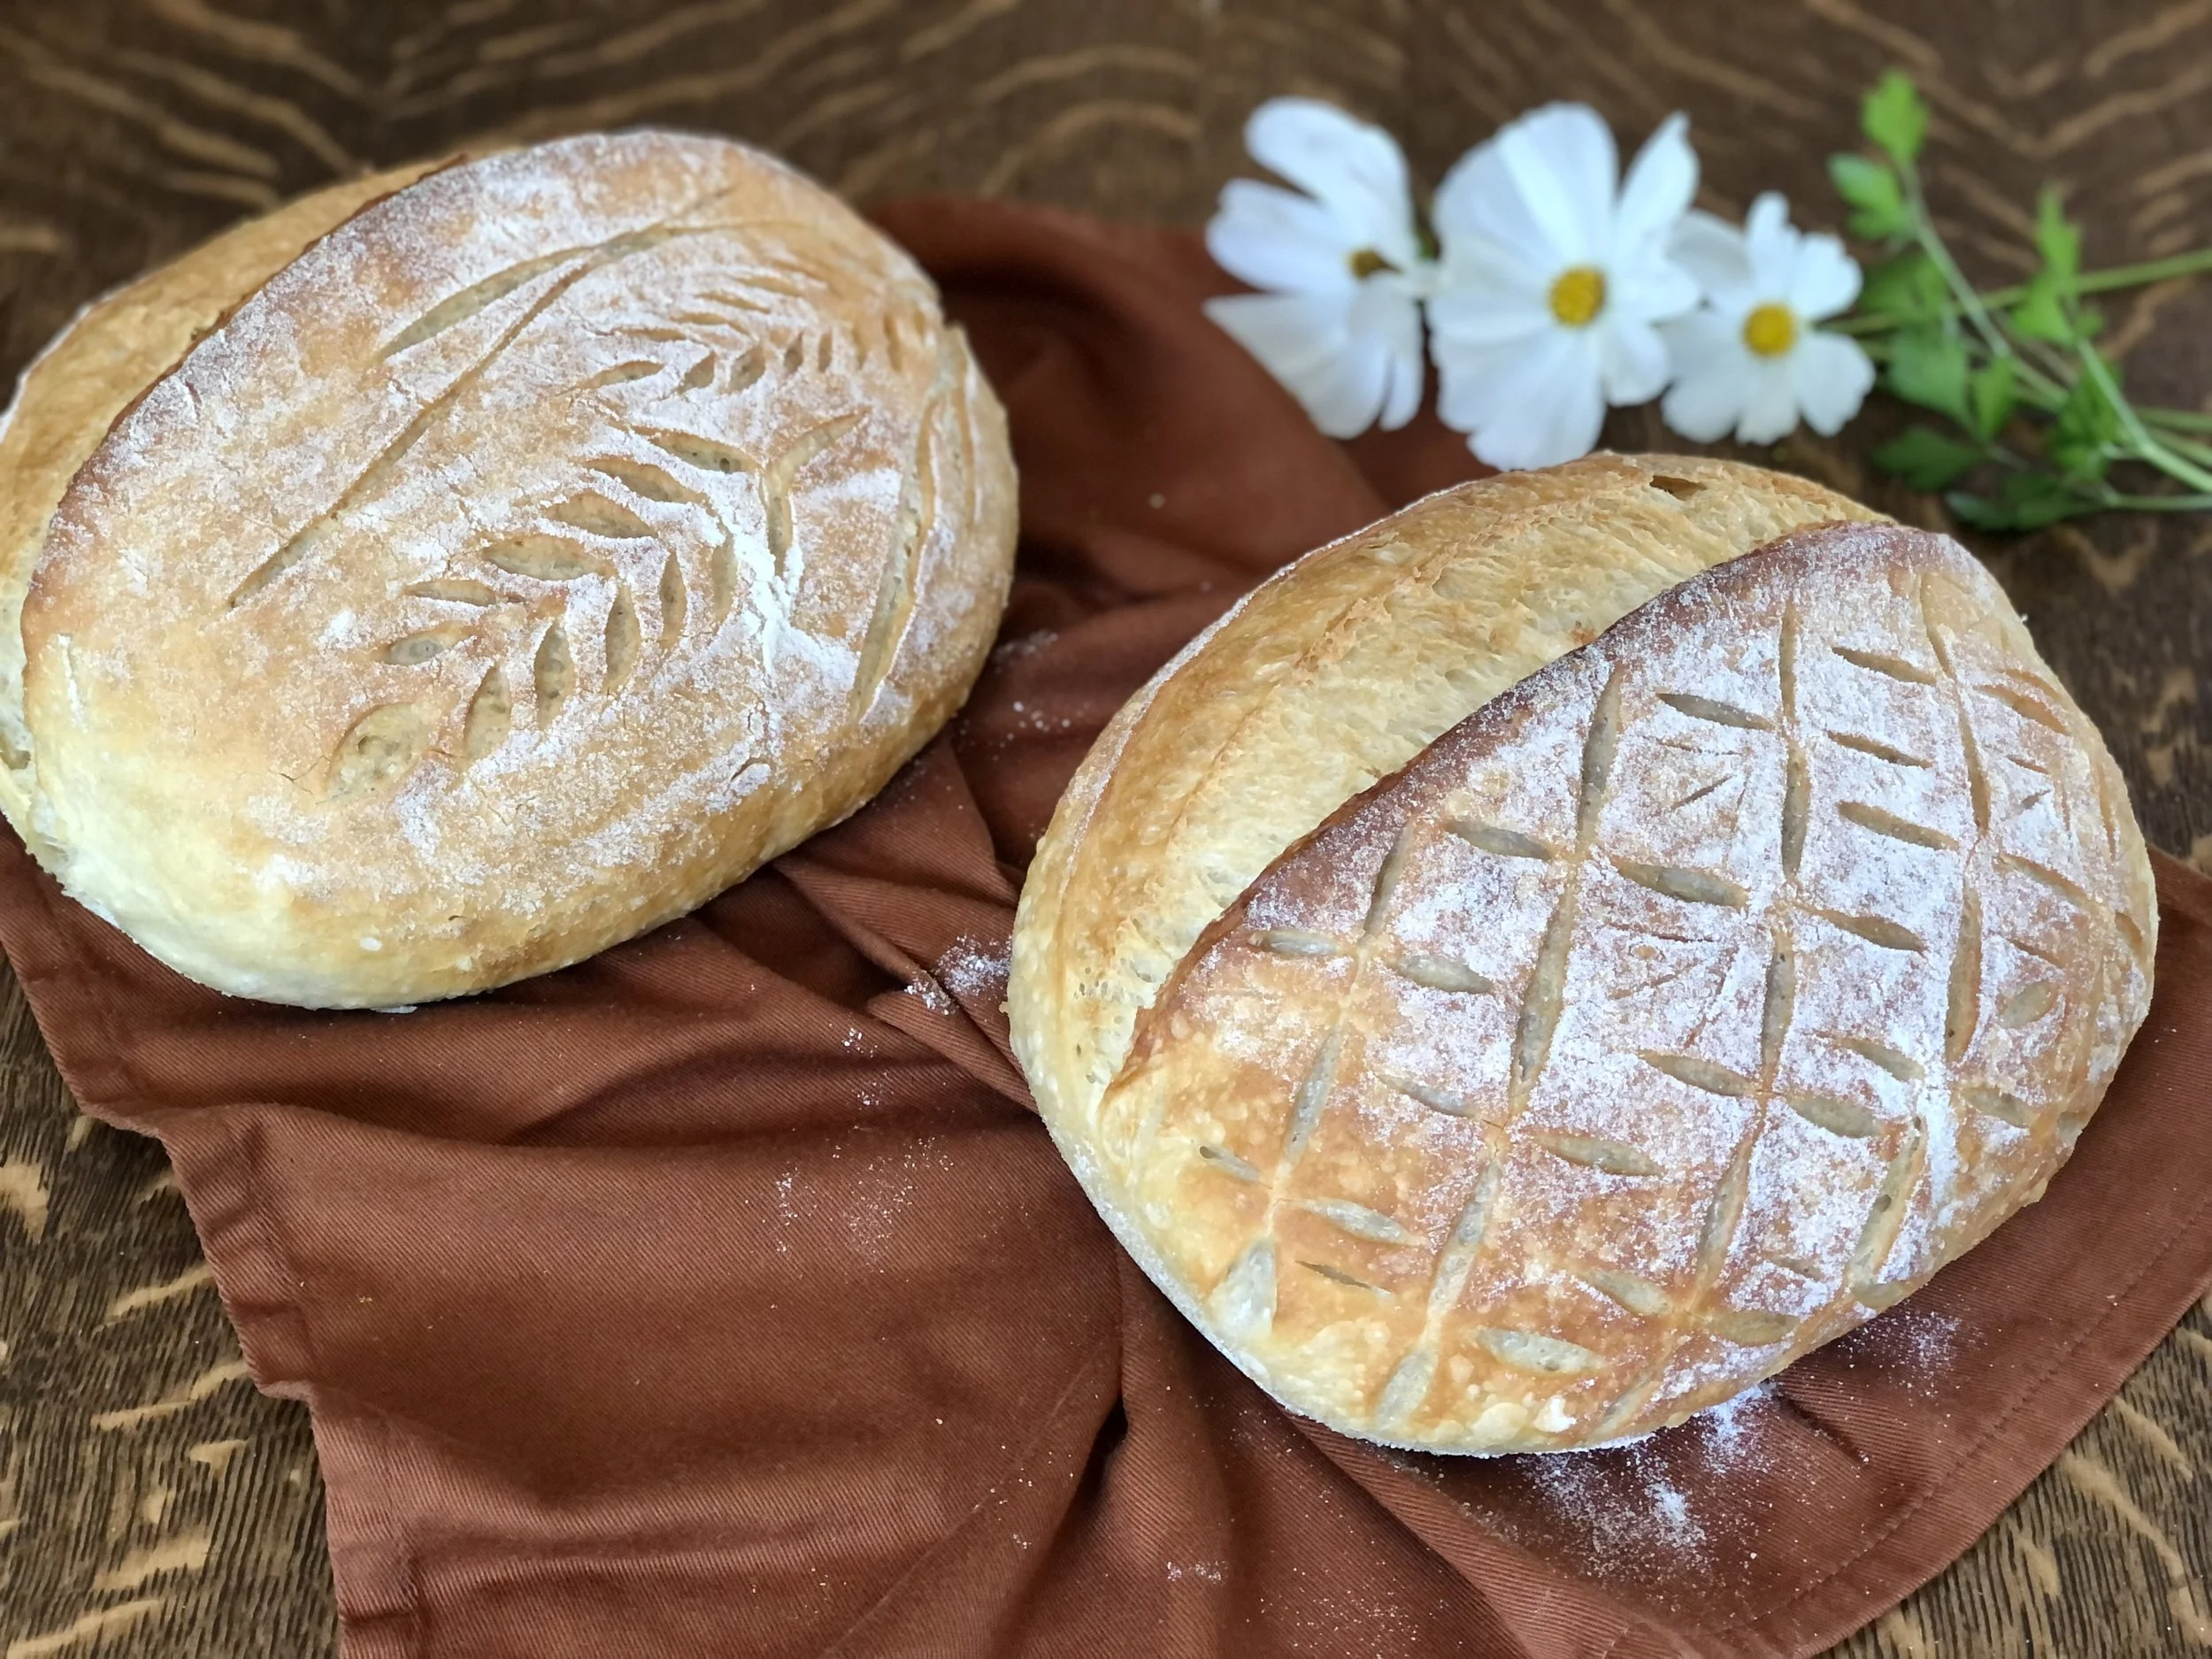
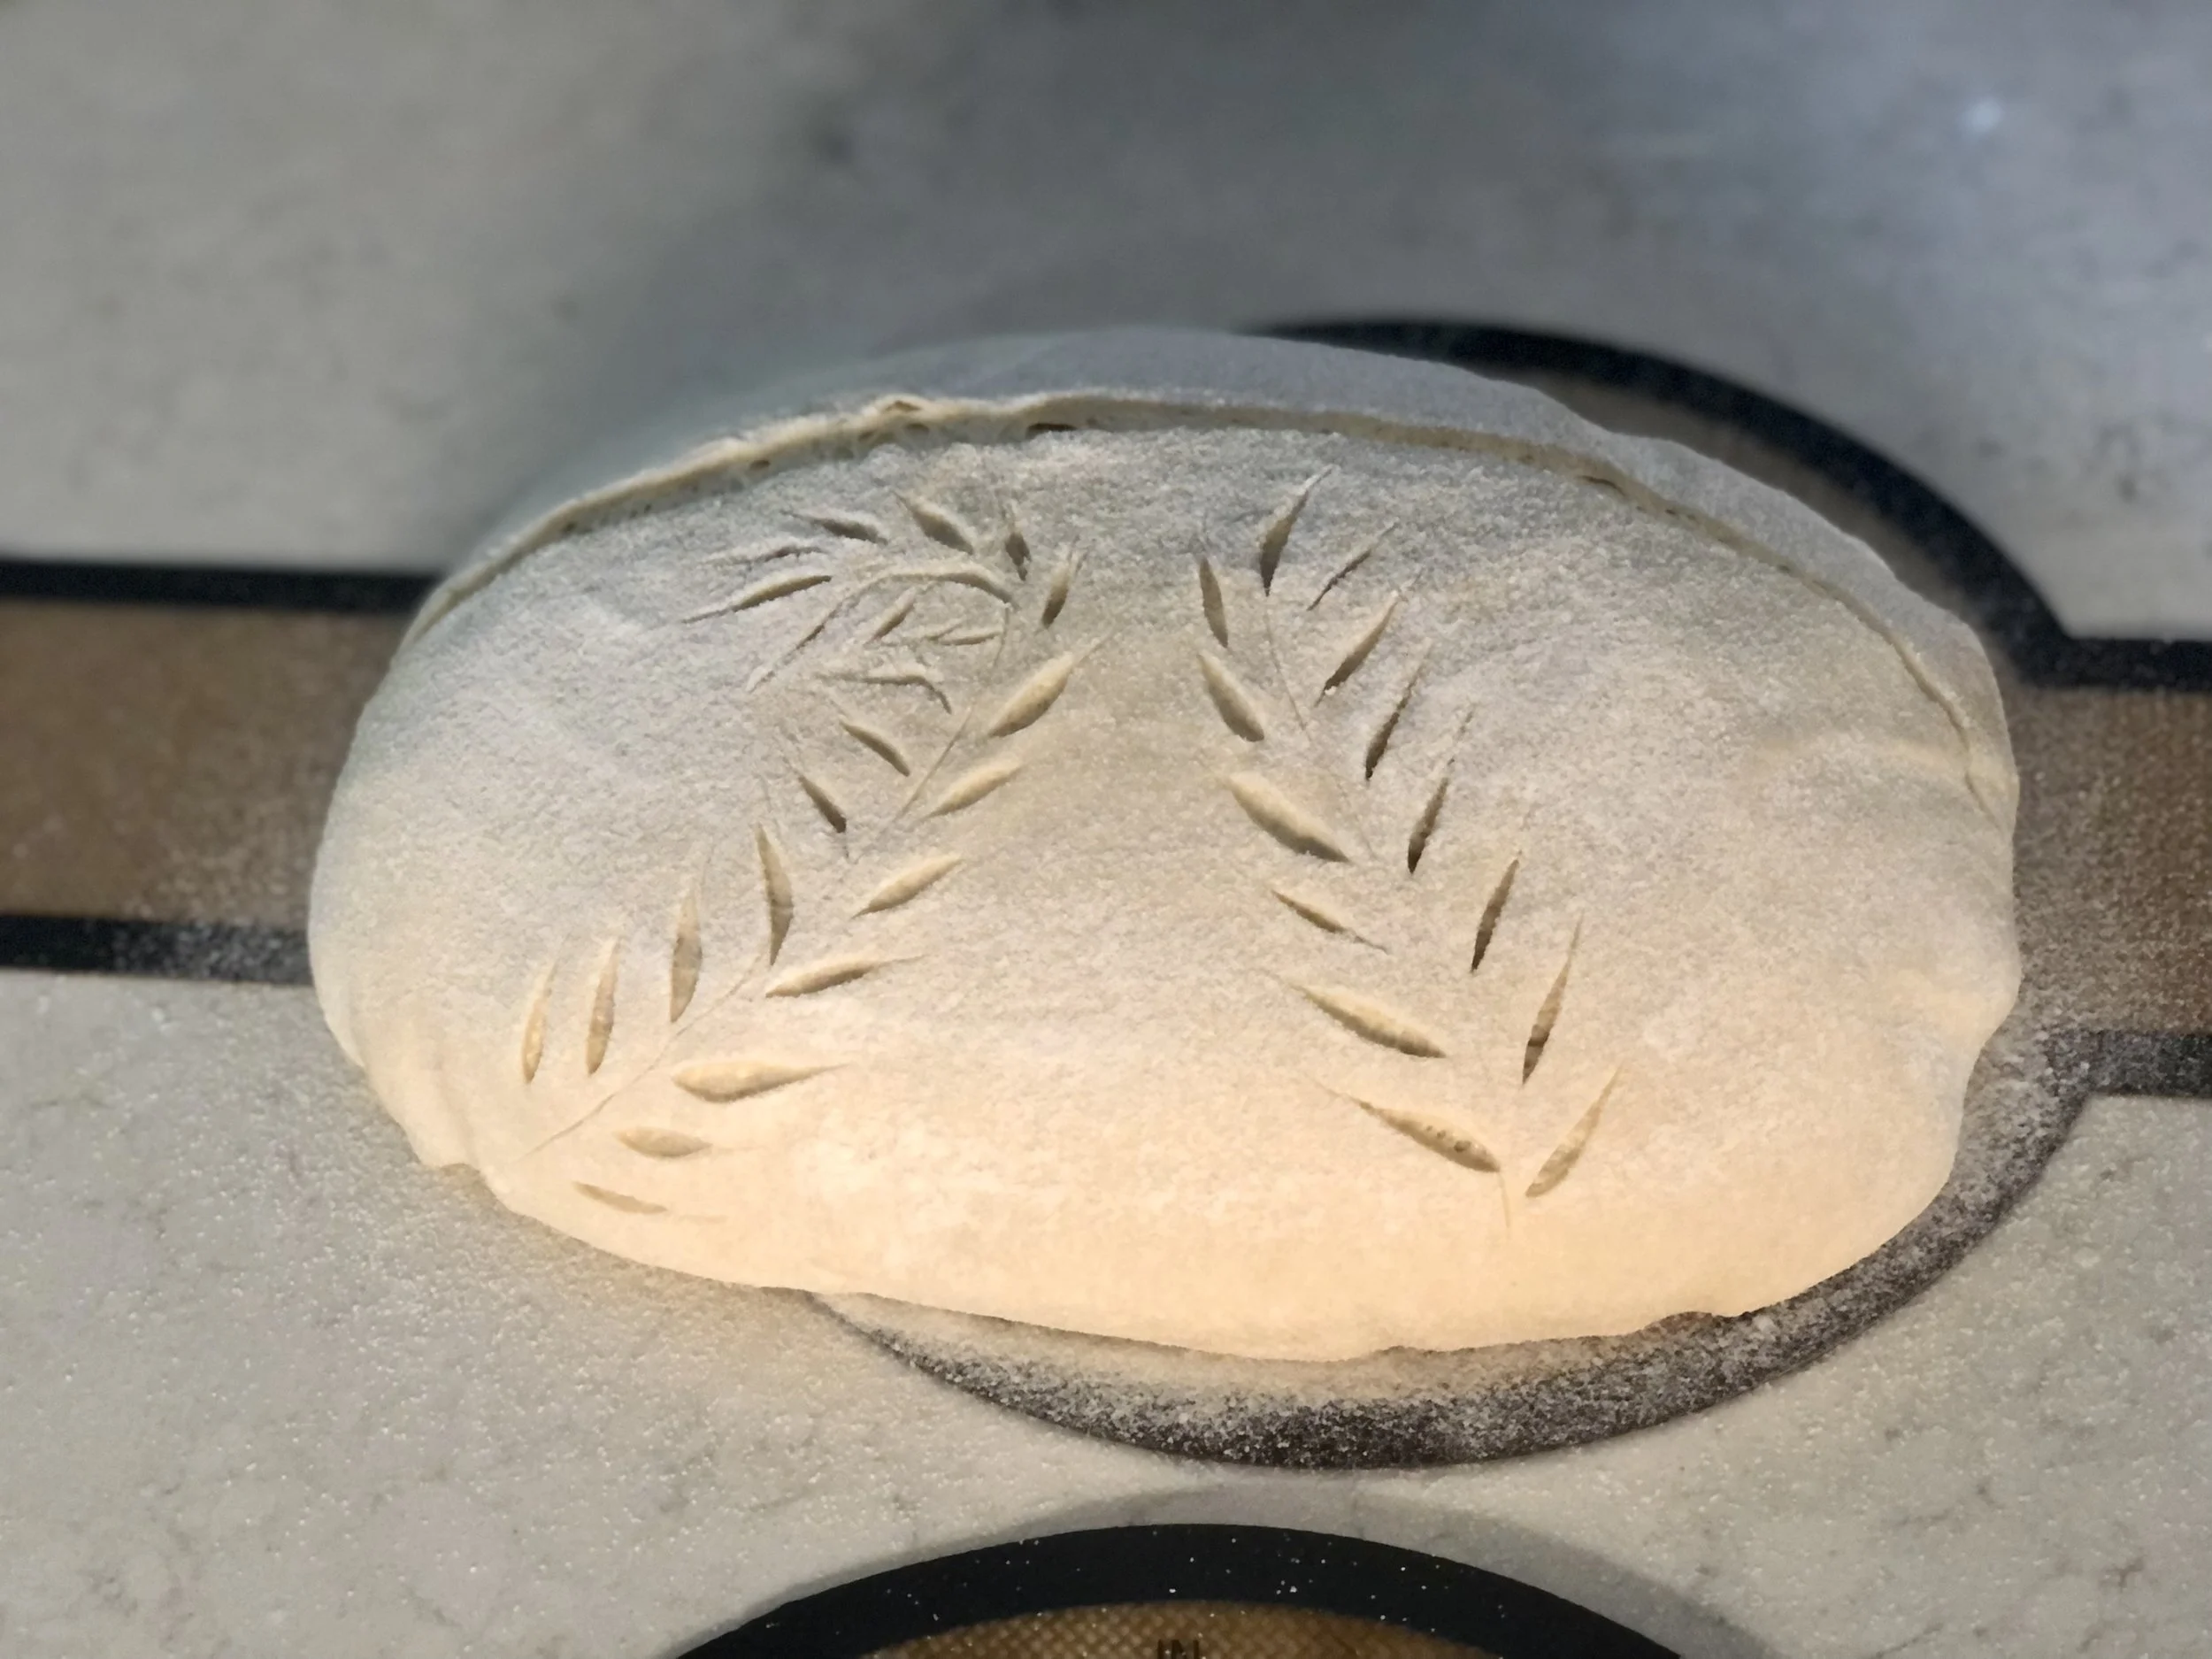
Decorative score
Mostly shallow scores done purely for decorative design, often with a UFO lame. See also “score” and “expansion score”
Desired Dough Temperature (DDT)
The temperature you want your dough to be by the time you are done mixing and ready for fermentation.
In order to achieve the DDT, you’ll have to take into consideration each of the ingredients’ temperatures, as well as other factors such as the heat from friction of kneading dough. See also “Friction Factor”
Razor blade with two sharp sides.
This is the kind needed for lames, but more deadly to wield by hand for scoring.
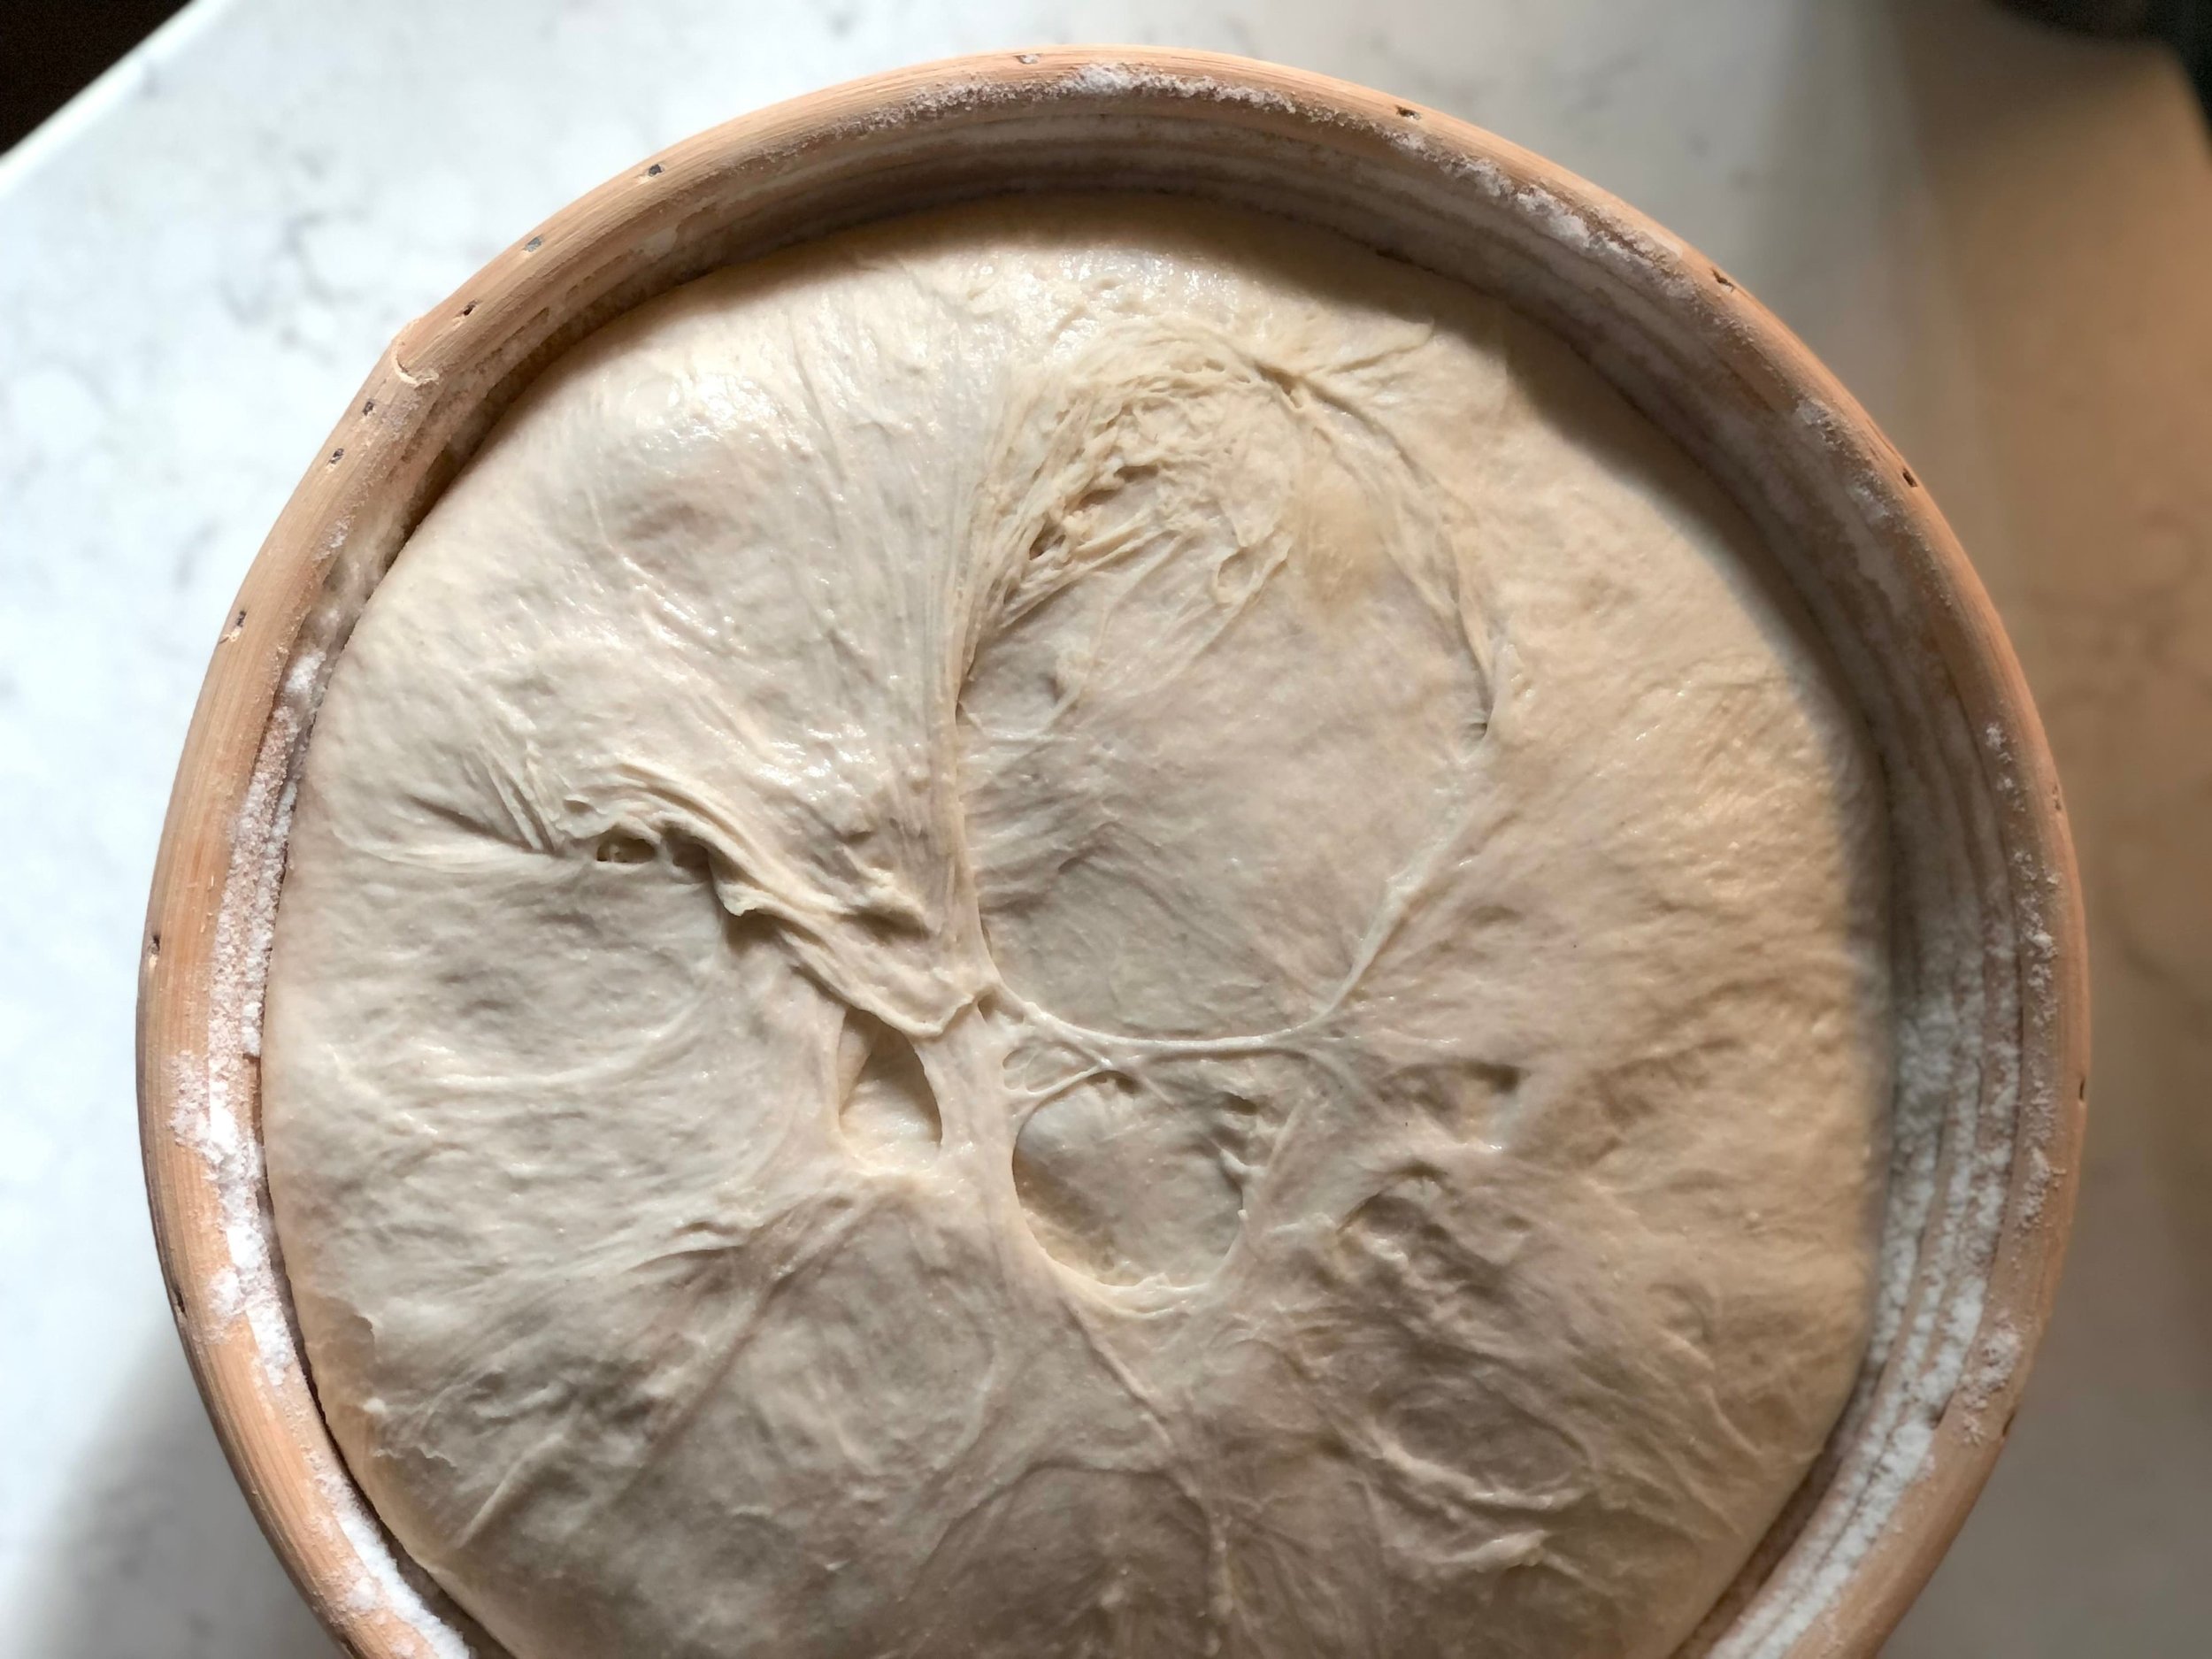
Dough dump
When dough is turned out or dumped out onto the counter after it has finished bulk fermenting, ready for weighing and shaping.
A dough that comes out cleanly from the bulk ferment container can be a sign of a properly fermented dough. If it’s too sticky, it can signal under or over fermented dough, or even just a more humid environment.
Doughpression
The depression one feels when a batch of sourdough bread goes wrong. Life loses its glimmer, one might feel more irritated towards those around them, and wonder if they should give up on baking altogether. An increase in time spent Googling “what went wrong” may ensue until the next, successful batch of bread dispels any doubt that was threatening your existence.
Term coined by Sarah Grunewald.
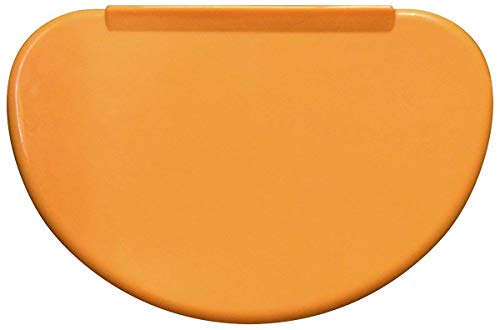
A flexible, usually plastic tool used to scrape dough out of bowls.
Dutch Oven
A cast iron pot with a lid used in sourdough baking to recreate the steam environment bread needs to expand properly.
Dutch ovens come in various sizes (measured in quarts) and can be round or oval, usually oven safe up to at least 450°F (check the brand’s recommendation), but be sure to check the handle on the lid is also oven safe up to the same temperature as the pot.
Dutch ovens can range in price from under $50 to over $400 for brands like Le Creuset. If you’re purchasing a dutch oven specifically for sourdough bread, I wouldn’t go for the higher end ones as they inevitably end up with speckles on them from baking at high heat repeatedly. I would also encourage you to consider darker colors since they don’t show stains as much.
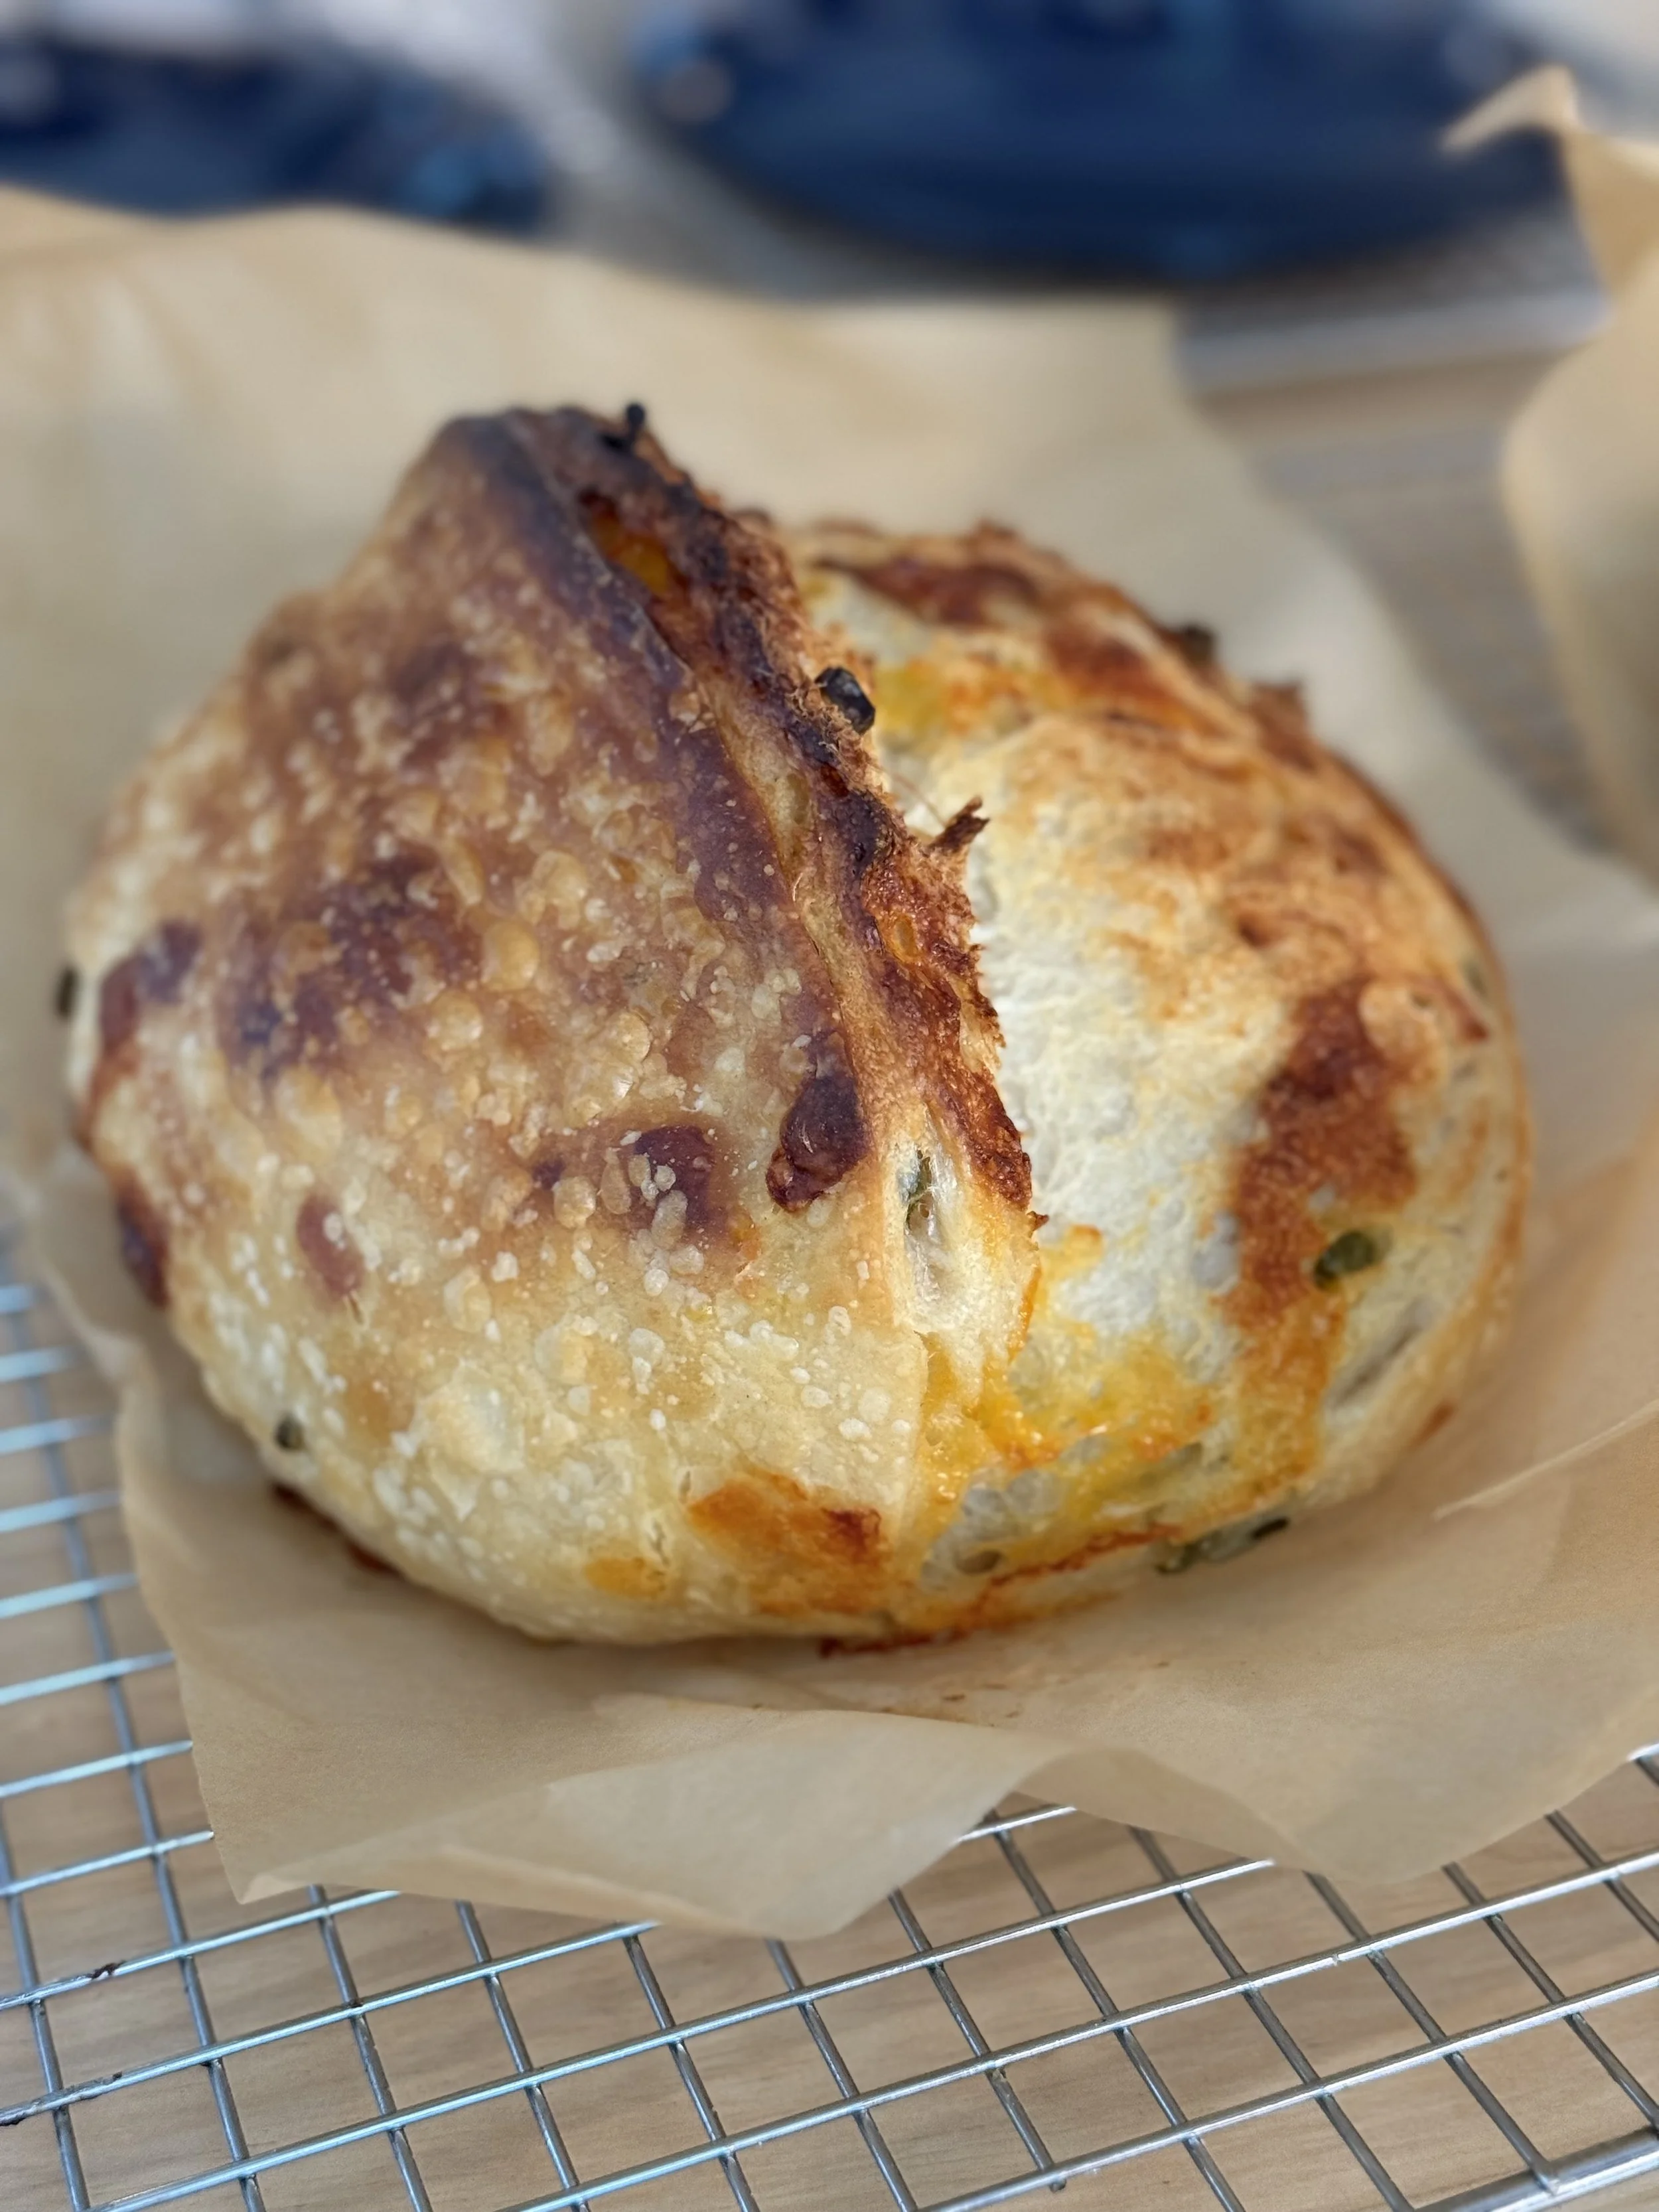
Ear
The flap of dough that rises upward while baking. This happens only when the loaf has been both properly fermented and scored. Usually seen as the holy grail of signs of a good loaf. Basically, you have arrived.
Einkorn
Einkorn is a type of hulled wheat.
Einkorn is higher in nutrients than other kinds of wheat, and has a certain makeup than can lend it to be easier to digest and easier on the systems of those with gluten sensitivities.
This hull needs to be removed from the grain before it can be consumed, which makes for a lengthier processing time, and thus raising the cost to produce.
Enzyme
Simply put, enzymes are proteins.
There are two principal kinds present in flour: protease and amylase. These get to work essentially helping gluten to form while also creating an extensible (stretchy) dough.
Expansion score
The principal scoring done on a bread to control the rise and expansion of the bread, usually about 1/2” deep.
See also “score” and “decorative score”
Feeding ratio (i.e. 1:5:5)
The ratio of flour and water added to feed starter.
The first number is the starter, the second two flour and water. The flour and water are usually equal to keep the starter at 100% hydration (most common hydration). To feed a starter at the 1:5:5 ratio as above, you would take one part sourdough and feed it five parts water and five parts flour. For example, 20g of starter plus 100g of water and 100g of flour. You would then have 220g of starter.
Ferment/fermentation
“the chemical breakdown of a substance by bacteria”
If you simply leave bread dough to rise, this is often referred to as the ferment or fermentation.
It’s the good bacteria in yeast/sourdough starter feeding on the sugars in flour. As it eats it releases carbon dioxide. The gas gets stuck in the strong gluten strands of the dough, thus rising the bread. The longer dough ferments, the more flavor it will develop. This is why long fermentation times are highly sought after, up to 72 hours.
Fermentolysis/Fermentolyse
A slang term combining the words “ferment” and “autolyse” or “autolysis”.
Simply put, autolyse is just flour and water, where fermentolyse is water, flour, and starter.
This is where some confusion can be found, as these terms and their definitions are not consistently used. Some include salt, or rather ALL ingredients in their fermentolyse, others say fermentolyse is all ingredients except the salt. Once sourdough starter has been added, fermentation has begun, and really should be calculated as part of the bulk ferment time, but not all include a fermentolyse in their bulk ferment calculation.
Final Dough Temperature (FDT)
The temperature of your dough when you are done mixing it and right before bulk fermentation begins, taken with an instant read thermometer.
This temperature helps you to gauge how long your dough should bulk ferment for. Hopefully, your final dough temperature is the same as your desired dough temperature.
See also “Desired Dough Temperature”
Fine crumb
Bread dough with lots of small or tiny holes. Also known as tight crumb, dense crumb.
This can be a sign of under-fermented bread, or other things. While not usually seen as the most desirable crumb, some do prefer a fine crumb because it makes for better toast: no butter or jam falling through bigger holes.
Other times, a fine crumb is desired, as in bagels.
See also “closed crumb” and “tight crumb”
Float test
Putting a small amount of fed starter in a bowl of water to see if it floats. If it does, this indicates the starter is active enough and ready to be used in a recipe.
A machine for grinding wheat berries into flour.
Friction Factor
The variable of friction creating heat while mixing dough in a mixer or even by hand which in turn affects a dough’s final temperature.
When going for absolute consistency, you’ll want your dough rising at a certain temperature (Desired Dough Temperature or DDT, see above). There is an equation for this taking into consideration some of the most important factors, such as friction, ingredient temperature, and room temperature. Water’s temperature is the most easily manipulated, so the equation is used to figure out what temperature water to add to achieve the DDT.
Each mixer has a friction factor. In order to arrive at the DDT you’ll need to know the friction factor for your specific mixing machine. For example, using a Kitchen Aid 7 quart to knead bread dough for 3 minutes on speed 1, then 4 minutes on speed 2, will give you a friction factor of about 22°F - 24°F. Likewise, kneading dough by hand for about 8 minutes is a friction factor of about 6°F - 8°F.
Gliadin
One of the primary proteins found in wheat flour, along with glutenin. Gliadin is primarily responsible for the extendibility of dough, allowing bread to rise.
Gliadin appears to be one of the main environmental triggers for celiac disease.
See also “Glutenin”
Gluten
A naturally occurring protein in wheat and other flours that helps provide structure to bread. Without activating gluten by kneading and agitating the dough, dough can’t rise and bread will be very flat and gummy.
Glutenin
One of the major factions of proteins that makes up wheat flour, along with gliadin. Glutenin is responsible for the strength and elasticity of dough. 47% of the protein in wheat flour is Glutenin.
See also “Gliadin”
Heel
The end of a loaf of bread, mostly crust.
High-hydration dough
A dough that has a particularly high percentage of water in the recipe, usually 80% or higher.
High Protein Bread Flour
Any bread flour that has higher than 12.5% protein would be considered high-protein.
Hooch
A slang term for alcohol, sometimes used to refer to the brownish black that forms on the top of neglected starter or discard.
Alcohol is a by-product of fermentation, and sourdough starter is a ferment. When the bacteria in the starter has eaten everything up and is “hungry”, this brownish/black liquid, sometimes called hooch, forms on top as a way of protecting itself. It’s not harmful and can either be stirred back in or poured off, as long as there is no mold or other signs the starter is failing/died.
Hydration
The amount of water/liquids in bread dough.
The hydration in sourdough is usually referred to in percentages, which is based off of the flour’s weight in the recipe. The hydration of a dough affects many things, from how easy it is to handle to its crumb.
See Baker’s Formula
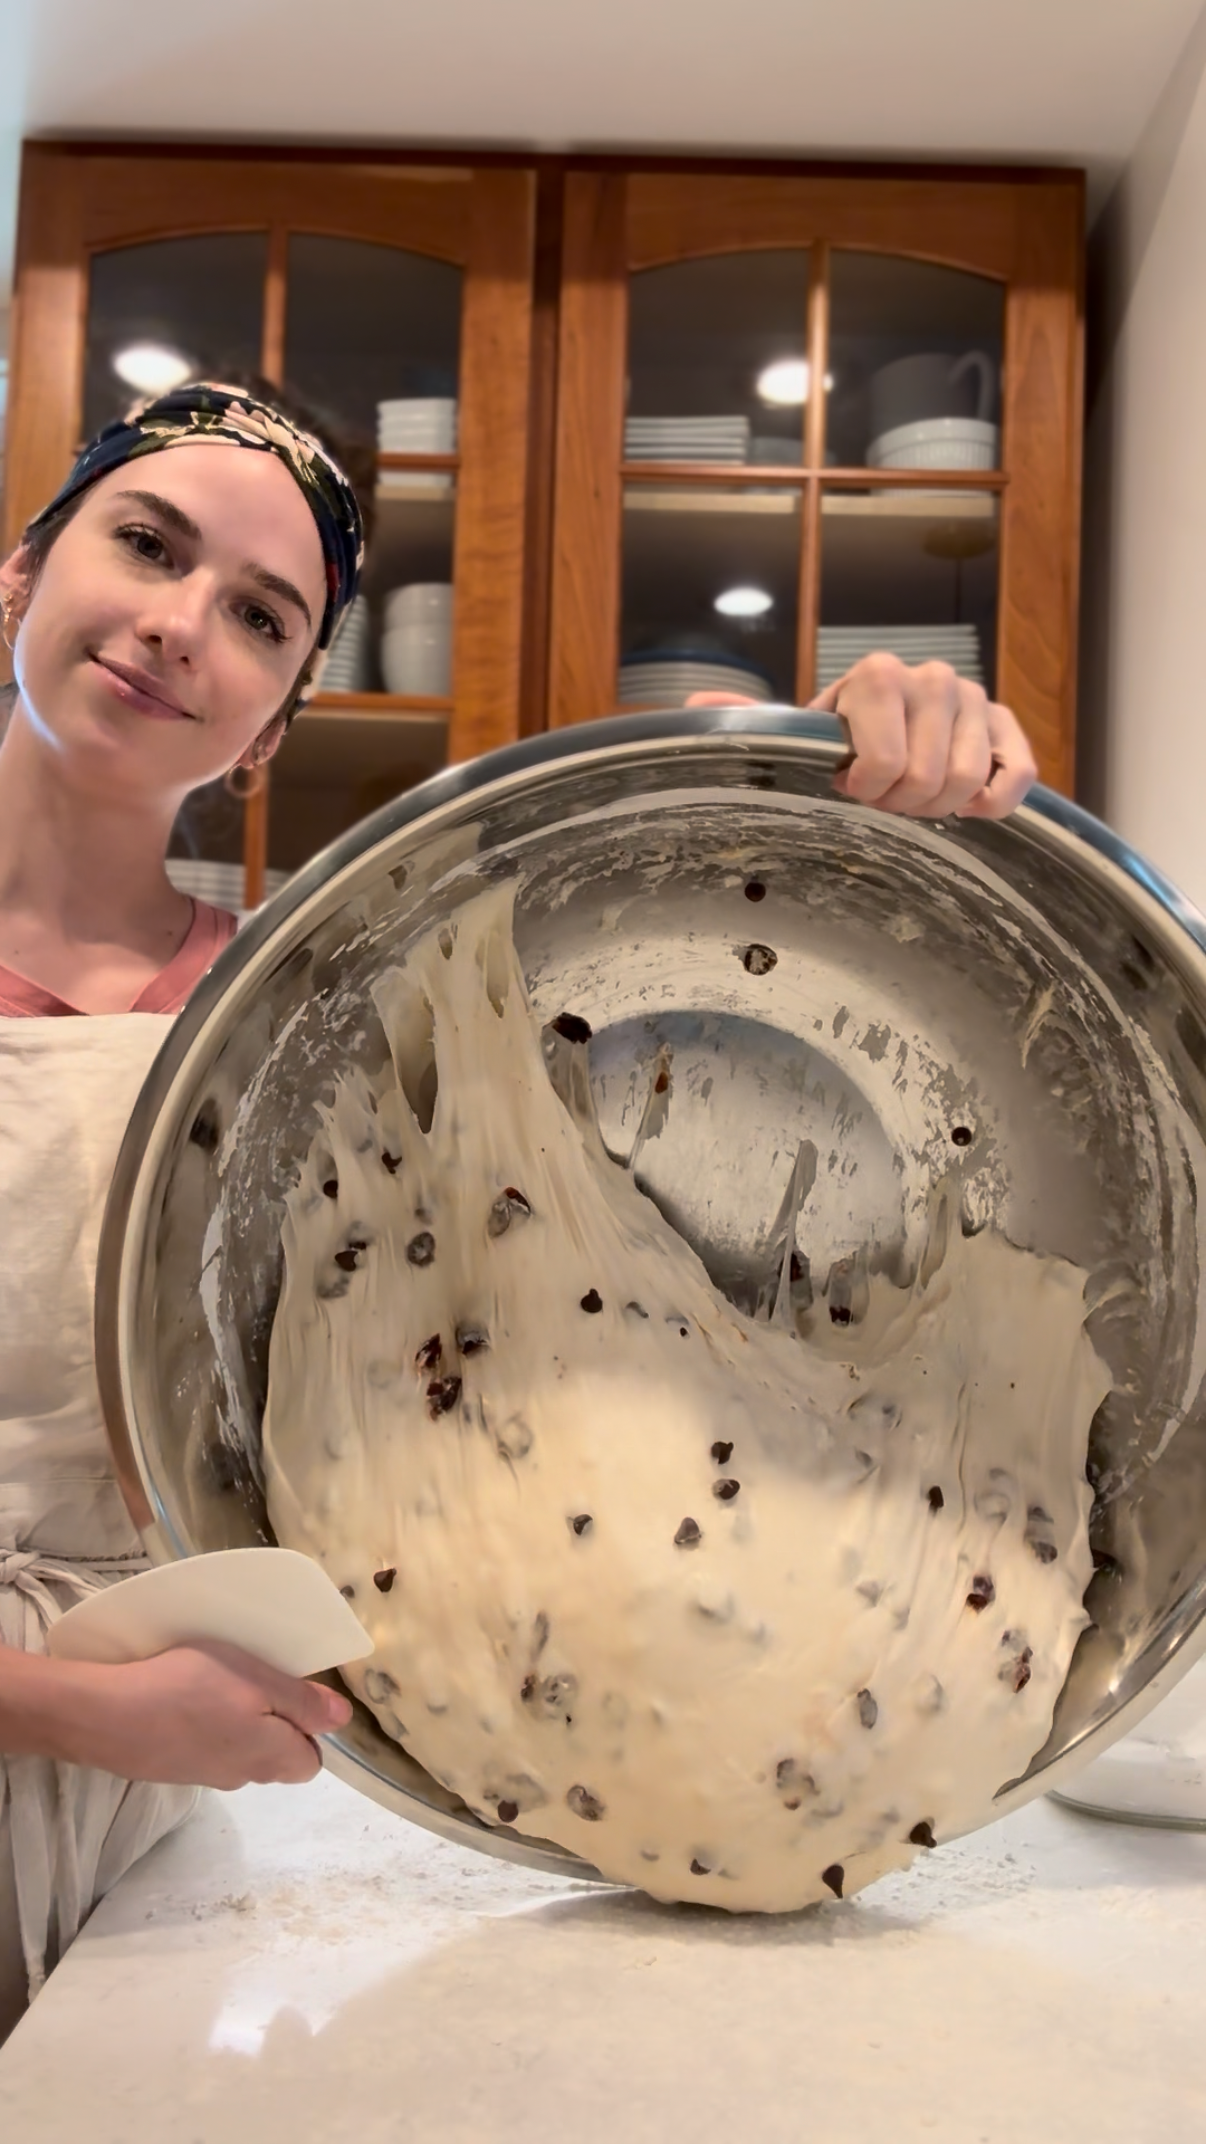
Inclusions
Dough add-ins, such as cheese, nuts, fruits, spices, etc.
It’s generally recommended that the weight of inclusions not exceed 20% of the total flour weight. Too many inclusions and they can weigh the dough down too much or affect the fermentation. For a loaf that calls for 500g of flour, that means you can safely add up to 100g of inclusions.
Internal Temperature
The internal temperature of bread or dough as read by a quick read thermometer.
Knead
The act of working or agitating dough to develop gluten.
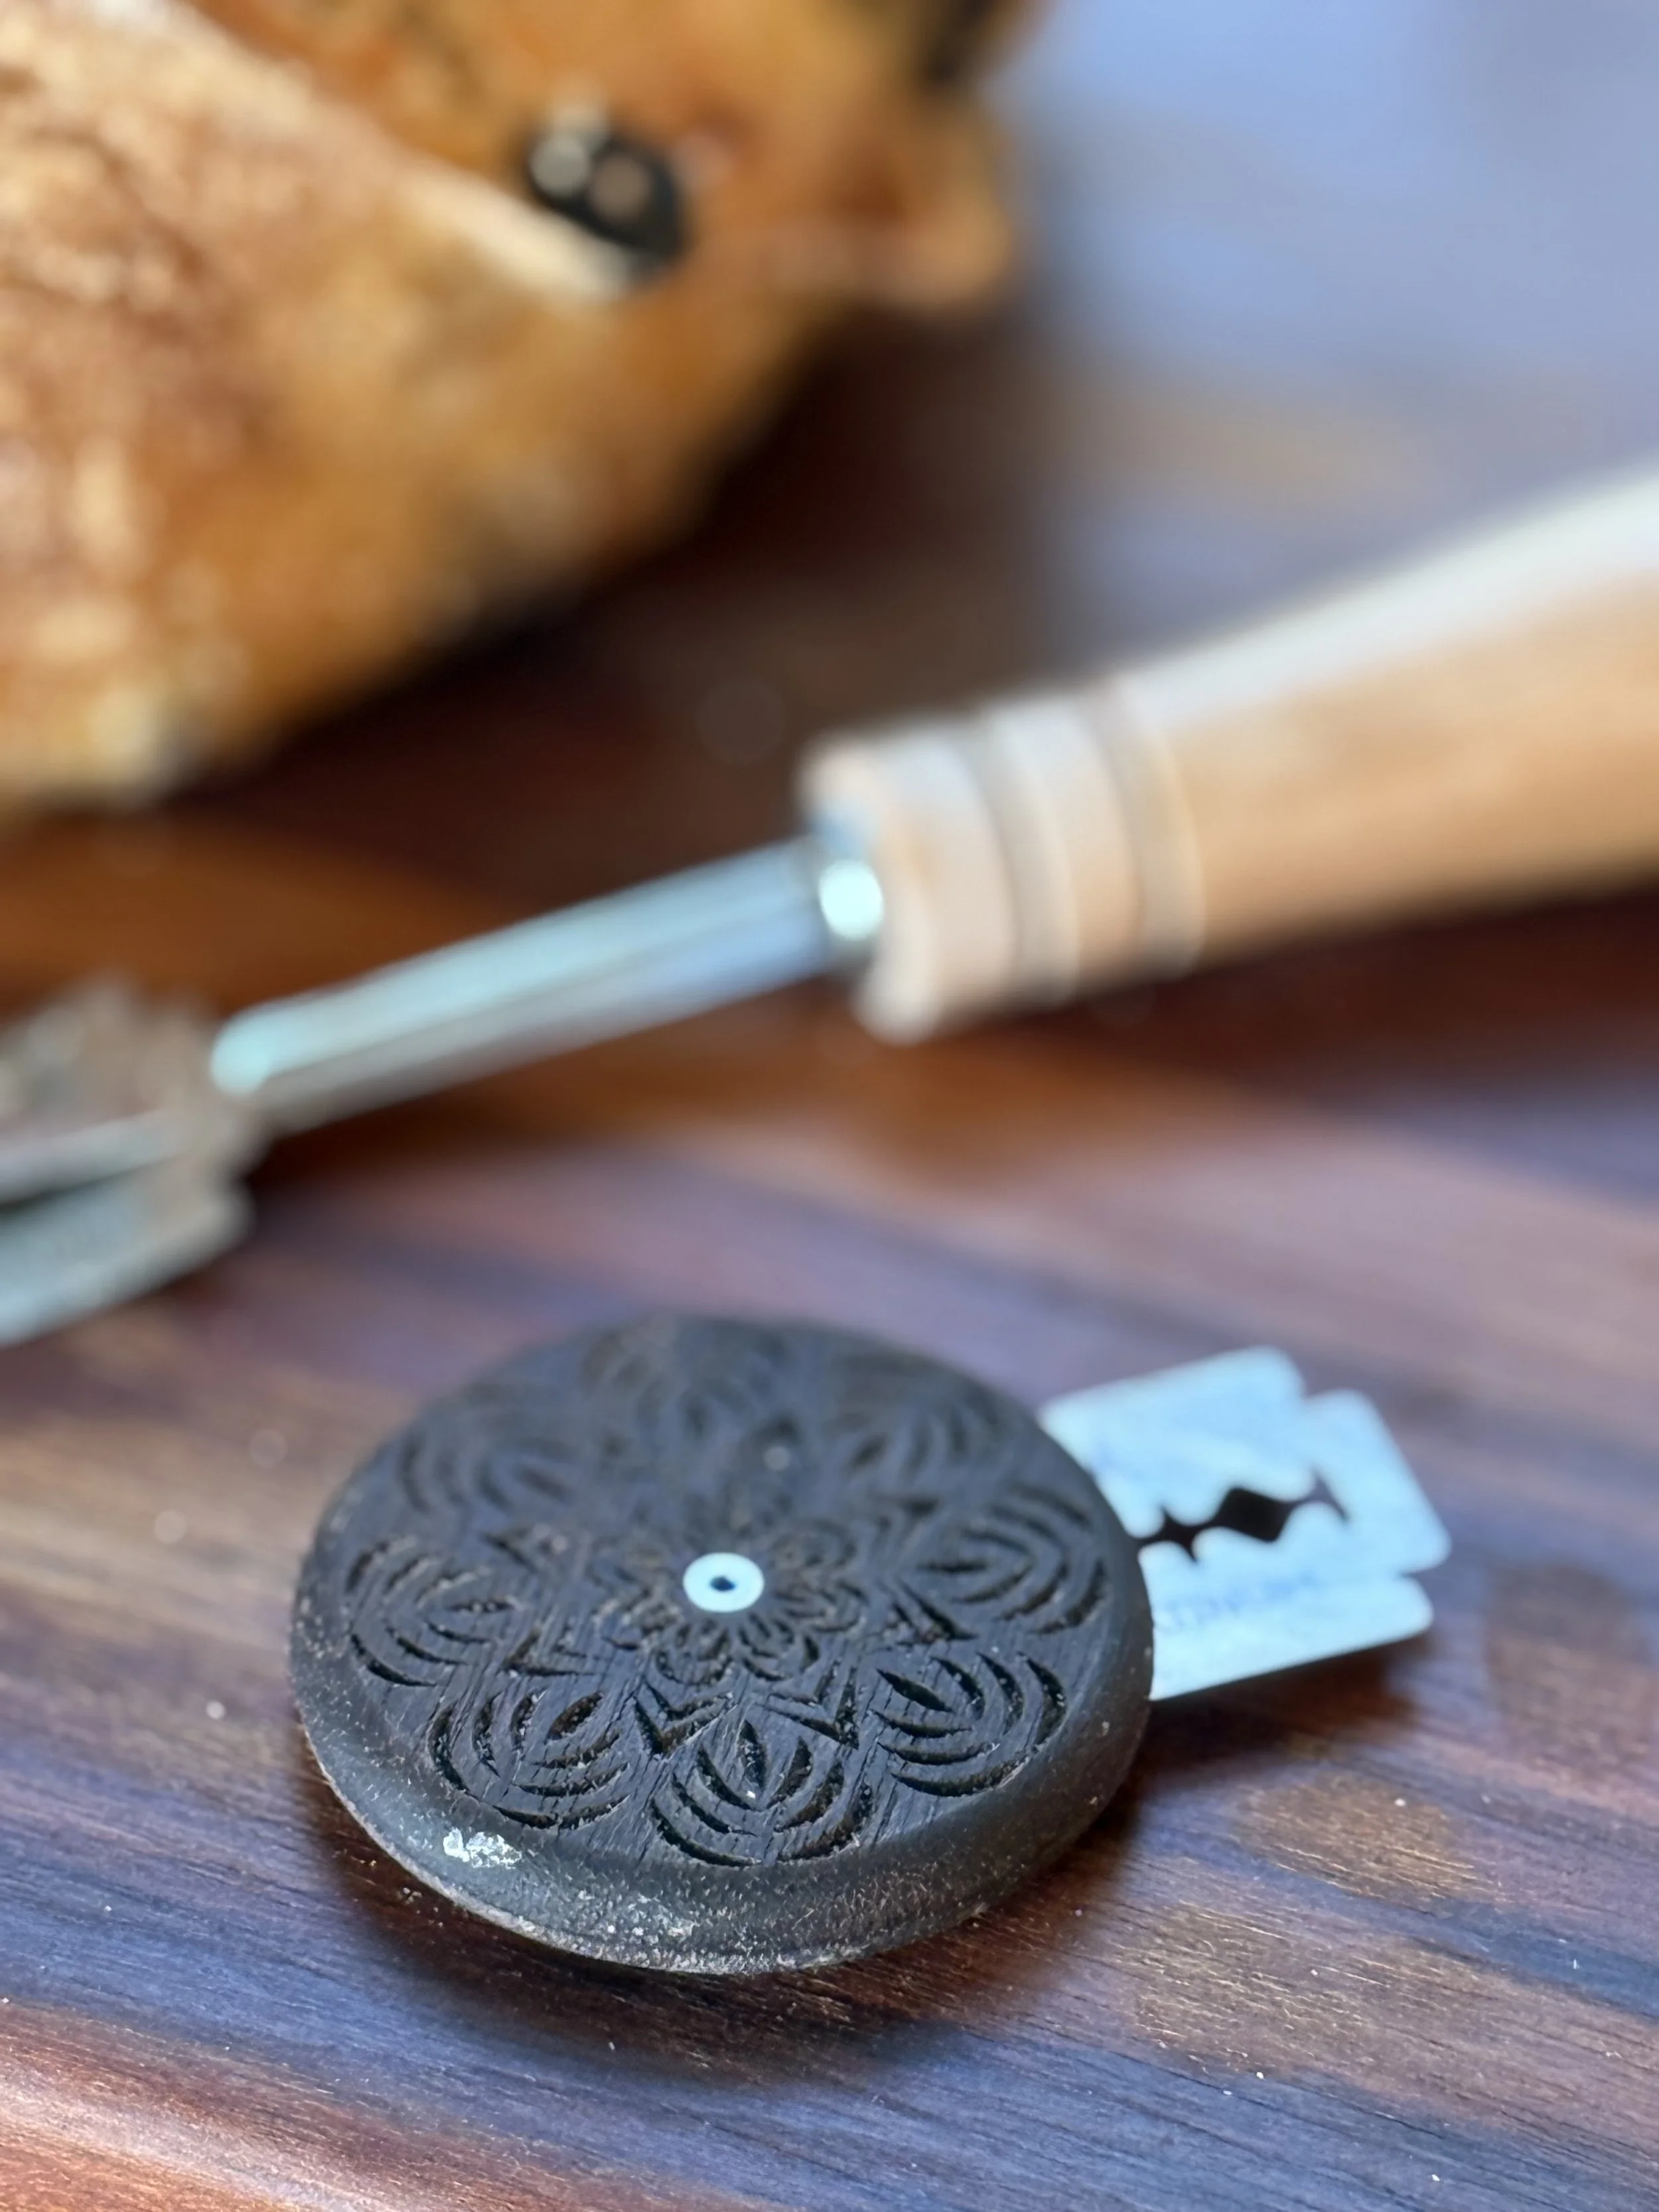
Lame (Pronounced LAHM)
A tool for scoring bread.
See also “UFO Lame” and “Stick Lame”
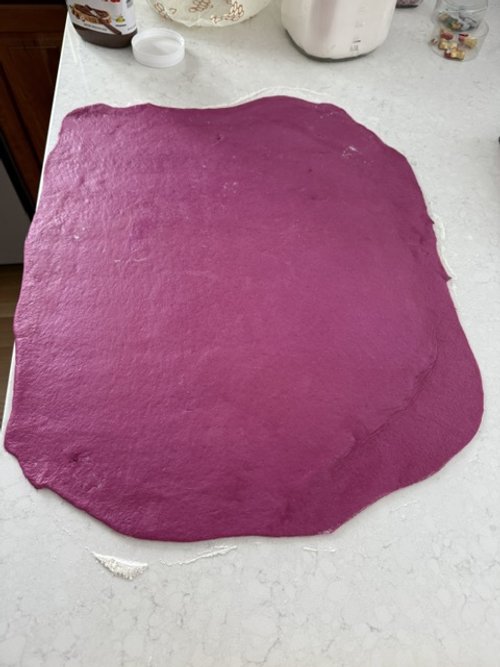
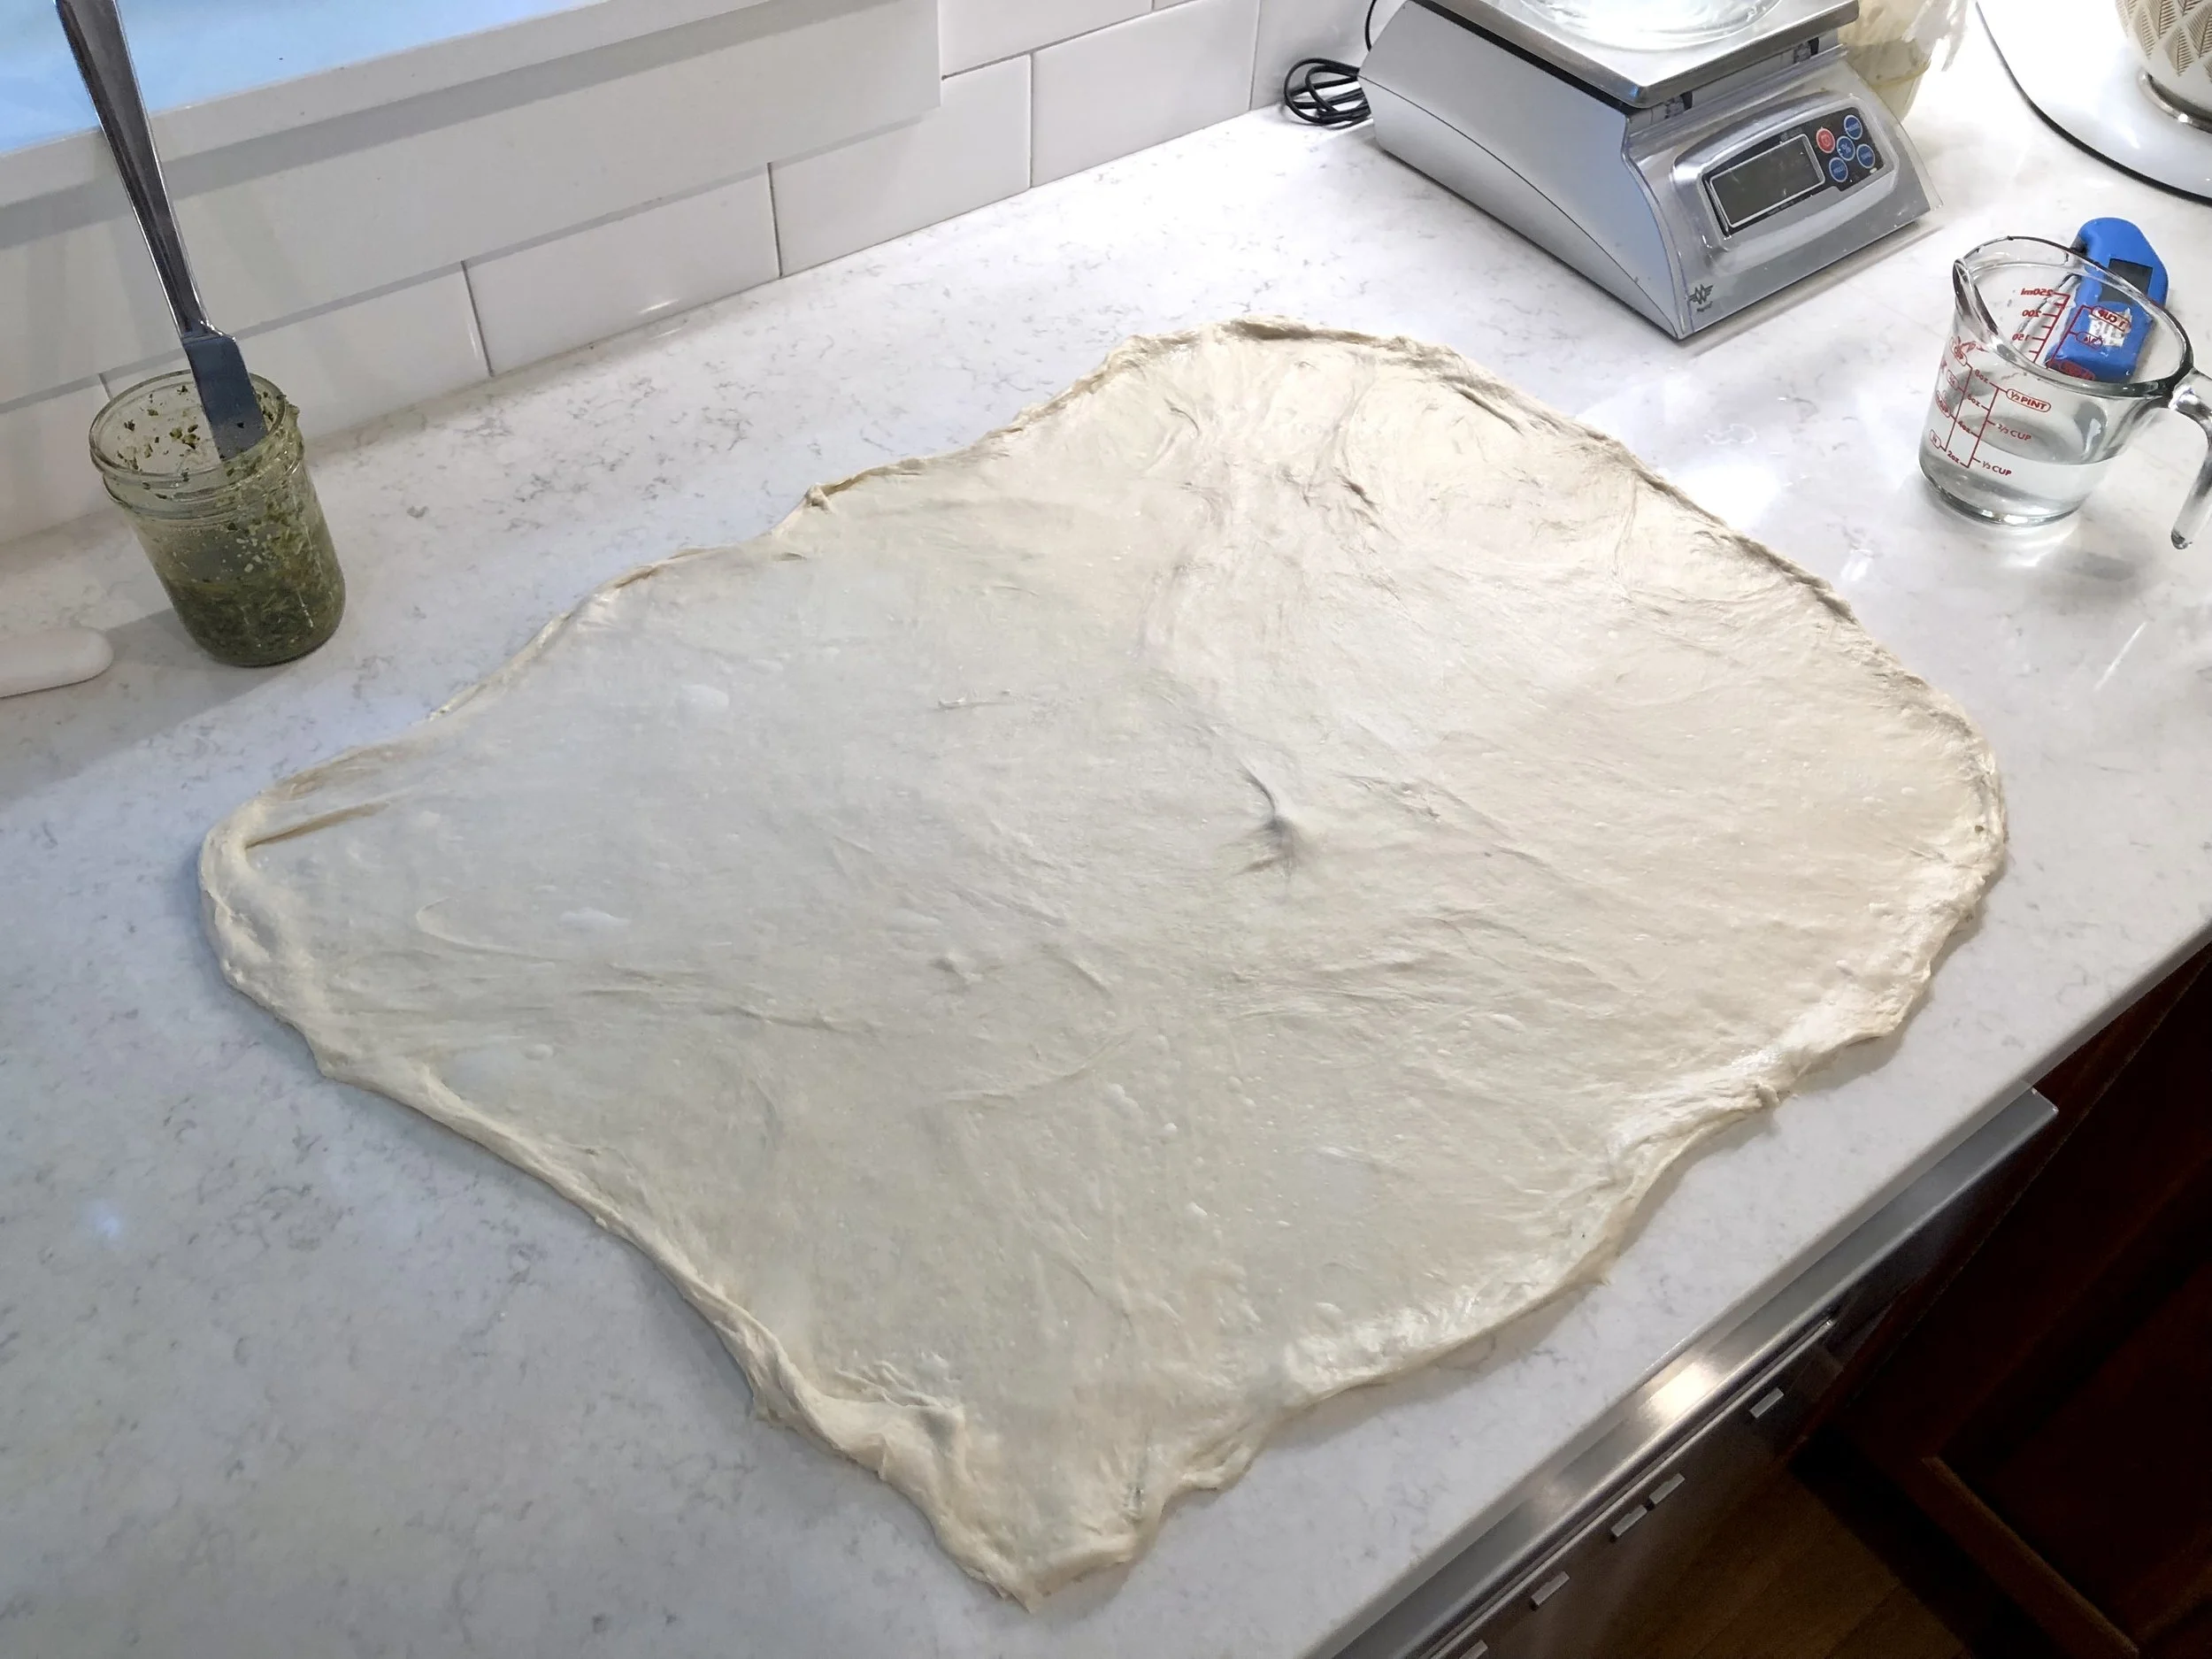
Lamination
Spreading dough out very thinly.
This technique is used for other types of bread, including croissants. In sourdough this is to develop gluten and is also a way of adding in inclusions.
Lava rocks
Porous rocks from volcanoes, often artificial.
These can be used to help create steam in a home oven for sourdough. Watch out for lava rocks with chemicals and artificial dyes, you’ll want to either wash, boil, and bake them before using alongside food, or buy ones already deemed safe for food.
A high end brand of enameled cast iron cookware and kitchenware.
Their prices can be hefty, but the pieces will last a lifetime and beyond, and can sometimes be found on sale or for a good price at their outlet store or even HomeGoods!
Levain
Levain is an offshoot of sourdough starter: Some starter combined with flour and water.
Levain and sourdough starter are terms often used interchangeably. Technically, they are not the same, and using the terms interchangeably can create some confusion. But with careful attention, if you look at the context you can often see what a recipe intends, if they actually mean starter or if it’s truly a Levain that is being made.
Also not to be confused with feeding starter; levain is made from starter and is very much like a feeding, but the difference is that all of the levain will be added into dough and eventually baked. Starter is maintained and while part is taken to make things, such as a levain, the main starter always remains.
Lievito madre
Italian for “mother yeast” and what Italians call sourdough.
Any Italian bakery, pizzeria, or restaurant that wants to advertise that they use or make sourdough, will mention “lievito madre” and often the length of fermentation, 24, 36, 72hr, etc.
Maillard reaction
This is the browning action that happens to certain baked goods when cooked at high heat; roasting, baking, searing, etc.
It not only gives color but a distinct flavor. It’s an organic chemical reaction when amino acids and reducing sugars react to create melanoidins.
Examples of the Maillard reaction in action would be the browned edges of pepperoni on a pizza, the browned crust on bread, even that browned toasty flavor from the beans of your favorite morning beverage: coffee.
Mature starter
A well-developed, established, and active starter, usually fed in the last 12 hours and ready to be used in a recipe.
See also “active starter” and “ripe starter”
Medium-strength bread flour
A flour with a protein content generally between 11-12%.
Flour in stores won’t be labeled as “medium strength bread flour”, but if you know what protein percentage you’re looking for, you should be able to find that information hopefully on the brand’s website if not on the package. A good and reliable example would be King Arthur’s all-purpose flour which is 11.7% protein and is clearly marked on their bags of flour.
Open Crumb
The inside structure of a sourdough loaf with big, open holes evenly dispersed throughout the bread.
Open Bake
Baking bread in an oven without being inside a dutch oven or similar vessel.
Oven-spring
The amount a loaf “springs” up or rises in the oven.
Over-fermented
Dough that has risen or fermented for too long.
Over-fermenting can be used to talk about the dough rising too much at any point, but technically over-ferment refers to the first rise, or bulk ferment. See also “over-proofed”
Signs of over-fermenting include dough that has risen more than double during bulk ferment and dough that becomes sticky and hard to work with.
The poke test during bulk fermentation is debated on whether it’s accurate or not.
Over-proofed
Dough that has fermented/proofed too long.
Over-proofed dough is dough that has fermented too long in its final shape (i.e. in a banneton), but over-proofed and over-fermented are sometimes used interchangeably. See also “over-fermented”
Signs of over-proofing include a poke test where the indent doesn’t fill back in, a loaf that deflates when dumped out of a banneton, deflates or spreads when scored, sticky dough that catches the lame, and a less than desirable oven spring.
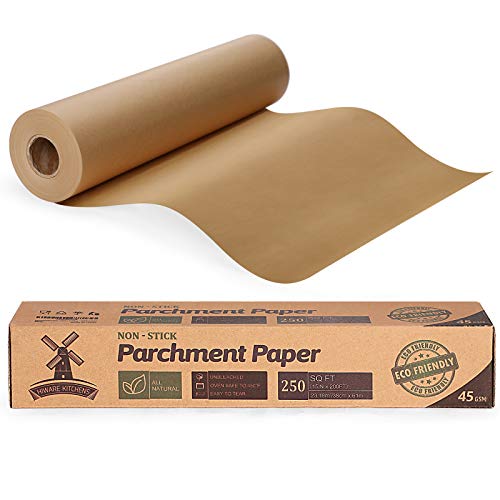
Also known as baking paper, parchment paper is a non-stick and grease-proof paper with many purposes in the kitchen. It is made up of silicone coated cellulose and is oven safe up to 420°F - 450°F / 216°C - 232°C, depending on the brand.
Parchment paper comes precut in various sizes or in rolls, white (bleached) or brown (unbleached).
Pâté Fermentée
French for “fermented dough”, pâté fermentée is another kind of preferment.
When making sourdough, at the end of the bulk ferment a third of the dough is reserved to leaven the next batch of bread. When the next batch is done bulk fermenting, again a third would be reserved in the fridge for up to 3 days until the next batch needs to be leavened.
Poke test
A test to determine if dough is done proofing and ready to bake.
Simply poke your finger into the dough, then remove it. If the dough springs back immediately, the dough is under-proofed. If the dough springs back slowly and doesn’t quite fill in completely, the dough is nicely proofed and ready for baking. If the dough doesn’t spring back at all or just a tiny bit, it is over-proofed and should be baked immediately.
How far should you poke your finger in? Anywhere between 1/4” and 1”, depending on who you ask. I personally feel 1” is too far. Since we don’t usually have a ruler handy for a poke test, poking a finger in as deep as the nail bed is probably my favorite practical bit of advice on the subject. To prevent your finger from sticking, wet or flour it before poking.
The poke test’s reliability is debatable when dough is cold, or if using to determine if bulk ferment is done.
Poolish
A French preferment consisting of flour, water, and a small bit of commercial yeast.
It’s usually equal parts flour and water (100% hydration) and left to ferment for 12-18 hours or so before being used in a recipe. It helps to create depth of flavor in breads but is not quite as tangy or sour as sourdough bread.
Pre-shape
A gentle shape given to dough after bulk ferment and before final shaping. The dough sits in this “pre-shape” usually just 20-30 minutes before the final shaping.
This pre-shape helps the dough to hold its shape better when it is actually shaped.
Proof
The ferment or rise of dough in its final shape before baking.
Pullman Loaf Pan
A bread/loaf pan with a lid, for making square bread, Texas toast, Pain de Mie, also known as Pullman Bread, and more.
Ripe starter
Bubbly, ready to use starter that has been fed in the last 12 hours. See also “active starter” and “mature starter”
Retard
A long, slow ferment in the fridge, often overnight or longer.
Retard means “to slow down” in French, as the fermentation process gets slowed down in the colder temperature.
Flour made from rice; this is a popular choice for lining bannetons and liner cloths to keep the dough from sticking.
Rubaud Method
A method for hand-mixing sourdough. This involves cupping one hand, sliding it under the dough in a bowl, and lifting and stretching it up before releasing. This is repeated any times moving your hand around the bowl to evenly work all the dough. This helps to build gluten while also aerating the dough.
Rye flour
One of the many flours chosen to add depth of flavor to loaves. Rye flour is nutritious and has a lower gluten content than wheat flour.
Rye flour comes in a few main varieties, depending on how much flavor and nutrition you’re going for. Just like regular wheat, the more of the rye kernel that is used, the more whole grain and flavorful it will be. Kernels are made up of the endosperm, the bran, and the germ.
White Rye, or Light Rye uses only the starchy endosperm part of the kernel, resulting in the lightest flavor.
Medium Rye contains bran which gives it a slightly darker color and a more robust flavor.
Dark Rye is the darkest, most pungent of the rye flours. It’s also the heaviest, and can weigh down your baked goods making them dense. However, dark rye can be an inconsistent product across different producers. According to King Arthur, some producers sift out some of the bran. or don’t use as much of the endosperm.
Pumpernickel flour is the one to get if you’re looking for a truly whole grain (endosperm, bran, and germ) rye flour. Pumpernickel is also known as “rye meal” or “whole rye flour”.
Scale/scaling
Weighing ingredients on a scale, or converting a recipe to yield more or less.
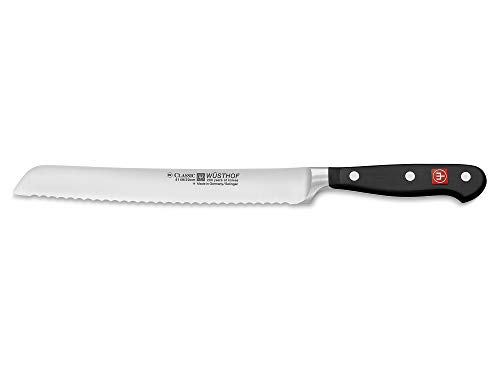
Score/scoring
Slicing bread about 1/2” or so deep to help control the rise.
This is best done with a sharp razor blade such as on a lame, but a sharp knife can also be used in a pinch.
Seam
After shaping dough into its final form, there will inevitably be a seam. The seam always ends up on the bottom of the loaf where you can’t see it. If using a normal loaf pan, the seam side goes down. If using a banneton to proof dough, the seam side always goes up since the bread will be flipped out of the banneton before baking.
A razor blade with one sharp edge; the opposite edge is dull and made for holding.
This kind of razor blade cannot be used on a lame, but can be useful if you don’t have a lame and would like a safer option for hand scoring dough.
Sourdough
Bread made with natural yeast. No commercial yeast is needed.
This is the original and most ancient way of making bread. Commercial yeast was first sold in the 1800’s and greatly sped up the bread making process from a multi-day process to simply a multi-hour process. Now commercial yeast is the most prevalent kind of yeast in the USA. See also “commercial yeast” and “wild yeast”.
Sourdough Discard
The portion of sourdough starter that you discard before feeding it.
Sourdough starter needs regular feedings to stay active and bubbly. Before feeding, a portion is usually “discarded” or put aside so as to keep the amount of sourdough starter at a manageable quantity.
Sponge
An umbrella term for preferments.
Biga, poolish, and Levain, for example, are all preferments.
Sprouted flour
Wheat berries that are left to sprout before being milled into flour.
Sprouted flour is sometimes selected for sourdough and bread making because of its nutritious properties. Sprouting softens the wheat berry and makes it easier to digest.
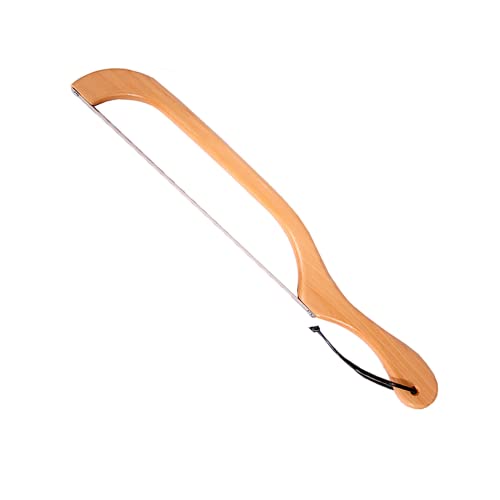
A long, thin wooden stir stick.
Traditionally used in Scottish cooking of porridge and other liquidy foods, a spurtle works wonderfully for stirring sourdough starter and reaching into tall containers.
Starter
The natural yeast mixture that is maintained and fed with simply water and flour. A bit is used to naturally leaven bread, and the rest is kept on the counter or fridge with regular feedings and discards to keep it active and healthy.
See also “sourdough starter”
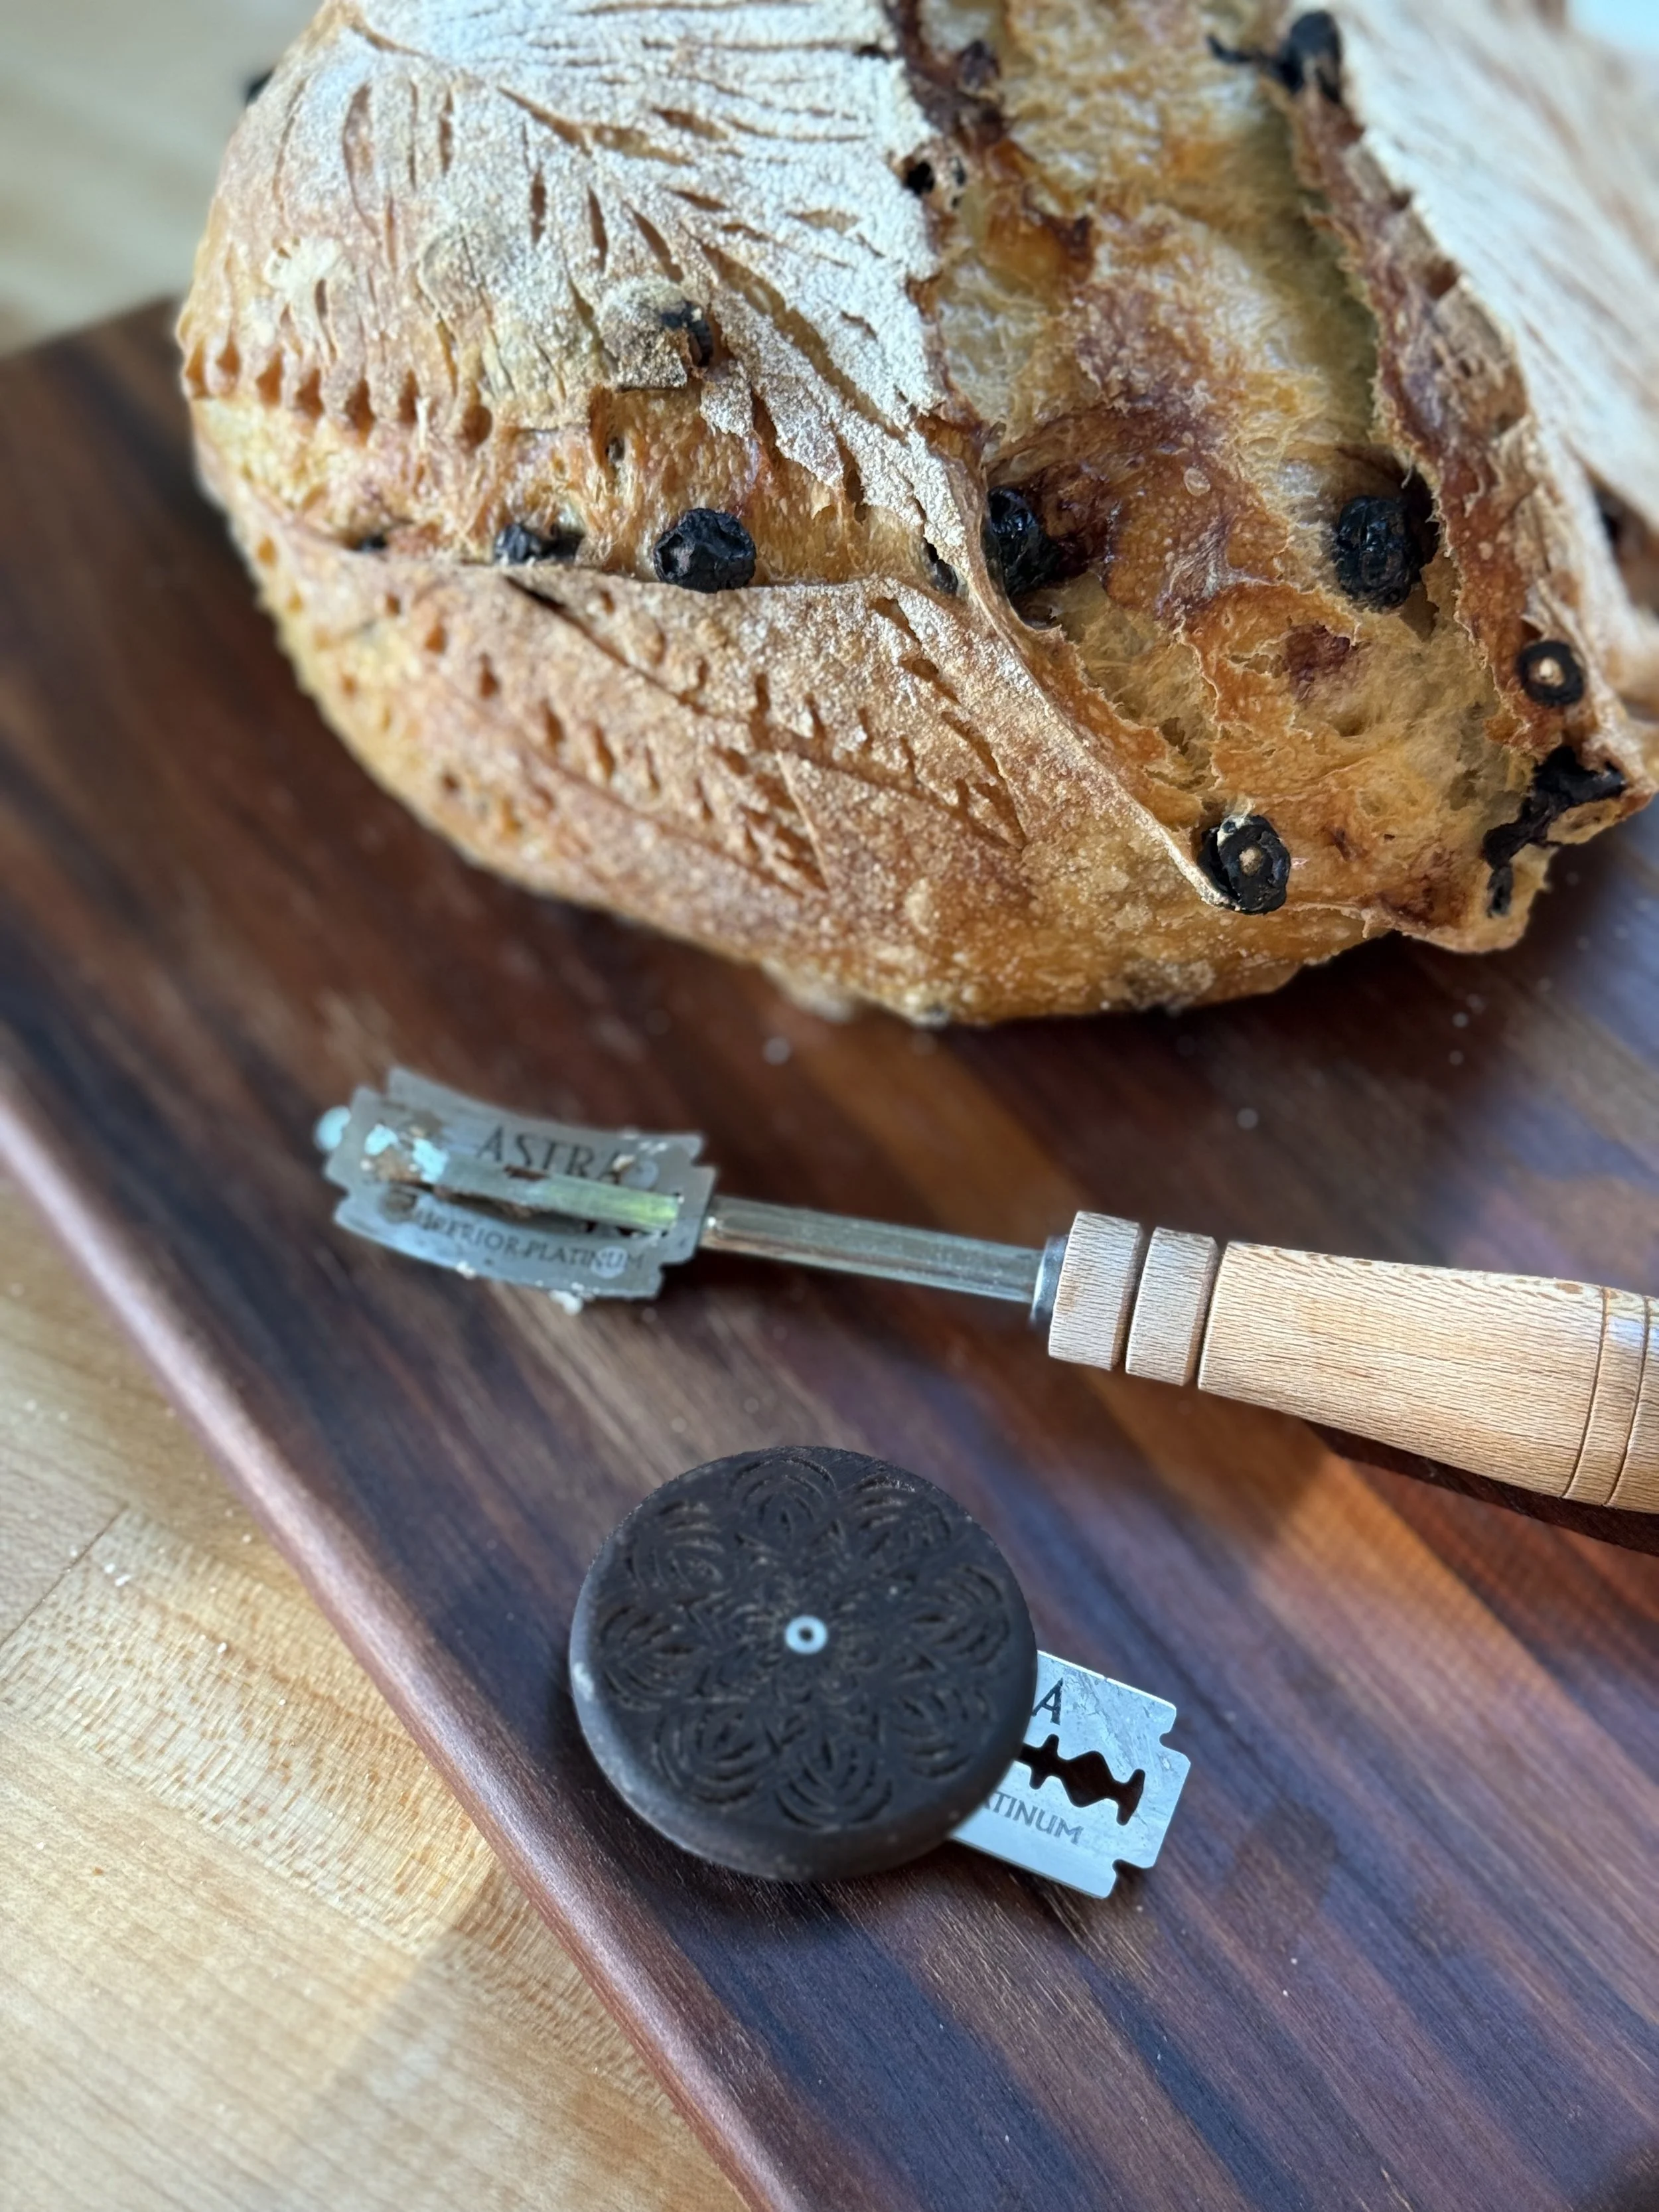
A tool made for scoring bread.
A stick lame consists of a long handle with a metal end which holds a double-edged razor blade at a curved angle, allowing the bread to be scored in such a way as to get an ear.
Stiff starter
A sourdough starter that has a lower hydration, and thus, is stiffer.
Stitch/stitching
Once dough has been placed upside down (seam side up) in a banneton, the dough is often pinched on one side and stretched over to the other side and pressed down to stick. This is done multiple times all the way down a bâtard shape on both sides or around for a round boule, in a manner similar to stitching.
Stitching helps to create surface tension for a loaf.
Stretch and Fold
A gentle sourdough kneading method. Usually 2-4 sets of stretch and folds are performed to help develop gluten, often 30 minutes apart.
When dough has been mixed and is resting in a bowl/bulk ferment container, one edge of the dough is taken and stretched up as far as it can go without ripping, before being folded down to the opposite side. The opposite side is then taken and stretched and folded over. Finally, the opposite two sides are stretched and folded over as well.
In all, 4 stretch and folds at N, S, E, W will be performed to be considered one set of stretch and folds.
Surface tension
The taught, tight surface of dough in its final shape.
Surface tension is created by using certain techniques of rolling, dragging, sliding, and stitching the dough as and after you shape it.
Surface tension is important for helping loaves to rise upward and not outward.
Sweet stiff starter
Sourdough starter that has a lower hydration, and also with some sugar added to it to help reduce the acidity of the starter. It is used primarily in sweet breads.
See also “stiff starter”
Temperature method
Taking the temperature of dough at key moments to understand and time the sourdough process.
Dough temperature is often taken at the beginning of bulk ferment, at each stretch and fold, sometimes during the remainder of bulk ferment to help determine how fast the dough is fermenting and how long bulk ferment should last.
Tight crumb
Bread with small or tiny air holes, rather than large or airy holes.
While not the most desirable crumb structure for classic sourdough bread, some prefer this for its ability to hold jam, butter, etc. better.
See also “closed crumb”
A brand offering enameled cast-iron bakeware such as Dutch ovens frequently used for sourdough baking. A more affordable option than some.
Tunneling
The large holes seen in under-fermented bread.
Often in sourdough, dough that is not too severely under-proofed will take on s pyramidal shape with a mostly tight crumb that has large holes running through it, or tunneling.
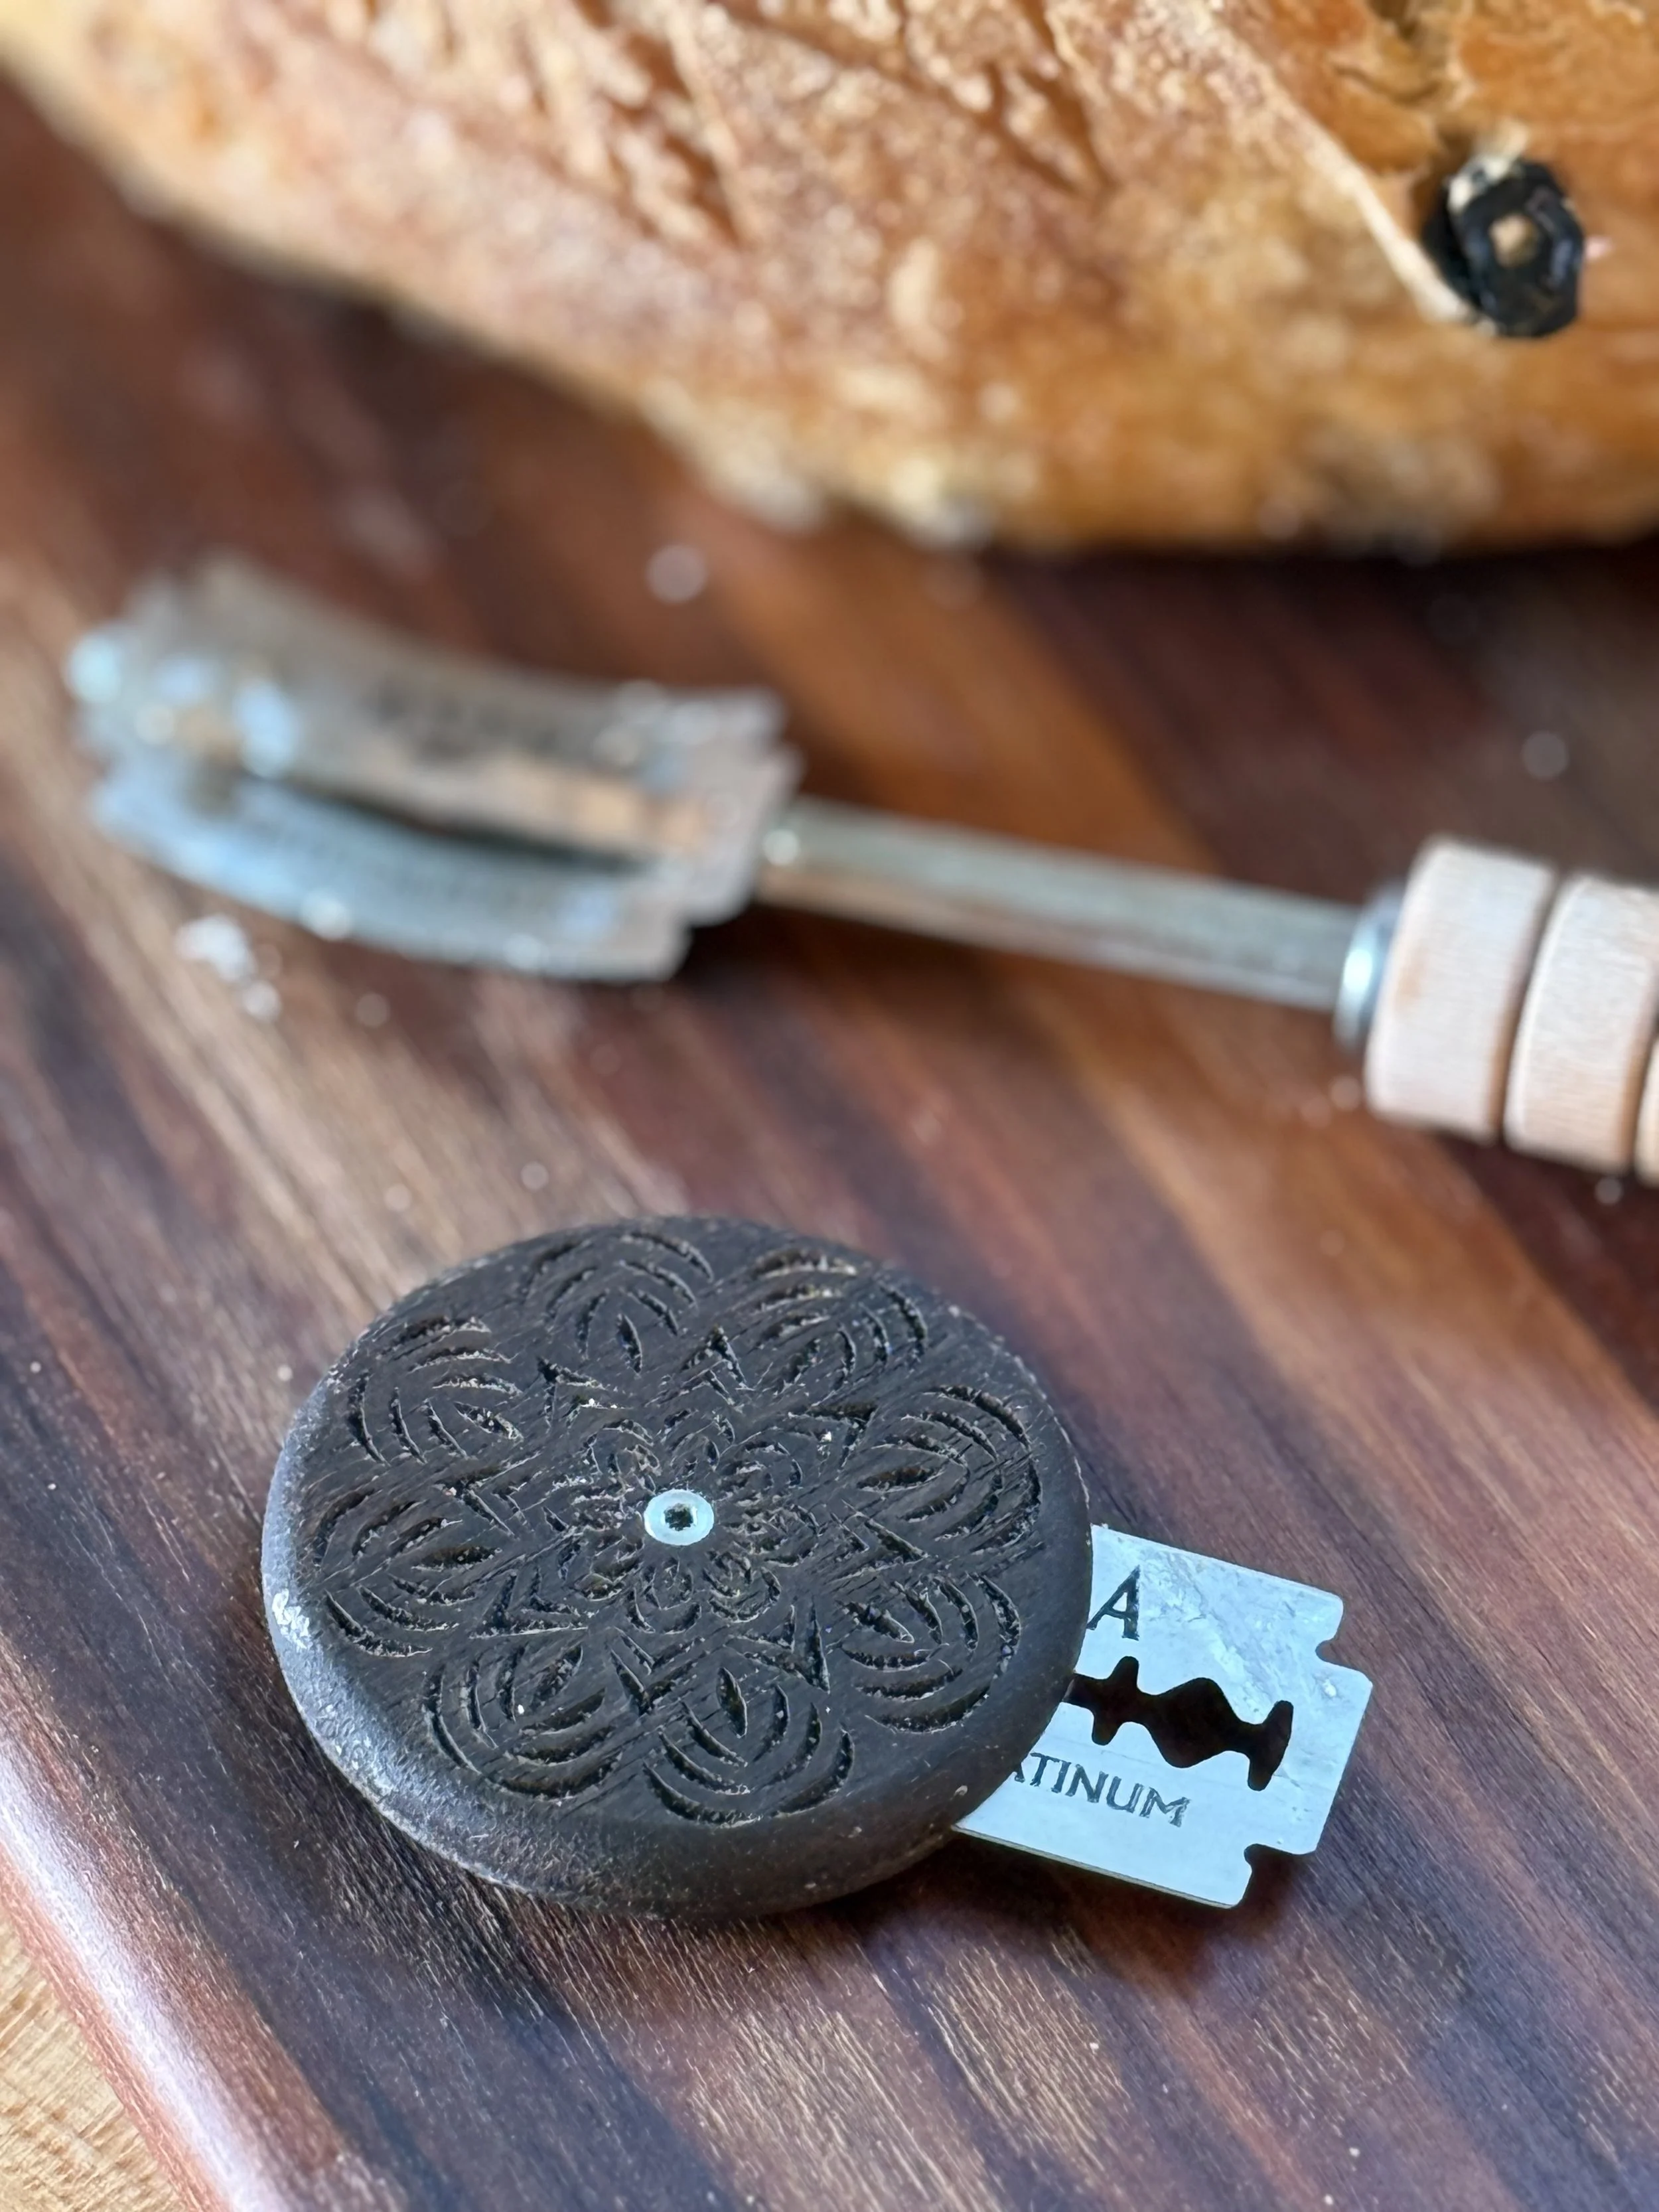
A round lame used for scoring smaller and more intricate designs.
Under-proofed
Bread that was not given enough time to ferment or rise, often manifesting in a loaf that doesn’t obtain full height with a dense, tighter crumb, or a tight crumb with large holes called tunneling.
Wild Yeast
As opposed to commercial yeast which you would buy from the store, wild yeast comes from the environment and is found virtually everywhere.
If you give wild yeast food, it will grow. This is how sourdough starter is made. When you mix food (flour) with water (a vessel), the wild yeast will eventually form and grow into what we know as a sourdough starter. Continue to feed it, and it will continue to be happy and grow.
Wild yeast differs around the world, which is why, no matter where you get your starter from or where you take it, it will eventually turn into the wild yeast native to your location. There is a reason why San Francisco sourdough has such a unique flavor that cannot be replicated anywhere else in the world!
Windowpane test
A test to determine if sufficient gluten has been developed in bread dough.
Take a small piece of dough with wet or floured fingers and stretch into a thin square. If you’re able to stretch it thin enough to let light through in a windowpane-esque way, gluten has been well developed and passes the test. If it rips before stretching sufficiently, not enough gluten has been developed.