Is an Autolysis Necessary for Sourdough Bread?
/
When I first started making sourdough loaves at home, I wanted to have as much success as possible right from the get go, so I started by using as many techniques and tricks as I could, rather than starting with a basic recipe and adding in techniques as needed. Spoiler alert, my bread wasn’t perfect, and I ended up working in the opposite direction. Rather than adding in more things to make my bread better, I started taking out certain steps and techniques one by one, to see if they were really serving their purpose, or just wasting my time.
One such technique was the autolyse method. Some of the people I respect most in the sourdough world use an autolysis. So I did, too. It wasn’t until one day, reading another respected sourdough person who went off on a bit of a rant, that they claimed that autolyse isn’t necessary, and in fact they do not recommend it. As they said, autolysis is a process developed and intended for breads made with commercial yeast, whose rise time is shorter and would benefit from an autolysis. Since sourdough bread has much longer fermentation times, autolysis isn’t as beneficial, or so this person was saying. I haven’t been able to locate any one reliable source that states anything as clearly as “autolysis was developed for commercial bread products and yeast, not so much sourdough”, but let’s run with it for the purpose of this mini experiment.
This intrigued me, and in a way, relieved me. I’ve heard many a baker explain and laud the praises of an autolysis, and yet, I secretly did not enjoy the autolysis process. It just felt…cumbersome. Adding on more time. Harder to mix the dough. More on that later.
King Arthur has an interesting article on using an autolysis, including experiments with both sourdough and instant yeast. Their article tends to give confirmation toward an autolysis being the most beneficial for commerical yeast over sourdough.
On the other hand, Maurizio of The Perfect Loaf does a similar experiment, but with his loaves showing a marked difference with autolyse. He also really gets more into the science of autolysis and explains it very well.
What is an autolysis?
Autolysis (noun) - Autolyse (verb)
Simply, an autolysis is simply mixing flour and water together and letting them sit for a period of time. The water helps to activate some of the enzymes in the flour, developing gluten, before adding other ingredients which can have an effect on gluten. Adding salt “tightens” the dough, and adding the starter commences fermentation. When just flour and water are combined, they are free to act in a way they otherwise wouldn’t when salt and starter are present.
While I had already been wanting to experiment and see what the difference might be between a loaf that got an autolysis and one that didn’t, I felt spurred into action when that knowledgeable sourdough person said they don’t recommend autolysis. Now I knew that, should I decide to not always faithfully autolyse, I wouldn’t be alone in that camp.
I’ve now done this experiment two separate times. In my first experiment the result didn’t feel overly conclusive to me, as there were several other factors going on that affected the fermentation and bake. It didn’t feel safe to say one way or another if the autolysis was the reason for the differing outcomes, but now that I’ve done this experiment twice, I feel a little safer in sharing my results.
Before we finally get into my little mini experiment, a couple of things to note:
Sourdough is highly dependent on environment, ingredients, etc. so while I hope you find the results below interesting and informative, I would encourage you to do your own experiments for your own kitchen environment!
The results below are tested solely on unbleached white flours. One of the benefits of autolysis is that it can help break down bran, so may show more benefits in breads that use some percentage of whole grain flours.


Autolyse vs No Autolyse #1
Method:
Both loaves were made with 100% Kirkland organic all-purpose flour, 71% hydration, 1.6% salt, 20% starter.
For the autolyse loaf, water and flour were mixed together and let rest for 1 hour before adding in salt and starter.
For the No-autolyse loaf, all ingredients were mixed together.
Both loaves got 3 sets of stretch & folds
Autolyse loaf temped at 74°F, while No-autolyse loaf was at 77°F after the 1st set of stretch & fold and 75°F by the end of all stretch & folds.
Both loaves bulk fermented for 8 hours, pre-shaped for 35 minutes, then final shape for 35 minutes before into fridge for cold retard overnight.
Both loaves were baked in dutch ovens in oven preheated to 450°F for 35 minutes with lid on.
Observations:

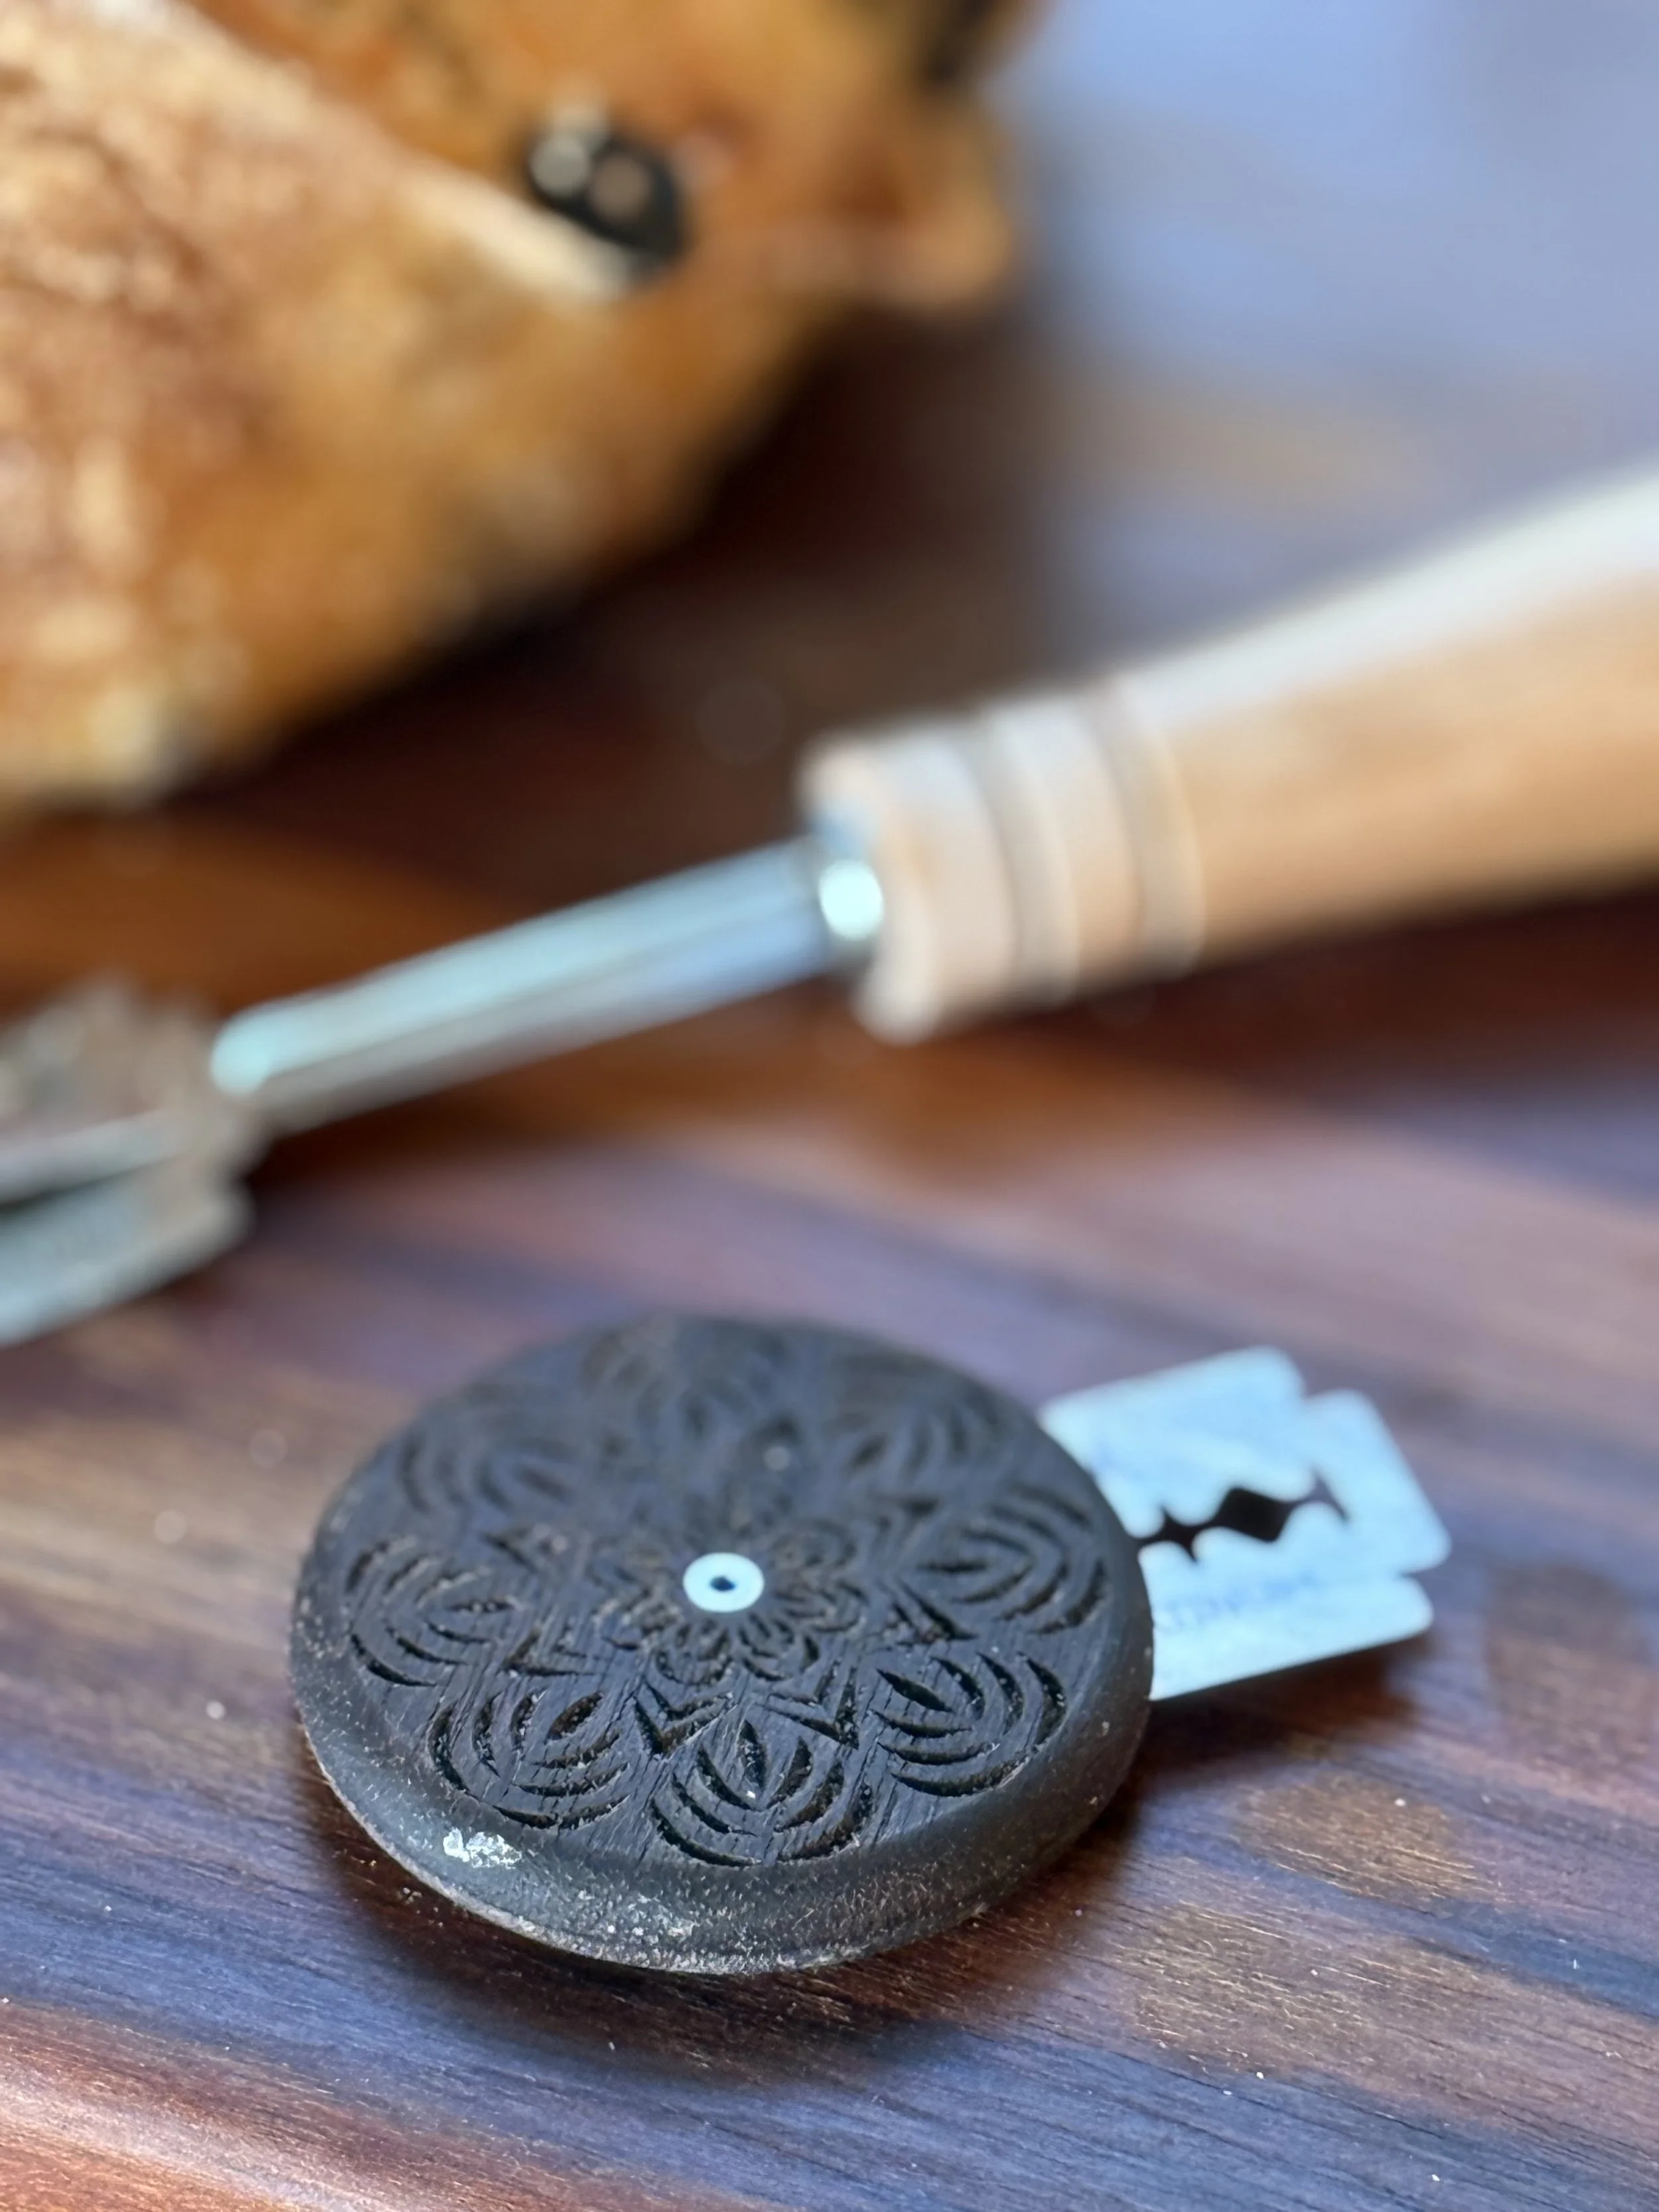
Mixing the Flour and Water for the autolysis is not my favorite. I don’t enjoy using the autolysis technique when making bread for this reason. Unless working with high hydration doughs, which I don’t often go higher than 75%, it takes a few minutes to adequately mix the flour and water. Usually a bit of water is reserved from the autolysis to help mix in the salt after the autolysis is done. This means you’re mixing the dough without it having its full hydration, thus a stiffer dough. Then after autolyse, trying to mix just salt, a bit of water, and starter into an already formed and fairly stiff dough is not easy and may not get mixed in as well.

The Autolyse Loaf gets an advantage in gluten development. Because of the thorough mixing just mentioned above in order to incorporate all ingredients after the autolysis, the dough gets a leg up in gluten development. The No-autolyse loaf dough comes together easily and thus doesn’t require the same amount of mixing. During the stretch & folds this was quite apparent, with the Autolyse dough already showing good gluten-development and the No-autolyse loaf still being quite loose and elastic. By the end of the third stretch & fold set, however, the doughs felt quite similar; the No-autolyse loaf had mostly caught up.
Despite Bulk Fermentation starting at the same time for both doughs, they were not the same temperature. The reason for this is simple, and I really should’ve taken this into account for this experiment. I was using water that was slightly warmer than room temperature. When the bulk of the water is added for an autolysis, the time the dough is resting allows the water to cool to room temp, so by the time you add the starter and bulk ferment starts, everything is nicely at room temperature. Without doing an autolysis, the warmer water is added right in with the starter and all other ingredients, so the dough and bulk ferment temperature starts a bit warmer, although it will inevitably cool to room temperature over time. Because of this, my doughs had differing temperatures and thus different projected bulk ferment times.
Both loaves slightly over-fermented. Using the wisdom and work of Tom Cucuzza from the Sourdough Journey, I usually reference his chart for bulk fermentation times and rise %, although my starter does tend to ferment slightly faster than said chart. Despite my (even written down) projected bulk ferment times for each dough and times to start checking them, time got away from me and my three young children were needing me. By the time I was able to get to the dough it was already almost 2 hours after when I had originally planned to start checking the dough, and 1 hour after the realistic time of when it probably would have been ready. I pre-shaped both doughs at the same time since they were both already slightly over, with the No-autolyse being a little more over-fermented than the Autolyse dough.


Conclusion:
Despite some of the above noted variables, I loosely concluded that including an autolysis did not provide a noticeable difference in end product due to over-fermenting the dough. I decided to repeat this experiment, and specifically to get the doughs fermenting at the same temperature with a better targeted bulk ferment so it might be more obvious the effect of autolyse on the crumb rather than fermentation problems.
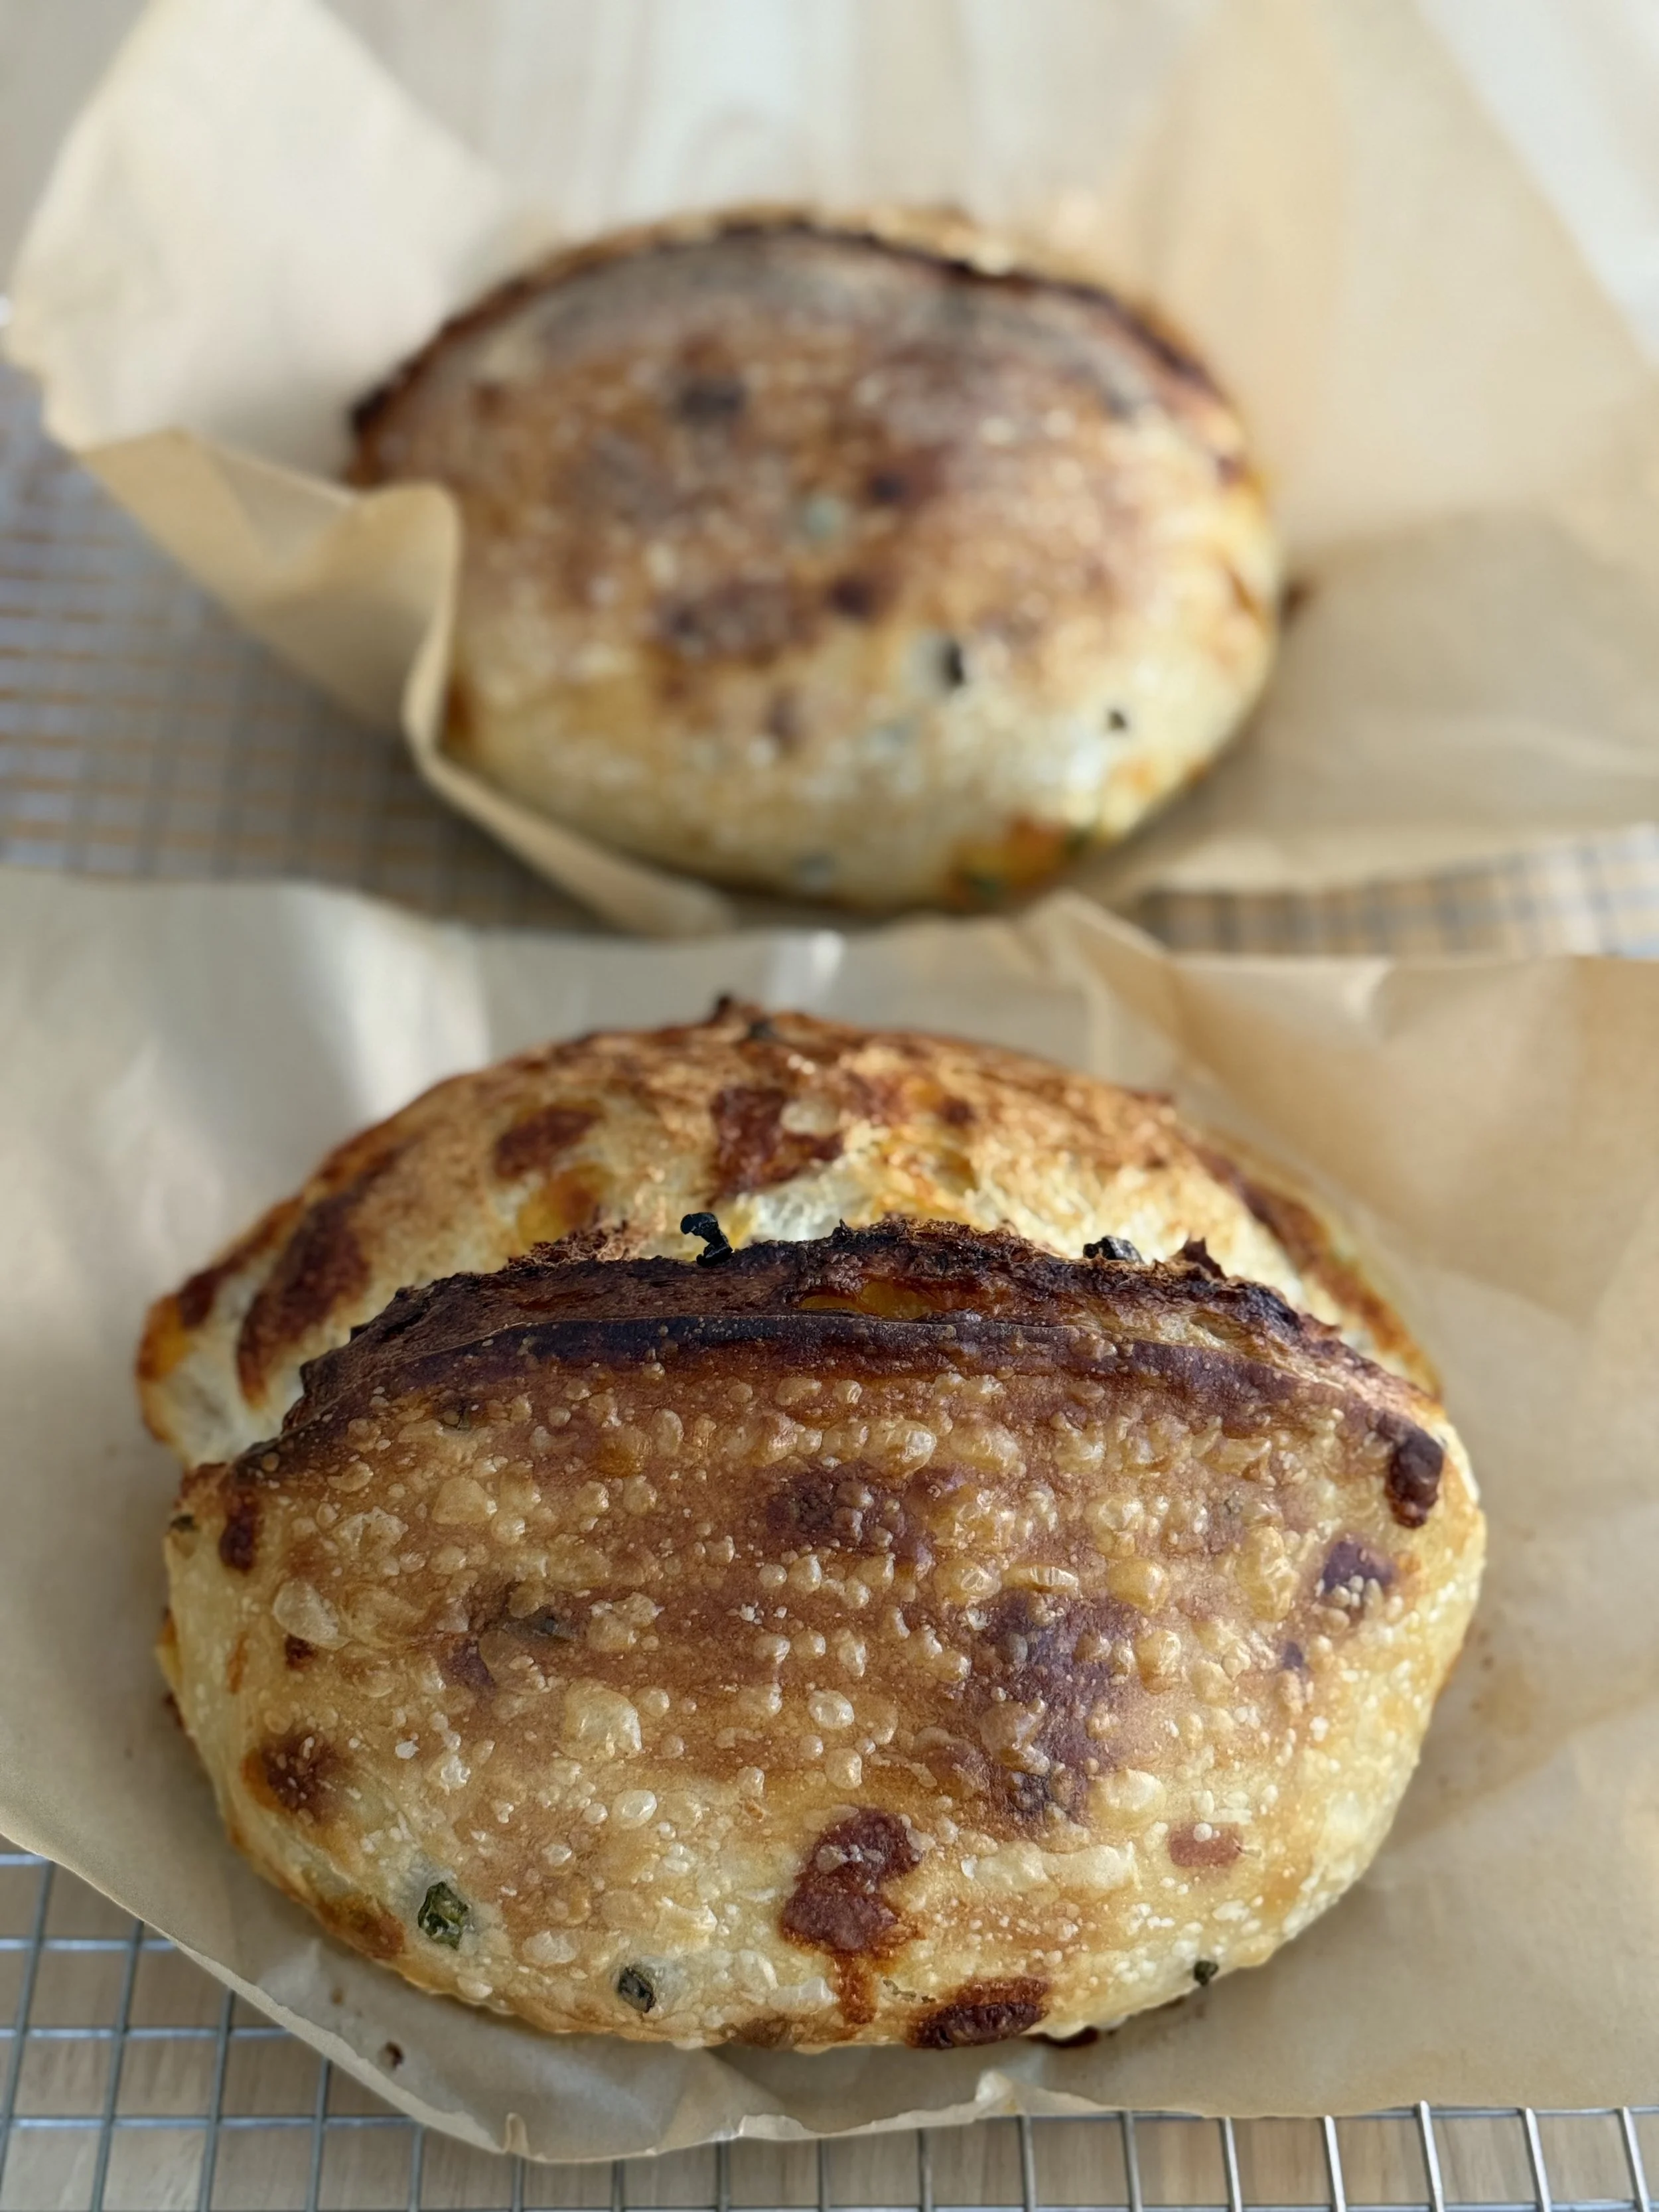
Autolyse vs. No-Autolyse Experiment #2

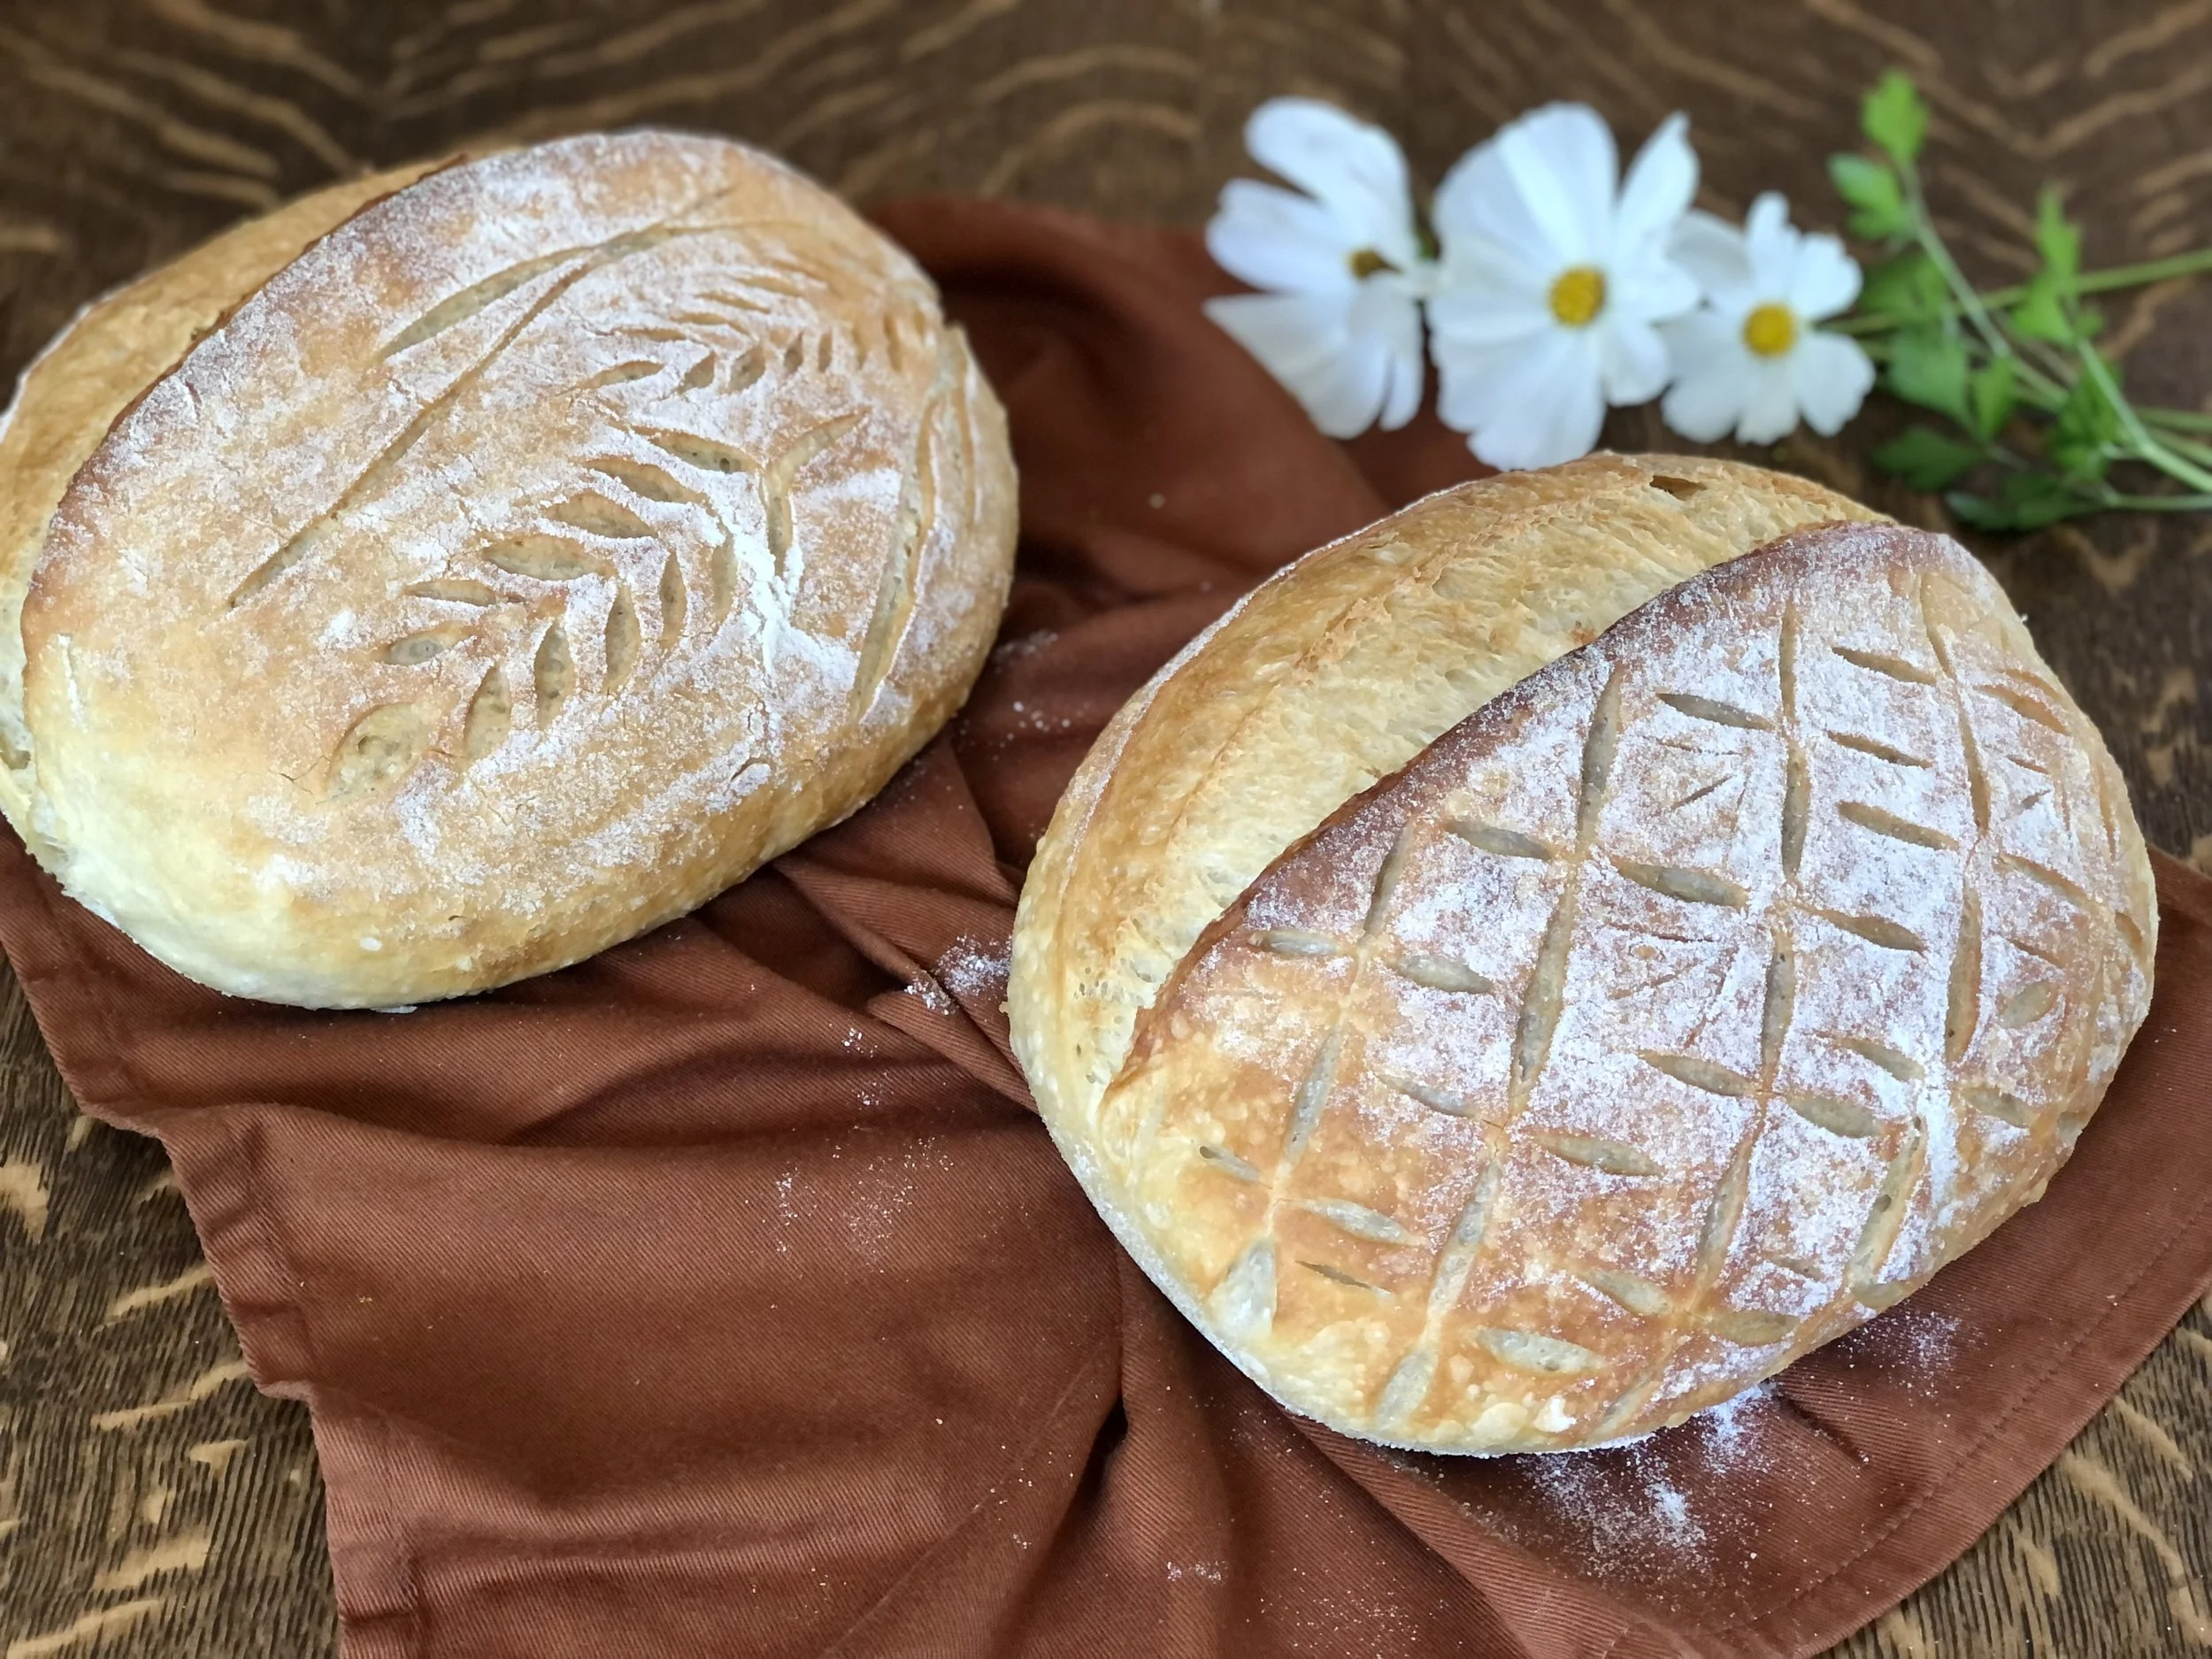
Autolyse on left, No-Autolyse on Right
Method:
Both loaves were made with 100% Kirkland organic all-purpose flour, 71% hydration, 1.6% salt, 20% starter.
For the autolyse loaf, water and flour were mixed together and let rest for 1 hour before adding in salt and starter.
For the No-autolyse loaf, all ingredients were mixed together.
Both loaves received 2 sets of stretch & folds.
Autolyse Loaf temped at 77°F at beginning of bulk ferment, 75°F by end of second set of stretch & folds, then 76°F again at end of bulk ferment.
No-Autolyse Loaf temped at 76°F at beginning of bulk ferment, 75°F by end of second set of stretch & folds, then 78°F by end of bulk ferment.
Both loaves bulk fermented for a total of 6 hours 10 minutes. Autolyse loaf had a rise of approximately 70% while the Autolyse loaf rose approximately 45-50%. (Very much eyeballing that, so take that with a grain of salt.)
Both loaves were pre-shaped and rested for 20 minutes, then final shape into bannetons, rested 10 minutes, and into fridge for cold retard overnight.
Both loaves were baked in dutch ovens in oven preheated to 450°F for 35 minutes with lid on.
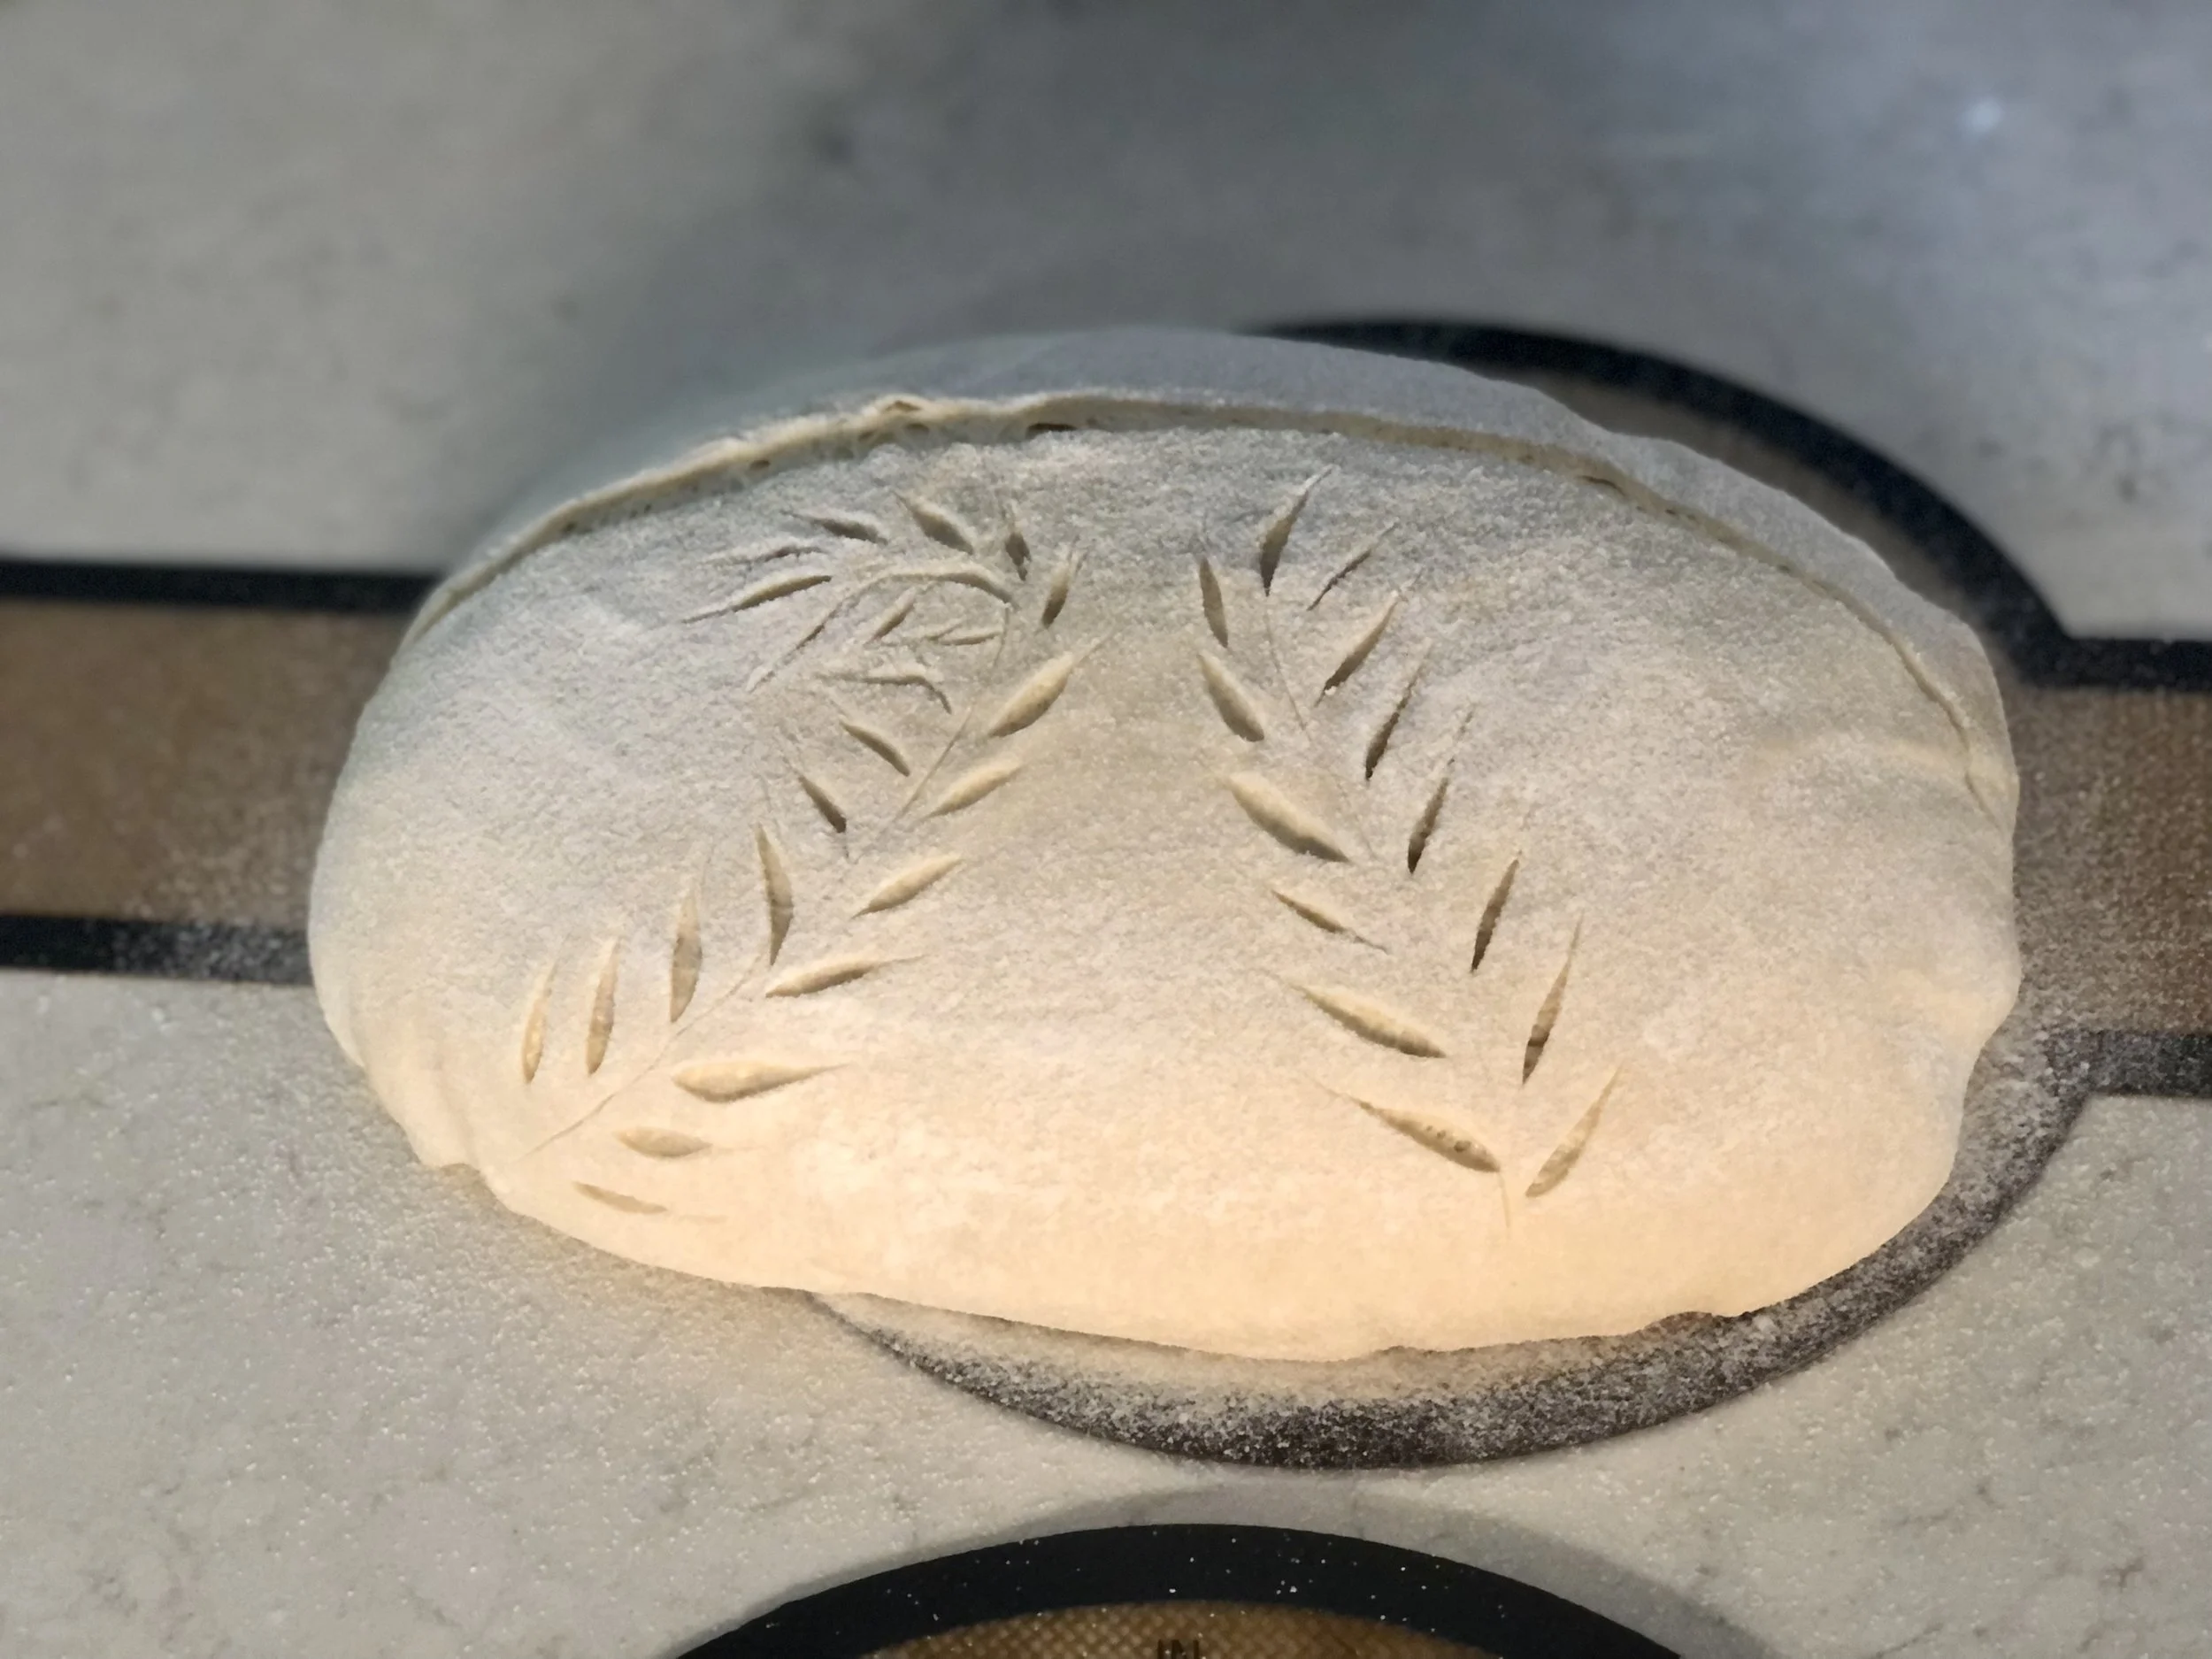
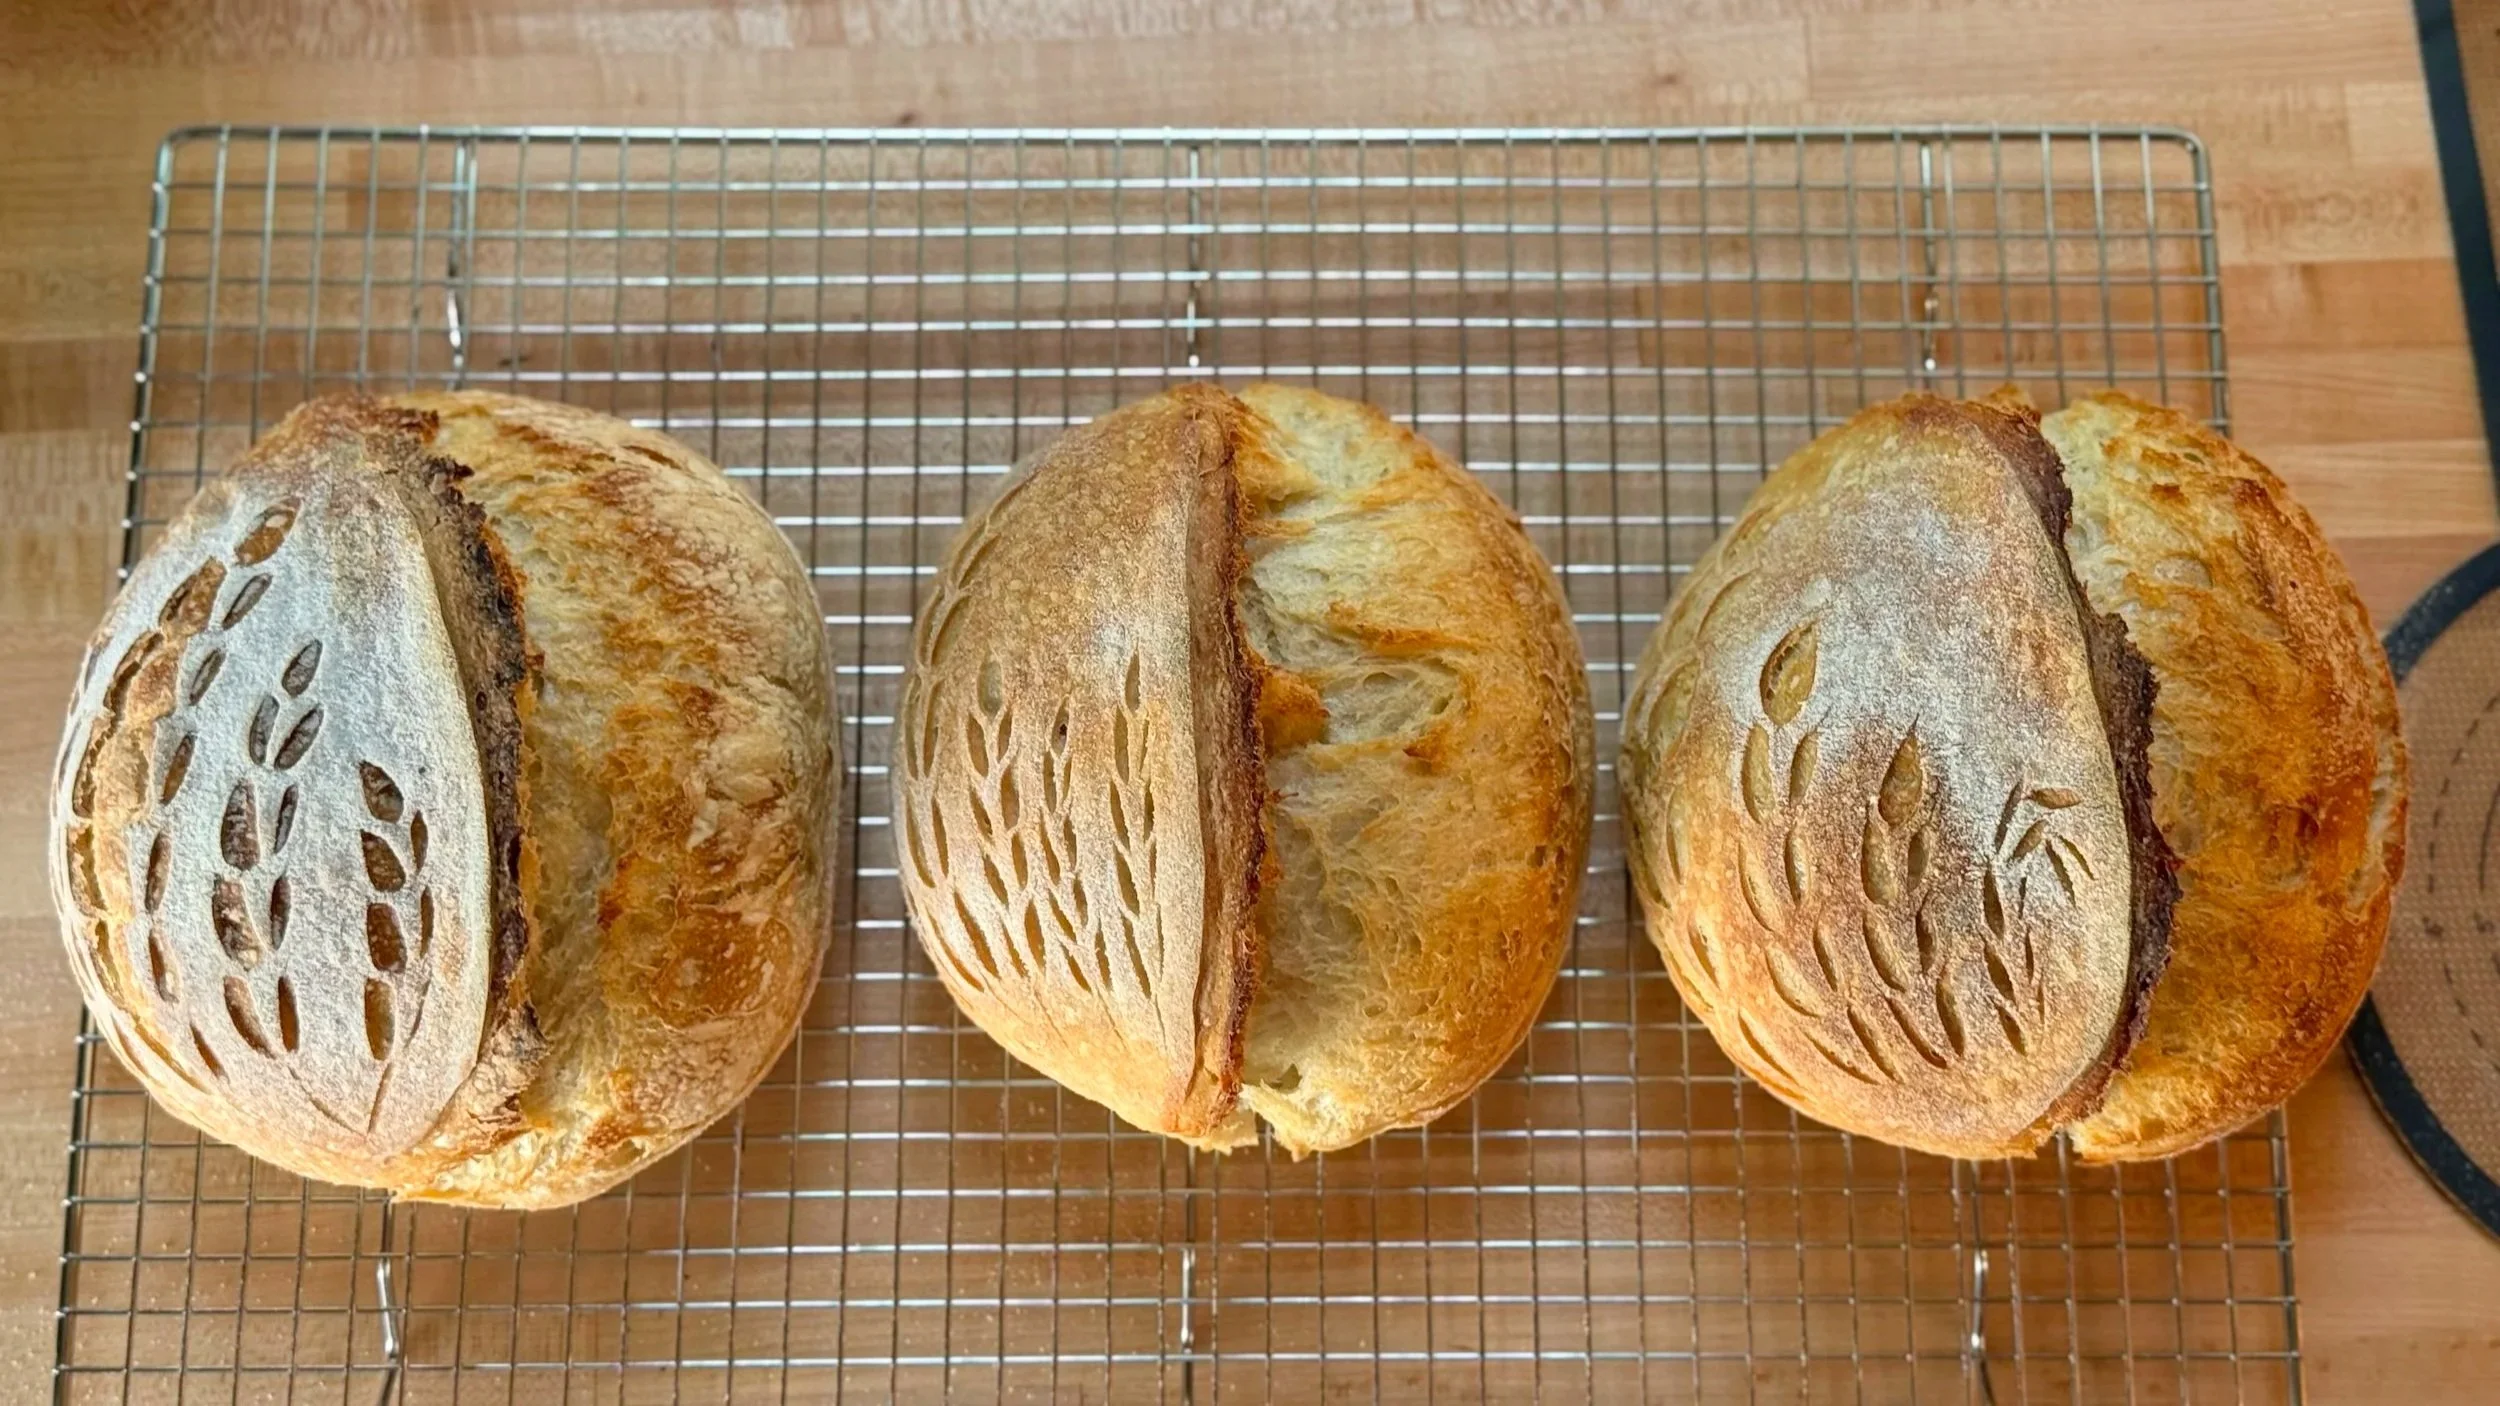
Autolyse Loaf (wheat design to mimic an "A" for Autolyse, if you will


No-Autolyse Loaf, wheat design mimicking an "n"

Observations:
Intersetingly, temperatures varied quite a bit between the 2 loaves. Despite being very careful this time around to use all ingredients at room temperature, the temperature varied not only between the two loaves but also at different times. Sure, it’s late summer so my kitchen ends up a few degrees warmer by mid and end of day, but the two loaves did not reflect this consistently. This leaves me with more questions unanswered than answered.
Why did the Autolyse Loaf end up 1 degree warmer still at start of bulk ferment? You would think, if perhaps the water from the measuring cup I was using was 1 degree warmer, the 1 hour that the dough sits to autolyse would be more than enough to bring the dough to room temperature. And IF the water was 1 degree warmer, the No-Autolyse Loaf would have ended up the 1 degree warmer since it gets all of its water at the beginning of bulk ferment. Not to mention, I used a large measuring cup of water, measured out for the Autolyse Loaf, and that water also sat out on the counter for an hour. It doesn’t get any more room temperature than that!
Moreso, why did the No-Autolyse Loaf end up a few degrees warmer by end of bulk ferment? The two bowls were side by side, no drafts or sun or any other factor that I am aware of would have heated up or cooled down one dough over the other. The Autolyse Loaf maintained temperature at 76°F while the No-Autolyse Loaf increased temperature by 3 degrees during bulk ferment. Fascinating. Its rise clearly reflected the warmer temperature, as it was significantly puffier than the Autolyse Loaf.
Despite the difference in rise % between the two loaves, I ended bulk ferment at the same time. I was trying to maintain absolute consistency between these loaves in method, rather than guessing different bulk ferments, pulling them at different times based on rise, temperature, and time. The bulk ferments were intended to be identical after all, as the doughs were made identically save autolyse, but the temperature fluctuations threw me for a loop!
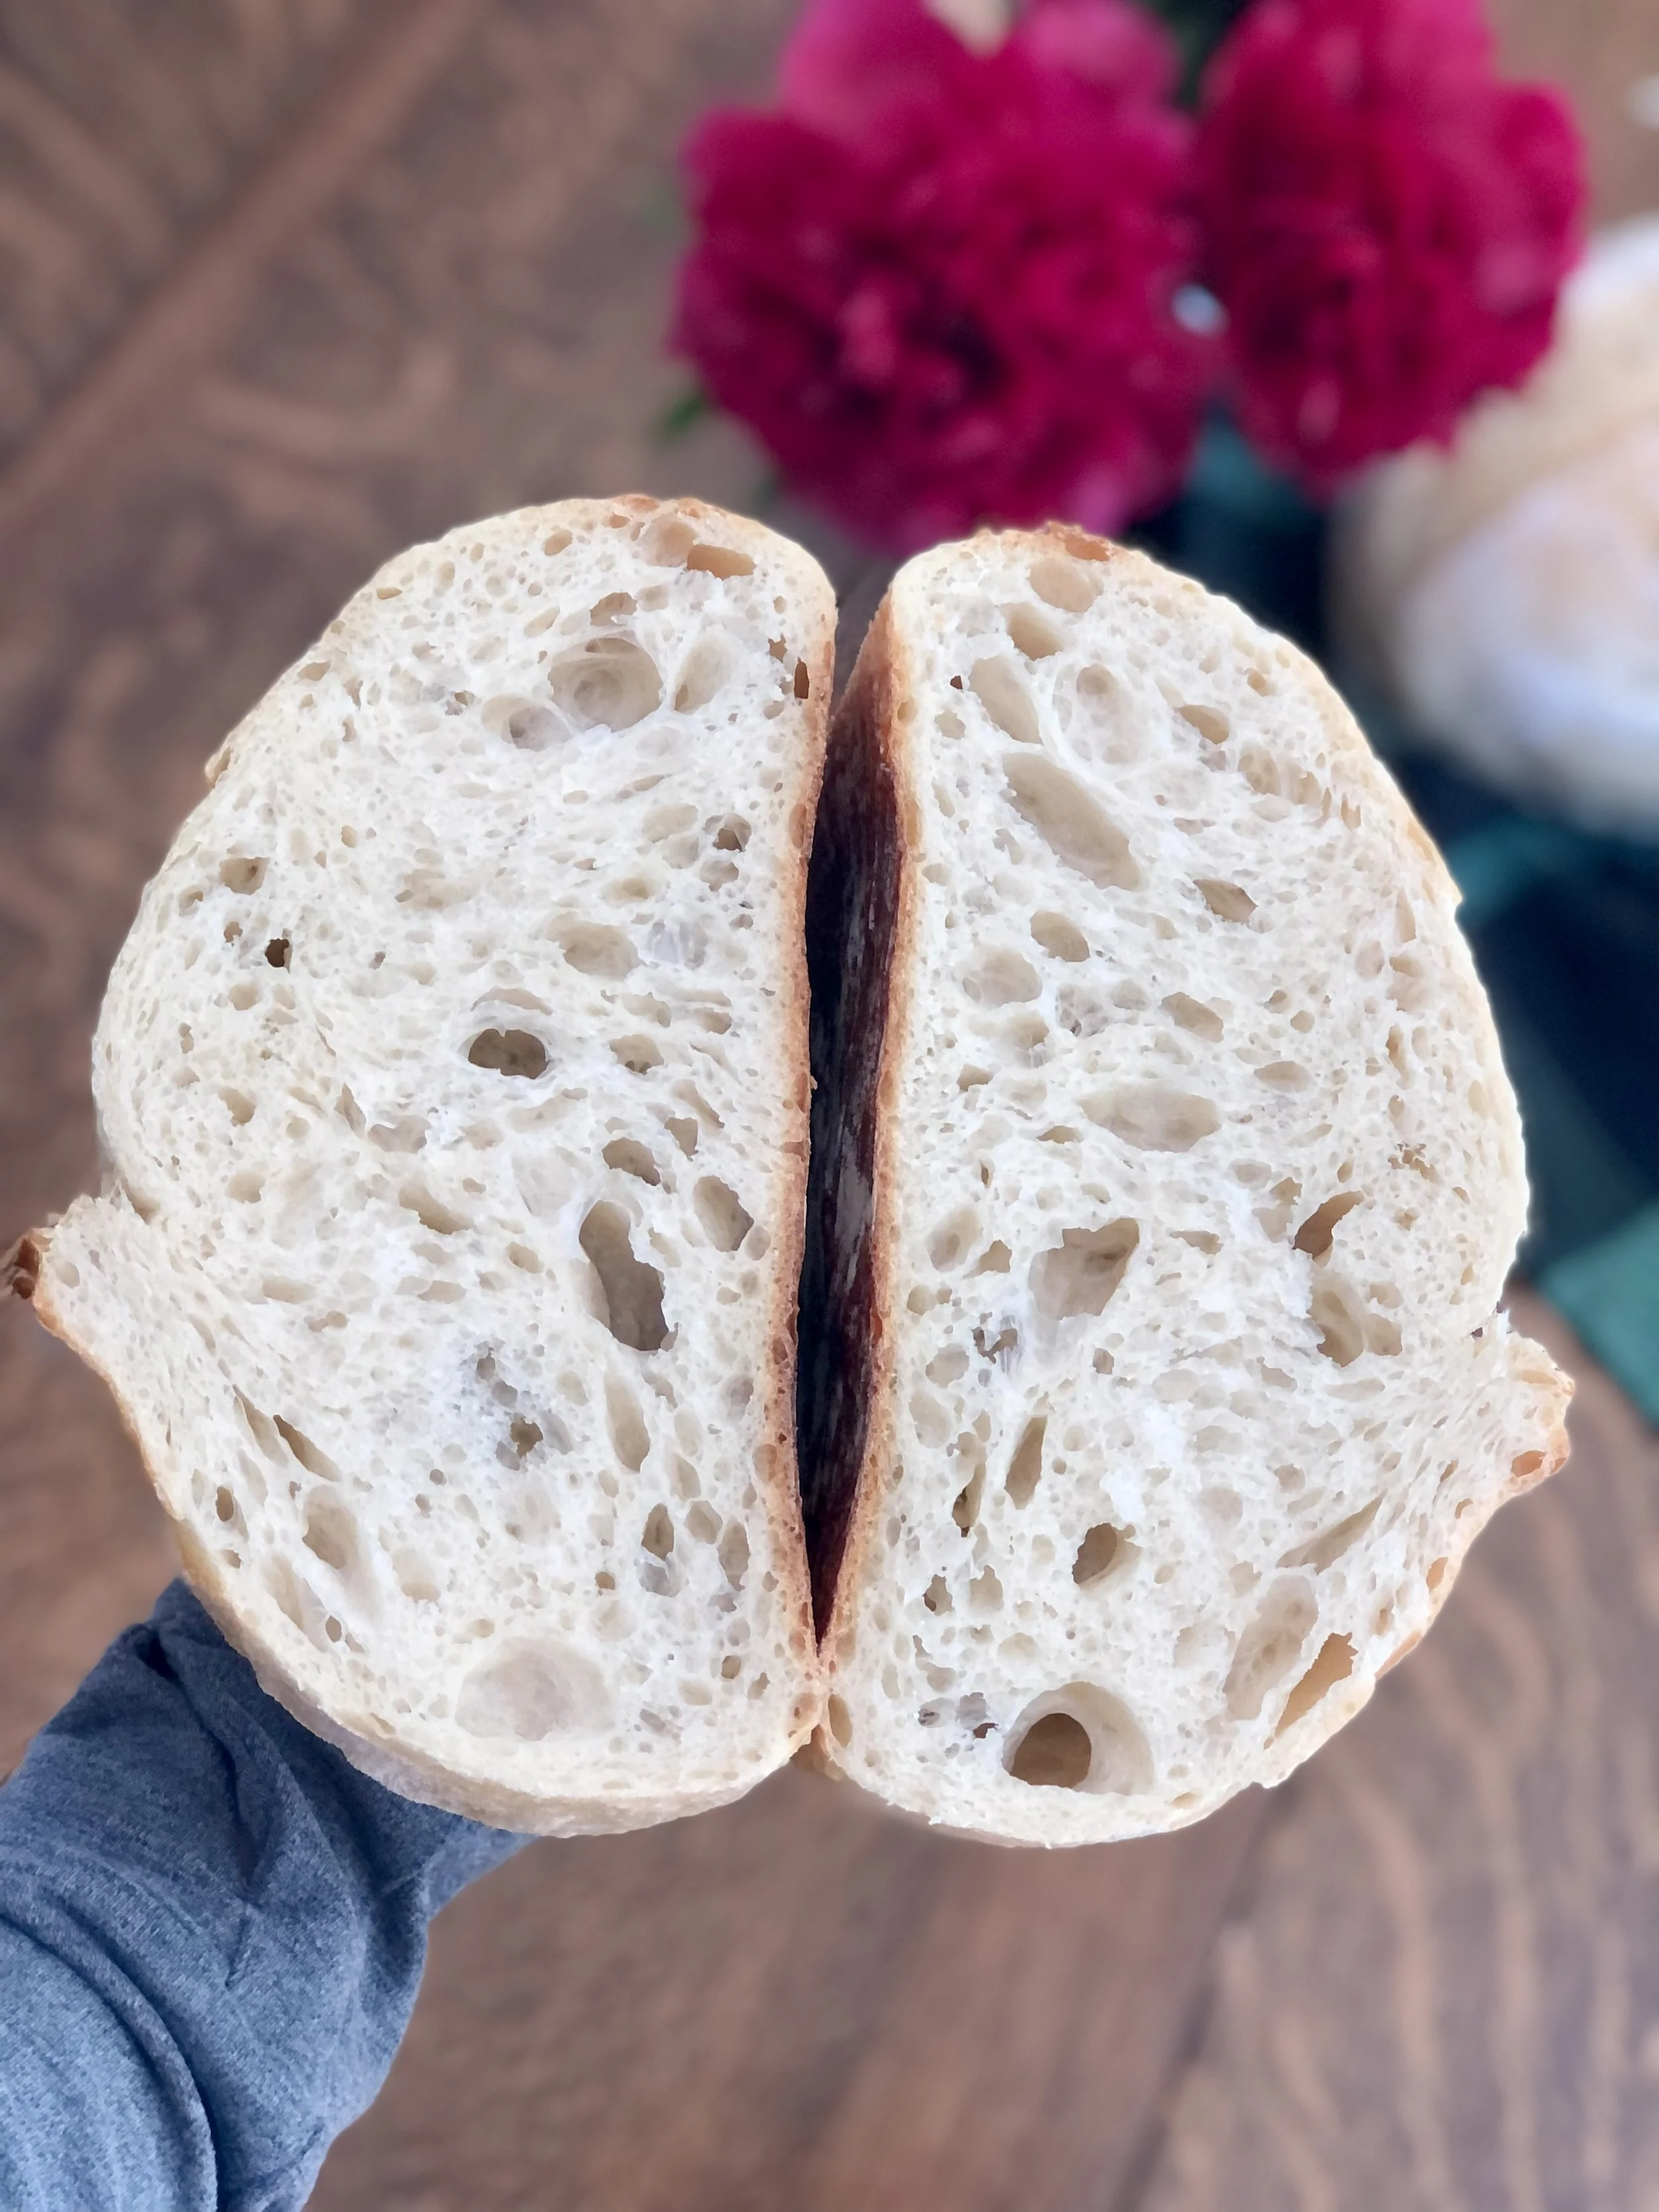
The crumb ended up quite similar. Noting the difference in rise % and temperature between the two doughs, they still ended up with a very similar crumb. Reading the crumb and trying to ignore that information, I would not have guessed that.

Crumbshot, No-Autolyse Loaf on left, Autolyse loaf on Right
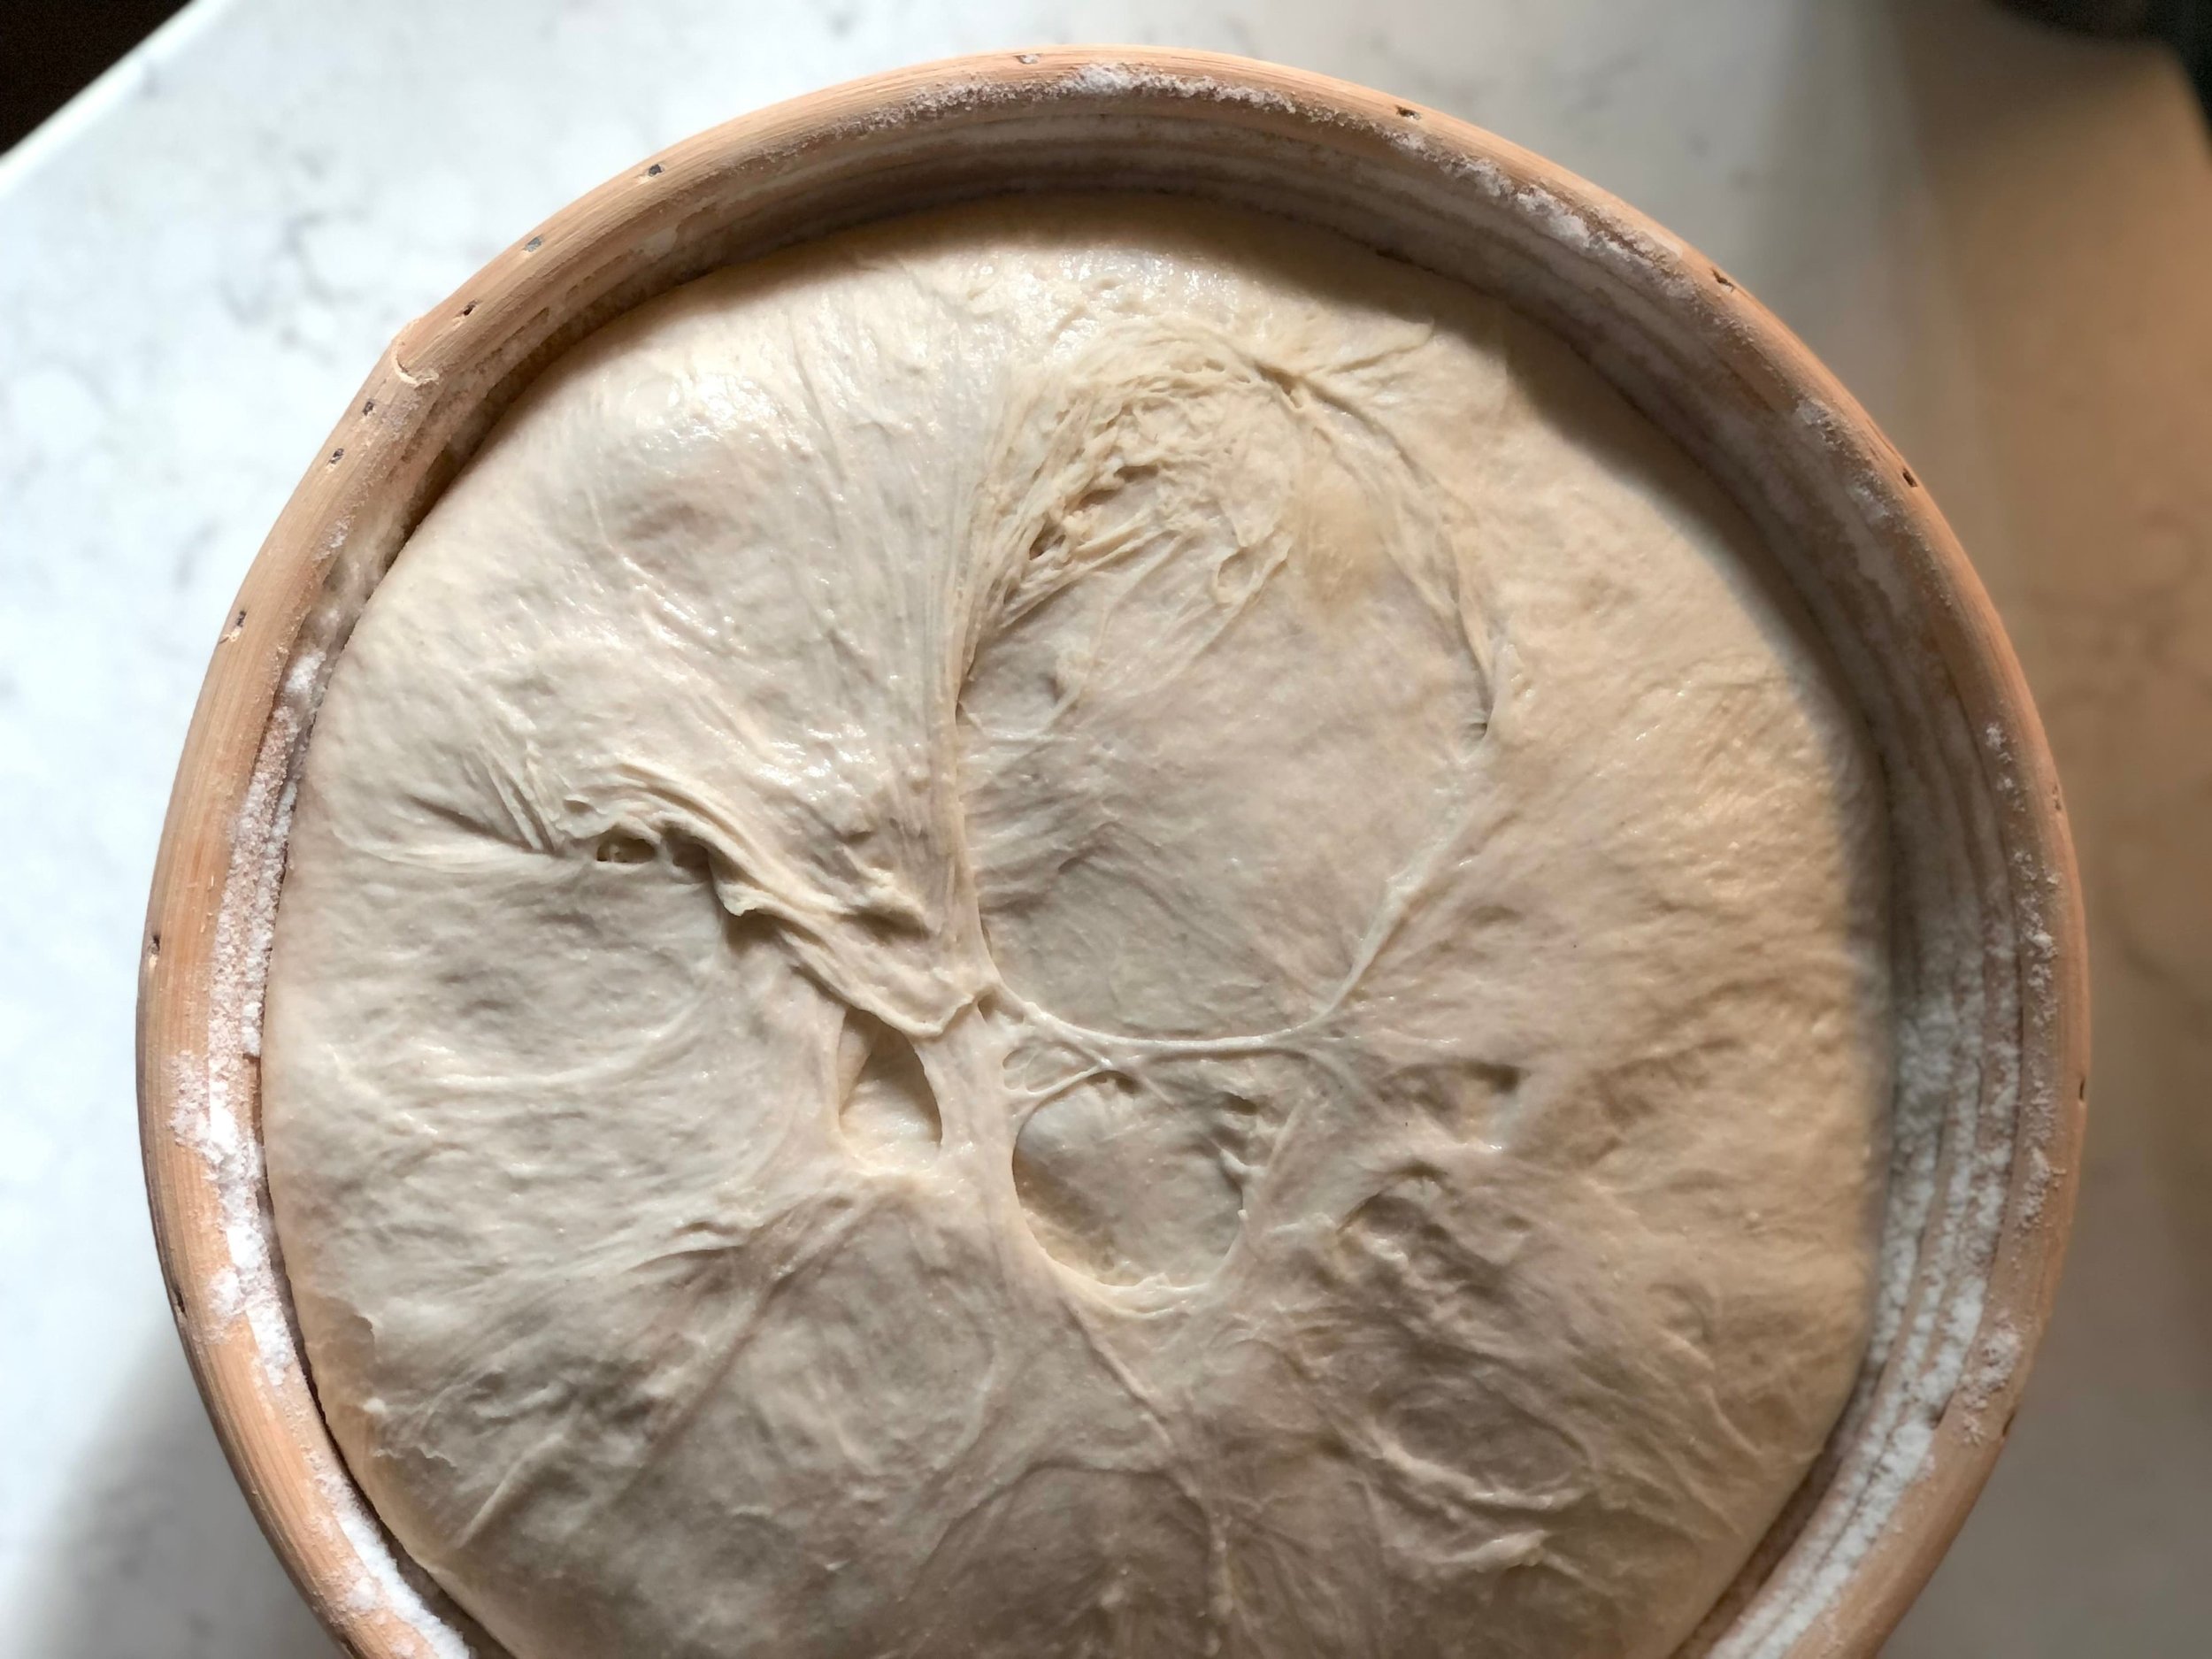
The Autolyse Loaf ended up with a slightly wonky shape. While overall I don’t think it has too much bearing on this experiment, it still bears noting. As you can see in the overhead shot of the Autolyse Loaf both before and after baking, its shape is not symmetrical. This is possibly due to shaping error, or also likely, the linen lining the banneton was pressing into the dough on one side and left an impression. I tend to think this caused the rise during the cold retard to more easily expand on the side where the linen wasn’t holding it down.


Conclusion:
Four loaves of bread is hardly conclusive. Again, and always with sourdough, there are variabilities. My home kitchen is not temperature controlled, sometimes life and children pull me away, among so many other nuances. However, I still enjoyed this experiment and thought you might find it interesting as well, so I thought it still worth sharing.
Overall, I think I will find myself skipping autolysis more often now, but will still include it in some instances.
Happy baking, friends!