How to Blog - By Someone Who Doesn't Know How
/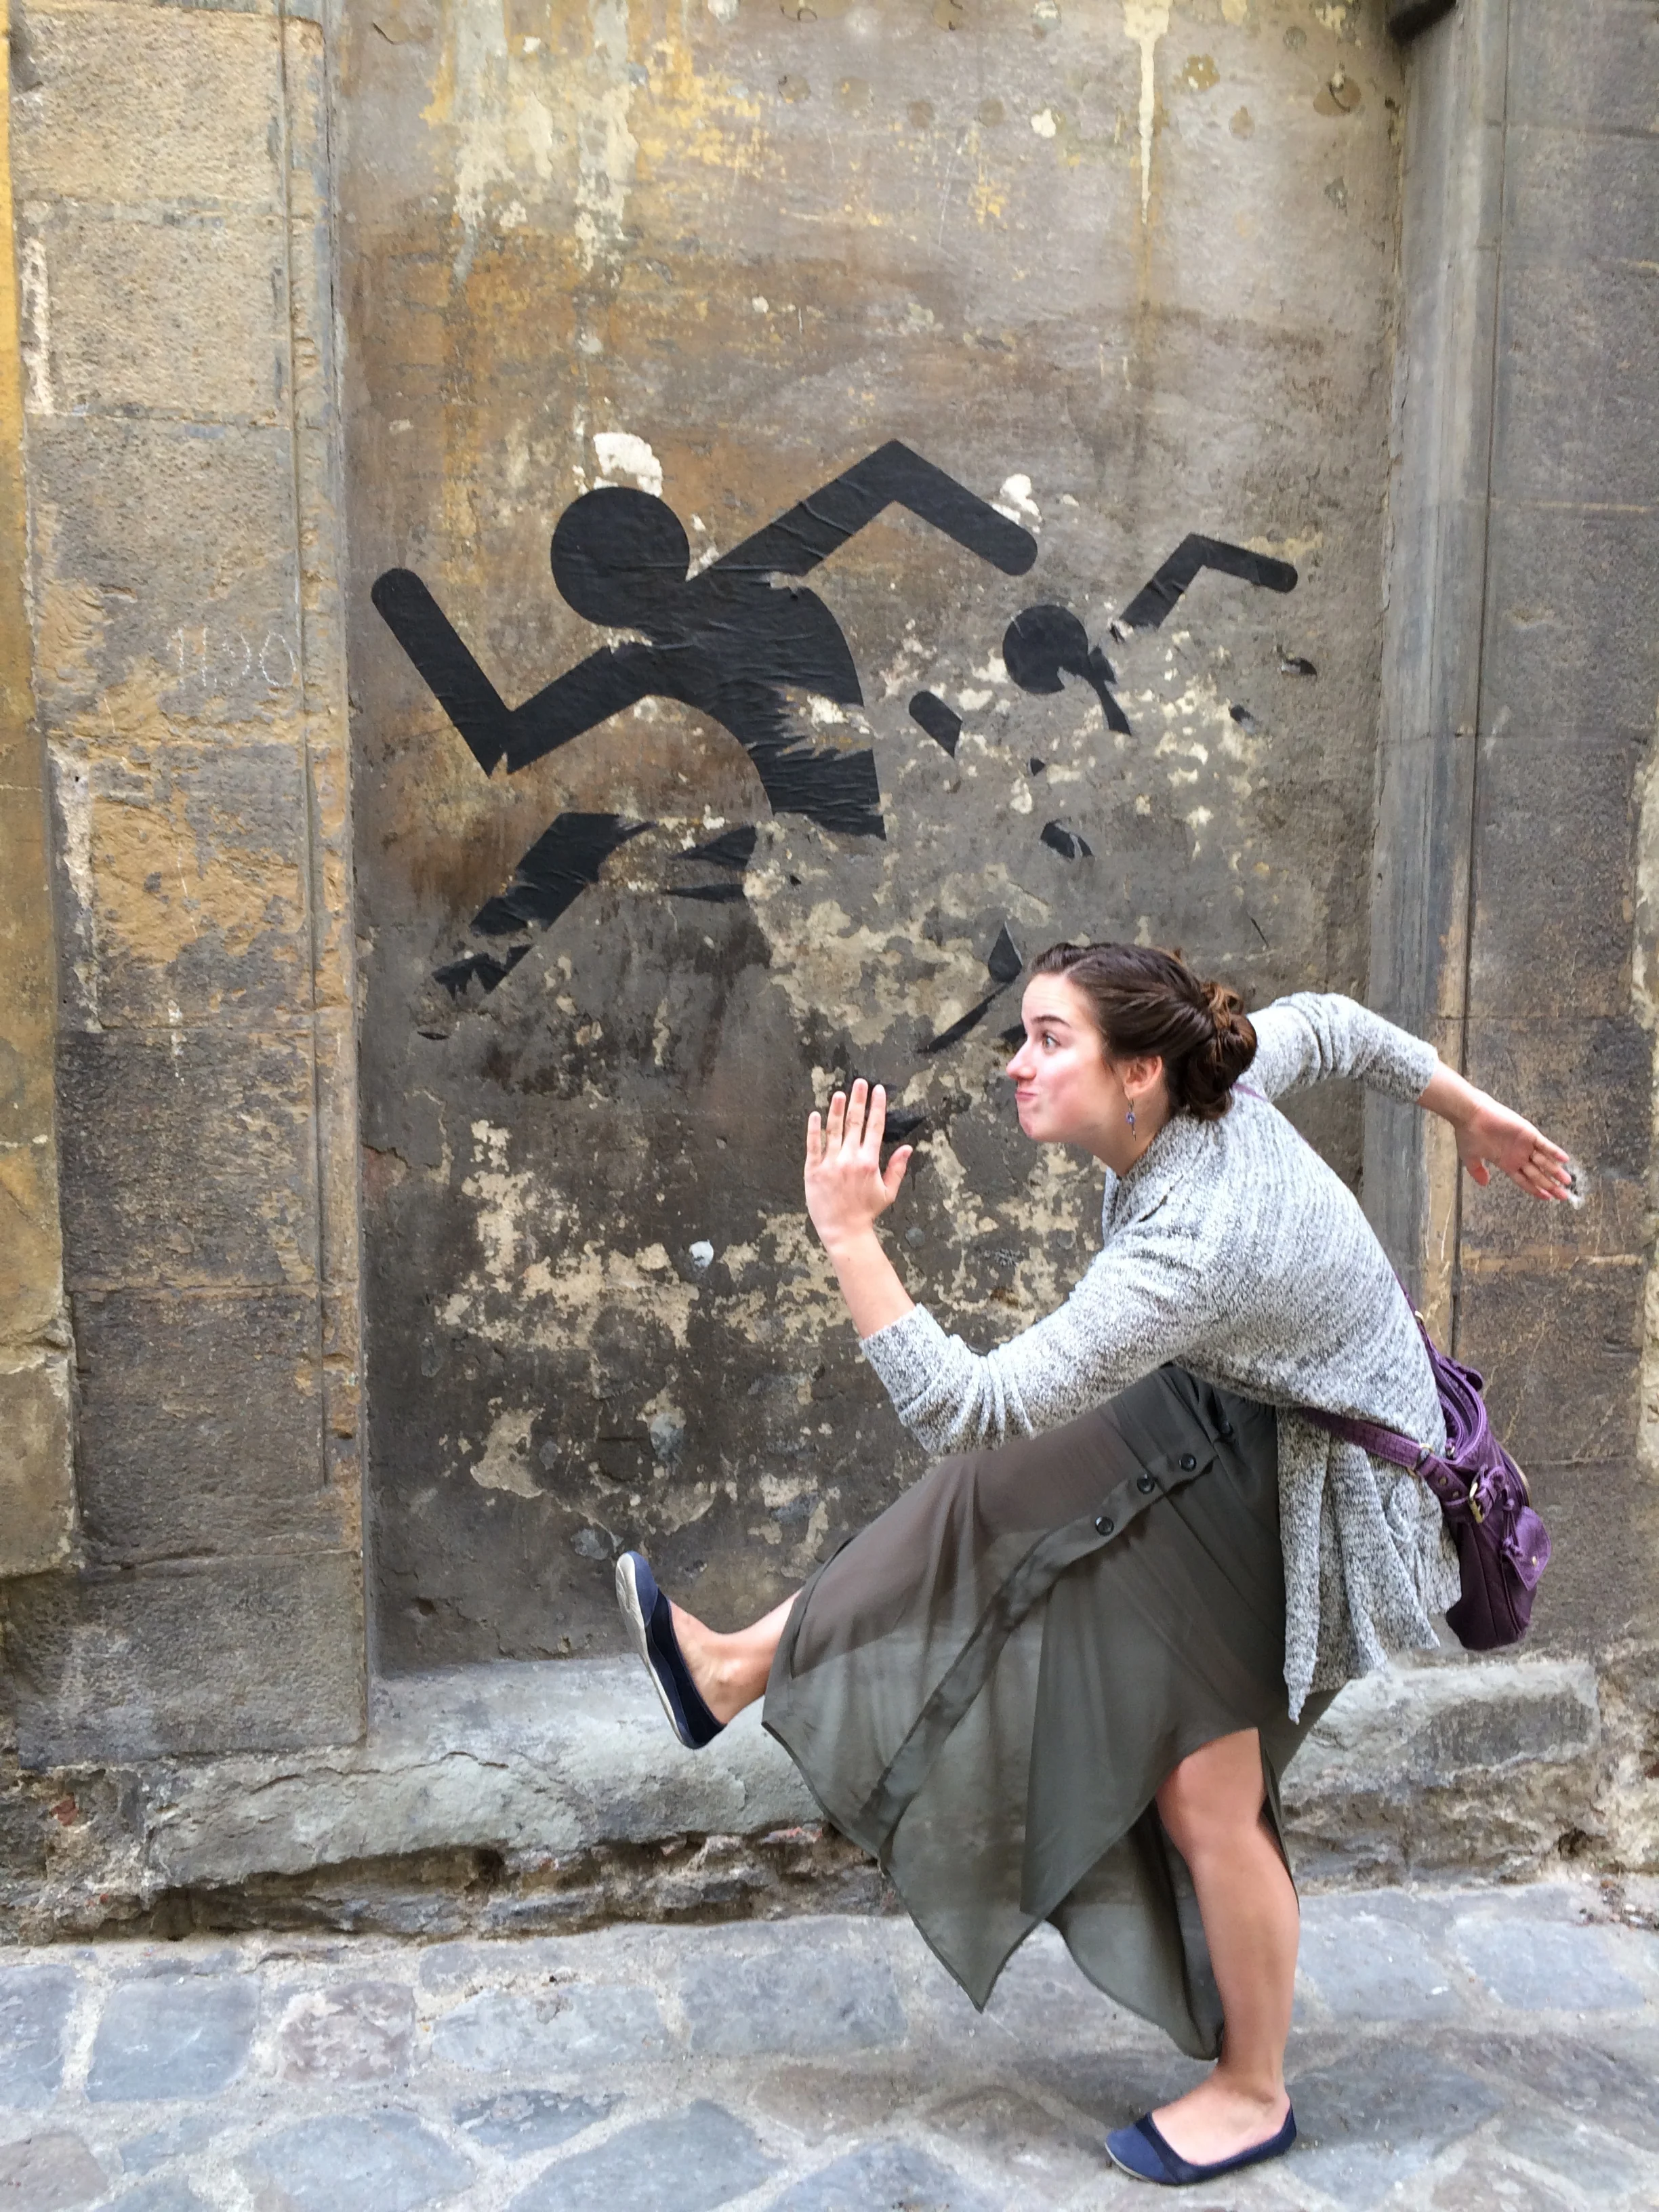
Photo Credit: Hannah Kelsey
Last updated October 13, 2024
Oh hey there. It's nice to see you here. Looks like someone is curious about how to become a STAR blogger. Beyond viral. Basically means you're in the hall of fame for bloggers. I can assure you, you have come to the right place. In this humble post I will show you how to:
Create interesting content
Improve your writing
Up the game on humor
Get Your Point Across, Be Understood Really Well, Be Clear
Take super-awesome-stunning-great photos
Edit photos and choose filters
Increase your intelligence
Don't have a blog? No worries, number 7 still applies. If you are thinking about starting a blog, I can help you.
First, you'll need a blog. We could make really extensive pro and con lists about all of the pros and cons about where to get a website, but hey, time is precious, right? I'll save you the trouble: Get Squarespace. There, no time wasted, no stress in having to make a decision, no taking into consideration what some of your specific needs might be. Next, you'll want to pick out a name for your blog and get a domain to match. Just like you wouldn't go out the door with your cell phone cover not matching your pillowcase, you need a good name and domain to match. What's a domain? Idunnaknow. Probably means you have dominion over your blog, and no one else. Mwahahaha. Because if they don't match, your name might lose syncretism with your domain, and the domain might decide it wants dominion and take over. Thankfully it hasn't happened to me yet, but I thought I should warn you.
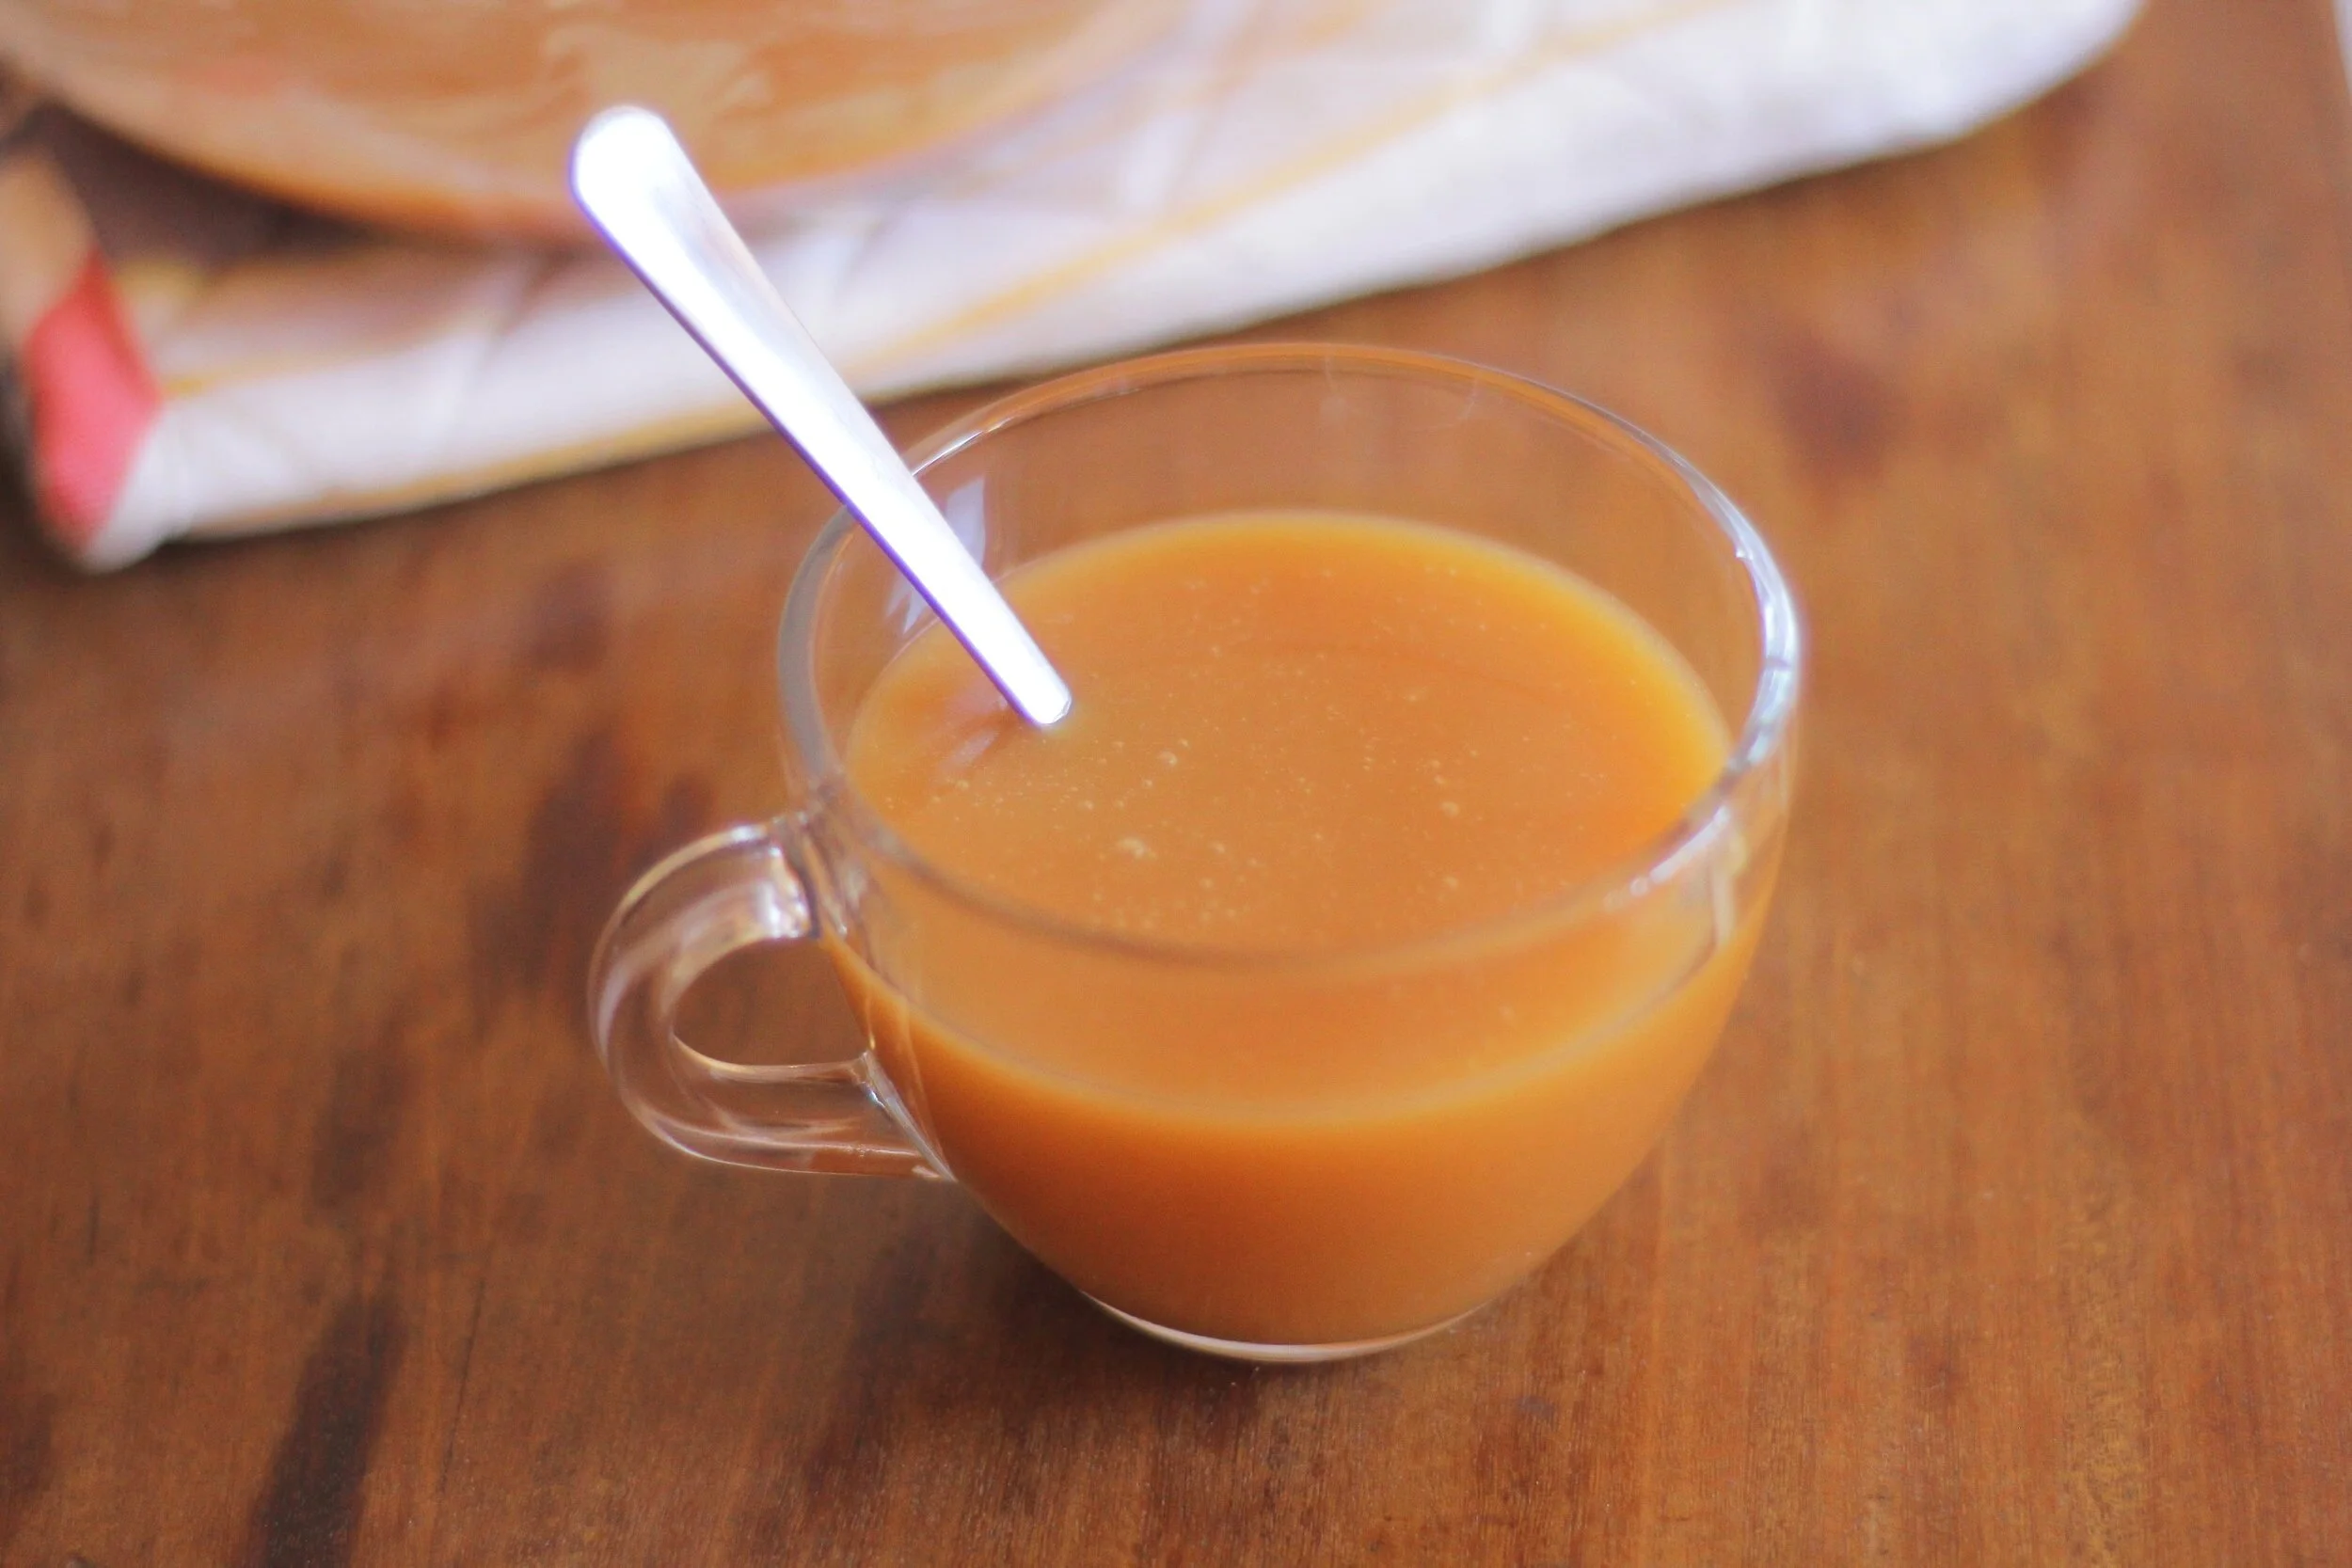
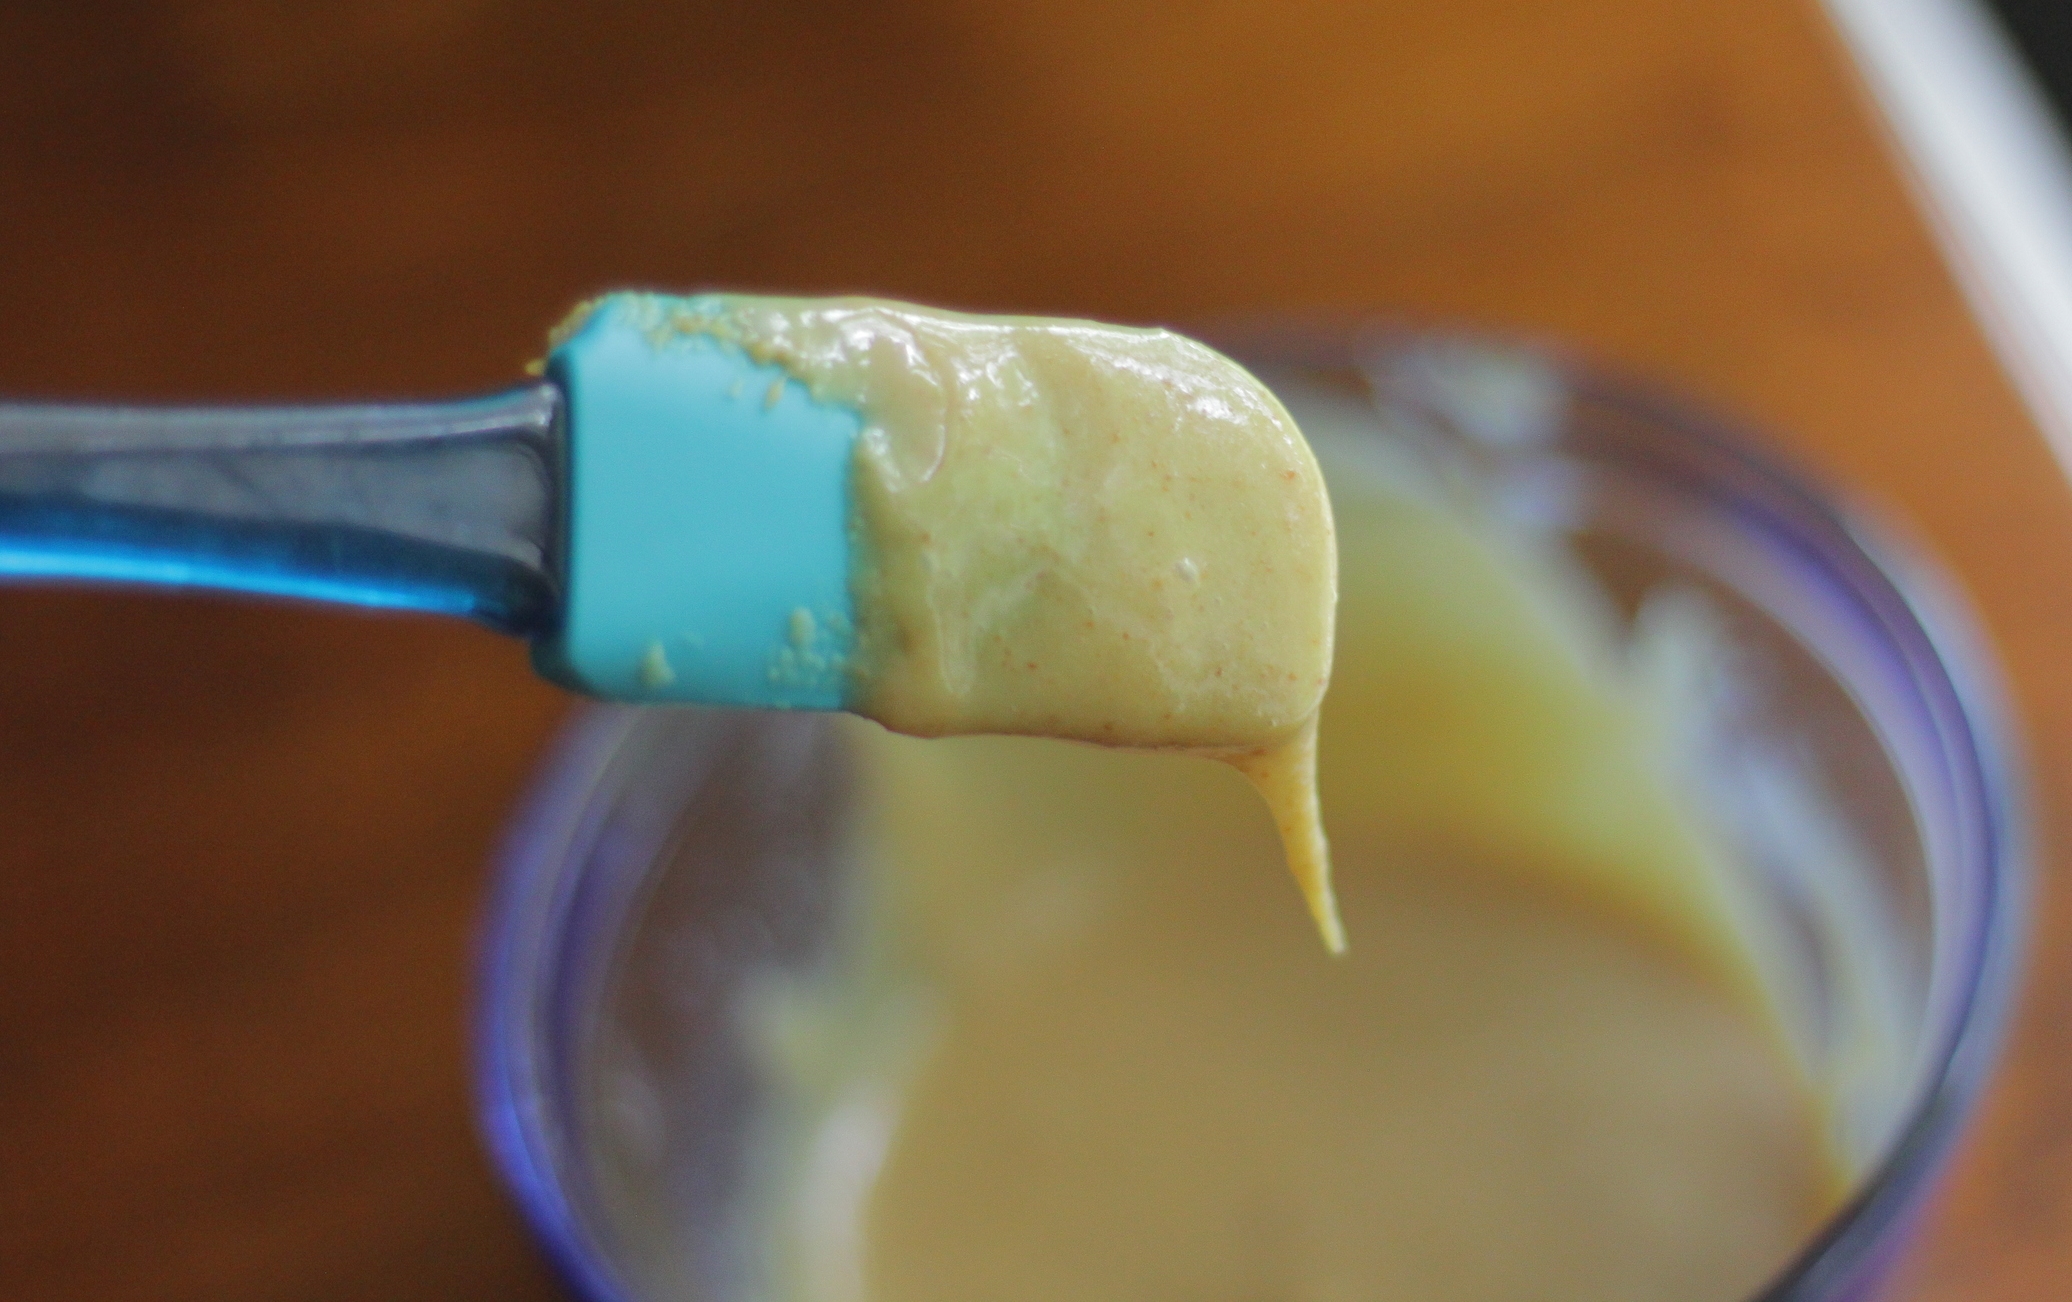
So now you have a website and your domain. Now what? I'll be using a new baking post, a recipe and photos for Malted Chocolate Chip Cookies, to help demonstrate some of the techniques and strategies listed below.
This post may contain affiliate links. If you make a purchase using these links, Jennyblogs may receive a small commission, at no extra cost to you. This helps to support Jennyblogs. Where possible, links are prioritized to small businesses and ethically and responsibly made items. For further information see the privacy policy. Grazie!
Create Interesting Content
To have a star blog, you need to have interesting stuff to write about. For example, if you collect baseball cards, like animals, try the samples at Sam's Club on a regular basis, watch a ton of movies...There's also an appalling lack of political opinions out there. Especially long rants, judgy articles, and arguments. So you might want to consider putting yours out there, fill the gap, ya know. Oh, and I almost forgot, baking blogs. There aren't very many of those, either, that's why I decided to blog n' bake. That and the baking/cooking section on Pinterest is a little lackluster.
Once you've found your niche, it's time to let the pen fly! Or fingers, as you'd say in this day and age. Always, always, ALWAYS start your blog out with a personal story or anecdote. Make it at least 7 paragraphs long (the number of completion), and if you can start to weave in your actual content or recipe towards the end, that's toooootally cool. Bonus if you can include an anecdote within the anecdote, or tie in 3 other stories during your main content. The more the merrier! This would also be a great spot to include your dog/cat's cute behavior for the last two weeks. Keep your main content to a minimum, people's attention spans are rather short these days, and this is your blog, so you need to make sure you get your moment. Include your opinion, your take, and advice on everything. And be super transparent about everything, no walls. Why else would people be reading your blog?
Improve You're writing
Whilst blogging, you got to be ready to let your ideas fly. Don't let grammer, spelling; and punk-you-a-shun get in you"re way. There more like guidelines anyways. If your bad at spelling or grammar doesn't come naturalmenty to you, don't use spell check and be like all those spelling bee medalists out there; no! You be you. You do you. If you spelled environment enviermant, leave it. Empowerment to bad spellers everywhere. Chances are people won't notice. And time is money, people!
Up the Game on Humor
Tell jokes. Even if no one laughs in real life, or you forget the punch line. Quote Parks and Rec and SNL constantly. Give it the Girl Scout try. No one was ever born funny, after all.
Get Your Point Across, Be Understood Really Well, Be Clear
Don't be afraid to repeat yourself, be redundant, quote multiple sources to make just one point, or say the same thing twice. USE ALL CAPS FOR EMPHASIS as OFTEN as you WANT, and/or use BOLD or italic font. Then you can step back and enjoy your blog for what it is, a piece of art, rather than just blah, blah, blah.
Don't be afraid of clichés, catch-phrases, and idioms. They always help to make your writing really clear and concise. Otherwise your point might be like looking for a needle in a haystack. Stay away from euphemisms.

Avoid big words. Lots of little words make so much more sense. The extraneity of lengthy words then becomes superfluous.
Take Super-awesome-stunning-great Photos
Now. I know all your blogging friends have fancy-smchancy cameras that you're not allowed to touch, but I'm here to tell you that you can do better. Why spend thousands of dollars when your iPhone 4 takes photos? No reason, that's why. No need to lug around a camera bag, buy and change out lens', or learn what all those little black buttons mean when you have everything you need in an iPhone. Not to mention Beyonce's latest album and Snapchat.
When your friends get to talking, you can just bring out your IDK to their ISO, your amateur to their aperture, your Boca Burger to their Bokeh.

Multiple shots were taken in this exhibit to be examples, and show the transition from "follow camera techniques boring" to "create your own inspired masterpieces."
For lighting, direct sunlight or a bare bulb lit directly overhead your subject is fine. A dark, rainy day works well, or better yet, night. When working with humans or animals, you can best light their face by shining a light straight on, directly in front of their face. Gently remind them to keep their eyes open. A spray bottle can be used to gently mist their face and keep their eyes from drying out. If no light source is available, flash is always a viable option.

Trying to find a "studio." Up against a wall, tight, uninspired...
When choosing a location, the messier the better. Some may choose to have a special window, area, or even studio where they take their photos and do "sessions," but I believe this natural lighting and set-up area produces, stiff, unnatural, and sterile photos. You and your subject need inspiration, room to breathe. In a corner, on the floor, or the front seat of your car is fine. When the inspiration hits, you need to be ready with your phone held high, face close to the screen, and finger poised to snap the moment, soon to be forever encapsulated on your blog. I recommend keeping your phone out at all times, taking photos at will. Even if you don't remember the moment because you were so busy "capturing" it, you'll always have the photo. And we all know that's more important than the actual experience in the long run.
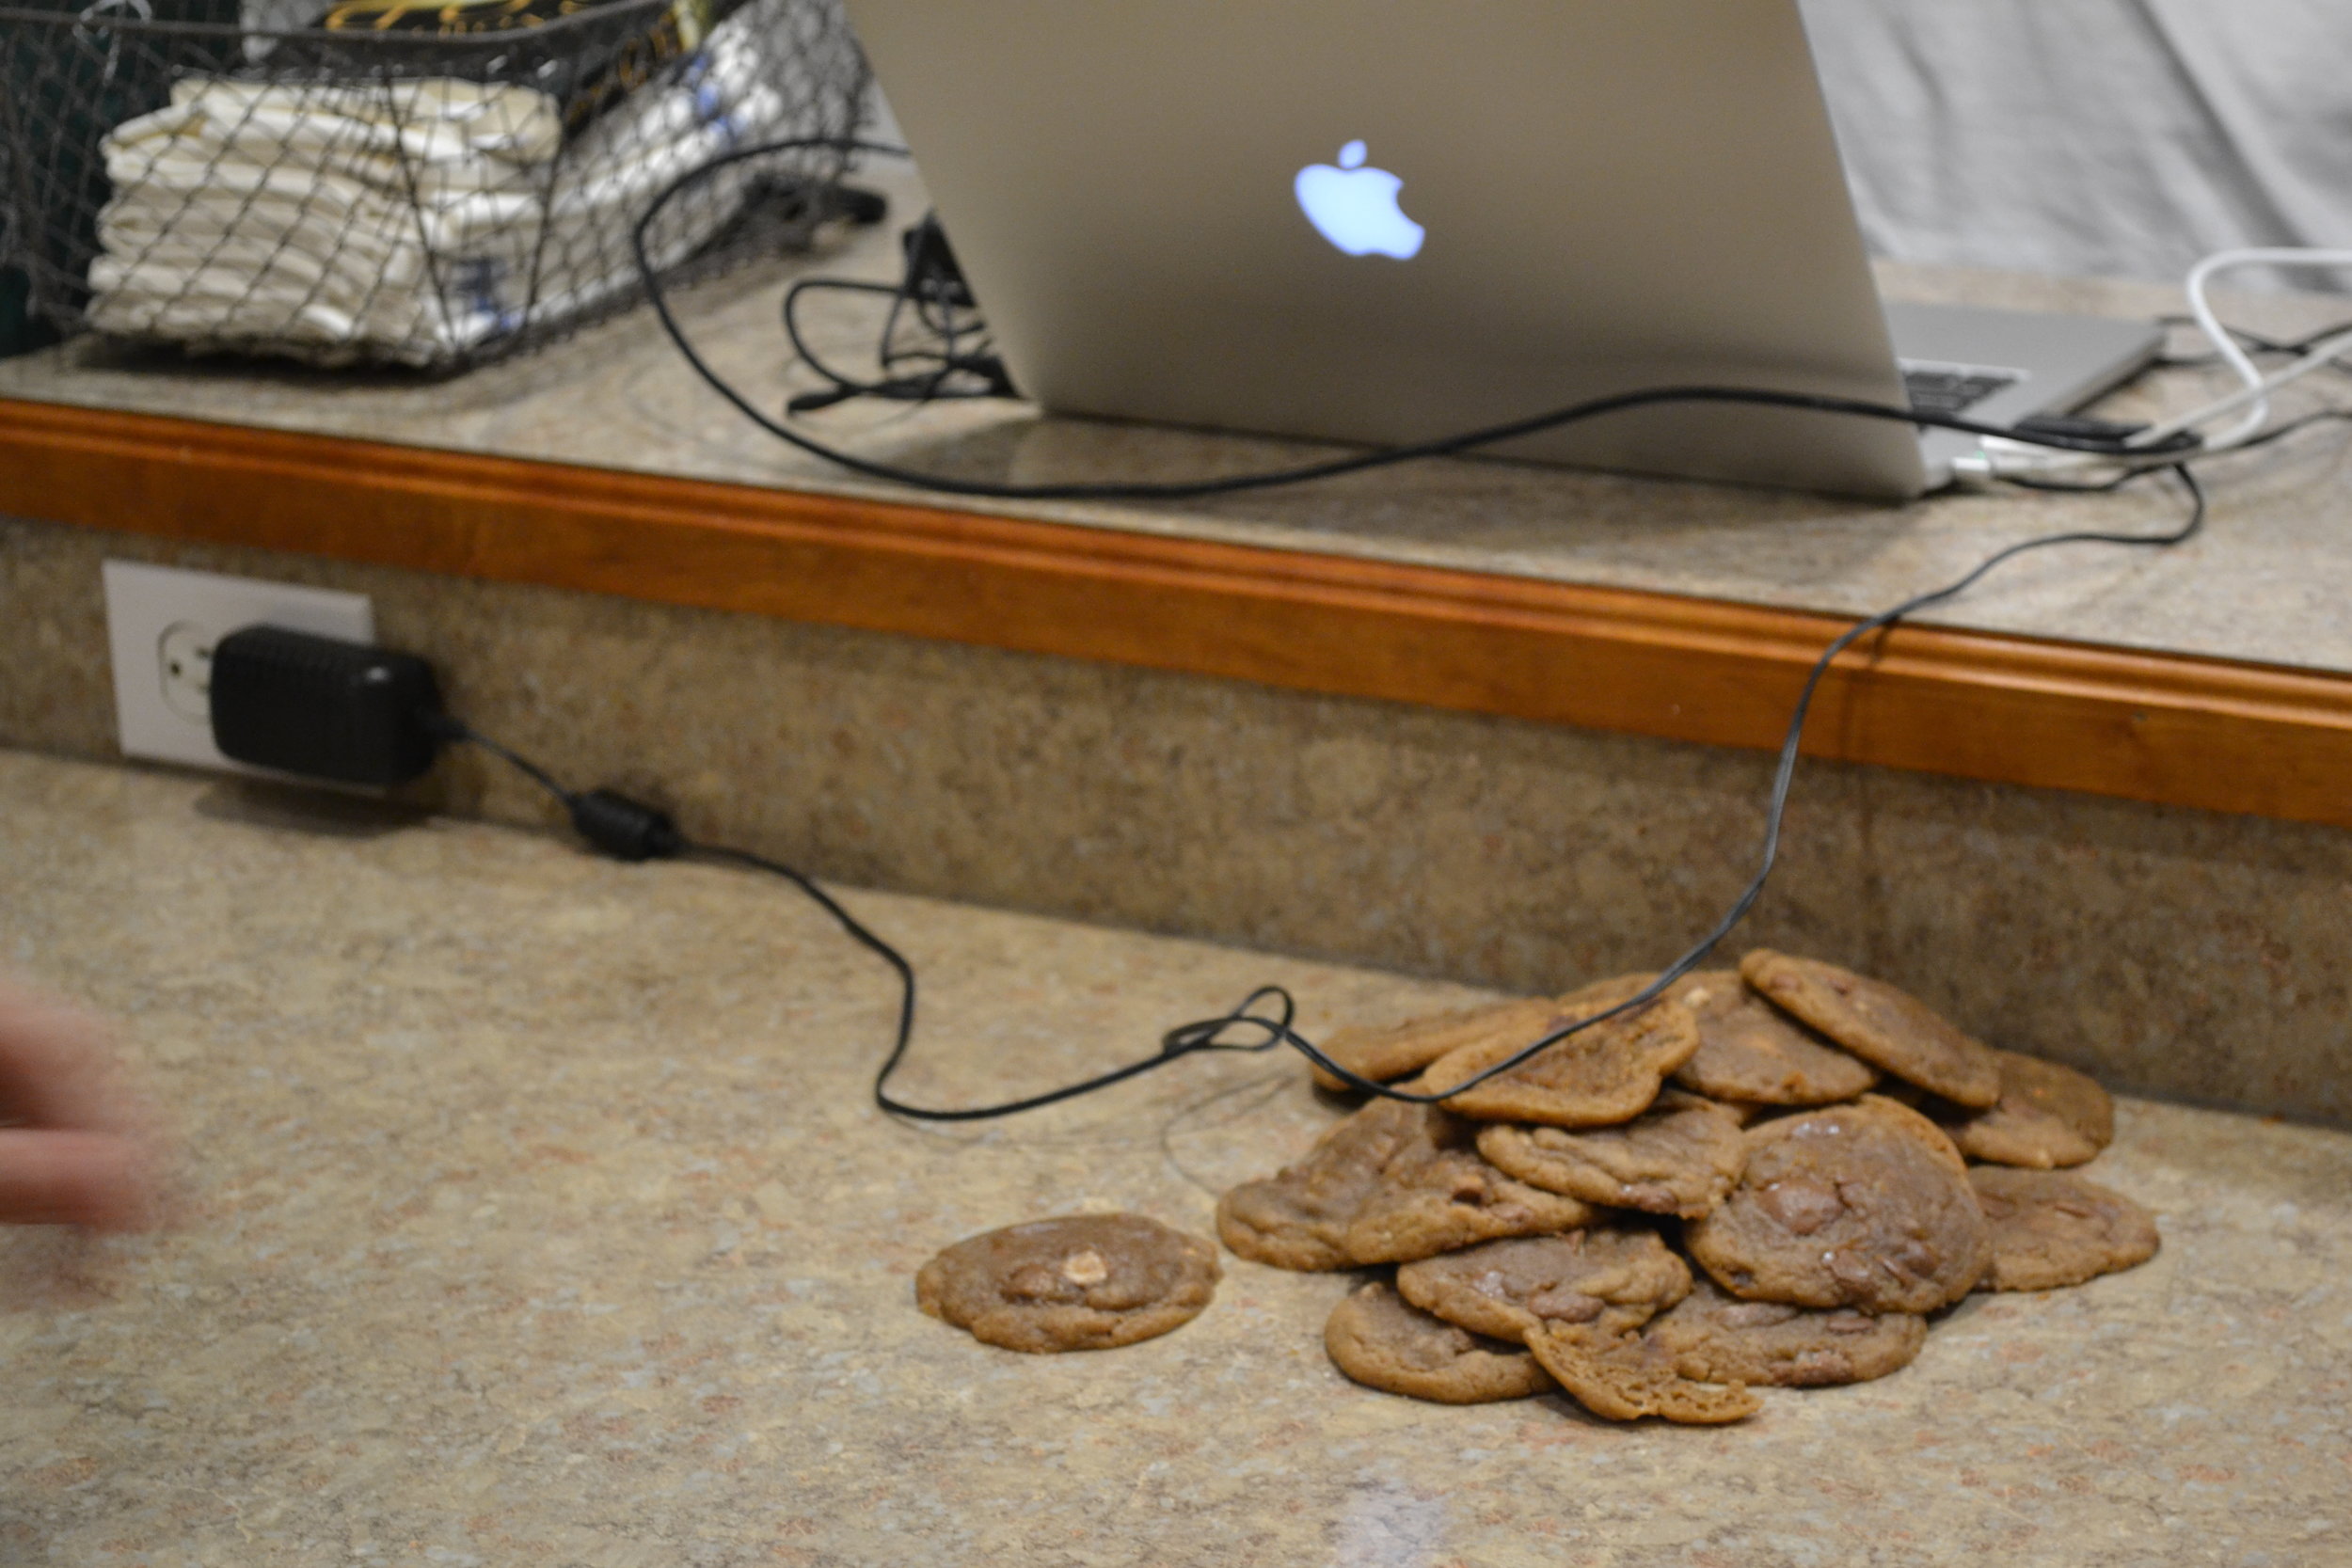
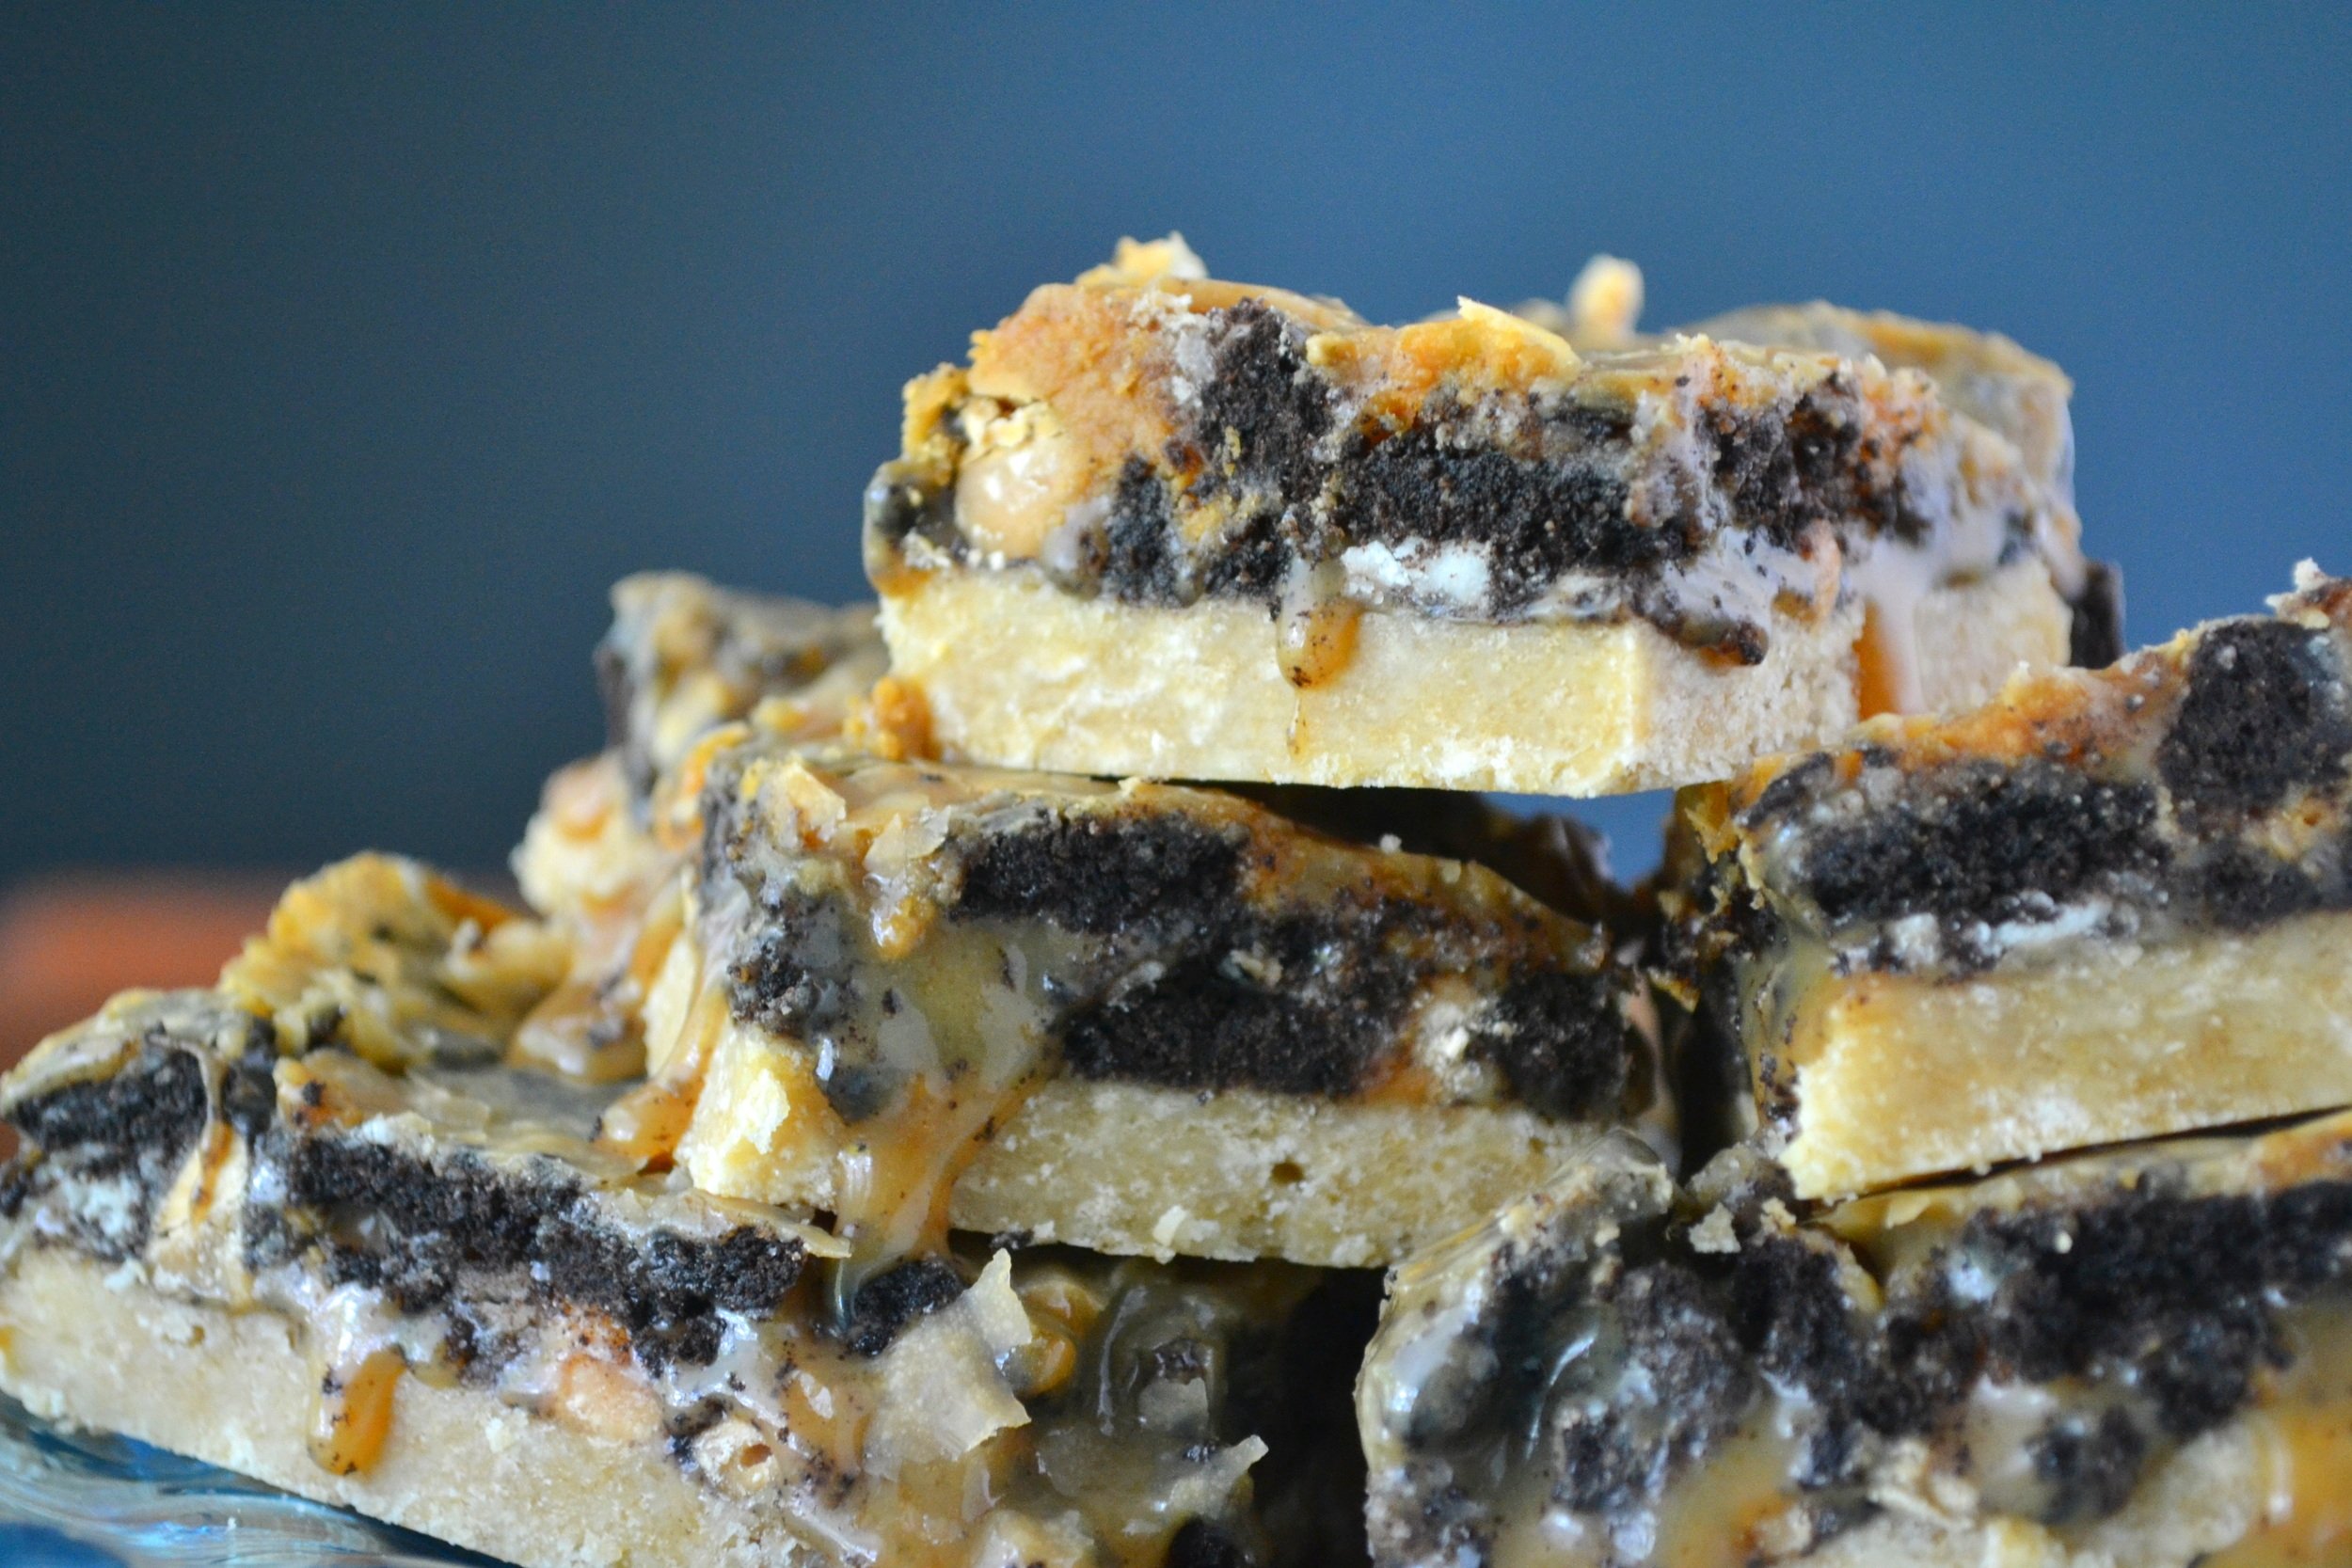
Blurry hand, bodies...this photo speaks of movement and life.
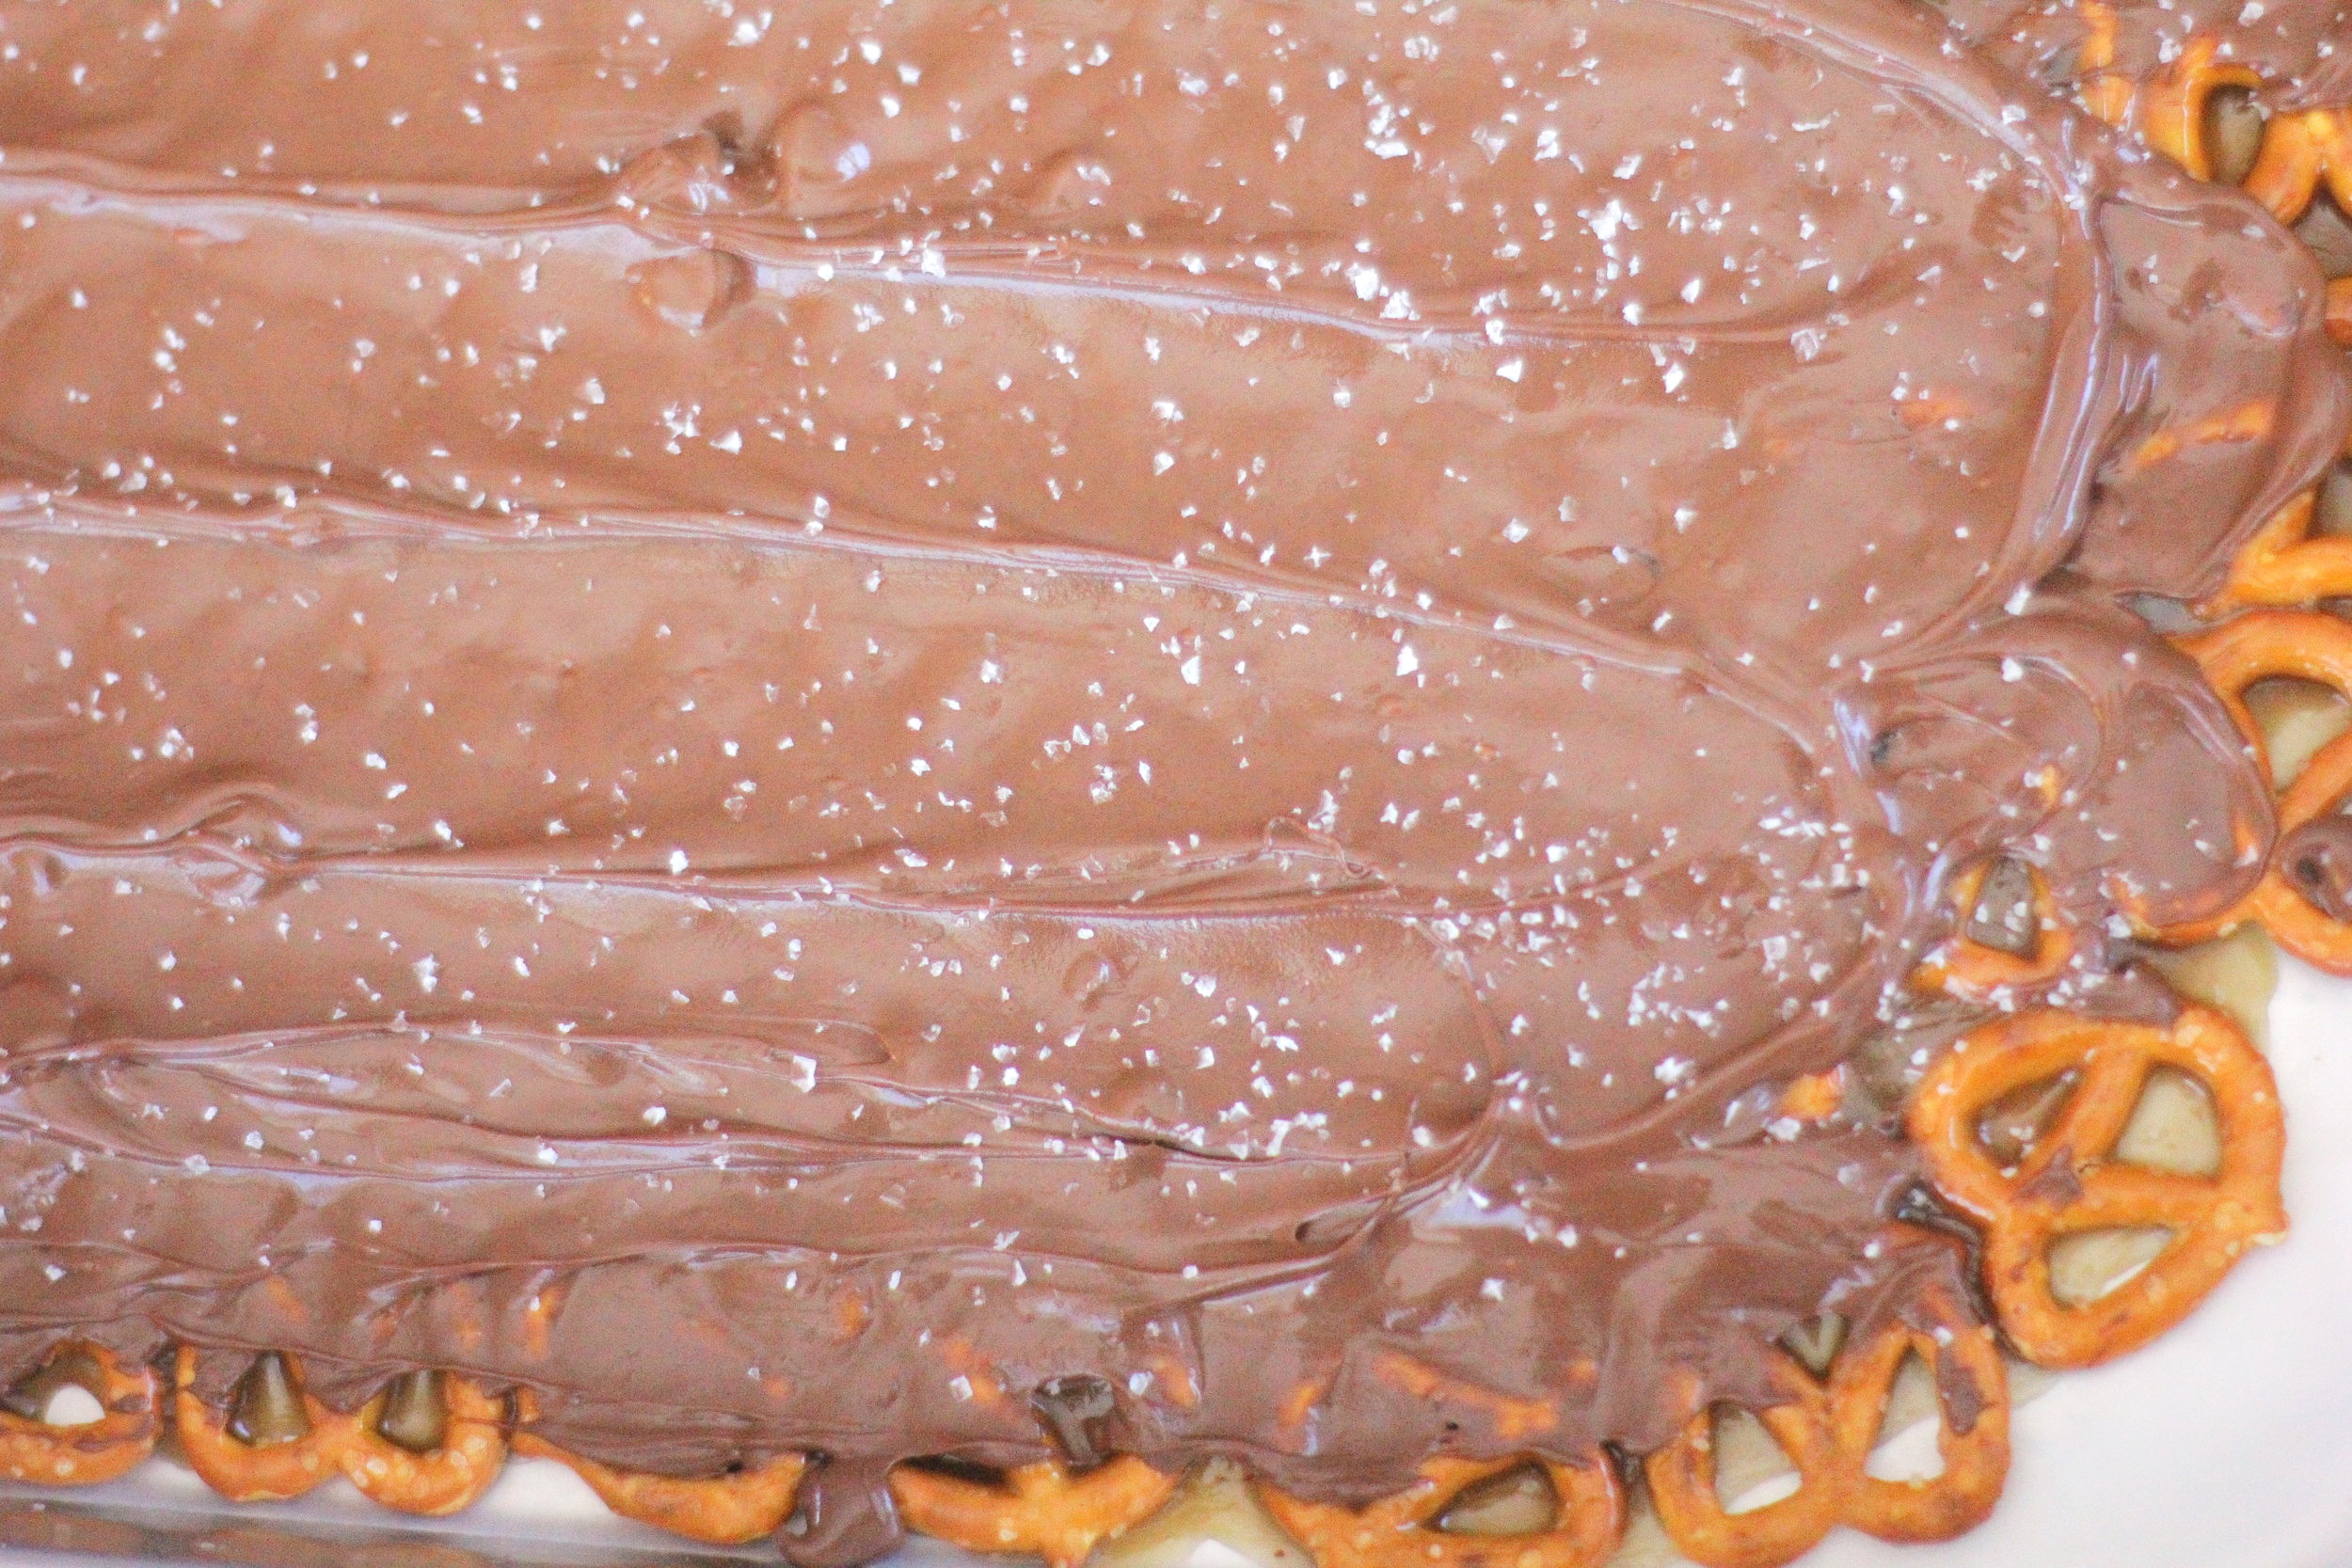
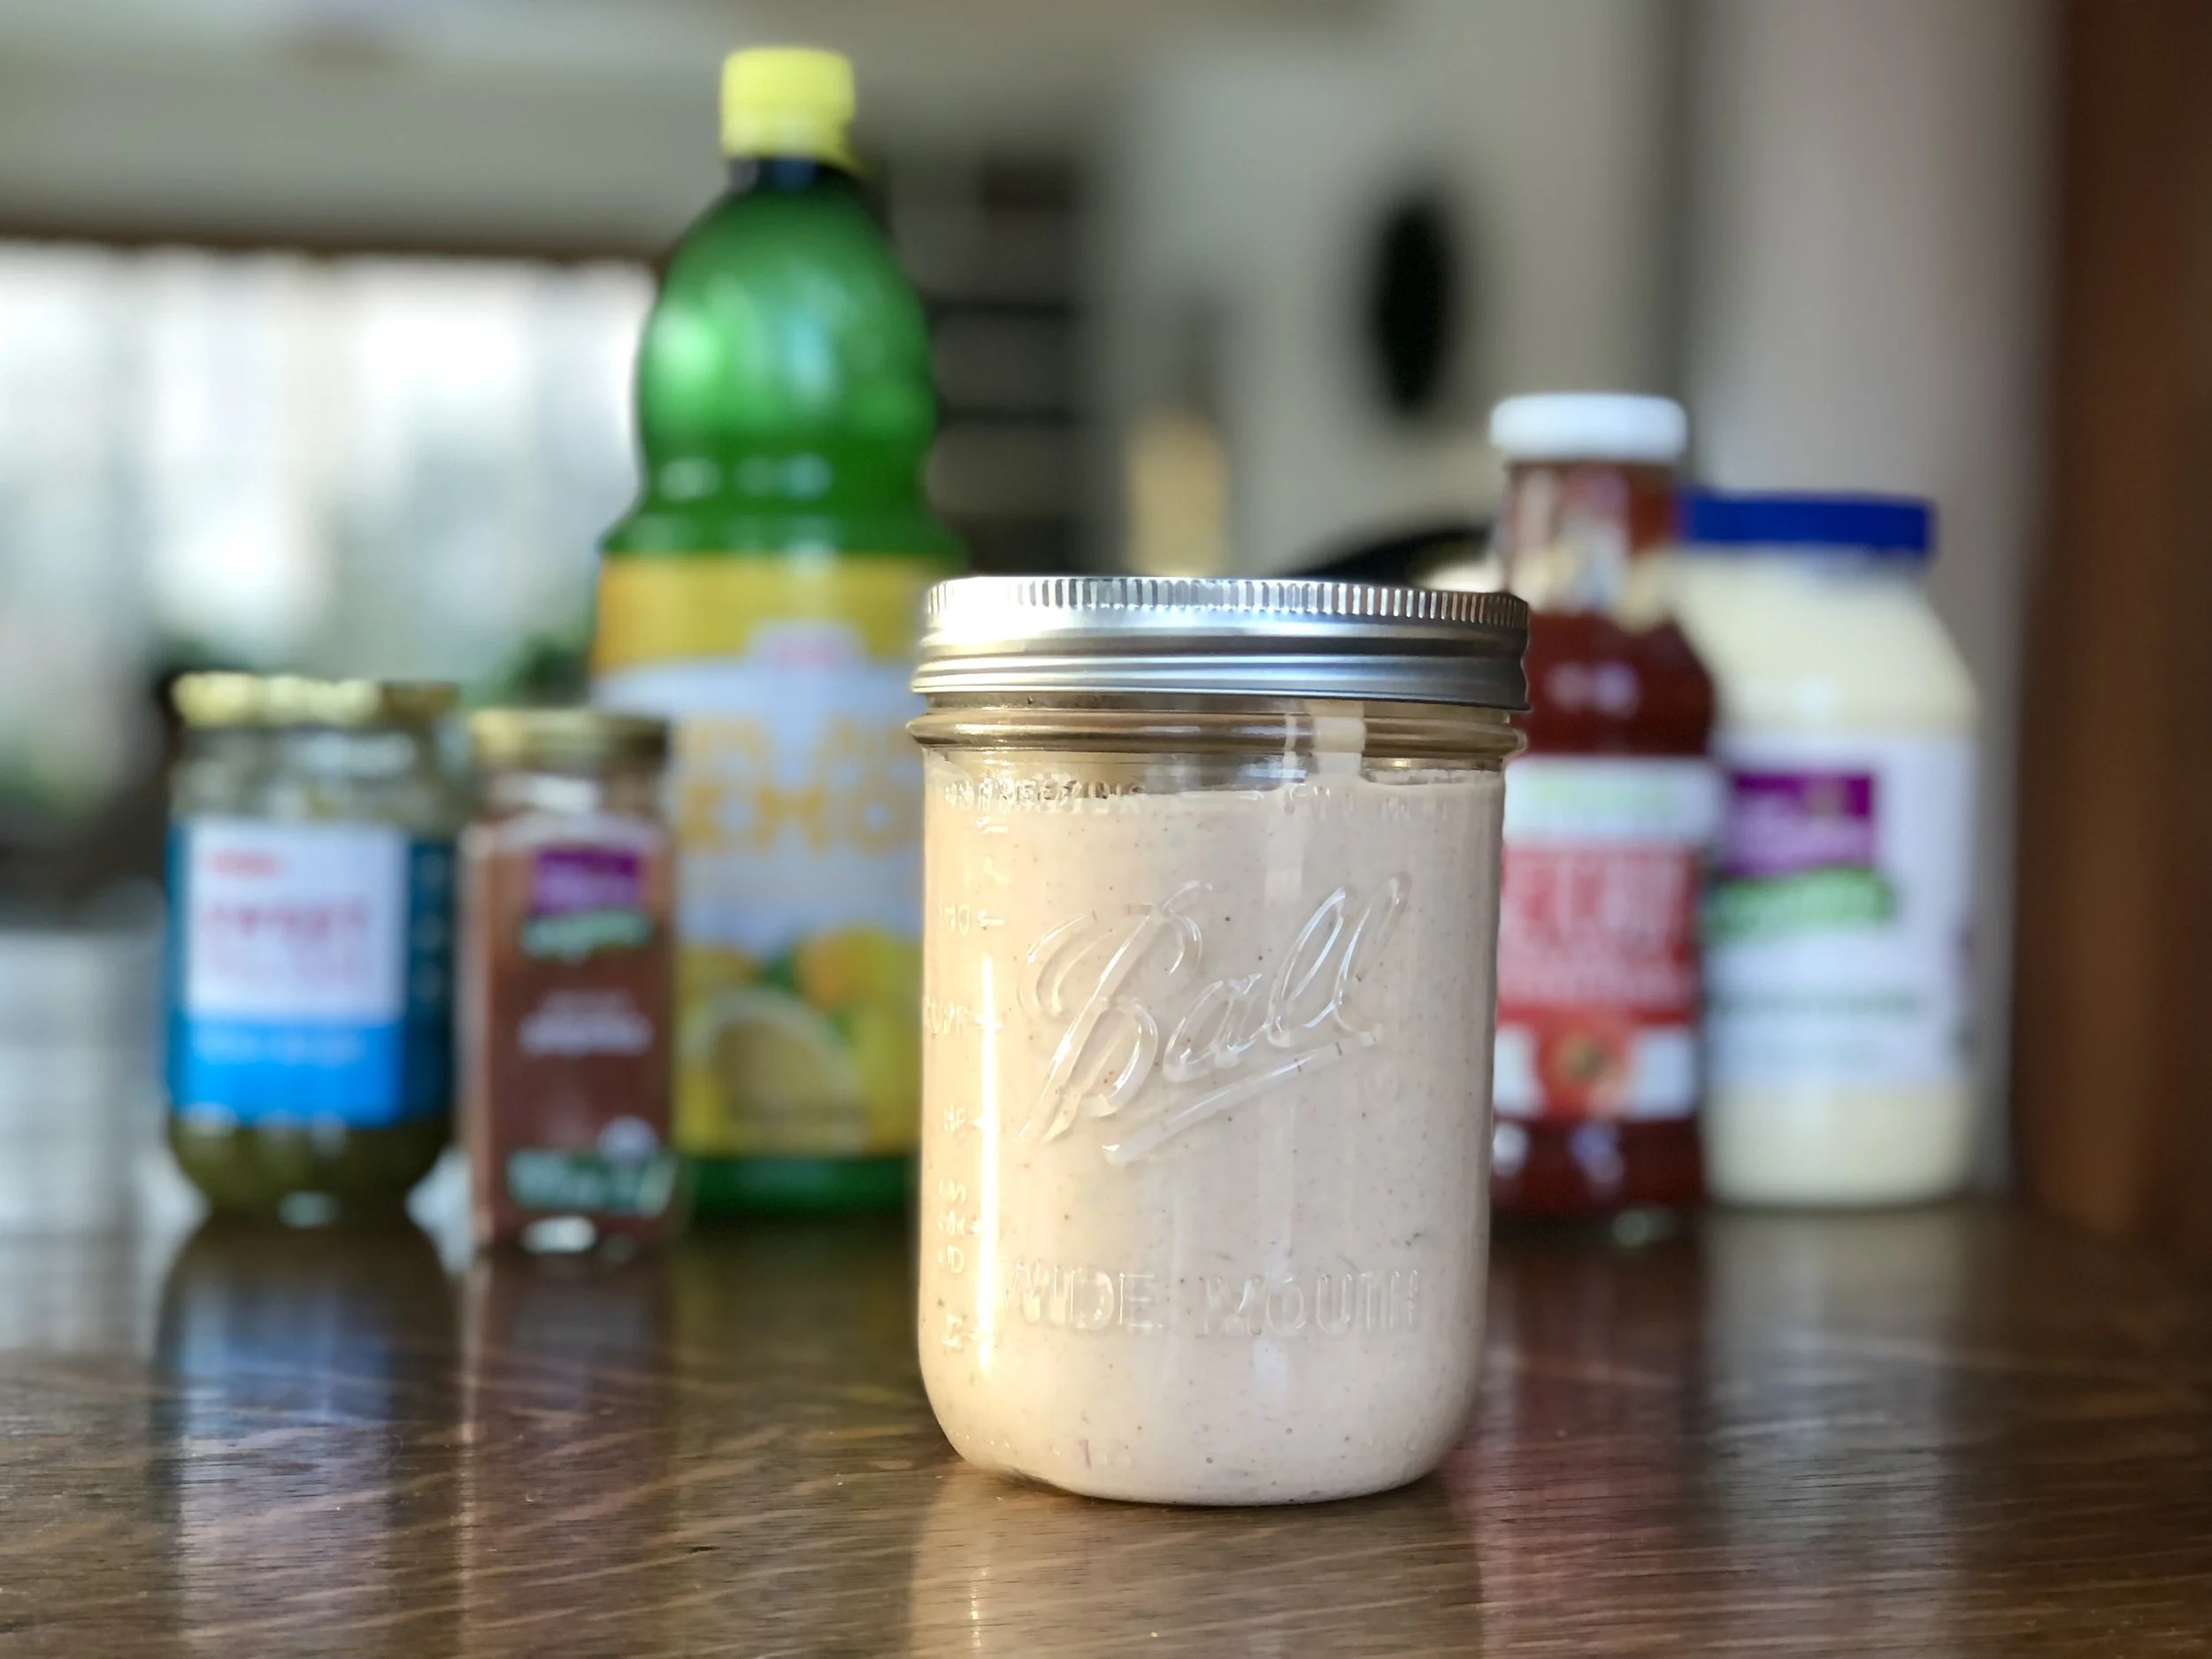
Having a background and props is essential. What that background is and what those props are, less so. No need for a plain wall behind. To have chaos in your photo is to have life. To create an au naturel photo that doesn't look "staged" or "set up" I like to grab the 12-56 objects in closest range to me and set them up haphazardly around the subject. I then choose my angle, and snap. Yes, one snap. No multiple shots, re-angling, re-staging. It is what it is, and that's how it's meant to be. Animals, babies, blurry hands, and half-eaten pizza all help to liven up the photo.


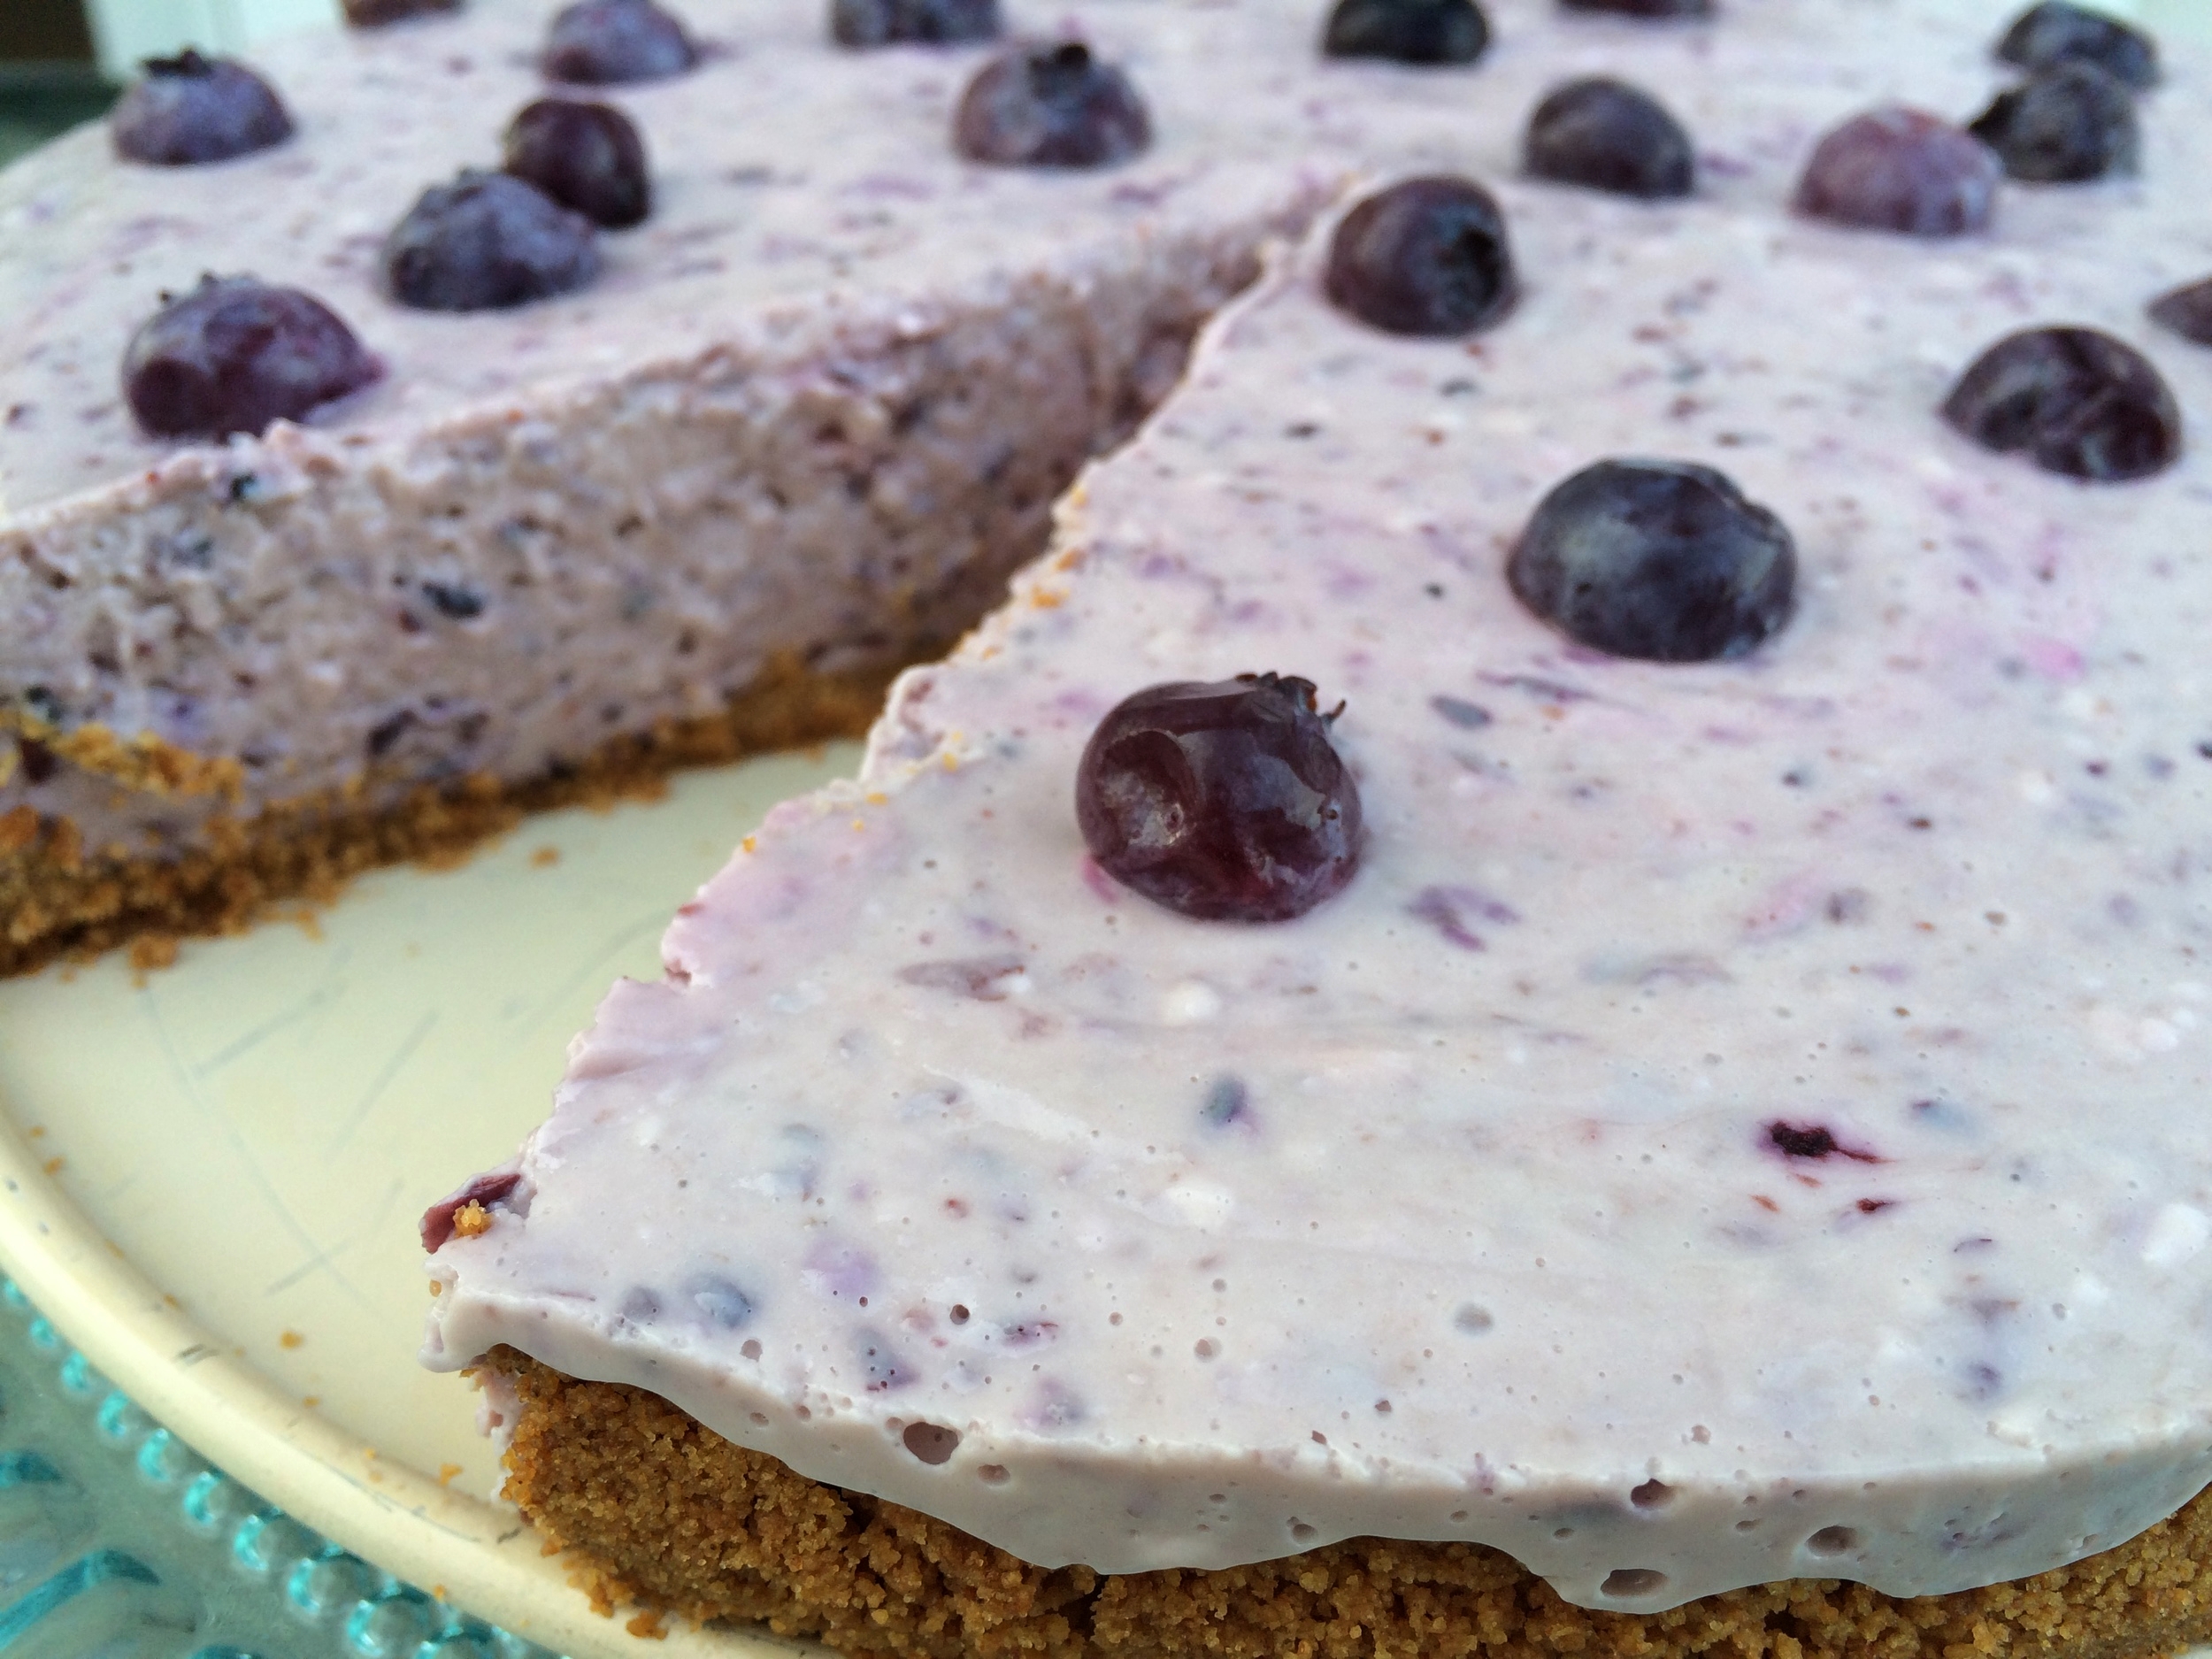
In the culmination of this art spread, please notice the parallelism, rhythm, and flow within. The echoes of the greens, connections between the browns, the cylinders. The keys seem to say, "choose your path" while though the pile of succulent cookies seems to beckon and say, "we offer life, sweet life, and money" you see the healthy apple is also saying, "eat of me!" Meanwhile, the beano reminds us that the remedy lies within, that life is time, take of yourself, and keep a dream journal.
Everyone will be jealous.
Edit Photos and Choose Filters

Here's how to take your photos to the next level. You'll first need a photo editing program. Higher end programs like PaintShop Pro, Final Cut, and Photo are ideal. Then, modify away. As a general rule, I think photos always look pro when you really crank the structure, saturation, and ombre. If you have a ton of photos to share with the world and are short on time, filters are your friends. X-Pro II, Lo-Fi, and Nashville are go to's.
Increase Your Intelligence.
If you have made it this far, you have already acquired much intelligence along the way, all that stated above. I have so much more I wish to impart to you, my young padowan, but I must first see how you bear up under this already great load. So be free, conquer the world, and let your dreams take flight. Remember as you soar high, to take others with you under your wing.
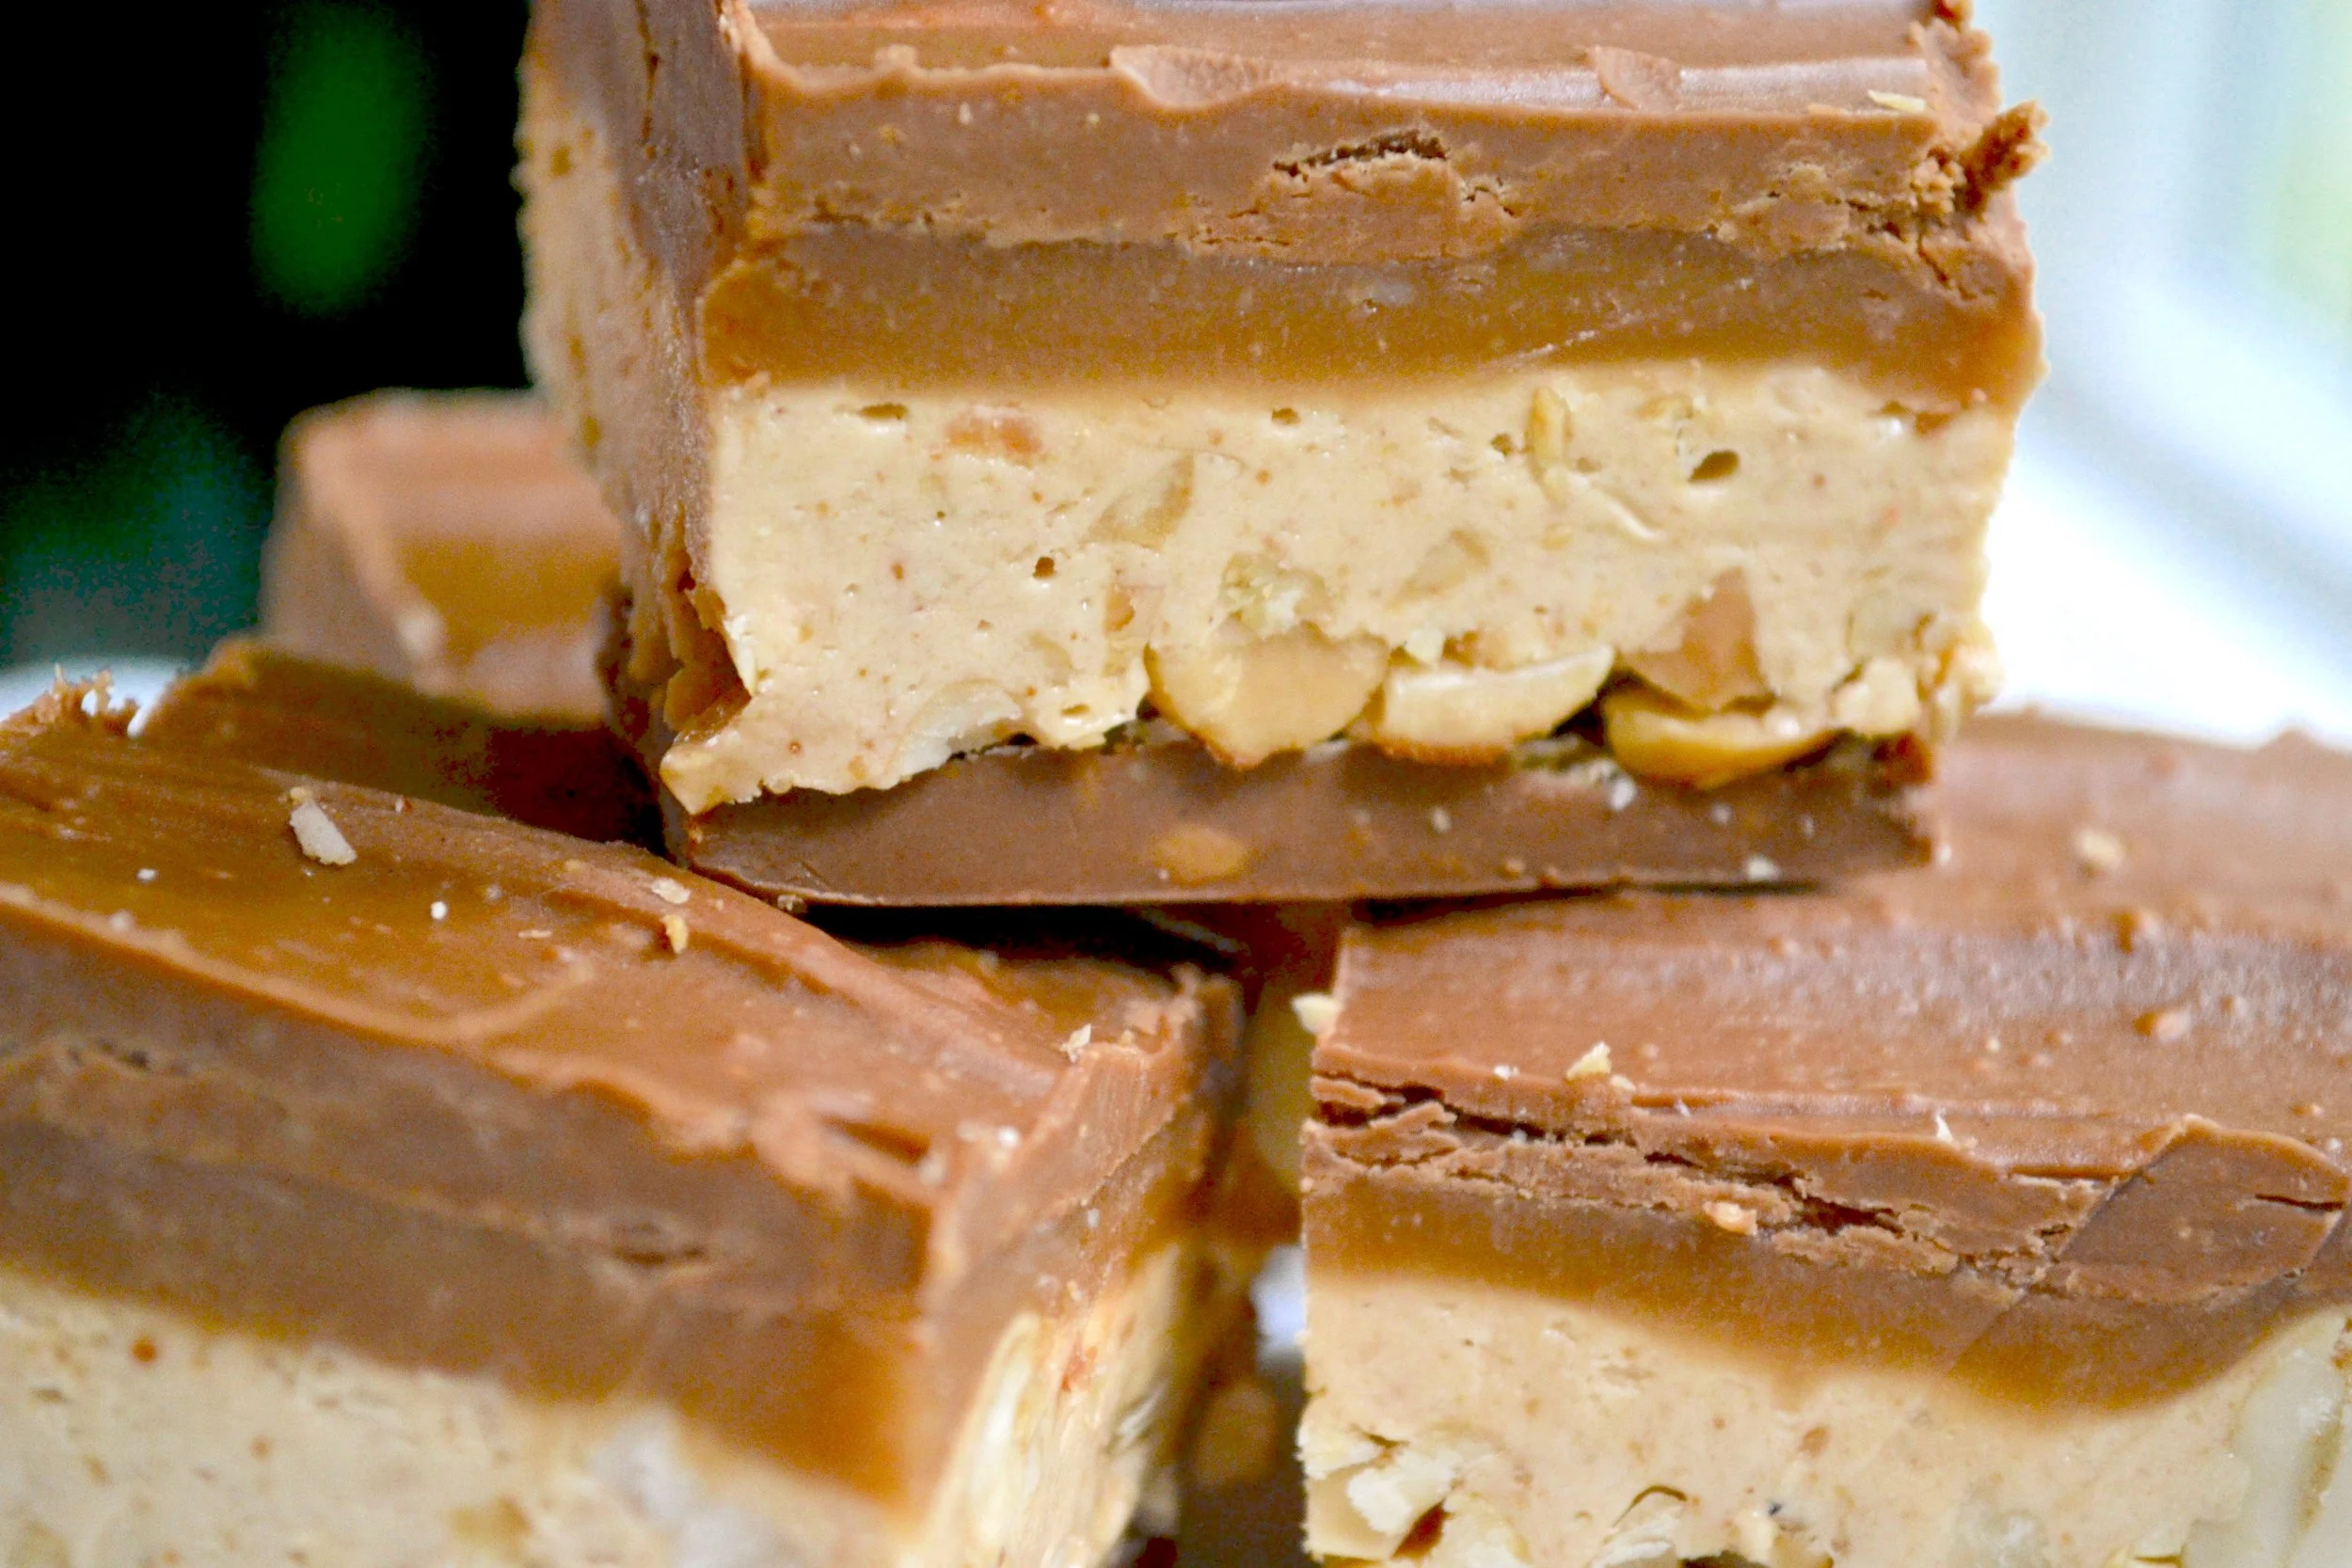
Two more things before we part ways: One, this blog is completely facetious. Happy April Fool's Day! Don't take a word of it seriously. Don't believe me? Ask any of my seven followers. Second, the cookies in the photos exhibited above are, despite the photos, really yummy. Find the recipe here!