Using Beets for Color in Baked Goods
/Beets in baked goods can be finicky. Many a baker has tried their hand at beets, hoping for that vibrant hue in their baked goods, only to be disappointed by the color baking out and leaving an unexciting brown.
If you’re reading this wondering what you are doing wrong, don’t feel bad. It’s what beets like to do. It’s a natural chemical reaction that can be difficult to offset. It’s taken me years, but only after I finally came to terms with beets losing their color, did I actually have success in them keeping their color.
I’m happy to share some insight with you, although I won’t claim it to be 100% foolproof. I feel I’ve finally made friends with beet color in baking, and hope you too have better success.
Take a good look at the photos in this post, as these will show you what to expect. Beets just work better in some things than others. Bread seems to have the best success, since the extra hydration from beets is more easily offset in bread than in cakes or other bakes where extra moisture can lead to heaviness or gumminess.
This post may contain affiliate links. If you make a purchase using these links, Jennyblogs may receive a small commission, at no extra cost to you. This helps to support Jennyblogs. Where possible, links are prioritized to small businesses and ethically and responsibly made items. For further information see the privacy policy. Grazie!


Adding Beets for Color
This post is not a precise recipe, but will help you figure out how to add beets to your bakes to get optimal color, as well as some troubleshooting tips.
How Much Beet to Use?
For bread recipes, I find the best success with using up to 50% of the flour weight in beets. This means for a bread recipe that uses 500g (about 4 cups of flour), I would use up to 200-250g of beets (1-2 beets, depending on size).
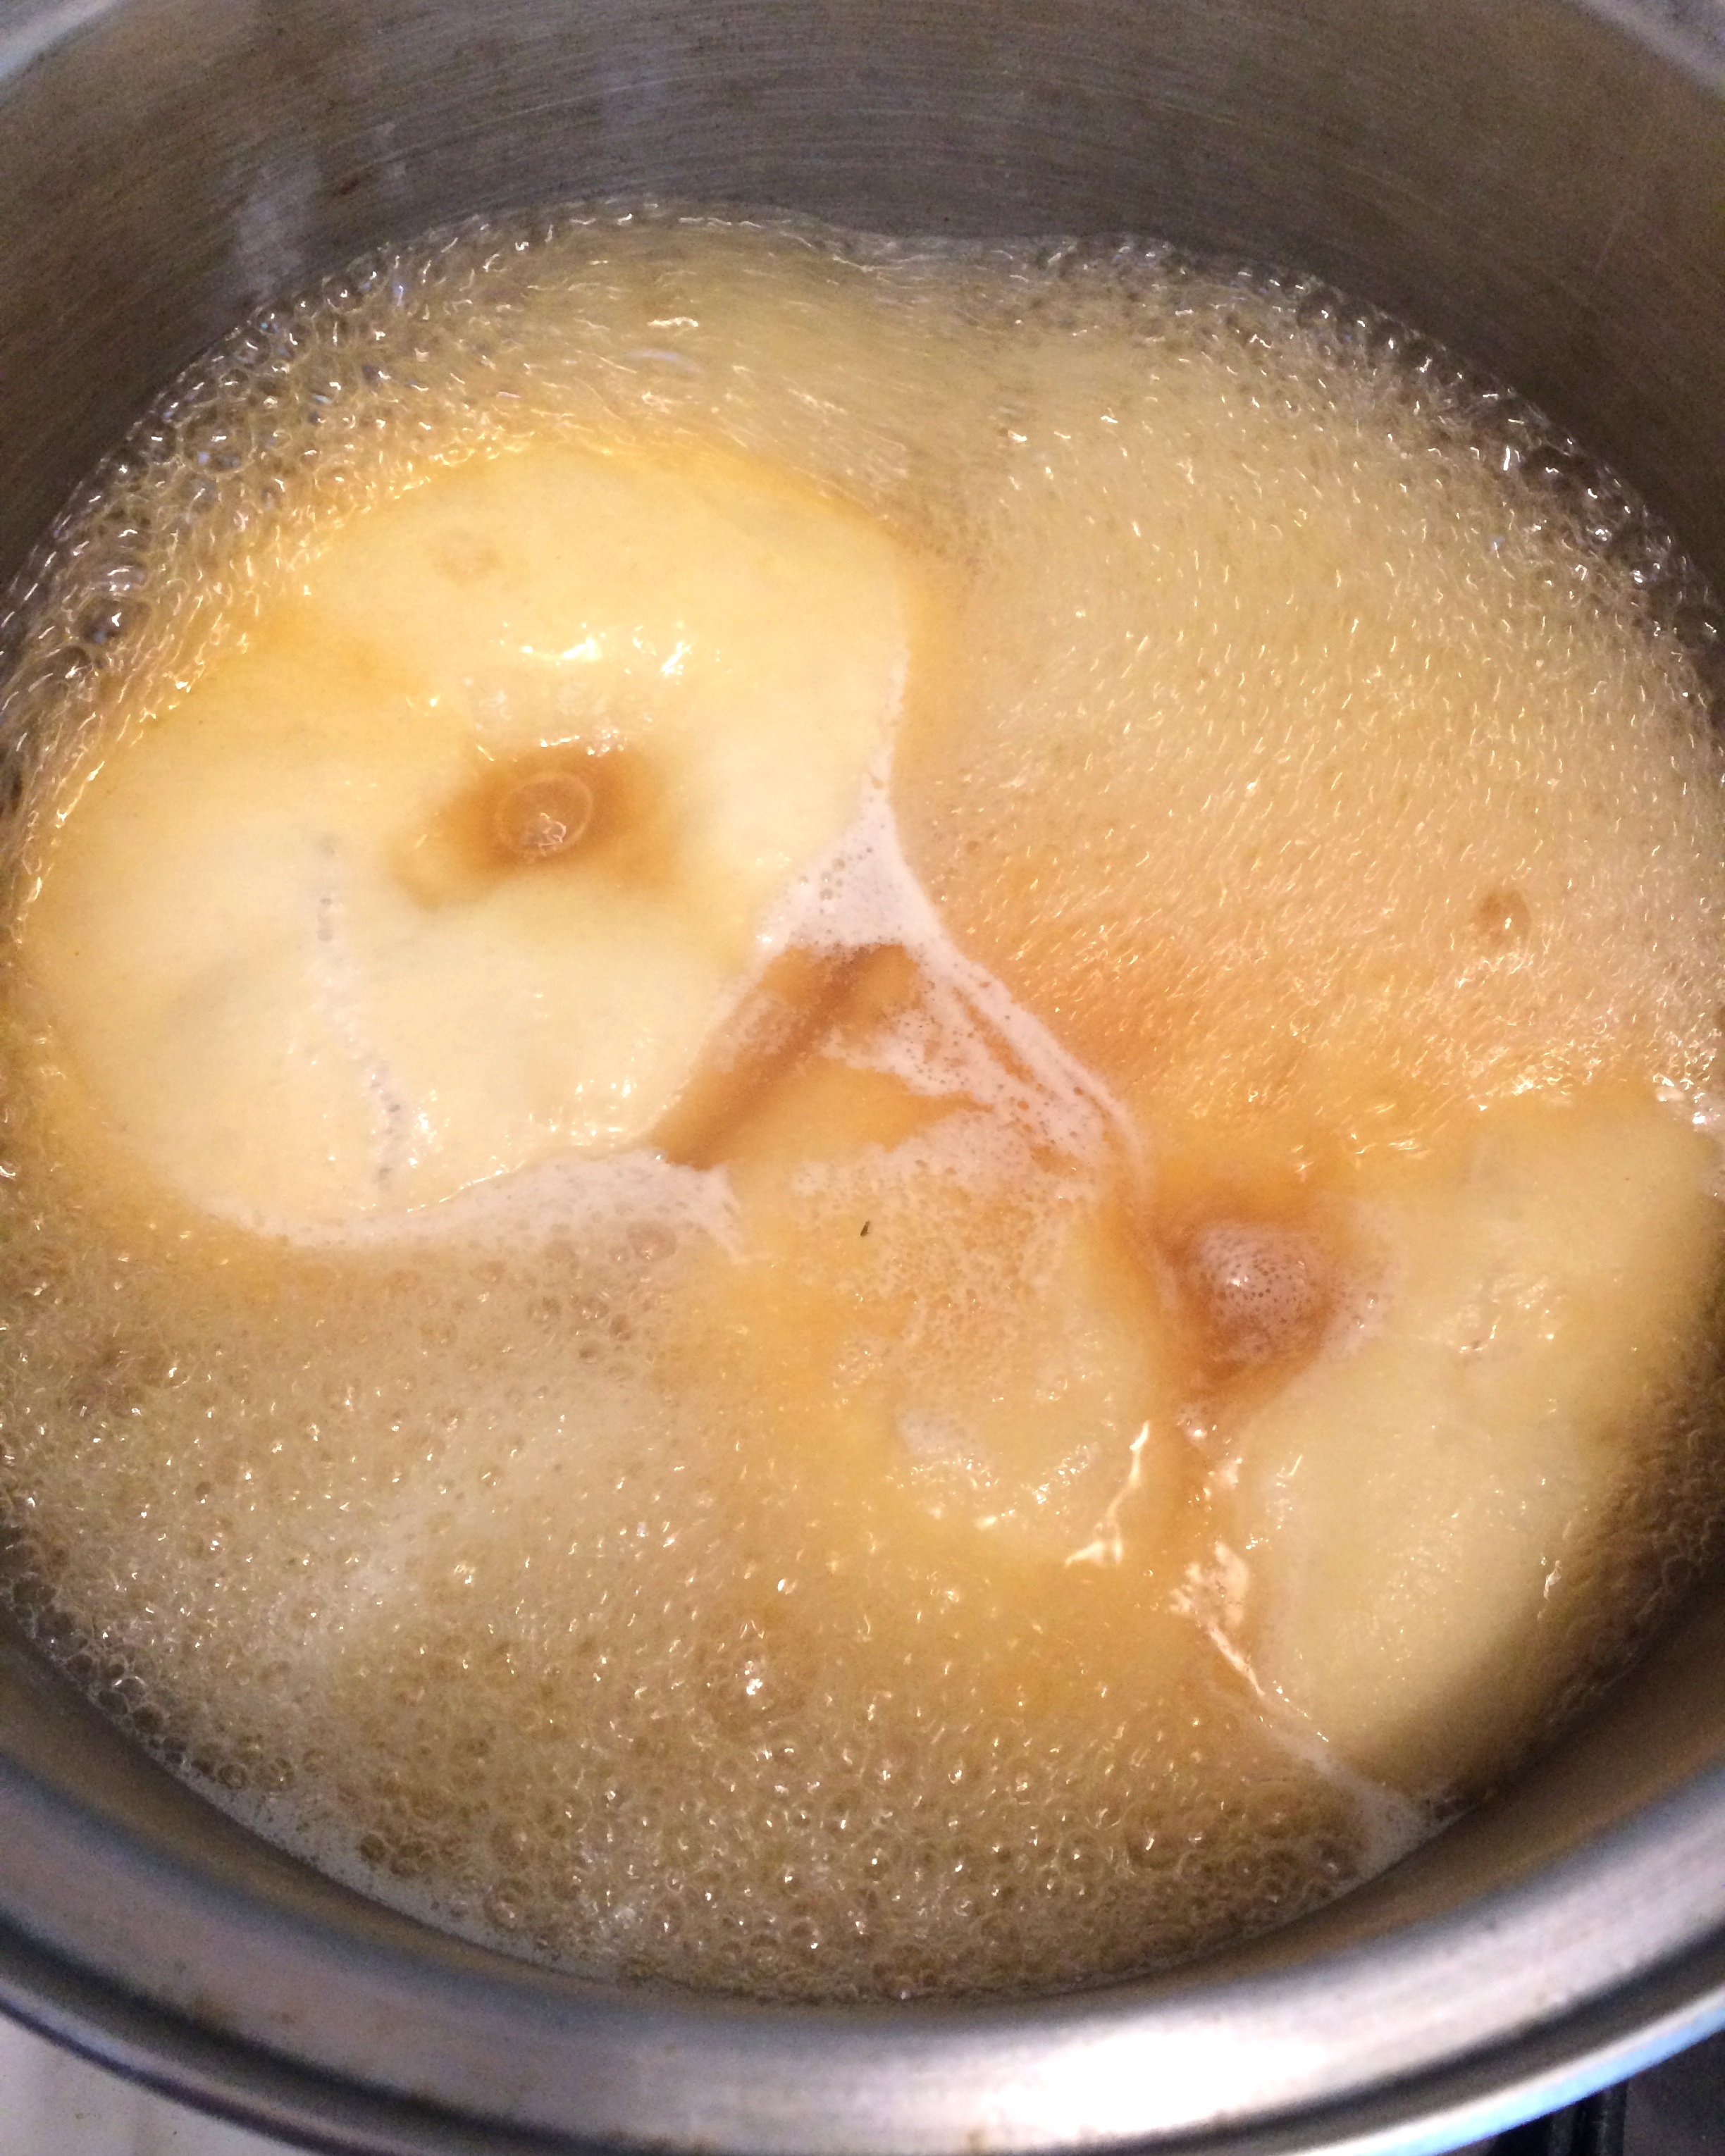
Roast Beets
For optimal color, roast beets in their skins. Boiling beets, using beet powder, or other preparations don’t seem to work as well.
Preheat oven to 400°F / 205°C.
Wash beets, leaving on skins, and wrap in tinfoil.
Bake for about 1 hour or until tender when a fork or knife is inserted into beet. Baking time will depend on size of beets.
Allow to cool enough to handle, then remove skins, roots, and any stem stumps. Skins should slide off fairly easily.
Purée Beets

Once beets are roasted, cooled, and skins removed, they need to be puréed.
There are a number of ways to do this:
Place the beets and some of the liquid from the recipe into a bowl and blending with an immersion blender until smooth.
You also don’t have to use some of the liquid from the recipe with the beets, but I find it’s easier and quicker to get the beets smooth and also easier to scrape out.
Place the beets and some of the liquid from the recipe into a blender and blend until smooth. This works best if you have a nice, high-powered blender.
Once beets are puréed, add something acidic to help maintain the color when baked. 1 tbsp lemon juice or vinegar should do the trick. You can also use citric acid, about 1/2 teaspoon.
*What does “liquid from the recipe” mean? It means using any liquid (water, milk, etc) from the recipe you’re using to help blend up the beets before adding to the recipe.
Let’s say you have a sandwich bread recipe that calls for 1 cup of water. You have 2 roasted beets you want to add to make a beautifully colored sandwich bread. You could take 1/2 cup of water from the 1 cup called for to help purée your beets. Then you can add the puréed beets into the recipe and add more of the remaining 1 cup water as needed. Beets add moisture so you may not want to add all of the called for water.
Adjust Liquid As Necessary

As mentioned, beets add moisture to a recipe, so you may want to hold back some of the liquid from the recipe. Another option when making bread is to simply add more flour. I’ve seen people do both. I’ve tried both also, and they both work. Just be wary of using a LOT of beets, then having to add a ton more flour. This can start to upset the balance of the recipe. Use your beet judgement. Excuse me. I meant “best” judgment.
Bake!
The only thing left to do now is finish the recipe, enjoy playing with the brilliantly colored dough or batter, and bake.
Troubleshooting a Brown Beet Bake
Why did my beet bake still turn brown?
As easy as it might seem, some beet bakes still turn brown despite our best efforts. If it was easy, or if there was a foolproof method, there wouldn’t be so many brown beet baked goods. That doesn’t mean we give up. We keep trying, experimenting.
If your bake still turned brown, try the following:
Make sure you used enough beets. Sometimes it’s as simple as that. Beets turn doughs/batters brilliant colors with very little added, but more is needed to KEEP the color.
Make sure to use an acid, or maybe try more acid if you already did. Vinegar, lemon juice, ascorbic acid.
I’ve read fresh beets produce a better red. I haven’t tried fresh and old beets side by side to see any difference, nor do I always know how “fresh” the beets I have are. I can say that the same batch of beets can still produce different results, even if they’re all the same “age.”
Make sure you are using a regular oven setting and not convection. I’ve had the same batch of dough turn different colors simply because one was baked on the convection setting.
Check the kind of recipe you’re making. If it’s cake, cupcakes, cookies, or similar, those can be a lot harder to get color with, and even then it’s usually more pink or pinkish brown at best. Bread is the easiest to get deep color with. Keep expectations reasonable.
My Quest for Natural Red
Over a decade ago I set out to achieve a naturally colored Red Velvet Cake. Red Velvet was having a moment and it bothered me to no end since Red Velvet as we know it now is essentially just a barely chocolate cake with a whole bottle of red artificial food dye dumped in. And if you know me, you know I’ve never liked artificial food coloring. I felt people were being duped. So, I set out to bake a natural Red Velvet Cake, so at least if you were going to eat a somewhat chocolate cake, it didn’t have to be with artificial coloring in it. I had looked up the origin of Red Velvet, discovering that it did not originally include artificial coloring, its more subtle red color owing to a chemical reaction in the cake from vinegar, baking soda, and buttermilk. Following this cue, I tried all the tricks I could to get the cake to keep its color, along with the help of beets. No amount of acidity seemed to help the vibrant color stay. It always baked out, leaving a pinkish hue at best. After awhile I gave it up, one can only eat so many beet cakes, you know, and anyway, I didn’t see anyone else having much success, even those who confidently had beet cake recipes published.
Fast forward to earlier this year, when my algorithms on Facebook had been completely taken over by sourdough groups even though I never joined nor even looked them up, but there they were. Doing their thing, reeling me into their sourdough troubleshooting.
I happened to see a post where beets for color came up. Inevitably, several shared how beets naturally lose their color, yet one commenter shared a photo of her bread colored with beets. It was the most vibrant, fuschia dough I had ever seen that baked into a still impressively colorful, braided Challah. She did it, and she seemed to know what she was talking about. She wasn’t sharing her photo as a first time, proud accomplishment but rather, almost in defiance of the others saying it can’t be done. It can be done, and she does it.
I made it my new goal to see if I could get my bread to look like that.
A Fresh Attempt with Beets
Feeling freshly inspired and challenged, I grabbed the last beets from my mom’s garden. Going off of the little information that had been shared about using beets successfully, I set out with more hope about beets than I had in a long time.
Beets in a Sourdough Boule
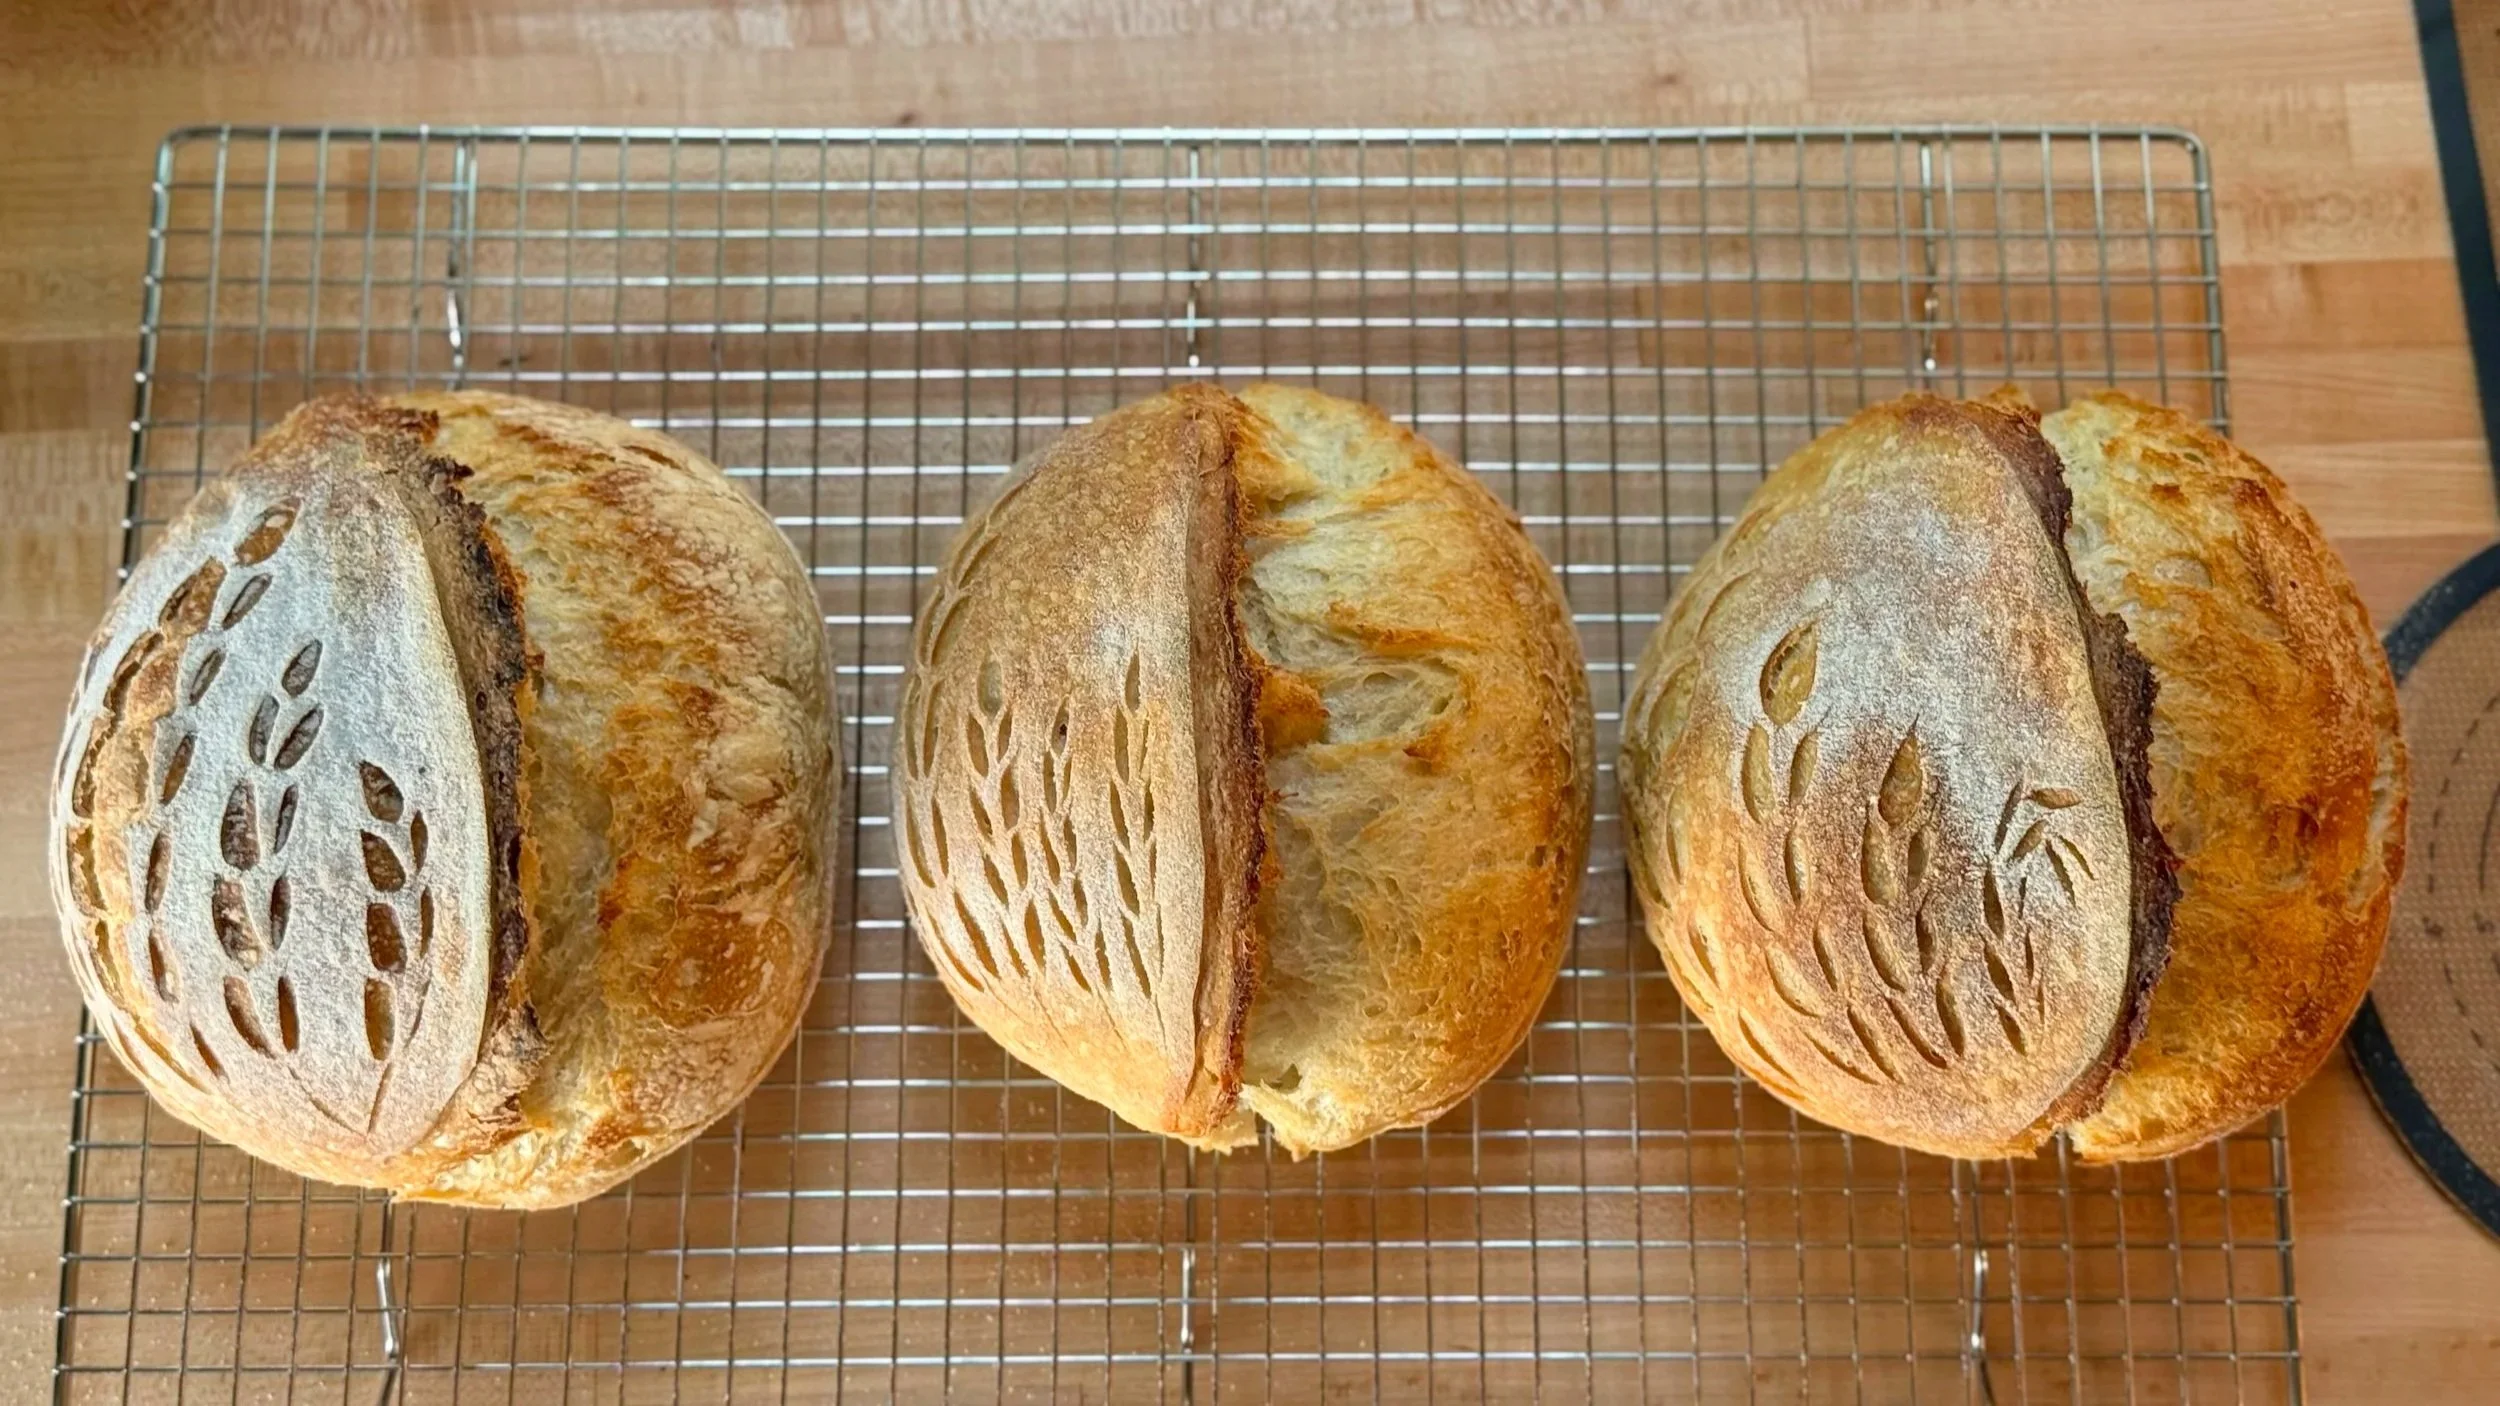
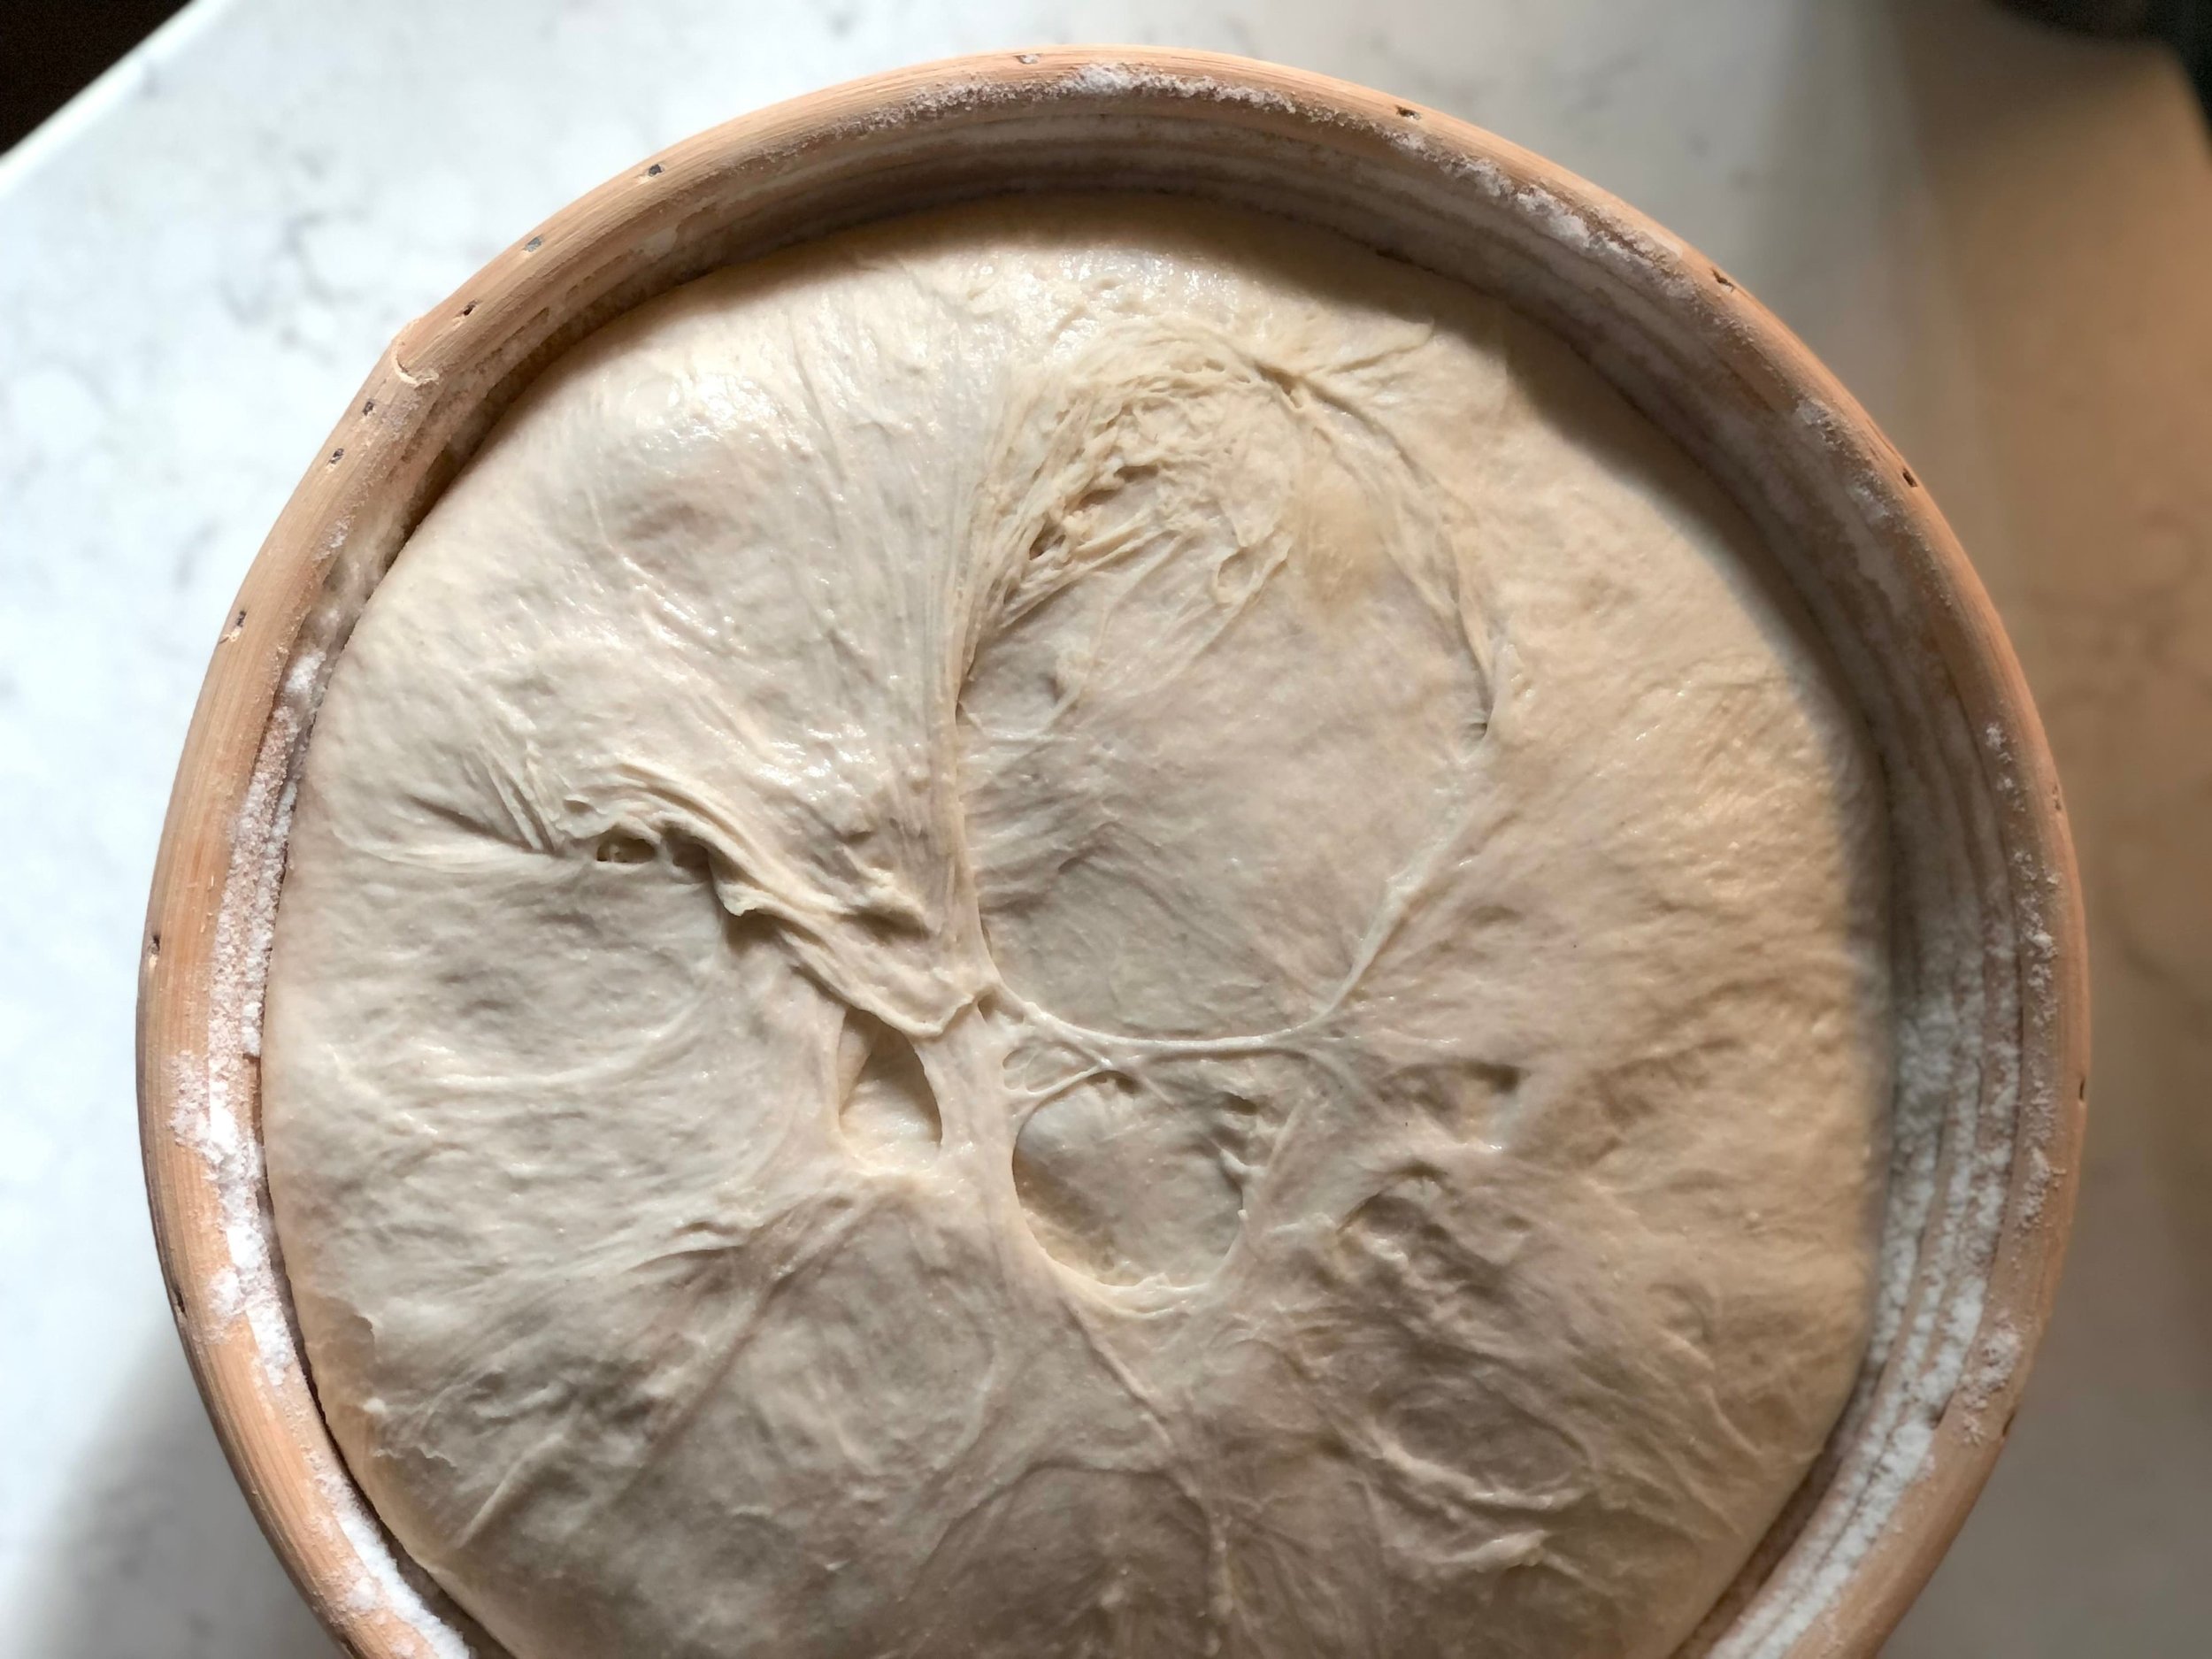
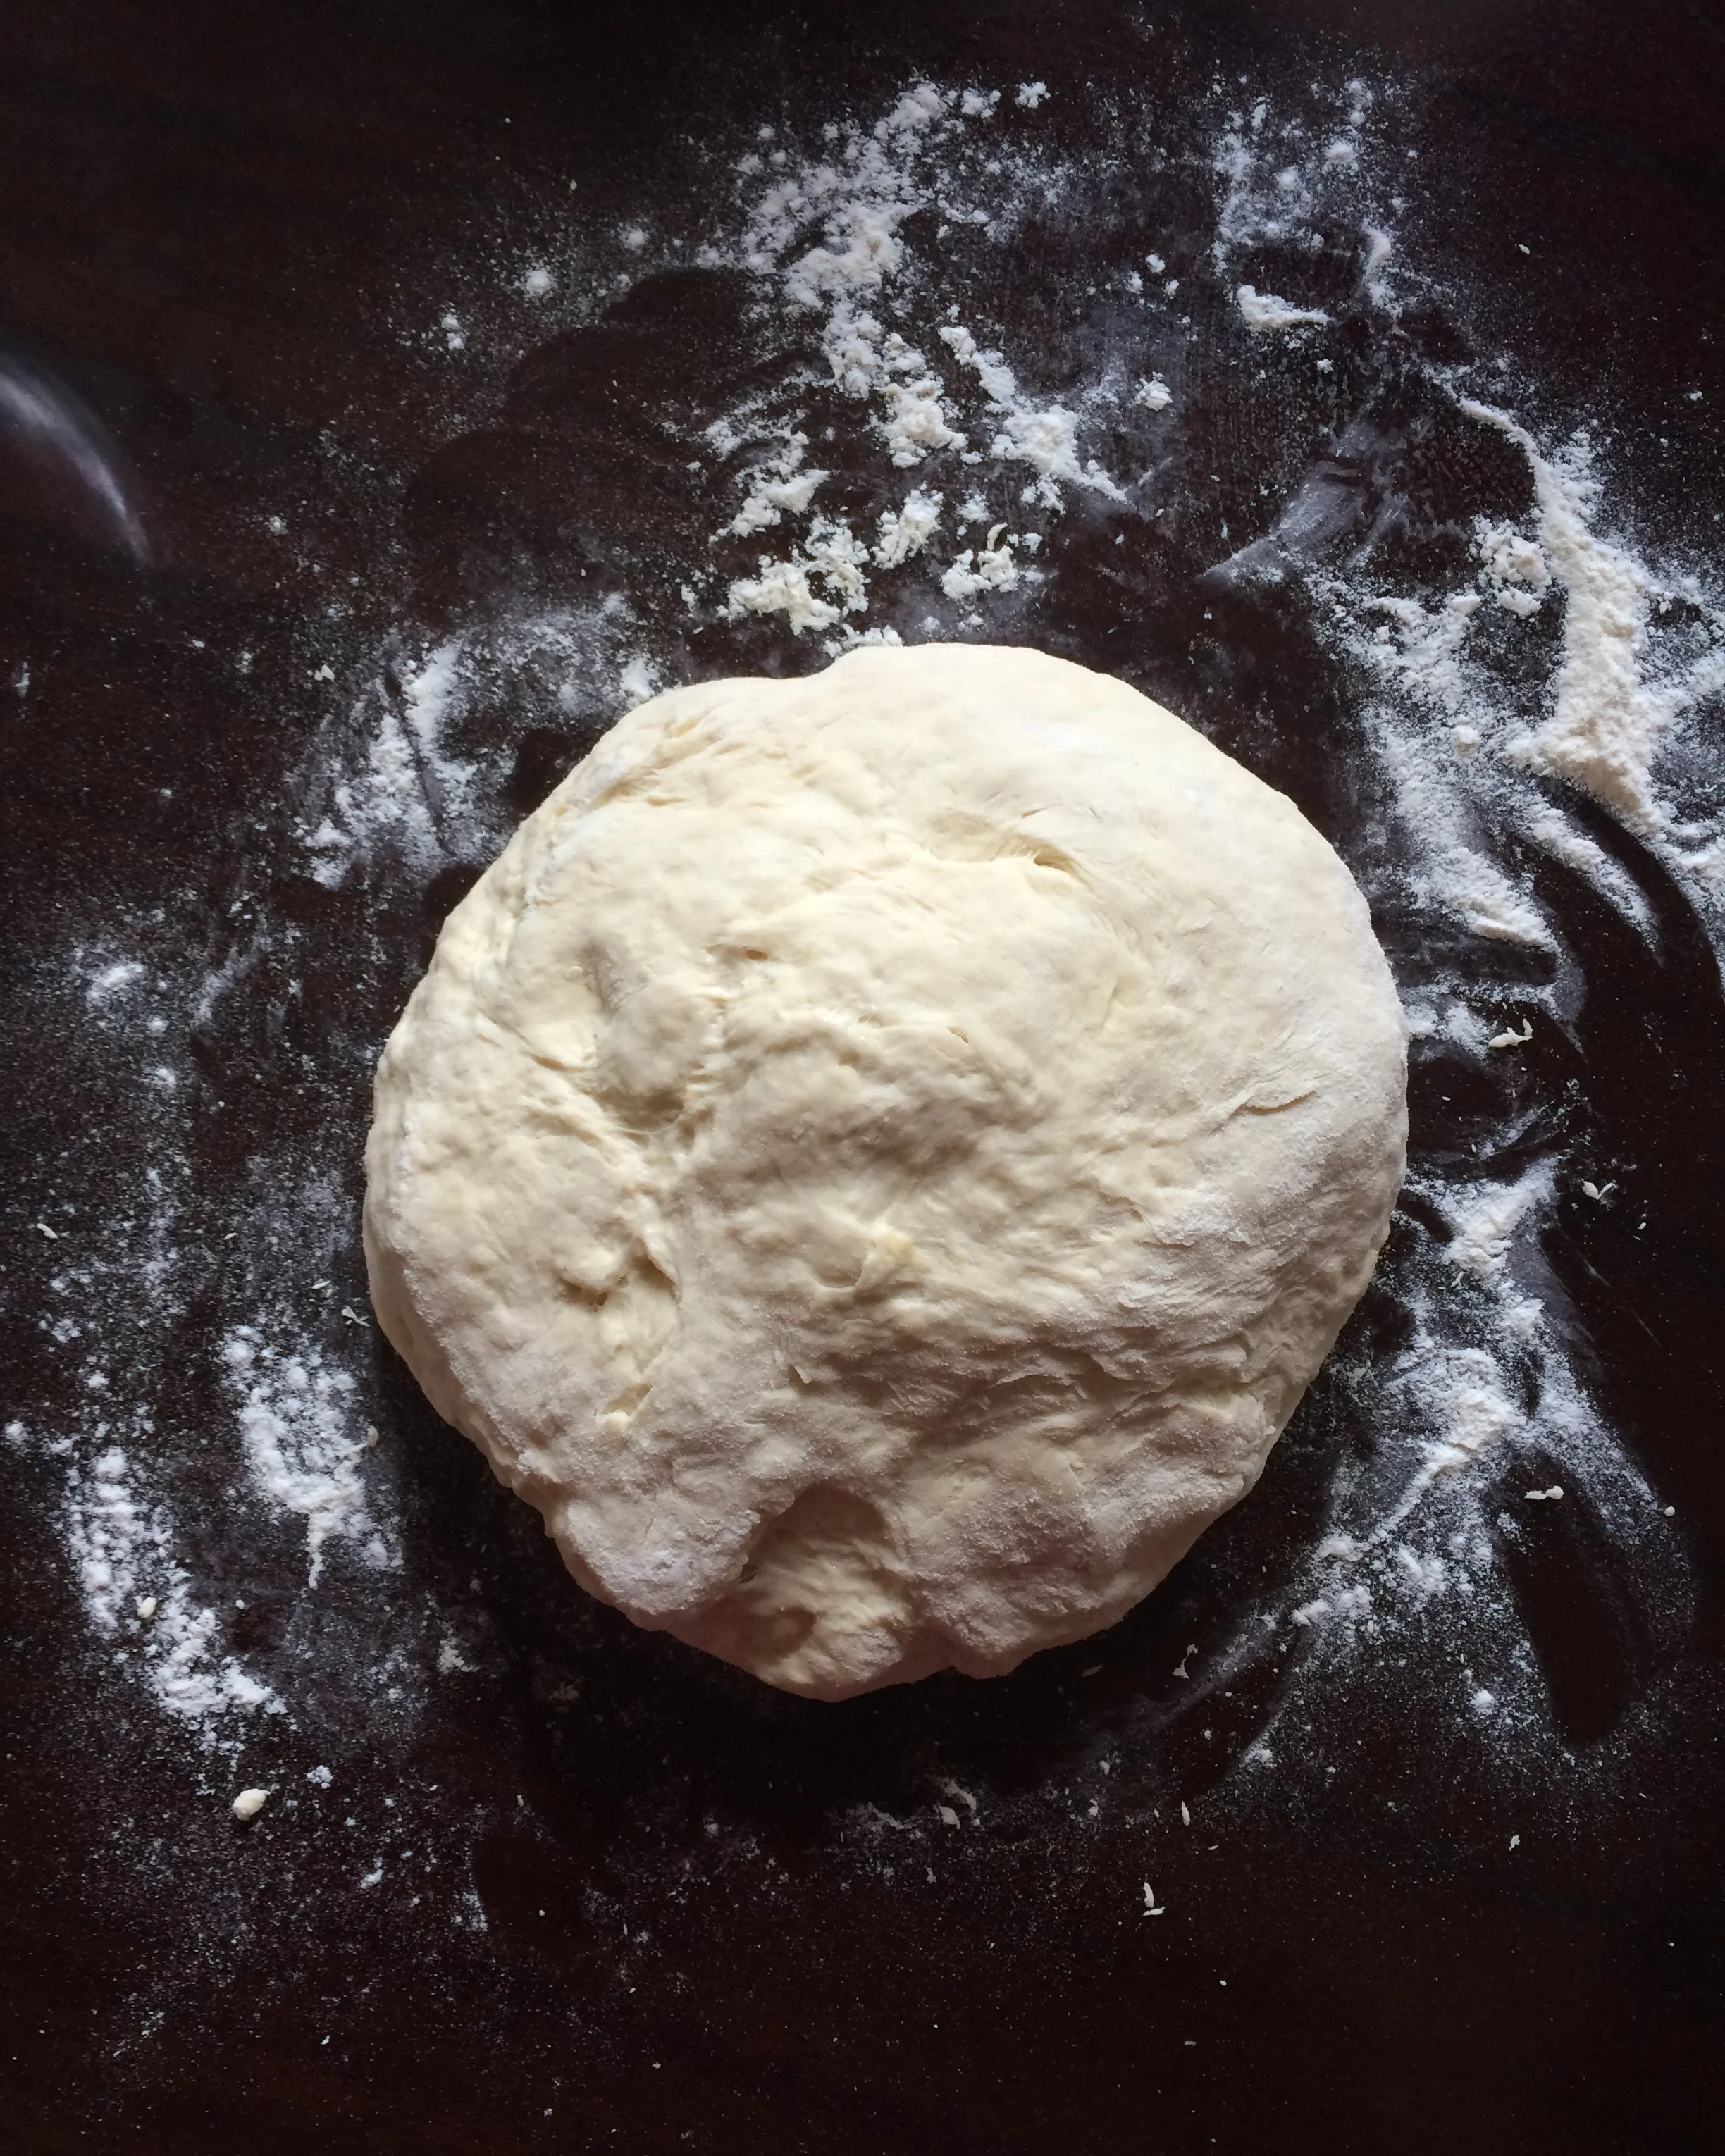
I decided to use the beets first in a loaf of classic sourdough bread. The dough was beautiful, yes, but the color all but baked out. I felt the familiar pang of disappointment. I probably did not use enough beets. You can almost tell by the color of the dough. While bright, it’s not quite vibrant enough to keep a deeper color when baked.

Beet Sourdough Boule before baking

Sourdough Beet boule baked

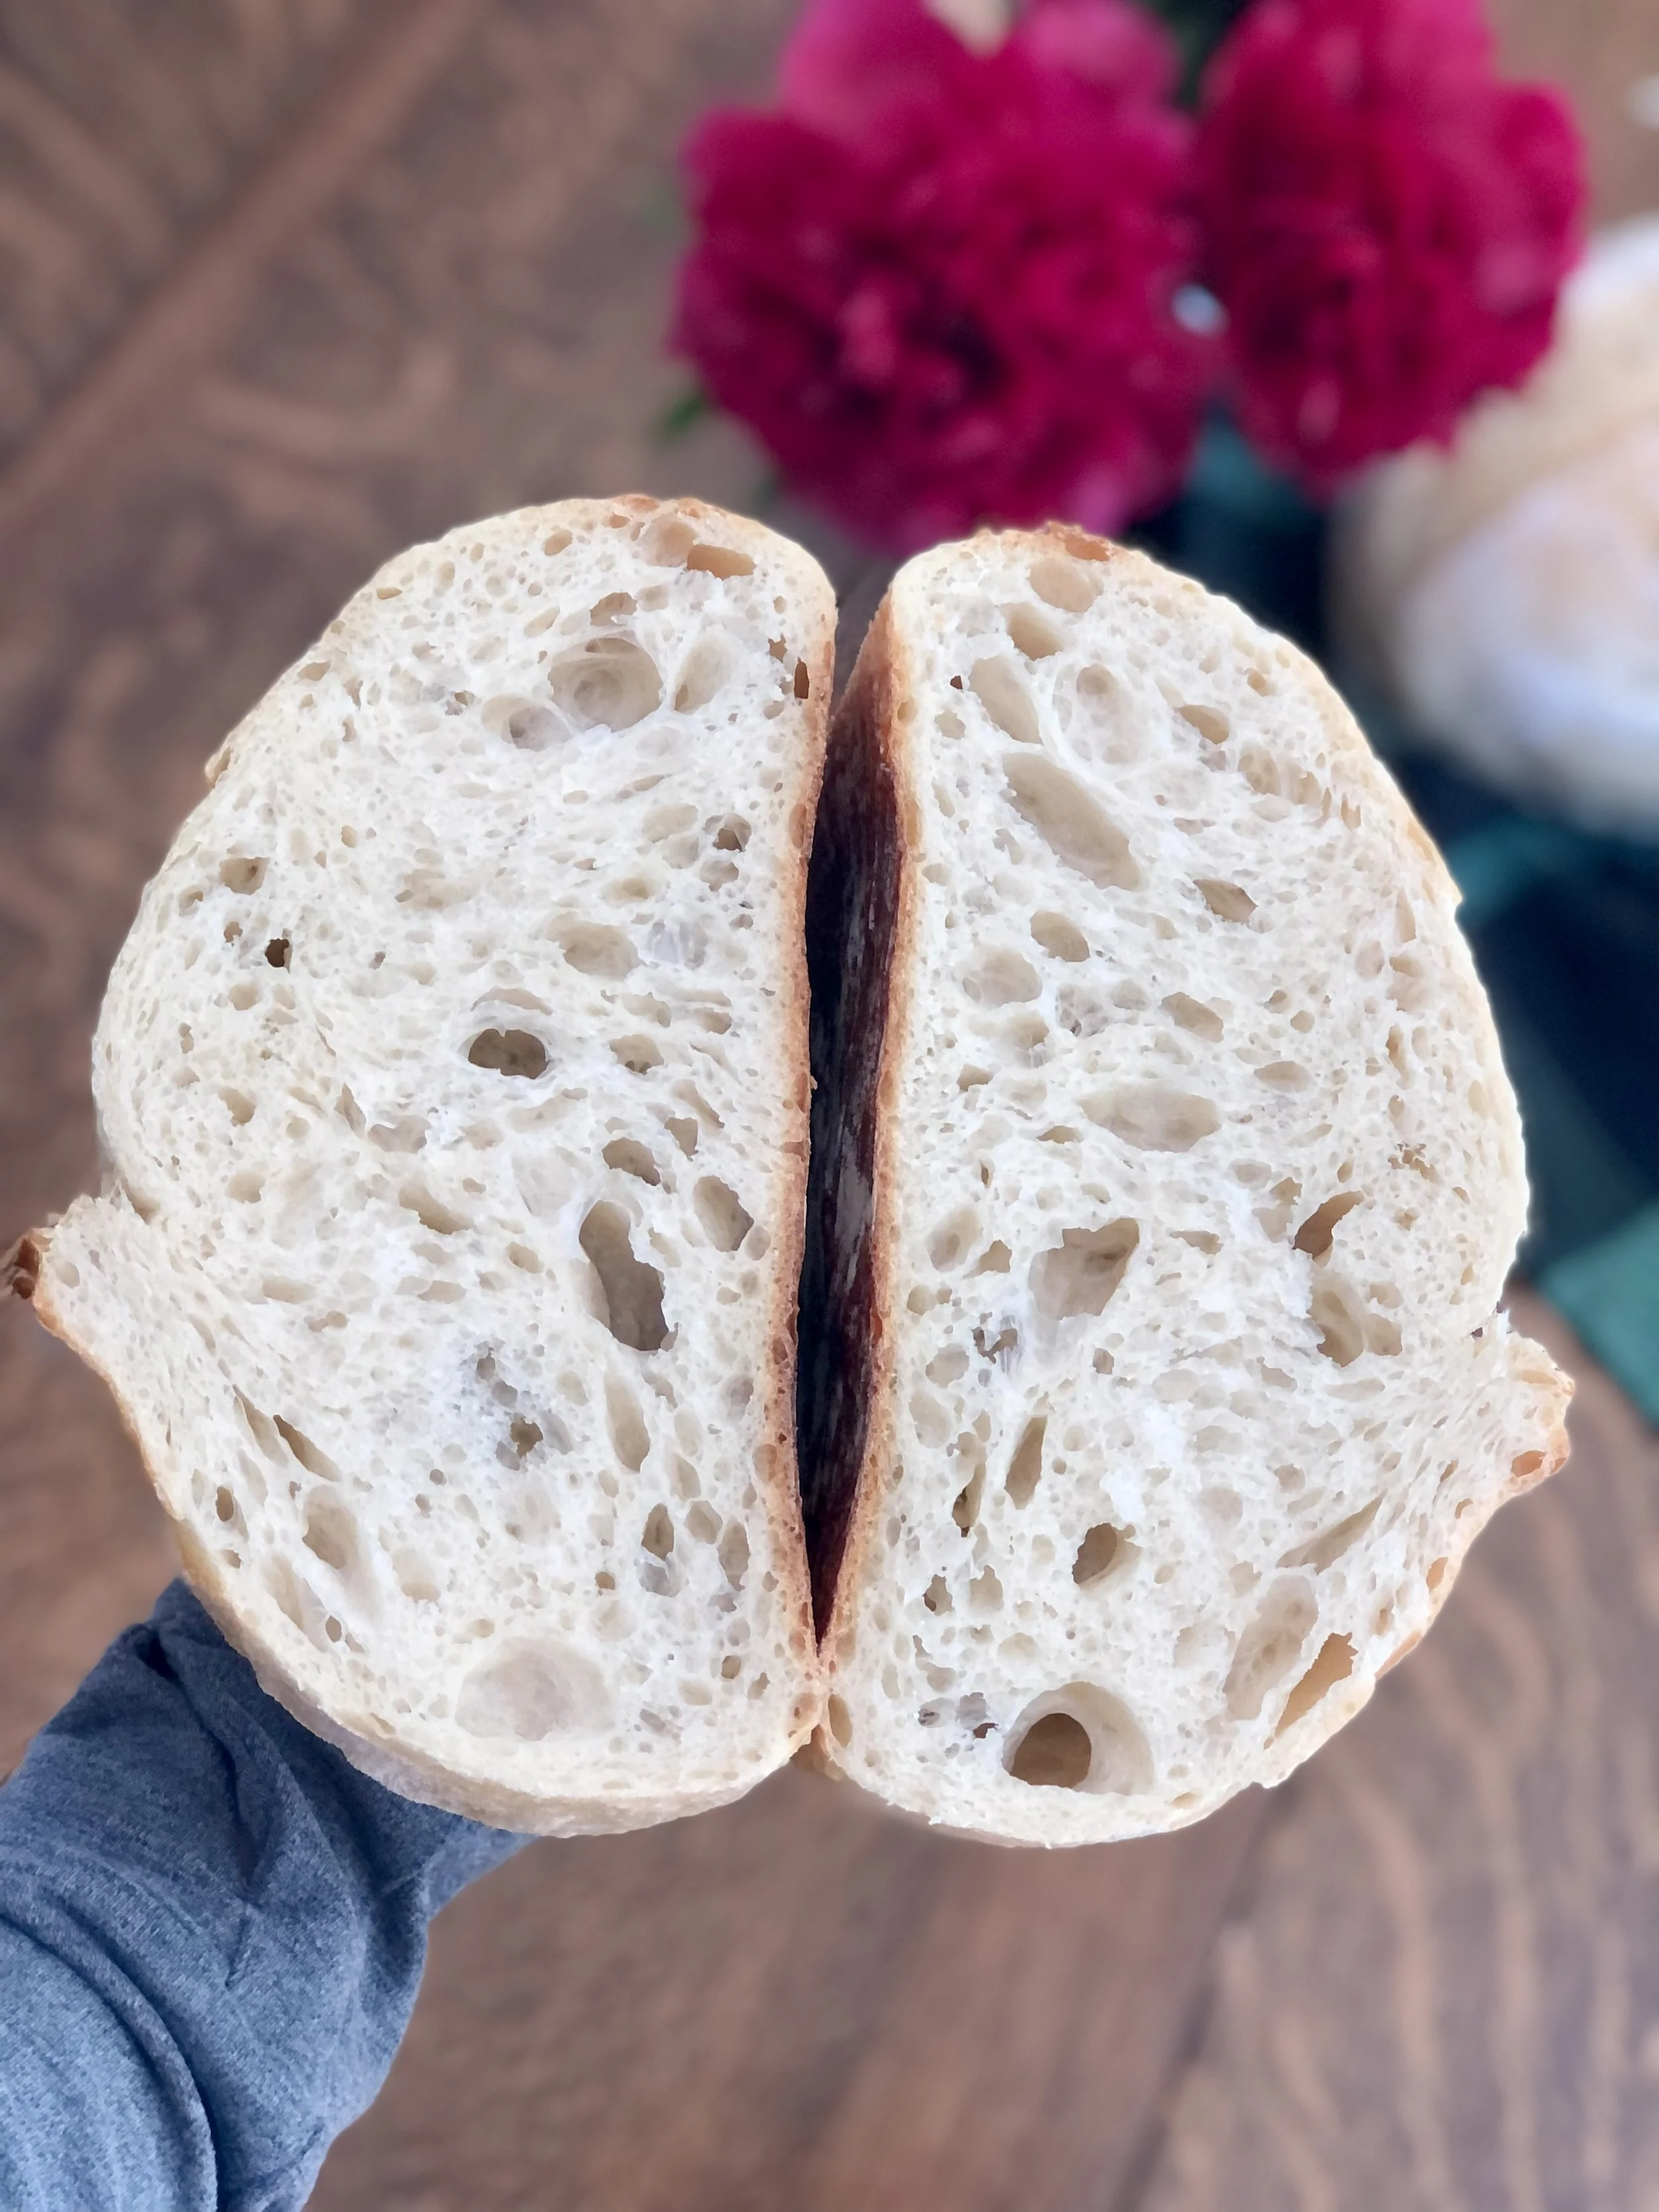
Crumb shot of sourdough beet bread
Beets in Sourdough Challah
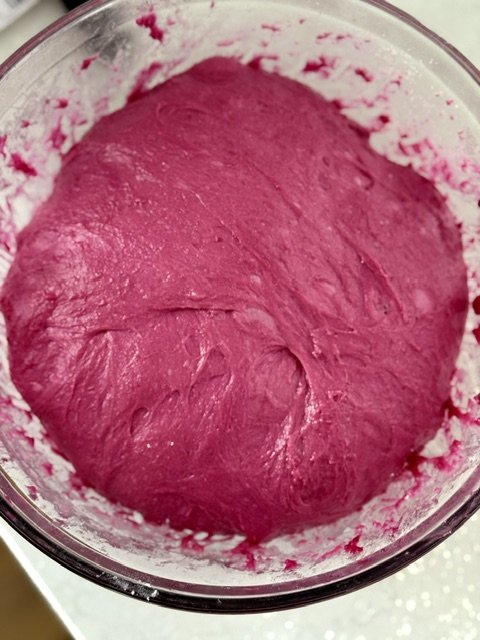
Knowing it can be done, I tried again, this time with Challah. The original commenter had done challah, King Arthur also has a beet Challah recipe posted, and I make Challah often. Seemed a fitting recipe to adjust. I used my dear friend’s recipe, while referencing King Arthur’s. I doubled my recipe to make a large braided Valentine’s heart. I still think I needed more beets.
Again, the dough was vibrant and beautiful, but an interesting change in color occurred during the final proof. You can see in the photos how the newly braided bread is a nice magenta, then after it has risen it has lightened in color. I do not know why. Once baked, the bread retained some color. I used beet powder for the finishing glaze so the contrast makes the bread look less colorful, than it really was, actually.
Better, but not there yet.
Challah Dough

Challah Beet Dough, weighed, shaped into balls, awaiting rolling and stuffing with chocolate
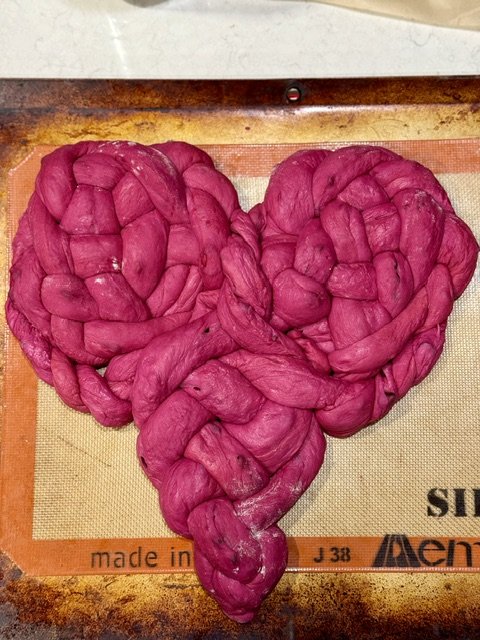
Beet challah dough braided into a heart, ready for the second rise
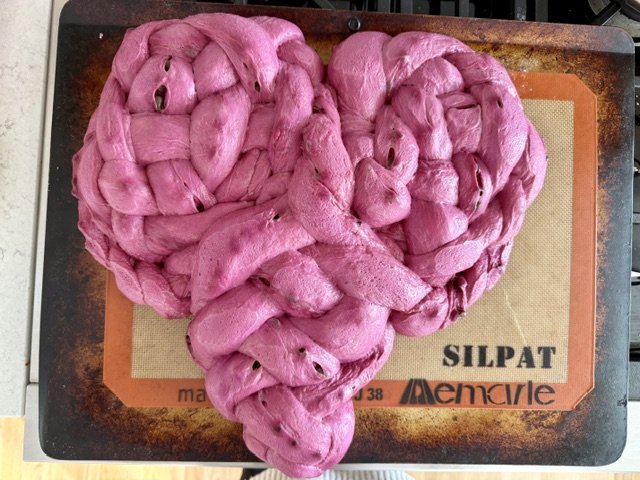
Beet Challah Dough fully proofed, ready for baking
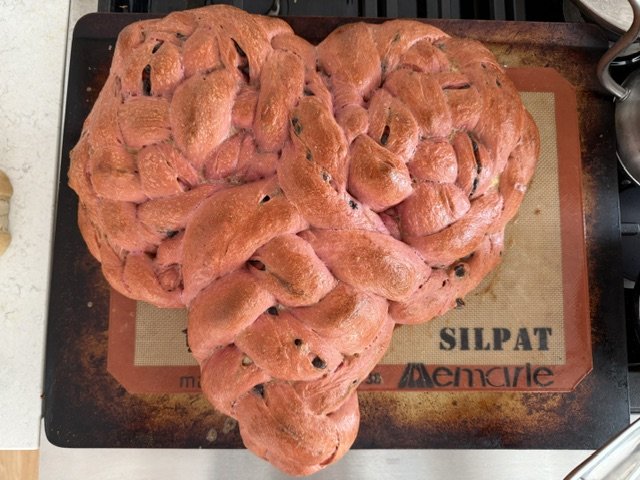
Beet Challah Heart baked
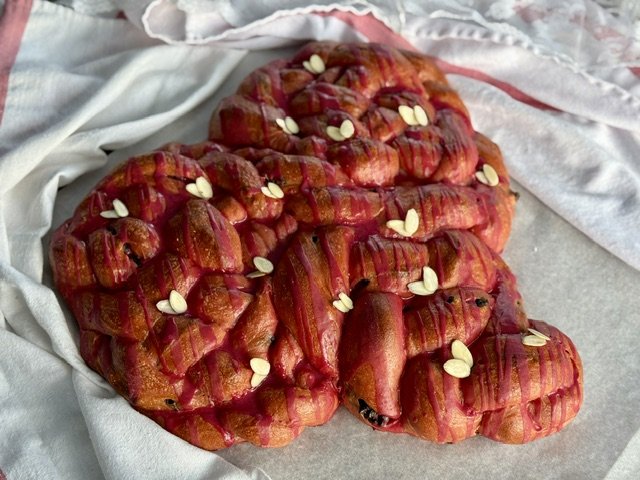
Beet Challah Heart finished with a beet glaze and sliced almonds
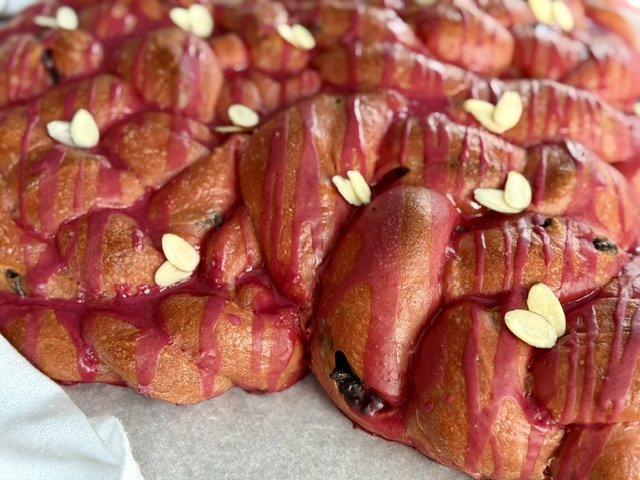
Beet Challah Heart finished with a beet glaze and sliced almonds
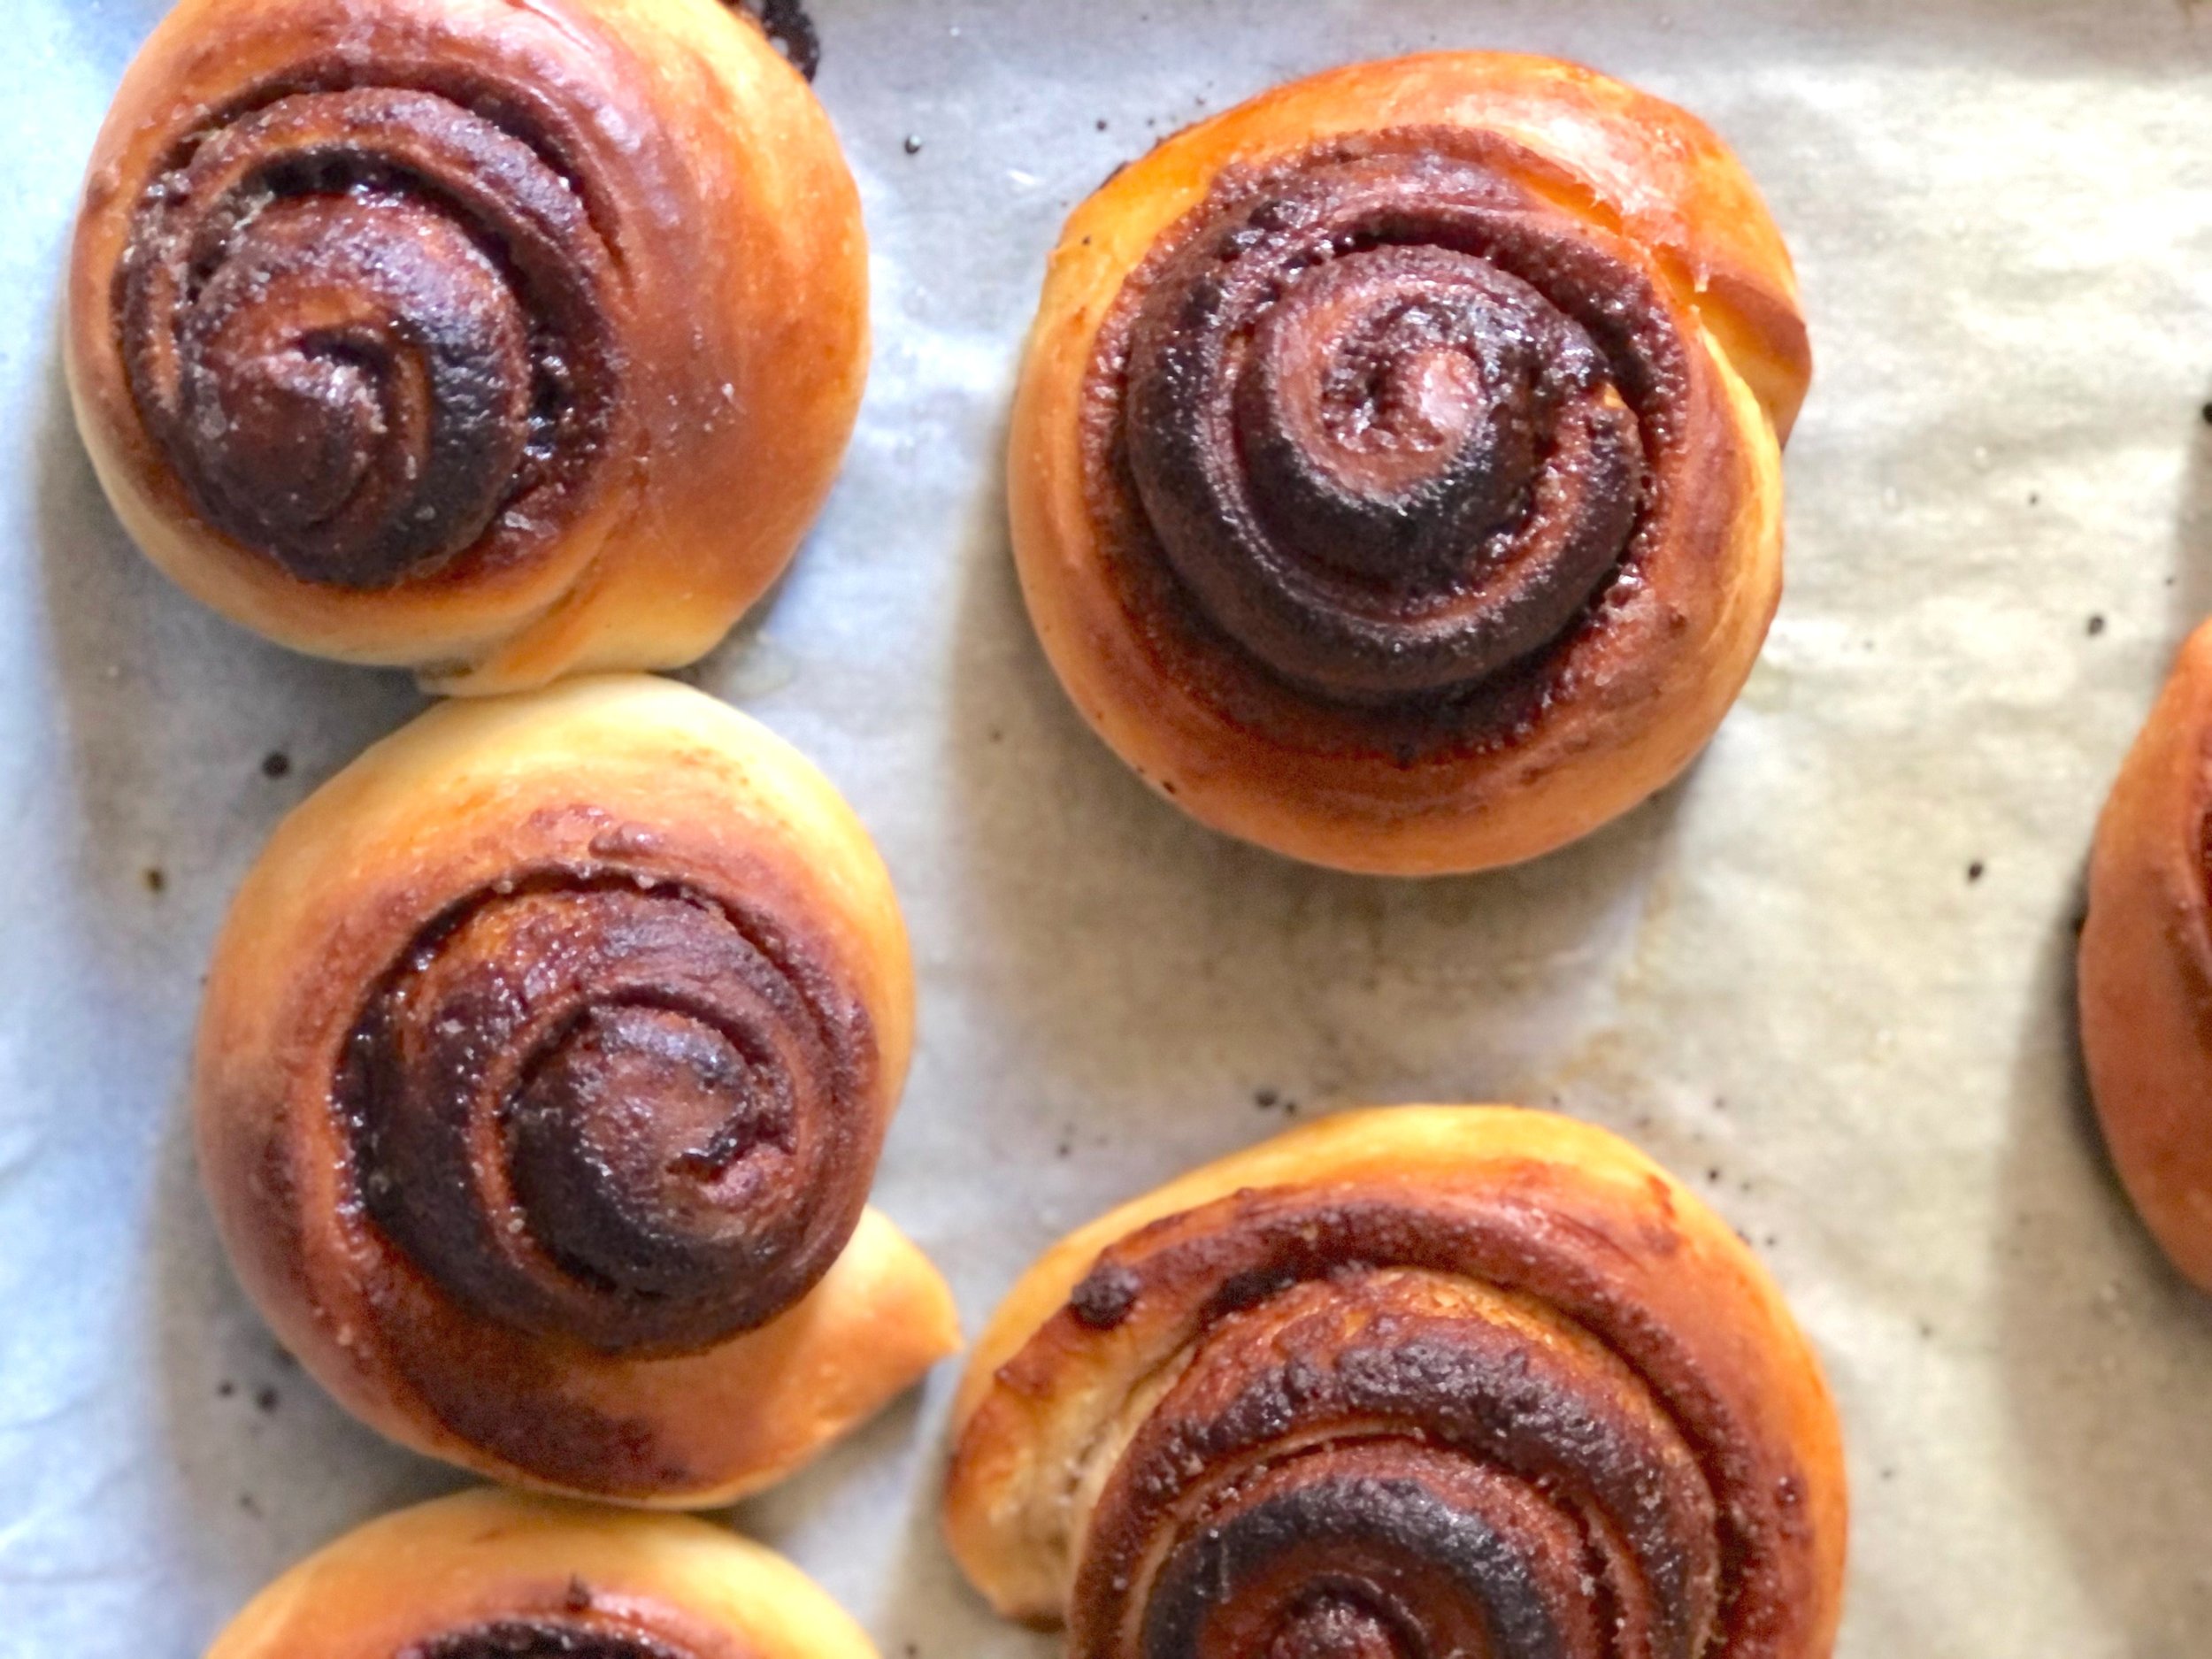
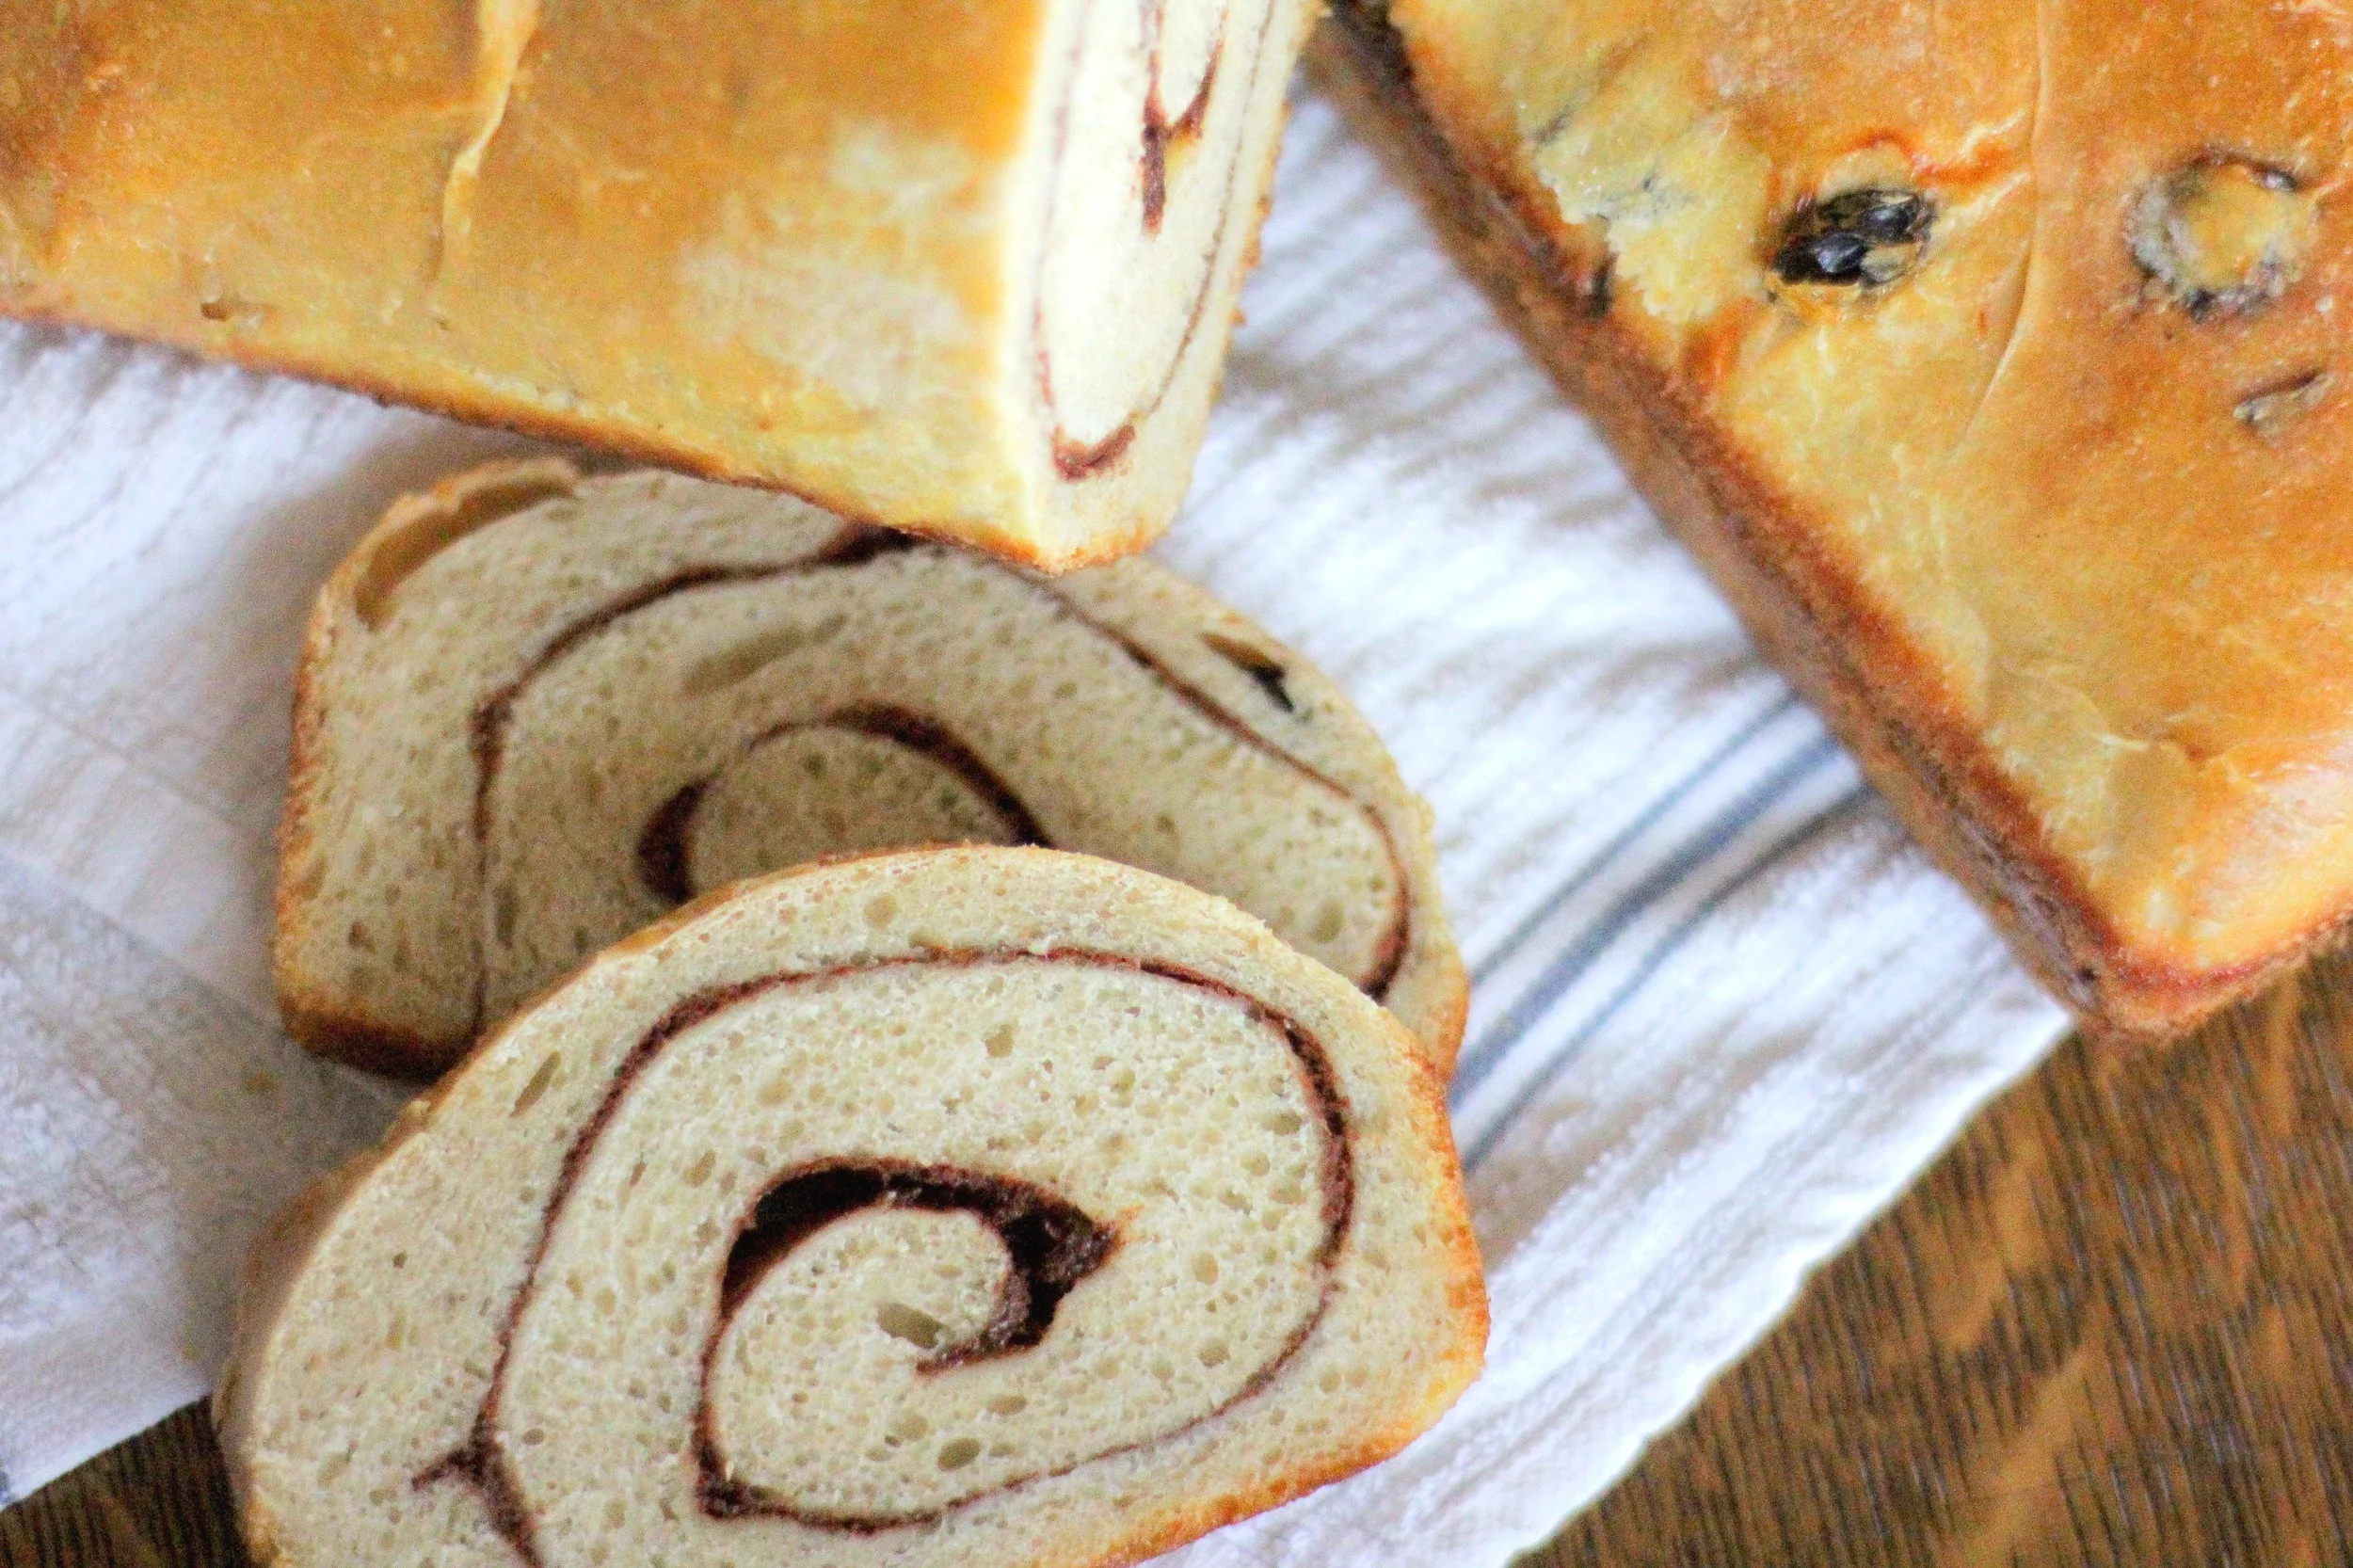
Beets in Nutella Twists
My third attempt with this batch of beets I just went wild and added twice the amount of beets as I had added in the other recipes, since that was what I had left. I really think that did the trick.
I was starting to think there was something in my environment or my beets were not fresh enough…but the attempt I expected the least out of, turned out quite nice. Convection bake doesn’t work well for bread in general but I tried it with one batch and it actually affected the color, also.
My theory thus stands, it doesn’t take that many beets to get a rich color, but it takes a good amount of beets to keep the color through baking.
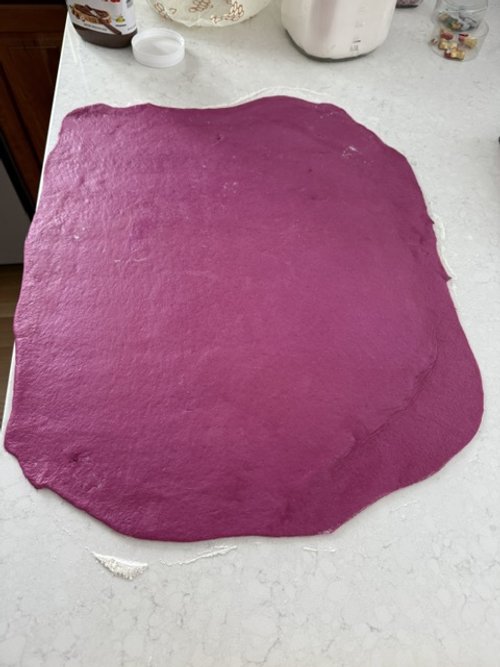
Beet Brioche dough rolled out
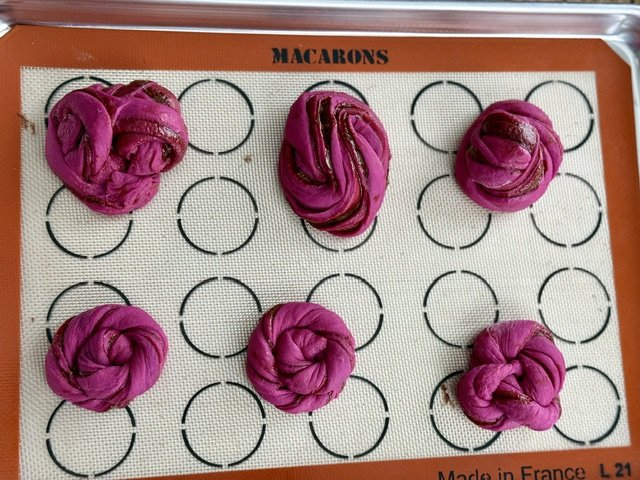
beet brioche dough filled with nutella and shaped into various knots
Beets are persnickety, but they can be done!
Happy baking, and good luck!


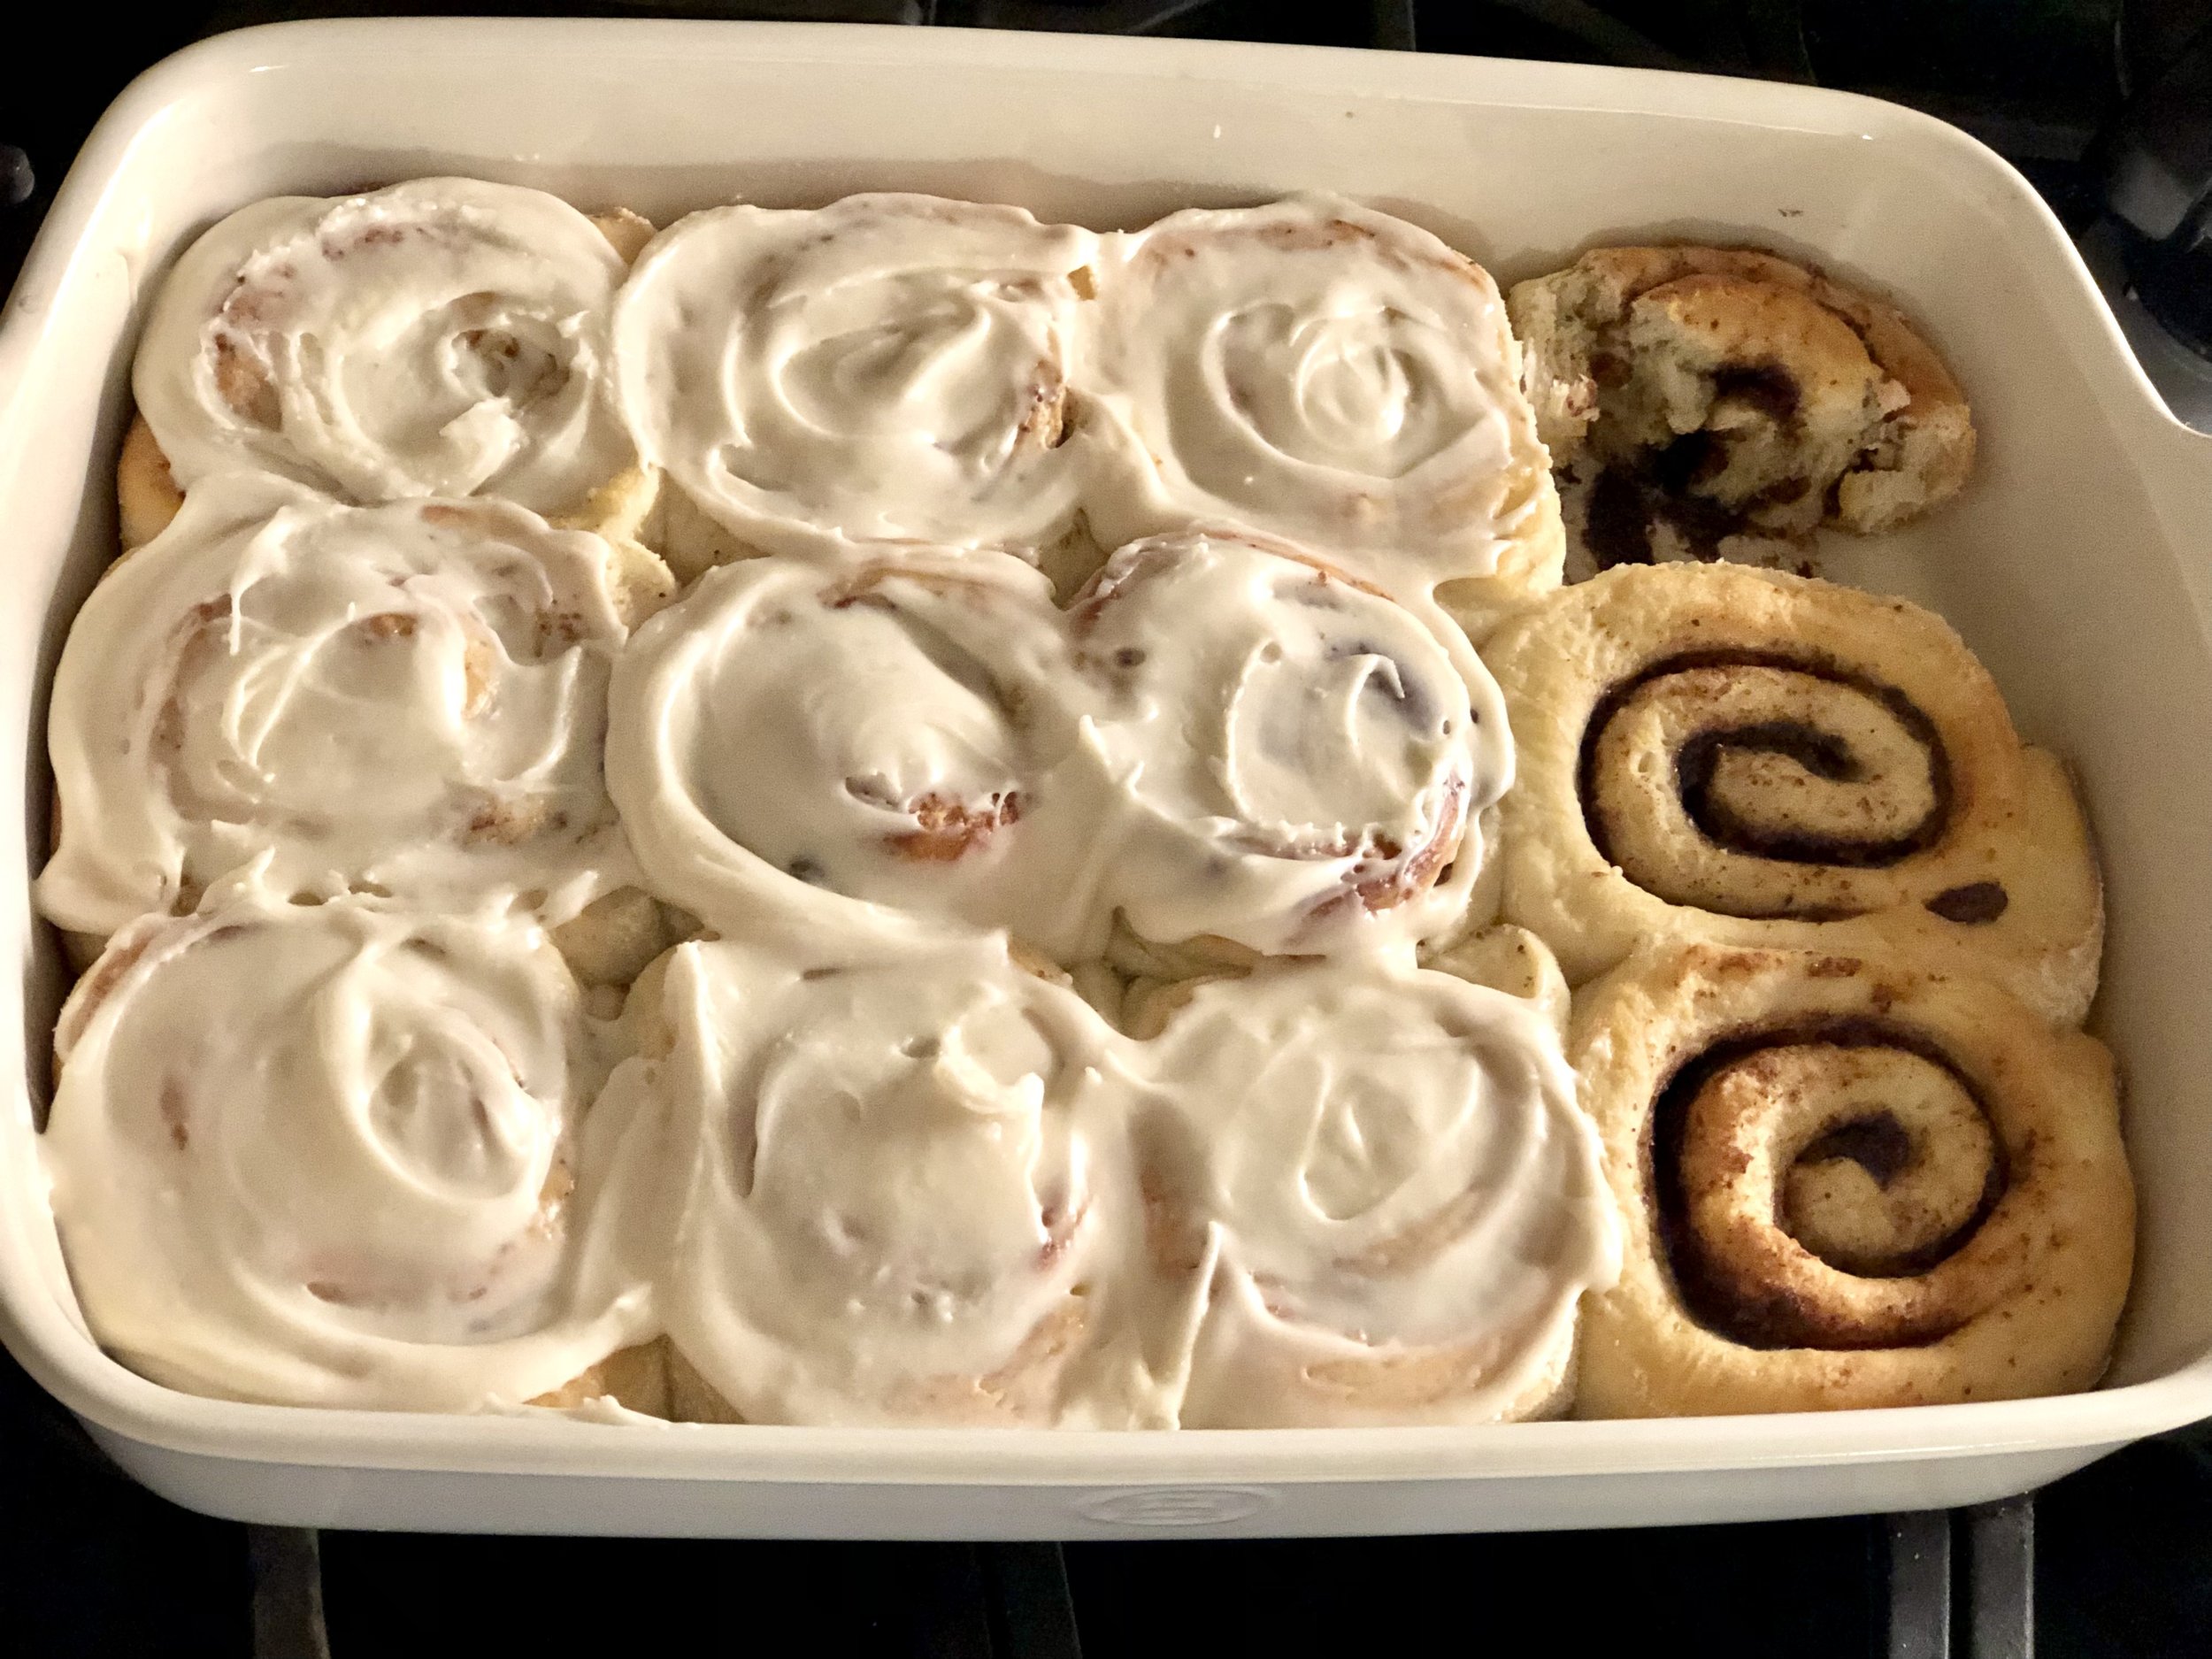
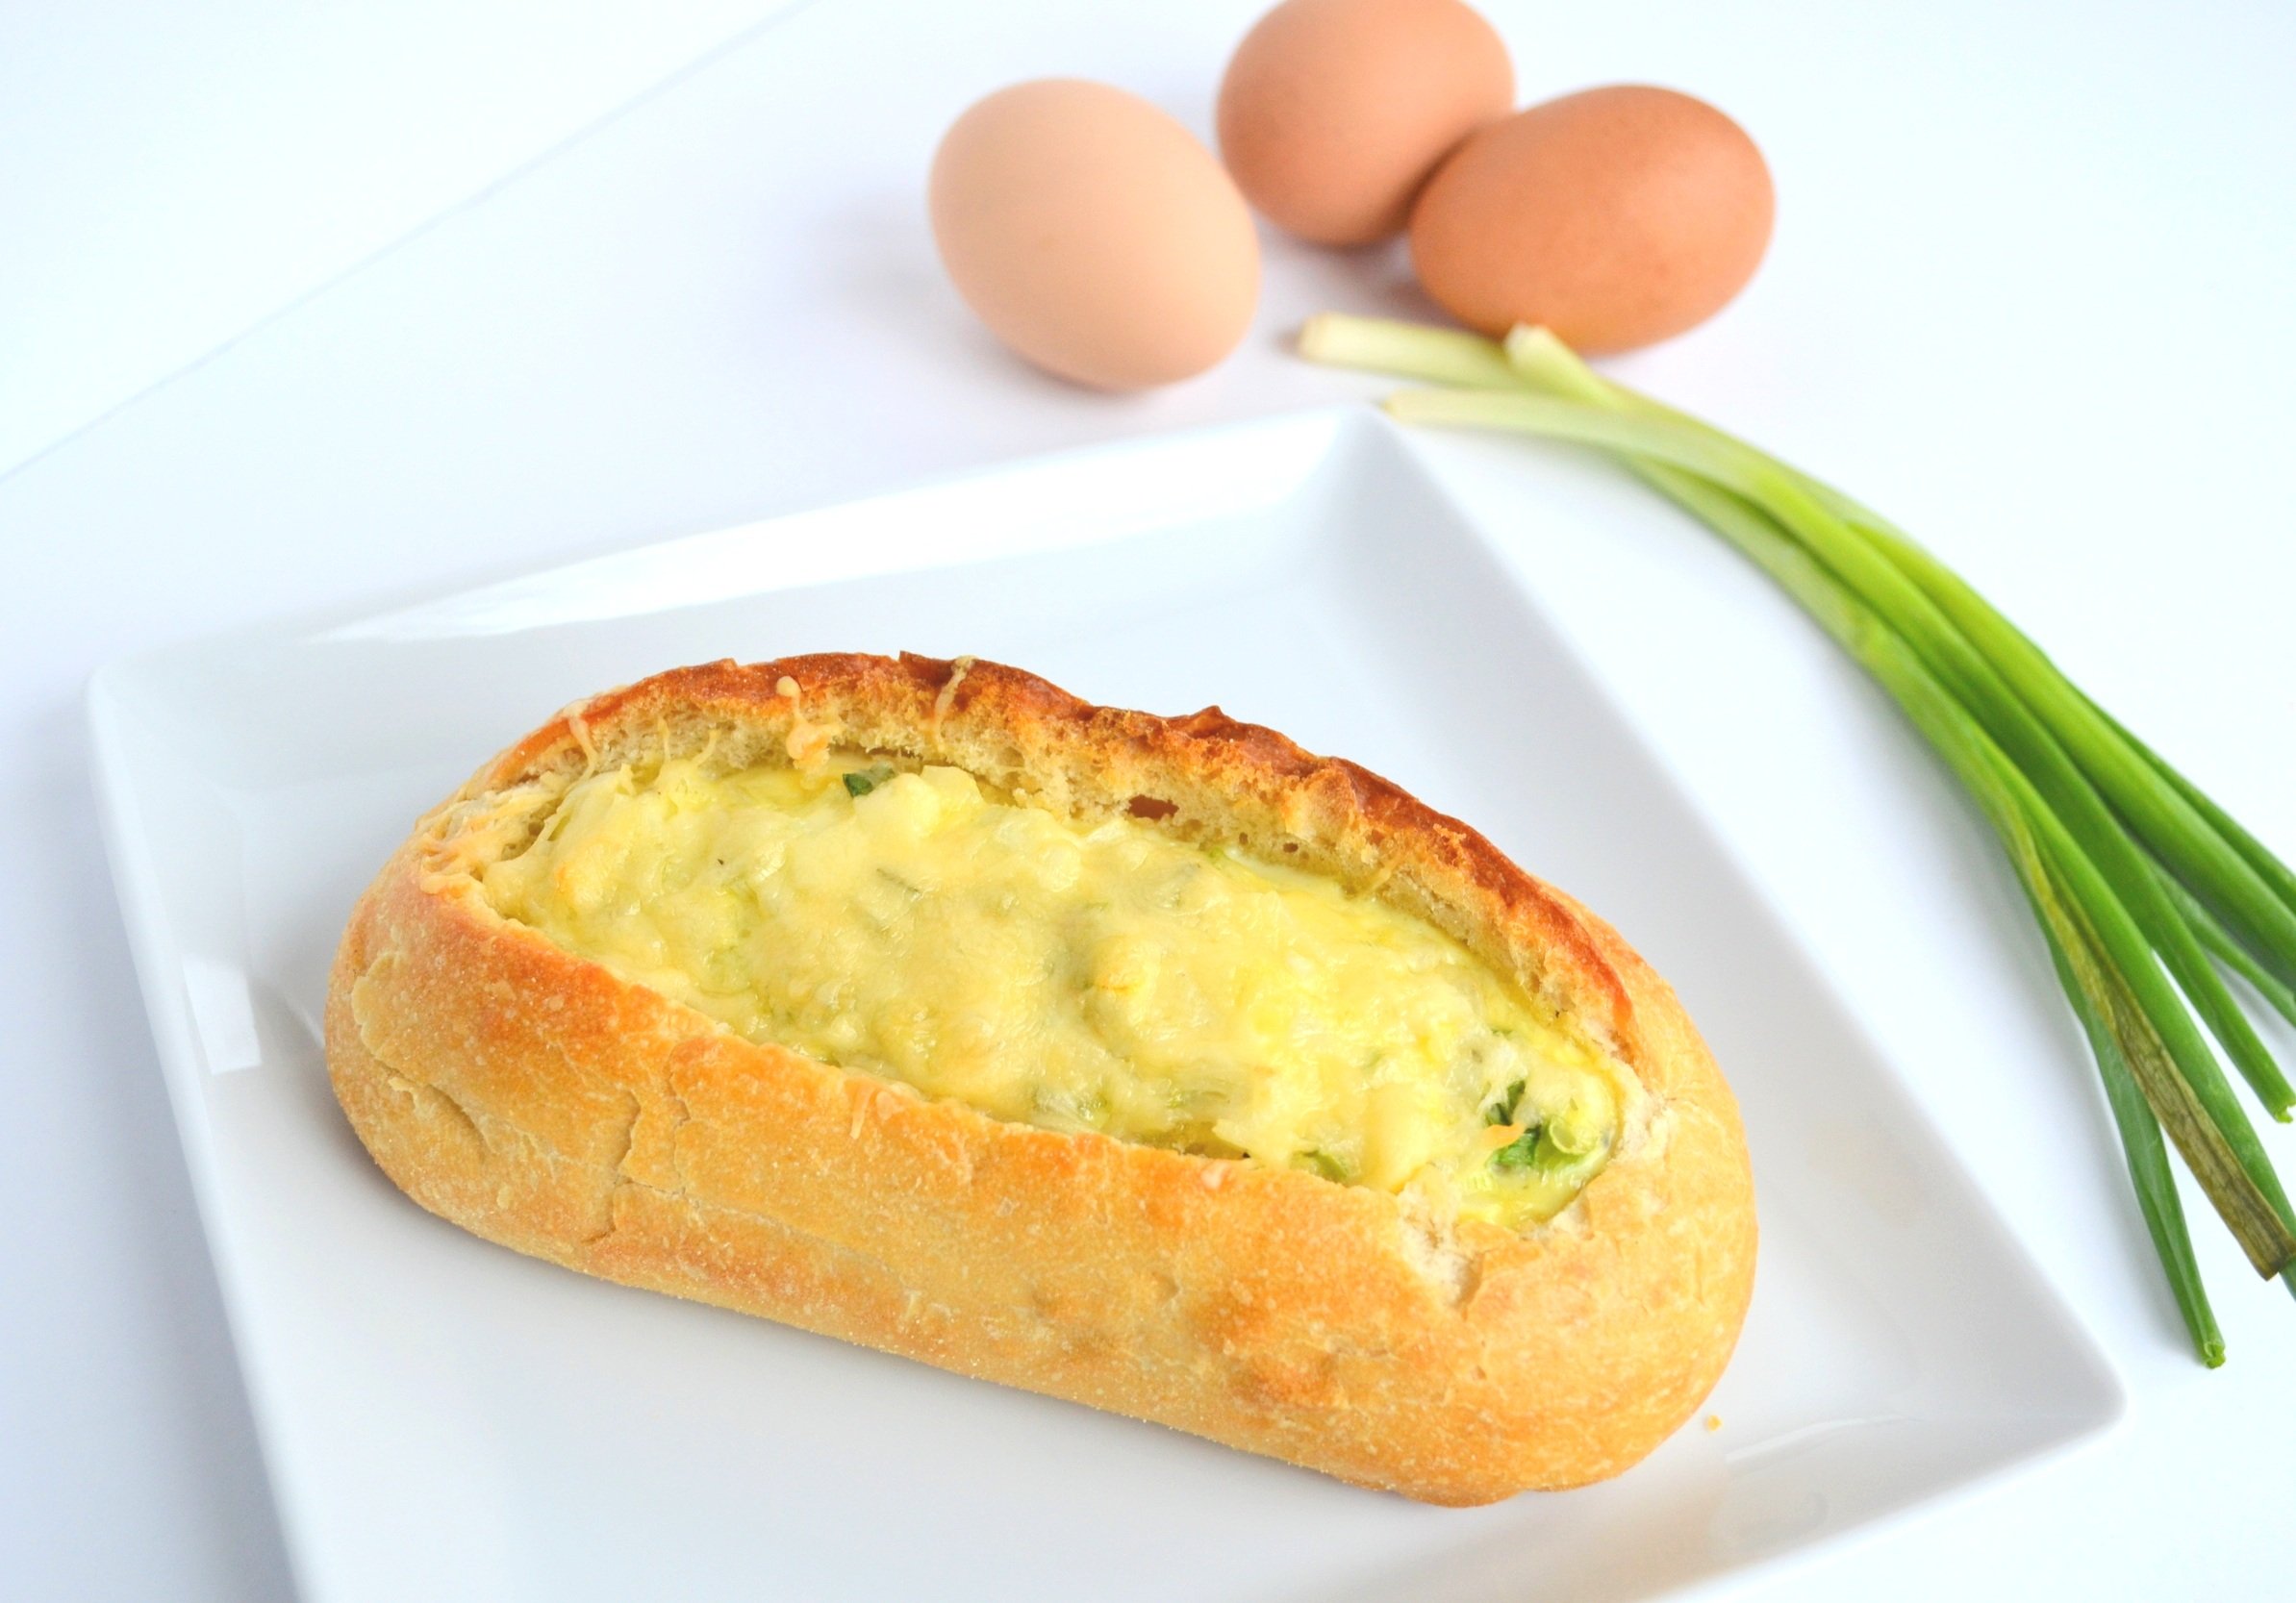
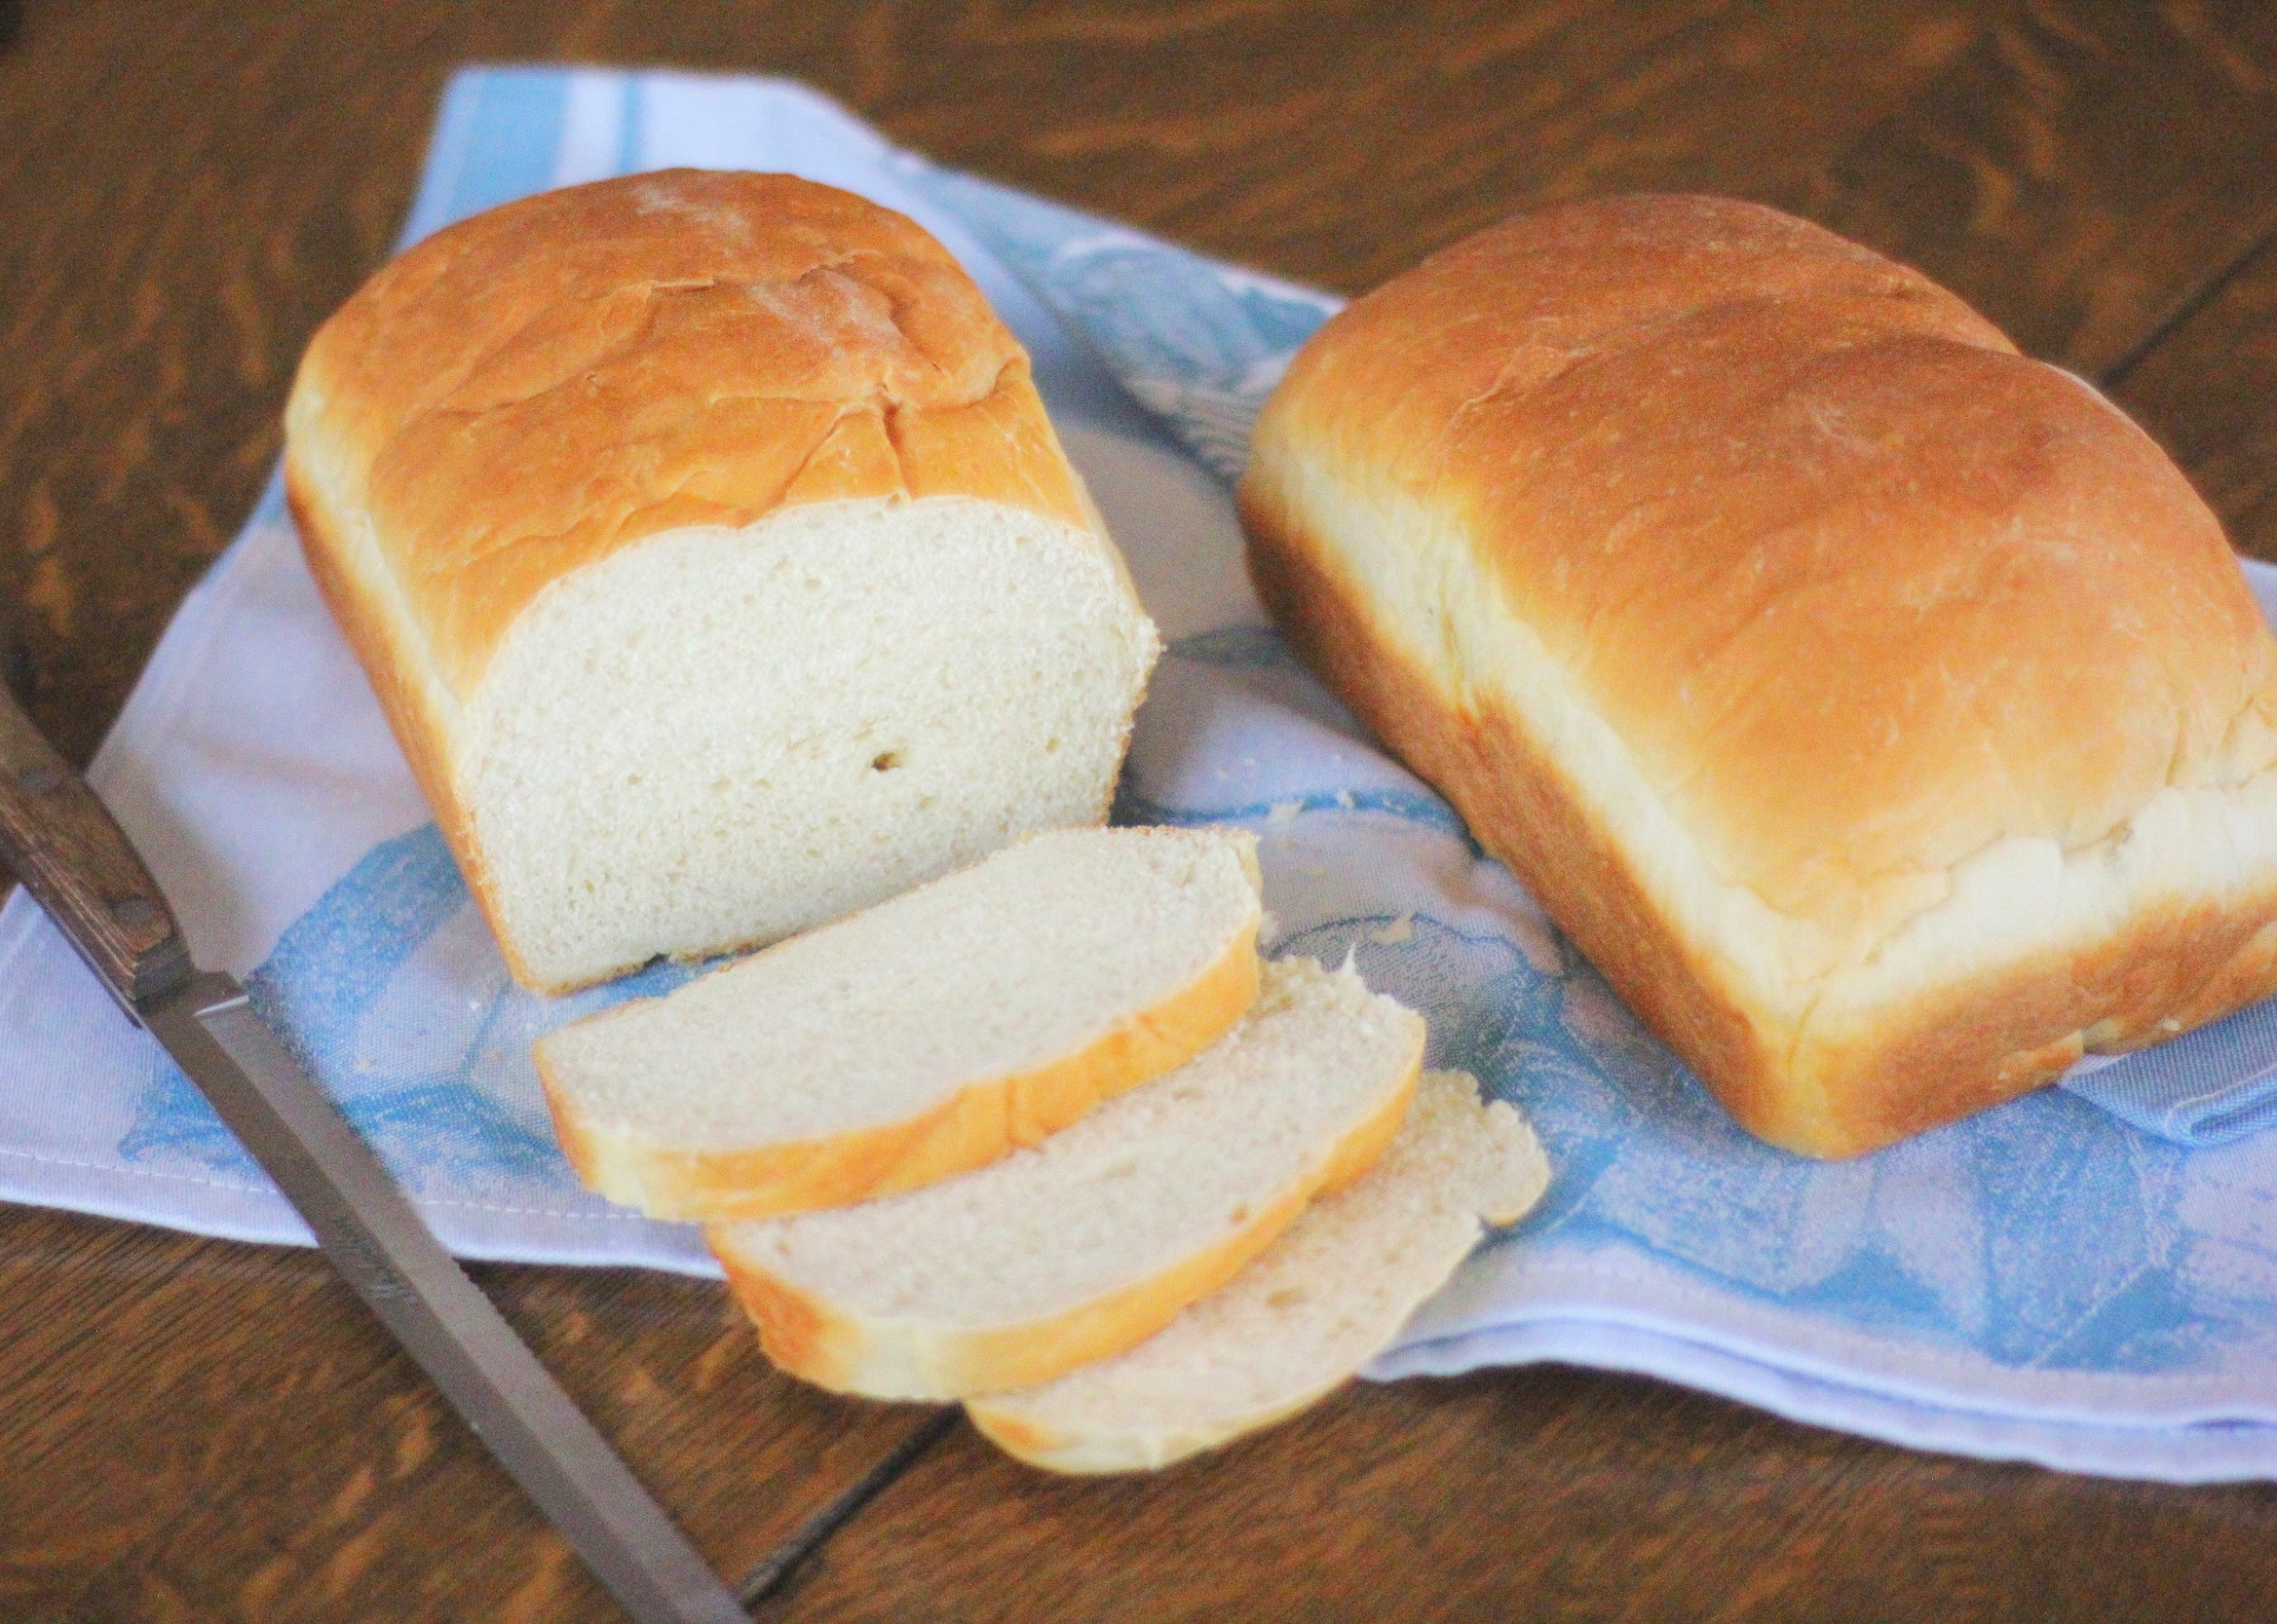
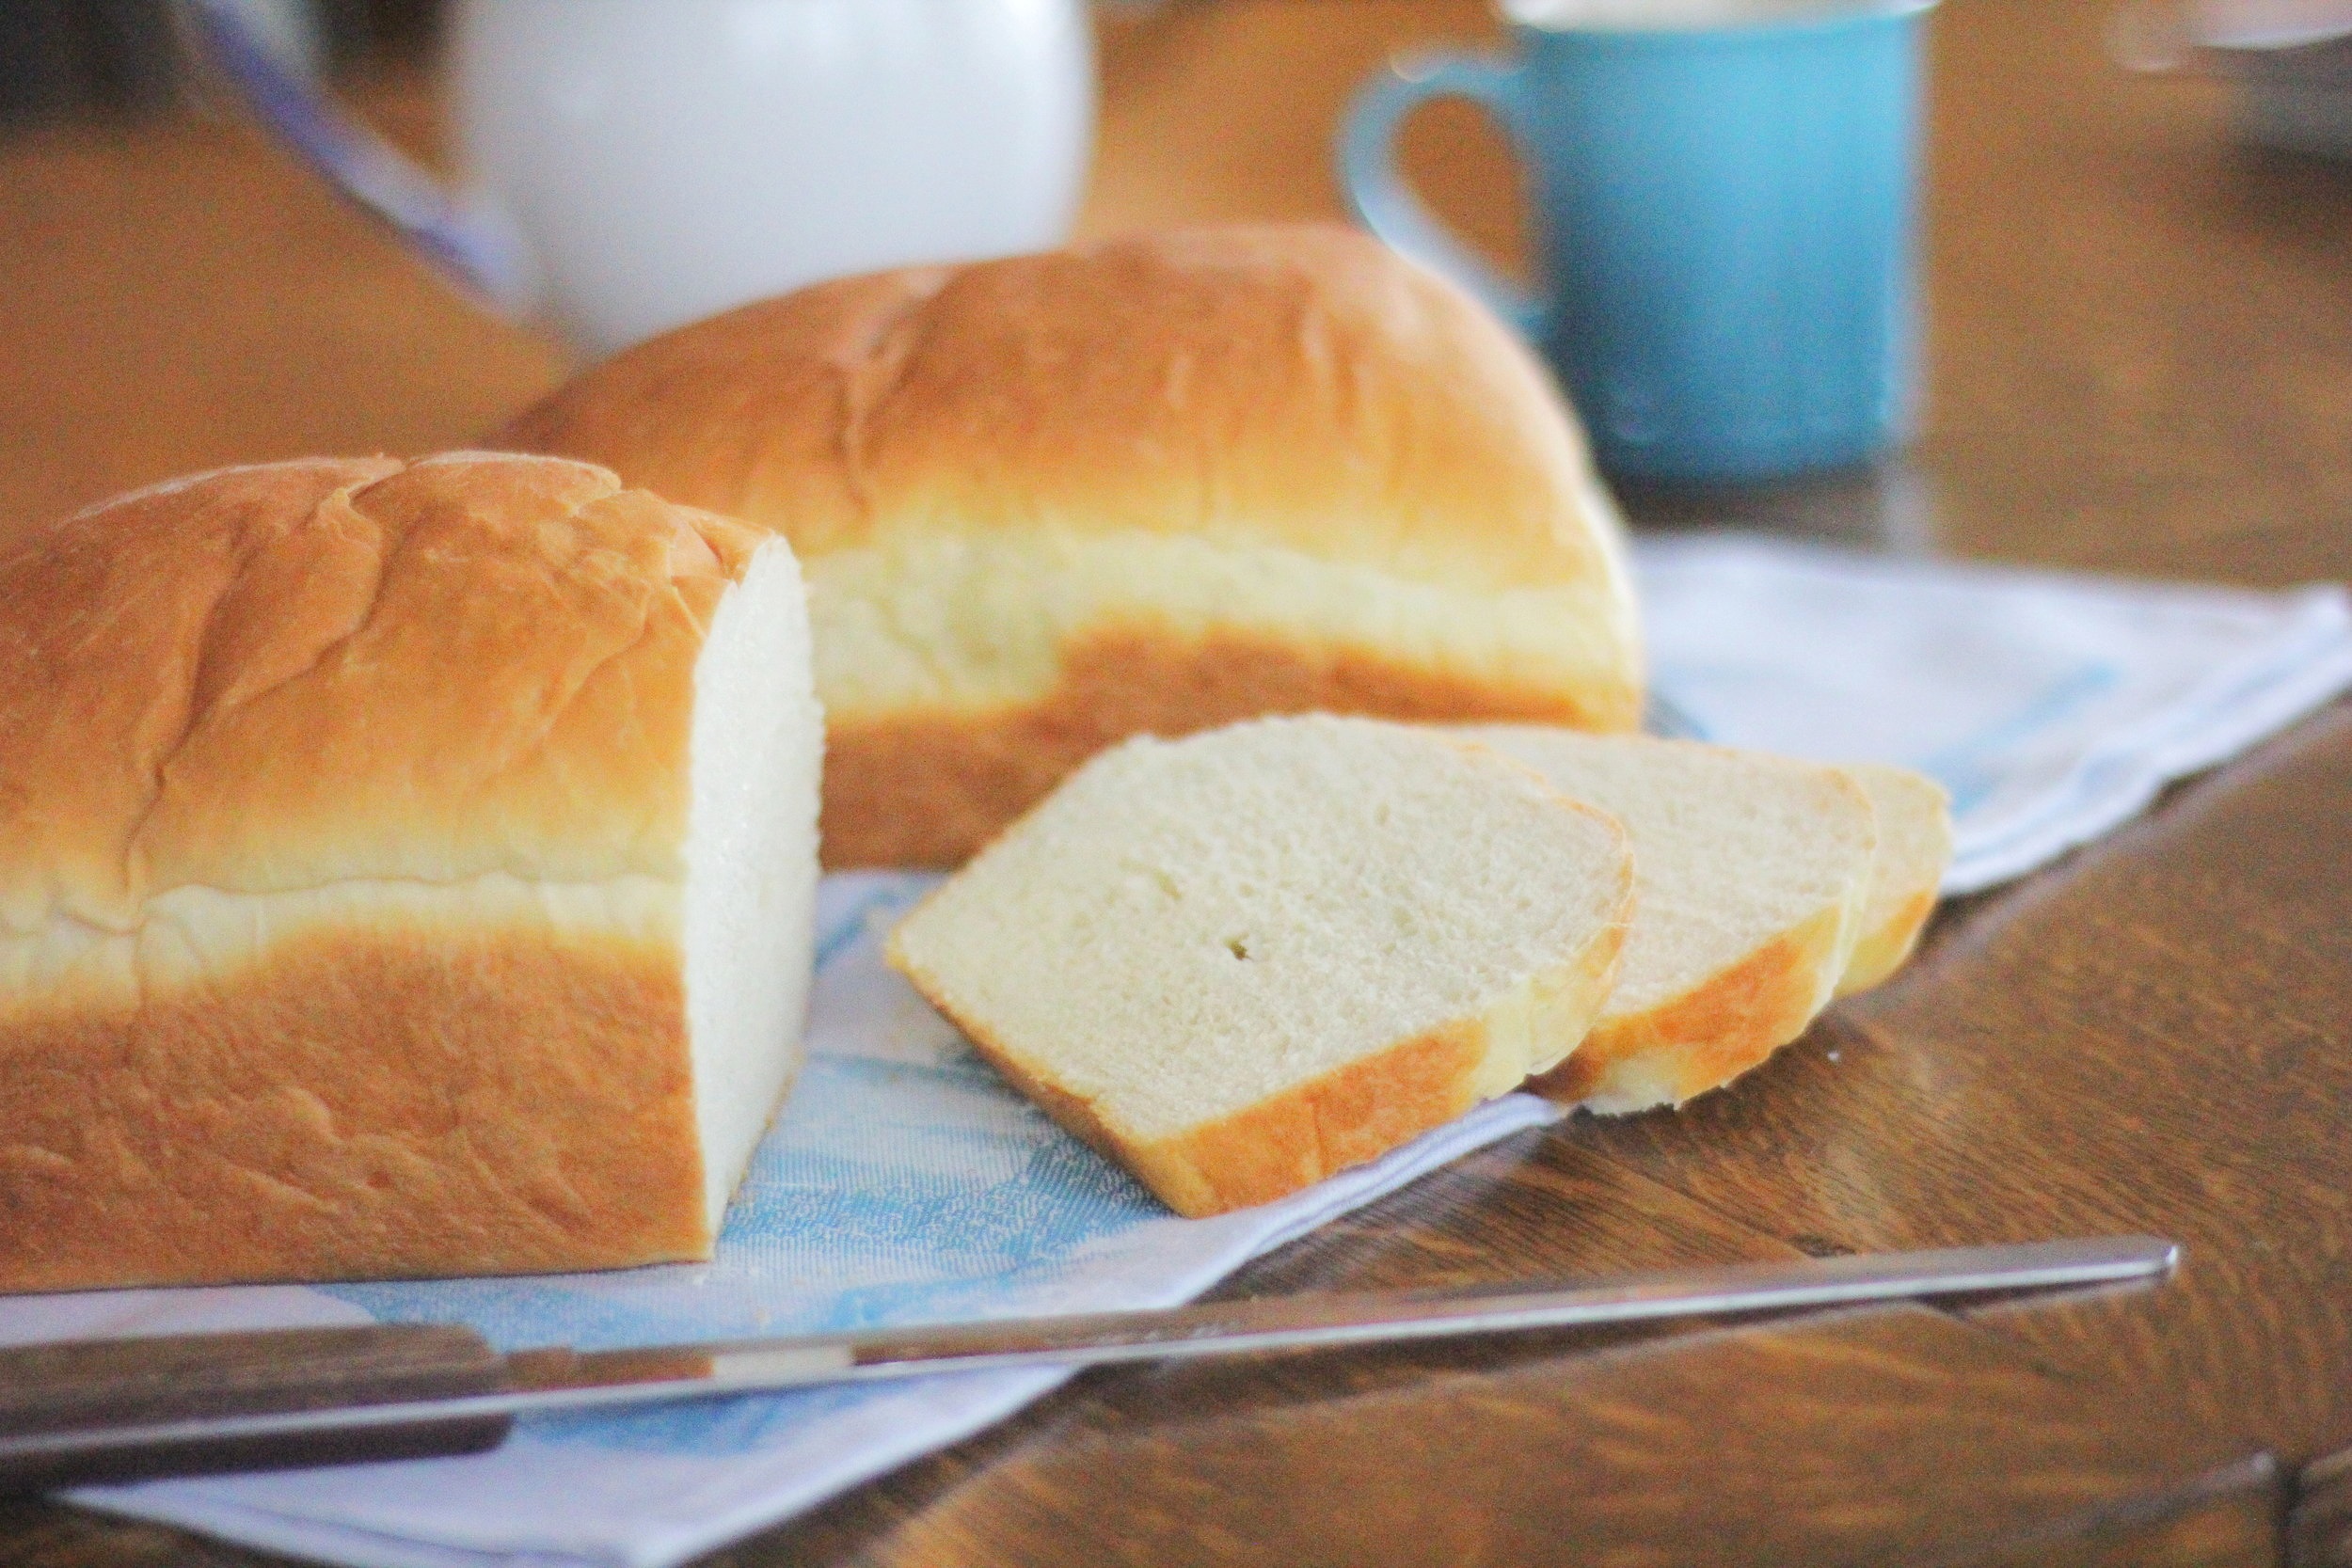
 House Rolls")