Process of Moving to Italy Thus Far

This post really should be titled, "Why the Heck Am I Moving to Italy and Other Scary and Uncertain Things" but I really like the word thus.  It makes me feel like I know English well.  And sometimes I need that little pat on the back of feeling like I know English well as I am struggling to learn Italian. 

Or, if I really wanted people to click on this link I should've titled it something like "Jenny Decided to Move to Italy and THIS Happened."  And like most articles that use that particular marketing scheme, not reveal what the THIS is until the end and have it be something really normal or predictable.  Aha ohhhhh I really dislike that kind of marketing.  Even if it looks like an article I'd want to read, I don't want to give that type of marketing page views.  It's against my principles. Haha.  If you are wondering why I'm moving to Italy, I've written about that here.

I left off that post with making a decision to move to Italy on December 31, 2015, after spending 3 months in Florence, Italy, with Gallery 4 as a vision trip.  The next steps were telling the Gallery 4 team and the excitement there, my friends and family, job and coworkers and the bitter-sweetness there. 

In February I flew down to Tupelo, MS, to receive Missionary Orientation Training, squeezing my brain full of everything I need to know to prepare, go, and live as a career missionary, and then some.  It's very exciting and overwhelming, and certainly is a roller coaster ride of faith and trust in the Lord, knowing that He owns the cattle on a thousand hills, and will provide everything I need if it is His will, from financial support, learning Italian, to downright courage.  I'm already amazed at some of the things I have been pushed to do, that by no means I could have done without a slight mental breakdown if it wasn't for the grace of the Lord ....ahem *public speaking* .... 

Melinda and I representing with the Italian flag. (At first we accidentally picked up the Mexican flag...)

Melinda and I representing with the Italian flag. (At first we accidentally picked up the Mexican flag...)

In March I officially started support raising.  I'm so very thankful to those who have have already been so generous with their prayers, finances, time, and encouraging words and am excited for those who are yet to join my support team!  It's a long road ahead, but I intend to run this course with the strength, perseverance, and diligence of the Lord!  In the words of Cinderella, "Have courage, and be kind."

"Sii gentile, e abbi coraggio." - Cenerentola

Some next steps include buying a plane ticket and applying for a Student Visa so I can stay for more than 3 months.  In order to qualify for a Student Visa I will be taking art classes at the Russian Art Academy, they're pretty legit and I'm pretty terrible at drawing/sketching/painting, so...pray for me. 

Frequently Asked Questions:

  1. When are you moving to Italy? My goal date is June 14, 2016! I have a little over 2 months before takeoff.

  2. How long will you be there? It's easiest to say I'm starting with a year, because my visa will be good for a year, but really I will be there for as long as the Lord keeps me.

  3. Do you get paid? No. Legally I am in Italy as a student and can't work.

  4. Where does your support come from? Family, friends, church members, organizations, anyone who wants to partner with me and see this ministry come to fruition, for Jesus to be made known!

  5. What will the average day look like for you? Teaching dance classes, performing and helping with Gallery openings, learning to be a local. Lots of walking, and maybe some pasta and gelato...

  6. Do you speak Italian? Un po', sto imparando a parlare Italiano. Haha. A little, I'm learning. I took classes for 2 months when I was in Florence last fall. I've been trying to keep up and continue learning, but it's challenging when I don't have many people to converse with and that brain muscle doesn't get used every day. I'm anxious to get back in June to continue learning.

  7. How long will it take you to become fluent? They say it takes about a year. Some friends I made while I was in Florence confirmed that, it took them about a year to become fluent after moving to Italy.

Have more questions or want to learn more?  Comment below, or you can find my contact information on the Give page.

Snickers Salad

Last Updated August 27, 2024

No spinach, kale, or arugula were harmed in the making of this recipe. 

Don't be deceived, this is not a real salad. If visions of spinach salad with Snickers on top were dancing across your brain, I am so so sorry. I love my greens and Snickers, but not together. No no no. If it makes you feel better, you could call this Green Apple Salad, like my mom does. But it has the word "salad" in it, so I feel fully justified in keeping Snickers in the title. As you wish.

Instead, think crisp Granny Smith apples and bits of Snickers lovingly folded into fluffy whipped cream and vanilla pudding.  So simple, and so delicious.

I usually make this for large family gatherings and double the recipe for 12 or more people.

This post may contain affiliate links. If you make a purchase using these links, Jennyblogs may receive a small commission, at no extra cost to you. This helps to support Jennyblogs. Where possible, links are prioritized to small businesses and ethically and responsibly made items. For further information see the privacy policy. Grazie!

Recipe adapted from Taste of Home


Snickers Salad

Serves about 8

Ingredients:

For the Vanilla Pudding

  • 1/4 cup / 50g sugar

  • 2 Tbsp / 15g cornstarch

  • 1/8 tsp salt

  • 1 1/3 cup / 316g milk, divided

  • 1 egg yolk

  • 1 tsp vanilla

For the Whipped Cream

  • 1 cup / 237g heavy whipping cream

For Assembling

  • about 13 oz / 369g of Snickers, chopped, divided

  • 4 Granny Smith apples, cored and chopped

Directions:

Make the Vanilla Pudding

At least a few hours before assembling recipe, or up to 2 days before, make the vanilla pudding:

  1. Whisk together sugar, cornstarch, and salt in a medium saucepan. Slowly whisk in 1 cup milk. 

  2. In a separate small bowl, measure out remaining 1/3 cup milk and add yolk; whisk to combine. Slowly whisk into mixture in the saucepan. 

  3. Place over medium heat and stir constantly until mixture thickens and whisk leaves a trail. Remove from heat and add vanilla. Place a piece of plastic wrap directly on to the top of pudding to prevent skin from forming.

  4. Place in refrigerator until completely chilled.

Make the Whipped Cream

  1. Whip heavy whipping cream in bowl of a stand mixer with whisk attachment or with an electric mixer until stiff peaks form. 

Assemble

  1. Gently fold about one third of whipped cream into pudding. Continue folding in whipped cream by thirds.  Gently fold in apples and about 3/4 of the Snickers. 

  2. Transfer to serving bowl and top with remaining 1/4 of Snickers. Store in fridge until ready to serve.   

Jenny's Notes:

  • Best if assembled on day of serving. 

  • Using whole milk will get you the creamiest result, but 2% all the way down to skim milk will also work. You can also sub out the milk for other milk substitutes as desired: oat milk, almond milk, etc.

  • This can be made with other candy bars, such as Rolo, Milky Way, Payday, Twix, etc. While Snickers is my favorite, I also really like this with Reese’s. Sometimes I do half and half! 

  • If using a candy that has caramel in it, you can freeze it before hand to make chopping easier. 

  • Add chopped peanuts for an extra crunch!

Snickers Salad
Yield 6-8
Author
Prep time
20 Min
Cook time
10 Min
Inactive time
2 Hour
Total time
2 H & 30 M

Snickers Salad

Crisp, green granny smith apples and sweet and salty Snickers bars tossed in a light vanilla whipped pudding.
Cook modePrevent screen from turning off

Ingredients

For the Vanilla Pudding
For the Whipped Cream
For Assembling

Instructions

Make the Vanilla Pudding
  1. At least a few hours before assembling recipe, or up to 2 days before, make the vanilla pudding:
  2. Whisk together sugar, cornstarch, and salt in a medium saucepan. Slowly whisk in 1 cup milk.
  3. In a separate small bowl, measure out remaining 1/3 cup milk and add yolk; whisk to combine. Slowly whisk into mixture in the saucepan.
  4. Place over medium heat and stir constantly until mixture thickens and whisk leaves a trail. Remove from heat and add vanilla. Place a piece of plastic wrap directly on to the top of pudding to prevent skin from forming.
  5. Place in refrigerator until completely chilled.
Make the Whipped Cream
  1. Whip heavy whipping cream in bowl of a stand mixer with whisk attachment or with an electric mixer until stiff peaks form.
Assemble
  1. Gently fold about one third of whipped cream into pudding. Continue folding in whipped cream by thirds. Gently fold in apples and about 3/4 of the Snickers.
  2. Transfer to serving bowl and top with remaining 1/4 of Snickers. Store in fridge until ready to serve.

Notes

  • Best if assembled on day of serving. 
  • Using whole milk will get you the creamiest result, but 2% all the way down to skim milk will also work. You can also sub out the milk for other milk substitutes as desired: oat milk, almond milk, etc.
  • This can be made with other candy bars, such as Rolo, Milky Way, Payday, Twix, etc. While Snickers is my favorite, I also really like this with Reese’s. Sometimes I do half and half! 
  • If using a candy that has caramel in it, you can freeze it before hand to make chopping easier. 
  • Add chopped peanuts for an extra crunch!

Nutrition Facts

Calories

439.59

Fat

23.76 g

Sat. Fat

12.02 g

Carbs

49.52 g

Fiber

3.26 g

Net carbs

46.26 g

Sugar

35.63 g

Protein

6.25 g

Sodium

172.14 mg

Cholesterol

68.79 mg

Nutritional information is approximate and based on 1 serving if recipe serves 8.

dessert salad, Snickers salad, Granny smith green apple salad, vanilla pudding whipped cream salad
dessert
American
Did you make this recipe?
Tag @jennyblogsandbakes on instagram and hashtag it #jennyblogs

Coffee Pancakes with Mocha Syrup

I got a little chocolate drizzle happy.  Not to mention this was a time sensitive photo, the first whipped cream mound melted and slipped off the back due to the hot and delicious nature of the pancakes.  Pictured here, whipped cream mound…

I got a little chocolate drizzle happy.  Not to mention this was a time sensitive photo, the first whipped cream mound melted and slipped off the back due to the hot and delicious nature of the pancakes.  Pictured here, whipped cream mound take 2. 

Some mornings just call for pancakes, and not just any pancakes: pancakes that involve coffee, chocolate, and whipped cream.

Enter, these pancakes. They’re made with some espresso powder and served with a homemade mocha syrup and freshly whipped cream. They’re delicious and decadent and more like dessert posing as breakfast!

These are the pancakes you turn to when it’s your birthday, when you want to make someone breakfast in bed, or you just want an excuse to have dessert for breakfast. Breakfast and dessert are my favorite meals, so why not combine them??

Americans are big on oatmeal, cereal, or starting your day with a big protein like eggs and sausage or bacon. While I often eat oatmeal for breakfast, I really love the Italian rhythm of waking up to a fresh pastry and a cappuccino, no guilt. As someone who really loves their sweets, I appreciate the excitement of waking up to a breakfast I’m looking forward to. A sweet breakfast also tends to help me eat less sweet things throughout the day.

Are you convinced yet of the beauty of starting your day with something sweet? Alright! Chocolate and coffee in pancakes, let’s go!

Coffee Pancakes with Mocha Syrup

Makes 2-3 servings (6-8 pancakes)

Ingredients:

Mocha Syrup

Make this first so it has time to cool and your pancakes don't get cold!

  • 1/4 cup sugar

  • 2 Tbsp cocoa powder

  • 1 tsp corn starch

  • 2 Tbsp strong brewed coffee

  • 1 tsp vanilla extract

Combine all ingredients except vanilla in small saucepan.  Cook over medium heat, stirring constantly, until boiling.  Reduce heat to low and boil for 5 minutes.

Remove from heat and add vanilla.  Allow to cool while you make the pancakes.  Store leftovers in the fridge for up to 1 month.  Sugar is a wonderful preservative.  I'm going to live so long. 

Whipped Cream

  • 1/2 cup heavy whipping cream

  • 2 Tbsp granulated sugar

  • 1/2 tsp vanilla extract

In the bowl of a stand mixer or with a hand held mixer, beat cream until soft peaks form.  Add sugar and vanilla, beat until stiff peaks appear.

Coffee Pancakes

Make these last so they will be nice and hot when you serve them!

  • 1 1/4 cups all-purpose flour

  • 1 Tbsp baking powder

  • 1 Tbsp sugar

  • 1/2 tsp salt

  • 2 tsp ground espresso, or freshly ground coffee (sometimes I use the contents of a Nespresso capsule)

  • 1 egg

  • 1 cup milk of choice, or water

  • 2 Tbsp oil of choice, or melted butter or coconut oil

  • 1 tsp vanilla extract

Directions:

Preheat lightly greased griddle or pan to 350 Fahrenheit.

In a medium bowl whisk together flour, baking powder, sugar, salt, and ground espresso. 

Make a well in the center of the dry ingredients and add the egg, milk, oil, and vanilla.  Stir until just moistened, some lumps will remain.  If you prefer thinner pancakes, you may add more milk.  Allow to sit for a few minutes.

Pour about 1/4 cup of batter onto hot griddle, allow to cook 1-2 minutes on each side, either until light golden-brown or when the air bubbles pop, but don't fill in immediately.  If the first pancakes seem too thick or too thin, add more milk or flour, respectively, until desired consistency is reached.  Repeat with remaining batter. 

Any leftover batter or pancakes can be stored in the refrigerator for about 1-2 days.  They can be reheated on the griddle or pan, microwave (boo), or my favorite way, the toaster. 

Assembly:

Place pancakes on a plate.  If desired, butter each pancake.  Drizzle generously with mocha syrup and top with copious amounts of whipped cream. And maybe drizzle with more syrup.  Don't forgot a complementary cup of coffee.  Complementary as in it goes with it nicely, not I'm giving you a complimentary cup of coffee.  I would totally give you a free cup of coffee, but, you're reading a blog right now, and this is only 2016.  Maybe by 2038 when Leslie Knope is President, I can send you coffee over the interwebs. 

Adapted from Pastry Affair

And Happy Good Friday.  This morning I kept thinking to myself "Black Friday" but that is quite the opposite of what today is.  No consumerism today.  A day to reflect on Jesus as He took our place on the cross.  The least deserving and only perfect man to walk the earth, bearing the wrath and punishment of separation from God the Father so that we might never have to.  Instead, He cloaks us in His righteousness so that we might receive the love of the Father freely.  Hallelujah, what a Savior. 


Beurre Noisette Chocolate Chip Cookies

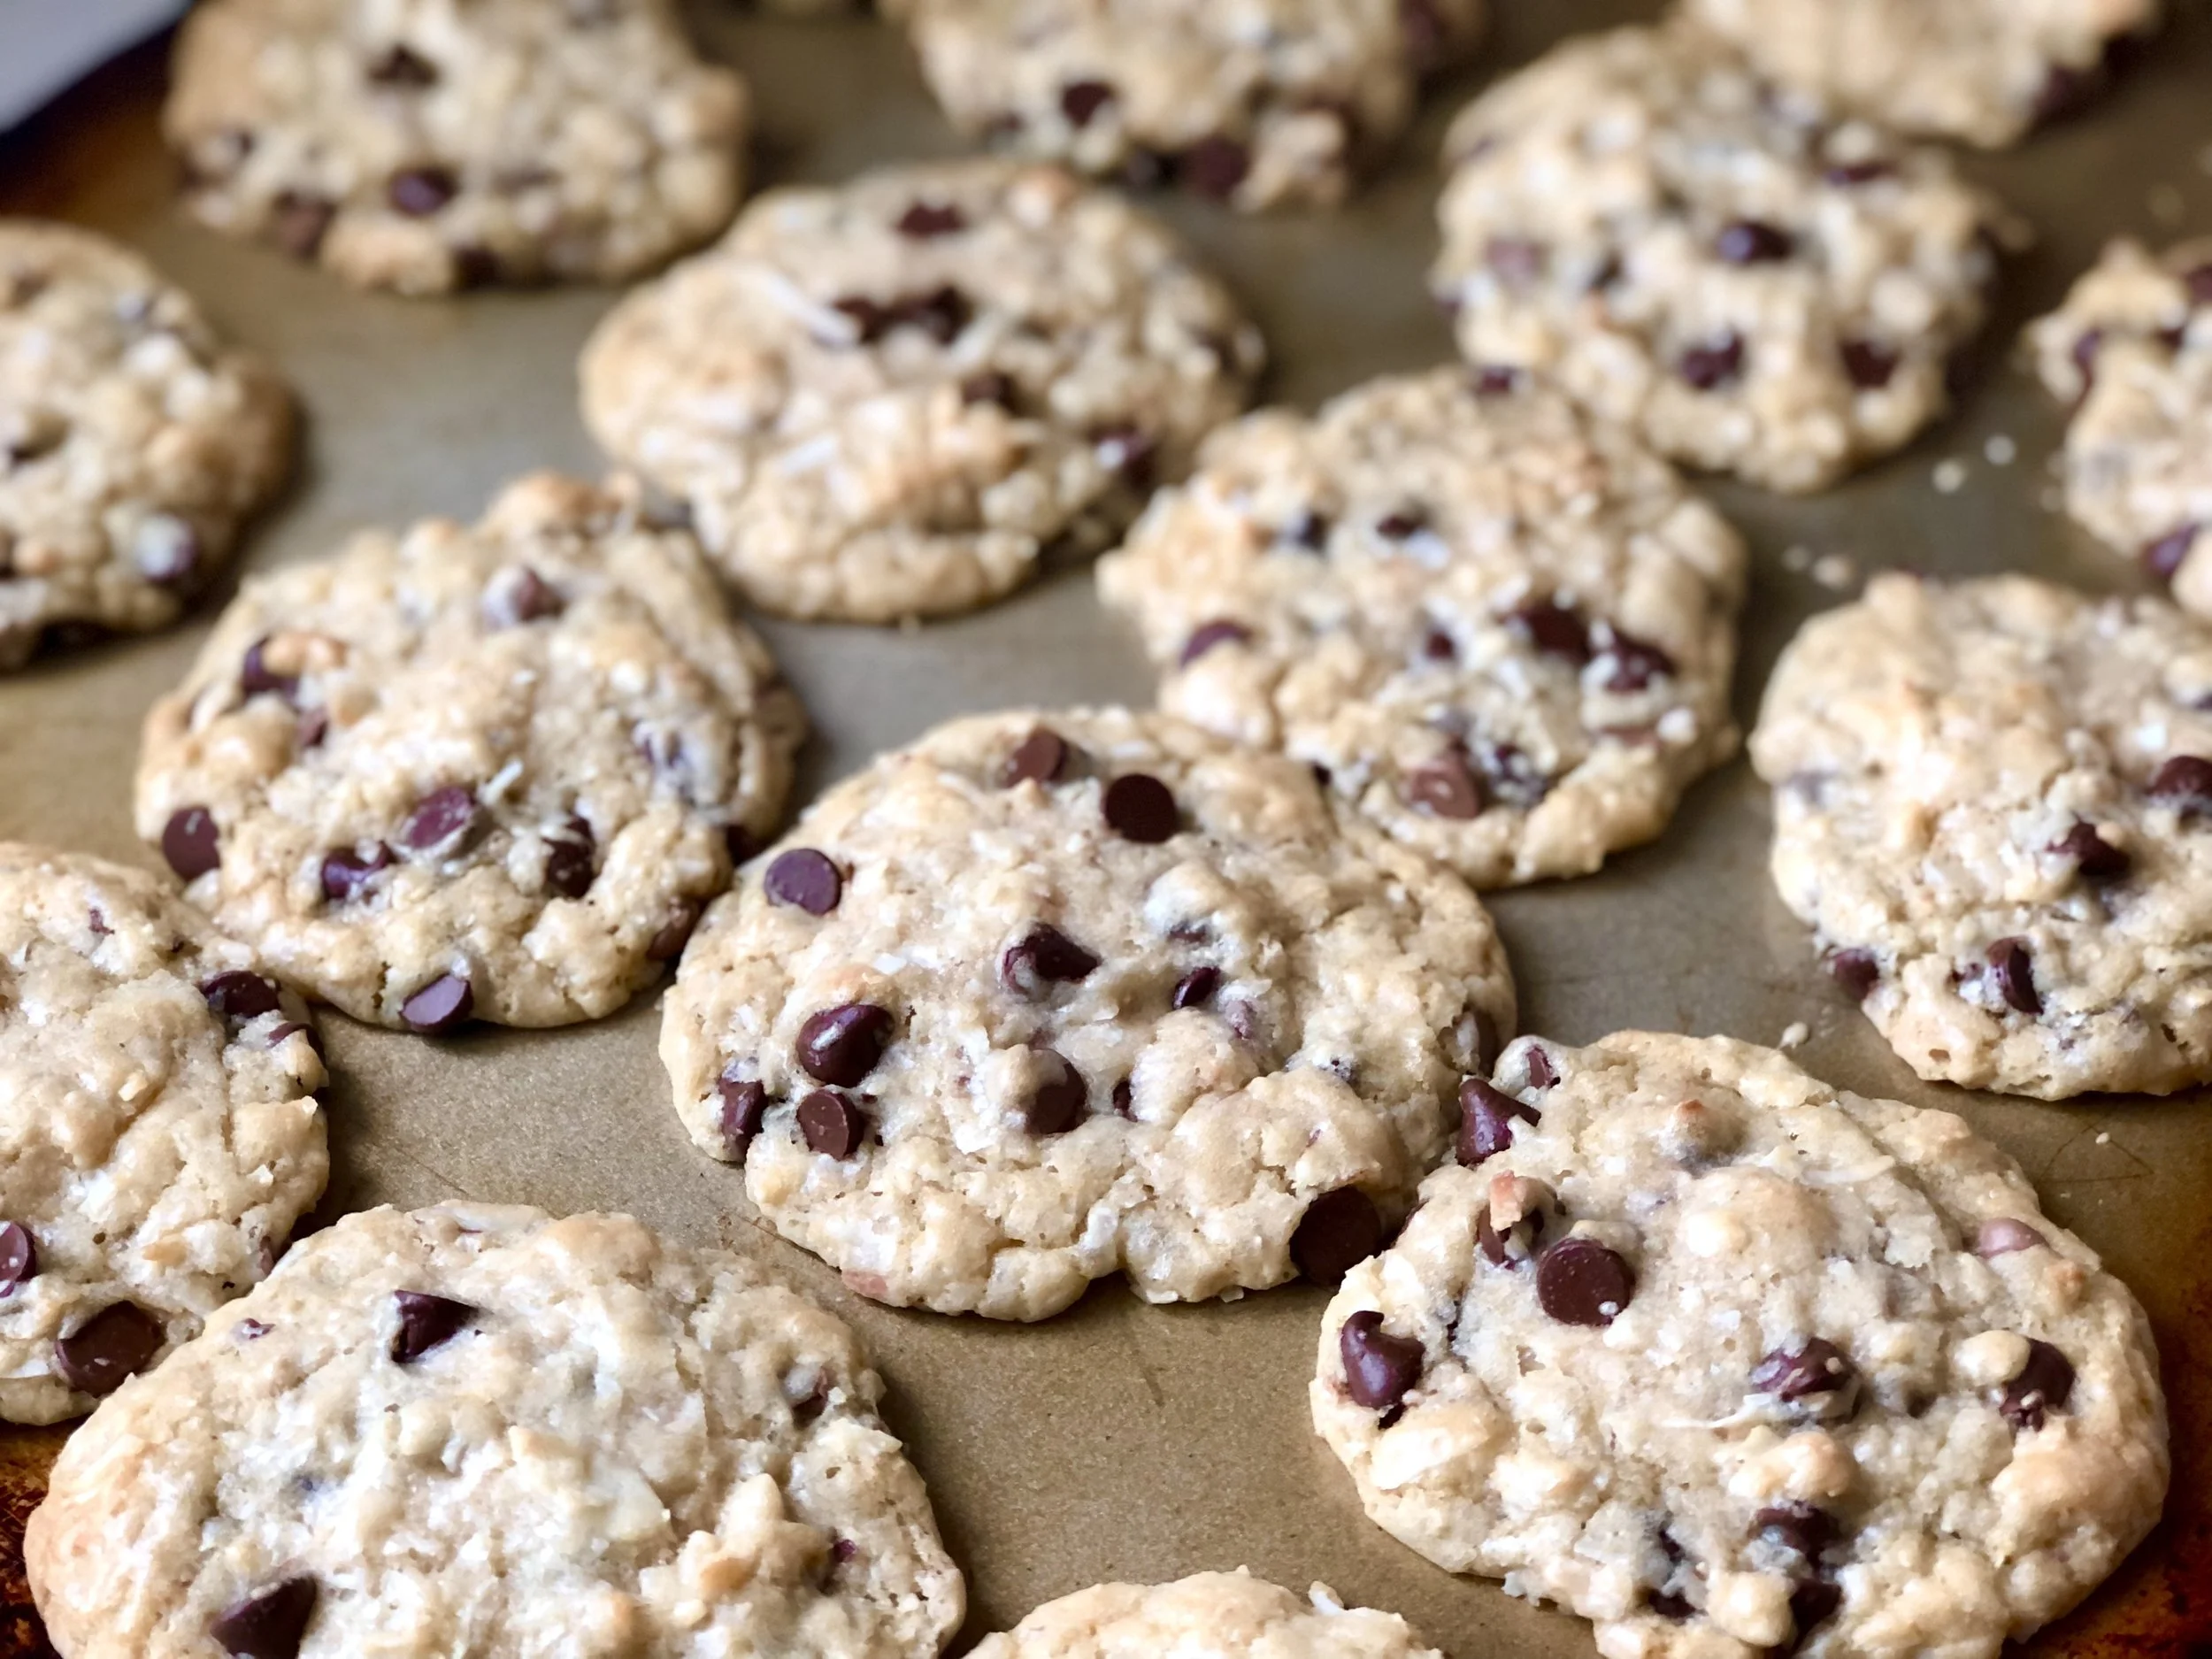
All chocolate chip cookies are delicious, but not all are made equal.  This is my favorite recipe for chocolate chip cookies, because of its use of beurre noisette.

Beurre noisette is French for hazelnut butter, or what we in the States call browned butter. Beurre noisette sounds better, doesn't it?  I mean, if you were offered a beurre noisette cookie or a browned butter cookie, which one would you take? Beurre noisette has that foreign, slightly mysterious sound, but without going too wildly out of bounds because after all, it still had the word "cookie" in the question. 

If you already thought butter was delicious and makes everything better, which is true, (Julia Child liked it for good reason) then browned butter is VERY delicious and makes everything WAY better. It tastes very nutty and toasty, which is another reason why I think the French term is more accurate. English “browned butter” is more descriptive in what it looks like; French is more descriptive in what it tastes like.

If you've never made beurre noisette before, don't fret, it’s simple.

This post may contain affiliate links. If you buy something using these links, Jennyblogs may receive a small commission, at no extra cost to you. This helps to support Jennyblogs. For further information see the privacy policy. Grazie!

Making Beurre Noisette:

  1. Take the amount of butter you will need for your recipe of choice and place it in a small saucepan over low heat, no need to stir. 

  2. Allow to simmer until you notice the bottom start to turn golden brown.  These are the milk solids separating from the butterfat; the milk solids sink to the bottom and brown, giving it that wonderful nutty flavor.  If you stopped here and separated the butterfat from the milk solids, you would have ghee, or clarified butter. 

The whole process should take about 5-15 minutes, depending on your stove and how much butter you are browning.  It goes very quickly from perfectly golden brown to burnt, so keep a careful watch over it.  You may be tempted to turn up the heat and quicken the process, but please don't, the lower the heat the more even the browning.   Allow to cool to room temperature.  If needed, you can place in the fridge or freezer.  Stir every so often for even cooling.  Use like regular butter.


Beurre Noisette Chocolate Chip Cookies:

Makes about 52 smallish cookies (about 2 in. in diameter)

Ingredients:

  • 1 cup / 226g unsalted butter (2 sticks), browned and cooled to room temperature

  • 1 1/2 cups / 300g brown sugar (light or dark, your choice)

  • 2 eggs

  • 1 Tbsp / 15g vanilla extract

  • 2 1/2 cups / 300g all-purpose flour

  • 1 tsp baking soda

  • 1 tsp baking powder

  • 1 tsp salt

  • 12 oz / 340g semi-sweet chocolate chips or chunks

Directions:

  1. Preheat oven to 375°F / 190°C.

  2. In the bowl of a stand mixer or with a hand-held mixer, beat butter and brown sugar until light and fluffy, about 2-3 minutes. 

  3. Add eggs, one at a time, beating well after each addition. Beat in vanilla.

  4. In a separate bowl, whisk together flour, baking soda, baking powder, and salt. 

  5. Stir flour mixture into butter mixture until incorporated, then add chocolate chips. 

  6. Place in small mounds on cookie sheet, about 1 inch in diameter, evenly spread out. 

  7. Bake for 6-8 minutes, or until edges are lightly golden brown and centers are still a tad wet looking.

Jenny's Notes:

  • These can easily be made gluten-free by substituting 3 1/4 cups GF oat flour for the 2 1/2 cups all-purpose flour.  You can make your own oat flour by blending GF oats in a food processor until a flour consistency is achieved.

cookies, dessert, chocolate chip cookies, browned butter
dessert
American
Yield: 48-52
Author:
Beurre Noisette Chocolate Chip Cookies

Beurre Noisette Chocolate Chip Cookies

These chocolate chip cookies are next level with beurre noisette (browned butter) and made with all brown sugar, no white sugar, making for a delectably rich and flavorful cookie.
Prep time: 35 MCook time: 8 MTotal time: 43 M

Ingredients:

  • 1 cup / 226g unsalted butter (2 sticks), browned and cooled to room temperature
  • 1 1/2 cups / 300g brown sugar (light or dark, your choice)
  • 2 eggs
  • 1 Tbsp / 15g vanilla extract
  • 2 1/2 cups / 300g all-purpose flour
  • 1 tsp baking soda
  • 1 tsp baking powder
  • 1 tsp salt
  • 12 oz / 340g semi-sweet chocolate chips or chunks

Instructions:

How to cook Beurre Noisette Chocolate Chip Cookies

  1. Preheat oven to 375F / 190C.
  2. In the bowl of a stand mixer or with a hand-held mixer, beat butter and brown sugar until light and fluffy, about 2-3 minutes.
  3. Add eggs, one at a time, beating well after each addition. Beat in vanilla.
  4. In a separate bowl, whisk together flour, baking soda, baking powder, and salt.
  5. Stir flour mixture into butter mixture until incorporated, then add chocolate chips.
  6. Place in small mounds on cookie sheet, about 1 inch in diameter, evenly spread out.
  7. Bake for 6-8 minutes, or until edges are lightly golden brown and centers are still a tad wet looking.

Notes:

These can easily be made gluten-free by substituting 3 1/4 cups GF oat flour for the 2 1/2 cups all-purpose flour. You can make your own oat flour by blending GF oats in a food processor until a flour consistency is achieved.

Calories

118.19

Fat (grams)

6.20

Sat. Fat (grams)

3.71

Carbs (grams)

15.51

Fiber (grams)

0.59

Net carbs

14.92

Sugar (grams)

9.99

Protein (grams)

1.25

Sodium (milligrams)

90.98

Cholesterol (grams)

17.87
Nutritional information is approximate. Based on 1 cookie.
Did you make this recipe?
Tag @jenevamorris on instagram and hashtag it #jennyblogs
Created using The Recipes Generator

CIAO COOKIE

CIAO COOKIE

Blueberry Icebox Pie

Serves 10-12

A day late and a dollar short on pi day, I know.  But hear me out! If 3/14 is pi day, do you know what comes after the .14? That's right.  .1415.  Emphasis on the 15, because that's today.  Pie the food is so great it should get two days of recognition anyway. There, there, pie, I didn't forget about you.  But you didn't come here to listen to me ramble, you're probably here because you love pie, or blueberries, or math, or all of the above.  Moving on, before this post accidentally ends up on 3/16.

This is a simple recipe, fairly quick and delicious to eat!  The only baking required is for the crust.  Great for summer time, especially when blueberries are in season.

Blueberry Icebox Pie

Ingredients:

  • 1 sleeve graham crackers

  • 4 Tbsp butter, melted

  • 2 cups fresh blueberries (or frozen and thawed)

  • 2 Tbsp lemon juice

  • 2 tsp unflavored powdered gelatin, or 1 1/4-oz packet

  • 16 oz. cream cheese (2 blocks), room temperature

  • 14 oz can sweetened condensed milk

Directions:

Preheat oven to 350 F.

In a food processor, process graham crackers until fine.  Alternately, you can always crush them with a rolling pin on a cutting board or in a seal-able plastic bag. Add melted butter and pulse until graham cracker crumbs hold together some.  Press into a 9 in. spring form pan or pie plate.

Bake for 10 minutes.

Purée 1 1/2 cups of the blueberries in a food processor or blender.  Add lemon juice. 

Transfer to a small saucepan and sprinkle gelatin over the surface.  Let sit for 10 minutes.

Place blueberry mixture on the stove over medium-low, heating until gelatin has just dissolved. Remove from heat.

In a bowl with electric beaters or with a stand mixer, beat cream cheese for about a minute.  Add condensed milk.  On low speed, slowly add blueberry mixture.  Increase speed and beat until smooth.

Pour over baked crust, top with remaining blueberries, and chill until set. 

To serve, garnish with fresh mint, if desired.

Jenny's Note:  This can also be frozen, perfect for the hottest of summer days.  Just let set at room temperature for about 10 minutes before slicing.

Disclaimer on the ahem, er, photography.  It can only get better from here, right?

Disclaimer on the ahem, er, photography.  It can only get better from here, right?

And do you know what number comes after 3.1415? Yep. 926.  And guess what? I was writing this post at 9:26.  Oh yes, I went there.  Enjoy your pi. I mean, pie.

And here is a pie chart to go with your pie on the day after pi.  Sincerely, Jenny Leslie Knope Morris.

Recipes Currently Waiting to be Made

Recipe adapted from Self

Springing Forward While Looking Back

Happy Pi day!  More accurately, happy gray, rainy, slightly sleepy Monday!  What a perfect day for coffee, snuggling up on the couch and reading a good book.  Too bad my near future doesn't include any of those things.  Because, coffee is already in my past. Tear drop.  I have no excuse for being tired, though, I accidentally got so much sleep last night.  By accidentally I mean I went to bed at 10:45, thinking it was "actually" 11:45 with the recent time change, not realizing it would've "really" been 9:45.  Time change, the struggle is real.  Just don't go down that road of "but it's REALLY..." Embrace that new time, we're only prolonging our adjustment.  Wow, this could get really deep really fast. 

Anyway, why am I moving to Italy?  To be a missionary volunteering with Gallery 4, using dance, art, and music to share the Gospel.  Two big events shaped my life that helped prepare me for Italy.  One was the first mission trip I ever went on when I was dancing with Ballet Magnificat.  Before that, missions never appealed to me.  I thought it was great that people were painting houses in Haiti and holding children in Africa, but it didn't seem right for me.  In my second year with Ballet Mag, I went with the Events Company to Honduras, where we used ballet, performing and teaching, to share the Good News of Jesus.  Using a skill set I had trained many years for, to bring glory to the Lord and as a first stepping stone to talk about Jesus?  Yes please.  Not only that, but to see a people who love Jesus like I do and how their culture shapes the way they worship and interact with each other, different strengths and weaknesses than American churches, was eye-opening to me.  Having only traveled within America, the country where I was born, I suddenly wanted to learn more about different cultures, to try and understand how their world-views were formed, and for them to know Jesus.  I realized on the plane ride home that if the Lord ever called me to missions, for the first time, I was open to it.    

Events Company performing at a school in Honduras for over 1,000 students

Events Company performing at a school in Honduras for over 1,000 students

The second event was when my parents, JohnPaul, and I took a 3 week vacation to Europe.  We were able to go to London, Paris, Bologna, Florence, Cinque Terre, Orvieto, and Rome.  I loved every second of it, (except leaving Paris, I shed a tear or two) but I left a part of my heart in Florence.  I wanted to go back so badly.  I love my home in Michigan, but the only two times I have not wanted to go back was flying home from Honduras and flying home from Italy. 

Happy family in the Louvre

Happy family in the Louvre

My mom and I at Vernazza

My mom and I at Vernazza

About the same time we got back from Europe two friends of mine were heading to Florence, Italy, to work with a ministry called Gallery 4.  Naturally I started talking to them about it, and soon I had decided to go see if it was something I might like to do.  September-December of 2015 I spent with Gallery 4 as a vision trip.  I was hoping three months would be enough, that I would have my fill of Italy and that would be it, but no.  I came home shortly before Christmas and took several weeks to pray about returning longer term, but I think I knew that was where God was leading me even before I had left Italy.  And so, on December 31, 2015, I made the decision to pursue moving back to Italy. 

If you made it this far, thanks for reading, I feel pretty special.  Coming soon, the process of moving to Italy and what's ahead! 


First Blog Post!

Welcome to my blog!  I'm glad you're here.  Is this your first time?  Yeah, me too. 

If you're reading this, SUCCESS!  That means I must have done something right!  Or more accurately my brother, JohnPaul, (owner of Practical, a visual production company, shameless boast) must have done something right.  He's handy to have around. 

In three months time, or roughly 93 days, I will be moving to Florence, Italy, as a missionary.  This blog will serve to help keep you updated in the months ahead as I get ready to move and land in Florence, to keep myself sane, give an inside look at my baking experiments (for better or for worse), and quote Parks and Recreation.  But I'll try to keep that last one to a minimum.  Marharhar. 

That's all for today, I wouldn't want to bore you on my first entry...  Soon, I'll take you back...back to the beginning...where it all began. *stares into the distance, tears forming* Just kidding.  But I will tell you all about why I'm moving to Italy and catch you up on where I am in the process.  Until next time, a presto!  Until then, enjoy this nice picture of a bike in Florence.