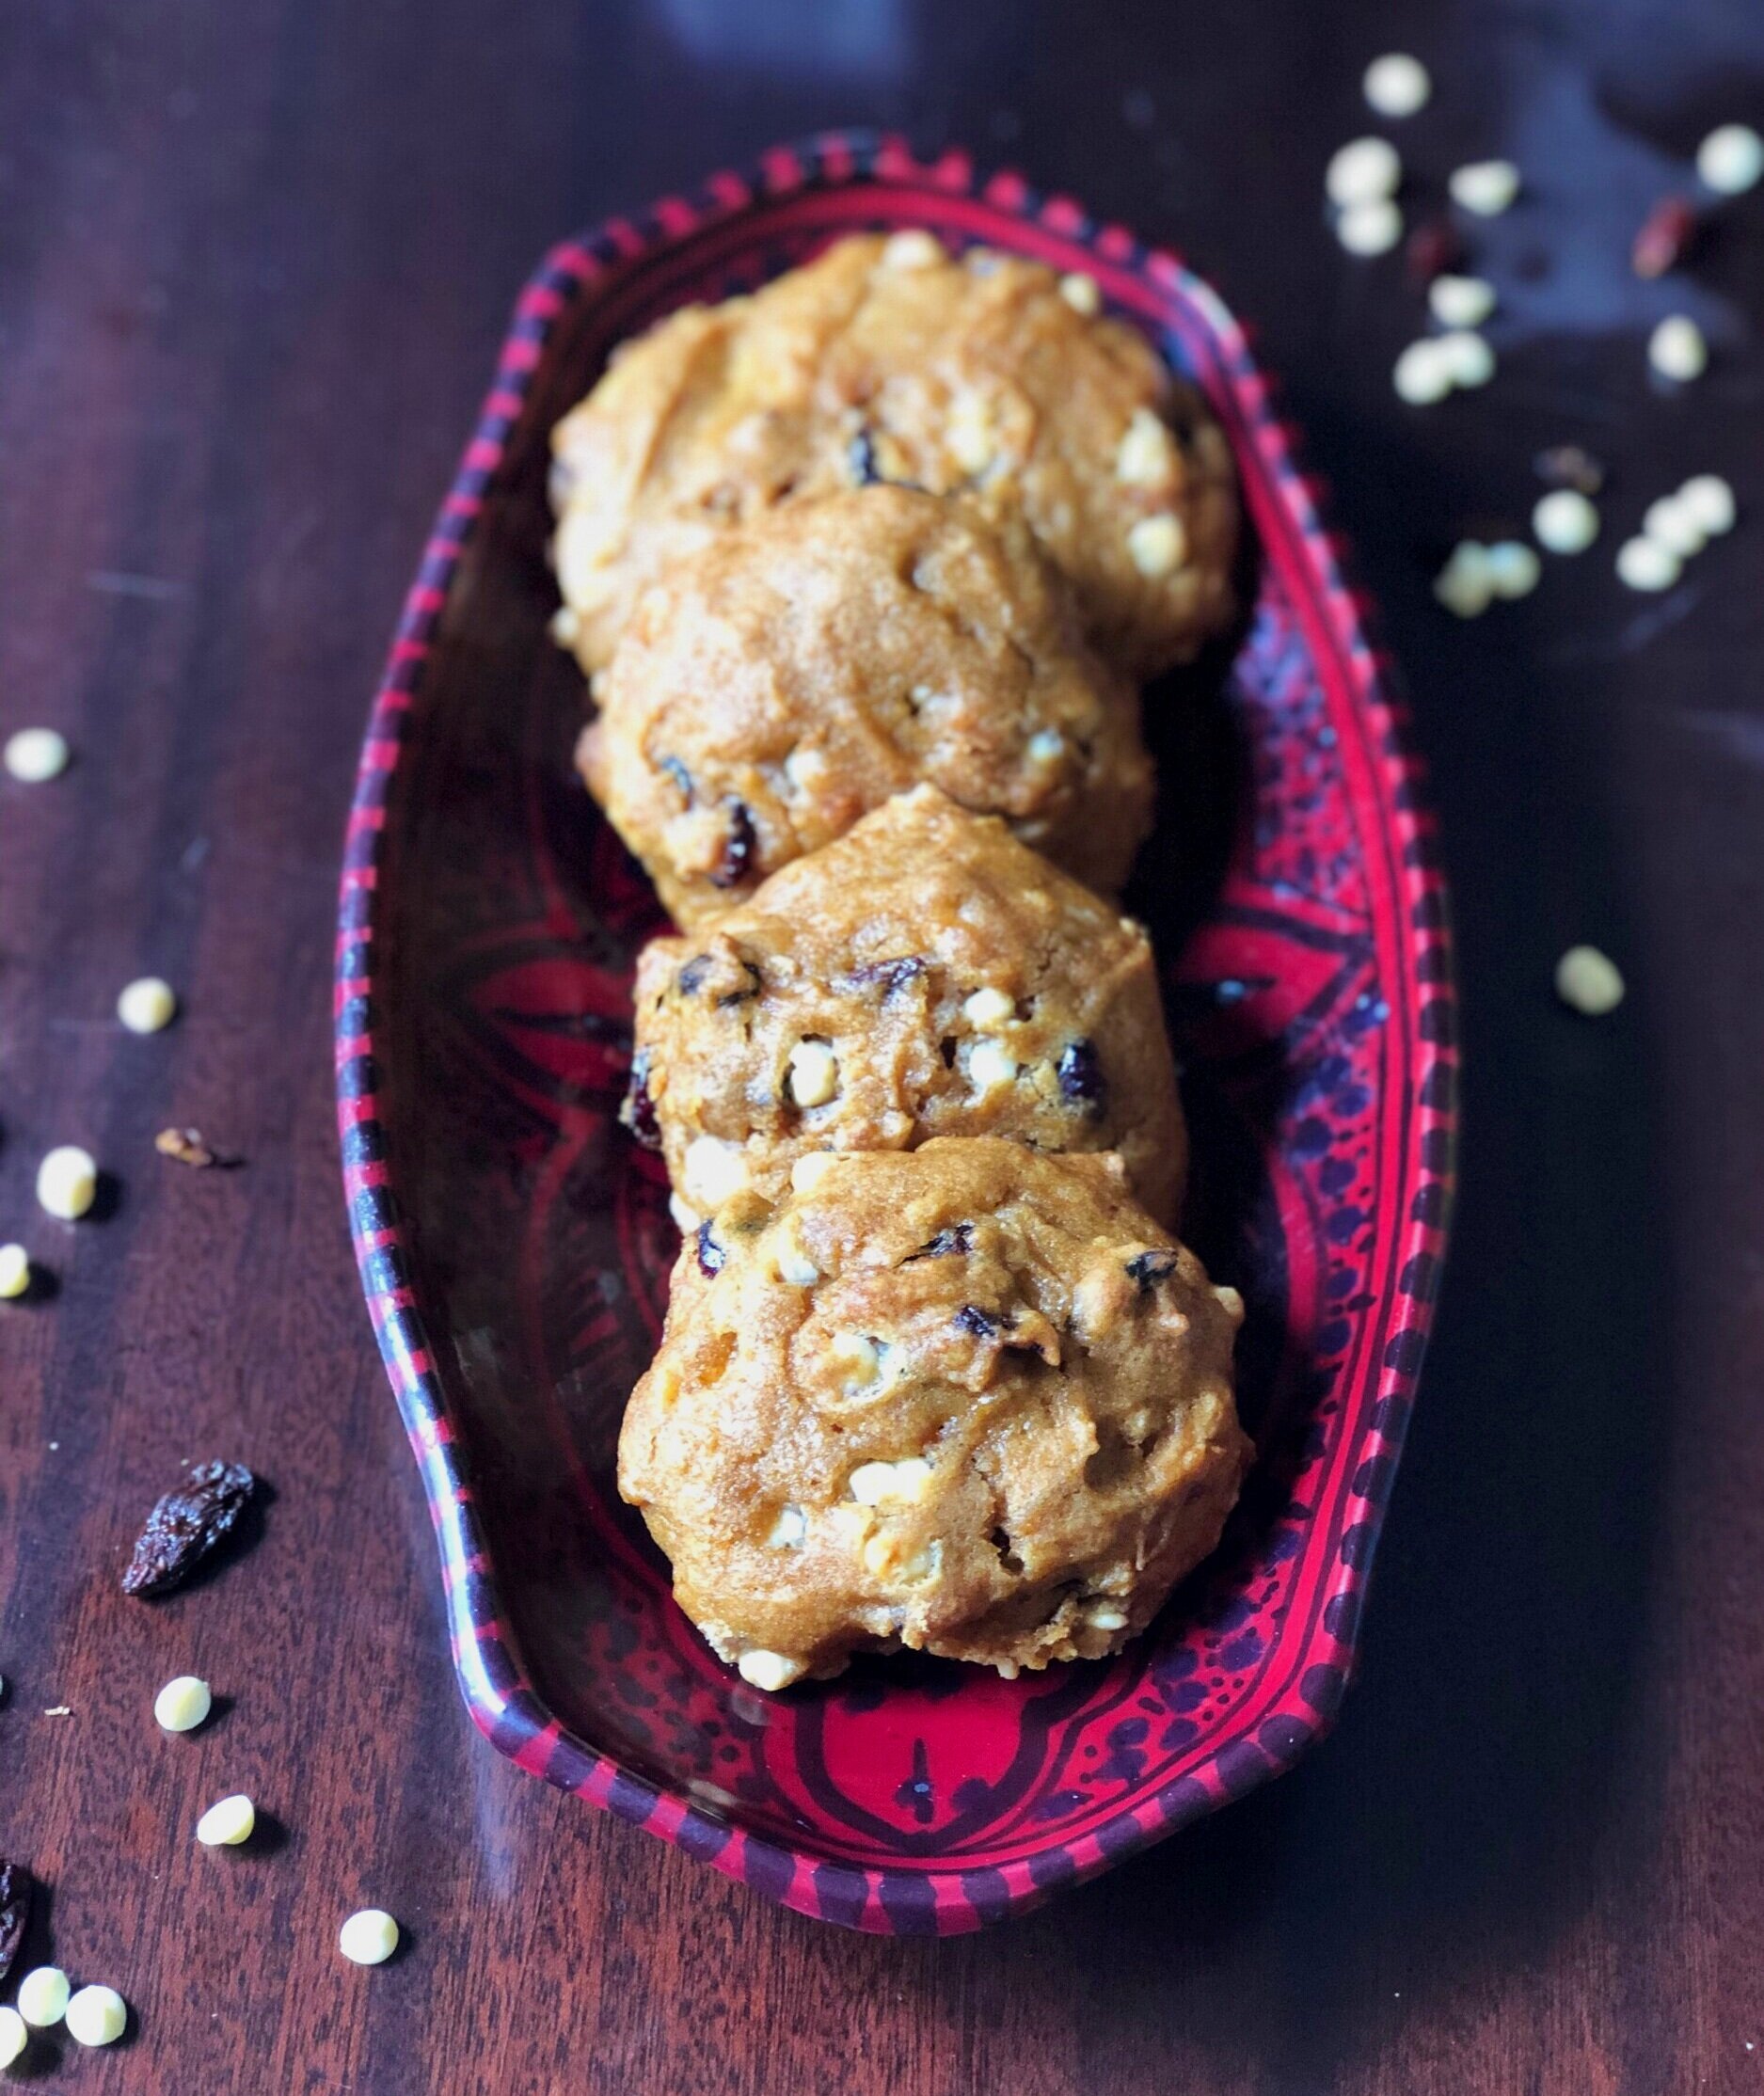
Green Sunflower Butter Chocolate Chip Cookies
/I don’t normally love how social media is always sneaking in random posts from people I do not follow and definitely have never heard of, but every once in a while I have to thank the algorithm. These magical and easy green cookies would not be a part of my life (and now yours!) if it weren’t for a random facebook post ending up in my newsfeed.
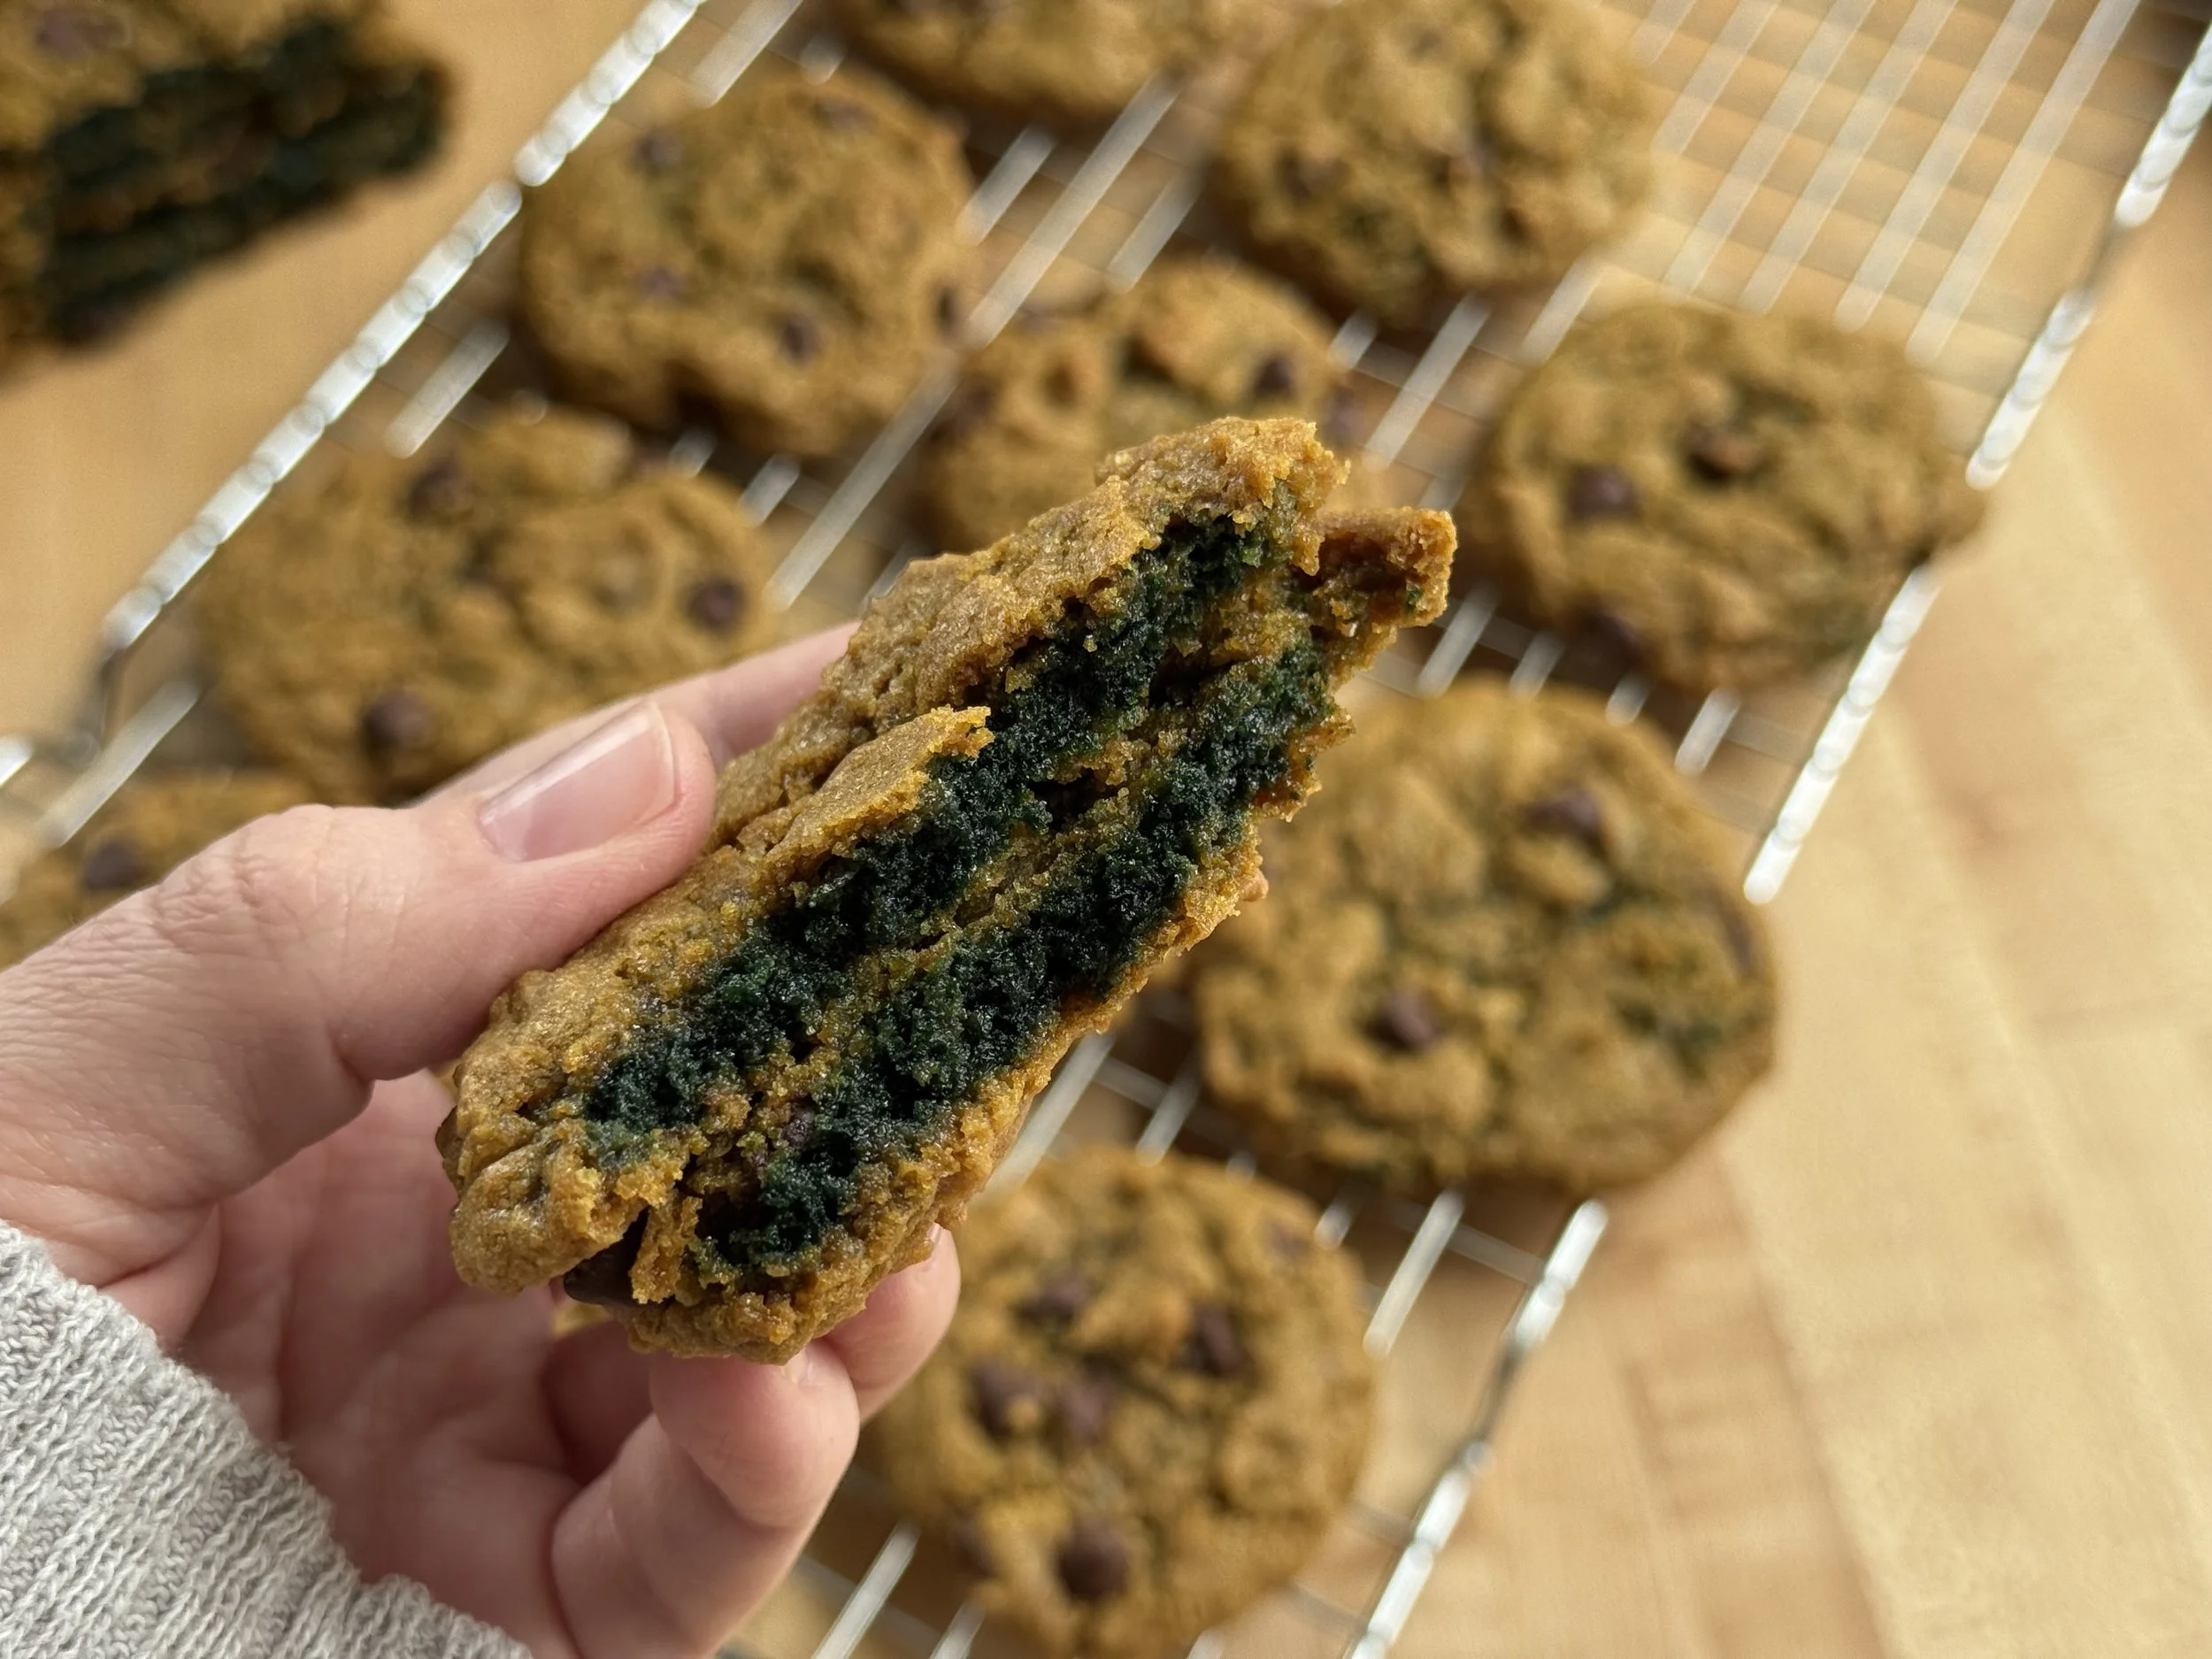
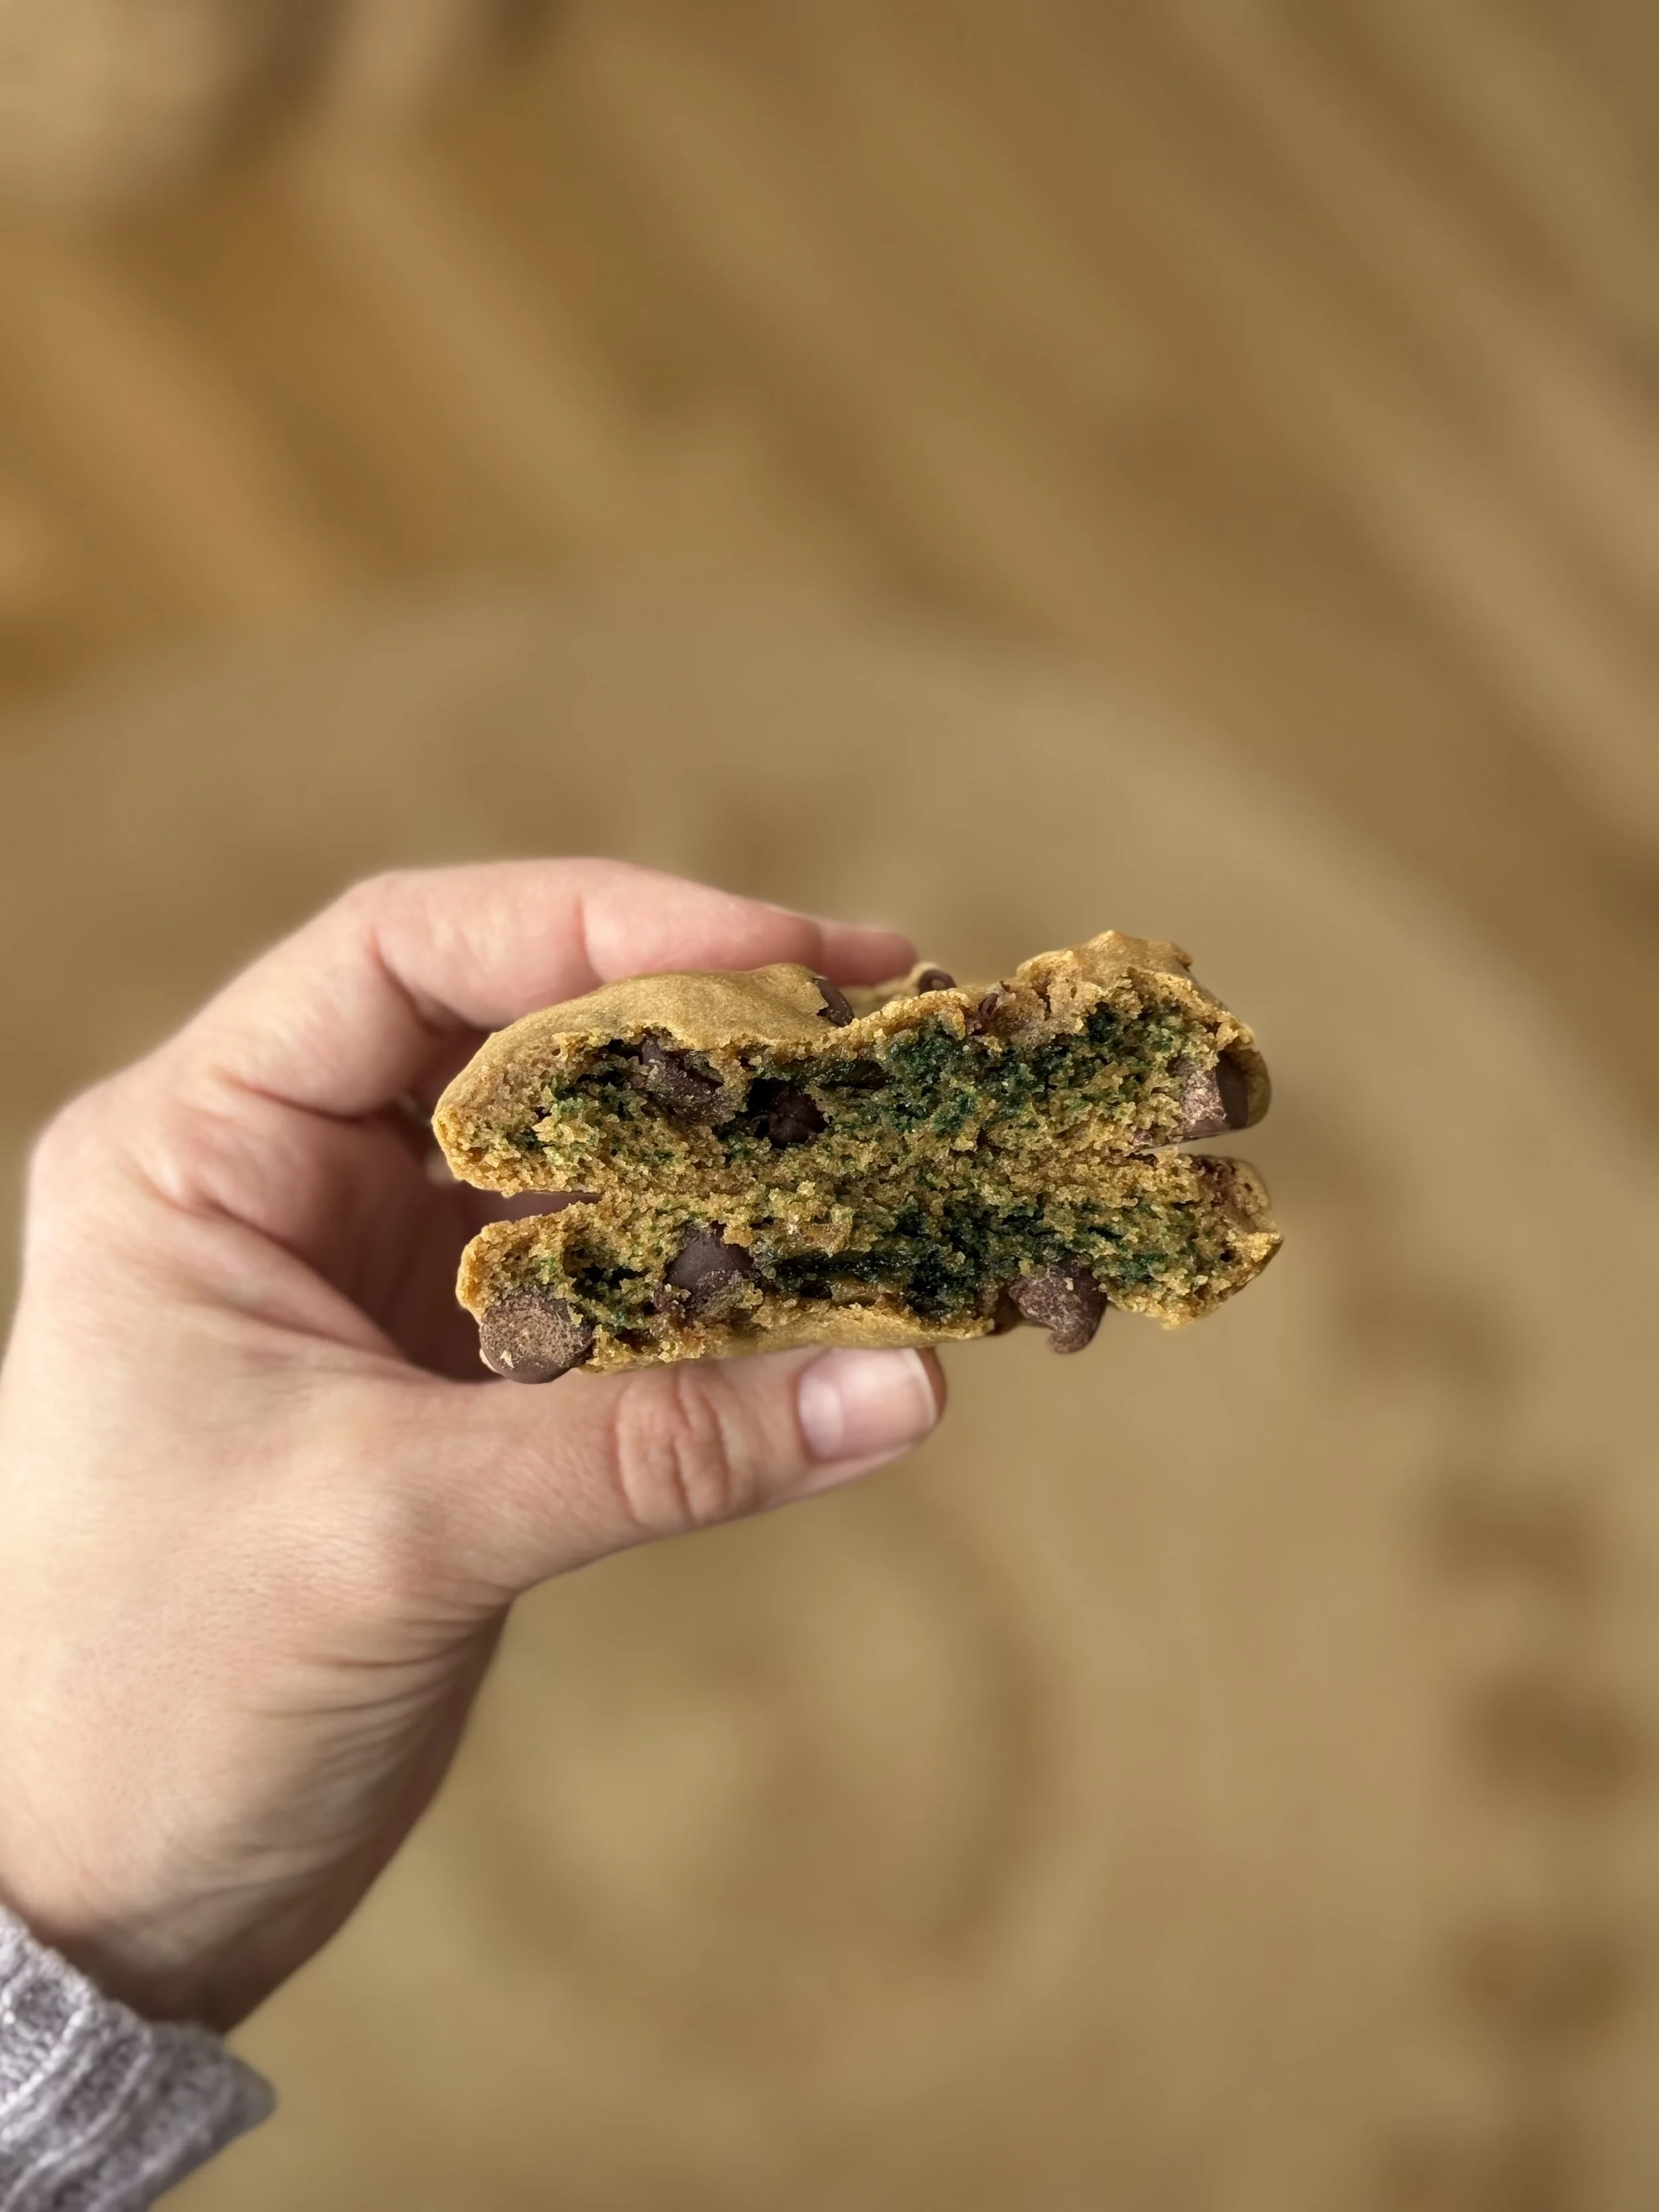
Someone in what appeared to be a crunchy homeschooling group shared a recipe for cookies that magically turn green. All natural. No food coloring. Just a chemical reaction between sunflower seeds, baking soda, and heat, resulting in the most magnificent deep green almost jade-colored cookie on the inside. It doesn’t necessarily happen to the whole cookie, so it’s a wonderful surprise when you bite into one only to find it’s vibrantly green inside. I love colorful food but abhor artificial food coloring, so something like this almost makes me giddy. Especially because it actually works.
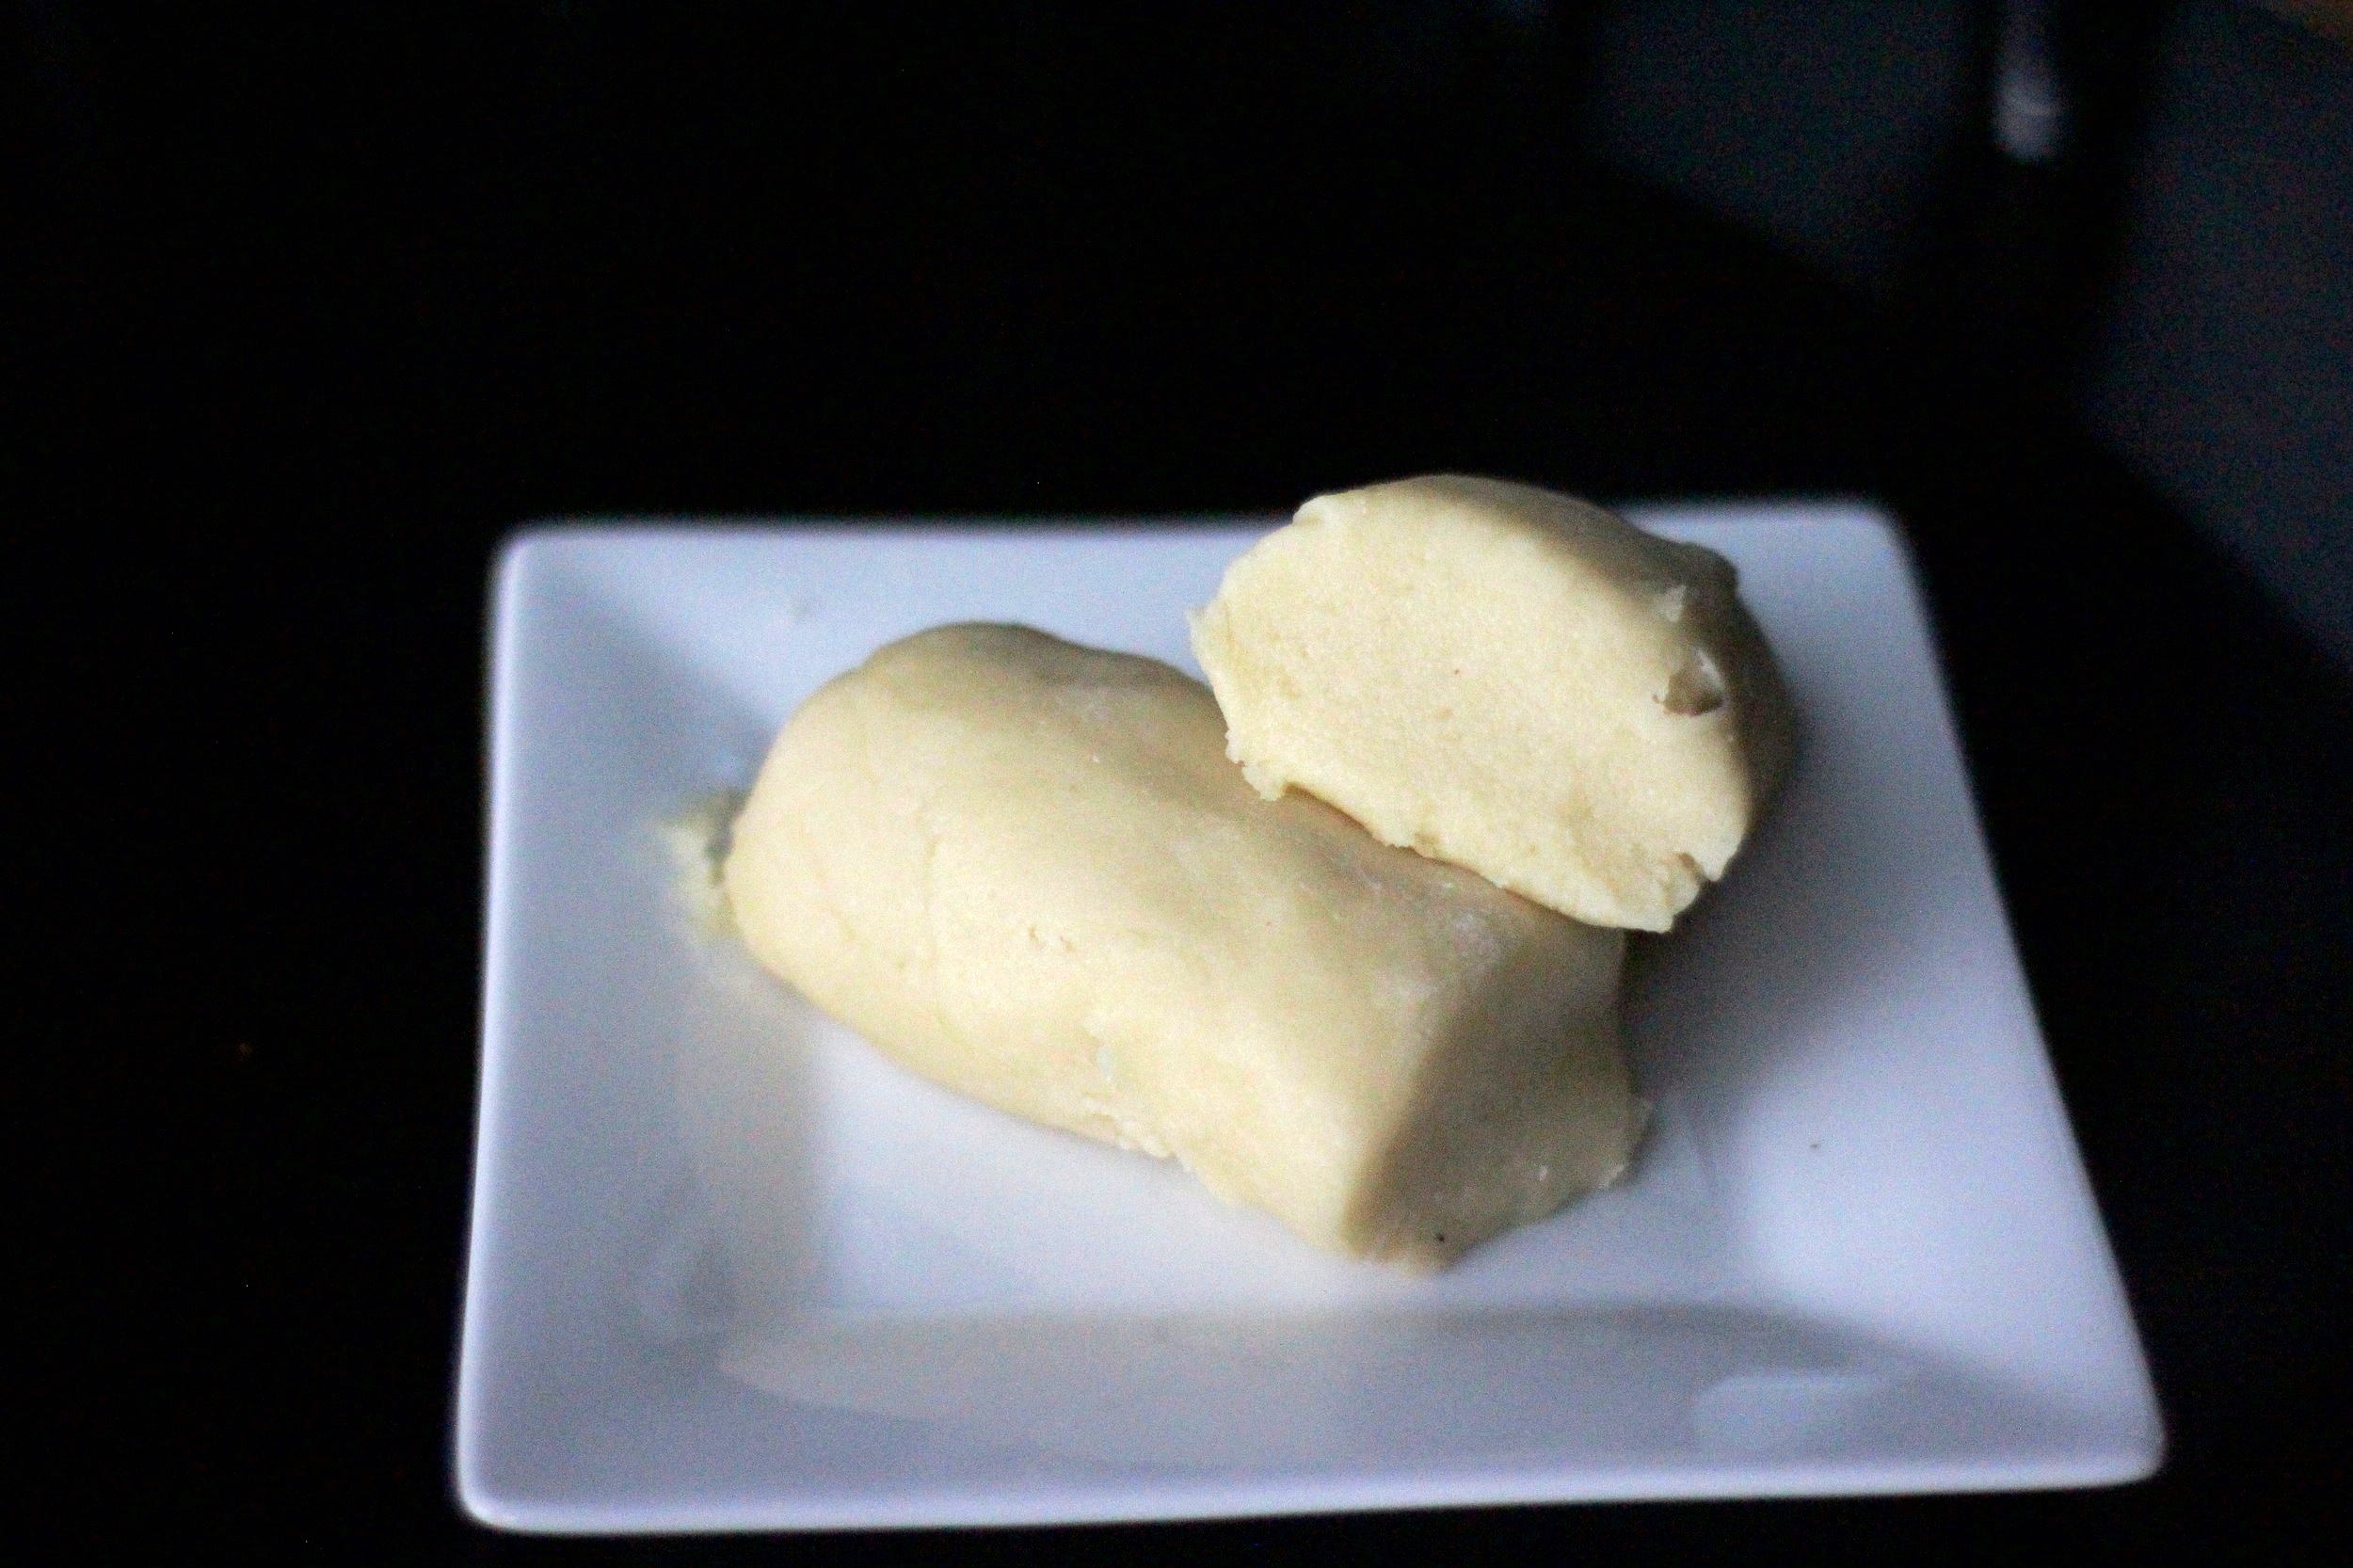
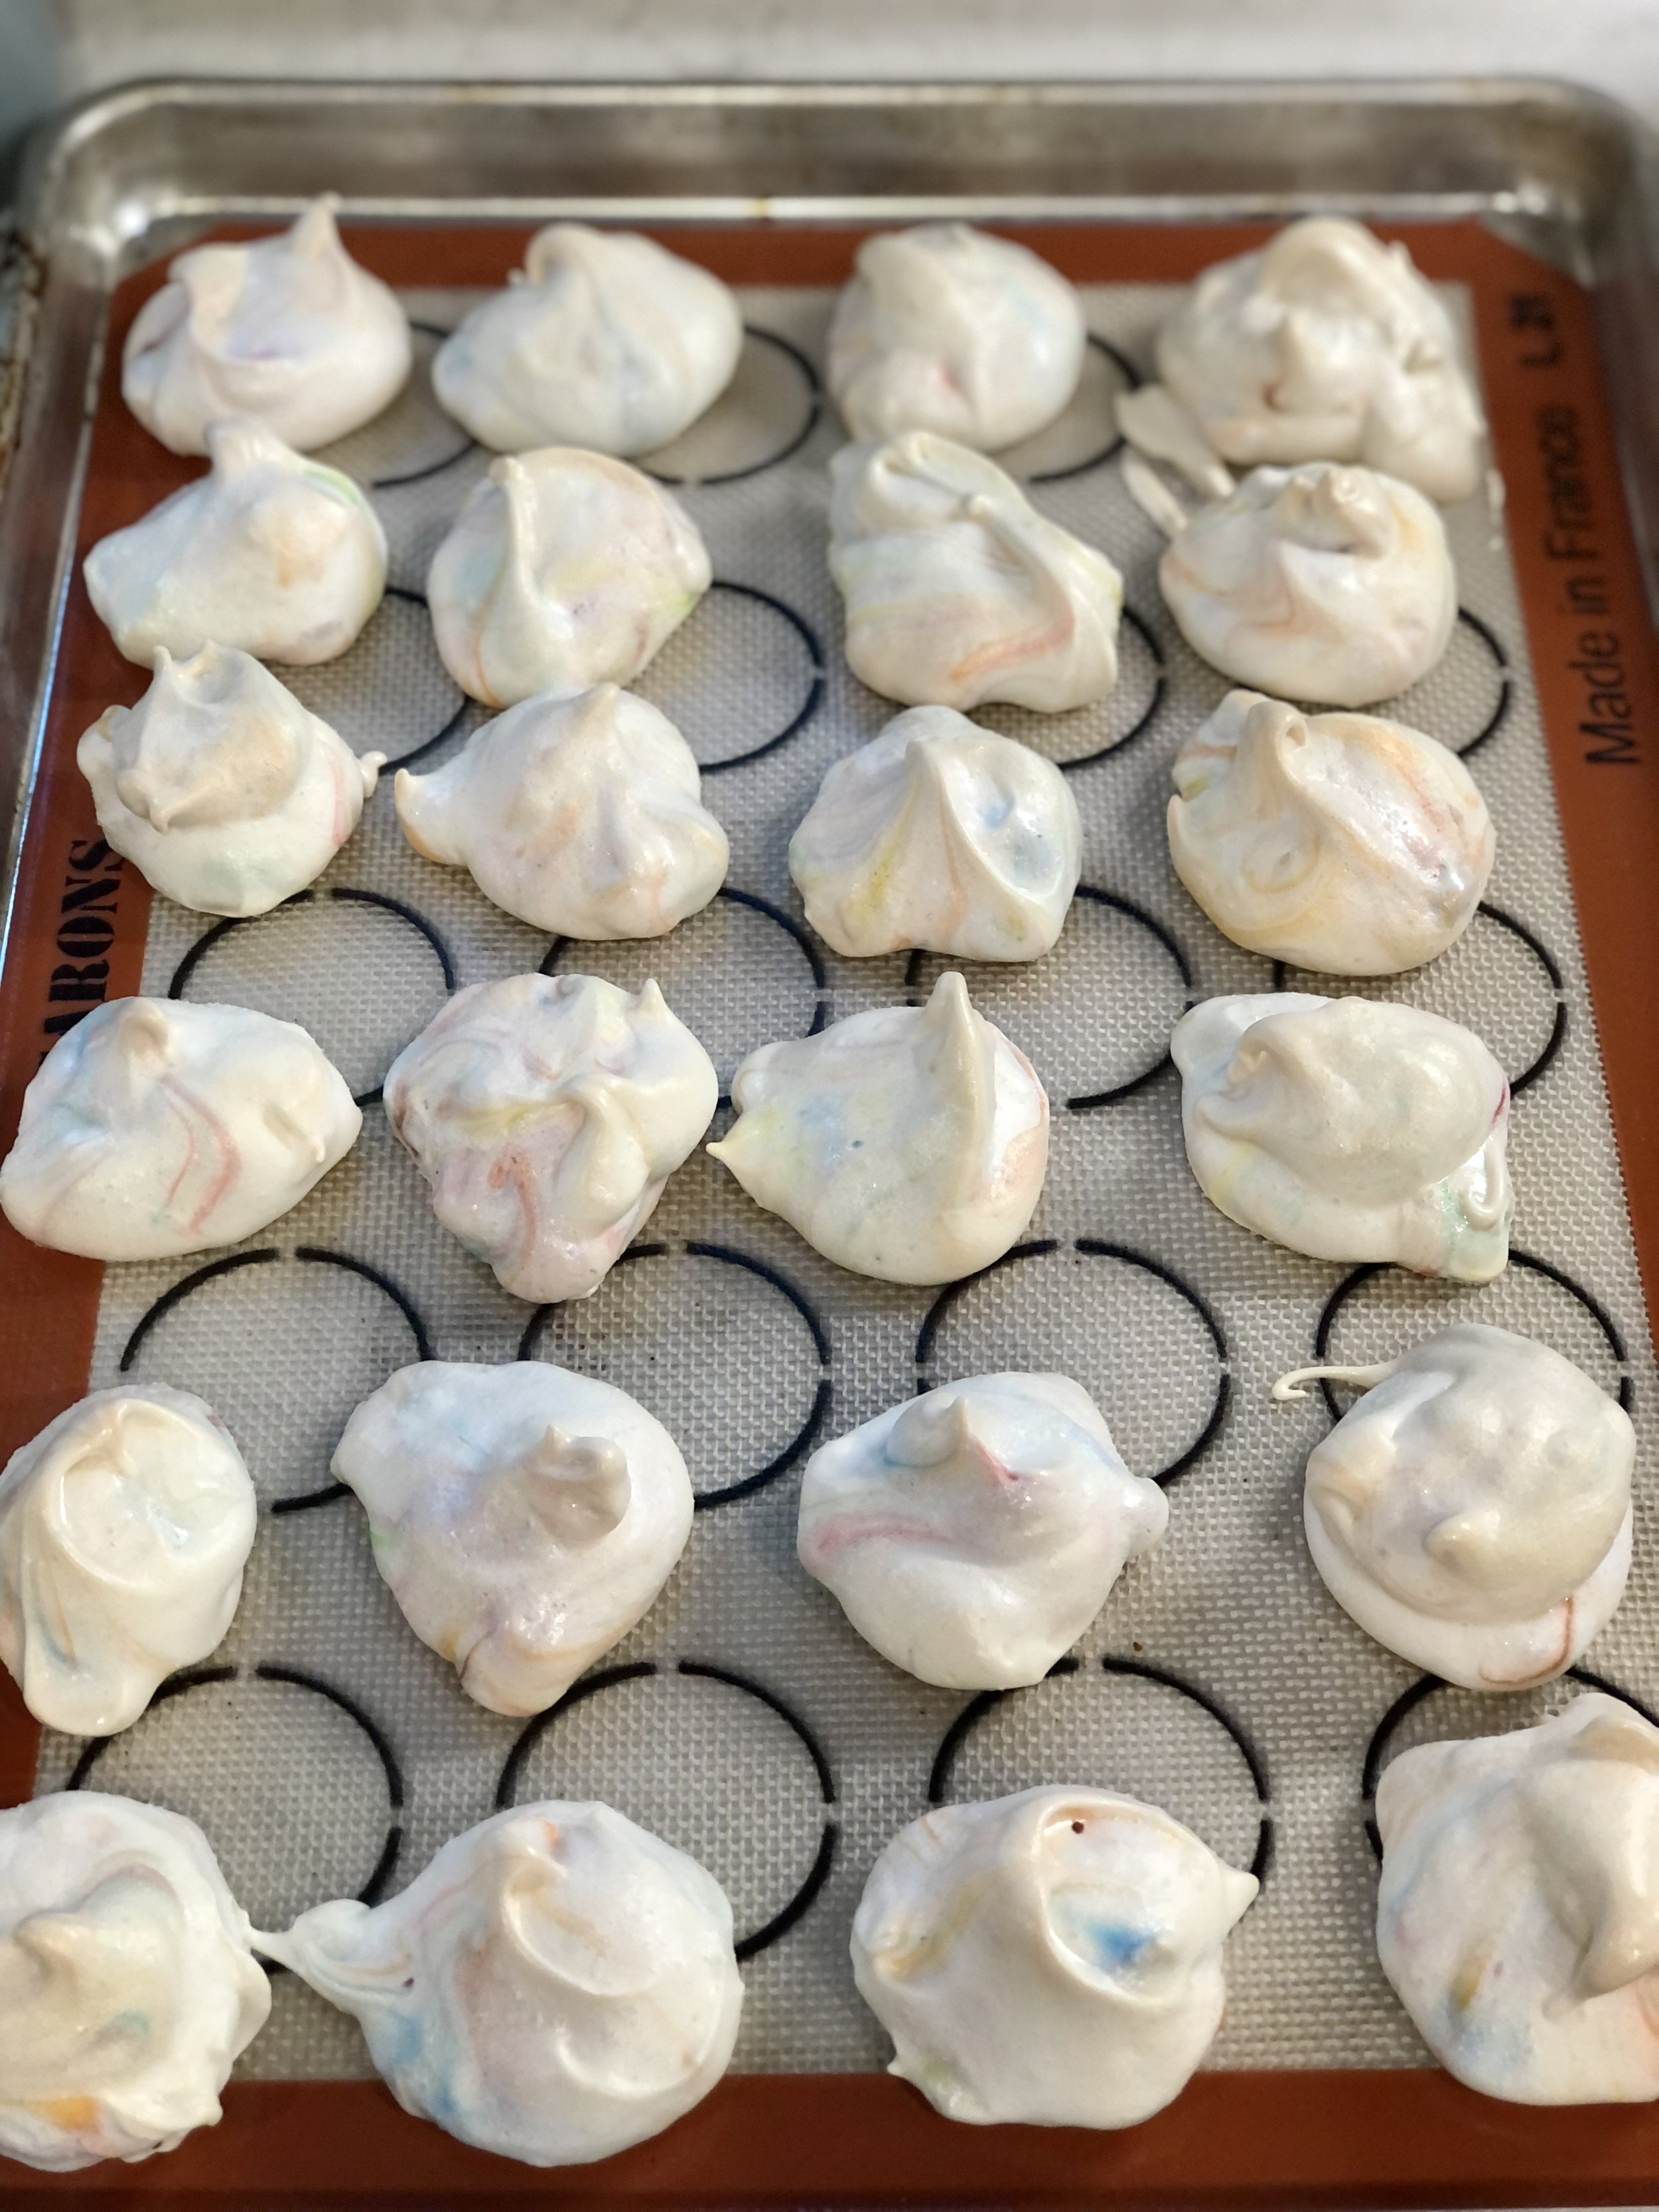
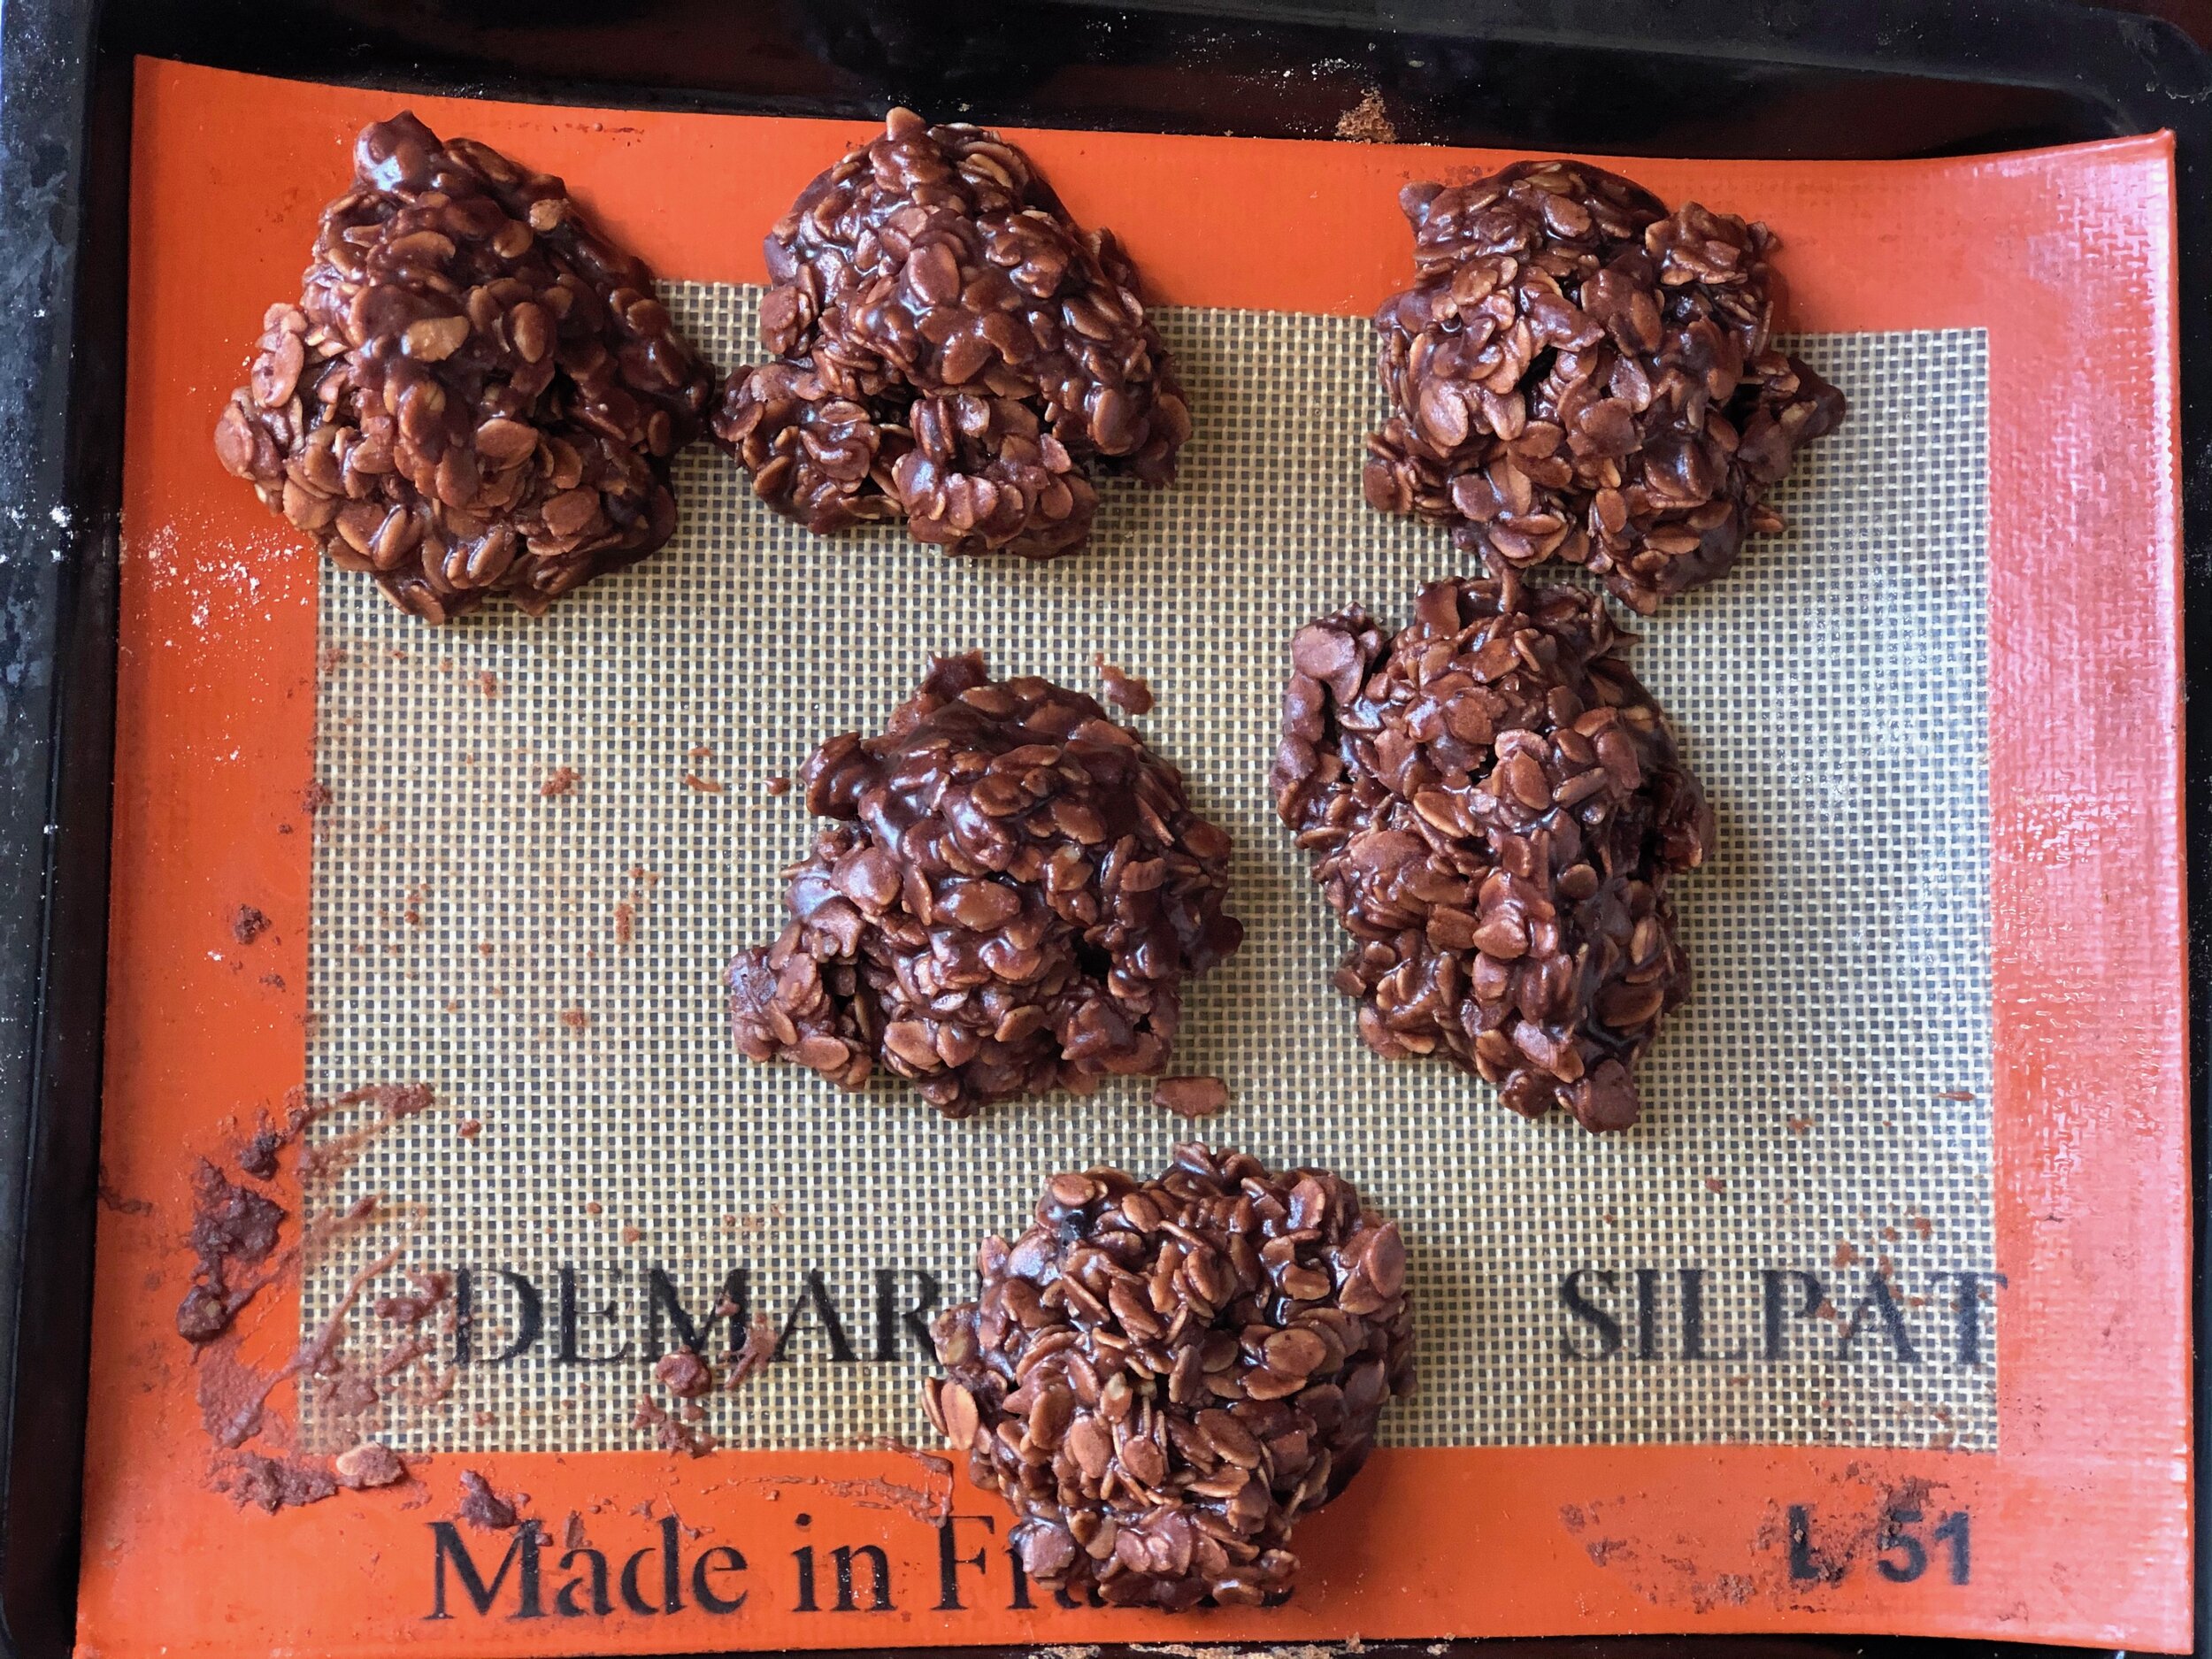
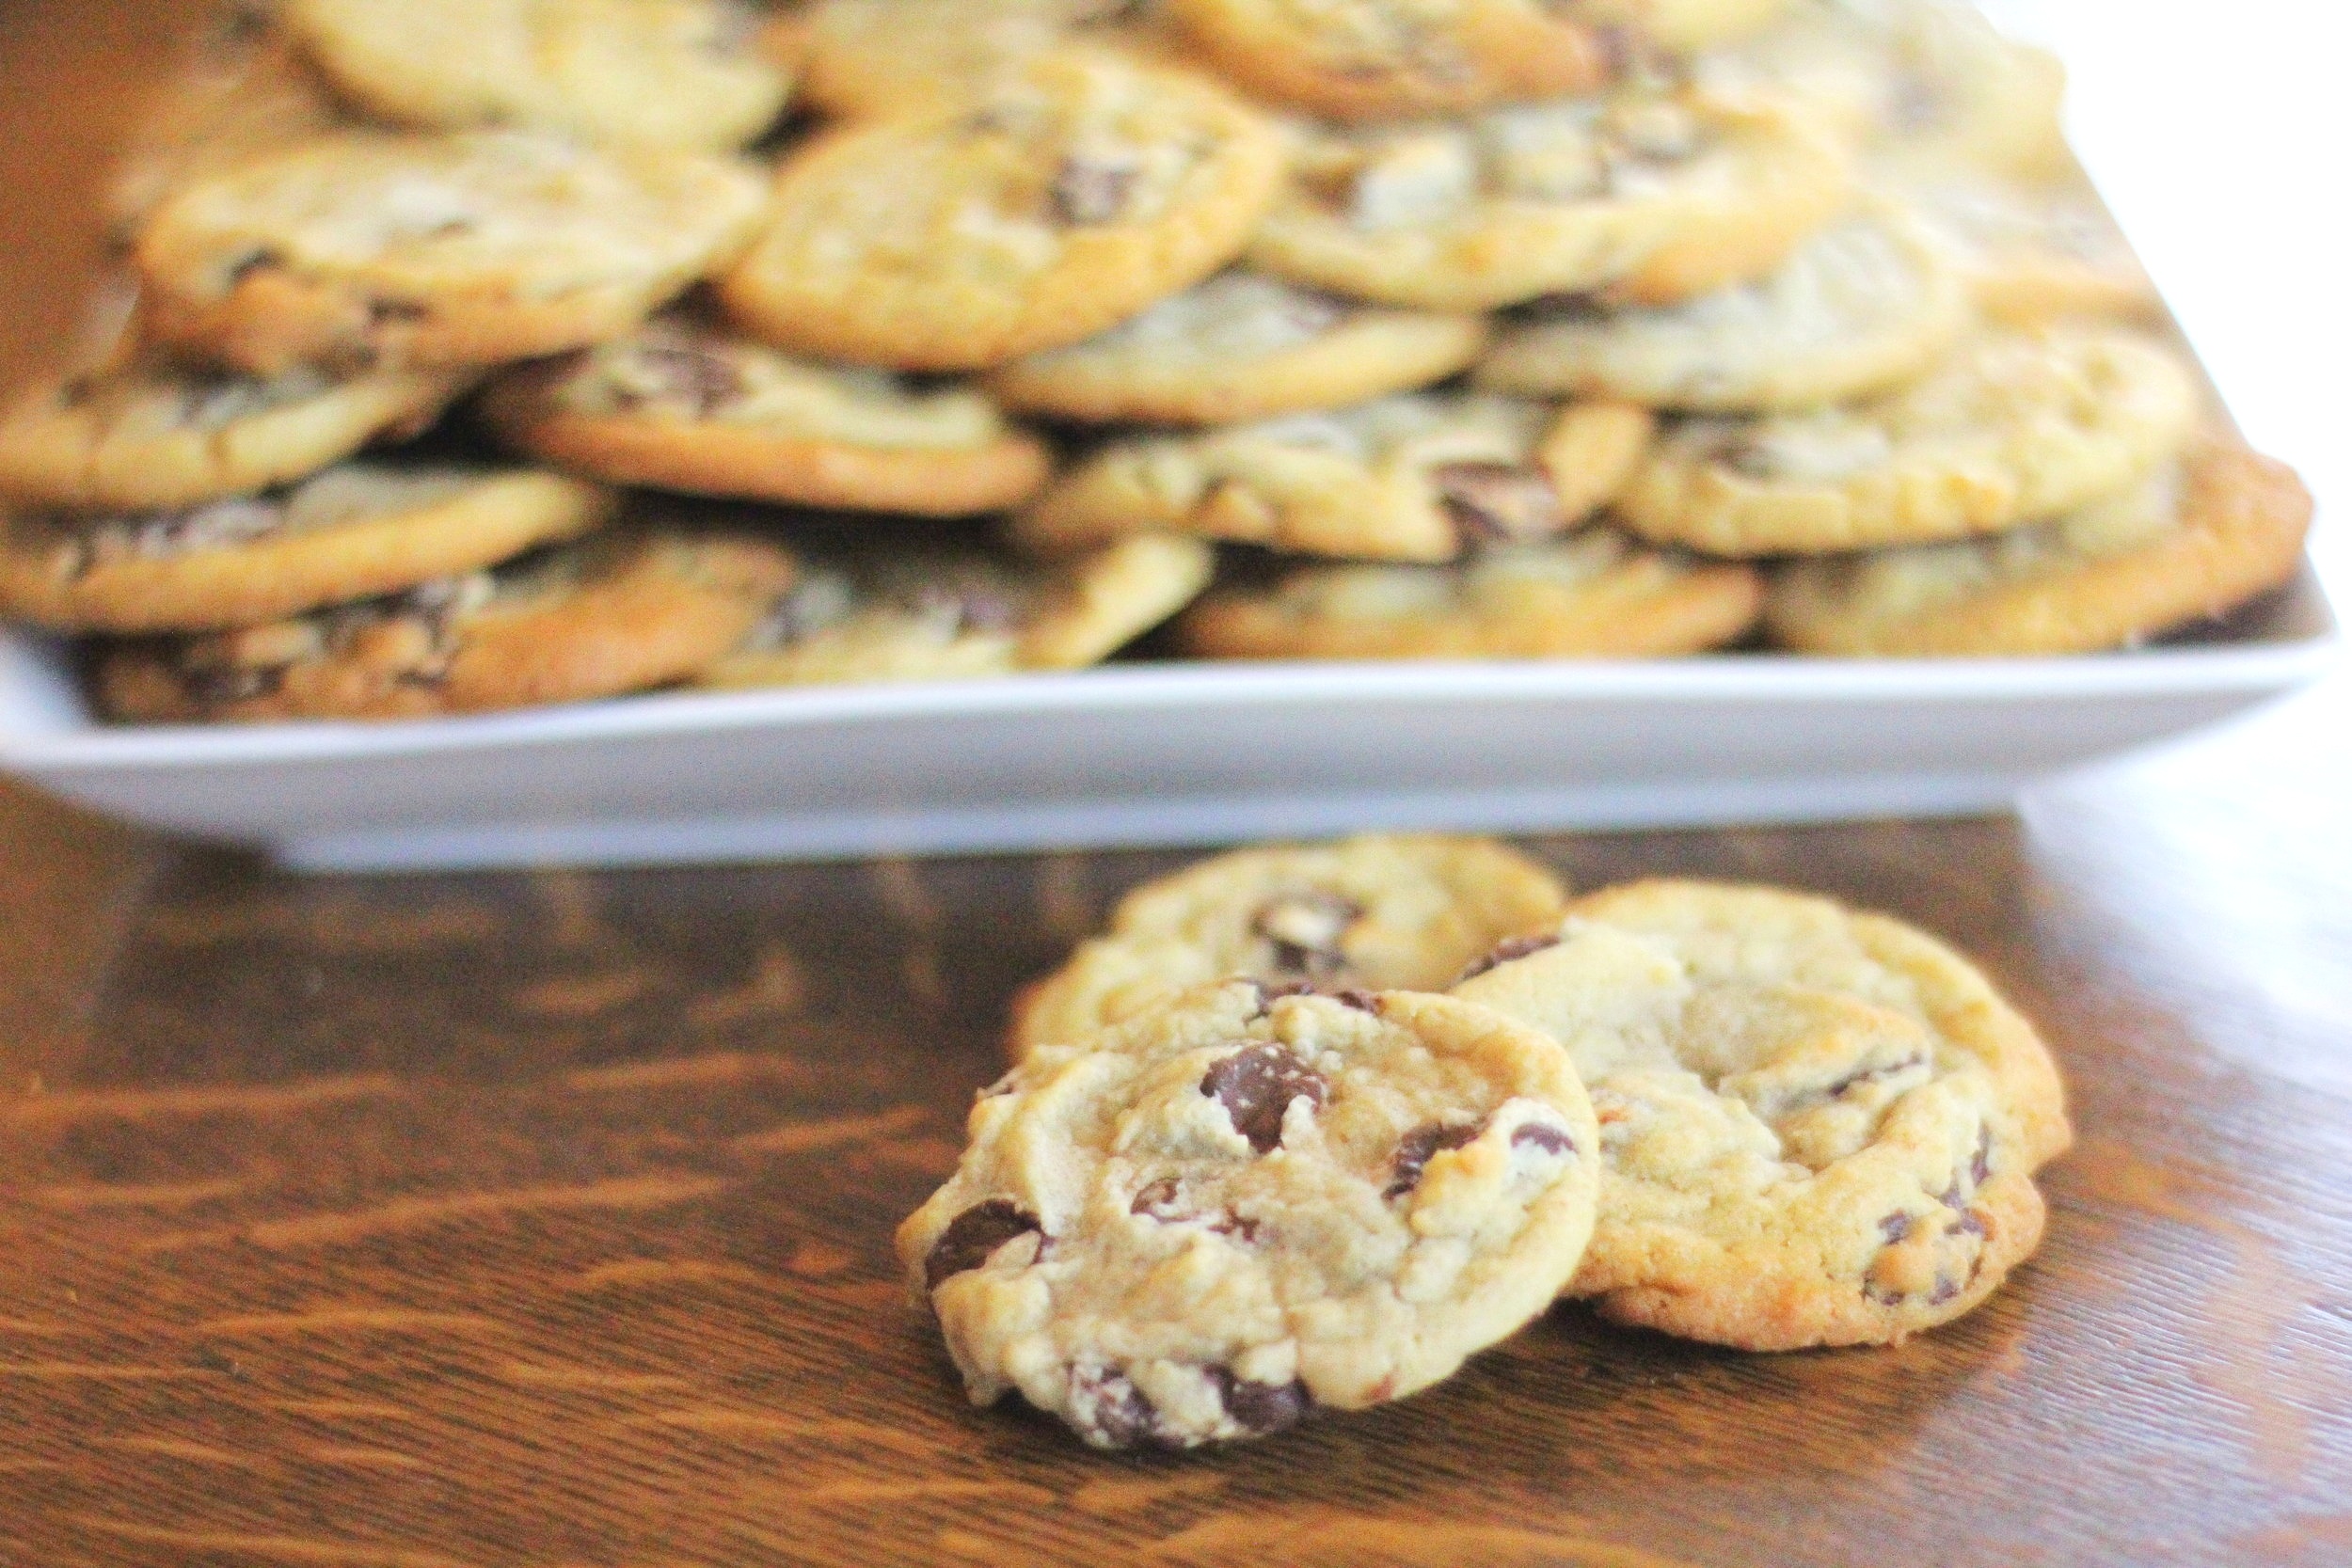
All the different green sunflower butter cookies out there
I didn’t immediately make the recipe from the Facebook post since the original poster was shoeing the recipe, while also adding notes to improve it. Meaning, the recipe was still being tweaked. I decided to see how other sunflower butter cookie recipes compared.
The few recipes for this I found online all varied quite a bit. Some used eggs. Some didn’t. The amounts of baking soda varied. Some cookie recipes were healthier using maple syrup instead of brown sugar or alternative flours instead of all-purpose flour.
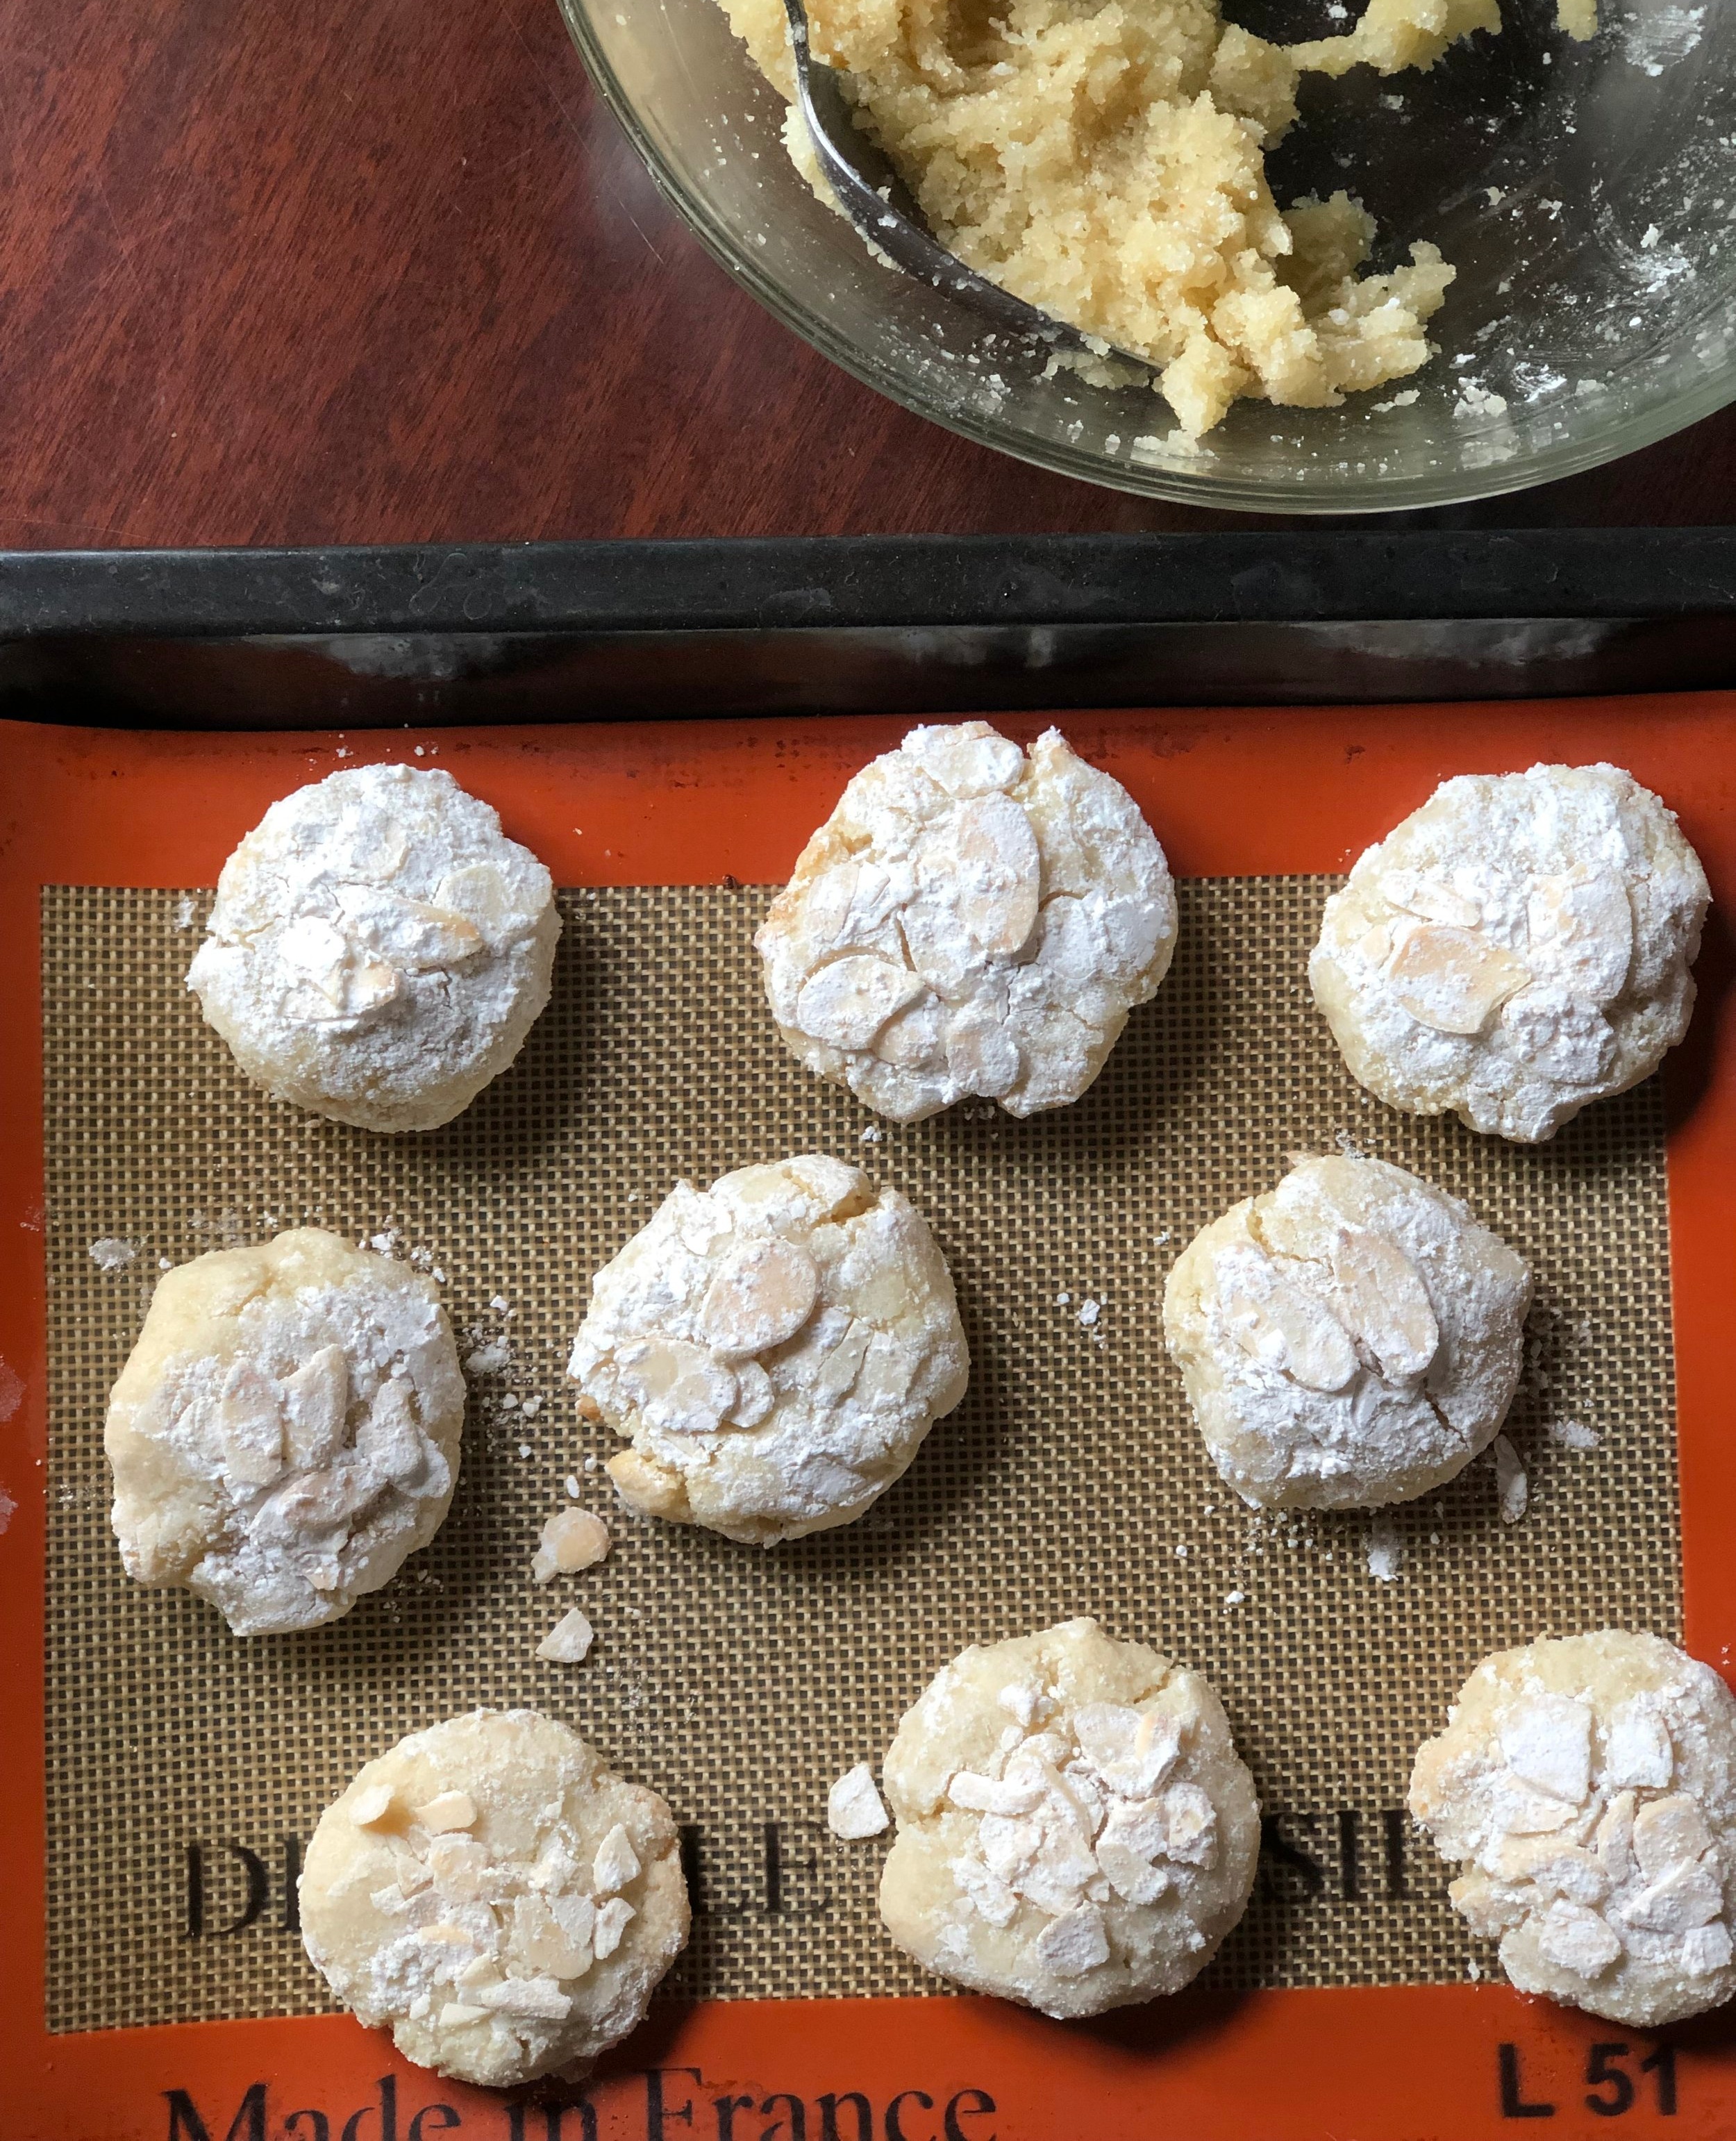
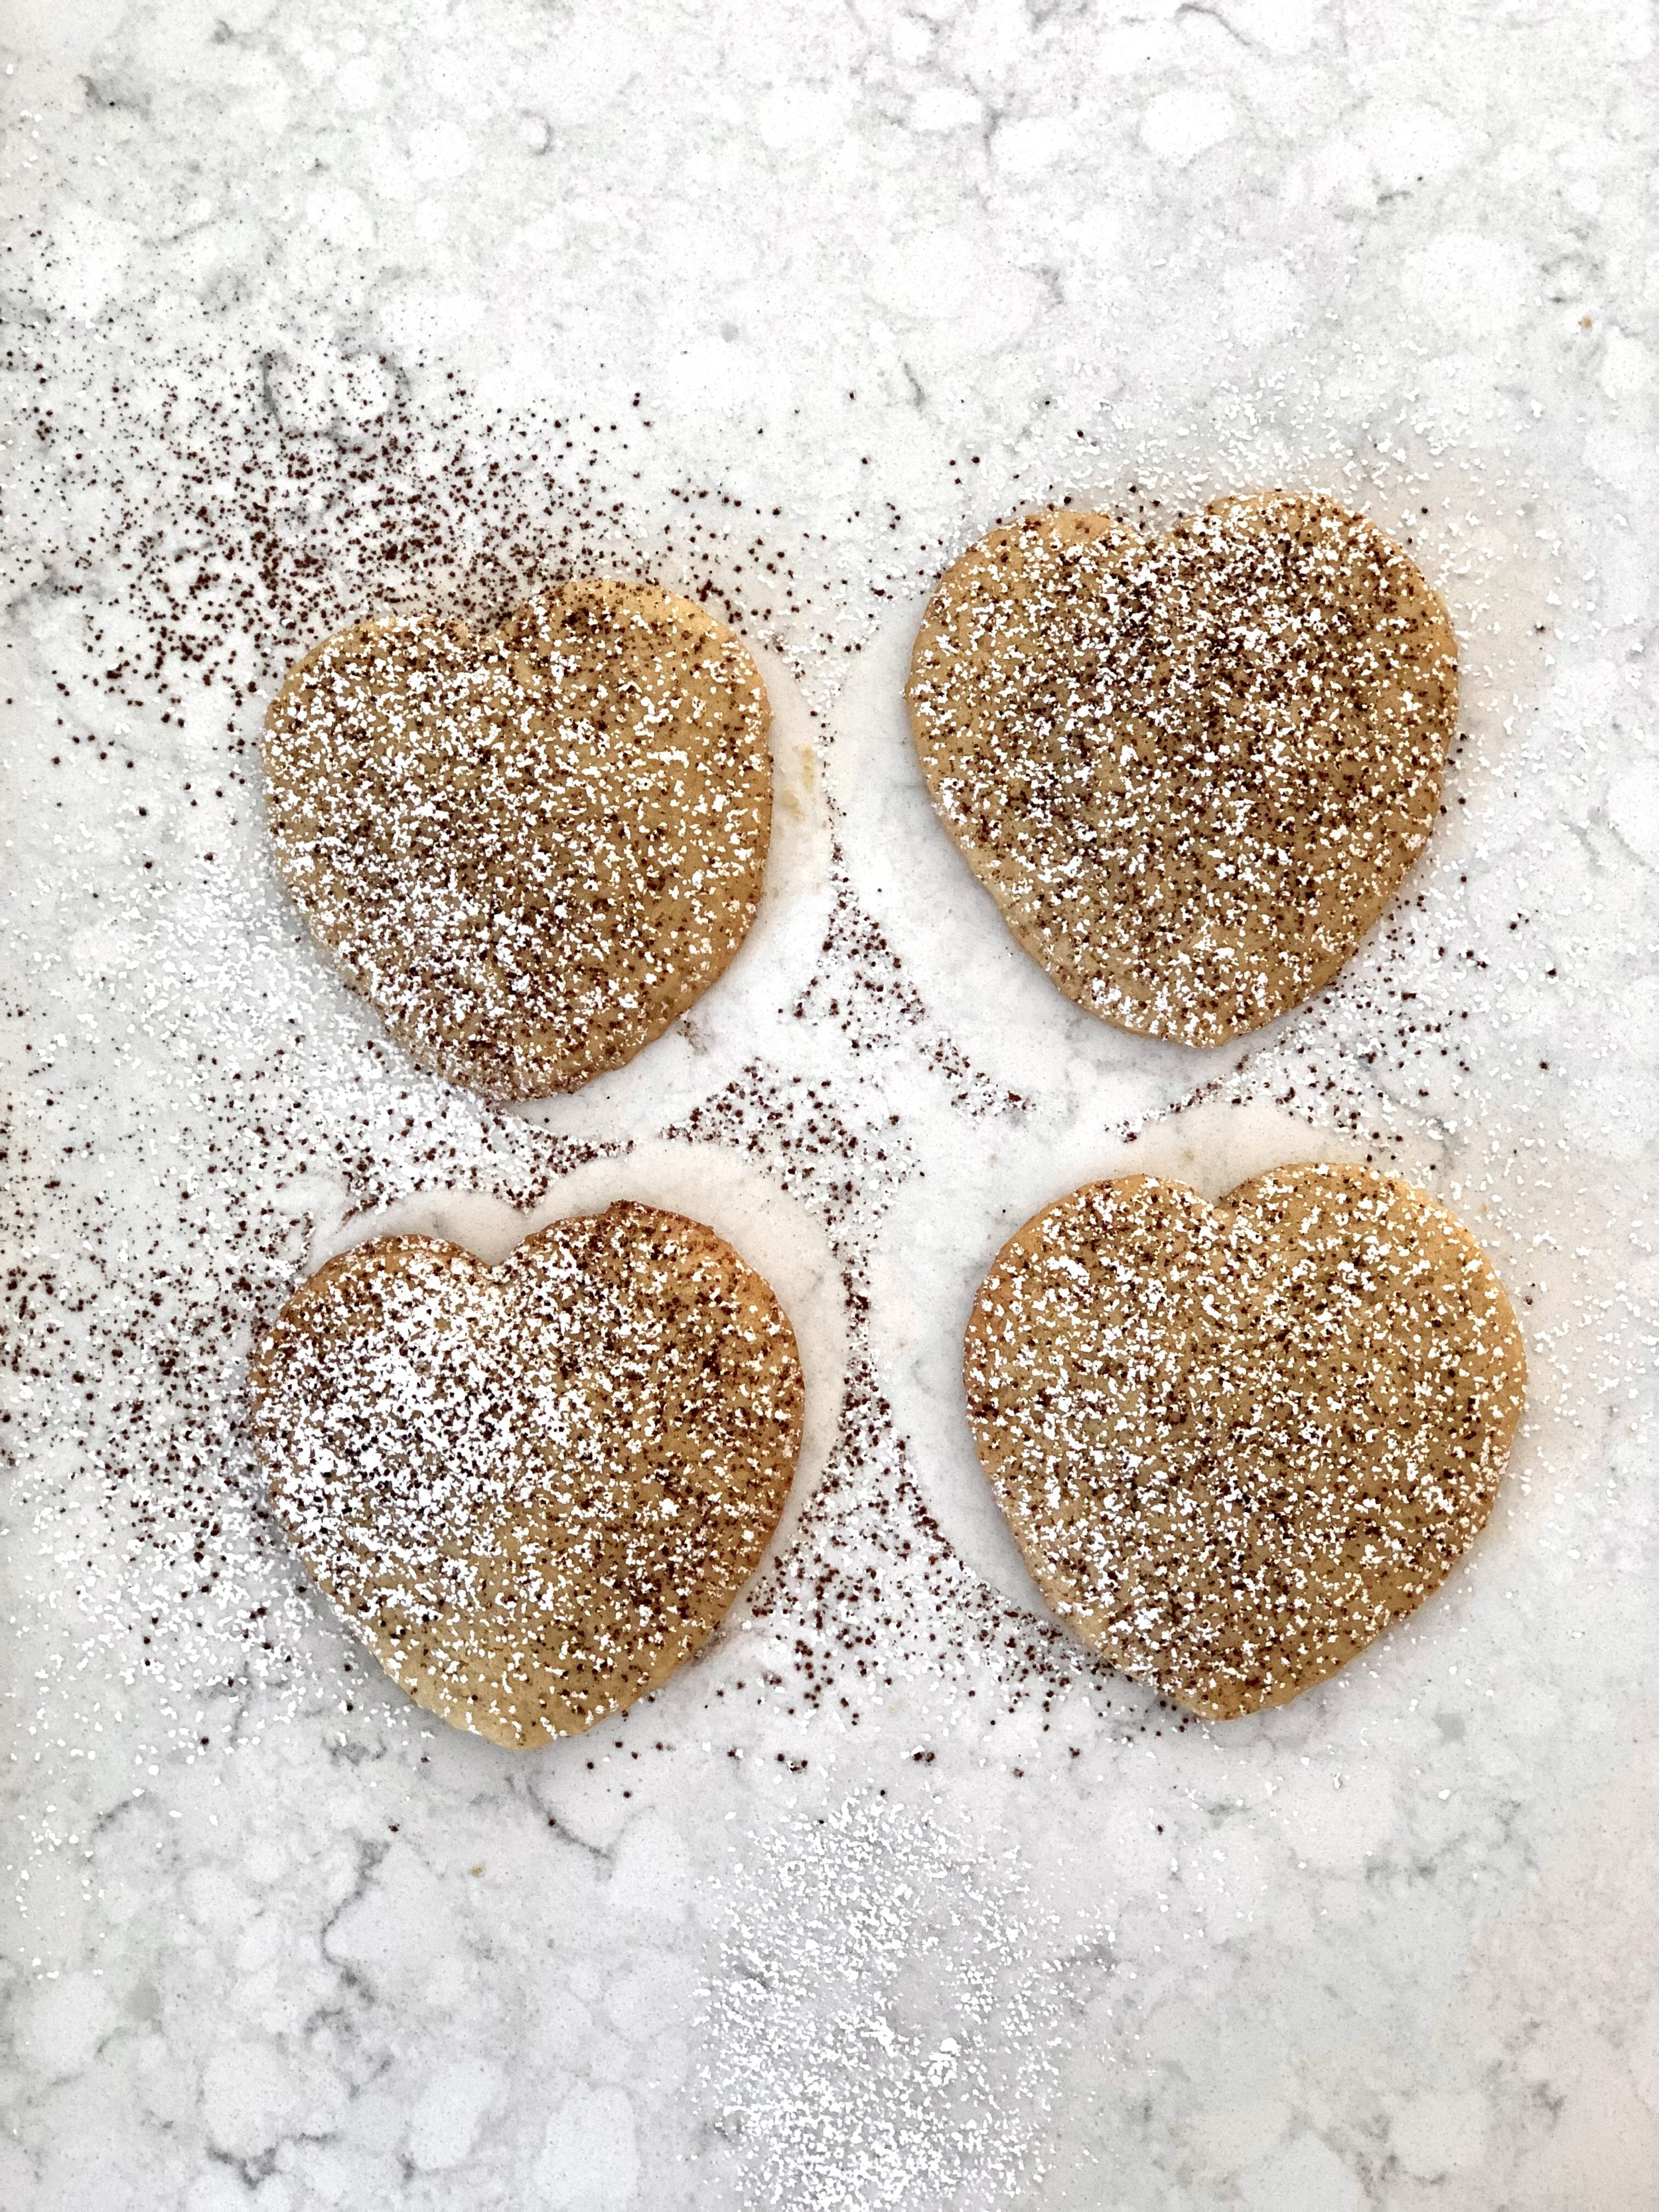
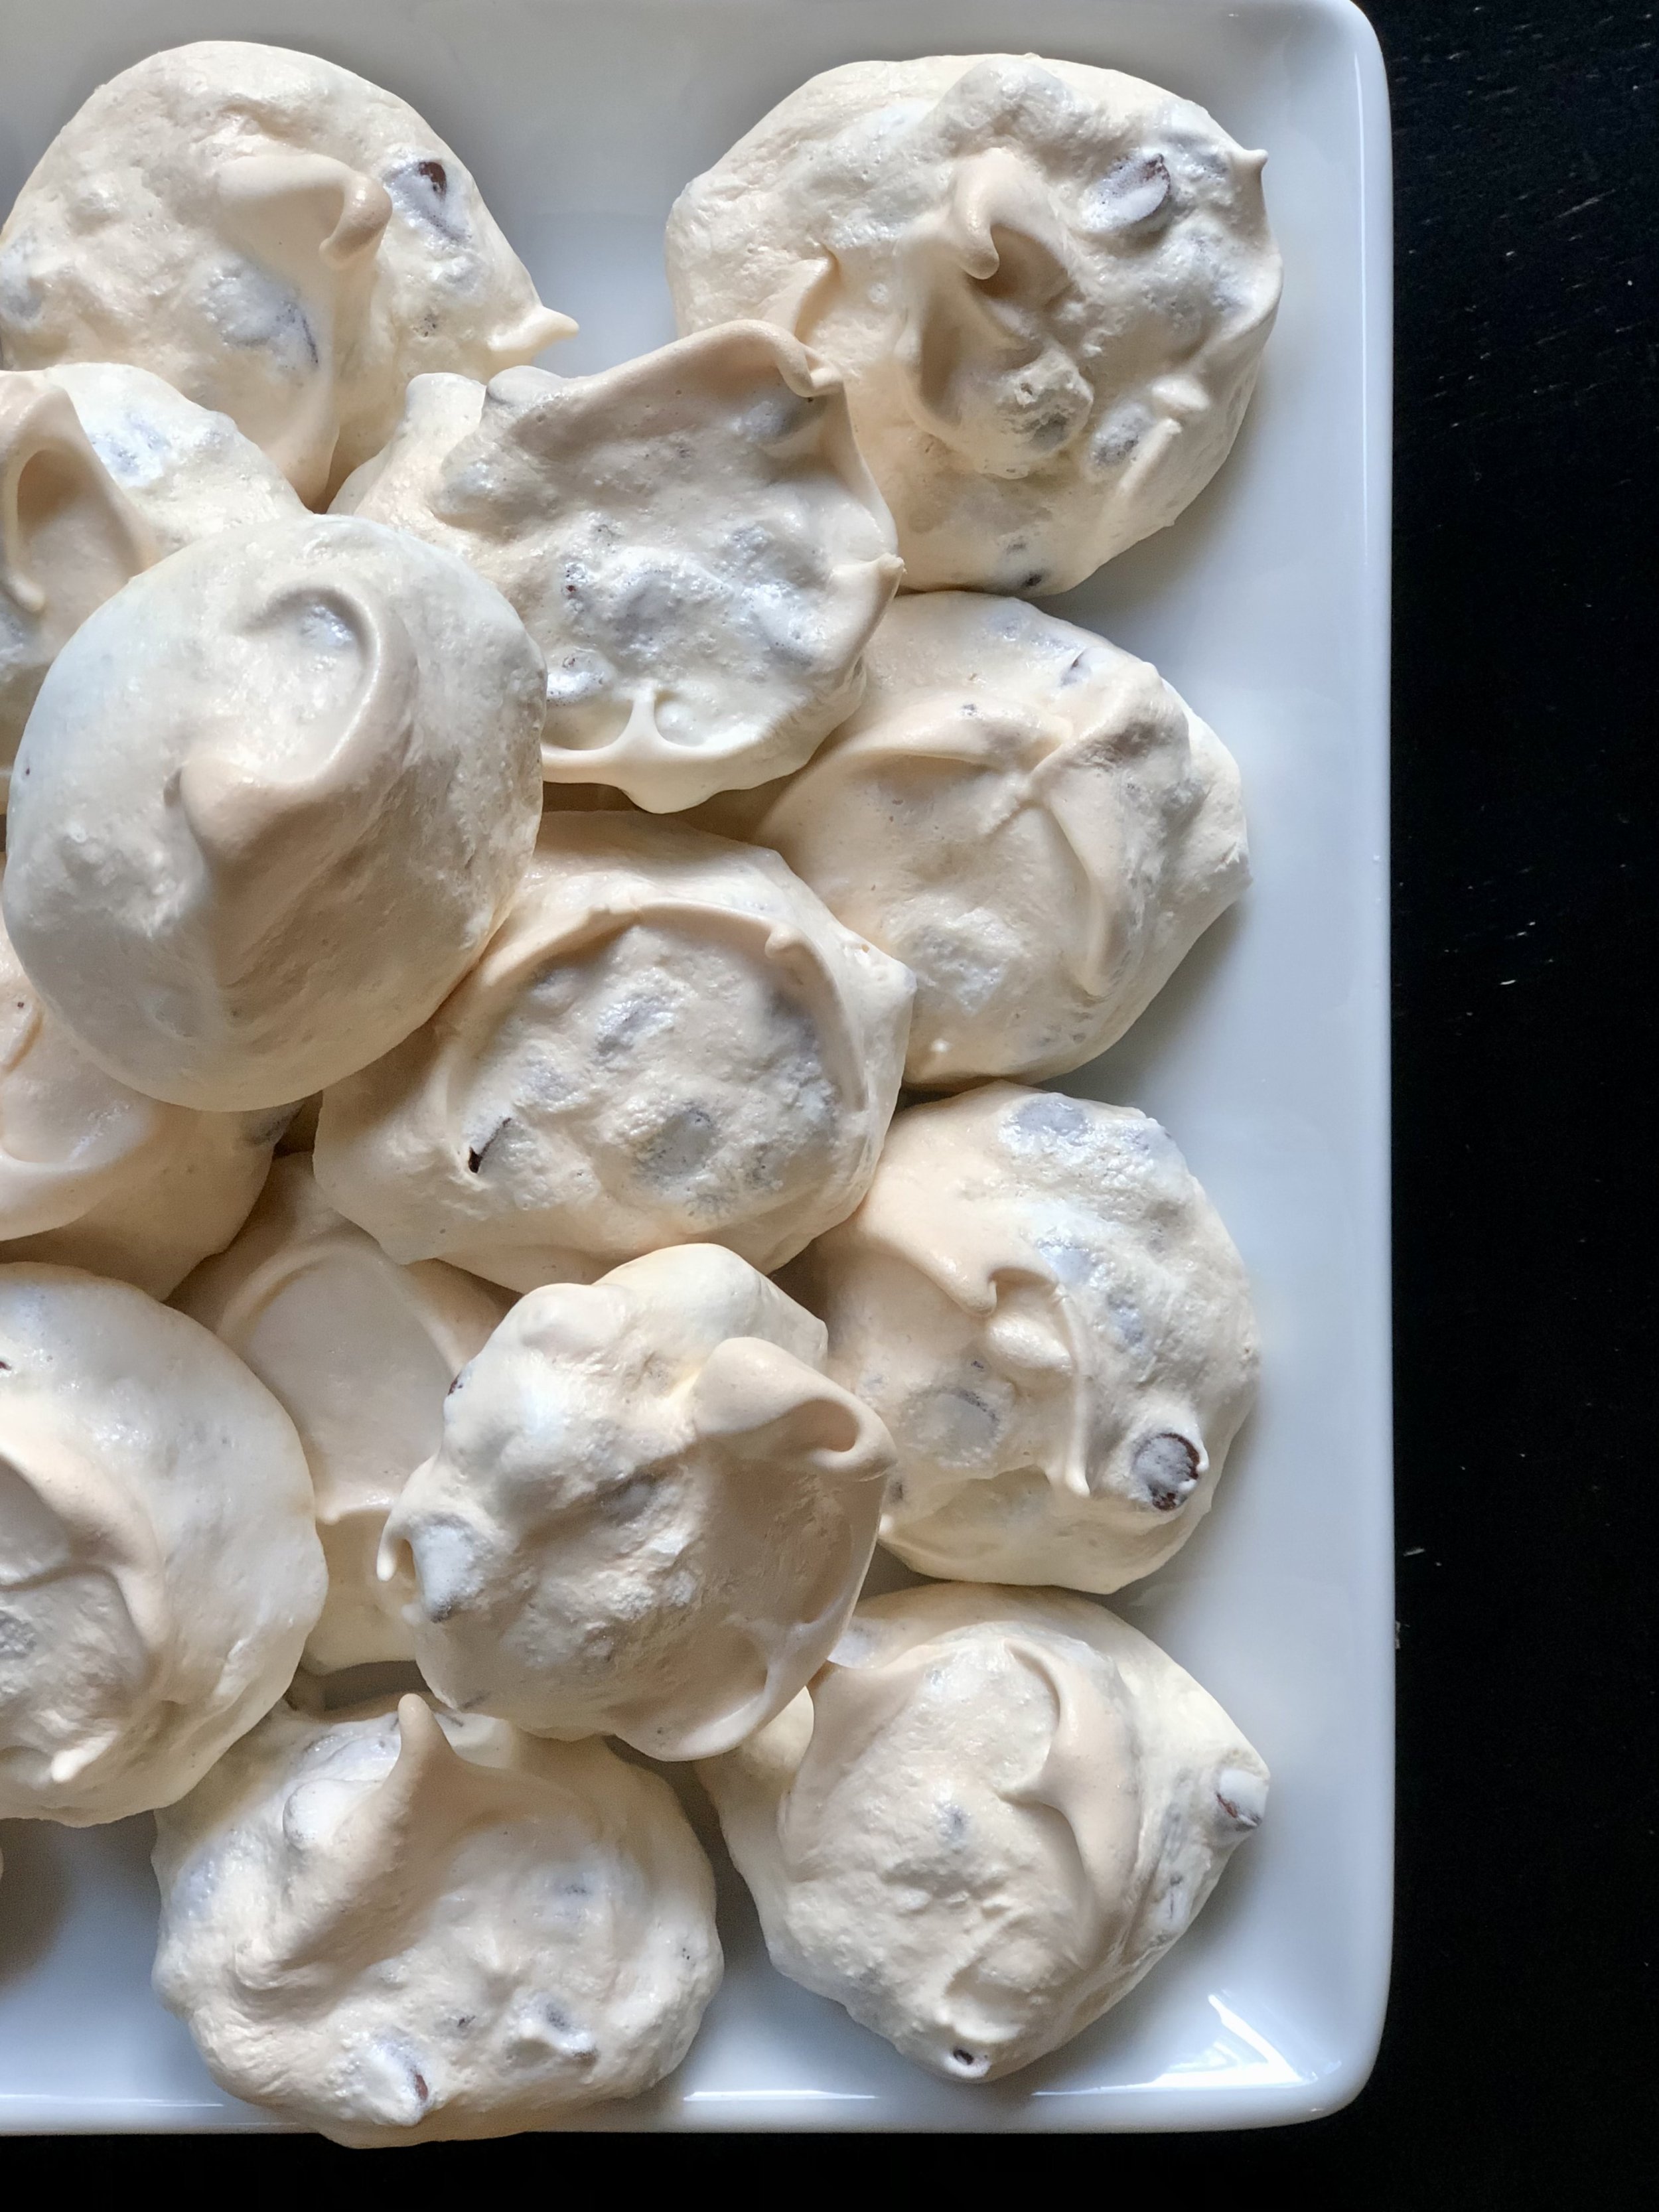
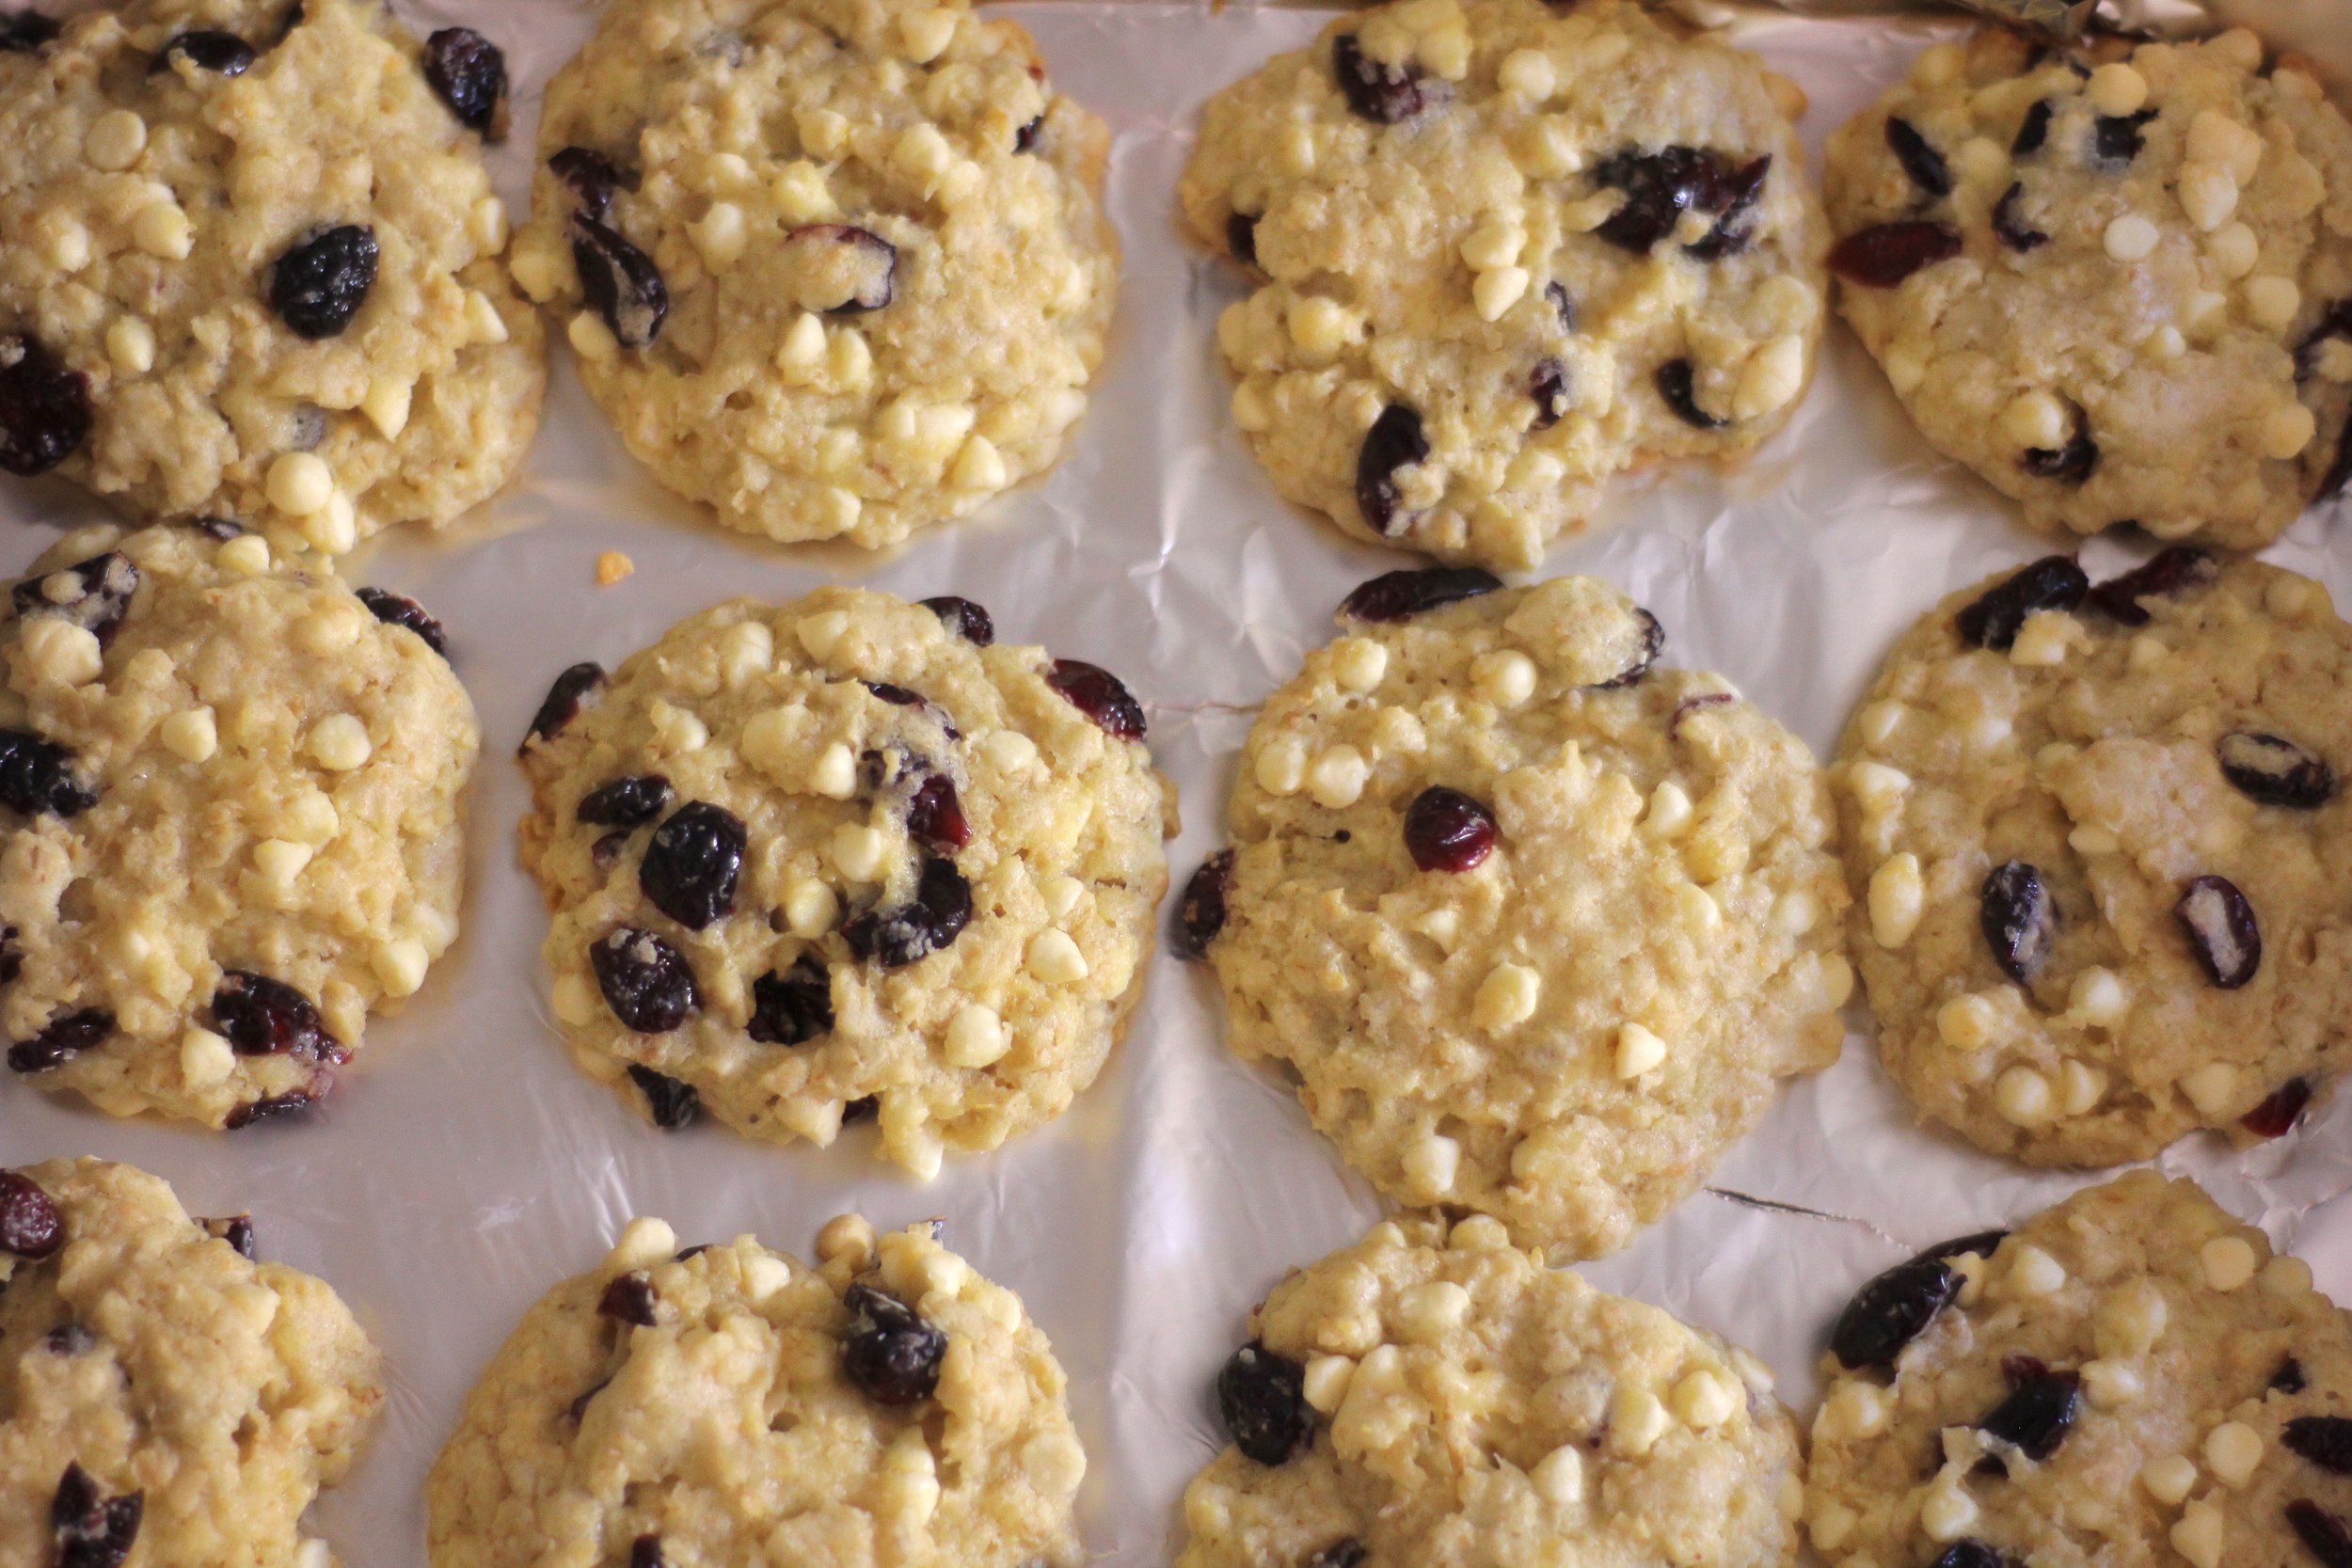
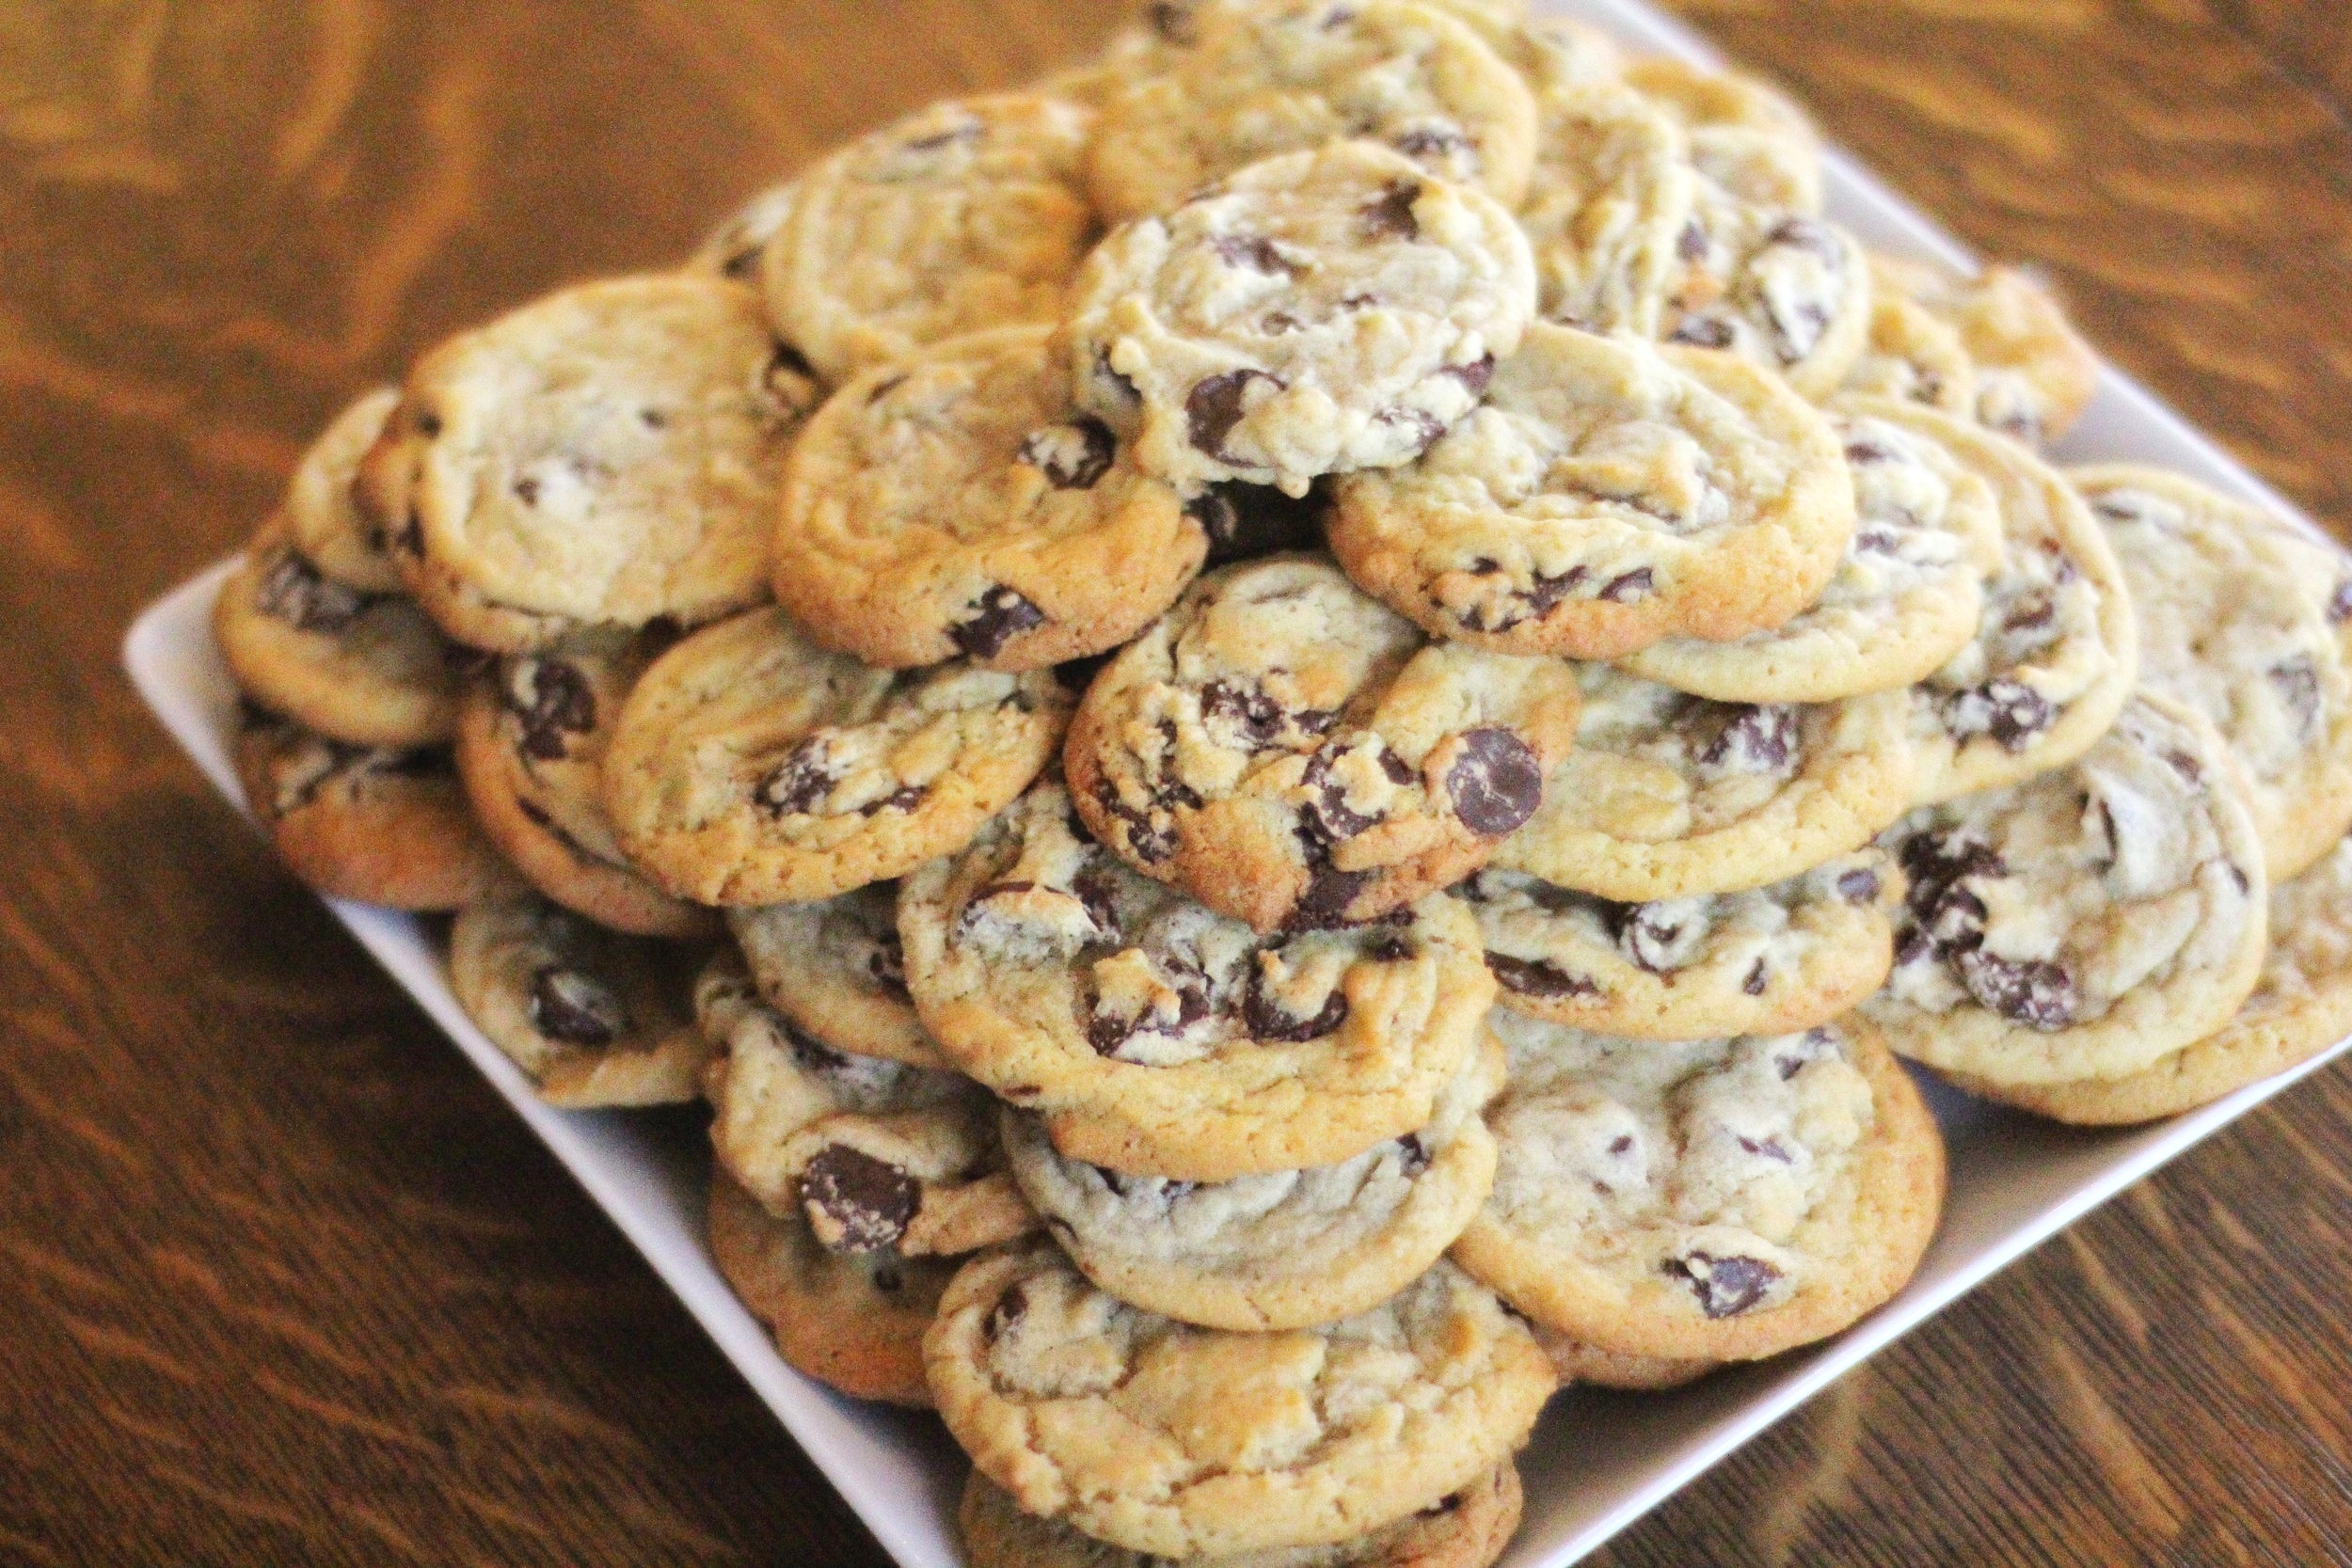
first attempt, after they sat a day
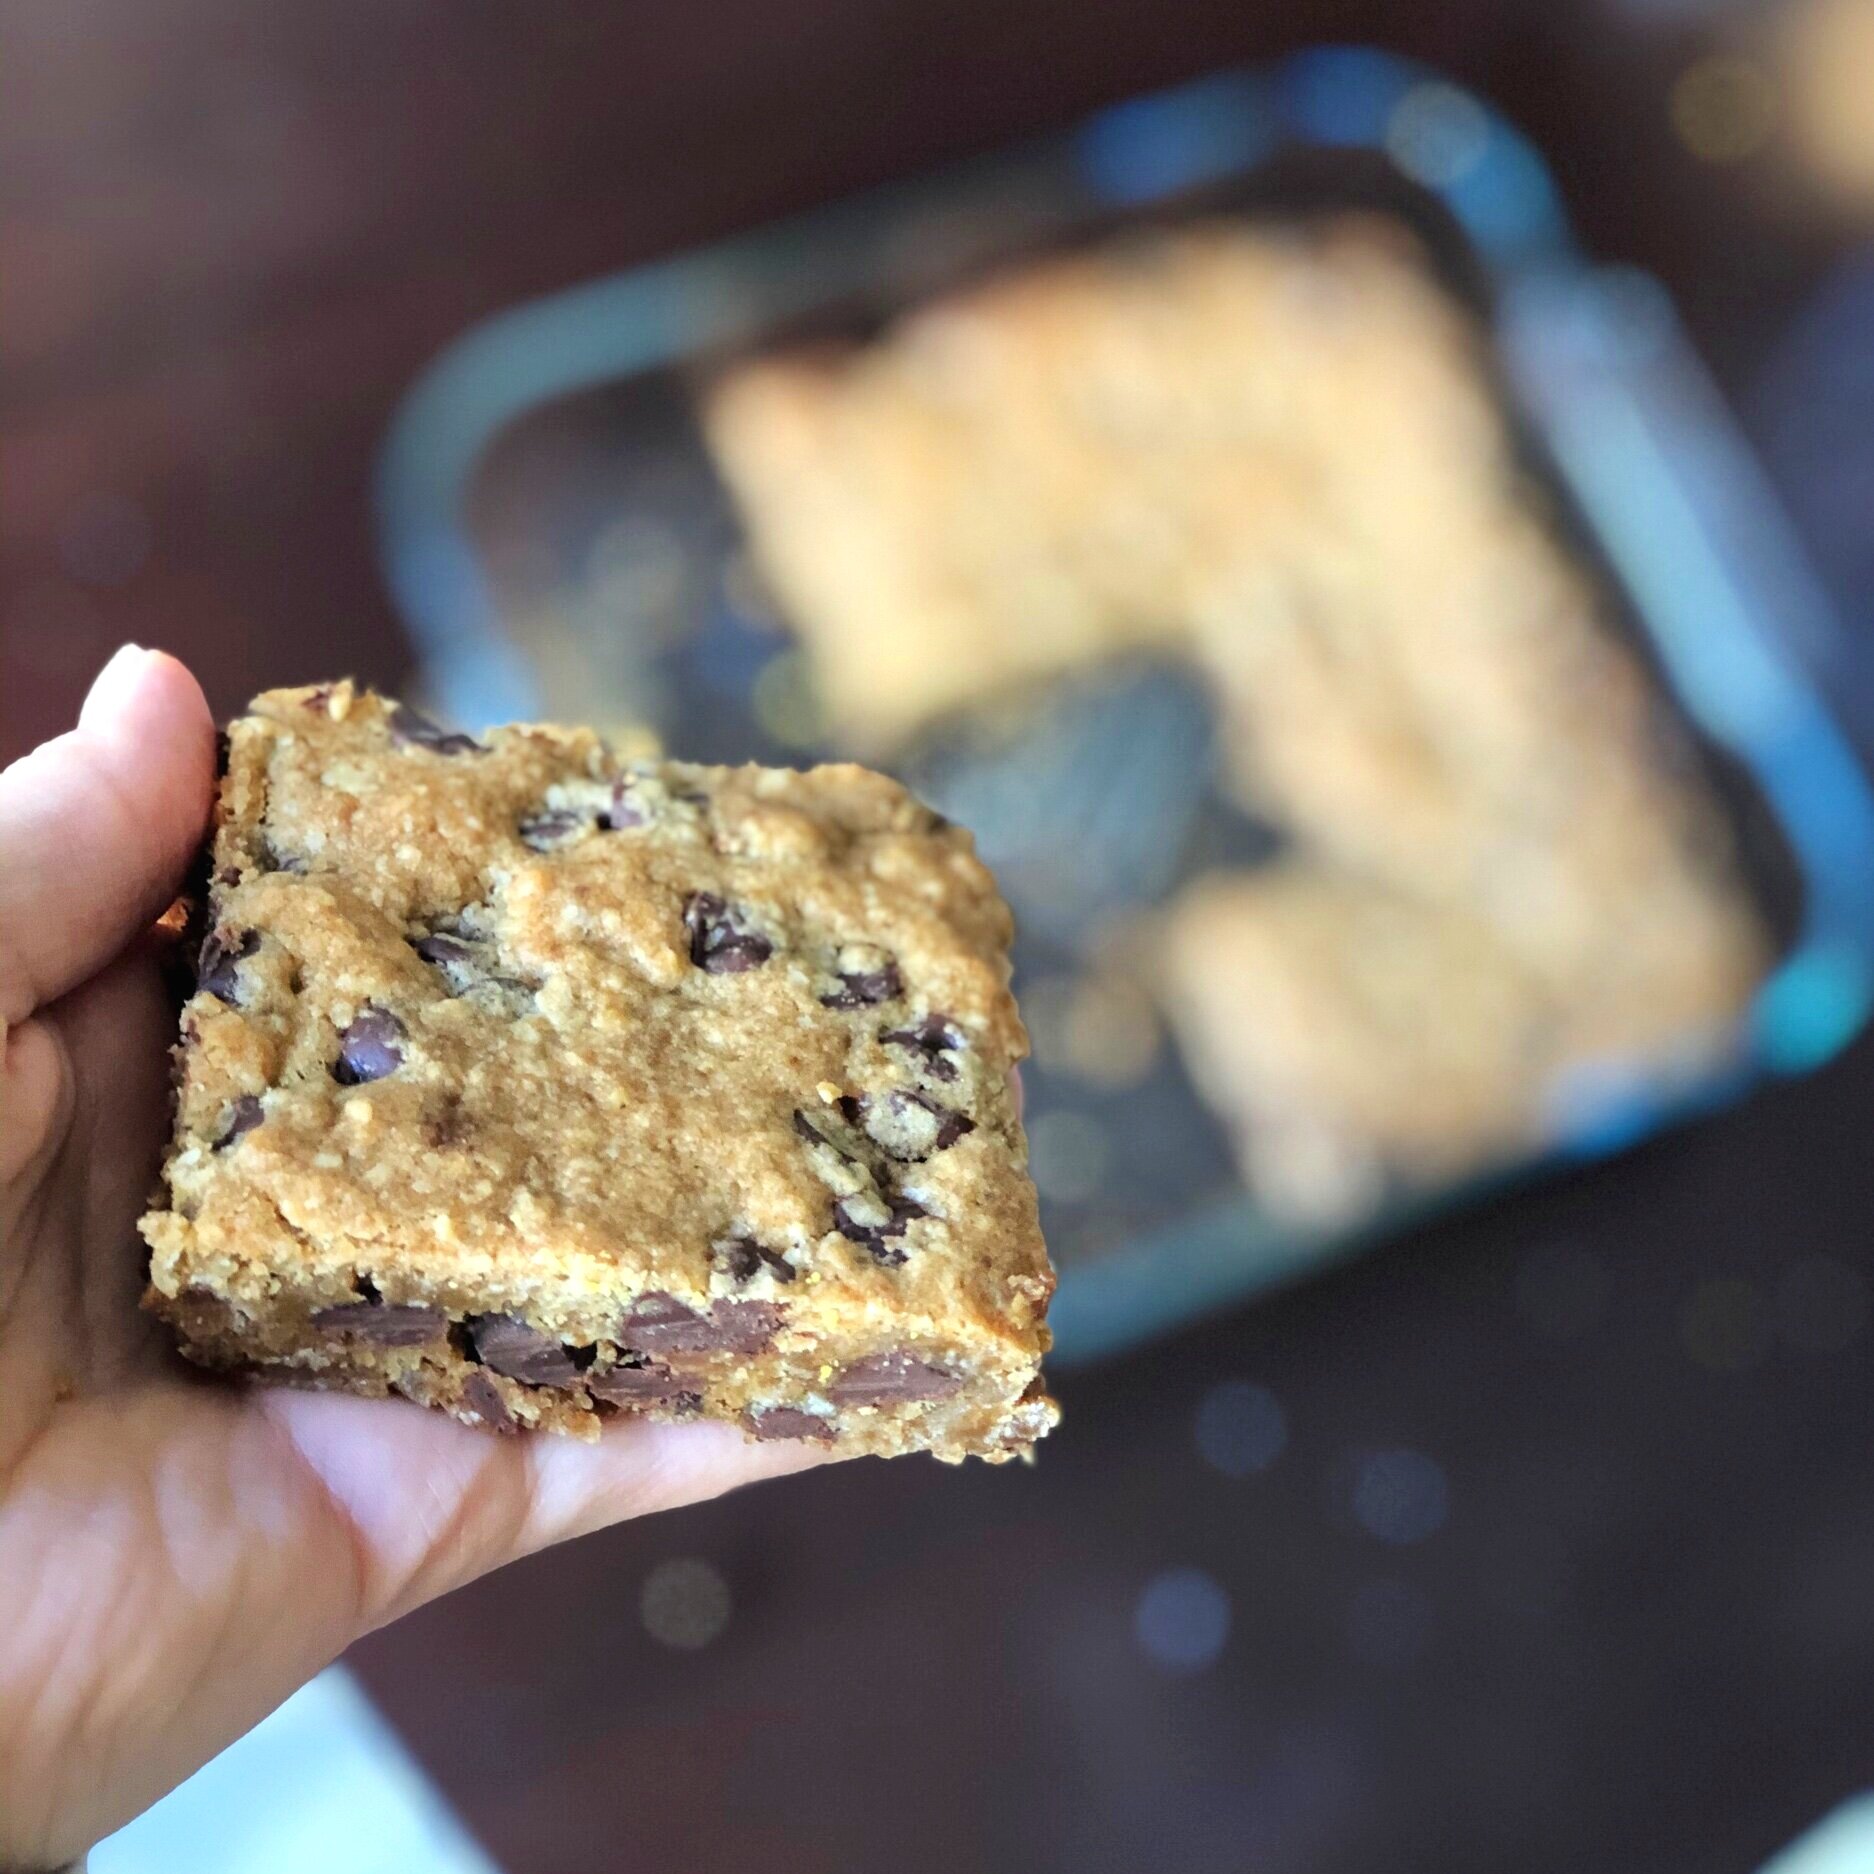
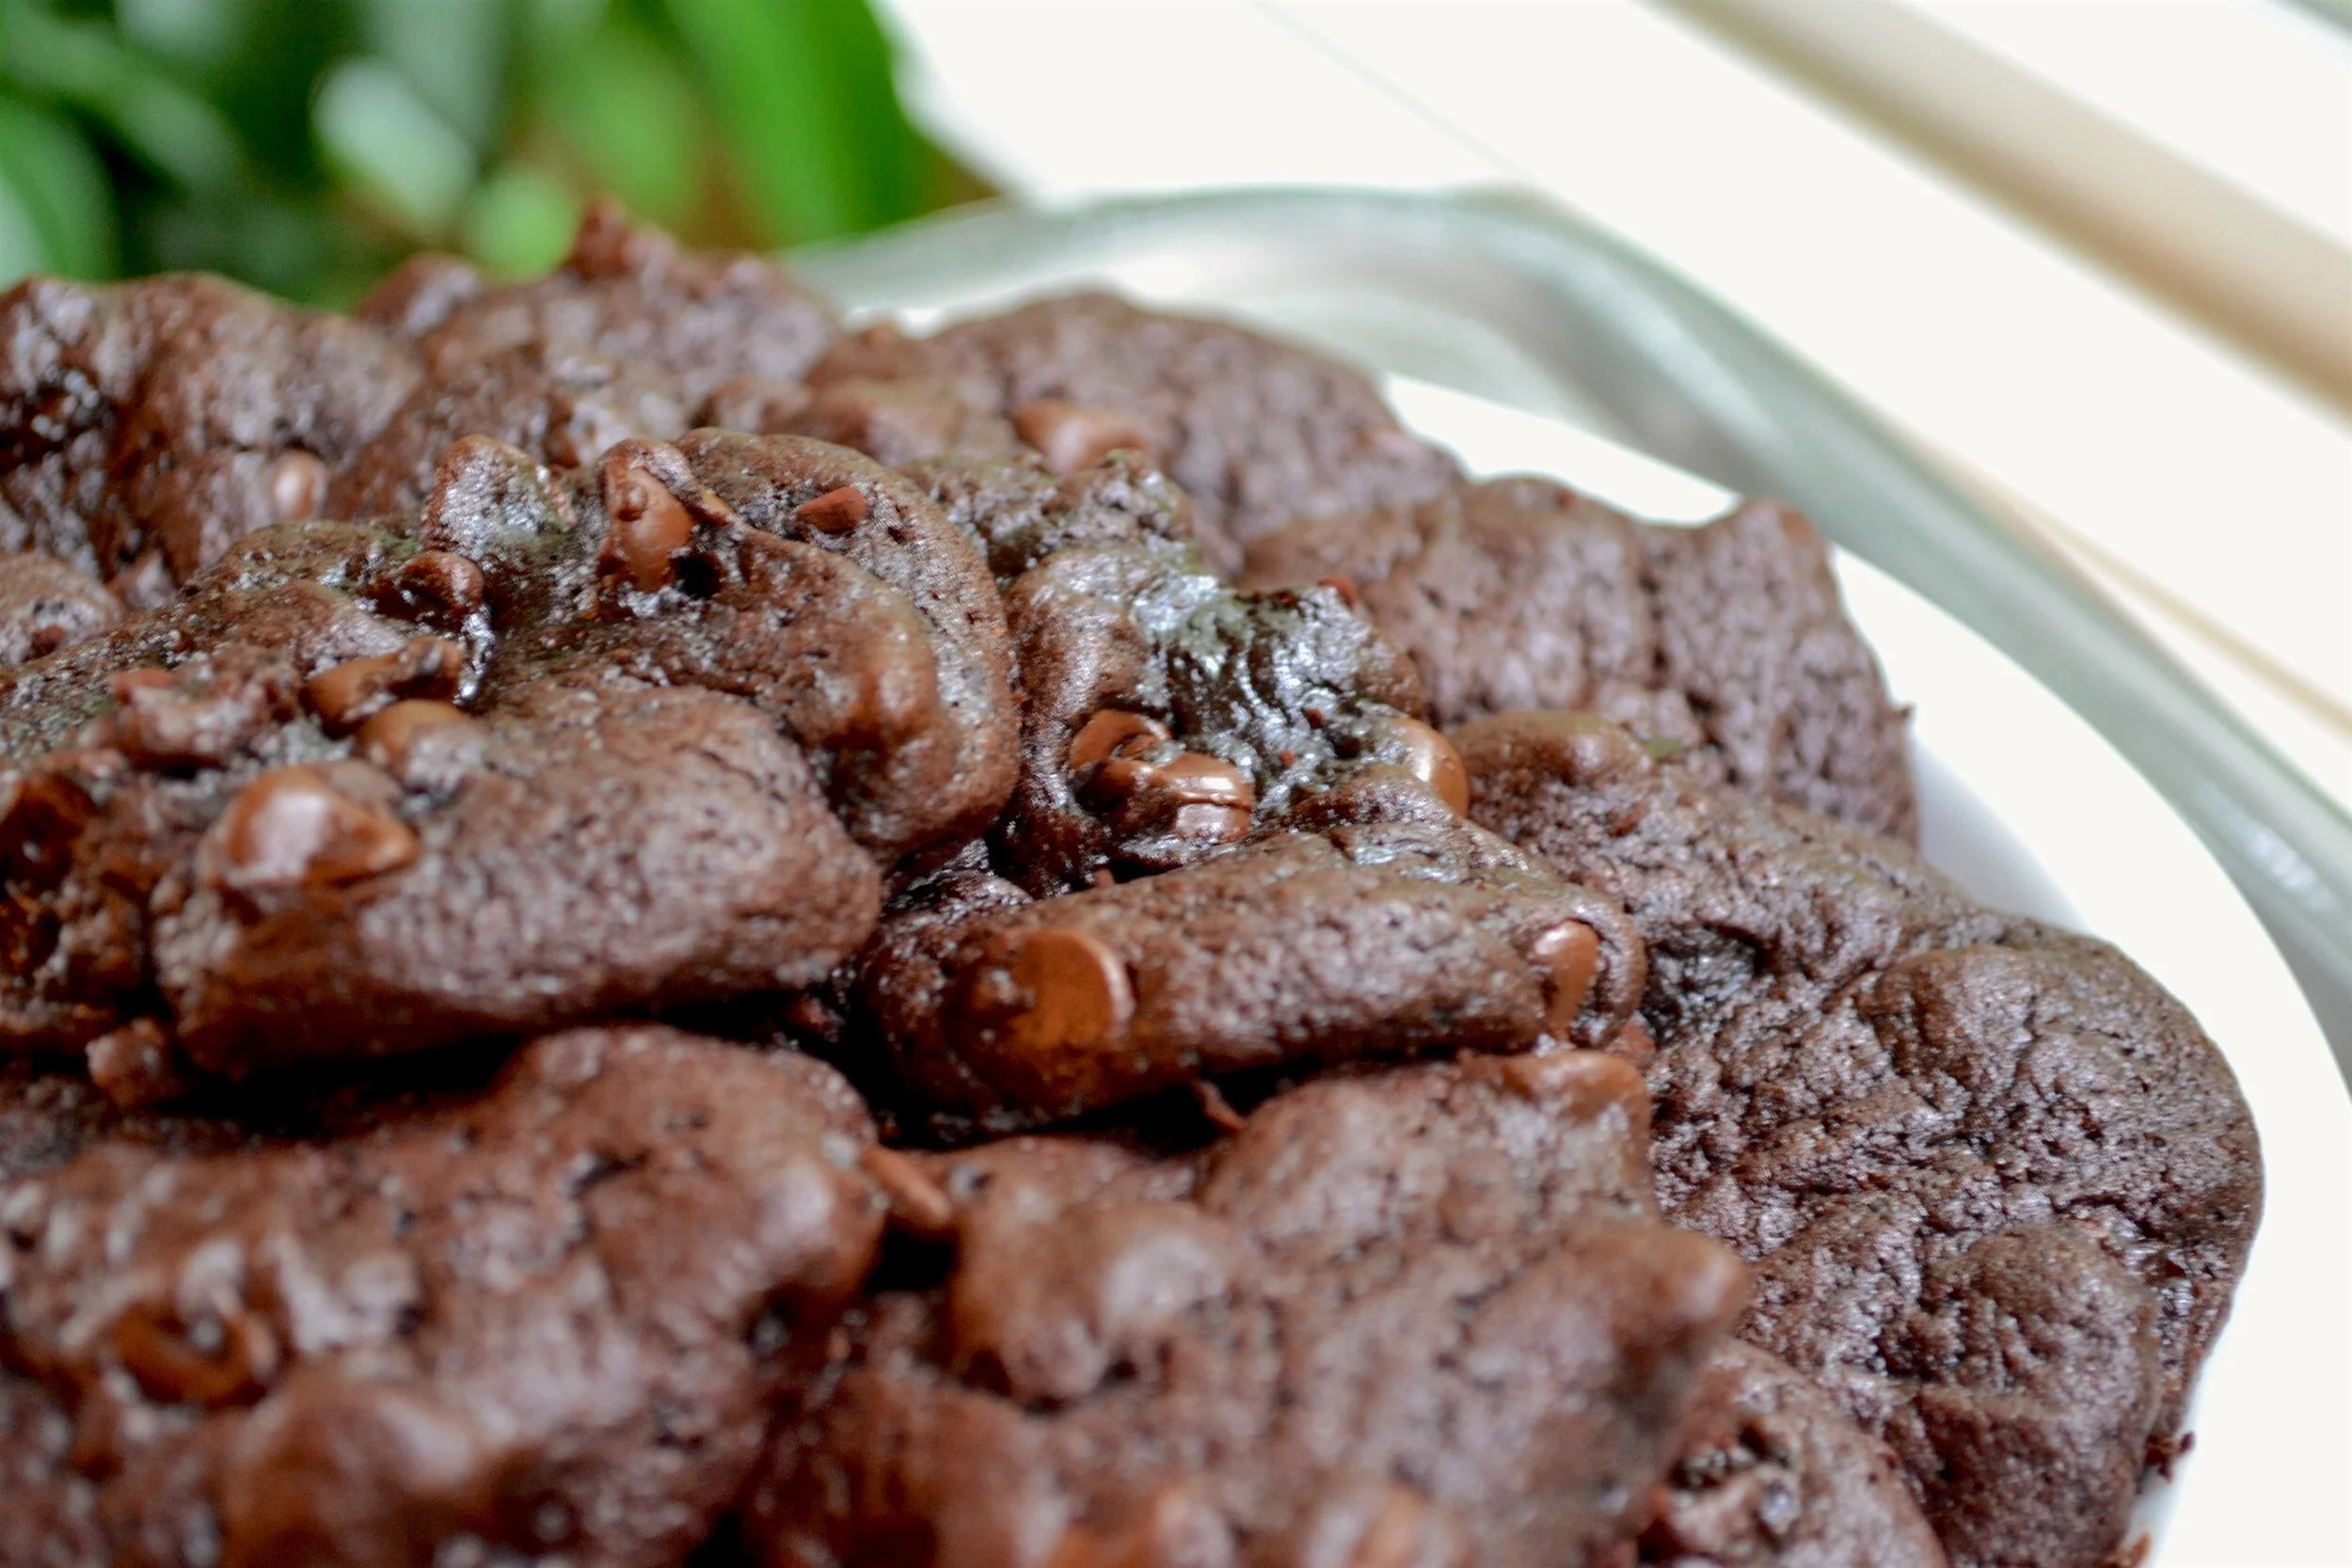
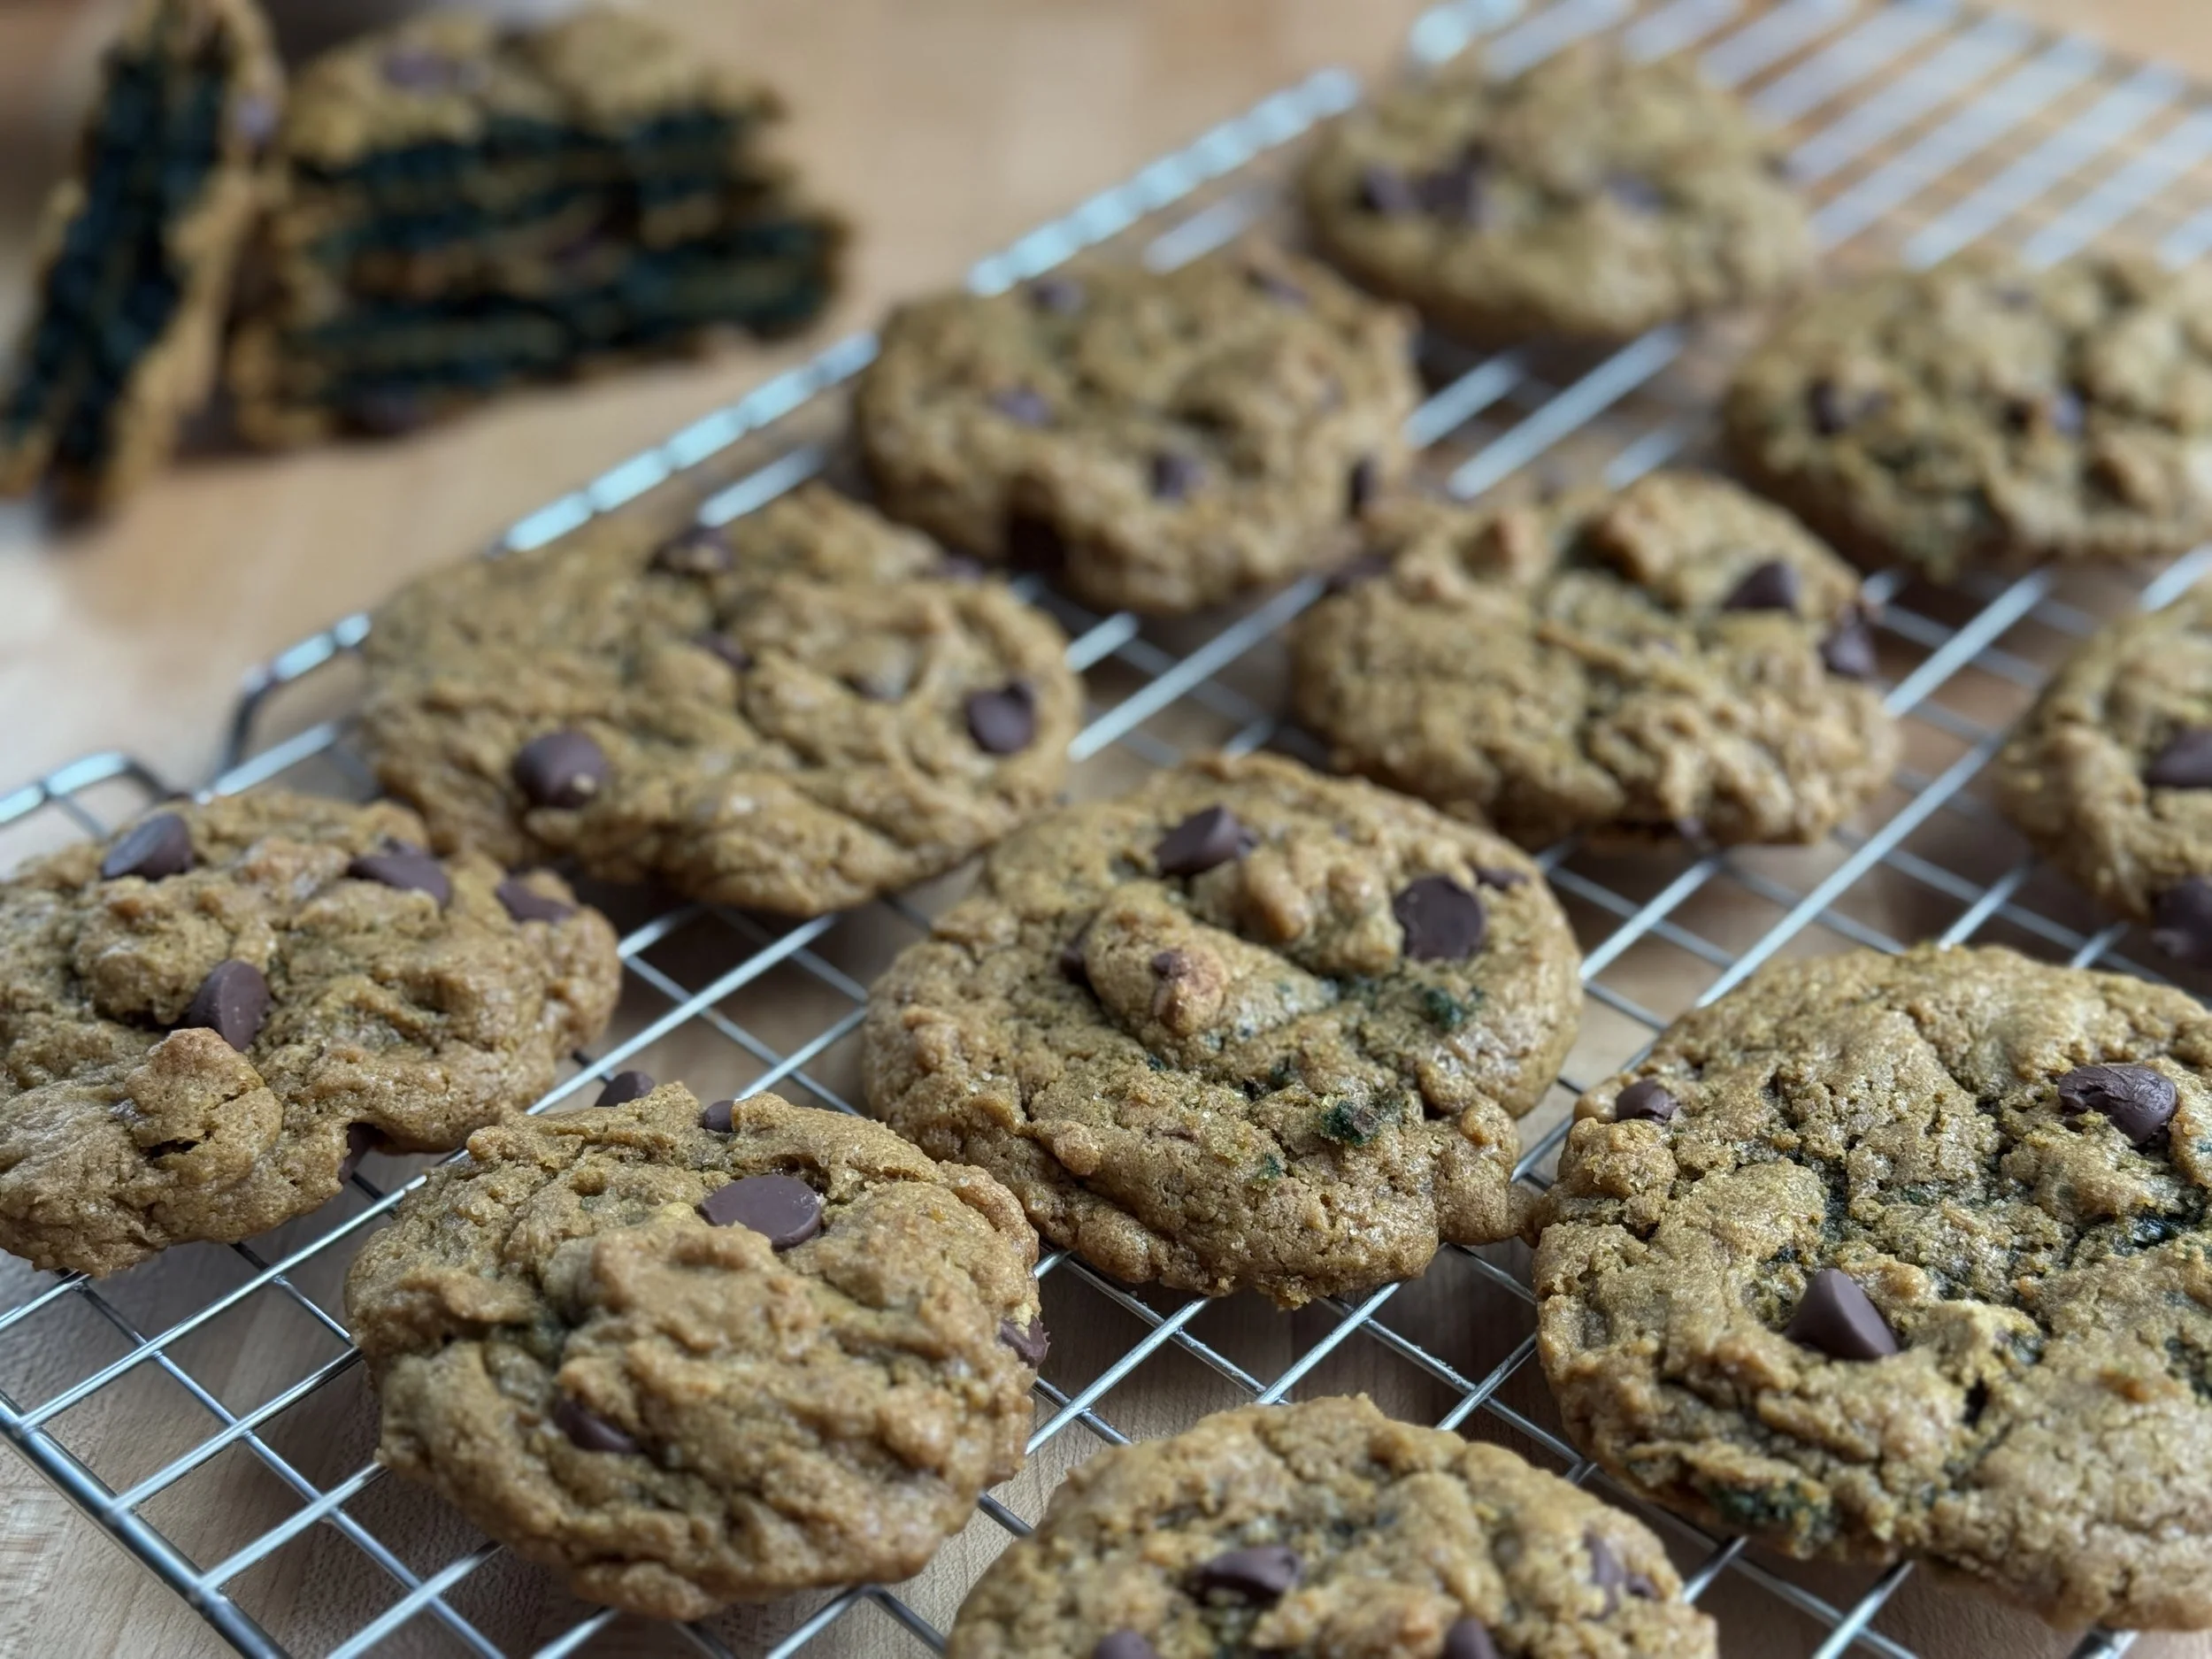
For my first attempt, I settled on a recipe that seemed the closest to a more “classic” cookie recipe. Except it didn’t include eggs and I thought it should, so I did add an egg. Then the dough was too sticky, as would be expected by adding in an egg, so I added a bit more flour. The dough was still much stickier than typical cookie dough, but after test-baking one cookie, the amount of flour seemed correct. The cookie didn’t spread too much as a cookie that is too wet/sticky would. The cookies came out of the oven with hardly a tinge of green. I let them cool. A tinge of green appeared. I managed to keep one cookie aside for the next day. If nothing else, at least they’re delicious! The next day, some definite green had appeared. Not quite like some of the photos, but I was encouraged, and had ideas for how to get these foolproof.
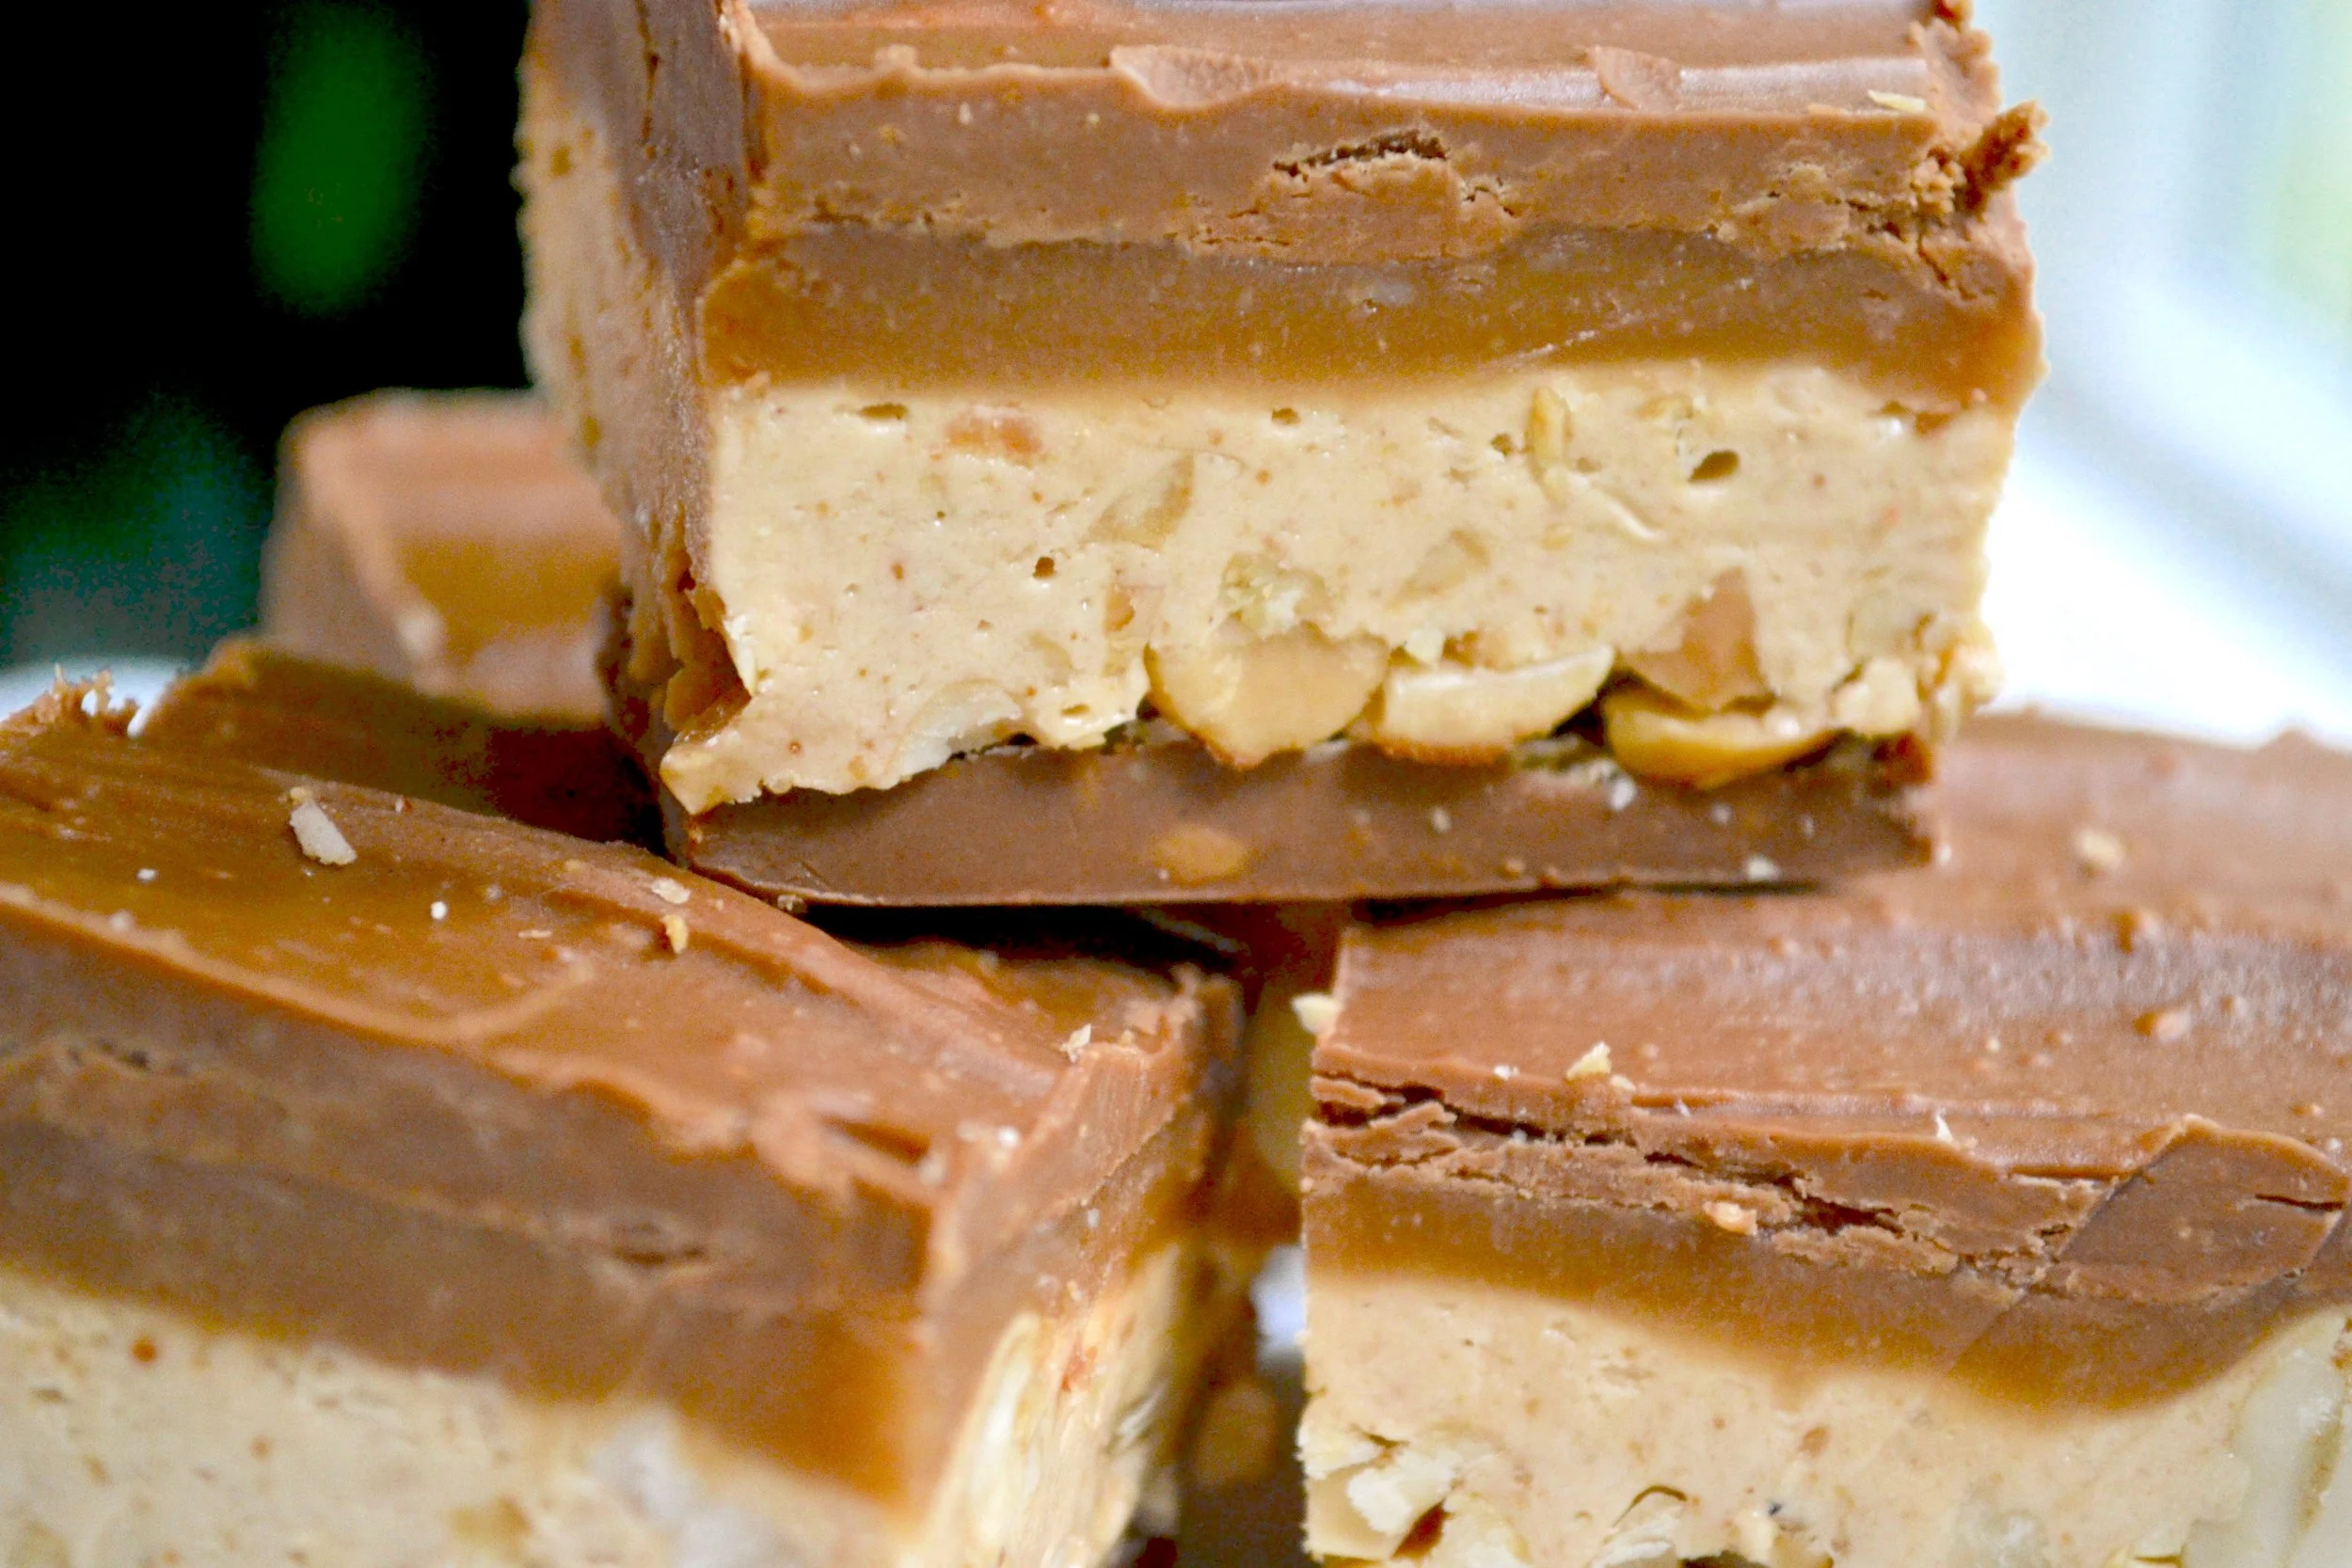
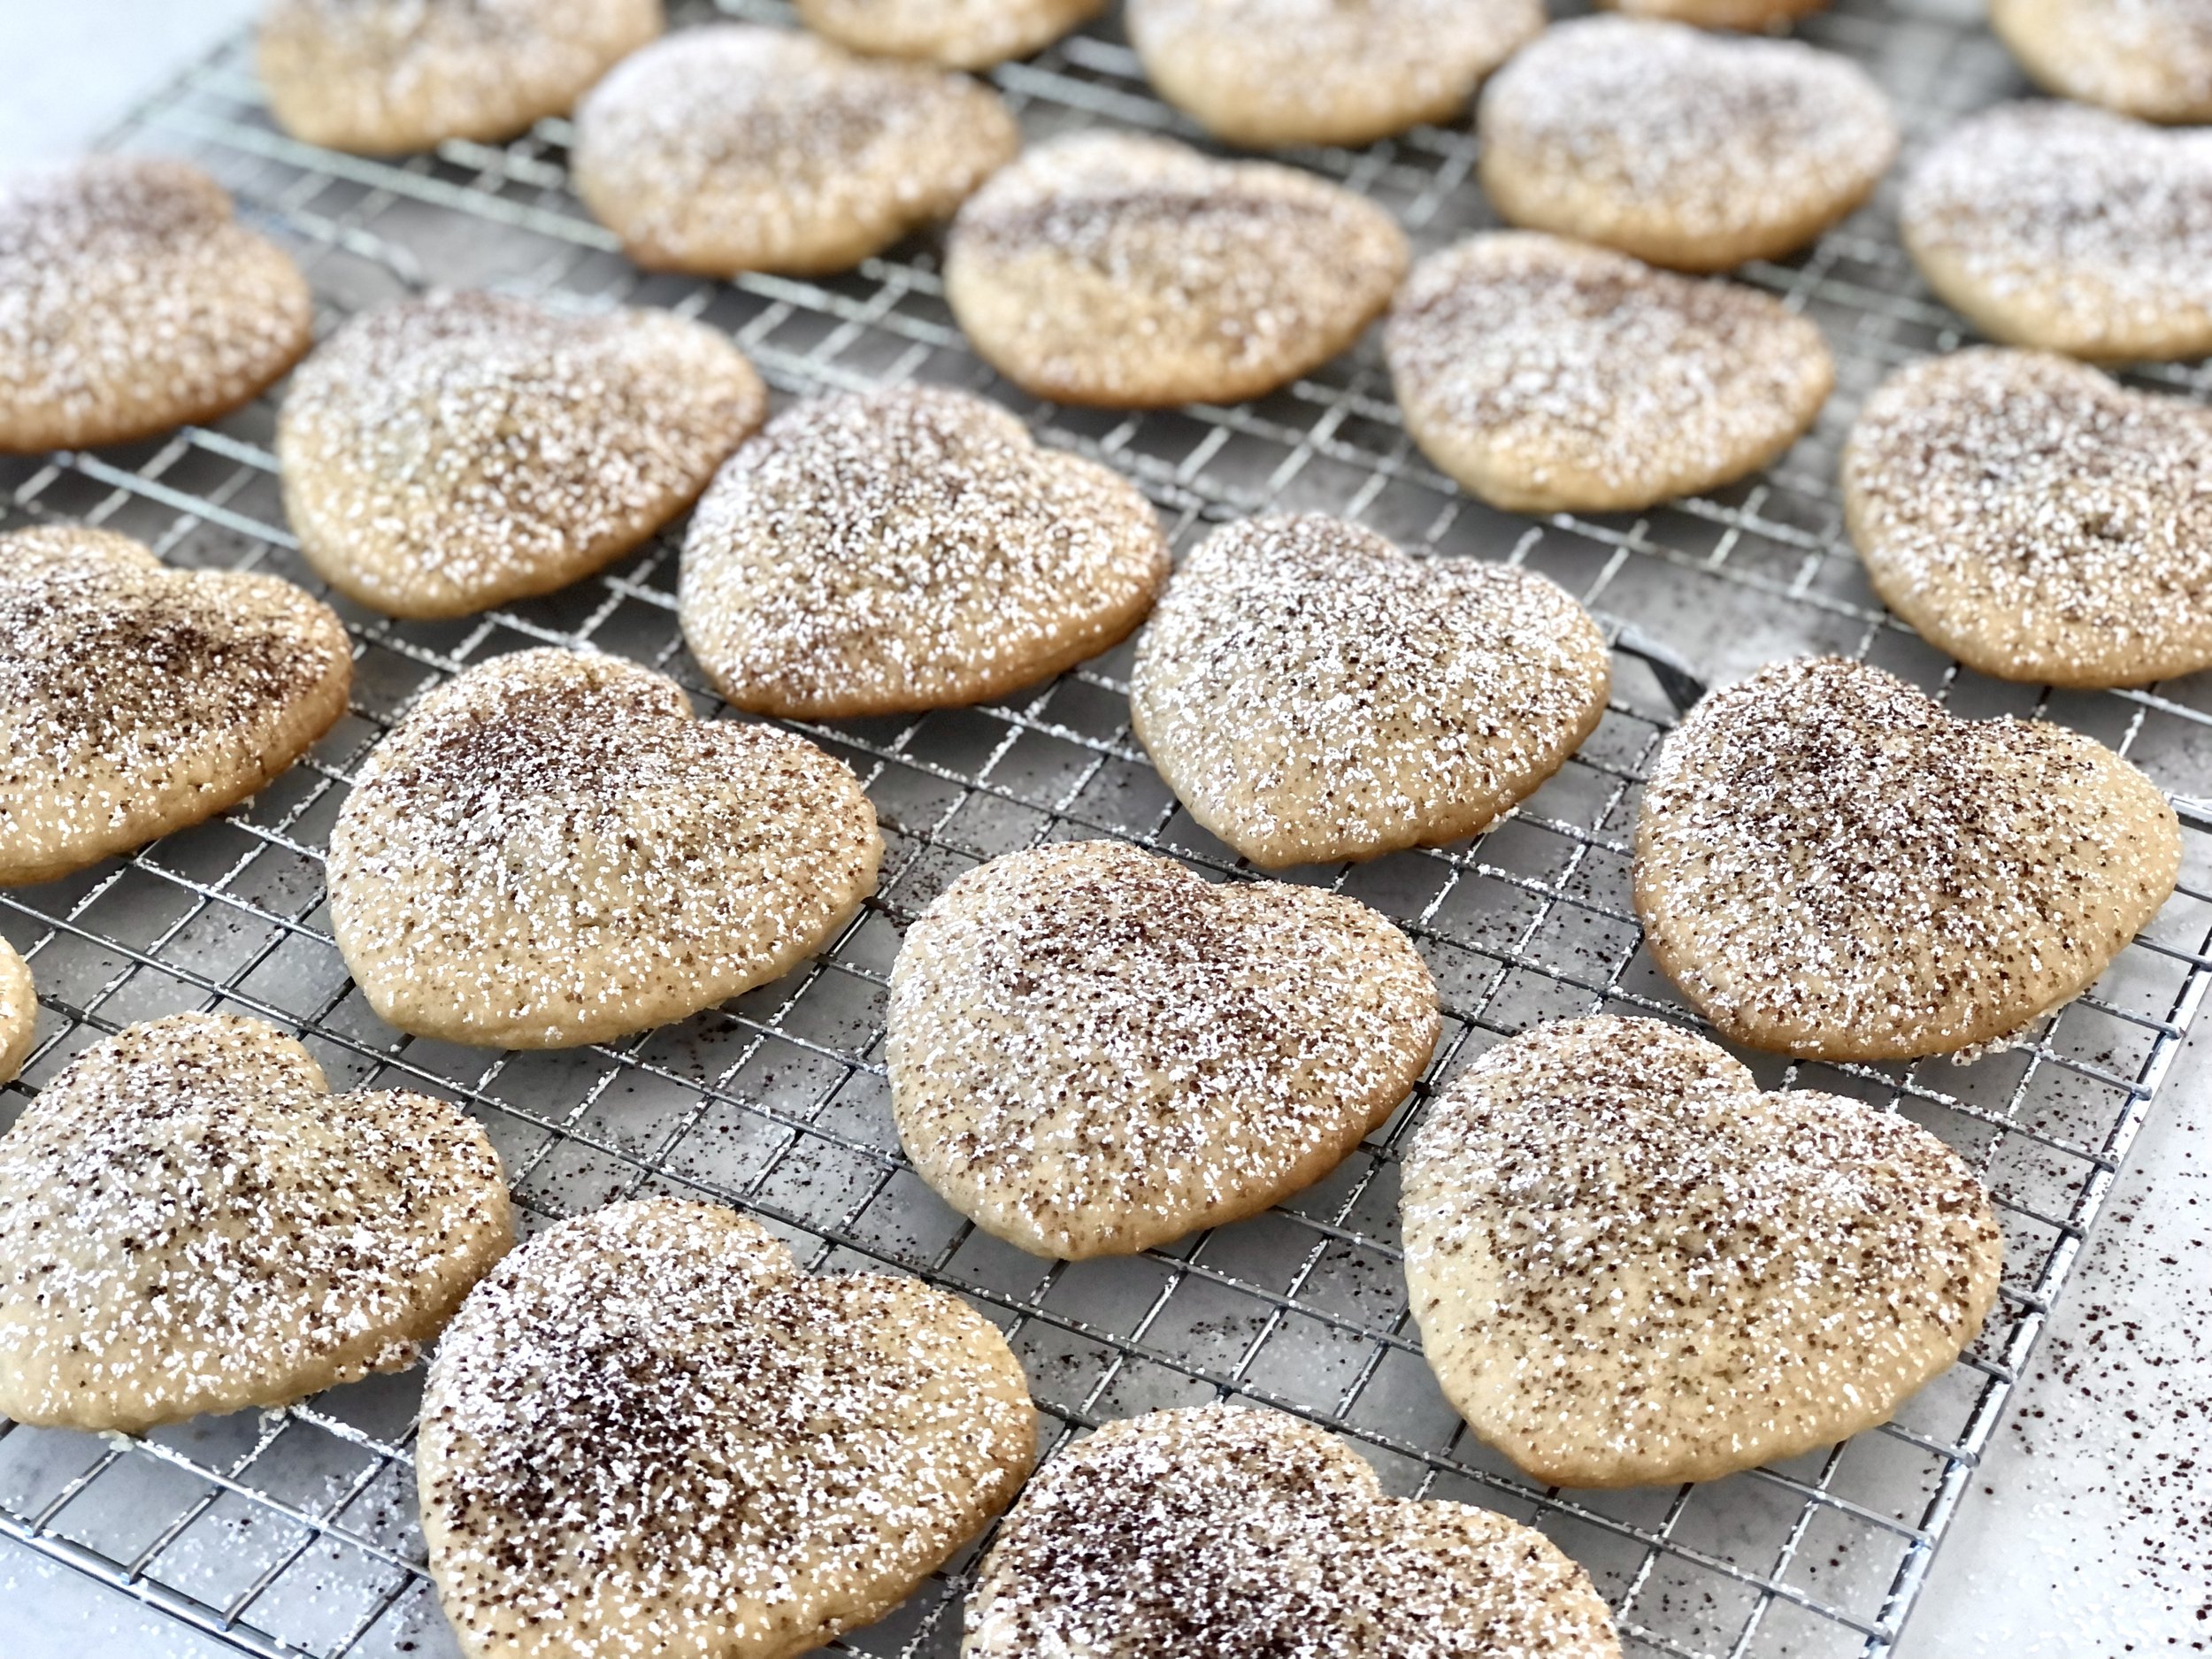
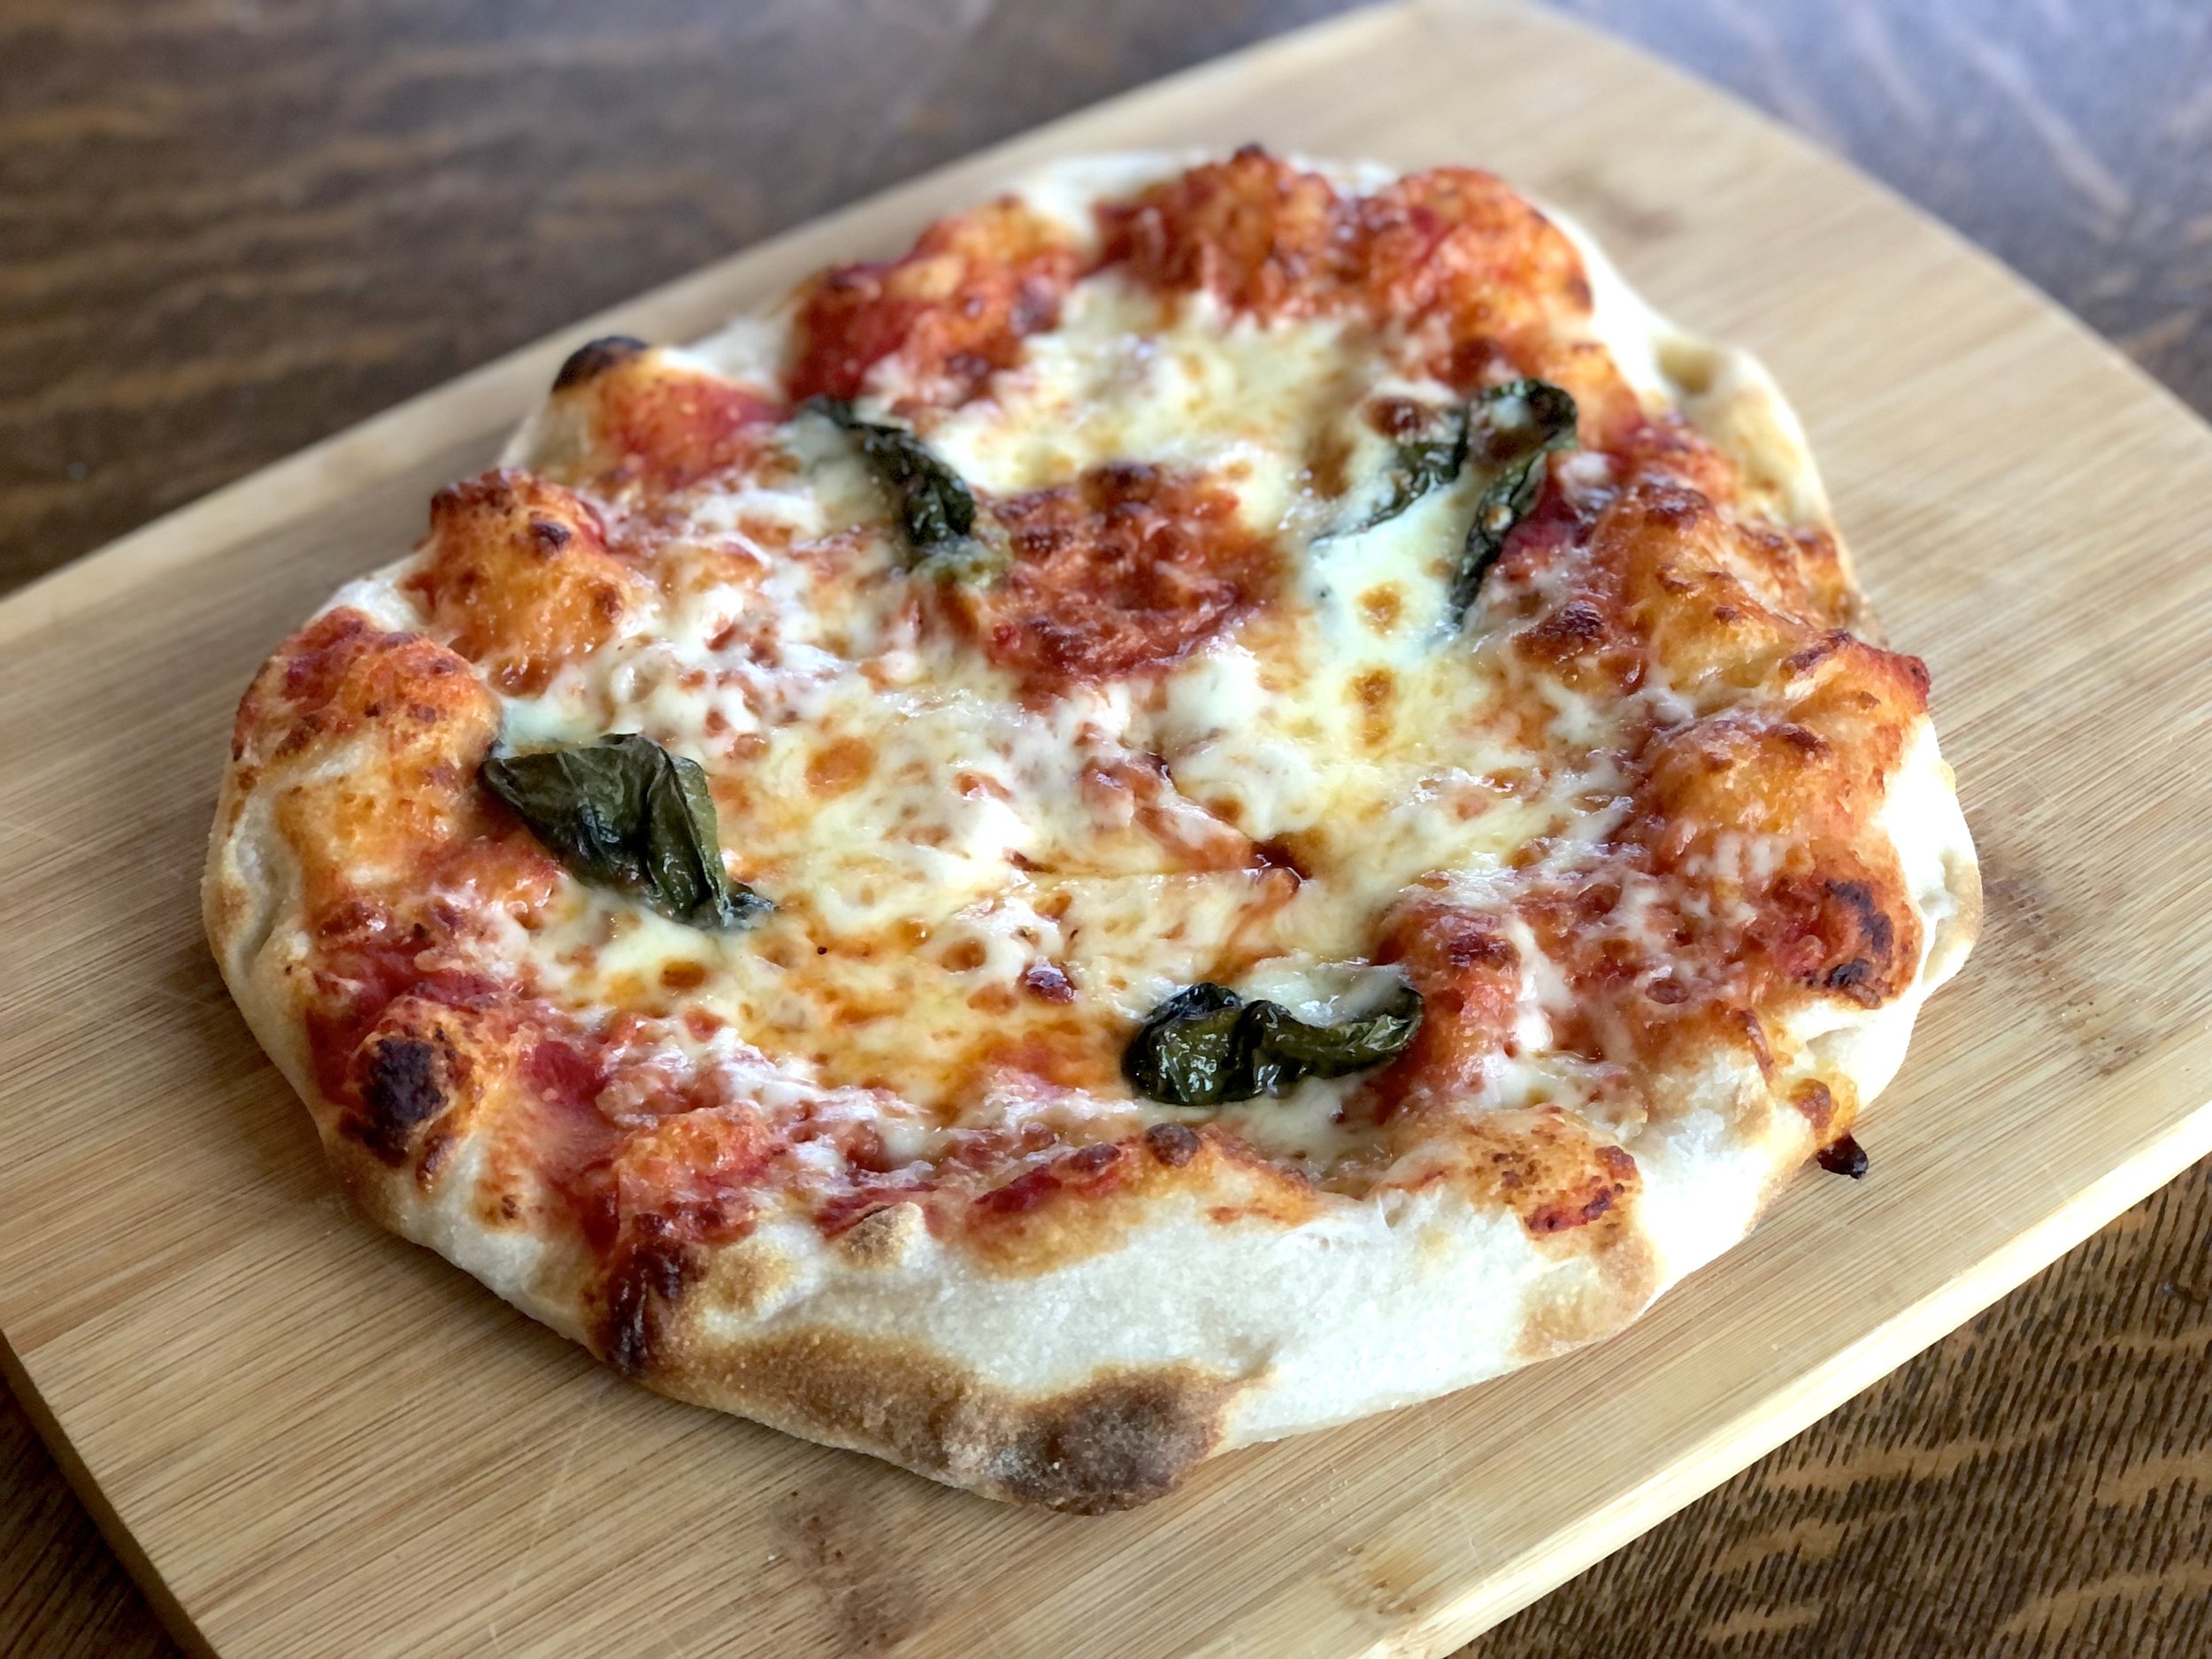
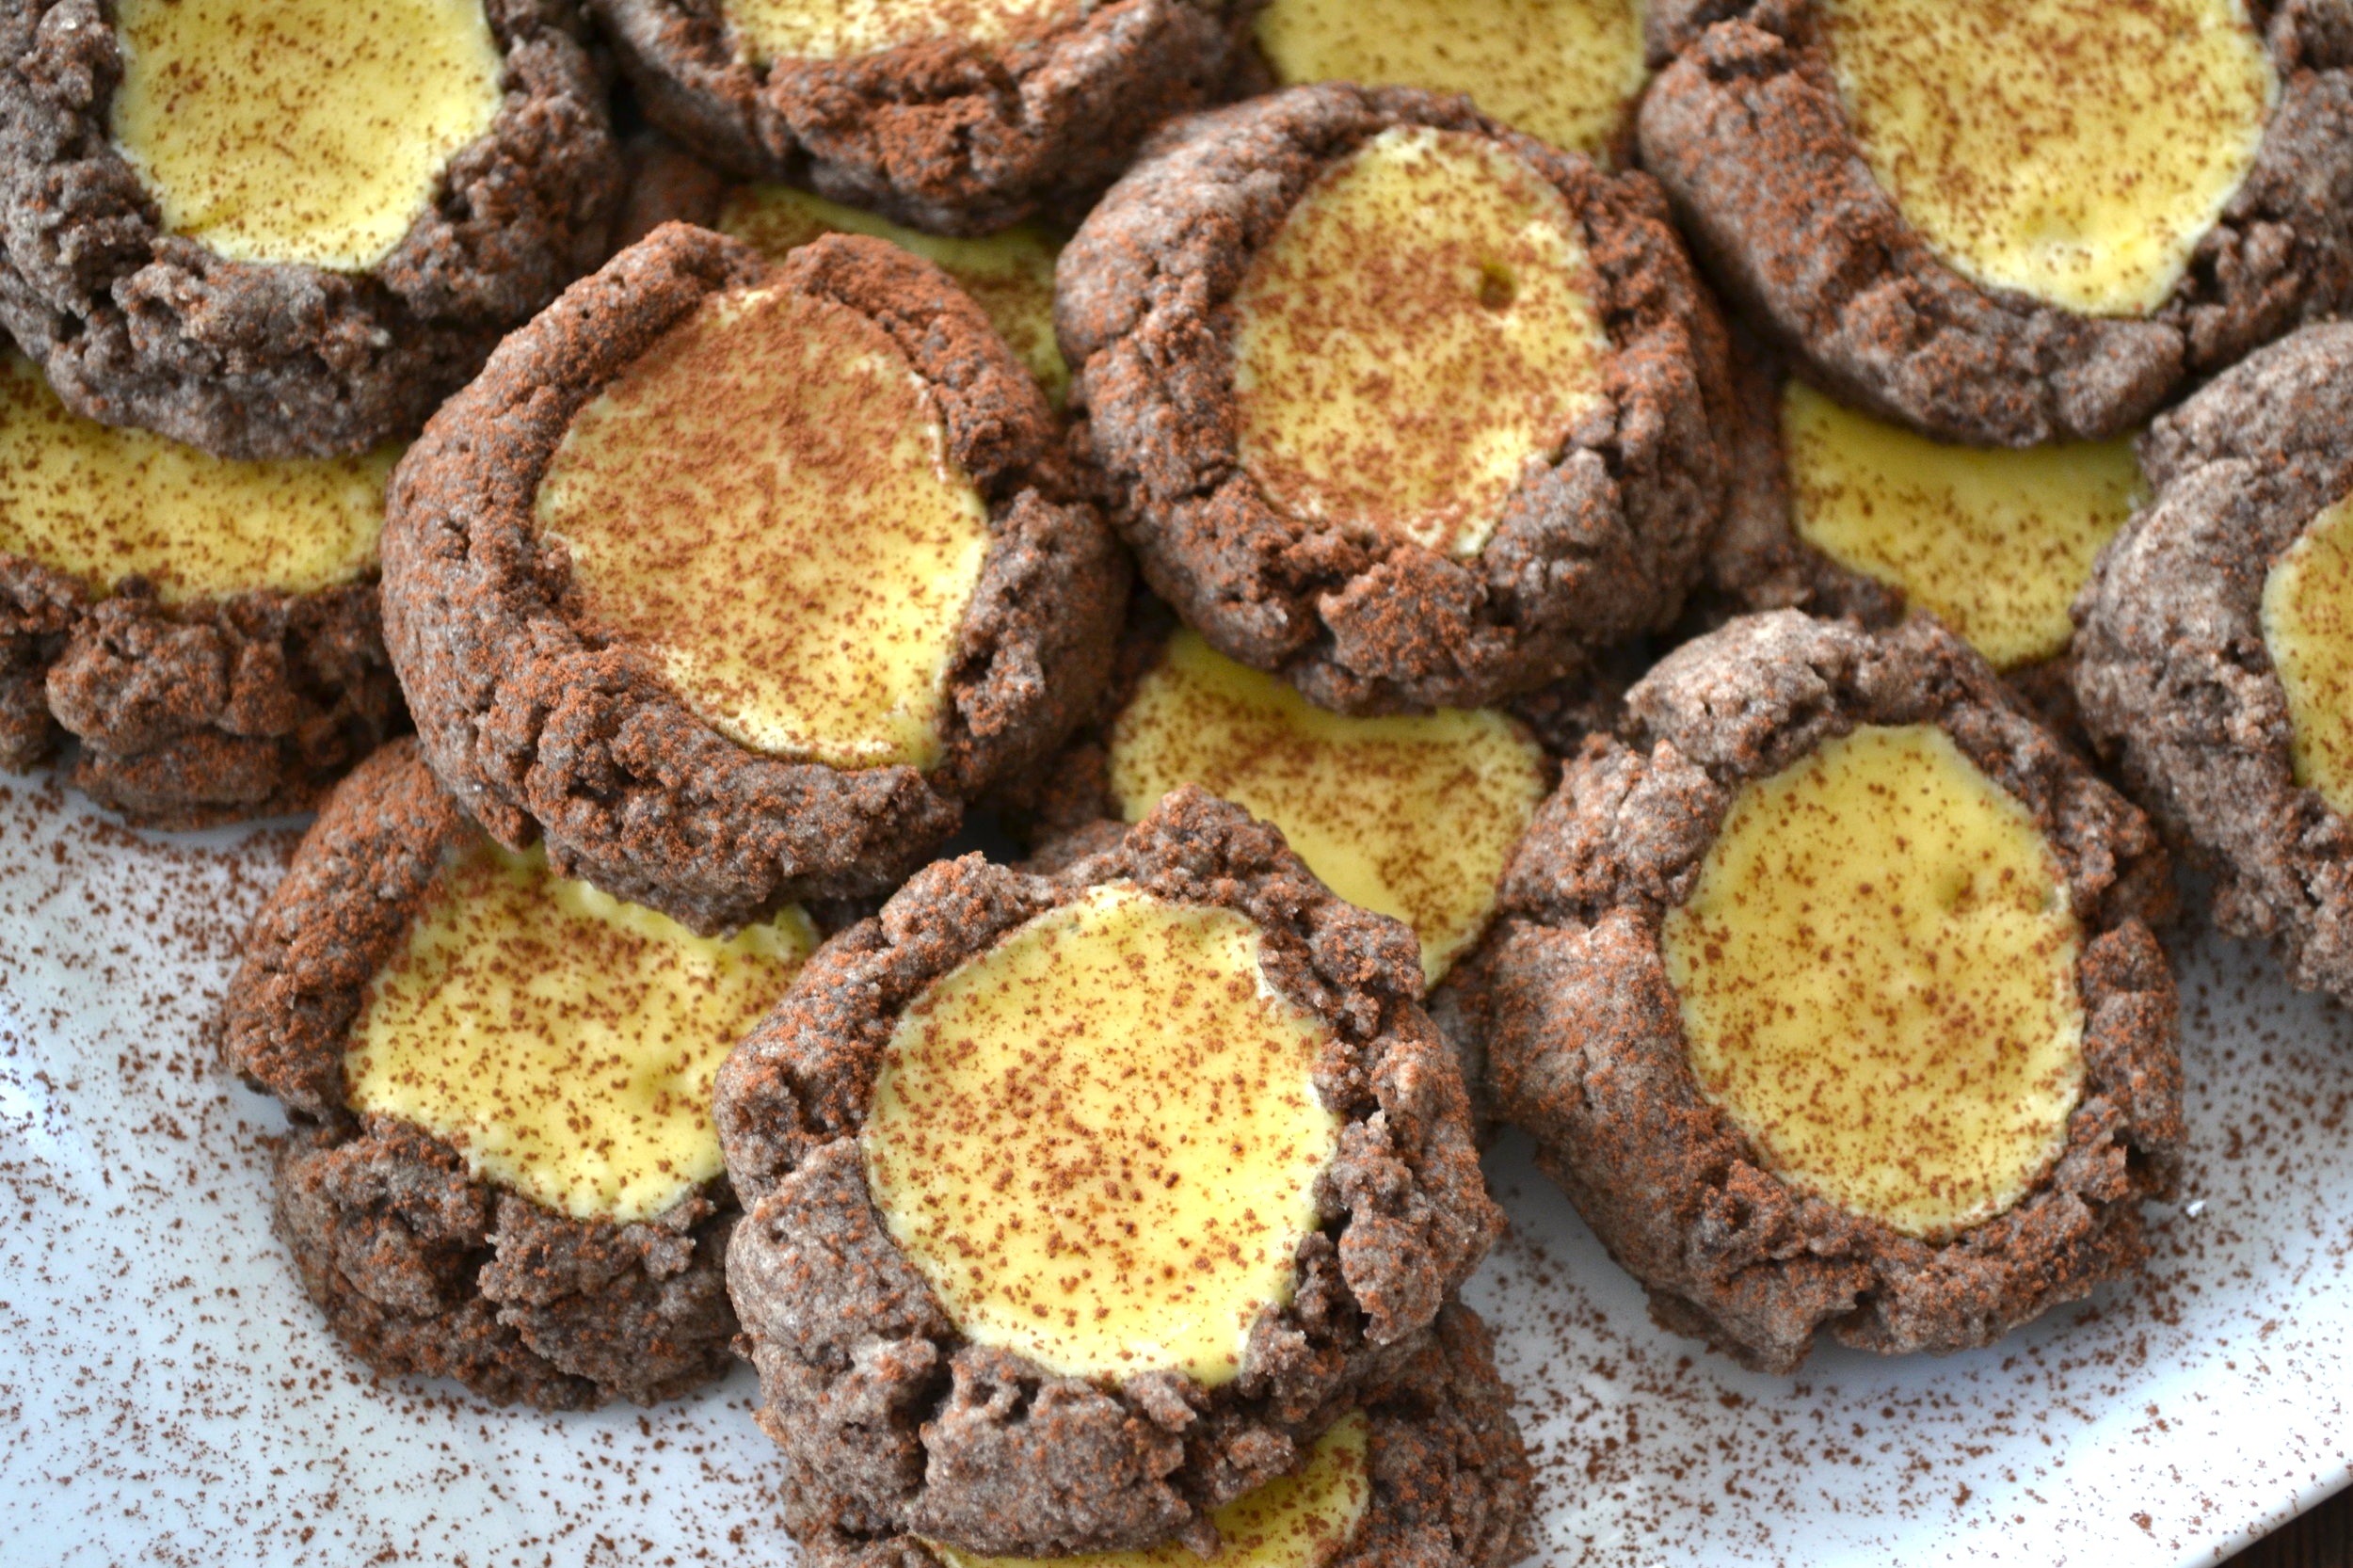
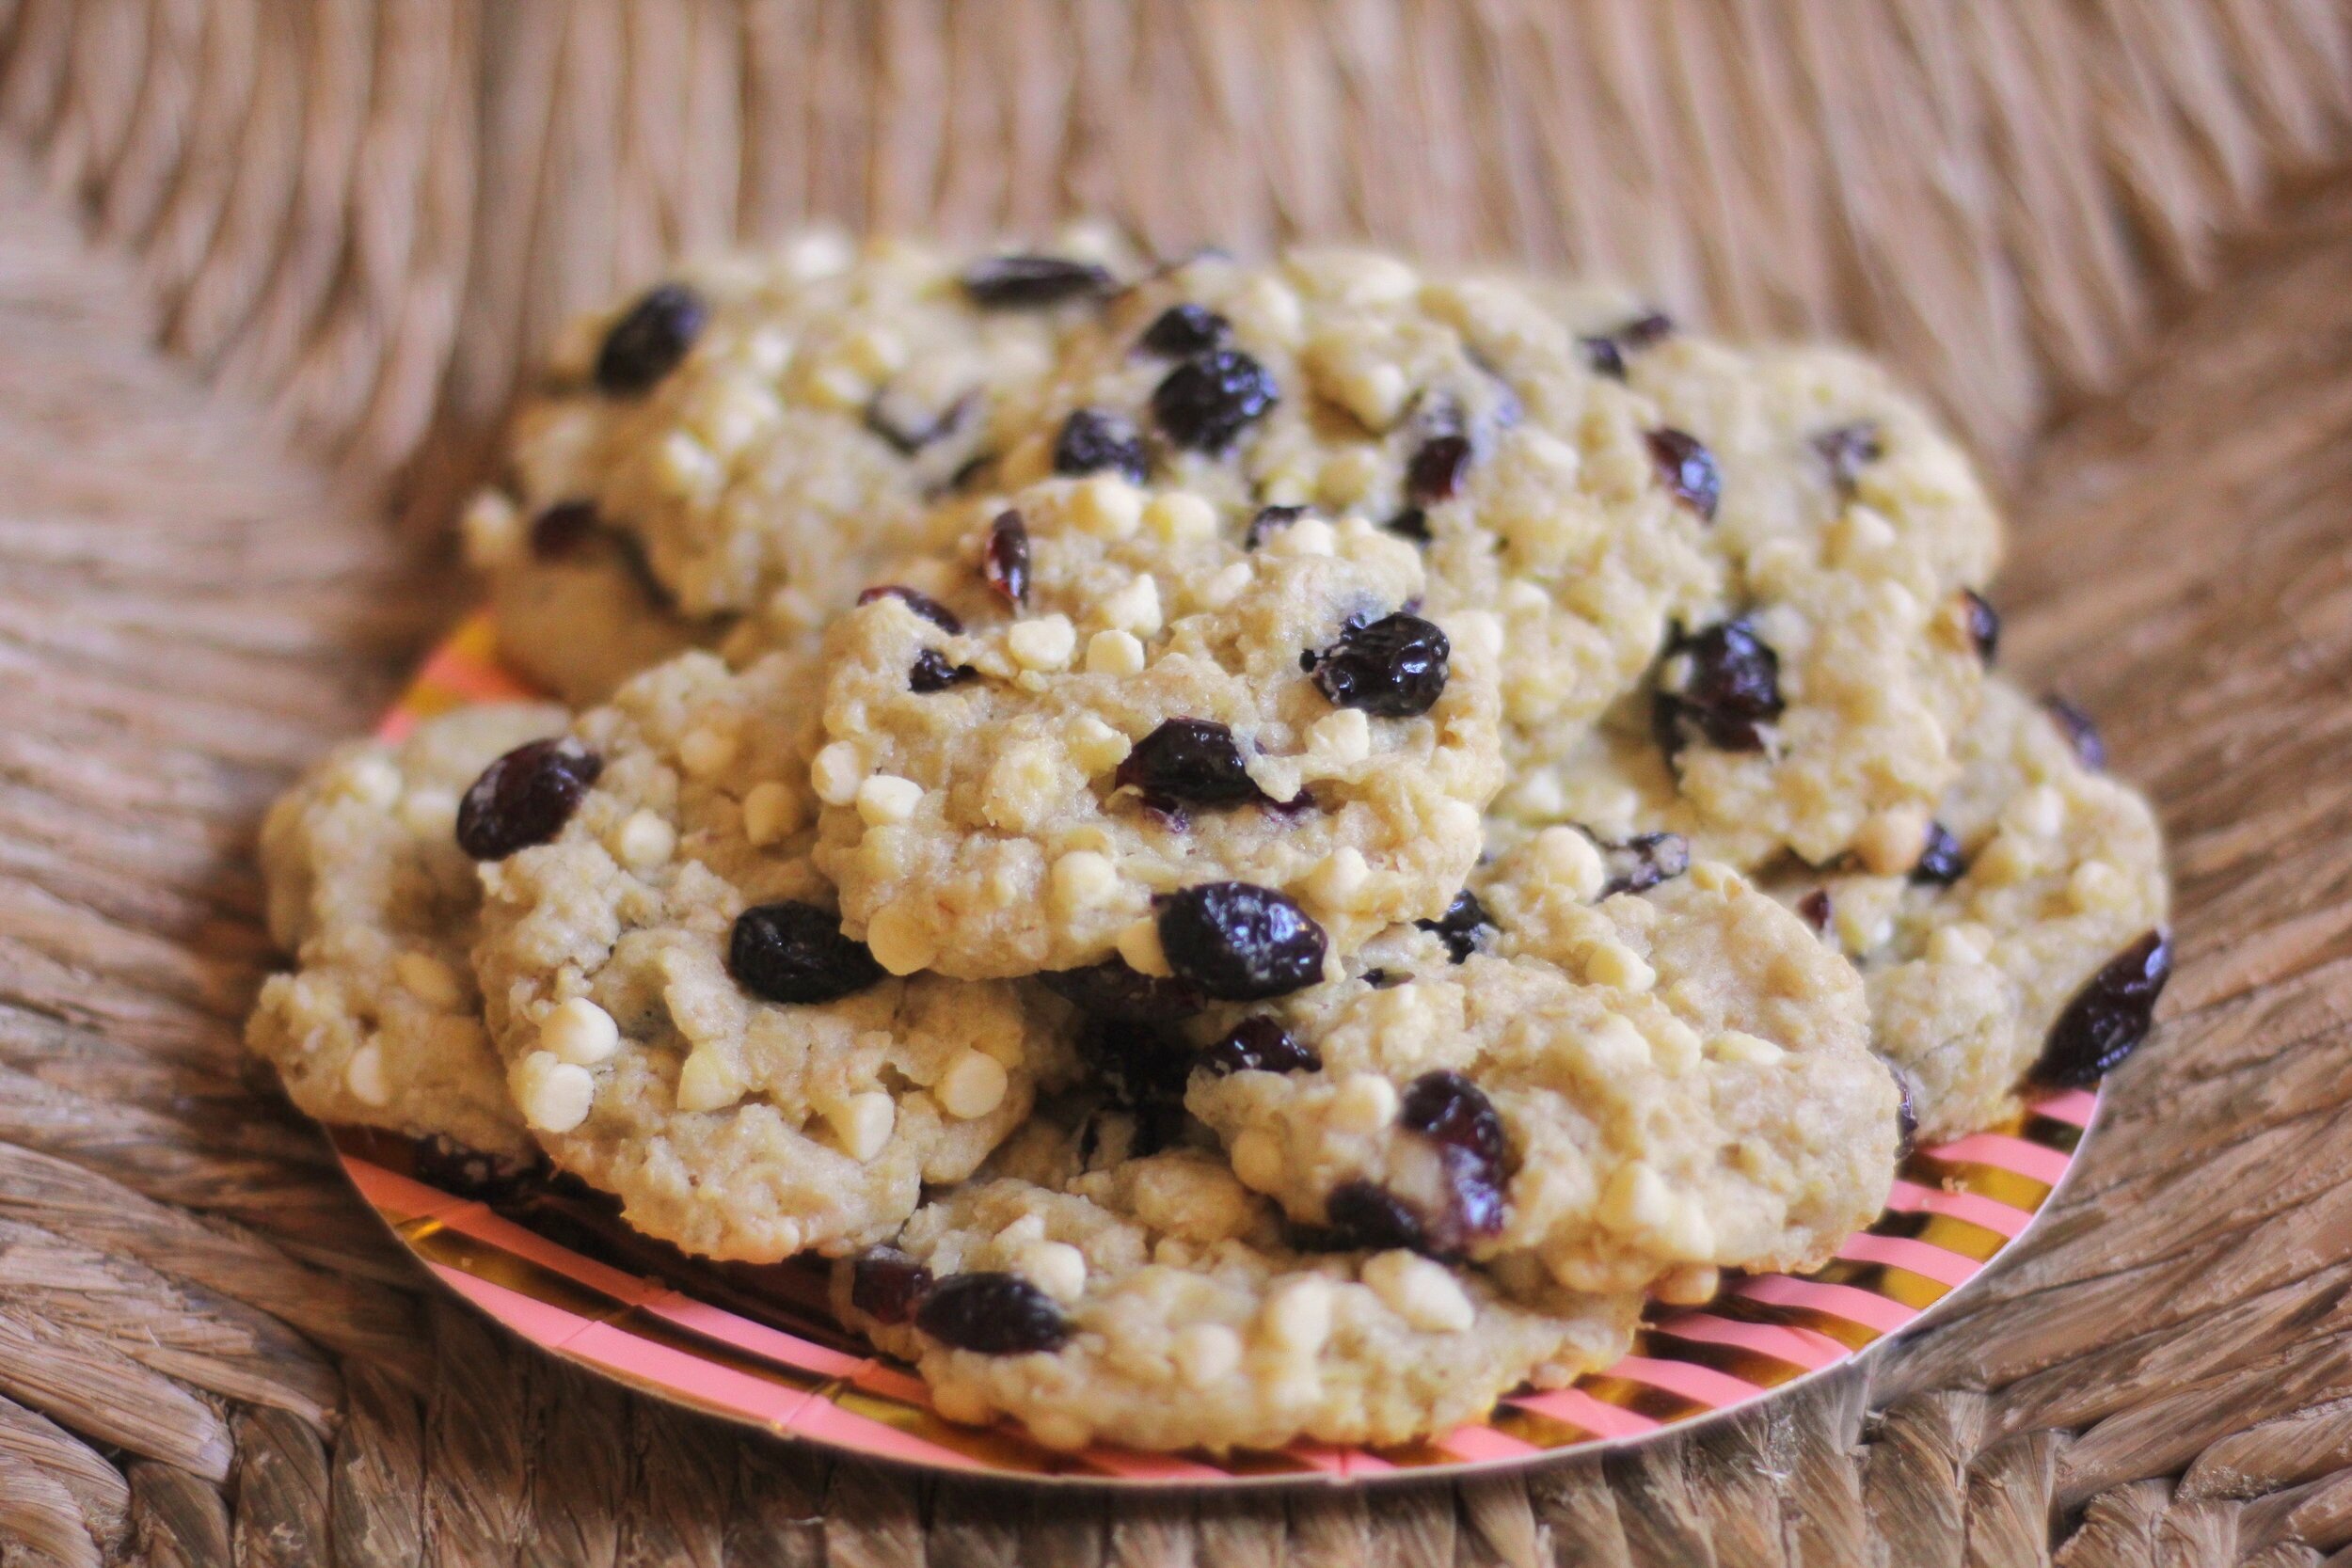
bottoms of 2 cookies: smaller cookie baked more, larger cookie baked less
Tips for getting the greenest cookies
Use enough baking soda. I have much more success when I use at least 1 tsp rather than 1/2 tsp like I noticed some of the recipes called for, including the first recipe I tried
Allow the cookies to cool fully, ideally letting them sit for a day. Think 12-24 hours. They will continue to turn even more green the longer they sit.
Use unsweetened sunflower butter. Sweetened sunflower butter can work also, but it makes the cookies a bit sweeter when they don’t need to be, and it means slightly less sunflower seeds are actually in the batter.
Make sure the dry ingredients are well mixed before adding to the wet ingredients. This means the baking soda is thoroughly mixed into the dough for the most even and vibrant green color. Many current cookie recipes are “one bowl” where you mix the wet ingredients first, then add the dry ingredients into the wet without mixing them first. It’s easy and generally works well, but I wouldn’t recommend the “one bowl” method for this particular recipe.
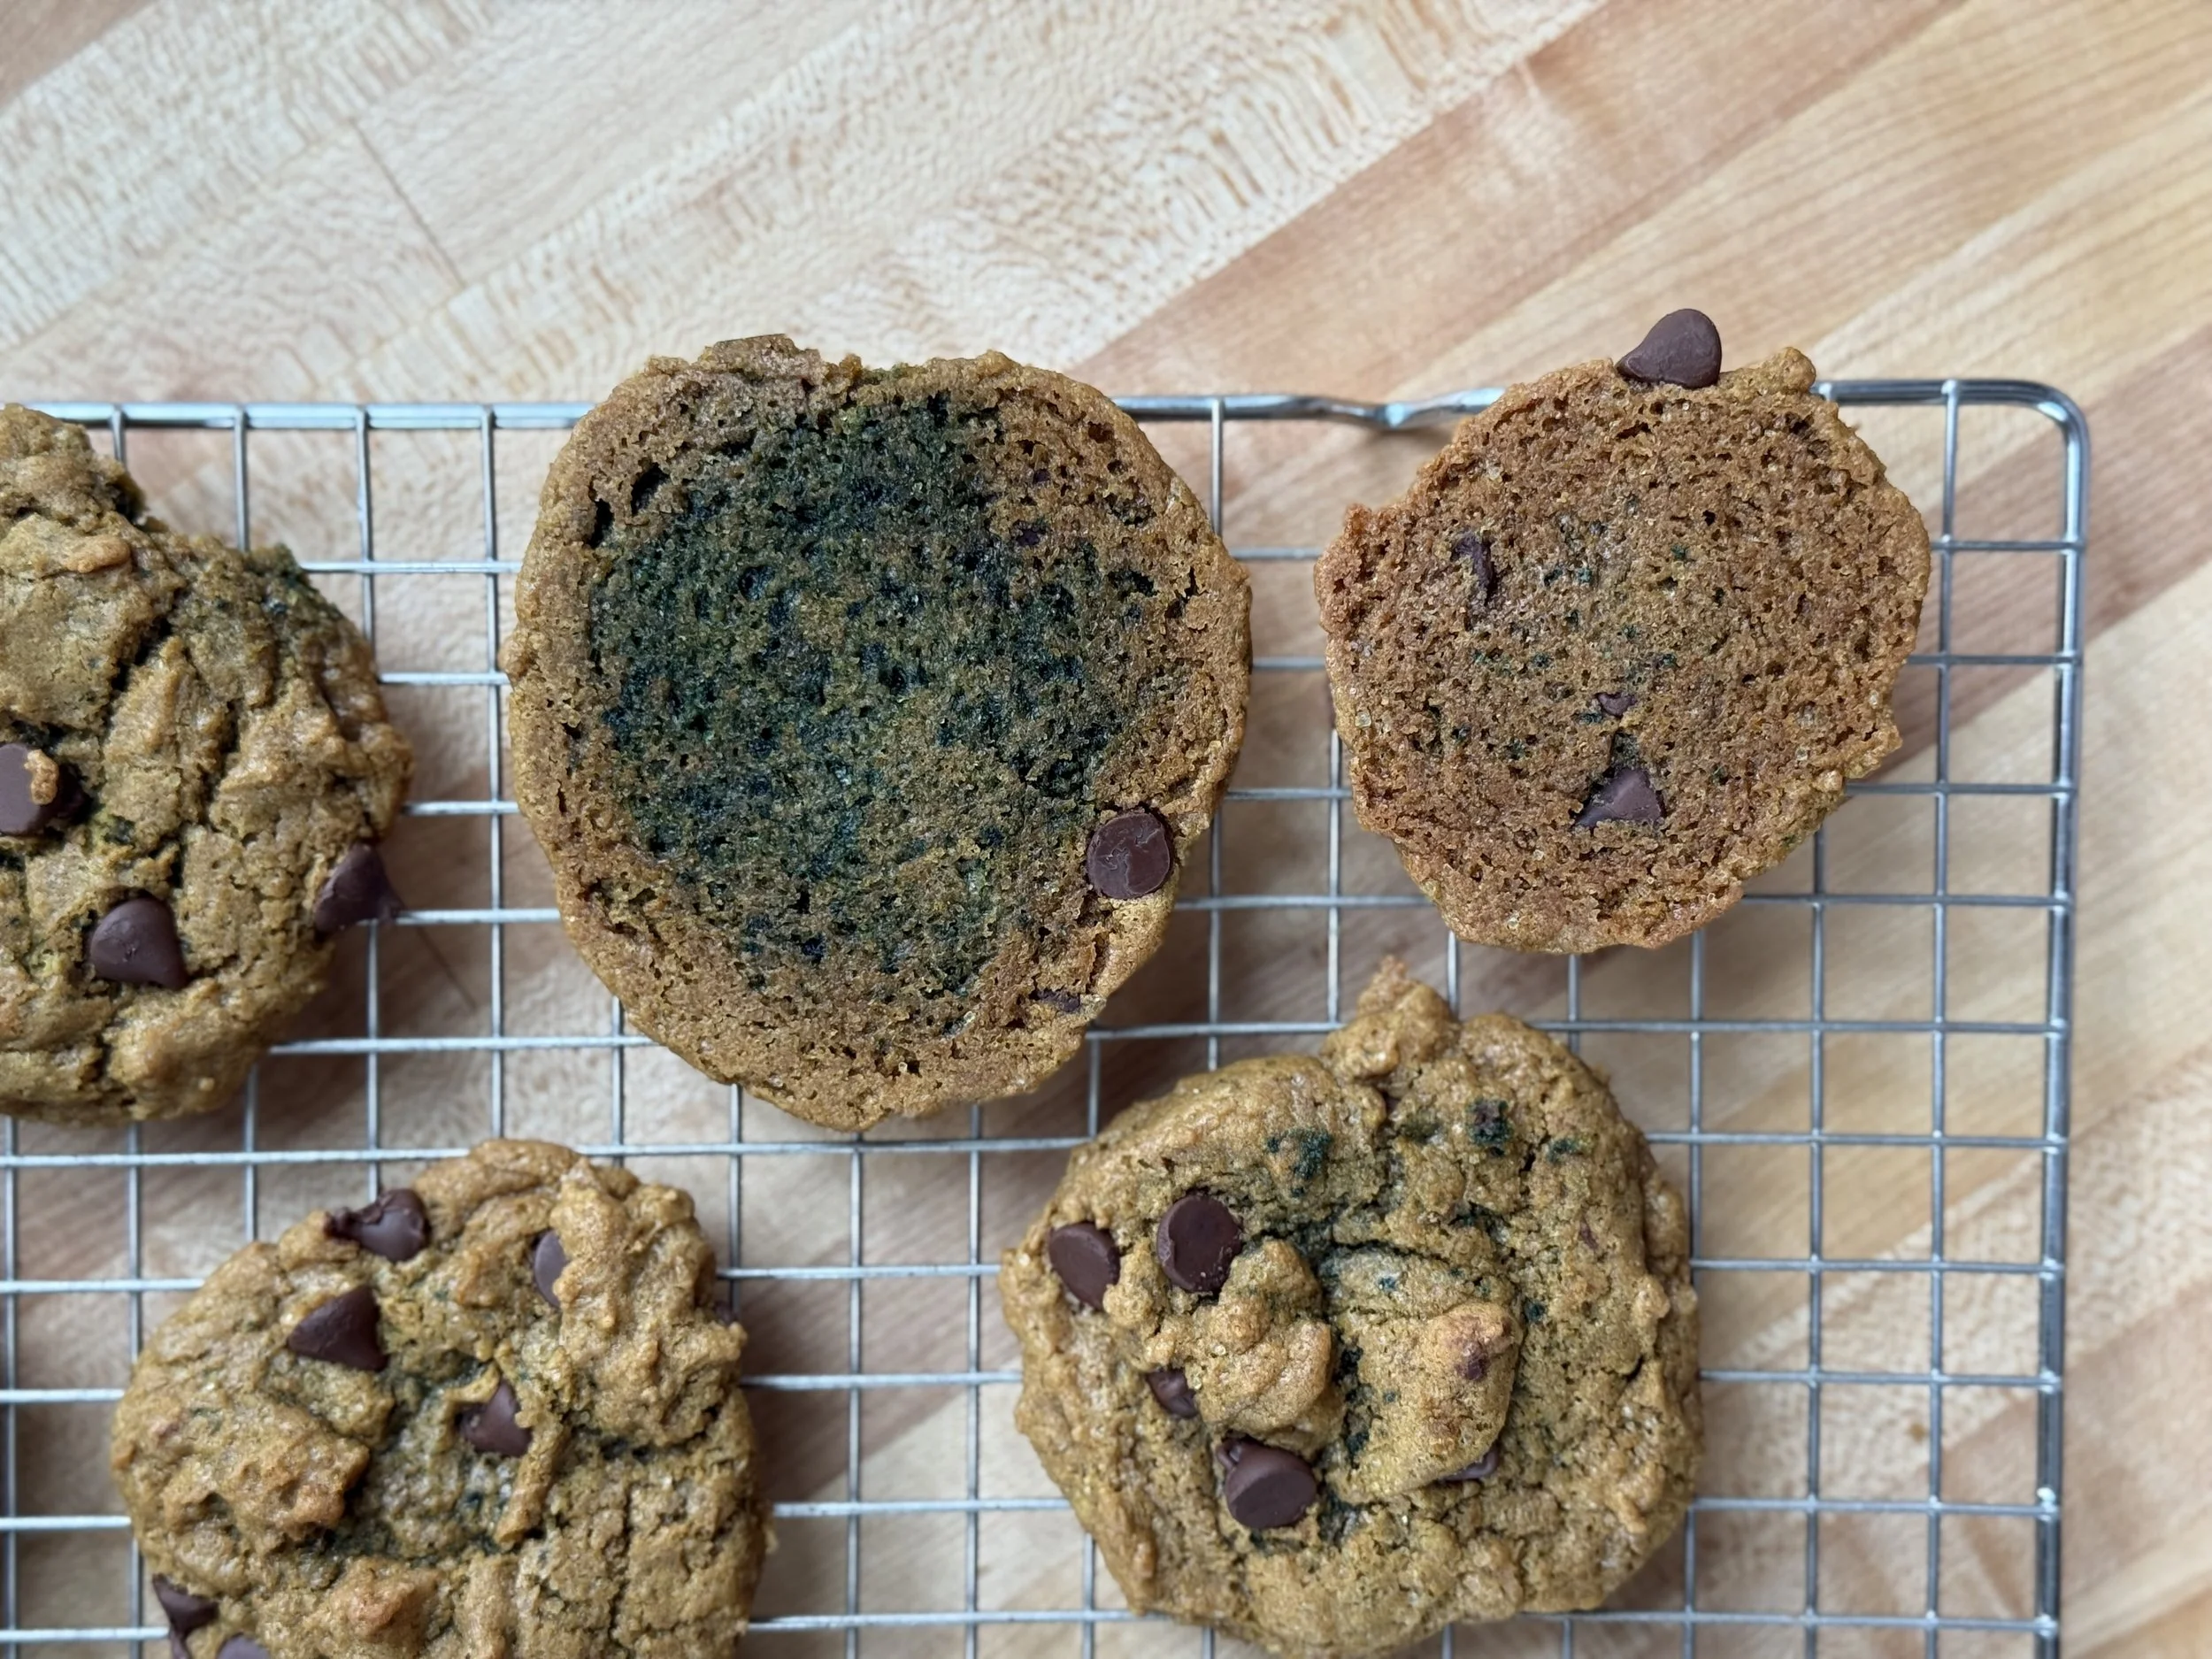
Don’t over bake the cookies, in fact, ever so slightly under bake them. I noticed that cookies that I baked fully tended to have slightly less green. Cookies that were slightly underbaked had green showing through on the bottoms, where the fully baked didn’t as much. If you want the green to be a complete surprise, then yes, you might want to fully bake so that none of the green actually shows through, it may stay more hidden on the inside.


Green Sunflower Butter Chocolate Chip Cookies
Makes about 16-18 cookies
Ingredients:
1 cup / 260g unsweetened sunflower butter
3/4 cup / 150g brown sugar
1/4 cup / 56g milk
1 large egg
1 tsp vanilla extract
3/4 cup / 90g all-purpose flour
1 tsp baking soda
1/4 tsp salt
1/2 cup / 85g semi-sweet chocolate chips
Directions:
Oven 350°F / 177°C. 1-2 baking sheets lined with parchment paper or silicone baking mat
In a medium bowl, combine sunflower butter, brown sugar, milk, egg, and vanilla until smooth.
In a separate medium bowl, whisk together flour, baking soda, and salt.
Add flour mixture and chocolate chips to sunflower butter mixture. Mix until combined.
Drop by tablespoonfuls onto prepared baking sheets, leaving at least 1 inch between cookies.
Bake for 9-11 minutes or until cookies look set.
Allow to cool; green will show best when cookies are completely cooled and stored in an airtight container for a day.

Green Sunflower Butter Chocolate Chip Cookies
Soft and chewy sunflower butter chocolate chip cookies with a surprise GREEN center, thanks to a chemical reaction between baking soda and sunflower butter.
Ingredients
Instructions
- Oven 350°F / 177°C. 1-2 baking sheets lined with parchment paper or silicone baking mat
- In a medium bowl, combine sunflower butter, brown sugar, milk, and vanilla until smooth.
- In a separate medium bowl, whisk together flour, baking soda, and salt.
- Add flour mixture and chocolate chips to sunflower butter mixture. Mix until combined.
- Drop by tablespoonfuls onto prepared baking sheets, leaving at least 1 inch between cookies.
- Bake for 9-11 minutes or until cookies look set.
- Allow to cool; green will show best when cookies are completely cooled and stored in an airtight container for a day.
Notes
- Allow cookies to cool fully, ideally letting them sit for a day. Think 12-24 hours. They will continue to turn even more green the longer they sit.
- Make sure the dry ingredients are well mixed before adding to the wet ingredients. This means the baking soda is thoroughly mixed into the dough for the most even and vibrant green color. Many current cookie recipes are “one bowl” where you mix the wet ingredients first, then add the dry ingredients into the wet without mixing them first. It’s easy and generally works well, but I wouldn’t recommend the “one bowl” method for this particular recipe.
- Don’t over bake the cookies, in fact, ever so slightly under bake them. I noticed that cookies that are baked fully tended to have slightly less green. Cookies that were slightly underbaked had green showing through on the bottoms, where the fully baked didn’t as much. If you want the green to be a complete surprise, then yes, you might want to fully bake so that the green remains hidden inside.
Nutrition Facts
Calories
189Fat
10 gSat. Fat
2 gCarbs
22 gFiber
1 gNet carbs
22 gSugar
12 gProtein
4 gSodium
121 mgCholesterol
1 mgNutritional information is approximate and based on 1 cookie if recipe makes 16 cookies