Healthy Chocolate Chip Cookie Dough Dip
/Last updated August 3, 2024
Looks pretty delicious, right? Chocolate Chip Cookie Dough Dip, but actually pretty good for you! I’m not going to say that you could do a blind taste test with real cookie dough and not know the difference, but also, for having beans as a base, this is weirdly close. It’s delicious in its own right. The only time this recipe gets flack is if someone knows it is made with beans before trying it. Even then they admit it’s pretty tasty. If they don’t know and aren’t prejudiced, they love it.
This cookie dough dip is one I’ve been making for over a decade now. A blogger by the name of Chocolate Covered Katie was having a big moment and I made and loved a lot of her recipes. She was, I believe, the person who got me into the ‘healthy” baking scene. Back when I was dancing full time, I loved all of the healthier desserts, food that actually provided some fuel for my body while still tasting like dessert (my favorite thing). Well, most of the time. I ate and made some pretty weird things that I no longer eat and make and will most definitely not ever share as a recipe on this blog. This one, though, is one I’ve kept and made over and over again. Now, it’s a snack for my kids that they have no idea is not actual decadent cookie dough. One day, they will realize the deception. Ah, it’s fun being a parent, isn’t it? (My kids also get to experience real cookie dough, don’t worry!!)
While this recipe is based on Chocolate Covered Katie’s, almost every element is highly customizable depending on your tastes, dietary needs (vegan, gluten-free, dairy-free, etc.), or simply which ingredients you have on hand. If you make and like this recipe, you too will probably find your groove in how you like to make it and it will become your own.
In fact, let’s walk through the ingredient list so you can see all the different options that are possible with this recipe. I don’t normally do this, but this one has a lot, too many to simply add to the “Jenny’s Notes” that I usually have at the bottom of each recipe.
Beans
The base of this recipe is beans. You can use any kind of white bean you’d like, as long as it doesn’t have too strong of a flavor. Rinse beans to keep the flavor as neutral as possible. Use a can or cook up your own. I prefer to use chickpeas, but also use great northern beans and cannellini beans if that’s what I have on hand.
Nut Butter
Any nut butter can be used in this recipe, as long as it’s something you like, of course! Think peanut butter, almond butter, cashew butter, sunflower butter, etc…the stronger the flavor of the butter (like sunflower), the more it will come through in the dip. Completely up to you what you prefer. I like using peanut butter, mostly because I always have peanut butter. I also like to use almond butter.
Sweetener
Brown sugar will get you the closest flavor to cookie dough. You can also use higher amounts than in the recipe below to get that super sweet cookie dough taste. Conversely, you can also use less. I think 1/4 cup is that sweet spot for keeping it on the healthier side, while still tasting plenty sweet, especially when paired with plenty of chocolate chips!
Other sweeteners can also be used. I probably use maple syrup the most. You can also use any kind of sugar (granulated, superfine, demarara, rapadura, sucanat, powdered, etc.), honey, stevia, agave, or any other sweetener you prefer. Keep in mind that the consistency of the sweetener used will affect the overall consistency of the dip, and will need to be adjusted accordingly.
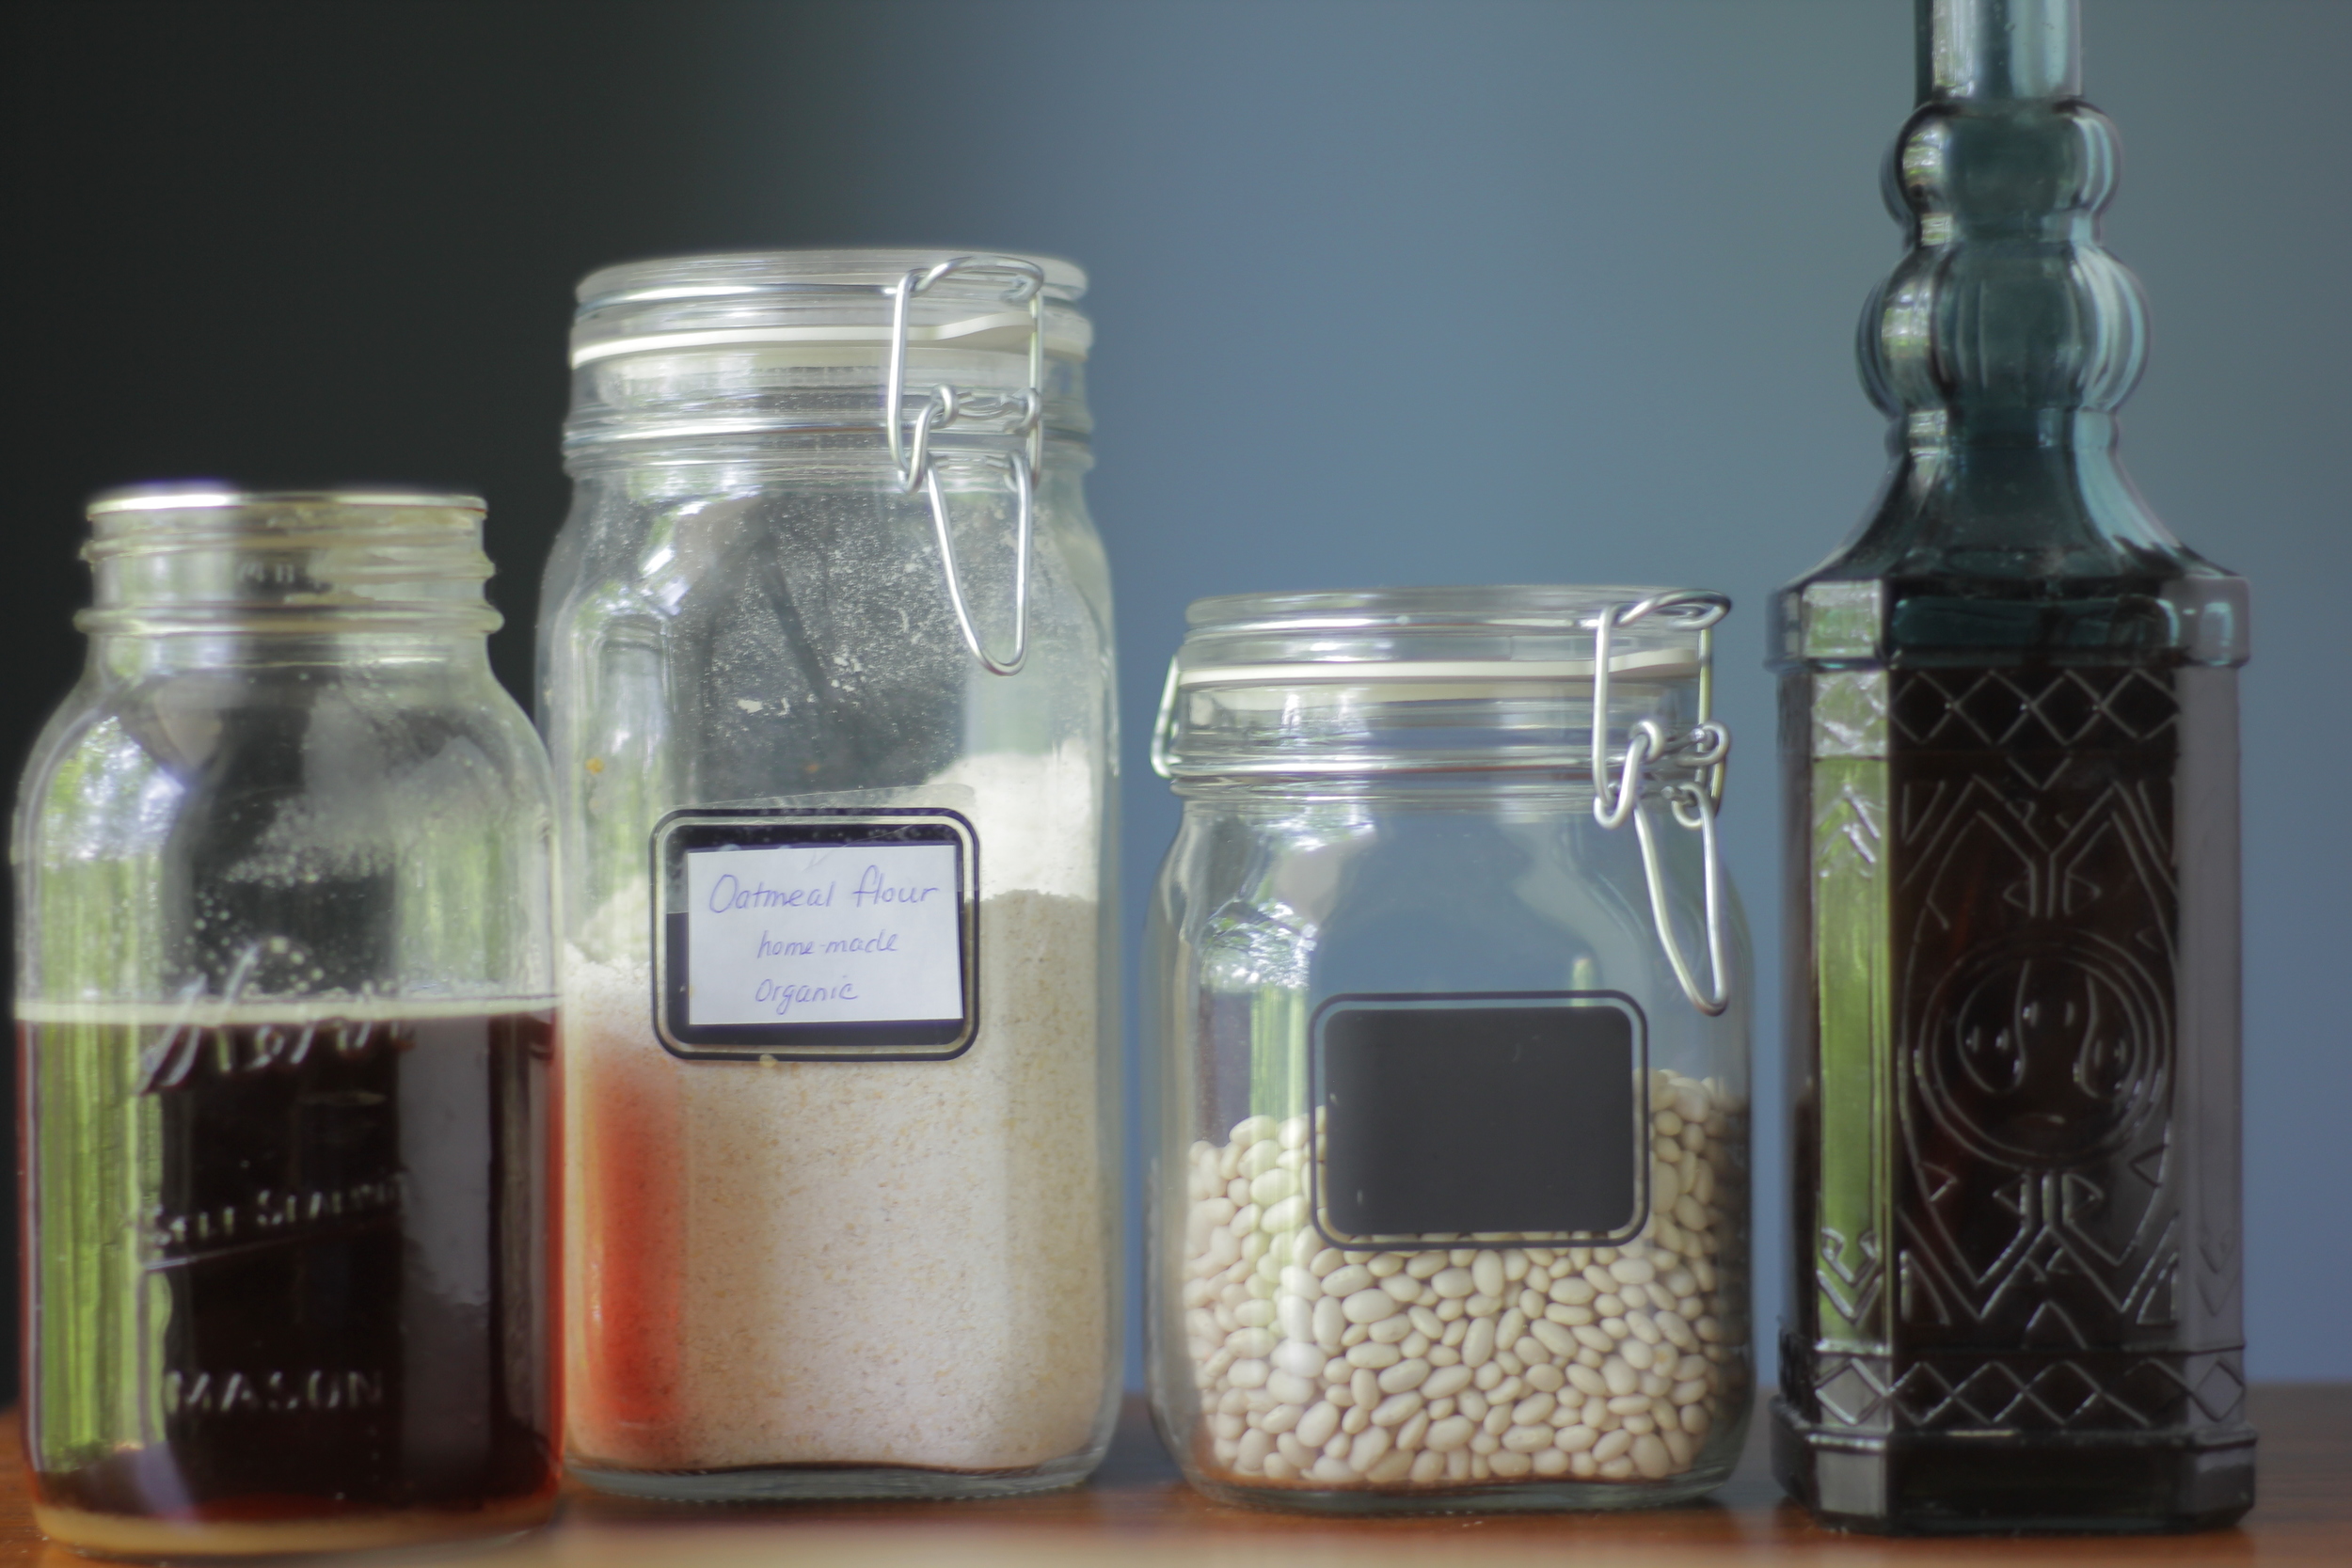
Oats
Oats help to give the dip a little bit of texture while also thickening it. The amount you need will vary depending on how well the beans are drained, how thick or thin your nut butter is, and if using a liquid sweetener. Remember that oats and some of the other options below will continue to absorb moisture as they sit, so it’s okay to leave the dip a bit thinner than desired to allow it to thicken up without getting too thick.
You can use quick or rolled oats, wheat germ, oat bran, flaxmeal, almond flour, or even baby cereal. Just keep in mind that wheat germ and oats have gluten or possible gluten contamination, for those with wheat or gluten sensitivities. If you don’t have any problems with wheat, you could also just use flour. Since flour is supposed to be cooked before eating due to possibly harboring harmful bacteria that can cause food poisoning, this is the part where I’m supposed to recommend that you toast it first before adding to this dip.
Vanilla Extract
A little extra vanilla for great flavor! Not much to say here other than use real vanilla extract for best flavor! Unless, of course, you have some real vanilla bean lying around you’d like to add.
Salt
Regular cookie dough usually has about a teaspoon of salt per batch. This recipe does not make as much as a batch of cookie dough, but you do have the option of increasing the salt, to taste. Keep in mind that some nut butters may have salt in them, so take that into consideration when adding salt.
Baking Soda
Baking soda might seem like an unusual addition when this dip is raw and not baked, but it lends a slight, but authentic flavor to the dip. It’s not a huge deal if you omit it, but if you do, consider increasing the salt slightly since baking soda is also salty.
Milk
If your dough is too thick for your liking, add a bit of milk of choice, 1 tablespoon at a time, until desired consistency is reached. To keep this dairy-free, use a plant or nut based milk instead of dairy milk.
I don’t usually need to add any milk when I make this, since my sweetener is liquid (maple syrup) and the almond butter I use is quite runny.
Chocolate Chips
You can use any size, shape or flavor of chips that you’d like. Regular semi-sweet chocolate chips would be the classic choice, but my favorite is probably using mini chocolate chips in this dip. I also really like dark chocolate. Chocolate chips sometimes sneakily have dairy in them, so check your ingredients if wanting to keep this dairy-free.
Use as little as 1/4 cup of chocolate chips to really keep things on the lighter/healthier side, but I recommend starting with 1/2 cup / 85g or up to 1 cup / 170g to really get the party going.

Equipment
The last thing you need to know, is that you need a food processor to make this. Some quality blenders may be able to handle the thickness of this, but most blenders and mine most definitely cannot.
Such a simple dip to make and eat, but oh so many options! Have fun, friends!
This post may contain affiliate links. If you make a purchase using these links, Jennyblogs may receive a small commission, at no extra cost to you. This helps to support Jennyblogs. Where possible, links are prioritized to small businesses and ethically and responsibly made items. For further information see the privacy policy. Grazie!


Recipe adapted from Chocolate Covered Katie
Healthy Chocolate Chip Cookie Dough Dip
Makes about 2 cups

Ingredients:
266g (1 14oz can drained) chickpeas or white beans
1/4 cup / 65g peanut butter or nut butter of choice
1/4 cup / 50g brown sugar or 1/4 cup / 80g maple syrup or other sweetener of choice
1/4 cup / 22g quick oats
2 tsp / 10g vanilla extract
1/8 tsp salt
1/8 tsp baking soda
a few tablespoons of milk, as needed
1/2 - 1 cup / 85g - 170g regular or mini semi-sweet chocolate chips
Directions:
Combine chickpeas, peanut butter, sugar, oats, vanilla, salt, and baking soda in a food processor. Blend until smooth.
Add milk, 1 tablespoon at a time, if a thinner consistency is desired. (Dip will continue to thicken slightly.)
Stir in chocolate chips with spoon or spatula.
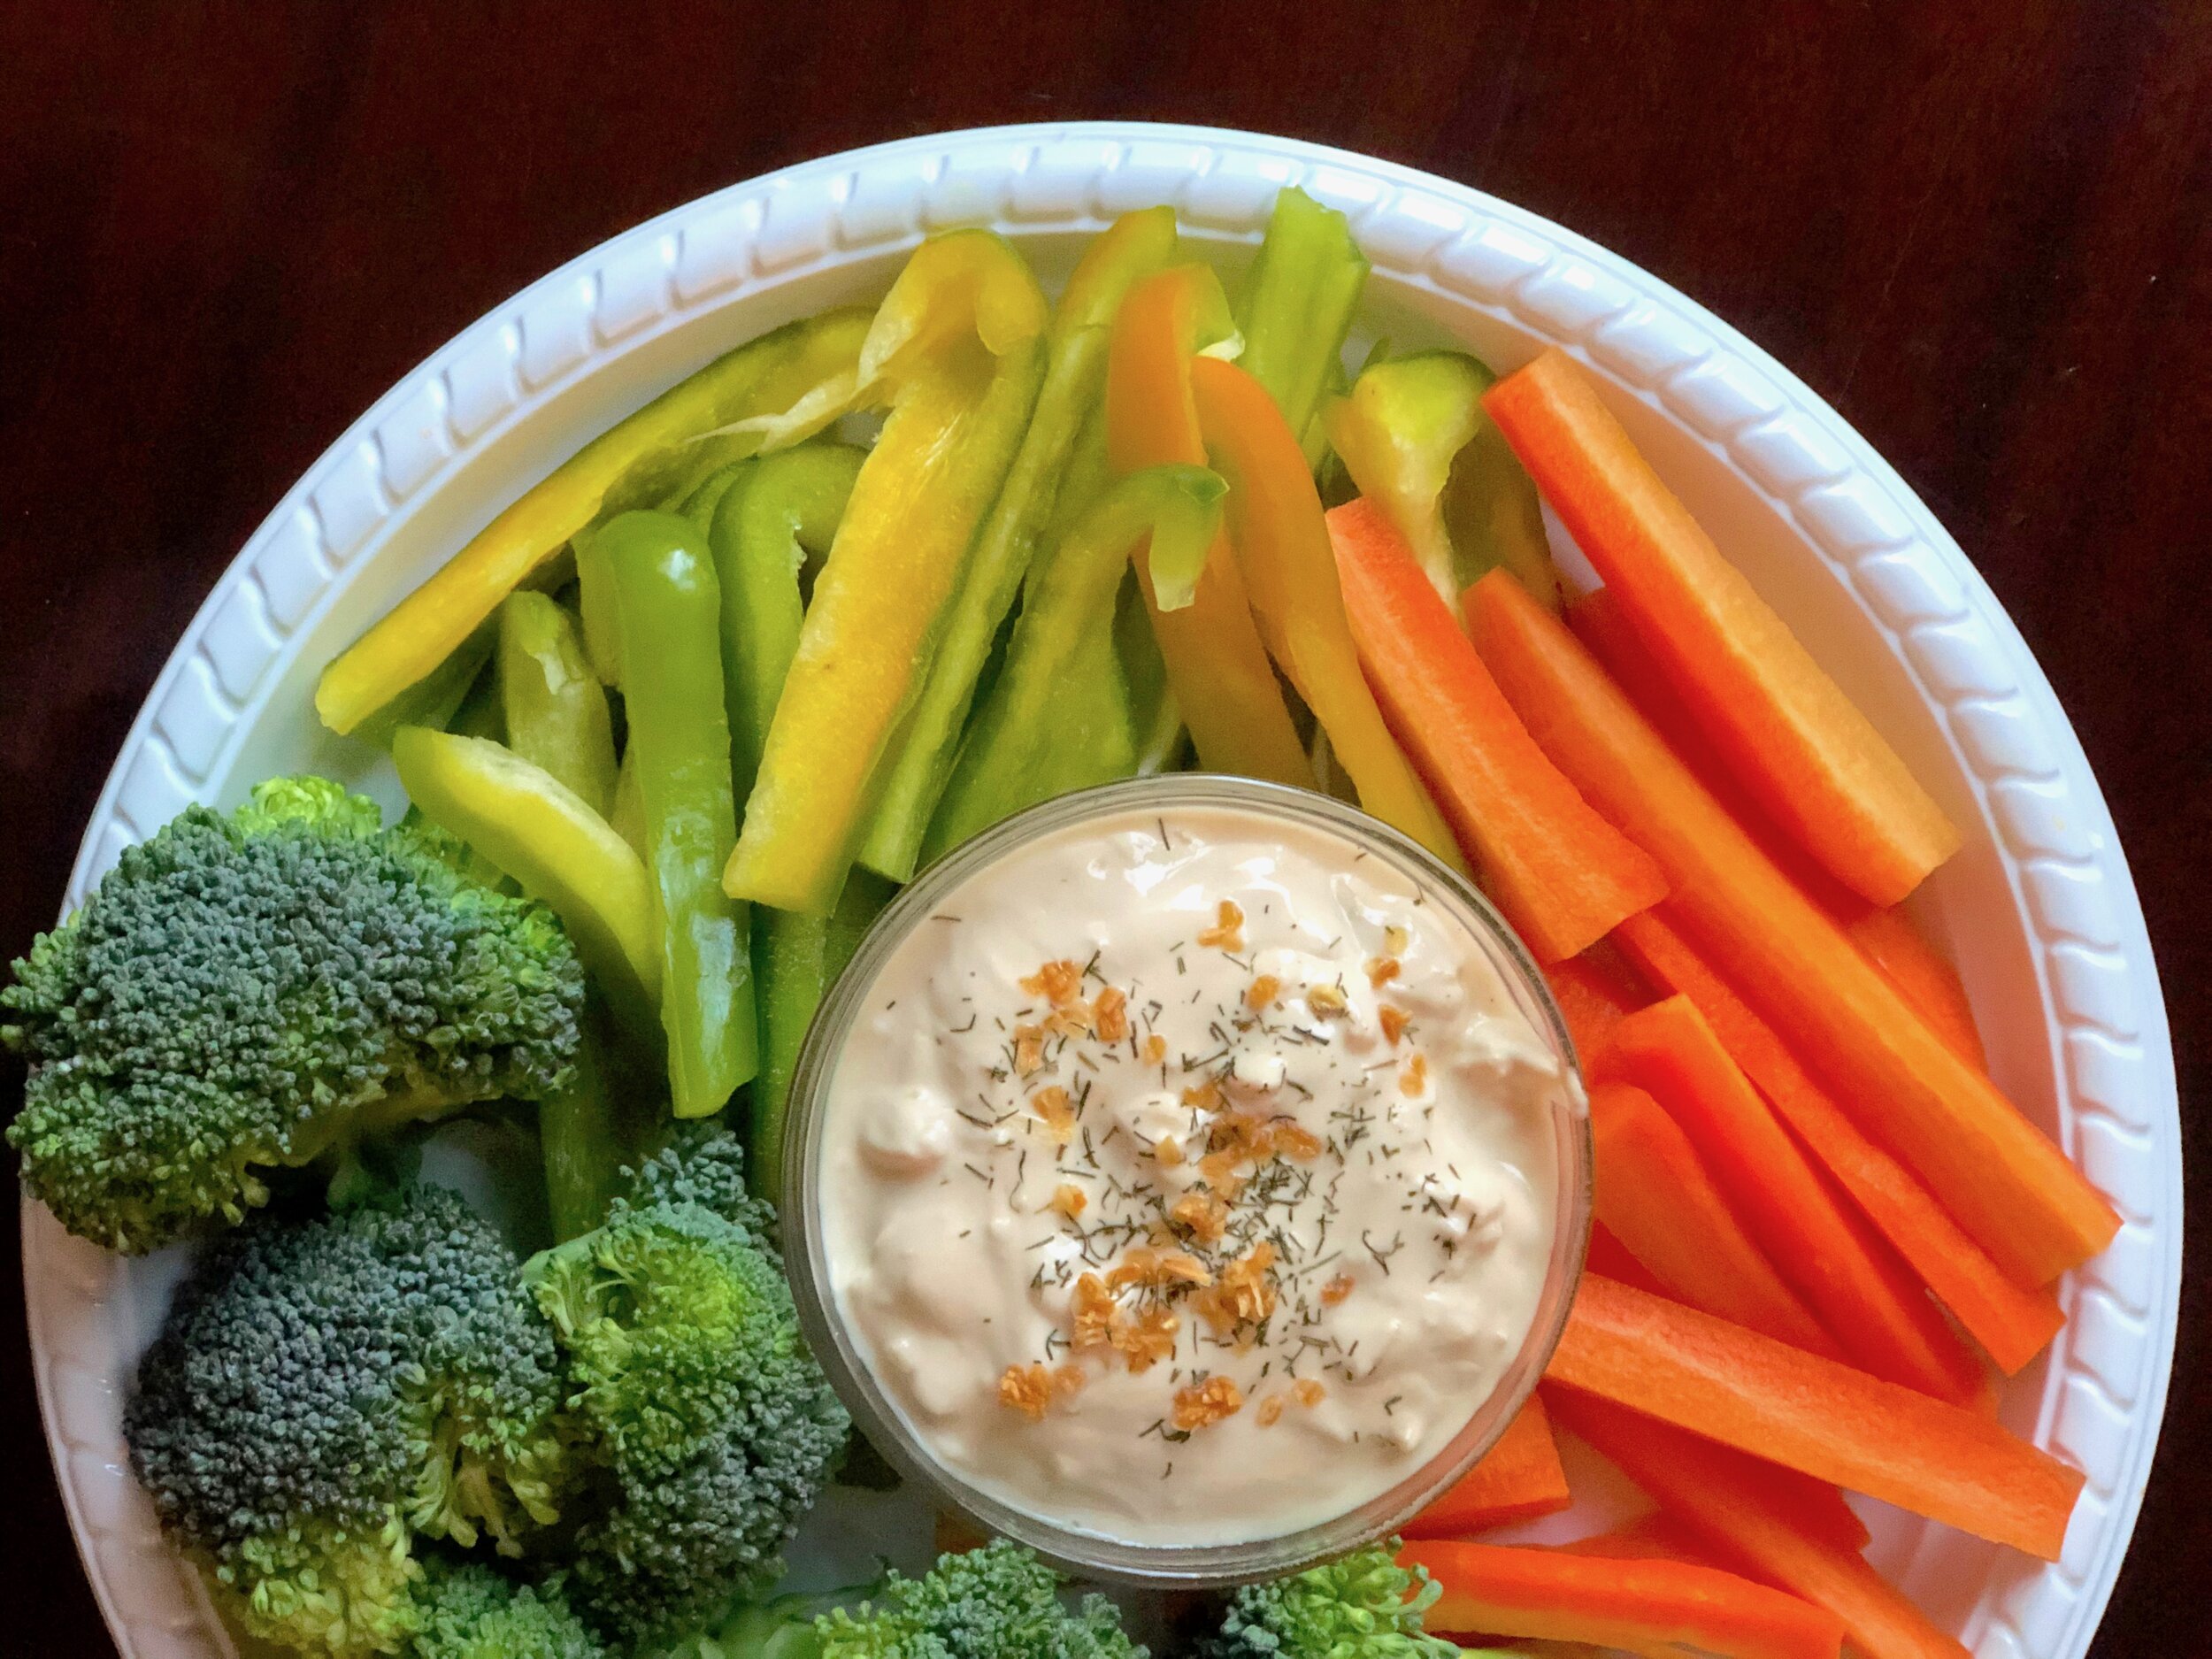
Serve with fruit, graham crackers, pretzels, etc. or simply eat by the spoonful!
Jenny’s Notes:
Oats will continue to absorb liquid as they sit, so it’s okay to let the dip sit for 30 minutes or so (if it lasts that long!) before deciding to add more oats to thicken.
If blended in the food processor for more than a couple minutes, the motor may heat up the dip. If this happens, simply allow to cool or stick in the fridge before stirring in chocolate chips. Alternatively, stir in chips gently while warm for a melty, swirly, fresh baked cookie taste.

Healthy Chocolate Chip Cookie Dough Dip
Ingredients
Instructions
- Combine chickpeas, peanut butter, sugar, oats, vanilla, salt, and baking soda in a food processor. Blend until smooth.
- Add milk, 1 tablespoon at a time, if a thinner consistency is desired. (Dip will continue to thicken slightly.)
- Stir in chocolate chips with spoon or spatula.
- Serve with fruit, graham crackers, pretzels, etc. or simply eat by the spoonful!
Notes
- Oats will continue to absorb liquid as they sit, so it’s okay to let the dip sit for 30 minutes or so (if it lasts that long!) before deciding to add more oats to thicken.
- If blended in the food processor for more than a couple minutes, the motor may heat up the dip. If this happens, simply allow to cool or stick in the fridge before stirring in chocolate chips. Alternatively, stir in chips gently while warm for a melty, swirly, fresh baked cookie taste.
Nutrition Facts
Calories
200.64Fat
8.78 gSat. Fat
3.38 gCarbs
24.77 gFiber
3.6 gNet carbs
21.18 gSugar
11.45 gProtein
6.24 gSodium
96.89 mgCholesterol
1.34 mgNutritional information is approximate. Based on 8 servings of about 1/4 cup each.


")