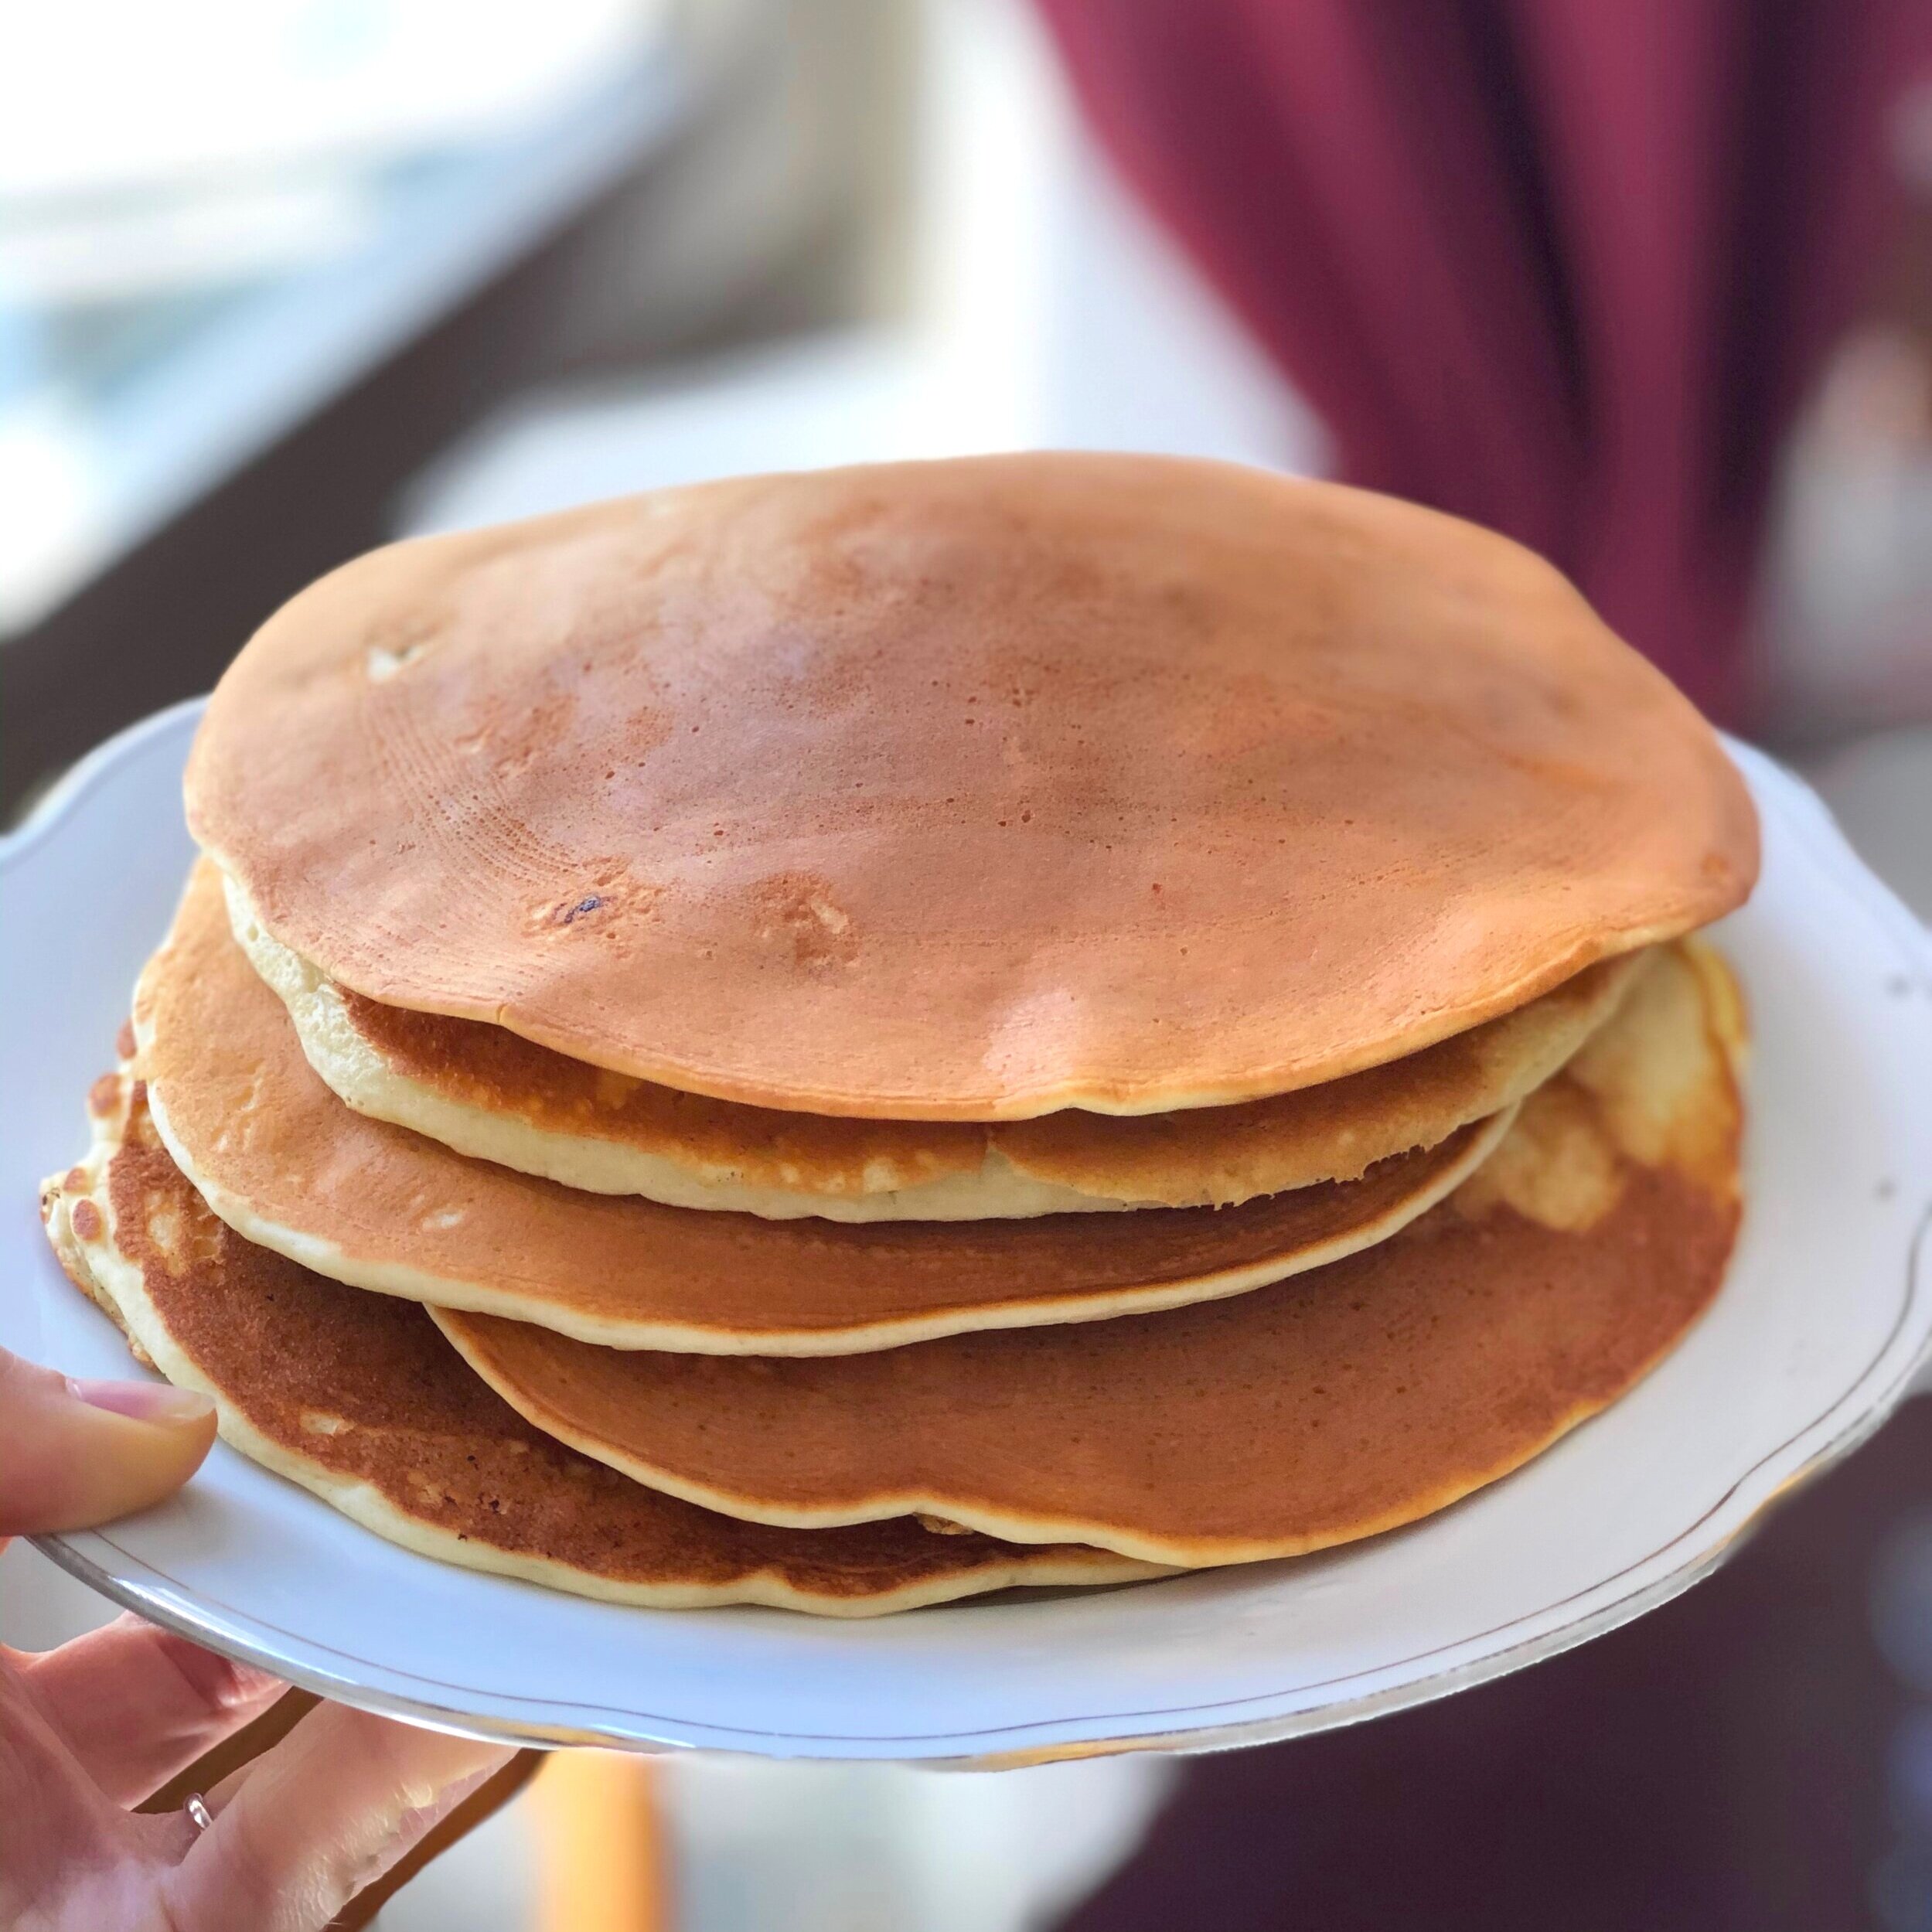
Homemade Pancake Mix
/Last week I shared with you my favorite buttermilk pancake recipe: my mom’s, of course! Today I’ll share with you the dry pancake mix that is always sitting in a gallon glass jar in the pantry, ready to be made into fluffy golden pancakes just as easy as a store-bought mix.
For the pancake recipe, click here!
Using pantry/baking staples, pancakes are always a good idea. Lazy Saturday mornings, brunch with friends, dinner when you desperately need to go grocery shopping…brinner, anyone? Pancakes are great to whip up at a moment’s notice, and don’t require much skill. Unless you want to get fancy with your flipping, then by all means. If you’re not a pro flipper, maybe make more than just a single batch, just in case…no shame in using a spatula!
I’m not here to show you how to flip pancakes, couldn’t if I wanted to, but instead share with you a delightfully handy dry pancake mix, so you can whip up pancakes even faster.
It’s as simple as whisking together a few dry ingredients, putting them in a jar, then taping on some instructions. You’ll walk by the pancake mixes in the store from now on and cackle because you have something better and healthier at home! Mwahaha.
This post may contain affiliate links. If you make a purchase using these links, Jennyblogs may receive a small commission, at no extra cost to you. This helps to support Jennyblogs. For further information see the privacy policy. Grazie!
Recipe from my mama
Homemade Pancake Mix
Makes about 10 batches of pancakes
Ingredients:
10 cups / 1,200g all-purpose flour
8 Tbsp (1/2 cup) / 112g baking powder
1/2 cup / 100g sugar
4 tsp / 20g salt
2 cups / 250g powdered instant milk
Directions:
In a large bowl, whisk together all ingredients until thoroughly combined. Transfer to a large jar or container with lid.
Tape to the jar the following instructions:
Combine 1 1/4 cups dry mix with:
1 cup water or milk
2 Tbsp oil
1 egg
When preparing a batch of pancakes, preheat a lightly greased griddle or pan to 375F / 190C. Combine the wet ingredients with the dry ingredients until just combined, little lumps are ok. Pour desired amount onto griddle and cook until the bubbles in the batter don’t immediately fill in when they pop; flip and cook second side until golden.
Jenny’s Notes:
If you don’t have or prefer not to use powdered milk, simply leave it out and make sure to use buttermilk or milk of choice instead of water when making up a batch. The powdered milk makes for richer pancakes, but it is not strictly necessary. I like using buttermilk/milk when making pancakes even if there’s already powdered milk! Extra delicious.
If your pancakes are getting beyond golden before they’re cooked through, lower the heat of your pan.


Homemade Pancake Mix
Ingredients
- 10 cups / 1,200g all-purpose flour
- 8 Tbsp (1/2 cup) / 112g baking powder
- 1/2 cup / 100g sugar
- 4 tsp / 20g salt
- 2 cups / 250g powdered instant milk
Instructions
- In a large bowl, whisk together all ingredients until thoroughly combined. Transfer to a large jar or container with lid.
- Tape to the jar the following instructions: Combine 1 1/4 cups dry mix with: 1 cup water or milk - 2 Tbsp oil - 1 egg
- When preparing a batch of pancakes, preheat a lightly greased griddle or pan to 375F / 190C. Combine the wet ingredients with the dry ingredients until just combined, little lumps are ok. Pour desired amount onto griddle and cook until the bubbles in the batter don’t immediately fill in when they pop; flip and cook second side until golden.
Notes:
- If you don’t have or prefer not to use powdered milk, simply leave it out and make sure to use buttermilk or milk of choice instead of water when making up a batch. The powdered milk makes for richer pancakes, but it is not strictly necessary. I like using buttermilk/milk when making pancakes even if there’s already powdered milk! Extra delicious.
- If your pancakes are getting beyond golden before they’re cooked through, lower the heat of your pan.
Calories
494.19Fat (grams)
1.66Sat. Fat (grams)
0.49Carbs (grams)
105.92Fiber (grams)
3.26Net carbs
102.65Sugar (grams)
10.30Protein (grams)
13.27Sodium (milligrams)
1977.86Cholesterol (grams)
2.00