Slata Tounsia - Tunisian Salad

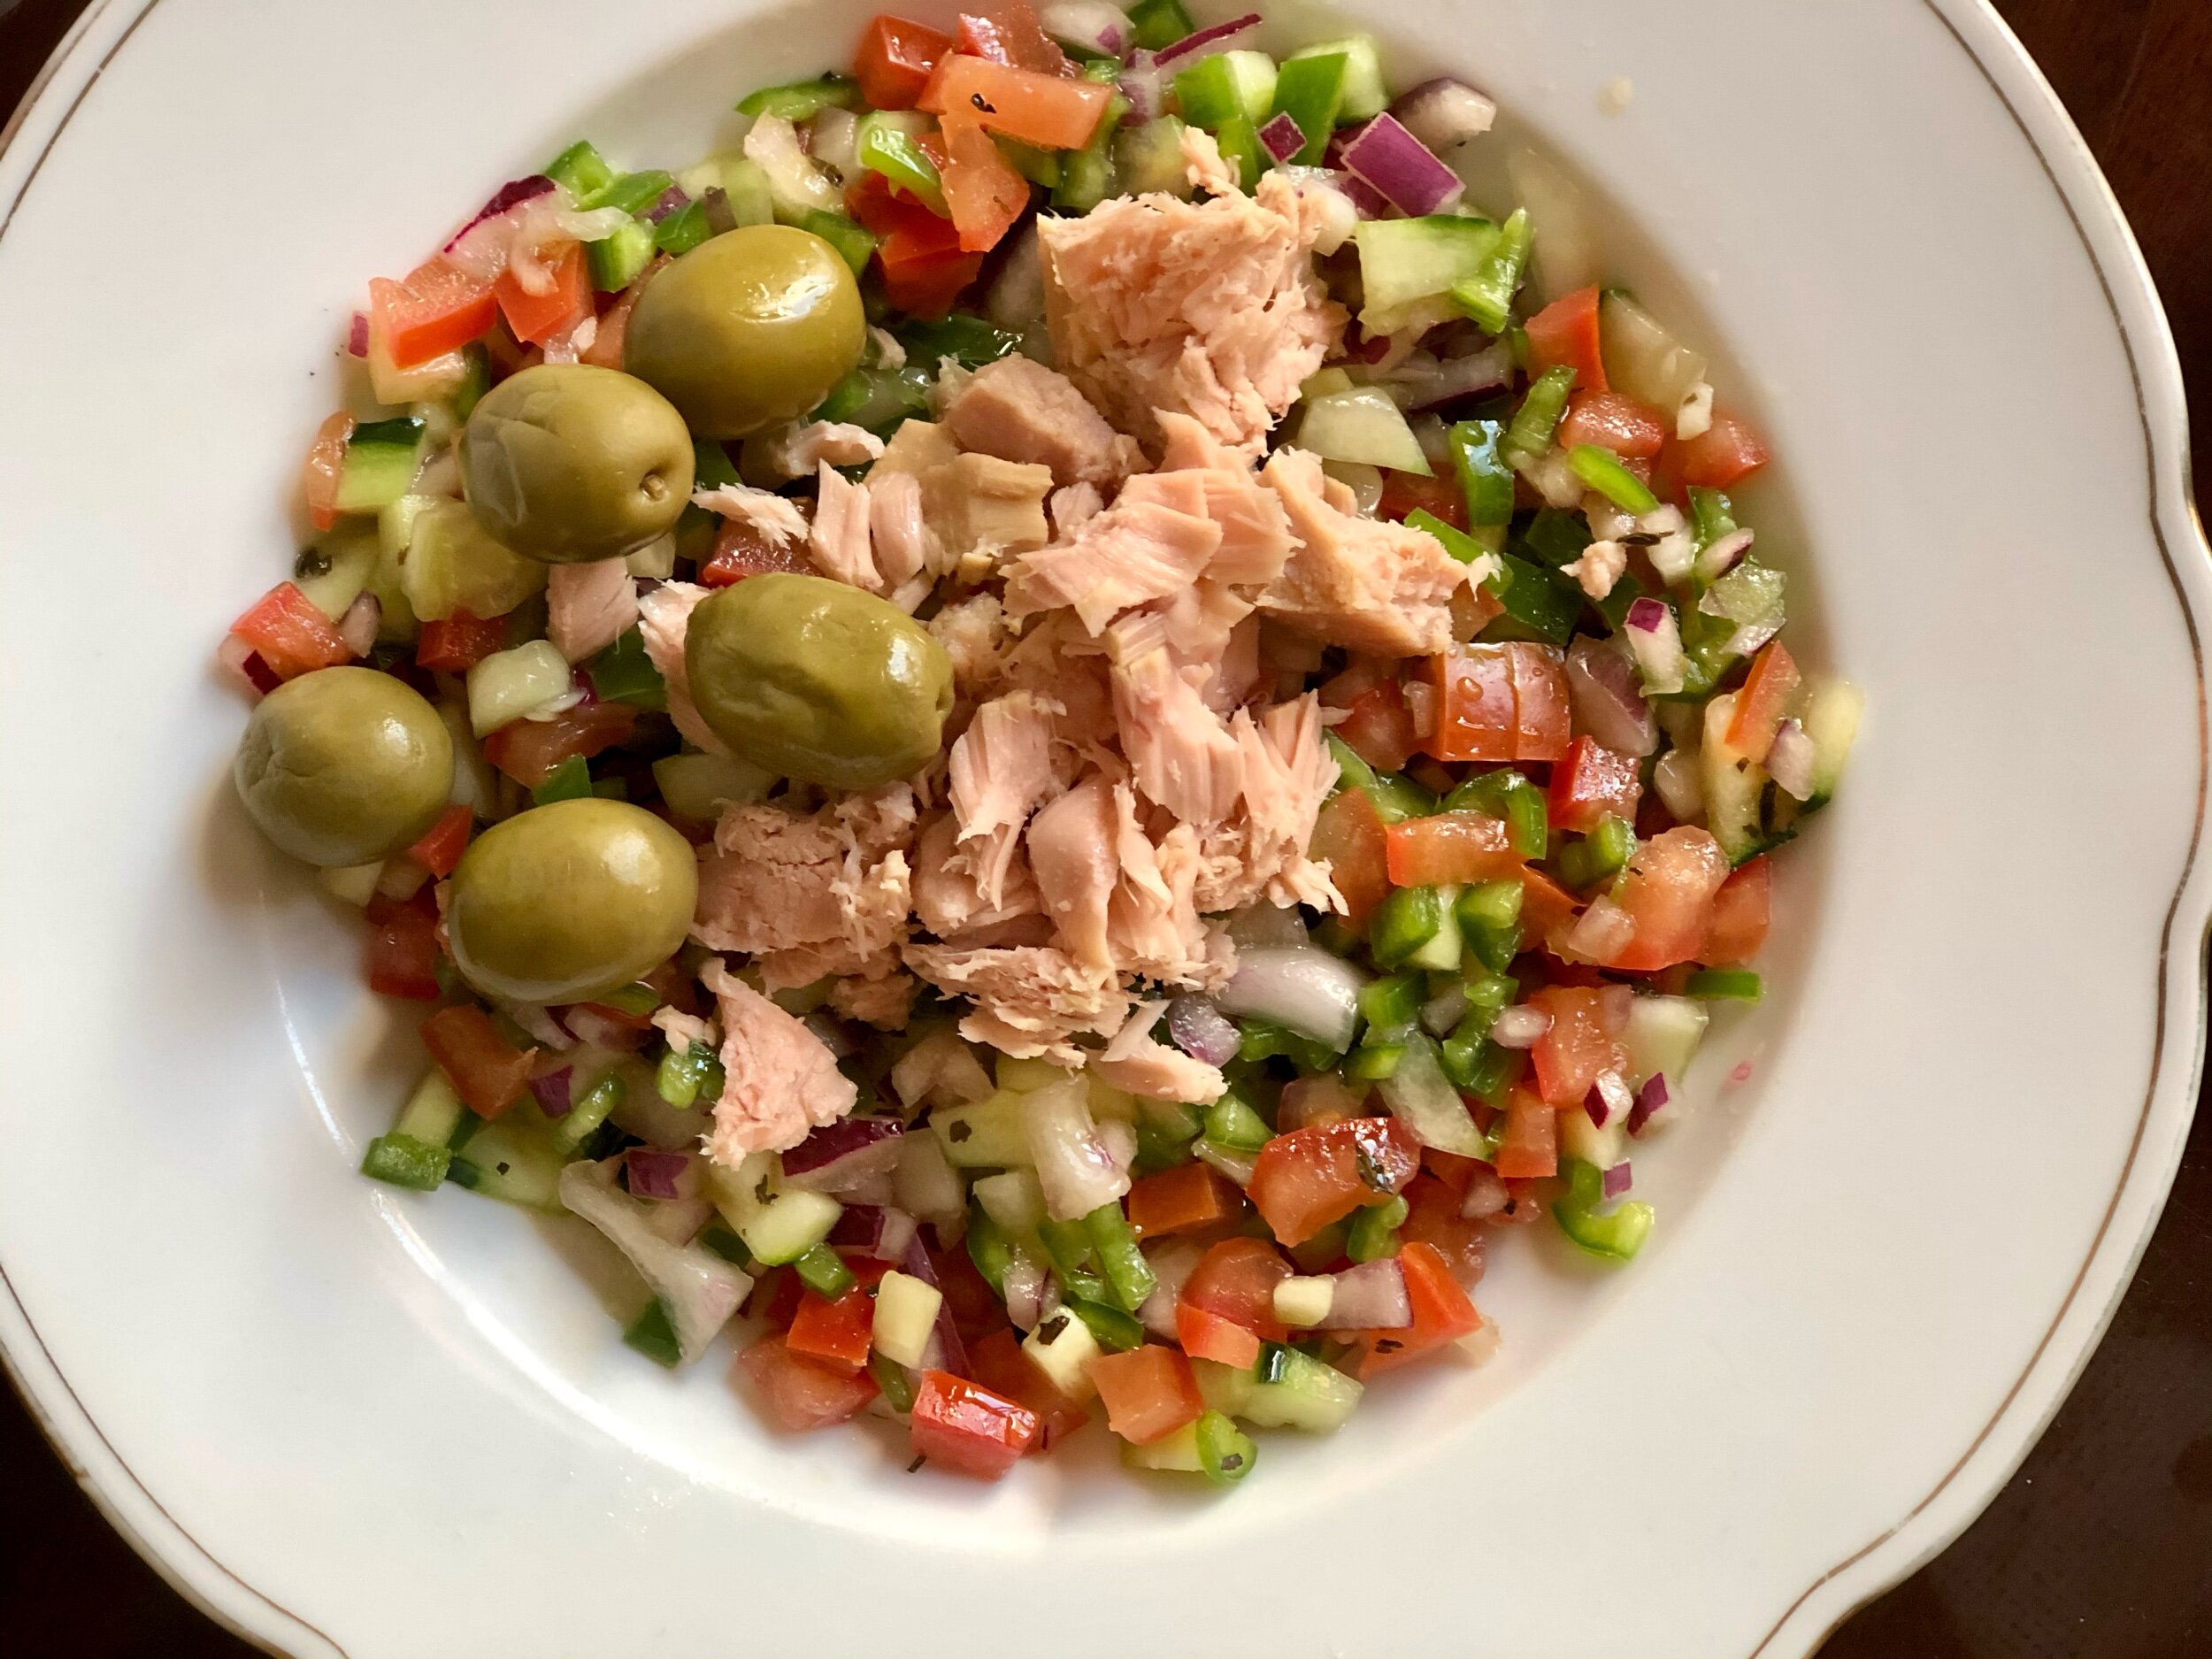
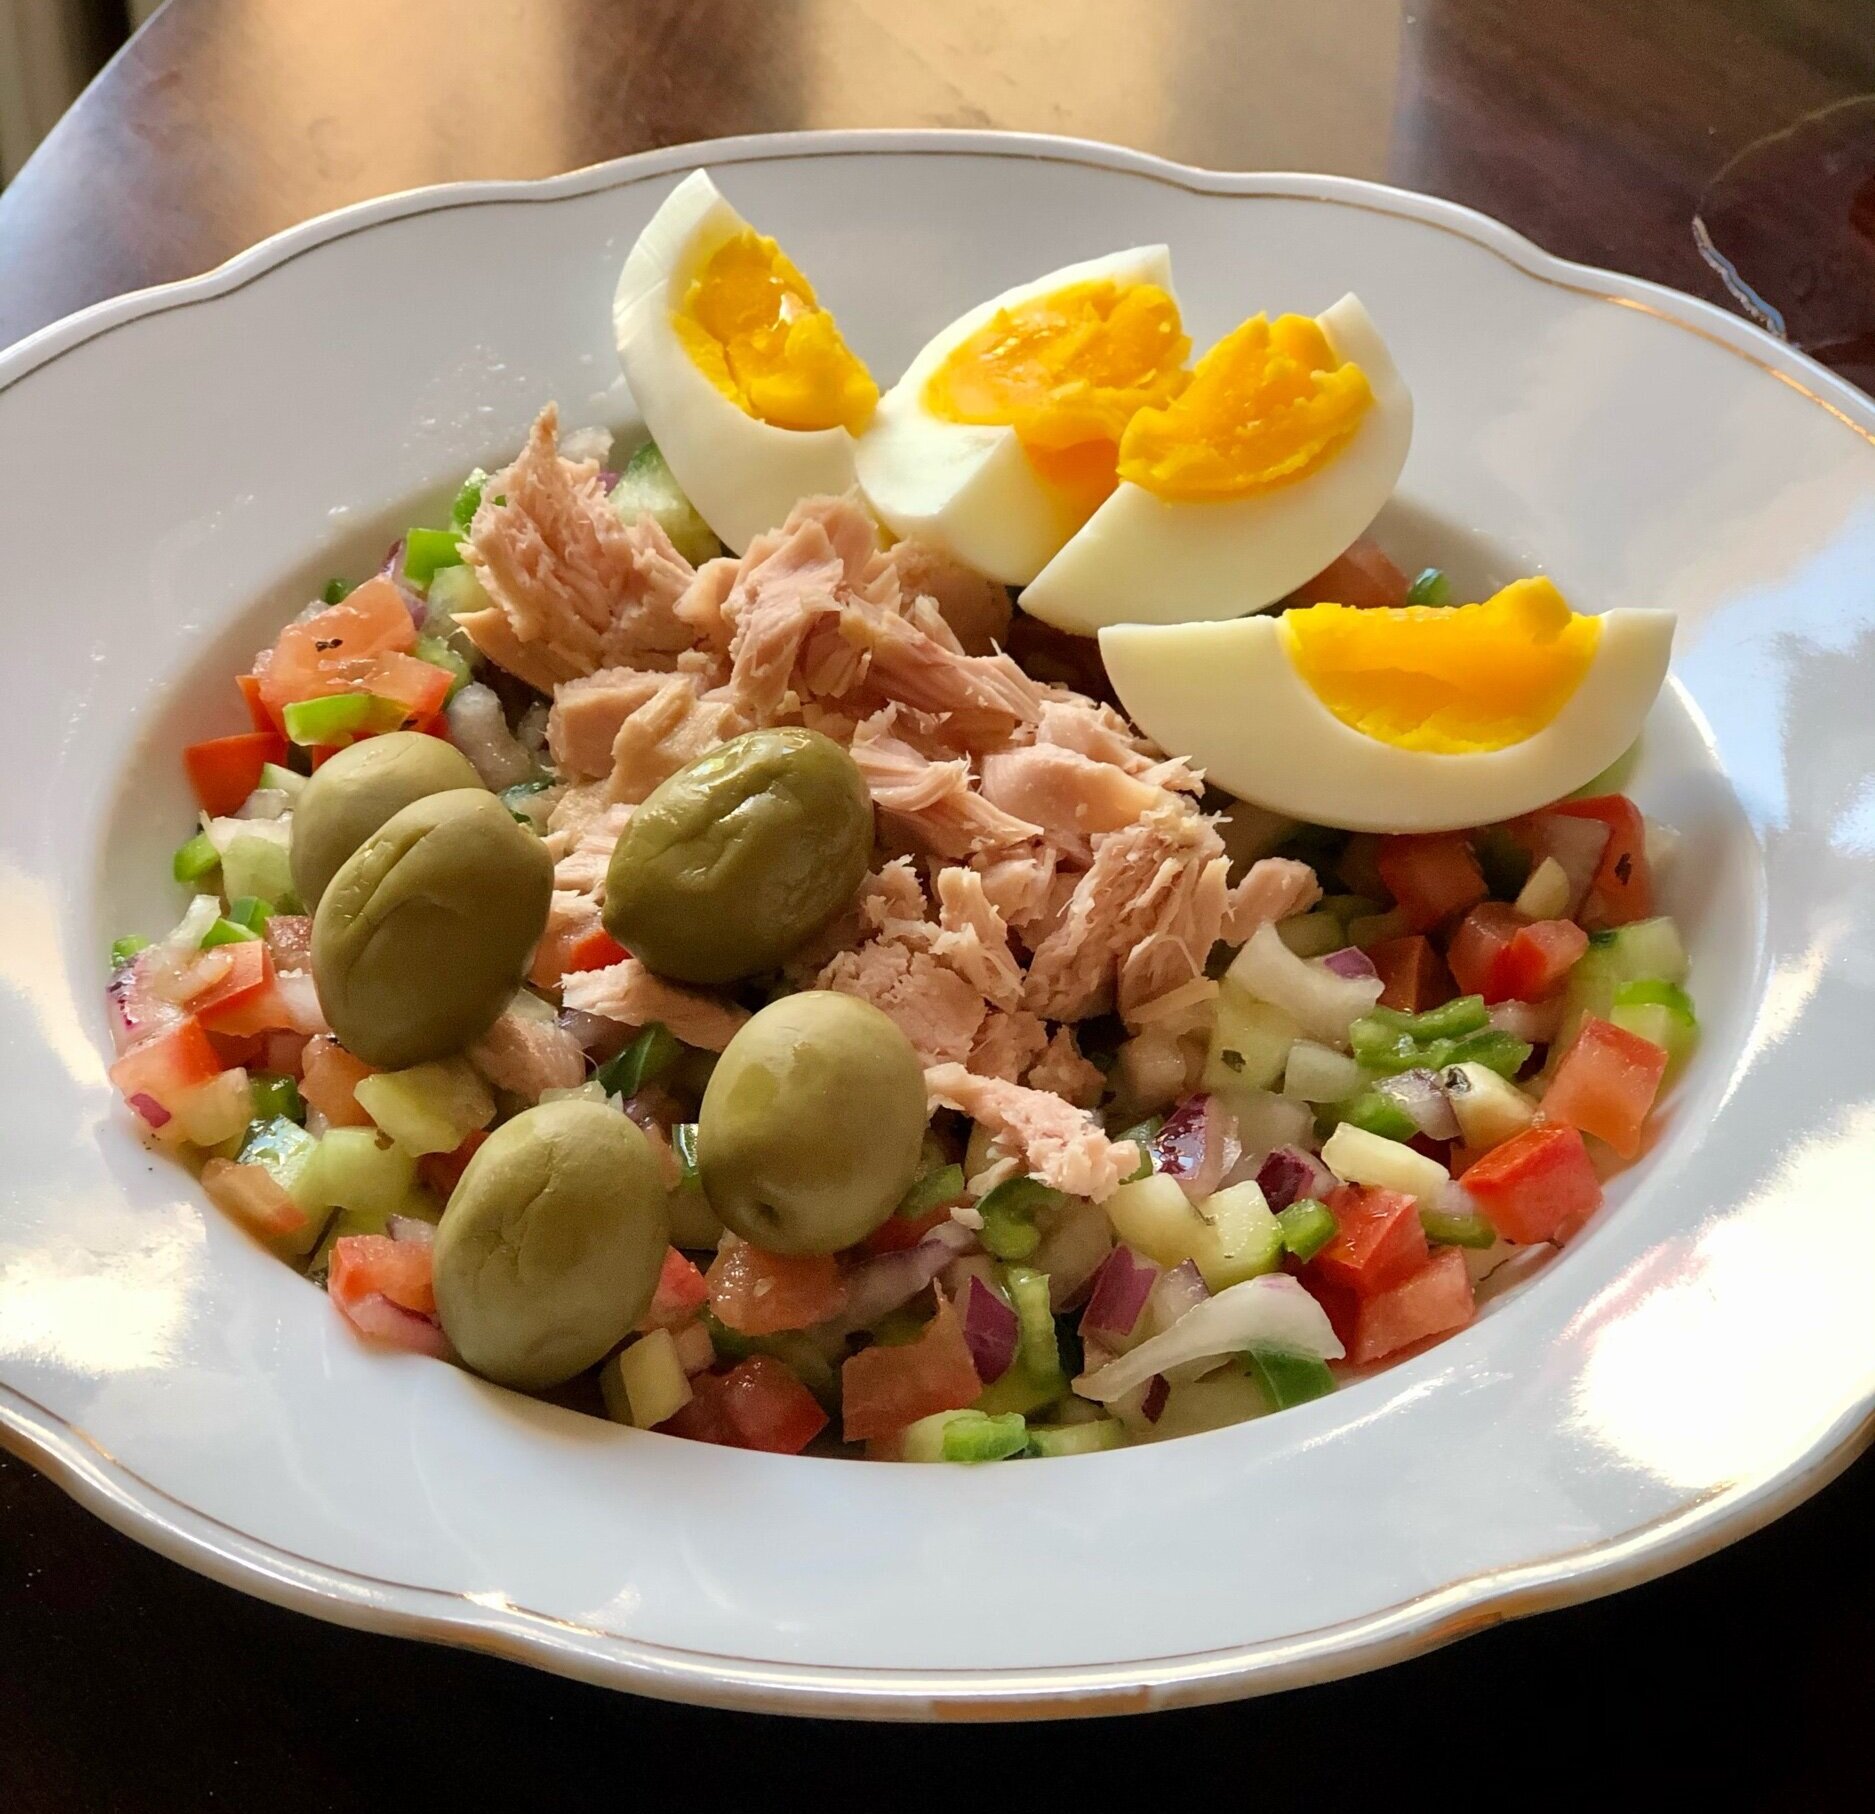
Slata Tounsia, or Tunisian Salad, also called Salade Tunisienne, is a summertime classic in Tunisia.

Unlike most American salads that involve lettuce, there is no lettuce to be seen here, just tomato, cucumber, onion, apple, jalapeno peppers and a bright dressing that brings it all together and makes it irresistible. It’s simple, yet delicious.

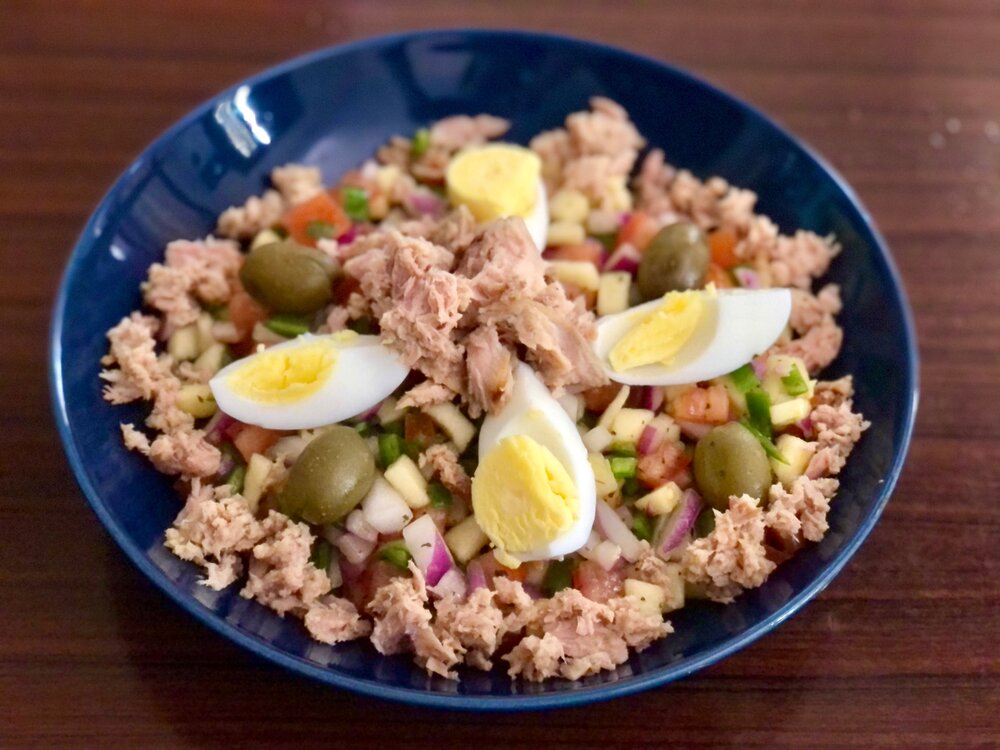
It can be served as is as a side dish, or as it would be served traditionally, with tuna and hard boiled eggs, and olives, making it a well-rounded meal. I’m partial to the full-meal version, although my mom would probably be making fun of me since every time I call her and she asks what we’re having for dinner tuna, eggs, or both are probably involved. Hey, they’re good for you! Very mediterranean, you find lots of eggs and tuna in Italy as well.

The most classic version of the salad doesn’t include apple, even though many in Tunisia add it. We always add it because it gives such a happy and sweet element to the salad. I thought it sounded a bit strange at first, but it works really well.

Onion breath and how to avoid the worst of it

If you, like me, love onion but are hesitant to eat it raw if you have to go out in public anytime after, you know….”heyyyyyy guysssss I just ate onion!” you’ll be happy to hear that the dressing helps to cut the strength of the onion. Yes, you’ll still have some onion breath afterwards, but the vinegar and lemon in the dressing do wonders. If you really can’t deal with the onion breath, you can try soaking the onions for a few hours or overnight in the dressing (essentially making pickled onions) to cut their oniony strength even more. This salad I probably ate several times a week last summer when I was pregnant. I craved it but couldn’t deal with the onion breath afterwards, made me gag, haha, so we would leave the onions in the dressing for at least a few hours before finishing the salad.

To further reduce the after effects, I’m just going to go ahead and share some other ideas that I gathered off the internets and found to help. Nothing is foolproof, but it does help.

  1. Brush your teeth. This might seem obvious, but the sooner you can brush your teeth after eating onions or other insulting foods the better.

  2. Floss your teeth. Yep, just like brushing, get out all the stuff from the cracks for the cleanest and best chance at a fresh tasting mouth.

  3. Swish mouthwash.

  4. Chew gum.

  5. Eat other fruits, vegetables, and bread afterwards.

  6. Drink lots of water. I find lemon water to be especially pleasant and offsets the onion taste nicely.

  7. Drink milk. Kinda like when you eat spicy food, drinking milk can help flush out the taste/spice faster.

While it might be overkill to do all, my comfy little routine became brushing and flossing immediately after, drinking lemon water a few times, and chewing gum and rebrushing teeth as needed.

Anyway where were we? Oh yes, making slata tounsia. Enough villainizing the onions, who are friends.

Recipe from the husband


Slata Tounsia - Tunisian Salad

Serves 2 as a main dish or 3-4 as a side

Ingredients:

  • 2 tsp / 10g apple cider vinegar

  • juice from 1/2 a lemon

  • 1 tsp dried mint

  • 1 red onion, diced small

  • 2 cucumbers, diced small

  • 2 tomatoes, diced small

  • 1 apple, peeled if desired and diced small, optional

  • 8 jalapeño peppers, seeds removed and diced small

  • salt to taste

  • extra virgin olive oil, for drizzling

  • tuna, hard-boiled eggs, olives, for serving, optional

Directions:

IMG_3408.jpeg
  1. In a large bowl combine vinegar, lemon, and dried mint. Add the onion and mix to coat evenly. Allow to sit while you chop the rest of the vegetables and fruit.

  2. Add cucumbers, tomatoes, apple, jalapeño peppers, and salt to taste to the bowl with the onions. Taste, adding more salt as needed.

  3. To serve, drizzle with olive oil and arrange tuna and sliced hard-boiled eggs on top.

Jenny’s Notes:

  • While red onion is the best in this salad (and the prettiest!), other types of onions work as well.

  • red wine vinegar, white wine vinegar, or your favorite vinegar could be used in place of apple cider vinegar.

  • 8 jalapeño peppers might seem like a lot, but as long as you’re careful to remove all the seeds the salad will have a light kick but should not be overly spicy. Since peppers can vary in spiciness even if they’re the same variety, it’s always smart to have tasted/used the peppers before consuming them raw so you know what you’re getting yourself into. That said, you could use other types of peppers, spicier varieties if you’re brave or milder if spicy isn’t your thing.

Mediterranean cuisine, Tunisian dish, summer salad, slata tounsia, salade tunisienne
salad, side dish, main dish
Tunisian, Mediterranean
Yield: 2-4
Author:
Slata Tounsia

Slata Tounsia

A classic Tunisian summer salad made of cucumber, tomato, hot peppers, onion, and sometimes apple with a bright and simple dressing served with hard boiled eggs, tuna, and olives.
Prep time: 30 MinTotal time: 30 Min

Ingredients

Instructions

  1. In a large bowl combine vinegar, lemon, and dried mint. Add the onion and mix to coat evenly. Allow to sit while you chop the rest of the vegetables and fruit.
  2. Add cucumber, tomatoes, apple, jalapeño peppers, and salt to taste to the bowl with the onions. Taste, adding more salt as needed.
  3. To serve, drizzle with olive oil and arrange tuna and sliced hard-boiled eggs on top.

Notes

  • While red onion is the best in this salad (and the prettiest!), other types of onions work as well.
  • red wine vinegar, white wine vinegar, or your favorite vinegar could be used in place of apple cider vinegar.
  • 8 jalapeño peppers might seem like a lot, but as long as you’re careful to remove all the seeds the salad will have a light kick but should not be overly spicy. Since peppers can vary in spiciness even if they’re the same variety, it’s always smart to have tasted/used the peppers before consuming them raw so you know what you’re getting yourself into. That said, you could use other types of peppers, spicier varieties if you’re brave or milder if spicy isn’t your thing.

Nutrition Facts

Calories

183.34

Fat

7.96 g

Sat. Fat

1.13 g

Carbs

28.25 g

Fiber

6.65 g

Net carbs

21.61 g

Sugar

17.75 g

Protein

3.27 g

Sodium

111.39 mg

Cholesterol

1.86 mg

Nutritional info is approximate. Based on 2 servings that includes apple. Not including tuna, eggs, and olives.

Did you make this recipe?
Tag @jennyblogsandbakes on instagram and hashtag it #jennyblogs

Tzatziki Cucumber Salad

IMG_0863.jpg

This post may contain affiliate links. If you make a purchase using these links, Jennyblogs may receive a small commission, at no extra cost to you. This helps to support Jennyblogs. For further information see the privacy policy. Grazie!

Fresh, cool, crunchy, creamy, and delicious Tzatziki, which is basically a Greek cucumber salad made with thick, strained yogurt, and seasoned with dill and garlic. Uh, yum, right? If you’ve ever had tzatziki, you know what I’m talking about!

It’s funny because I’ve known about tzatziki for a long time, enjoying it at restaurants and such, that wonderful Greek yogurt sauce dip wonder. I’ve seen several cucumber salad recipes around this summer on some of my favorite recipe sites like foodgawker; German cucumber salads, normal cucumber salads, and others. It got me hungry, so I decided to make my own. And let me tell you, I got right on it because zero cooking or baking in a recipe is a wonderful thing when the summer here in Florence has been between 90-106°F / 32-41°C since June.

I noticed most of the recipes I came across used sour cream, but I used plain greek yogurt because it’s more nutritious. Once I found a nice balance between the flavors, I wrote down the recipe and decided to share it with you guys! Then I recalled that tzatziki has very similar flavors, and although I’ve never made it nor even looked up a recipe, my curiosity got the best of me to see just how similar they would be. What do you know, I basically made tzatziki and didn’t even know it! So much for making an original recipe, haha!

So what I’m sharing with you today is my accidental take on tzatziki, similarly enough to be called so, but not THE original. If you make the changes listed below, however, you can have yourself a delicious and authentic Greek tzatziki!

What are the differences from a traditional tzatziki and the one you see below?

  • The cucumber is usually grated and drained (either by squeezing or letting sit in cheese cloth over a bowl overnight) instead of sliced. I also use more cucumber to make a creamy salad rather than a dip that features cucumber. if you want to make real tzatziki, use a half of a large cucumber or a smallish one.

  • Traditional would have more yogurt so again, more of a sauce or dip rather than a salad. For real tzatziki, double the yogurt to 1 1/2 cups / 340g.

  • For the acidic element, I used lemon juice, but vinegar of some sort is usually called for. I’ve read in Greece they most often use red wine vinegar.

  • I added more fresh dill! Because I love dill. If you think about it, this is like a creamy dill pickle dip. It has the cucumbers, the garlic, the dill….no wonder I like it so well! For original tzatziki, use about 1 Tbsp chopped.

If you eliminate the cucumbers (or shred them like the traditional way), it makes an excellent and much healthier alternative to most veggie dips. I might even like it better than Ranch!


Tzatziki Cucumber Salad

Serves about 2

IMG_0852.jpg

Ingredients:

  • 3/4 cup / 170g plain greek yogurt or vegan yogurt

  • generous 2 Tbsp chopped fresh dill

  • 2 tsp / 10g lemon juice

  • 2 garlic cloves, minced, or 1/4 tsp garlic powder

  • salt and pepper, to taste

  • 1 large cucumber, chopped with skin/seeds removed as desired

  • extra virgin olive oil, for drizzling, optional

Directions:

  1. In a medium bowl combine yogurt, dill, lemon juice, garlic powder, salt and pepper.

  2. If serving immediately, add cucumber and stir to coat; drizzle with olive oil. Otherwise, refrigerate until ready to serve, adding cucumber and drizzling with oil at the last minute.

Jenny’s Notes:

  • For optimal creaminess, I would use full fat greek yogurt. If you are vegan or dairy-free, use a thick/Greek dairy-free yogurt alternative!

  • In an ideal world the dressing would be made a day ahead of time and the cucumber added just before serving. This helps the flavors meld together and cuts the sharpness of the garlic a bit, without the cucumber sitting in the dressing for a day and losing its liquid. However, this makes a great last minute dish and it tastes just fine if eaten right away!

vegan, vegetarian, dairy-free, gluten-free, veggie dip, cucumber, garlic, fresh dill, Greek yogurt, Ranch substitute
Side dish, lunch, sauces and condiments
Greek
Yield: 2
Author:

Tzatziki Cucumber Salad

Creamy salad form of the classic Tzatziki sauce: Cucumbers, Greek yogurt, lemon juice, garlic, and fresh dill.
prep time: 10 Mcook time: total time: 10 M

ingredients:

  • 3/4 cup / 170g plain greek yogurt or vegan yogurt
  • generous 2 Tbsp chopped fresh dill
  • 2 tsp / 10g lemon juice
  • 2 garlic cloves, minced, or 1/4 tsp garlic powder
  • salt and pepper, to taste
  • 1 large cucumber, chopped with skin/seeds removed as desired
  • extra virgin olive oil, for drizzling, optional

instructions:

How to cook Tzatziki Cucumber Salad

  1. In a medium bowl combine yogurt, dill, lemon juice, garlic powder, salt and pepper.
  2. If serving immediately, add cucumber and stir to coat; drizzle with olive oil. Otherwise, refrigerate until ready to serve, adding cucumber and drizzling with oil at the last minute.

NOTES:

For optimal creaminess, I would use full fat greek yogurt. If you are vegan or dairy-free, use a thick/Greek dairy-free yogurt alternative! In an ideal world the dressing would be made a day ahead of time and the cucumber added just before serving. This helps the flavors meld together and cuts the sharpness of the garlic a bit, without the cucumber sitting in the dressing for a day and losing its liquid. However, this makes a great last minute dish and it tastes just fine if eaten right away!

Calories

123.72

Fat (grams)

7.21

Sat. Fat (grams)

1.05

Carbs (grams)

5.89

Fiber (grams)

0.61

Net carbs

5.28

Sugar (grams)

3.78

Protein (grams)

9.30

Sodium (milligrams)

181.86

Cholesterol (grams)

4.25
Nutritional information is approximate.
Created using The Recipes Generator
IMG_0856.jpg

Pappa al Pomodoro

IMG_4924.jpg

This post may contain affiliate links. If you buy something using these links, Jennyblogs may receive a small commission, at no extra cost to you. This helps to support Jennyblogs. For further information see the privacy policy. Grazie!

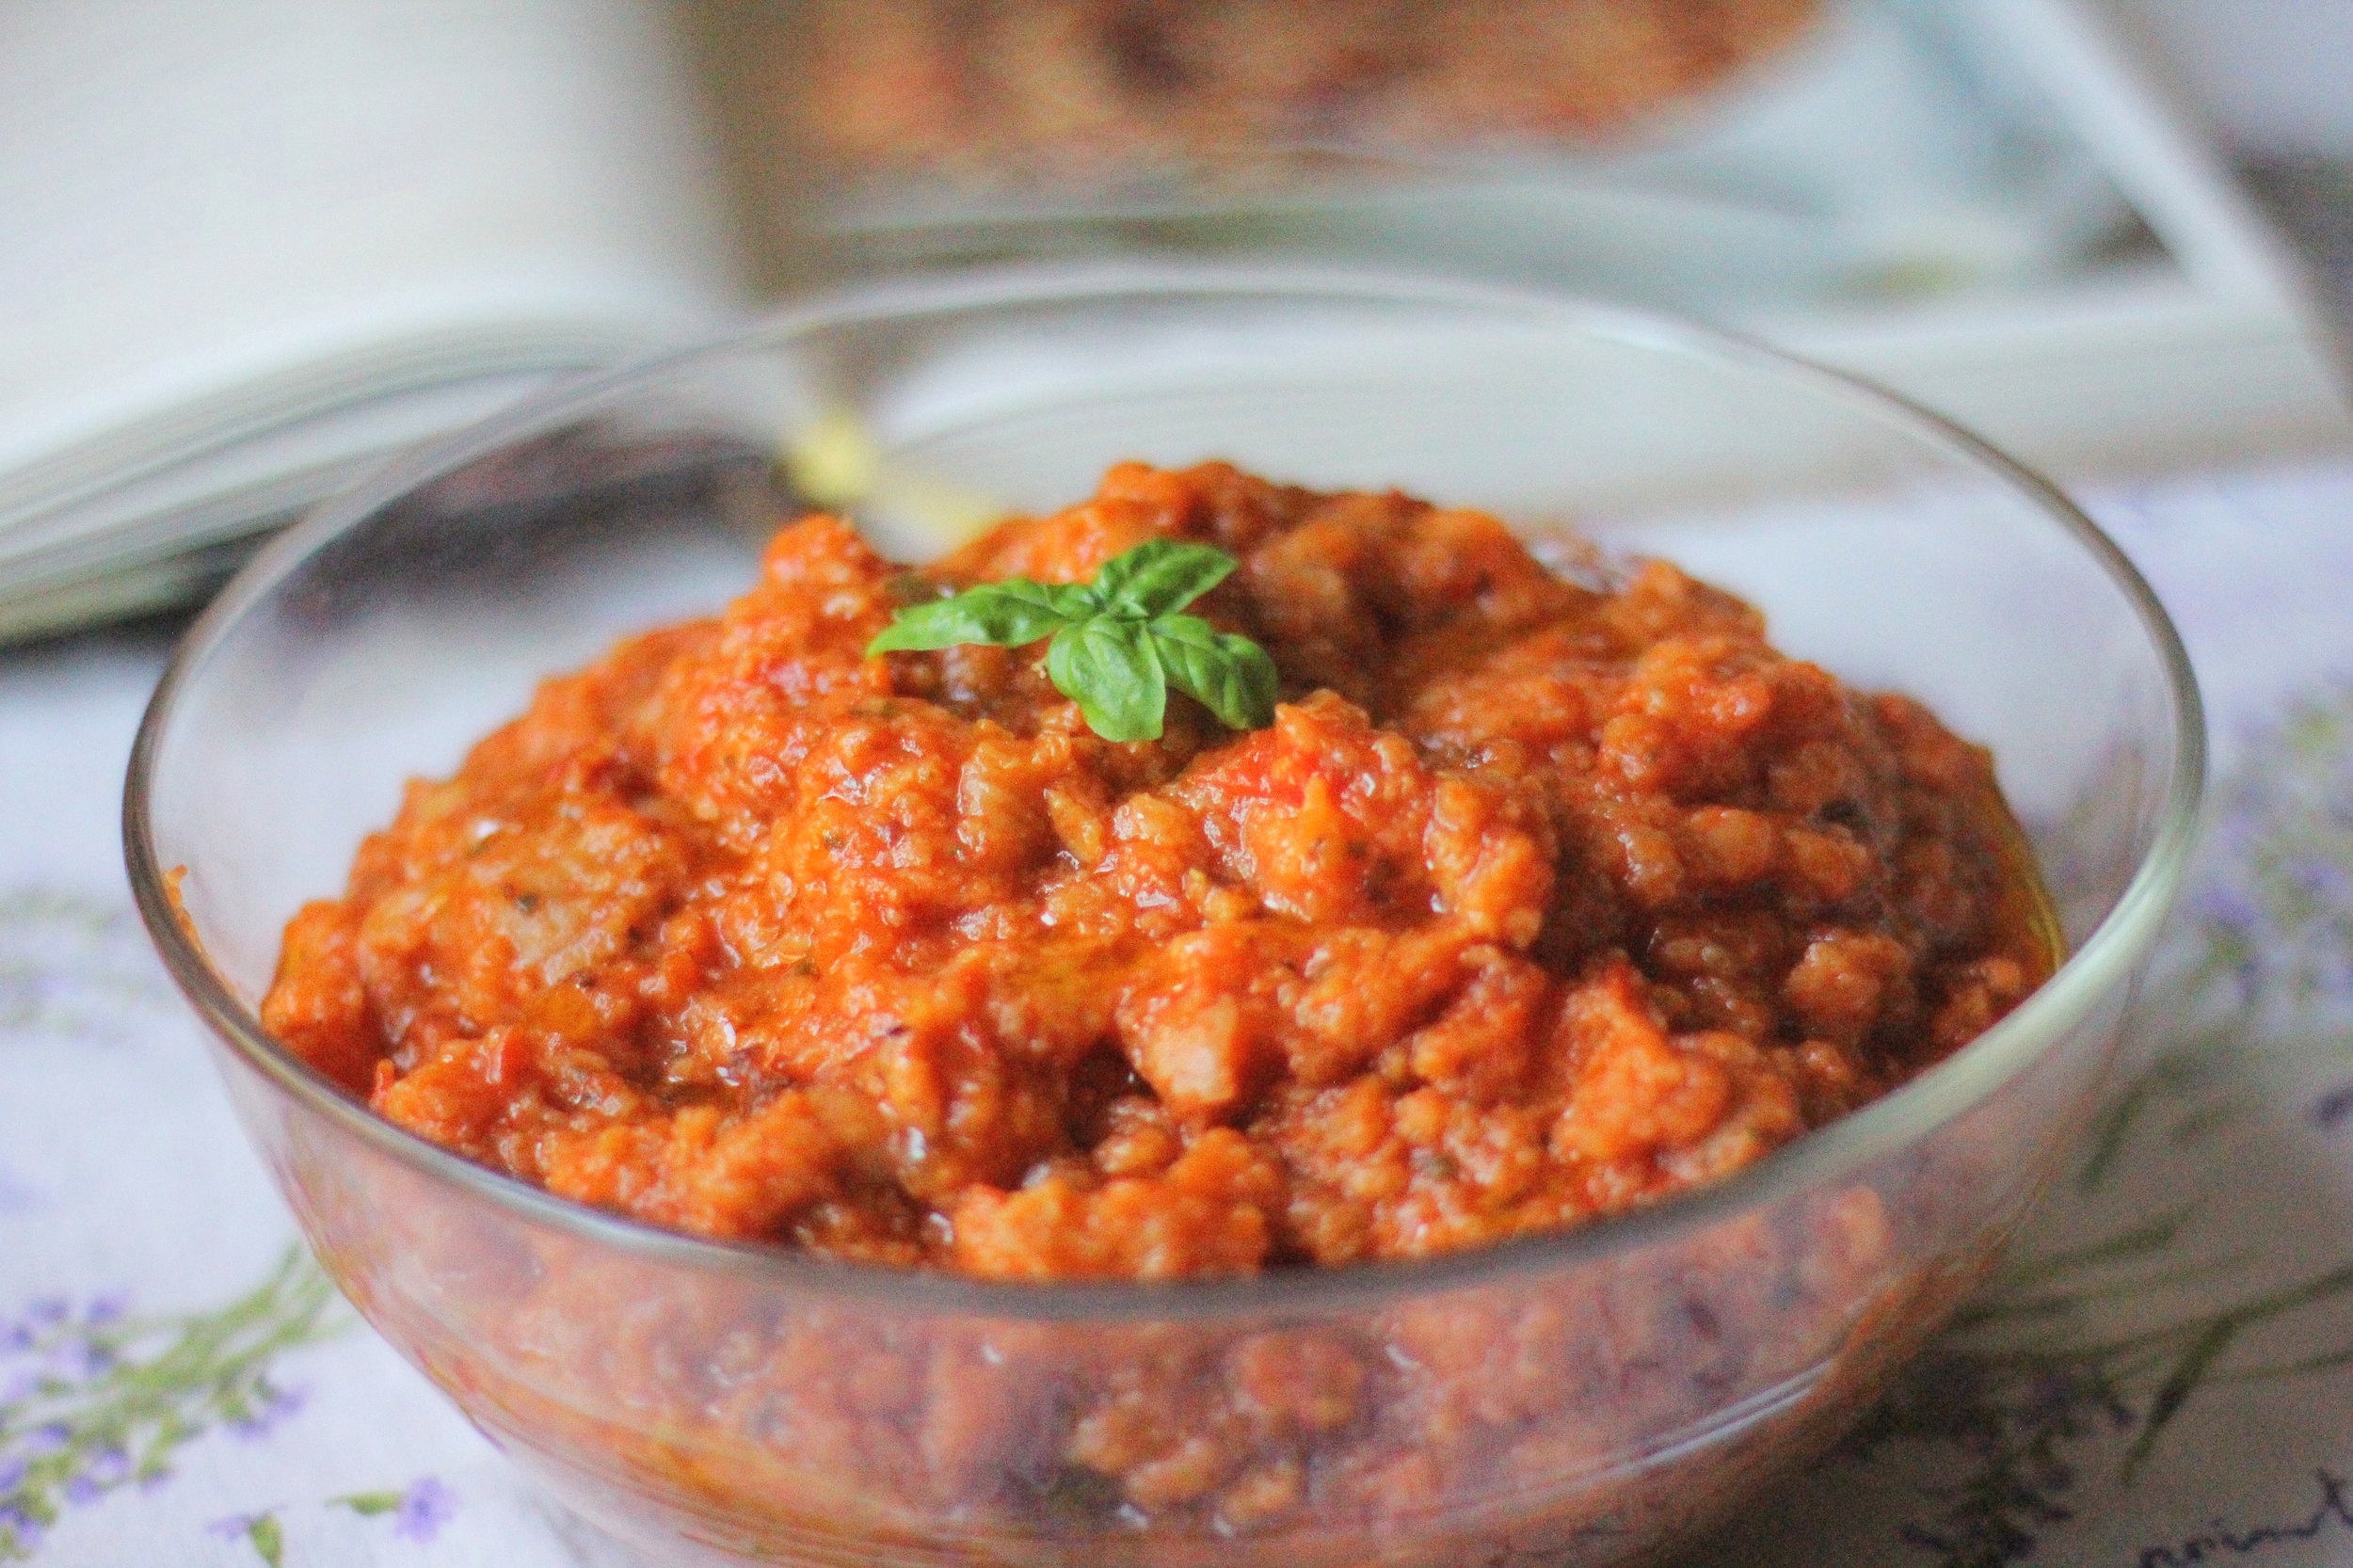
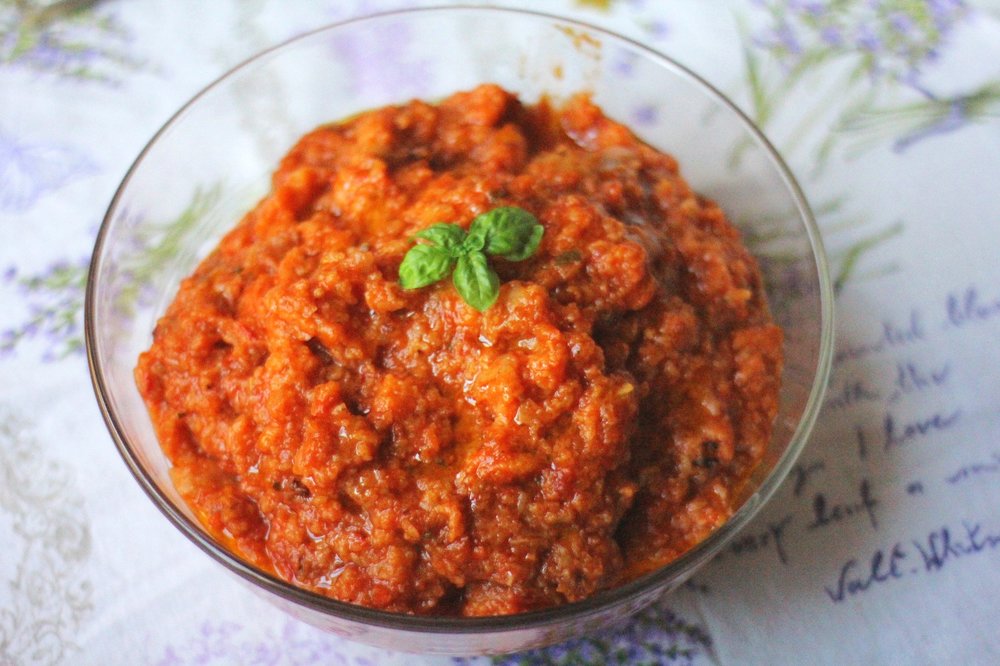
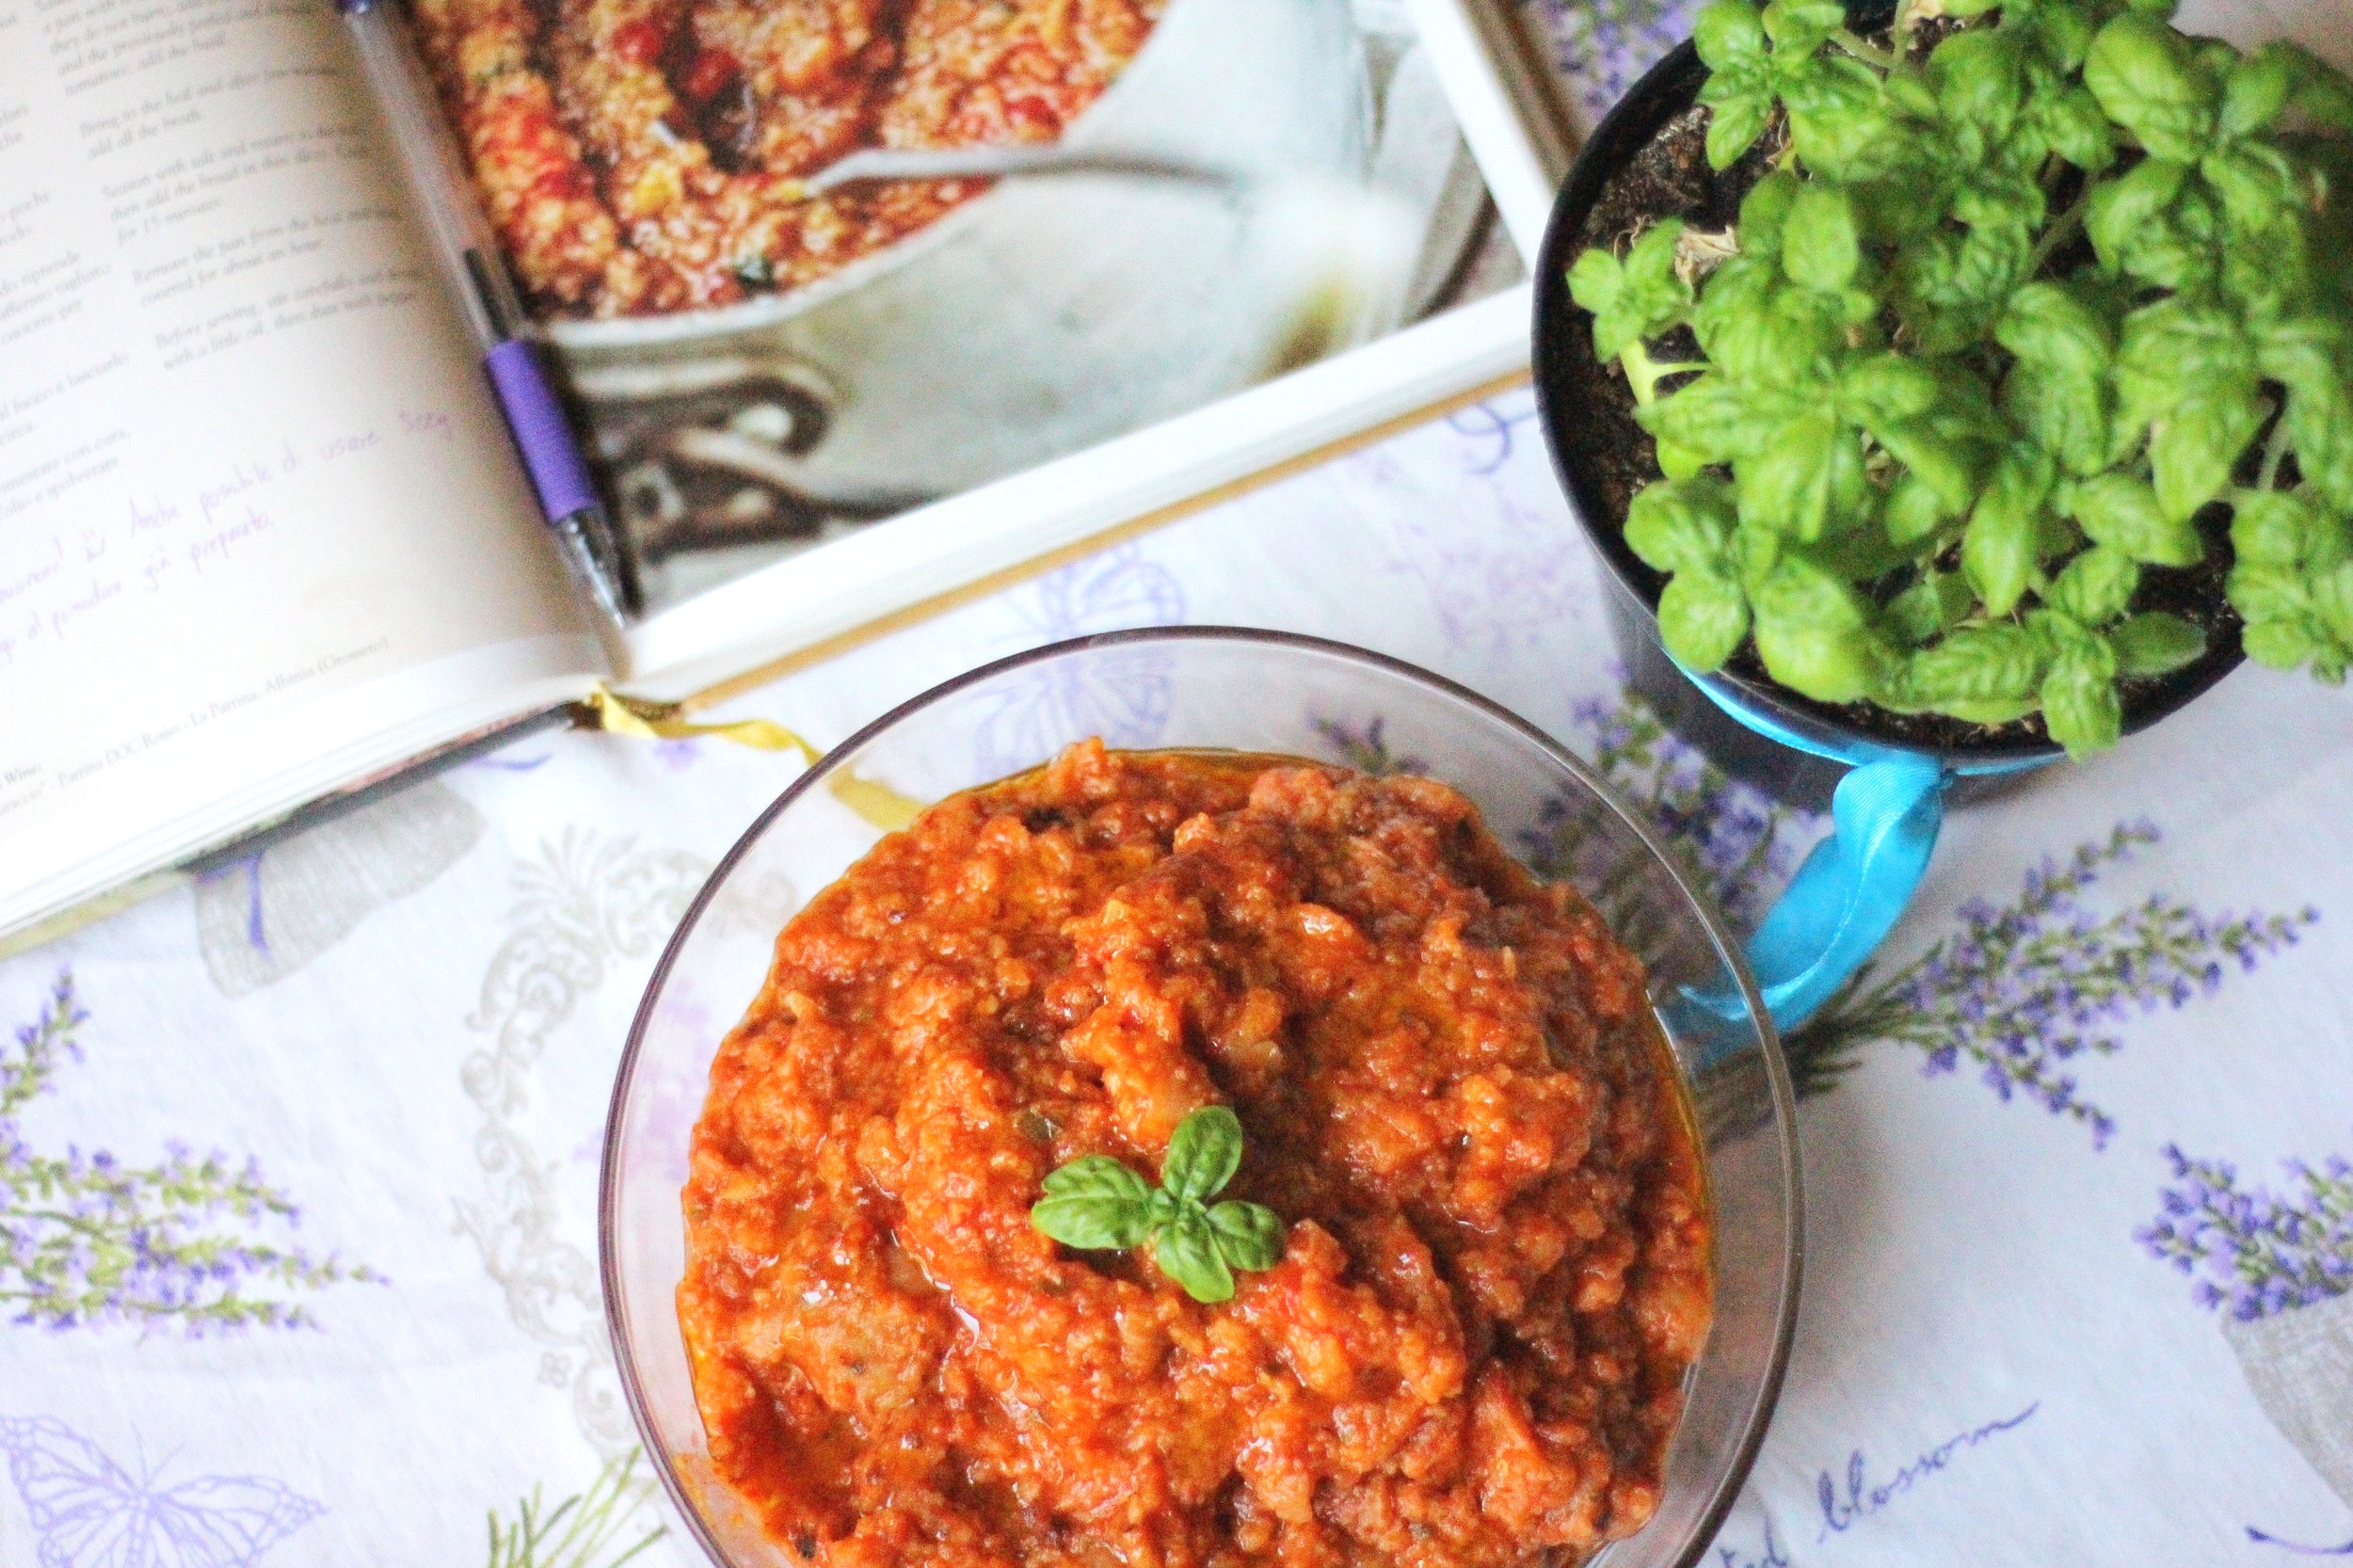
I remember clearly the first time I ate Pappa al Pomodoro.  It was DELICIOUS, and at the time I had absolutely no idea what it was.  I had recently arrived in Italy for the second time in my life, and my friends took me to a local pizzeria.  The owner, who knew my friends by sight, brought us each a little plate of this red...mush...with olive oil drizzled on top.  I took one bite, might have closed my eyes and had a Ratatouille moment, then wasted no time in devouring the rest. The flavors seemed such ordinary everyday ingredients, but each took their turn on the tongue, twirling and waltzing together in such harmony as to become a dish not quickly forgotten, and leaving the palate wanting more.  One of my friends can't have gluten, and asked if any of us wanted her mush.  "Really, there's gluten in this?  That stinks, I'm sorry you can't try it...I'll TAKE IT."  Actually, the rest of us probably split it, I don't really remember.  

After this first encounter, I needed to know what that magical substance was.  What is it called?  What are the ingredients? How do you make it?  I'll save you all my searching and wondering: Pappa al pomodoro has a base of bread, tomatoes, and broth, and where there are tomatoes there is usually basil, and round it out with some garlic and good extra virgin olive oil.  That's it!  And I bet, you probably have all or most of those ingredients on hand.  

You can think of it like a very simple tomato soup, but you just add a bunch of bread to thicken it up. Haha honestly, I’m still working on a way to describe this that doesn’t make it sound weird. It’s just one of those things you have to try to believe how simply and deliciously wonderful it is.

Pappa al Pomodoro is a traditional Tuscan "poor" dish, and once I knew what it was, saw it everywhere on restaurant menus around Florence.  It's normally eaten as a primo piatto, or first course, but I like to make it the MAIN course.  At home, of course, away from the overly inquisitive eyes of the Italians.  The genius of it is, it uses stale bread, reducing food waste.  Hence it being a "poor" dish, in which the Tuscans back in the day found tasty ways to recycle every food bit. 

If you've been to Tuscany and tried Pappa al Pomodoro, hopefully this recipe will bring a bit of its exuberance back into your life.  If you've never tried it, give this recipe a go for a taste of Tuscany!  Because the ingredients are simple and each flavor really shines through, I recommend being a little extra picky on the quality and freshness of ingredients you use.  (But, I'll give you some cheats, see "Jenny's Notes" below.)

Pro tip:  As you're pronouncing "pappa" really lay on those p's.  If you say it too quickly, your Italian friends or Italian wanna-be friends might think you're talking about the Pope, whom they call "Papa."  And a tomato Pope, at that, because, ya know, pomodoro means "tomato."  :)

Recipe adapted from the cookbook "Toscana in Cucina The Flavours of Tuscany."  Click on the Amazon link for more delicious Tuscan dishes, with recipes in both English and Italian!  


Pappa al Pomodoro

Serves about 6-8

Ingredients:

IMG_4931.jpg
  • 6 Tbsp / 84g olive oil

  • 3 cloves garlic, peeled and crushed

  • crushed red pepper flakes, to taste

  • 1 lb. / 500g ripe tomatoes, peeled and chopped

  • several fresh basil leaves, plus more for the garnish

  • 4 cups / 950g vegetable broth

  • 10 oz / 300g stale artisanal bread, sliced thinly (breads made with just water, flour, yeast work best)

  • extra virgin olive oil, for drizzling

  • salt and pepper, to taste

Directions:

  1. Heat oil in a large pan over medium-low heat and add garlic, cooking until sizzling and fragrant, ensuring it doesn't burn.  Add a bit of crushed red pepper, then the tomatoes and basil.  

  2. Bring to a simmer; after a few minutes add the broth.  

  3. Season with salt and pepper to taste, then add the bread.  

  4. Cook for 15 minutes, stirring occasionally.  

  5. Remove the pan from the heat and leave covered for about an hour.  

  6. When ready to serve, stir gently and drizzle with olive oil, dust with pepper, and top with a basil leaf or two.  

Buon appetito! 

*Wine Pairing from Toscana in Cucina: Muraccio - Parrina DOC Rosso - La Parrina, Albinia (Grosseto) 

Jenny's Notes:

  • Also super delicious with grated parmesan on top…

  • I know the bread description is a little vague, but you probably won't find the 1 kg hunk of unsalted Tuscan bread in your local grocery store in the States. You want a bread with simple ingredients: flour, water, salt yeast, or at least as simple as possible. Enriched breads, or those made with milk/eggs/oil, aren't the kind of bread you want to use for this kind of recipe. Nor is the sliced sandwich bread with preservatives ideal. You could look for a good ciabatta, or, that bread labeled "Italian" at the grocery store could always make do.

  • To make this recipe simple, the bread should ideally be sliced or torn into chunks BEFORE it goes completely stale. Trying to slice a solid loaf of stale bread is not fun. However, should this happen, it is still possible to make this recipe work. You can add the bread in one big chunk to the pot. You will want to be a bit more proactive in stirring and making sure it stays submerged as much as possible, flipping if necessary, so it has time to soften and break up. If at the end of the hour it has set there are still some chunks, they should be soft enough where you can break them up with a spoon.

  • If you find chunks of bread, particularly of crust, still present after the hour is up, and you can't seem to get them to break up, an immersion blender can be used in a pinch. It changes the texture a bit (makes it a bit creamier/pastier), which isn't ideal, but I have done this before and it was still very good! You may want to consider using a different kind of bread the next time.

  • You could also use chicken or beef broth, but vegetable seems to be most commonly called for in the Italian recipes I've seen.

  • This freezes well for quick meals, simply bring to room temperature and heat before serving!

  • I do confess I've made this once very much modifying the freshness rule, and to my surprise it didn't turn out half shabby. Just promise me one thing. Make this the real way before going for the modified version. What follows is for emergency situations only. ;)

  1. 1/2 tsp garlic powder instead of garlic cloves

2. 16 oz jar tomato sauce, tomato purée, or can of diced tomatoes instead of 1 lb. tomatoes (I've used sauces with grilled eggplant and even olives added to them for a satisfying twist.)

3. Plain ol' water instead of broth. You'll probably need to add extra salt and pepper, though.

pappa al pomodoro, Tuscan recipe, Italian recipe, Florentine recipe, stale bread
Main, side
Italian
Yield: 6-8 servings
Author:
Pappa al Pomodoro

Pappa al Pomodoro

A classic Tuscan "poor man's" dish that utilizes stale bread, tomatoes, garlic, basil, and a generous drizzle of extra virgin olive oil. Serve as a main dish or side.
Prep time: 25 MinCook time: 15 MinInactive time: 1 HourTotal time: 1 H & 40 M

Ingredients

Instructions

  1. Heat oil in a large pan over medium-low heat and add garlic, cooking until sizzling and fragrant, ensuring it doesn't burn. Add a bit of crushed red pepper, then the tomatoes and basil.
  2. Bring to a simmer; after a few minutes add the broth.
  3. Season with salt and pepper to taste, then add the bread.
  4. Cook for 15 minutes, stirring occasionally.
  5. Remove the pan from the heat and leave covered for about an hour.
  6. When ready to serve, stir and drizzle with olive oil, dust with pepper, and top with a basil leaf or two.

Notes

Also super delicious with grated parmesan on top…


I know the bread description is a little vague, but you probably won't find the 1 kg hunk of unsalted Tuscan bread in your local grocery store in the States. You want a bread with simple ingredients: flour, water, salt yeast, or at least as simple as possible. Enriched breads, or those made with milk/eggs/oil, aren't the kind of bread you want to use for this kind of recipe. Nor is the sliced sandwich bread with preservatives ideal. You could look for a good ciabatta, or, that bread labeled "Italian" at the grocery store could always make do.


To make this recipe simple, the bread should ideally be sliced or torn into chunks BEFORE it goes completely stale. Trying to slice a solid loaf of stale bread is not fun. However, should this happen, it is still possible to make this recipe work. You can add the bread in one big chunk to the pot. You will want to be a bit more proactive in stirring and making sure it stays submerged as much as possible, flipping if necessary, so it has time to soften and break up. If at the end of the hour it has set there are still some chunks, they should be soft enough where you can break them up with a spoon.


If you find chunks of bread, particularly of crust, still present after the hour is up, and you can't seem to get them to break up, an immersion blender can be used in a pinch. It changes the texture a bit (makes it a bit creamier/pastier), which isn't ideal, but I have done this before and it was still very good! You may want to consider using a different kind of bread the next time.


You could also use chicken or beef broth, but vegetable seems to be most commonly called for in the Italian recipes I've seen.


This freezes well for quick meals, simply bring to room temperature and heat before serving!

Nutrition Facts

Calories

298.55

Fat

18.68 g

Sat. Fat

2.61 g

Carbs

28.07 g

Fiber

2.95 g

Net carbs

25.1 g

Sugar

6.06 g

Protein

5.88 g

Sodium

892.31 mg

Cholesterol

0 mg

Nutritional information is approximate; based on 6 servings.

Did you make this recipe?
Tag @jennyblogsandbakes on instagram and hashtag it #jennyblogs
IMG_4928.jpg

Ratatouille

Rat patootie.  Ratatouille.  Only one of my favorite Pixar films AND one of my favorite foods.  A cartoon that takes place in Paris, is all about cooking, French accents, chefs, crispy baguettes....ah yes.  Never fails to make me hungry for cheese, saffron (although let's be honest, I've never actually had saffron that I am aware of, even though I bought some in Florence for a steal - UPDATE: as of 2018 I’ve now had saffron and learned how to tell if it’s real!) bread, and maybe some wine.  From the day I first saw it, in the theatre in New York City with my mom back in 2008, I wanted to make ratatouille.  I didn't know what it was before the movie, but Pixar animation made it look delicious.  

After some research and googling, I soon learned that there were many different versions of ratatouille, originally a hearty peasant dish from the region of Provence, France.  (Remember Igor's flashback to his mother's cooking and country home when he firsts tastes the ratatouille?) One source likened it to stew in America.  What kind of stew you ask?  This is exactly the point, as every region and cook in America has their own version of stew, and it can vary widely.  Apparently this is also true of ratatouille.  

After making this many times over the years, I came down to two favorite recipes.  

One involved sautéing the eggplant first for 10 minutes with the spices, then adding it to the bottom of the baking dish. The remaining vegetables were then layered over the eggplant, with a sprinkling of parmesan cheese between each layer of vegetables.

The second involved spreading a seasoned tomato sauce in the bottom of the baking dish and then alternating the vegetables around the dish in a pretty spiral, like it’s served in the film.

I could never decide which version I wanted to make, so finally I combined the two for the best of both worlds.  I omitted sautéing the eggplant, kept the tomato sauce on the bottom, and kept the cheese and the pretty spiral.

That combination is what follows.

Looking for an oval baking dish? I use this Le Creuset pan and couldn’t love it more for casseroles and baking! It’s prettier than a 9x13 rectangular pan and is so easy to clean, even the baked on cheese from this dish!

This post may contain affiliate links. If you make a purchase using these links, Jennyblogs may receive a small commission, at no extra cost to you. This helps to support Jennyblogs. For further information see the privacy policy. Grazie!


Ratatouille

Serves 4-6

Ingredients:

IMG_4690.JPG
  • 1 1/2 cups / 355g tomato purée or sauce (unseasoned)

  • 1/2  onion, finely chopped

  • 2 garlic cloves, minced

  • 1 tsp fresh oregano or 1/4 tsp dried

  • 1/4 tsp. crushed red pepper flakes

  • 2 Tbsp / 28g olive oil

  • 8 oz / 240g mushrooms, thinly sliced

  • 1 medium eggplant

  • 1 medium zucchini

  • 1 medium yellow squash

  • 1 bell pepper, optional

  • 1 cup / 110g shredded parmesan cheese

  • fresh or dried thyme

  • salt and pepper, to taste

Directions:

Oven 375°F / 177°C.  Ungreased oval baking dish, about 10in / 25cm long, or 9x13in / 23x33cm pan. 

  1. Add tomato purée to a small bowl.  Stir in onion, garlic, oregano, red pepper flakes, 1 tablespoon of oil, salt, and pepper.  Spread in the bottom of the baking dish.

  2. Layer sliced mushrooms over tomato sauce.

  3. Using a mandolin or chopping by hand, slice eggplant, zucchini, yellow squash, and bell pepper into 1/4 inch slices.

  4. Working in concentric circles, alternate and arrange the vegetables over the mushrooms.  You may have a small handful of misfit vegetables left over.  Save for another use (stir fry!) or lift a layer of your vegetables in the pan and sneak the excess underneath where the eye can't see. 

  5. Drizzle vegetables with remaining tablespoon of oil, season with salt and pepper, and sprinkle cheese evenly over top.  Sprinkle thyme over cheese. 

  6. Bake for 45-55 minutes or until tomato sauce is bubbling around edges of the pan and vegetables are tender when pierced with a knife.  

  7. Eat as is, or served over quinoa, rice, couscous, or with some crusty French bread!

Jenny's Notes:

  • 1 6oz can / 170g tomato paste mixed with 3/4 cup / 170g water can be substituted for the tomato purée.

  • Sometimes I omit the red pepper flakes and use a spicy oil in place of the plain olive oil.

  • If you want to save time assembling the vegetables you can layer them instead of alternating and making circles.  i.e. layer all the eggplant slices, then squash, zucchini, etc.  

  • You could add an extra layer of cheese between the mushrooms and vegetables.  

  • Feel free to add or substitute vegetables! 

ratatouille, Pixar Ratatouille, thyme, eggplant, zucchini, yellow squash, vegetables, healthy, gluten-free, parmesan cheese, tomato, mushrooms, peasant dish
Lunch, Dinner, Side Dish
French
Yield: 4-6 servings
Author: Jennyblogs
Print
Ratatouille

Ratatouille

A classic French peasant dish made famous by the Pixar animated film "Ratatouille." This version has a tomato base, plenty of eggplant, zucchini, squash, and mushrooms, with thyme and parmesan cheese. Naturally gluten-free.
Prep time: 40 MinCook time: 55 MinTotal time: 1 H & 34 M

Ingredients

Instructions

  1. Oven 375°F / 177°C. Ungreased oval baking dish, about 10in / 25cm long, or 9x13in / 23x33cm pan.
  2. Add tomato purée to a small bowl. Stir in onion, garlic, oregano, red pepper flakes, 1 tablespoon of oil, salt, and pepper. Spread in the bottom of the baking dish.
  3. Layer sliced mushrooms over tomato sauce.
  4. Using a mandolin or chopping by hand, slice eggplant, zucchini, yellow squash, and bell pepper into 1/4 inch slices.
  5. Working in concentric circles, alternate and arrange the vegetables over the mushrooms. You may have a small handful of misfit vegetables left over. Save for another use (stir fry!) or lift a layer of your vegetables in the pan and sneak the excess underneath where the eye can't see.
  6. Drizzle vegetables with remaining tablespoon of oil, season with salt and pepper, and sprinkle cheese evenly over top. Sprinkle thyme over cheese.
  7. Bake for 45-55 minutes or until tomato sauce is bubbling around edges of the pan and vegetables are tender when pierced with a knife.
  8. Eat as is, or served over quinoa, rice, couscous, or with some crusty French bread!

Notes:

1 6oz can / 170g tomato paste mixed with 3/4 cup / 170g water can be substituted for the tomato purée. Sometimes I omit the red pepper flakes and use a spicy oil in place of the plain olive oil. If you want to save time assembling the vegetables you can layer them instead of alternating and making circles. i.e. layer all the eggplant slices, then squash, zucchini, etc. You could add an extra layer of cheese between the mushrooms and vegetables. Feel free to add or substitute vegetables!

Calories

319.11

Fat (grams)

15.92

Sat. Fat (grams)

6.00

Carbs (grams)

33.75

Fiber (grams)

9.15

Net carbs

24.60

Sugar (grams)

15.12

Protein (grams)

16.35

Sodium (milligrams)

571.85

Cholesterol (grams)

19.80
Nutritional information is approximate and based on 4 servings.
Did you make this recipe?
Tag @jennyblogsandbakes on instagram and hashtag it #jennyblogs
Created using The Recipes Generator
IMG_4693.JPG