Pasta ai Quattro Formaggi - Four Cheese Pasta
/Pasta ai Quattro Formaggi, or Four Cheese Pasta, is basically Italy’s more luxurious macaroni and cheese.
The ingredients couldn’t be simpler, the sauce is made from milk and four different kinds of cheese. The trick is to use the right cheeses and not overcook it, otherwise the flavors won’t be as balanced and the cheese might clump up.
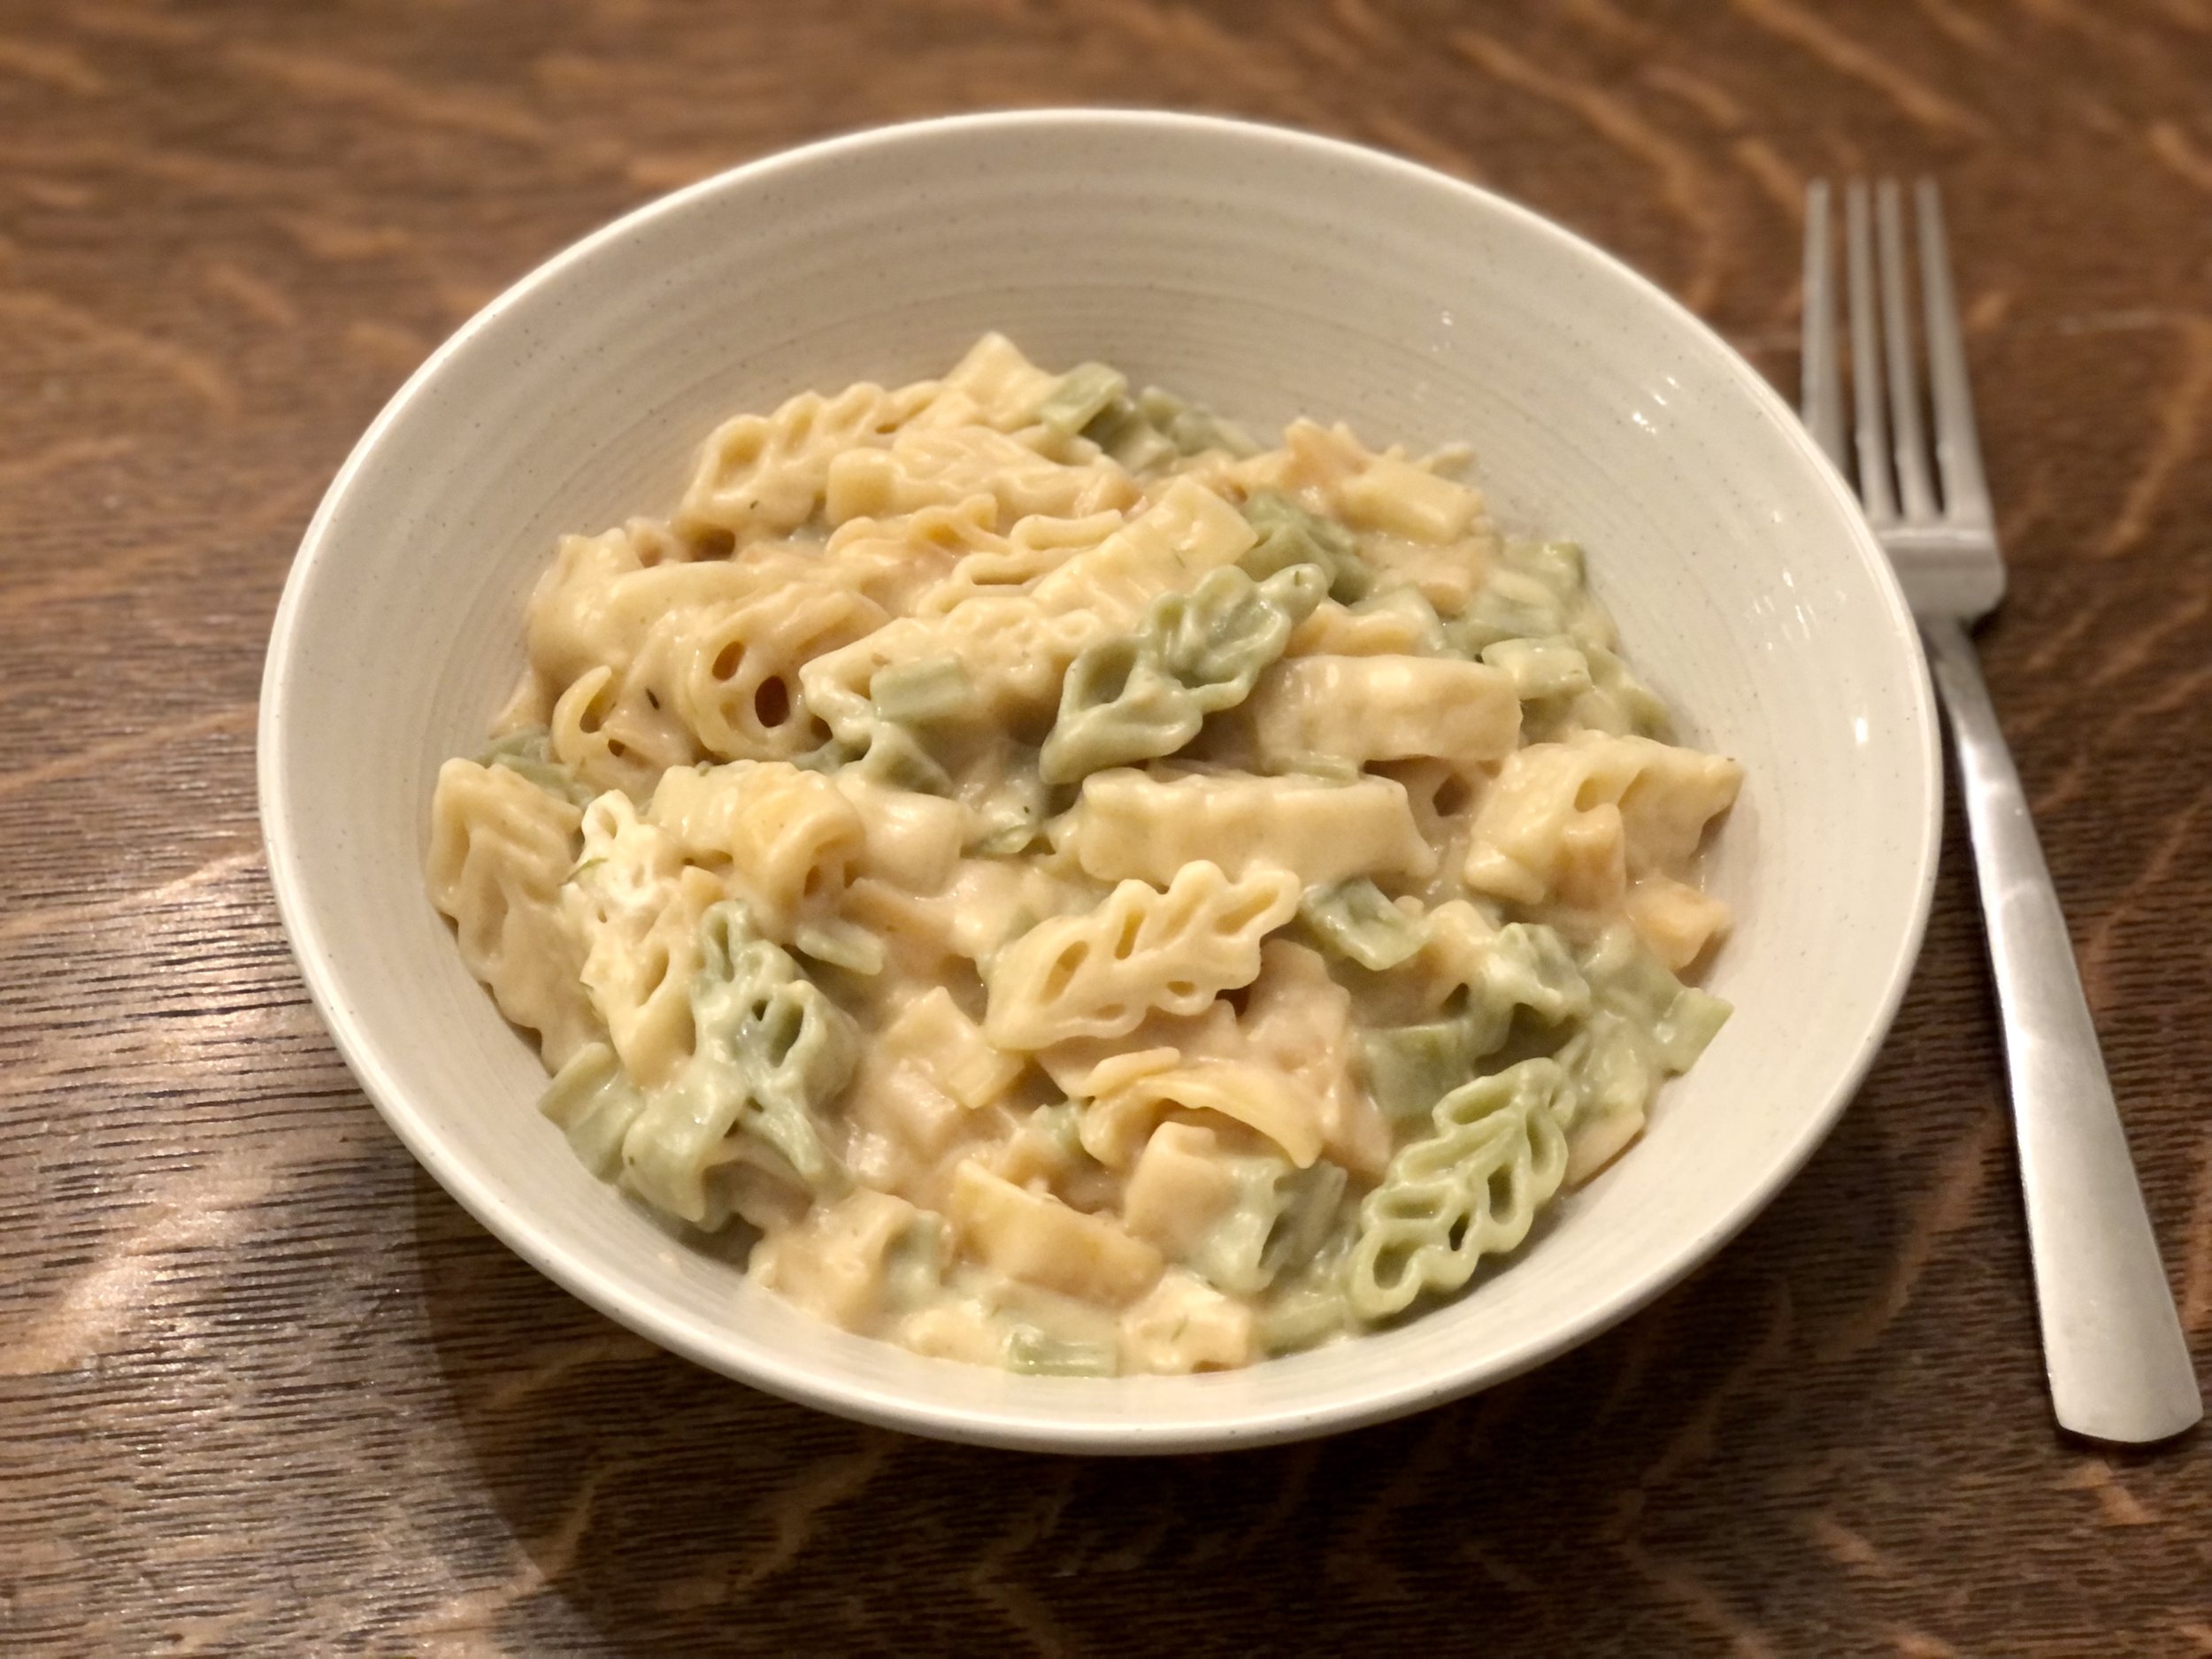
If made correctly, the sauce will be velvety, smooth, and rich, perhaps with bits of cheese here and there.
Is this like the pizza ai quattro formaggi?
It’s surprisingly difficult to find a straight answer to which 4 cheeses are traditionally used in the Pasta ai Quattro Formaggi. Because of this, I’ve looked to the pizza version of quattro formaggi for inspiration to create the perfect blend of cheeses, as well as some Italian recipes, of course!
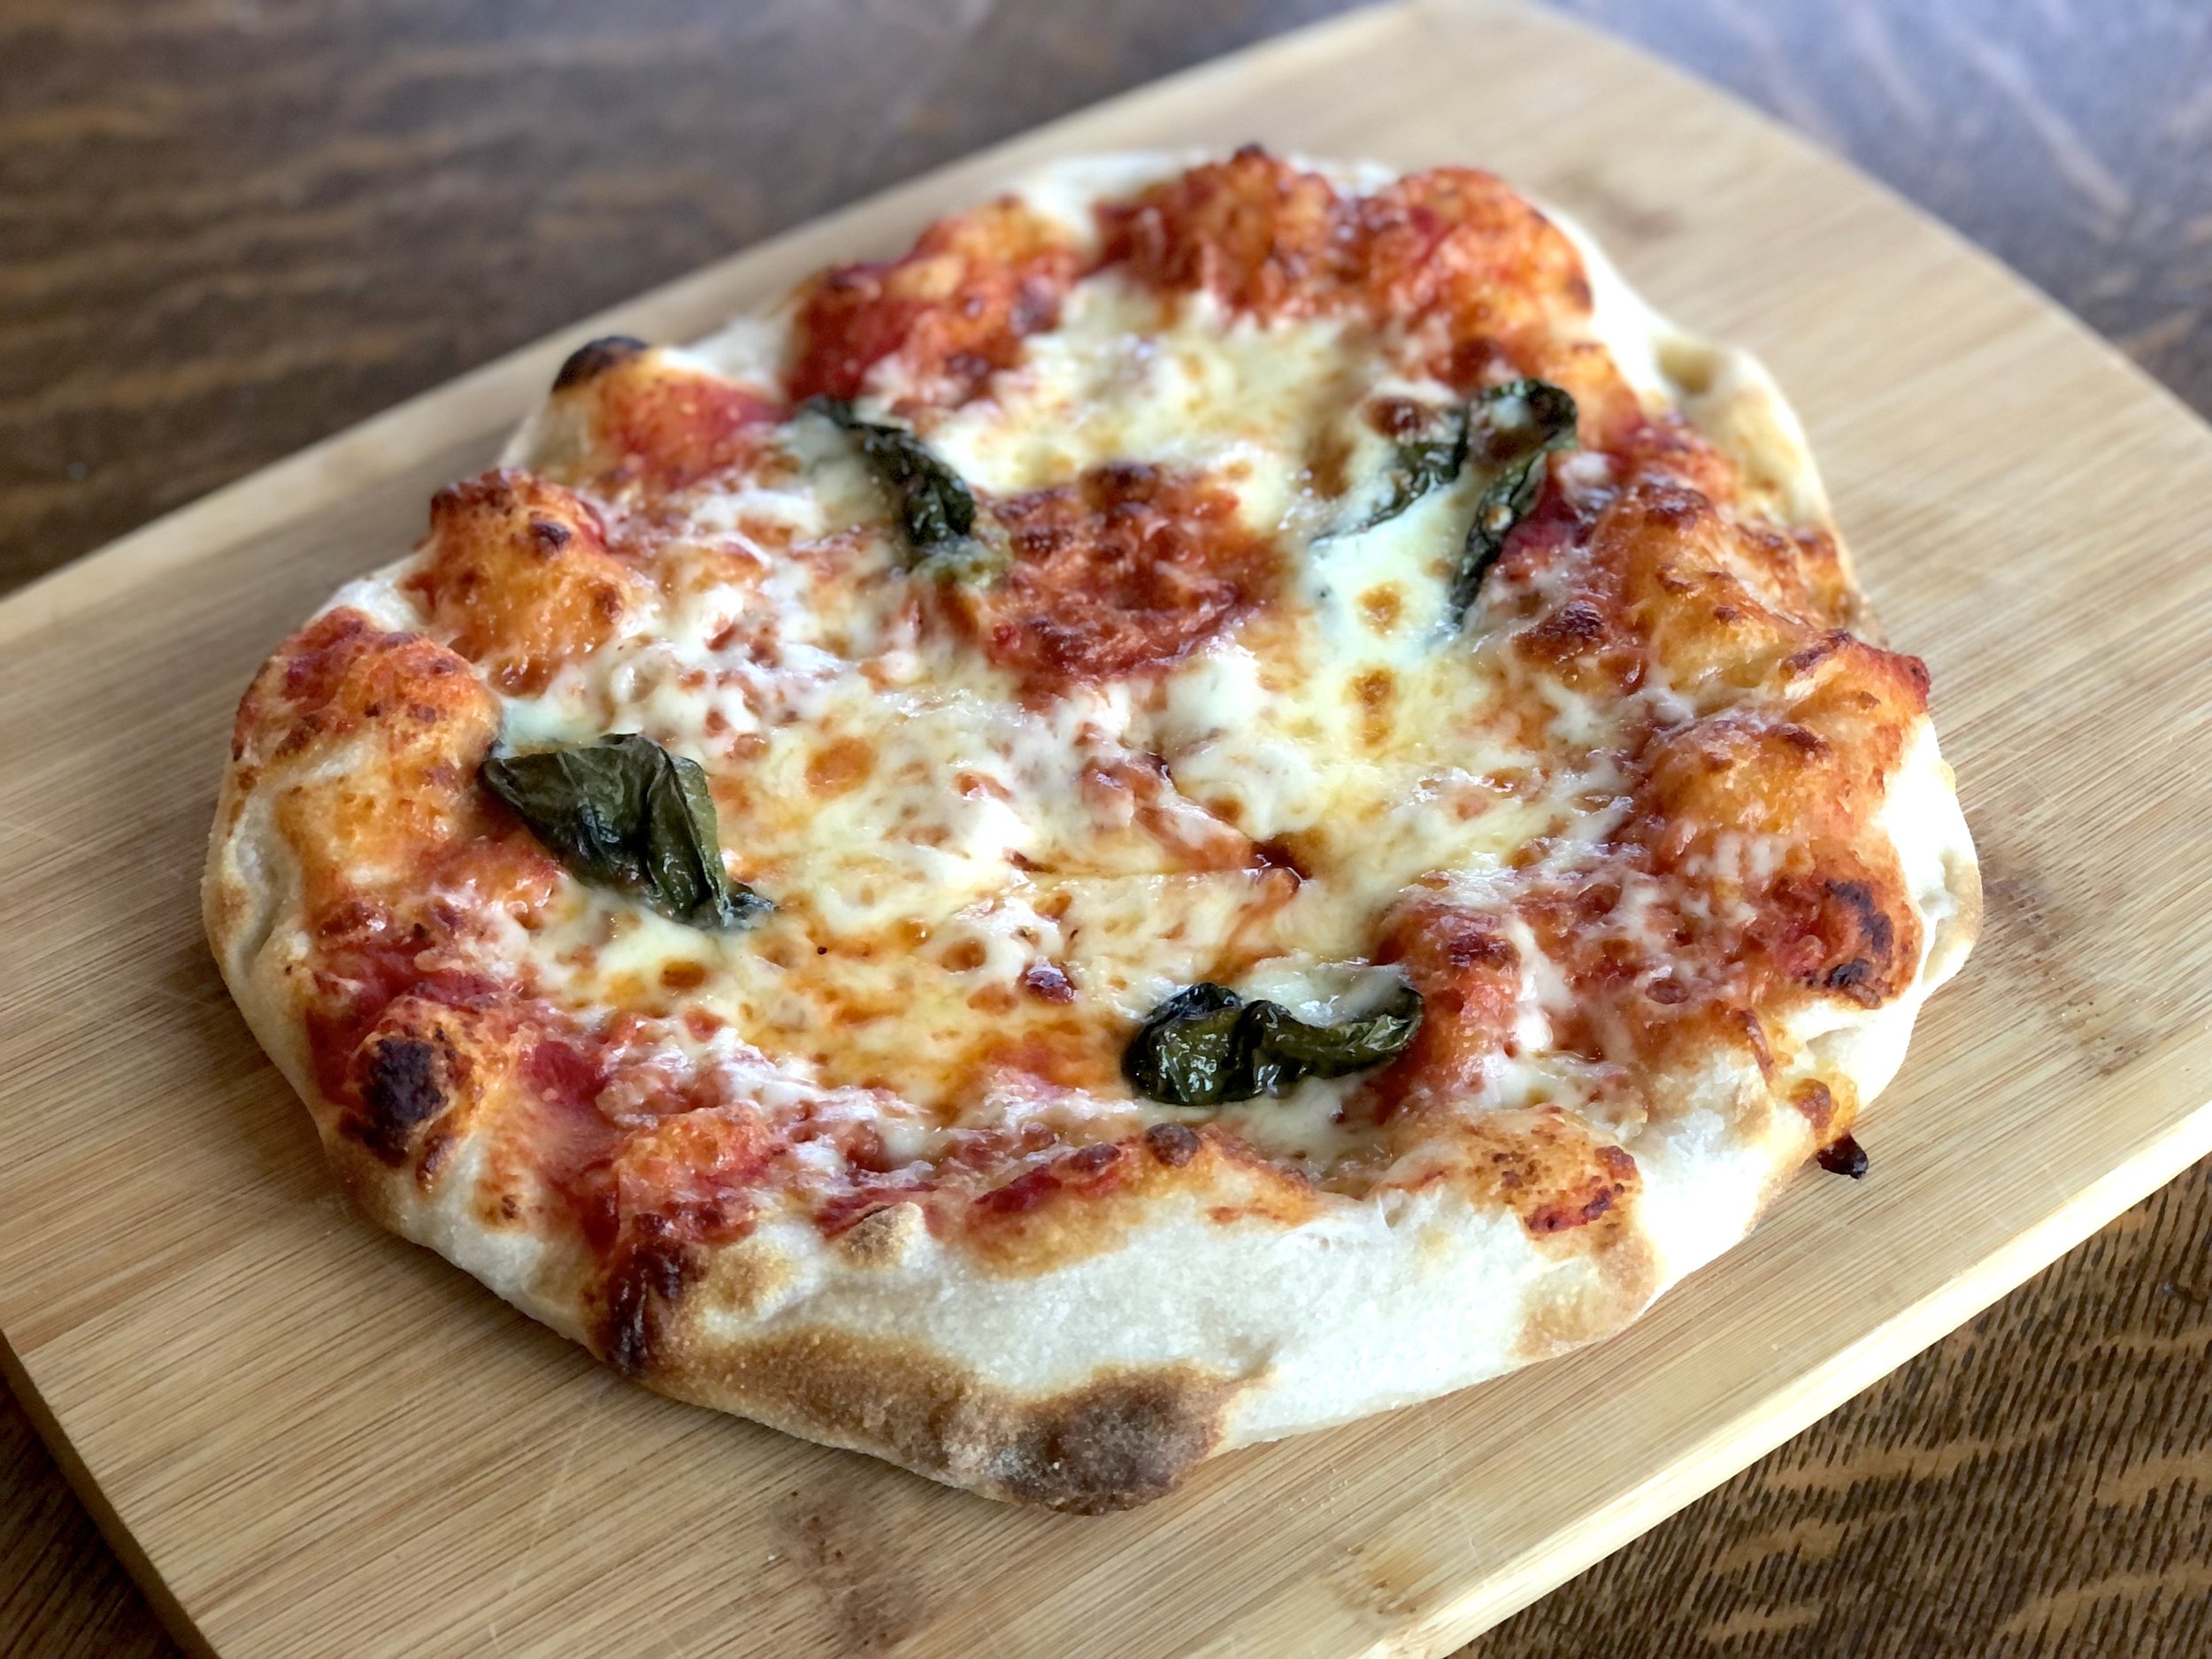
The pizza ai quattro formaggi is one of my favorite pizzas. I usually like pizzas with vegetables on them, but once you have the right pizza ai quattro formaggi, you’ll never go back. Not only is it super cheesy, but the way the four different cheeses pair together is pure magic. Yes, the Gorgonzola blue cheese, too. It makes it. Pizza ai quattro formaggi may have been the key to turn me from tolerating blue cheese in certain dishes to genuinely liking it.
Of course, today’s recipe is the pasta, not the pizza, but if you’ve had a good run in with the magical four cheeses, then you know the pasta will be (is) just as magical.
Pizza ai Quattro Formaggi vs. Pasta ai Quattro Formaggi
Pizza ai Quattro Formaggi generally uses the same cheese choices. At least, 3 are typical, the fourth is more interchangeable.
Mozzarella (Fior di latte or mozzarella di bufala)
Gorgonzola dolce
Parmigiano reggiano (parmesan, or occasionally other aged cheese such as pecorino)
A soft cheese such as Emmental (Swiss cheese), groviera (Gruyère), or fontina, or a creamy cheese such as stracchino
Pasta ai Quattro Formaggi is less straightforward, with more leeway for playing with different cheeses. 2 Cheeses are generally the same, while the other two often change out depending on the recipe and mood of the creator. Mozzarella is not a good choice for pasta, since it’s classic stringy quality so desirable in pizza, does not work so well in pasta sauce.
For the pasta, these two cheeses are the cornerstones:
Gorgonzola dolce - it is not Quattro formaggi without it!
Parmigiano reggiano - the aged hard cheese of choice
The other two types of cheese have options:
A soft cheese - a soft taleggio is a good choice, or Brie, or other similar soft cheese (rinds removed)
A swiss or good melting cheese - fontina, Gruyère, etc. In Italy they sometimes use Edam or emmental, which are similar to Swiss cheese. I haven’t personally tried those (except for Gruyère) and find that the block Swiss cheese here in the States isn’t always my favorite for melting or flavor.
As long as you don’t stray too far from these guidelines, you will find yourself with the most heavenly, creamy and cheesy bowl of pasta in front of you.
Pasta ai Quattro Formaggi all’Americana

Pasta ai Quattro Formaggi all’Americana
Curiously, I have two recipes on here that are very, very similar. One is the original Italian version, which is where you are, the other is also four cheese, but “Americanized”, if you will.
Why?
The Italian version is simple, with the cheese and milk sauce. However, the method can be finicky and the cheeses called for can be rather expensive in the States, not to mention hard to source. They can’t really be switched out for more economical cheeses without risking the sauce getting clumpy. This means you’re required to buy more expensive cheeses that might not be available at your local grocery stores. I can only find taleggio, for example, at specialty cheese or Italian stores in my area.
For this reason, I created the “American” version, starting with a roux. This method is more forgiving for using a wider variety of cheeses, including more budget friendly ones. I almost always have Parmesan or Parmigiano on hand, sometimes have Gorgonzola and gruyère, but rarely do I have Taleggio or some of the other suitable substitutes.
Click here for the Pasta ai Quattro Formaggi all”Americana Recipe
It would cost me less than $4 to make the American Four Cheese using mozzarella, Parmesan, Gorgonzola, and cream cheese, while the most recent time I made the Italian version it cost about $20 in cheese. That was even using American Parmesan and not authentic Parmigiano Reggiano. You can see where the American version is more approachable, at least for those not living in Italy.
Both of these recipes I have made several times. I have yet to mess up the American version, no matter how careless I get. I have messed up the Italian version more times than I care to confess as someone who publishes and develops recipes. Troubleshooting seemed to be amiss on other recipes, so I am happy to share with you what I learned in my trial and error!

The con to the American version is that it is thickened with flour, which means that the sauce has gluten in it. Pasta itself is made with flour and definitely not gluten-free, but it is easily switched out with any gluten-free pasta readily available at any grocery store
This post may contain affiliate links. If you make a purchase using these links, Jennyblogs may receive a small commission, at no extra cost to you. This helps to support Jennyblogs. Where possible, links are prioritized to small businesses and ethically and responsibly made items. For further information see the privacy policy. Grazie!


Pasta ai Quattro Formaggi

Serves 4-6
1 lb / 500g short pasta of choice
1 1/4 cups / 296g whole milk
5.5 oz / 156g Gorgonzola (dolce), rind removed, cut into chunks
4.5 oz / 128g soft Taleggio, rind removed, cut into chunks
4.5 oz / 128g Gruyère, shredded
4.5 oz / 128g Parmigiano reggiano, shredded
Salt and pepper, to taste
Directions:
Bring a large pot of water to a boil, generously salt; cook pasta 1 minute less than according to package directions.
Meanwhile, in a medium pot, heat milk over low heat until almost simmering. Do not let milk boil. Whisk in gorgonzola, stirring until mostly smooth. Add in taleggio, whisking until melted and almost smooth. Stir in Gruyère, again stirring until mostly melted and smooth. Turn off heat and stir in Parmesan until smooth. Season with salt and pepper to taste.
Drain pasta, reserving about 1 cup of pasta water. Combine pasta and cheese sauce, along with about 1/2 cup of pasta water, mixing to evenly coat pasta. Add more water if a thinner sauce is desired. Continue mixing for a few minutes until sauce is creamy and clinging to pasta. Serve immediately.
Jenny’s Notes:
Is your sauce ending up with chewy cheese chunks instead of a smooth sauce? You might be overheating the cheese when making the sauce. Keep your heat on the lowest setting, stir constantly, and make sure the milk isn’t boiling when you add the cheese.
I’m all for switching out ingredients for healthier alternatives, but this is one recipe I would not suggest you sub in any lower fat or other varieties of milk. If anything, sub in half & half or cream!
Like most Italian pasta dishes, this dish is best eaten right away, and not intended for leftovers.
While some cheeses can be switched out, choose wisely, as not all cheeses melt homogeneously into a smooth sauce. The cheeses in this recipe are chosen for their melting qualities and balanced flavors.

Pasta ai Quattro Formaggi
Classic Italian Pasta ai Quattro Formaggi, or Four Cheese Pasta, features perfectly cooked pasta in an ultra velvety cheese sauce made with four different, perfectly balanced cheeses.
Ingredients
Instructions
- Bring a large pot of water to a boil, generously salt; cook pasta 1 minute less than according to package directions.
- Meanwhile, in a medium pot, heat milk over low heat until almost simmering. Do not let milk boil. Whisk in gorgonzola, stirring until mostly smooth. Add in taleggio, whisking until melted and almost smooth. Stir in Gruyère, again stirring until mostly melted and smooth. Turn off heat and stir in Parmesan until smooth. Season with salt and pepper to taste.
- Drain pasta, reserving about 1 cup of pasta water. Combine pasta and cheese sauce, along with about 1/2 cup of pasta water, mixing to evenly coat pasta. Add more water if a thinner sauce is desired. Continue mixing for a few minutes until sauce is creamy and clinging to pasta. Serve immediately.
Notes
- Is your sauce ending up with chewy cheese chunks instead of a smooth sauce? You might be overheating the cheese when making the sauce. Keep your heat on the lowest setting, stir constantly, and make sure the milk isn’t boiling when you add the cheese.
- I’m all for switching out ingredients for healthier alternatives, but this is one recipe I would not suggest you sub in any lower fat or other varieties of milk. If anything, sub in half & half or cream!
- Like most Italian pasta dishes, this dish is best eaten right away, and not intended for leftovers.
- While some cheeses can be switched out, choose wisely, as not all cheeses melt homogeneously into a smooth sauce. The cheeses in this recipe are chosen for their melting qualities and balanced flavors.
Nutrition Facts
Calories
635Fat
28 gSat. Fat
17 gCarbs
60 gFiber
2 gNet carbs
58 gSugar
5 gProtein
35 gSodium
1098 mgCholesterol
80 mgNutritional information is approximate and based on 6 servings.