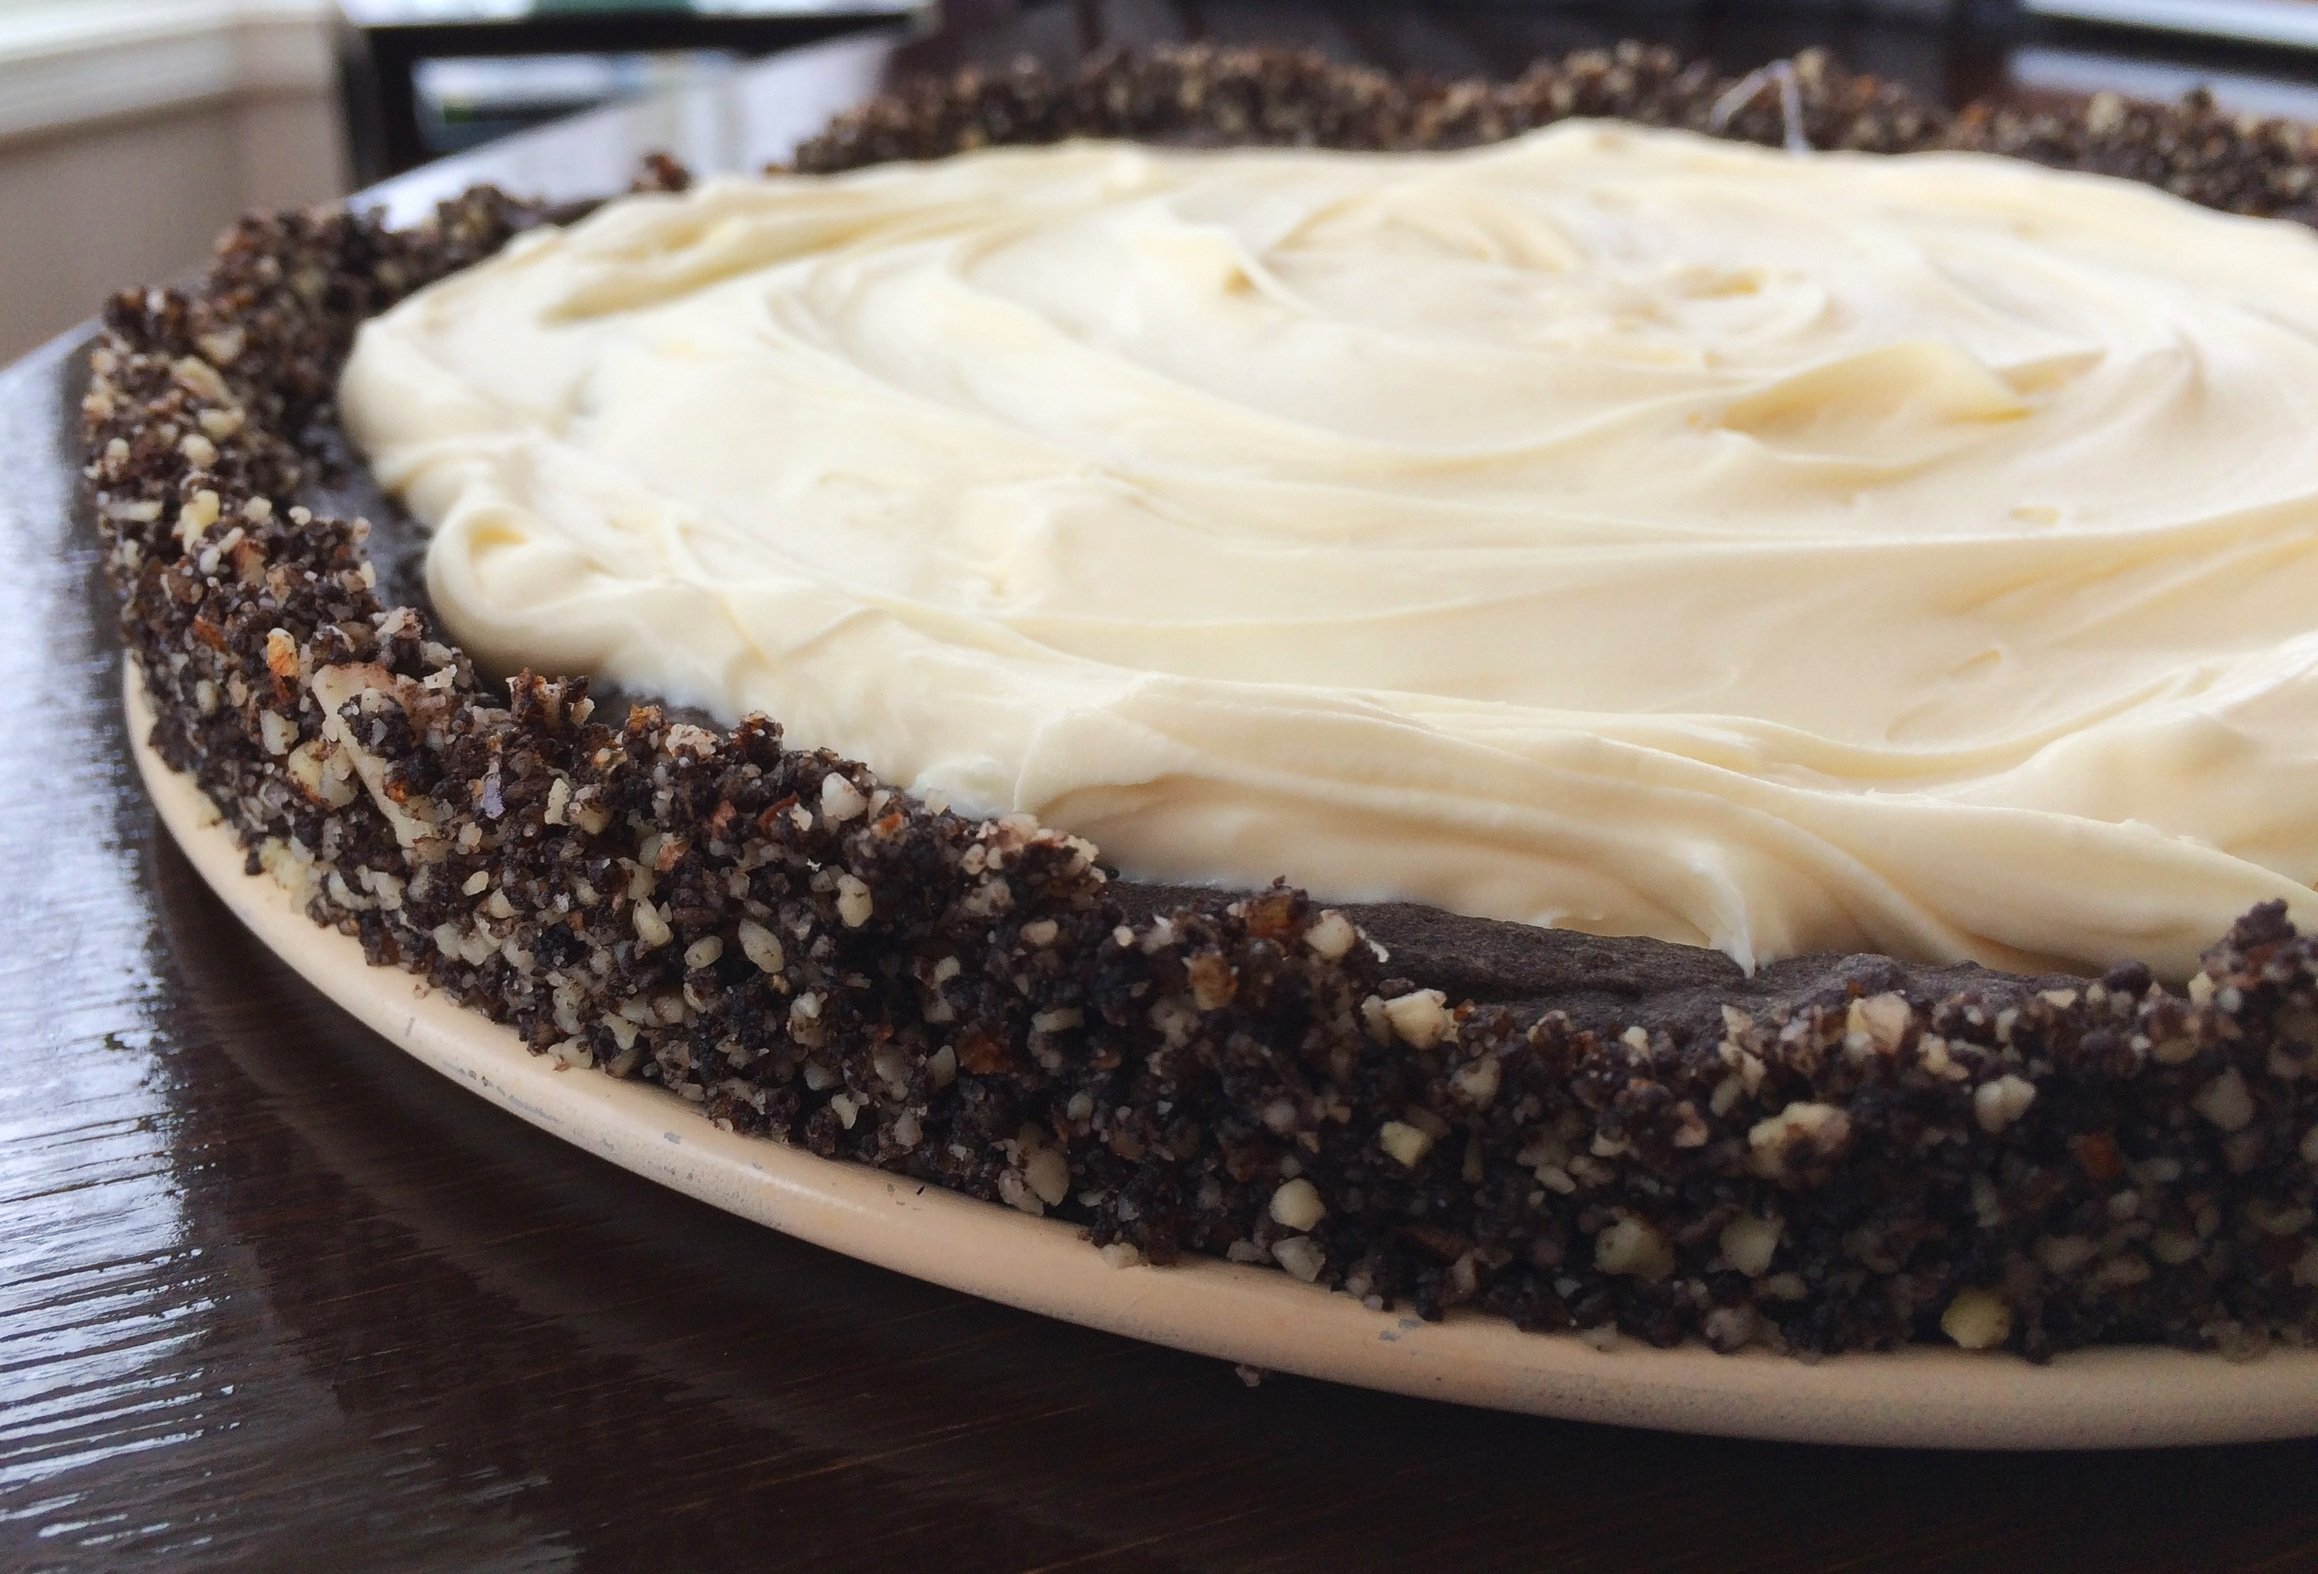
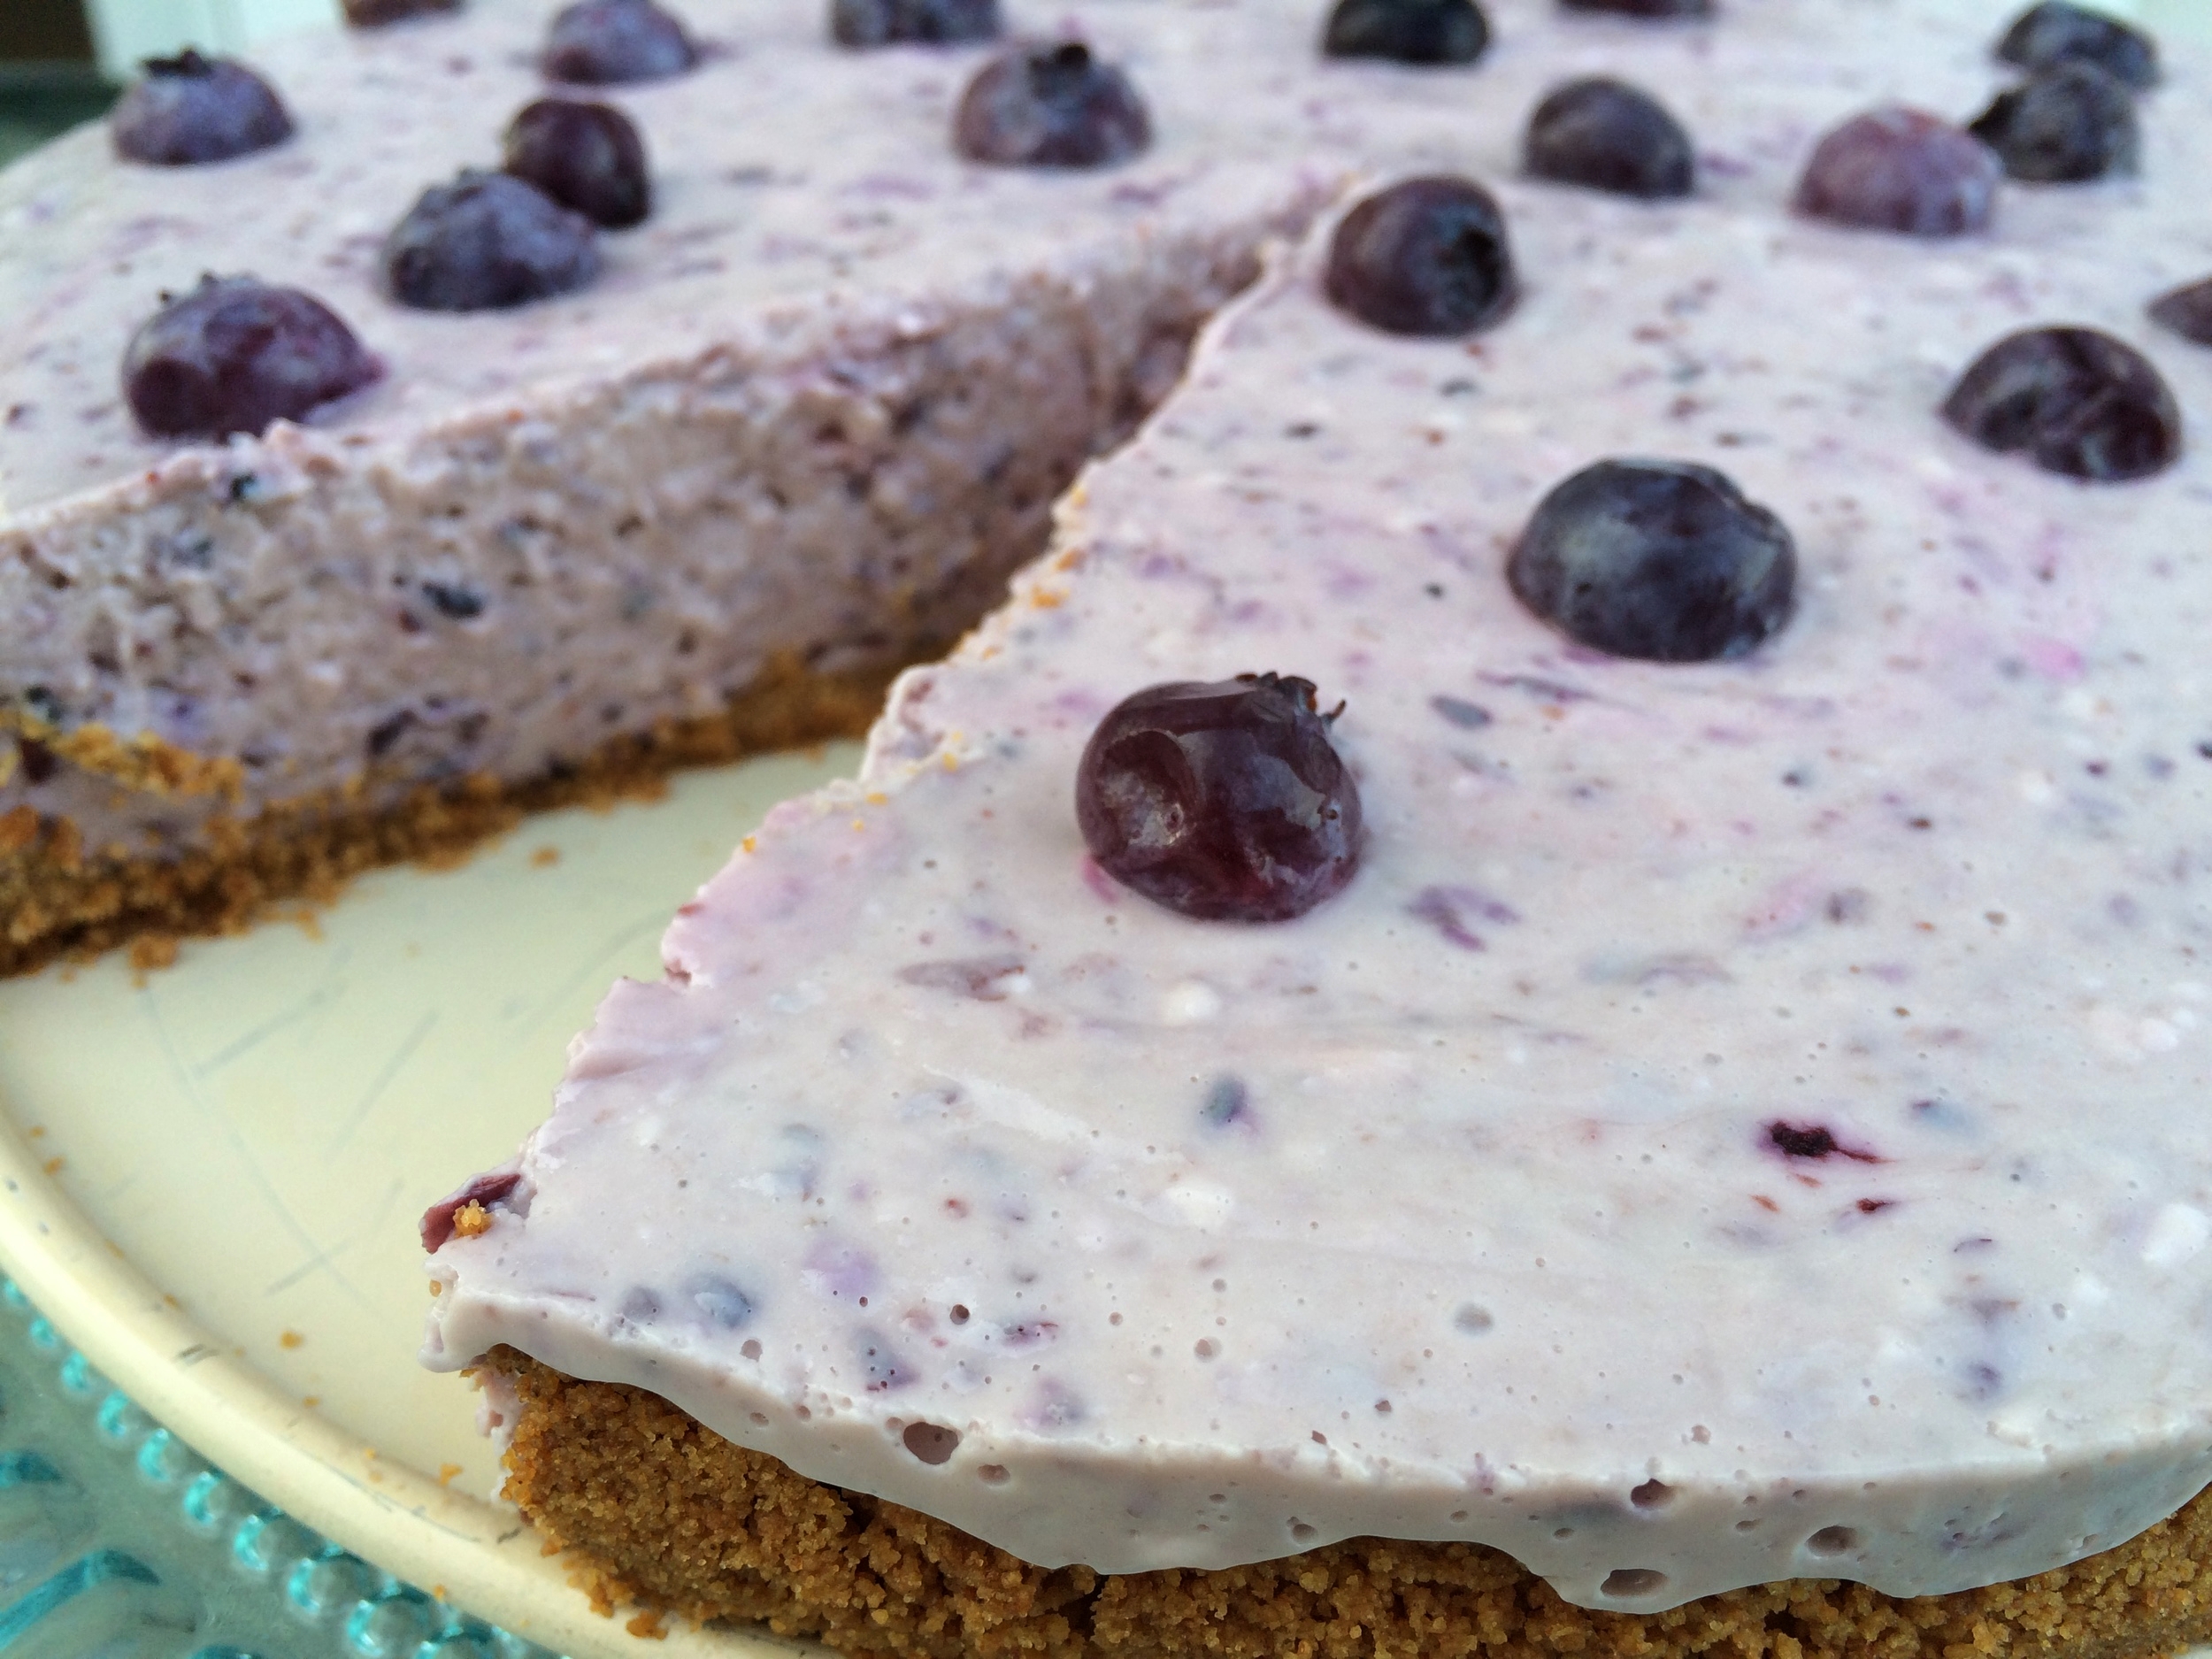
No-Bake Oreo Cheesecake
/Last Updated September 15, 2024

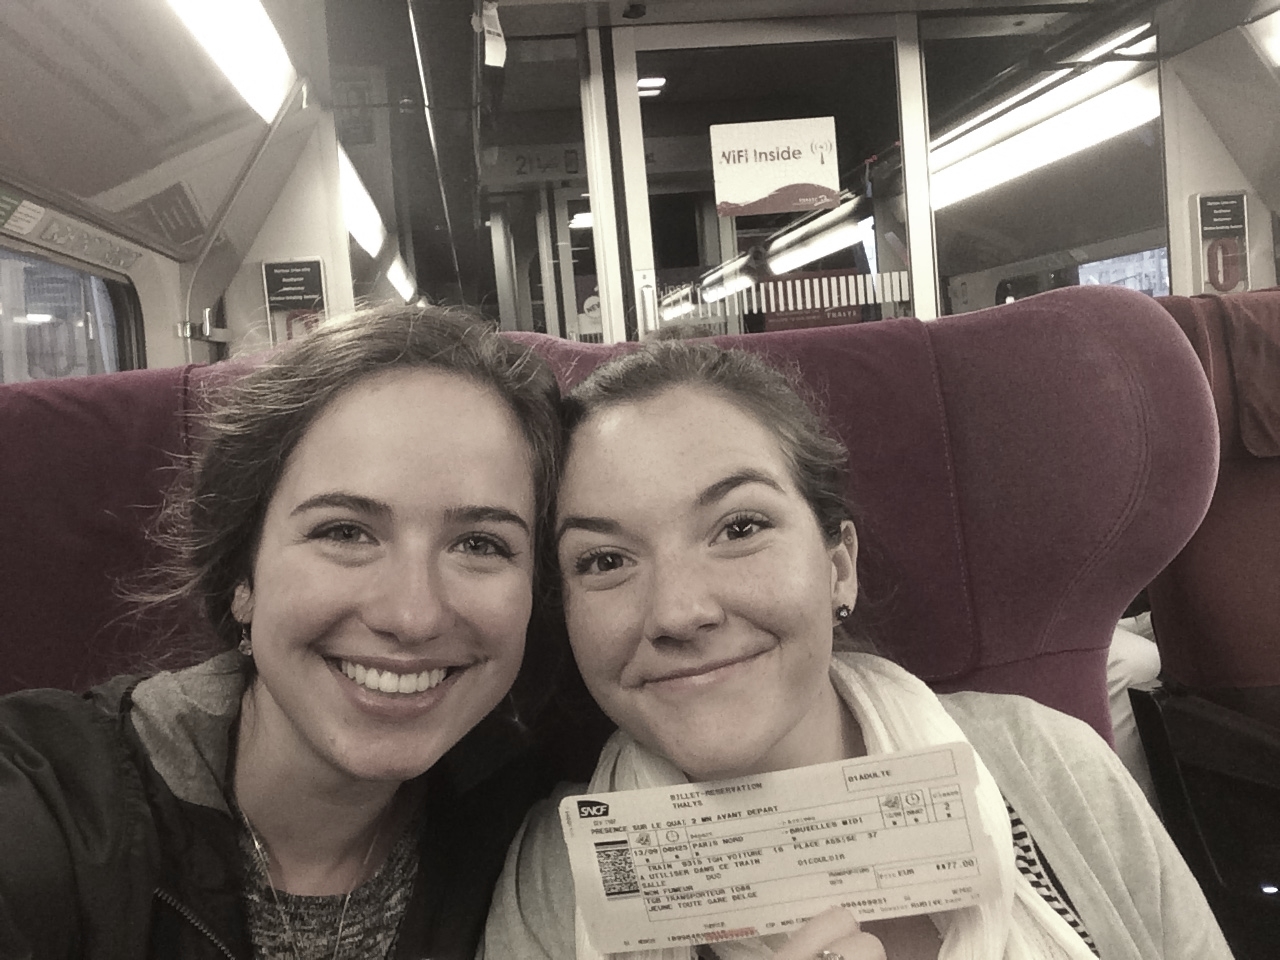
What do you do when you have 55 days until you move to another country? Start thinking about all the food items and ingredients you won't be able to eat or buy while you're there. Naturally.
I started to make a list of such things, and some of the items on there are rather tragic. No real vanilla extract? No Oreos (false, Oreos are readily available in Italy), Butterfingers, or other terribly wonderful processed American goodies? Pretzels only to be found of sketchy tough texture? Weird behaving marshmallows and graham crackers? (No S'mores for this girl.) Italians also don't understand our love for peanut butter. In all the grocery stores I've been in in Florence, (probably all of them because they're kinda my happy place) I have only seen Skippy, maybe Peter Pan once, and usually priced about 4-5 euros, roughly $6. There is a specialty Asian market, Vivi Market, that has an "American" section, and they sell the closest thing to real peanut butter I found. It's called Calve, made in the Netherlands, but it still has the hydrogenated oil and sugar added to it. Pumpkin is also a rarity over there. They make such wonderful pumpkin filled ravioli and pumpkins for carving come out for a couple weeks around Halloween, but to buy a 15 oz can of Libby's pumpkin costs over €4. Pumpkin pie, bread, muffins, cake, pudding, only for special occasions, I guess...

Now don't get me wrong, I'm really not that worried about missing American food. I did just fine for three months last fall, it's just a matter of understanding how different ingredients and substitutions behave in my favorite recipes. I mean, this is Italy we're talking about. Home to some of the best food in the world. But I'm not partial or anything. I keep a pretty good cover, though; you can't tell how much I love the food by the way I skip home from the super market with my arms full of pasta and heart bursting, waltz past the shelves of Nutella, guzzle acqua frizzante, double fist the cones of gelato, or giggle as I sweep the tubs of mascarpone that are cheaper than milk off the shelves. Nope. Not even around Christmas time when all the different kinds of panettone start filling the shelves and Jenny's shopping cart.
I'm happy just thinking about all this wonderful food and its potential, but right now I am in the States, and I'm going to bake something I won't be able to for awhile. Something with Oreos. Lots of Oreos. Or not bake, because this is a super easy no-bake cheesecake. Again, wasting my time, because I didn’t realize at the time of making this before moving to Italy that almost every grocery store carries Oreos.
This post may contain affiliate links. If you make a purchase using these links, Jennyblogs may receive a small commission, at no extra cost to you. This helps to support Jennyblogs. Where possible, links are prioritized to small businesses and ethically and responsibly made items. For further information see the privacy policy. Grazie!


No-Bake Oreo Cheesecake

Serves about 12
Ingredients:
For the Crust:
16-18 Oreos
4 Tbsp / 56g butter, melted
For the Filling:
1 cup / 237g heavy whipping cream
24 oz / 675g cream cheese, room temperature
1/2 cup / 100g sugar
32 Oreos, coarsely chopped, divided
Directions:
Make the Crust:
In a food processor, pulse Oreos until finely ground. Add butter and pulse until combined.
Press into bottom and a bit up the sides of a 9 in. tart pan, pie pan, or springform pan. Freeze while you make the filling.
Make the Filling:
In the bowl of a stand mixer or with an electric mixer, whip cream until stiff peaks form. Set aside.
Beat cream cheese in the bowl of a stand mixer or with an electric mixer until light and fluffy. Beat in sugar.
Fold in 24 (about 3/4) of the coarsely chopped Oreos, then gently fold in whipped cream.
Remove crust from freezer. Pour in filling and smooth the top.
Sprinkle with remaining chopped Oreos and place in fridge until completely chilled, about 2 hours.
Jenny's Notes:
This cheesecake can also be frozen. Allow to sit at room temperature for 10 minutes or so before slicing.

No-Bake Oreo Cheesecake
Ingredients
Instructions
- In a food processor, pulse Oreos until finely ground. Add butter and pulse until combined.
- Press into bottom and a bit up the sides of a 9 in. tart pan, pie pan, or springform pan. Freeze while you make the filling.
- In the bowl of a stand mixer or with an electric mixer, whip cream until stiff peaks form. Set aside.
- Beat cream cheese in the bowl of a stand mixer or with an electric mixer until light and fluffy. Beat in sugar.
- Fold in 24 (about 3/4) of the coarsely chopped Oreos, then gently fold in whipped cream.
- Remove crust from freezer. Pour in filling and smooth the top.
- Sprinkle with remaining chopped Oreos and place in fridge until completely chilled, about 2 hours.
Notes
- This cheesecake can also be frozen. Allow to sit at room temperature for 10 minutes or so before slicing.
Nutrition Facts
Calories
559.39Fat
39.86 gSat. Fat
21.21 gCarbs
43.69 gFiber
1.42 gNet carbs
42.27 gSugar
22.65 gProtein
6.65 gSodium
403.94 mgCholesterol
89.86 mgNutritional information is approximate, based on 1 serving if recipe serves 12.