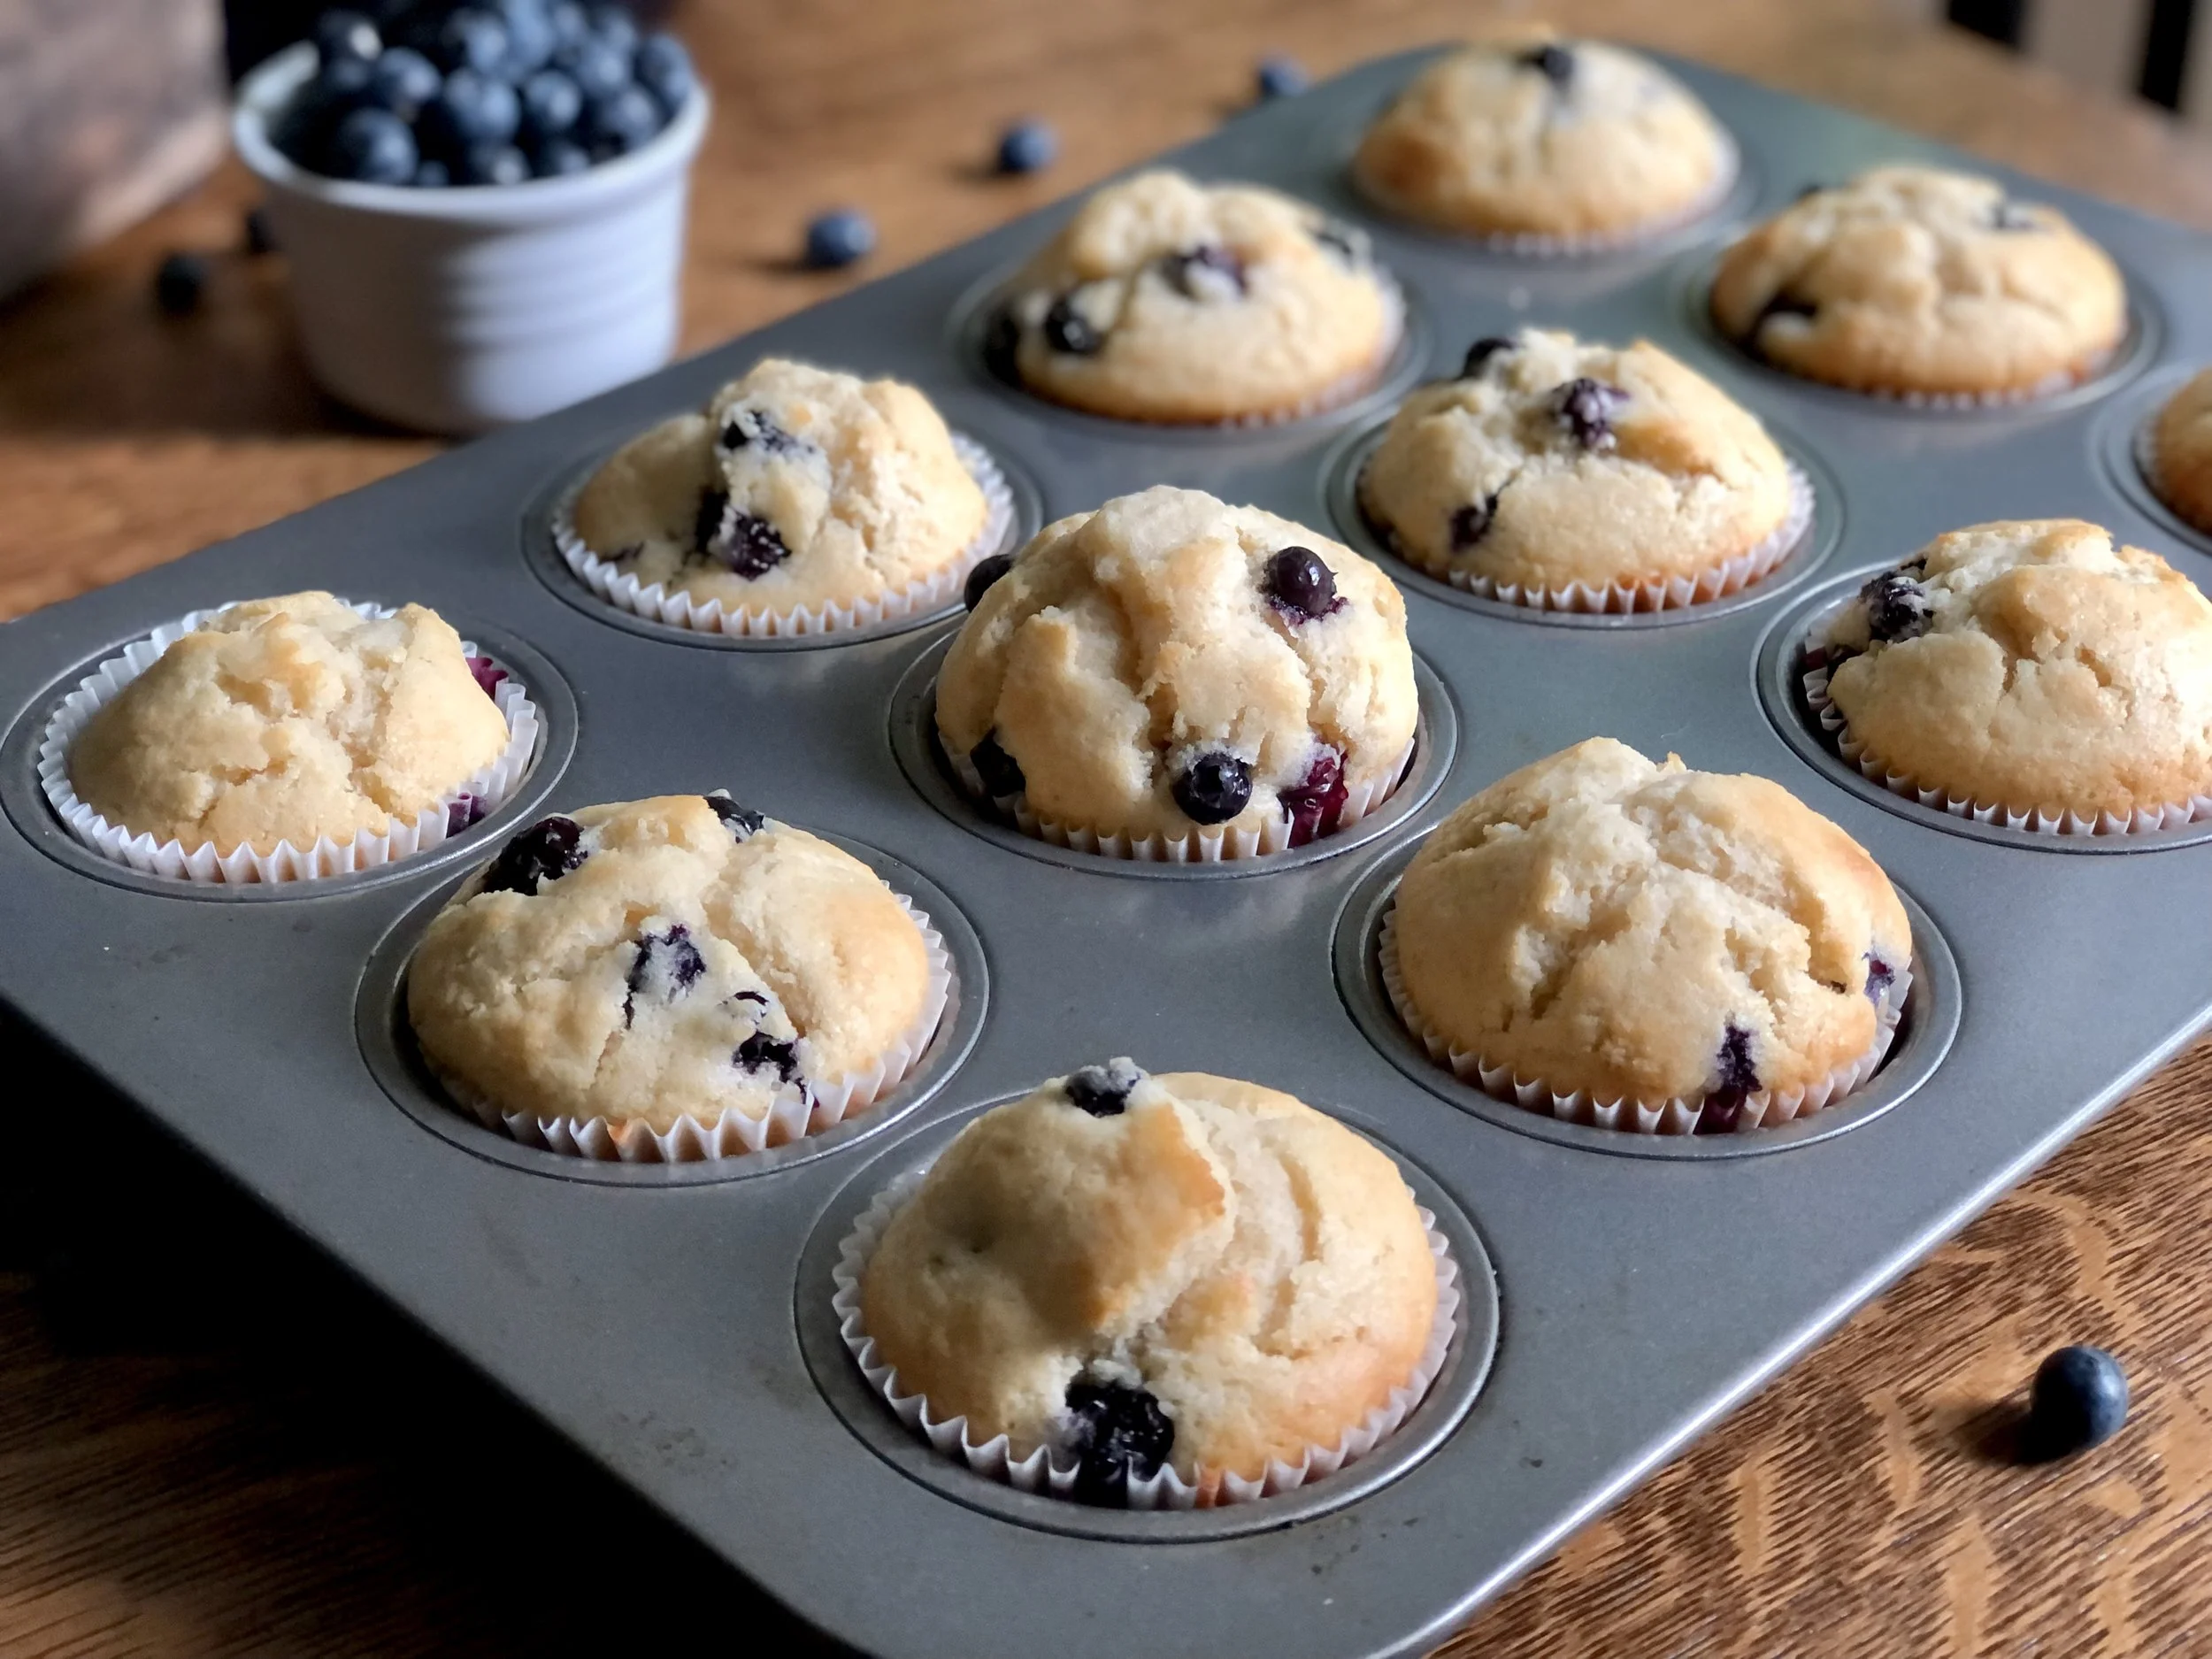
Favorite Blueberry Muffins
/My favorite blueberry muffin recipe, right here! It is my go to, super easy recipe.
I love these because they only dirty one bowl and one measuring cup. In fact, even though I primarily use a scale for baking, this is one recipe I always use a measuring cup for some of the liquids because it’s so simple, and takes into consideration that eggs can vary in size while keeping liquids consistent. If you’re wondering what I mean, you’re just going to have to read the recipe below. :)
Read: Why You Should Use a Baking Scale
These muffins are also very versatile for making different kinds of muffins, chocolate chip, raspberry, almond poppyseed, and on and on. I really only use different muffin base recipes when they have elements that change the composition, like banana, pumpkin, peanut butter, etc.
My kids are little and muffins make for great snacks, breakfasts, lunches, or whenever! This recipe is also easy and quick enough for when they want to help, which tends to slow the process wayyyy down. Ah, I love my eager little helpers.
Use up some sourdough discard
These muffins are also fabulous for using up some sourdough discard. In fact, with my sourdough habit and my children’s love for muffins, I’ve probably been making this recipe 1-2 times per week recently! A blueberry muffin for you, and a lemon poppyseed muffin for you!
This post may contain affiliate links. If you make a purchase using these links, Jennyblogs may receive a small commission, at no extra cost to you. This helps to support Jennyblogs. Where possible, links are prioritized to small businesses and ethically and responsibly made items. For further information see the privacy policy. Grazie!


Recipe inspired by Inspired Taste
Favorite Blueberry Muffins
Makes about 12 muffins

Ingredients:
2 cups / 240g all-purpose or pastry flour
1/2 cup / 100g sugar
1 Tbsp baking powder
1/2 tsp salt
1/2 cup / 113g oil
1 egg
2 tsp / 10g vanilla extract
about 1/2 cup / 119g milk
generous 1 cup fresh or frozen blueberries
up to 1/2 cup / about 100g sourdough discard, optional
Directions:
Oven 400°F / 205°C. Grease a 12 cup muffin pan or line with muffin liners.
In a large bowl, whisk together flour, sugar, baking powder, and salt.
In an at least 2 cup measuring cup, add oil, egg, and vanilla. Add milk until mixture reaches the 1 1/4 cups measure line, this should be around 1/2 cup of milk.
Add milk mixture to dry ingredients along with sourdough discard if using, stirring until just combined. Gently fold in blueberries.
Fill muffin cups almost all the way full. Bake in preheated oven for 15-20 minutes or until tops are springy, no longer wet looking, and/or a toothpick inserted into the center comes out clean.
Jenny’s notes:
If using frozen fruit, add to batter frozen, don’t thaw first. Muffins made with frozen fruit may need a couple minutes more in the oven than muffins made with fresh fruit.
If weighing ingredients or you don’t have a measuring cup handy, you can add the wet ingredients to another bowl instead, just add 1/2 cup / 119g milk.
Muffins make a great vessel for sourdough discard! I like using about 1/2 cup for a recipe this size, it’s a decent chunk out of my ever-growing discard jar, without the sourdough flavor being too strong. I’ve added 1 cup before, but at that point the sourdough flavor starts becoming more pronounced and you may start getting more than a dozen muffins.
Buttermilk can be substituted for the milk. Batter will be slightly thicker.
To jazz up the muffins, you can sprinkle the tops with coarse or granulated sugar before baking, if desired.

Favorite Blueberry Muffins
Ingredients
Instructions
- Oven 400°F / 205°C. Grease a 12 cup muffin pan or line with muffin liners.
- In a large bowl, whisk together flour, sugar, baking powder, and salt.
- In an at least 2 cup measuring cup, add oil, egg, and vanilla. Add milk until mixture reaches the 1 1/4 cups measure line, this should be around 1/2 cup of milk.
- Add milk mixture to dry ingredients along with sourdough discard if using, stirring until just combined. Gently fold in blueberries.
- Fill muffin cups almost all the way full. Bake in preheated oven for 15-20 minutes or until tops are springy, no longer wet looking, and/or a toothpick inserted into the center comes out clean.
Notes
- If using frozen fruit, add to batter frozen, don’t thaw first. Muffins made with frozen fruit may need a couple minutes more in the oven than muffins made with fresh fruit.
- If weighing ingredients or you don’t have a measuring cup handy, you can add the wet ingredients to another bowl instead, just add 1/2 cup / 119g milk.
- Muffins make a great vessel for sourdough discard! I like using about 1/2 cup for a recipe this size, it’s a decent chunk out of my ever-growing discard jar, without the sourdough flavor being too strong. I’ve added 1 cup before, but at that point the sourdough flavor starts becoming more pronounced and you may start getting more than a dozen muffins.
- Buttermilk can be substituted for the milk. Batter will be slightly thicker.
- To jazz up the muffins, you can sprinkle the tops with coarse or granulated sugar before baking, if desired.
Nutrition Facts
Calories
224.88Fat
10.62 gSat. Fat
1.09 gCarbs
26.35 gFiber
2.6 gNet carbs
23.74 gSugar
1.9 gProtein
4.34 gSodium
251.77 mgCholesterol
14.86 mgNutritional information is approximate. Based on 1 muffin, including sourdough discard.