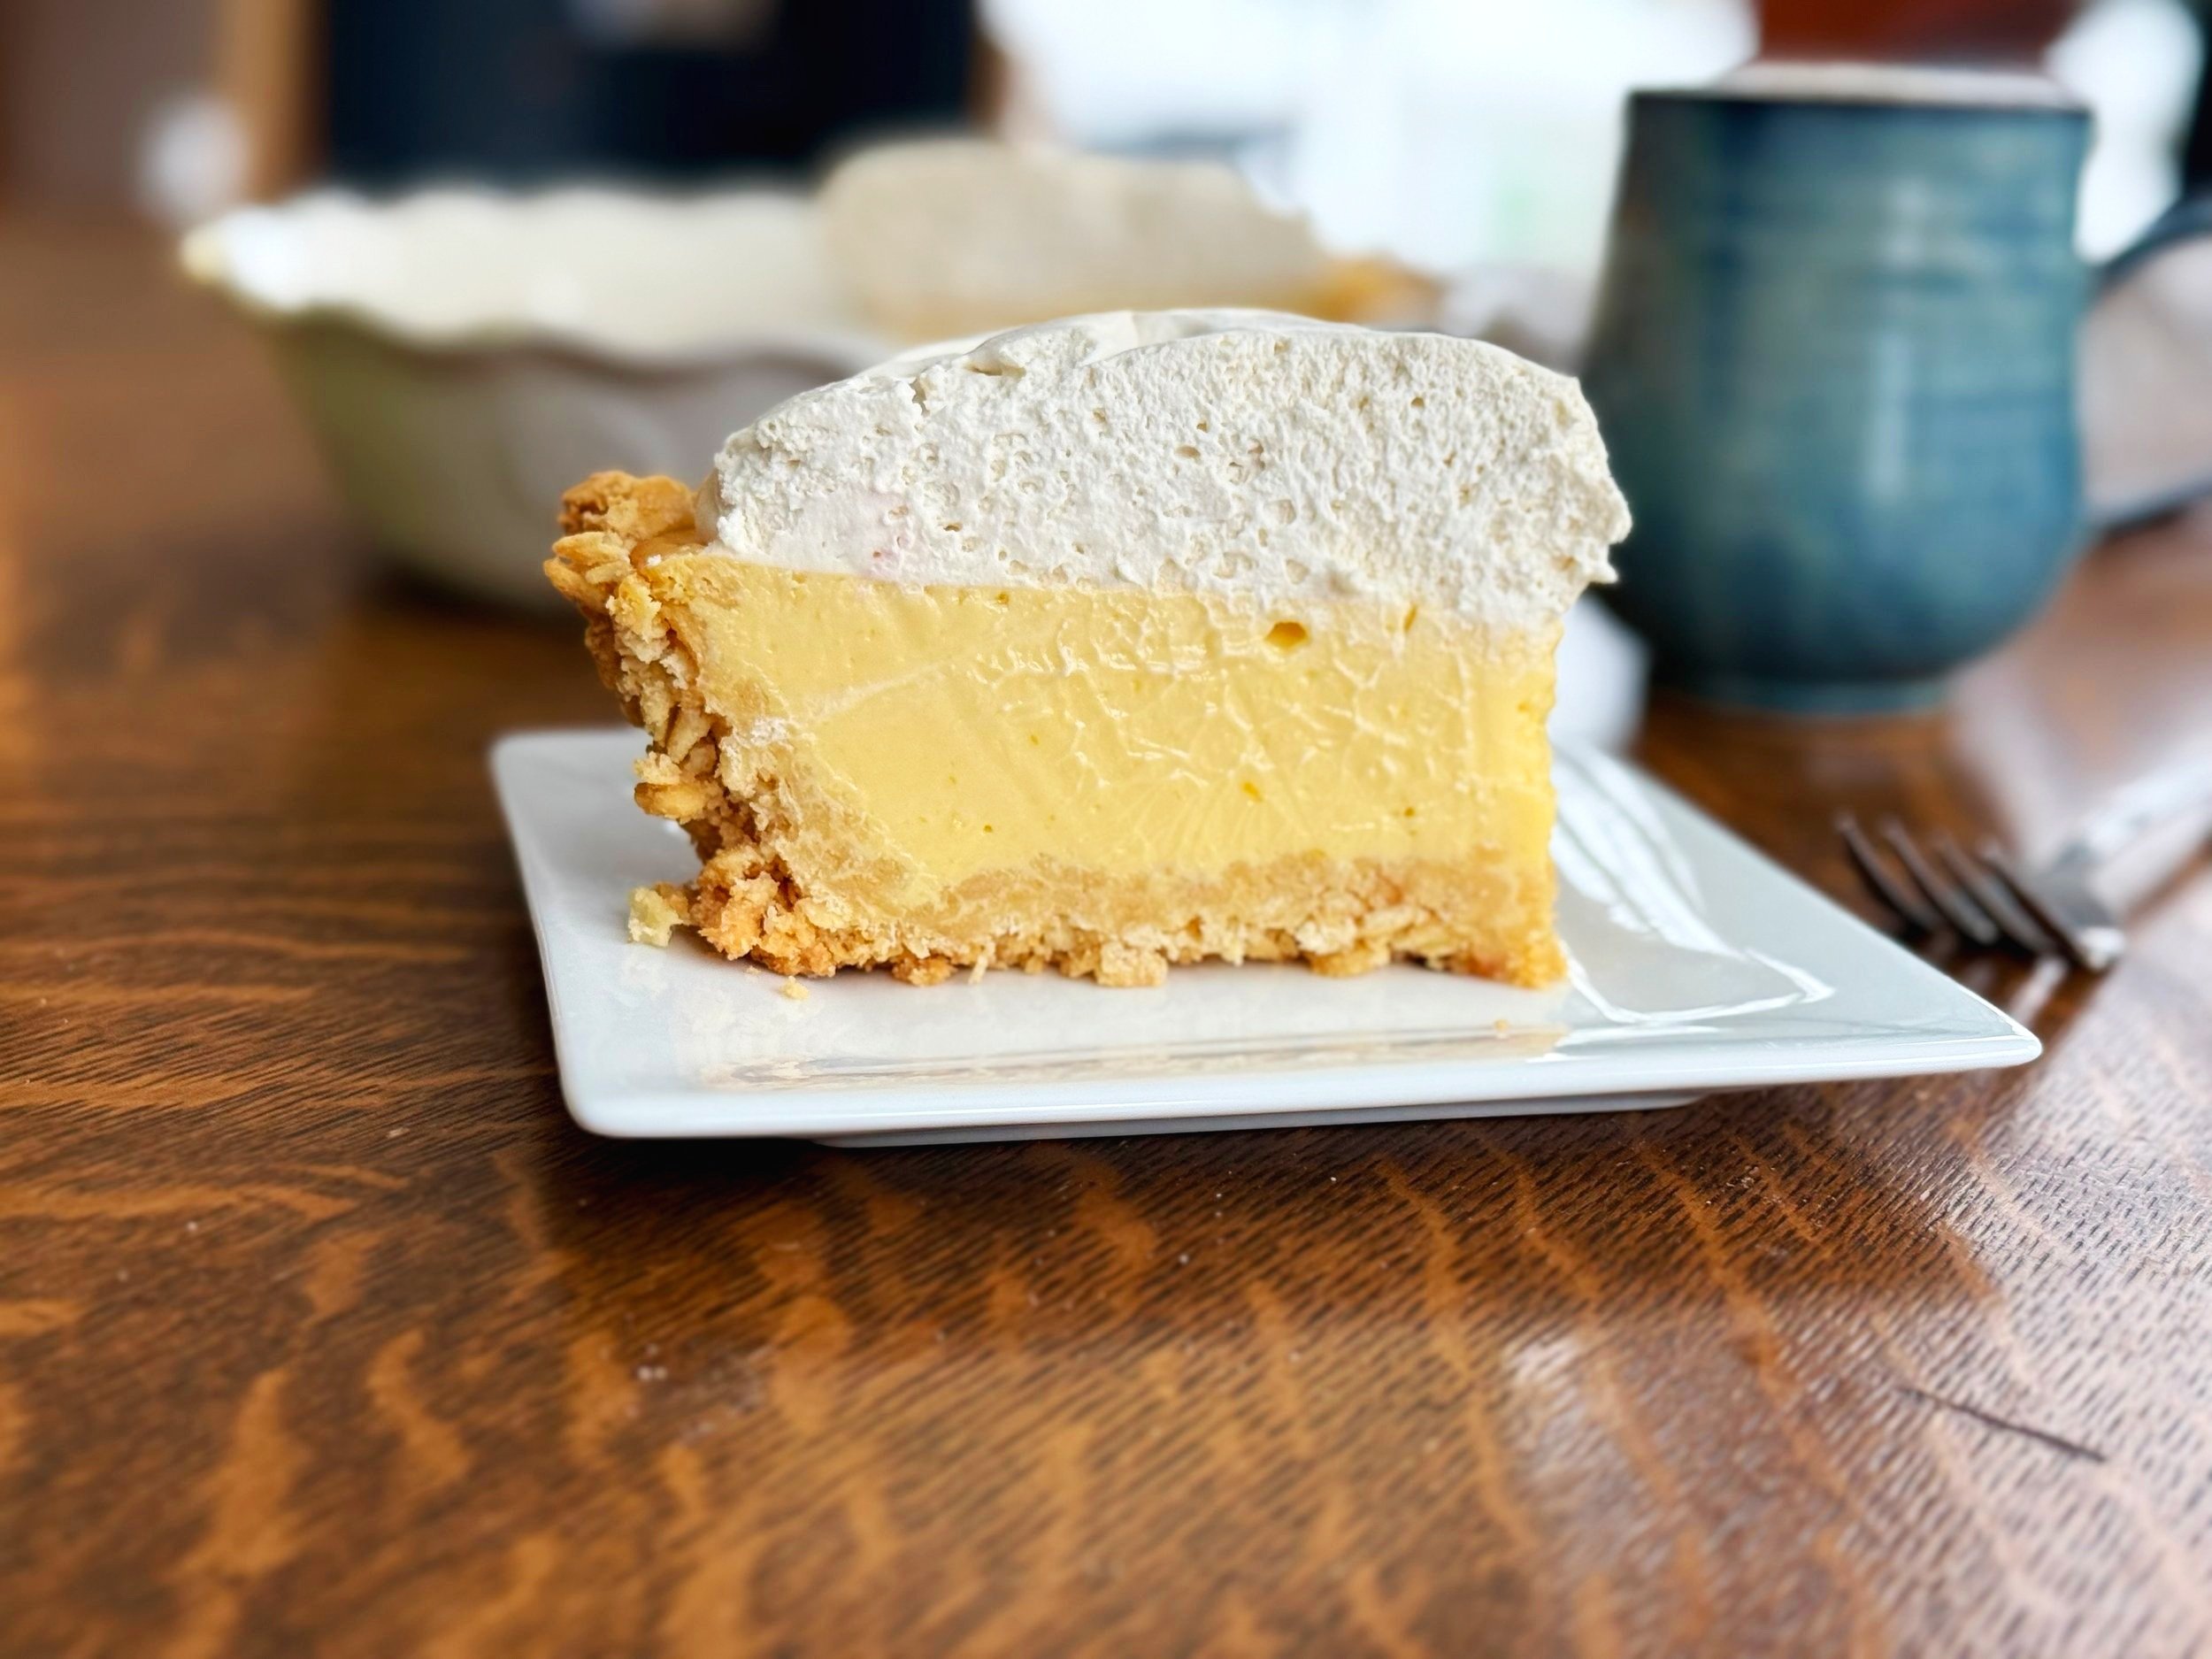
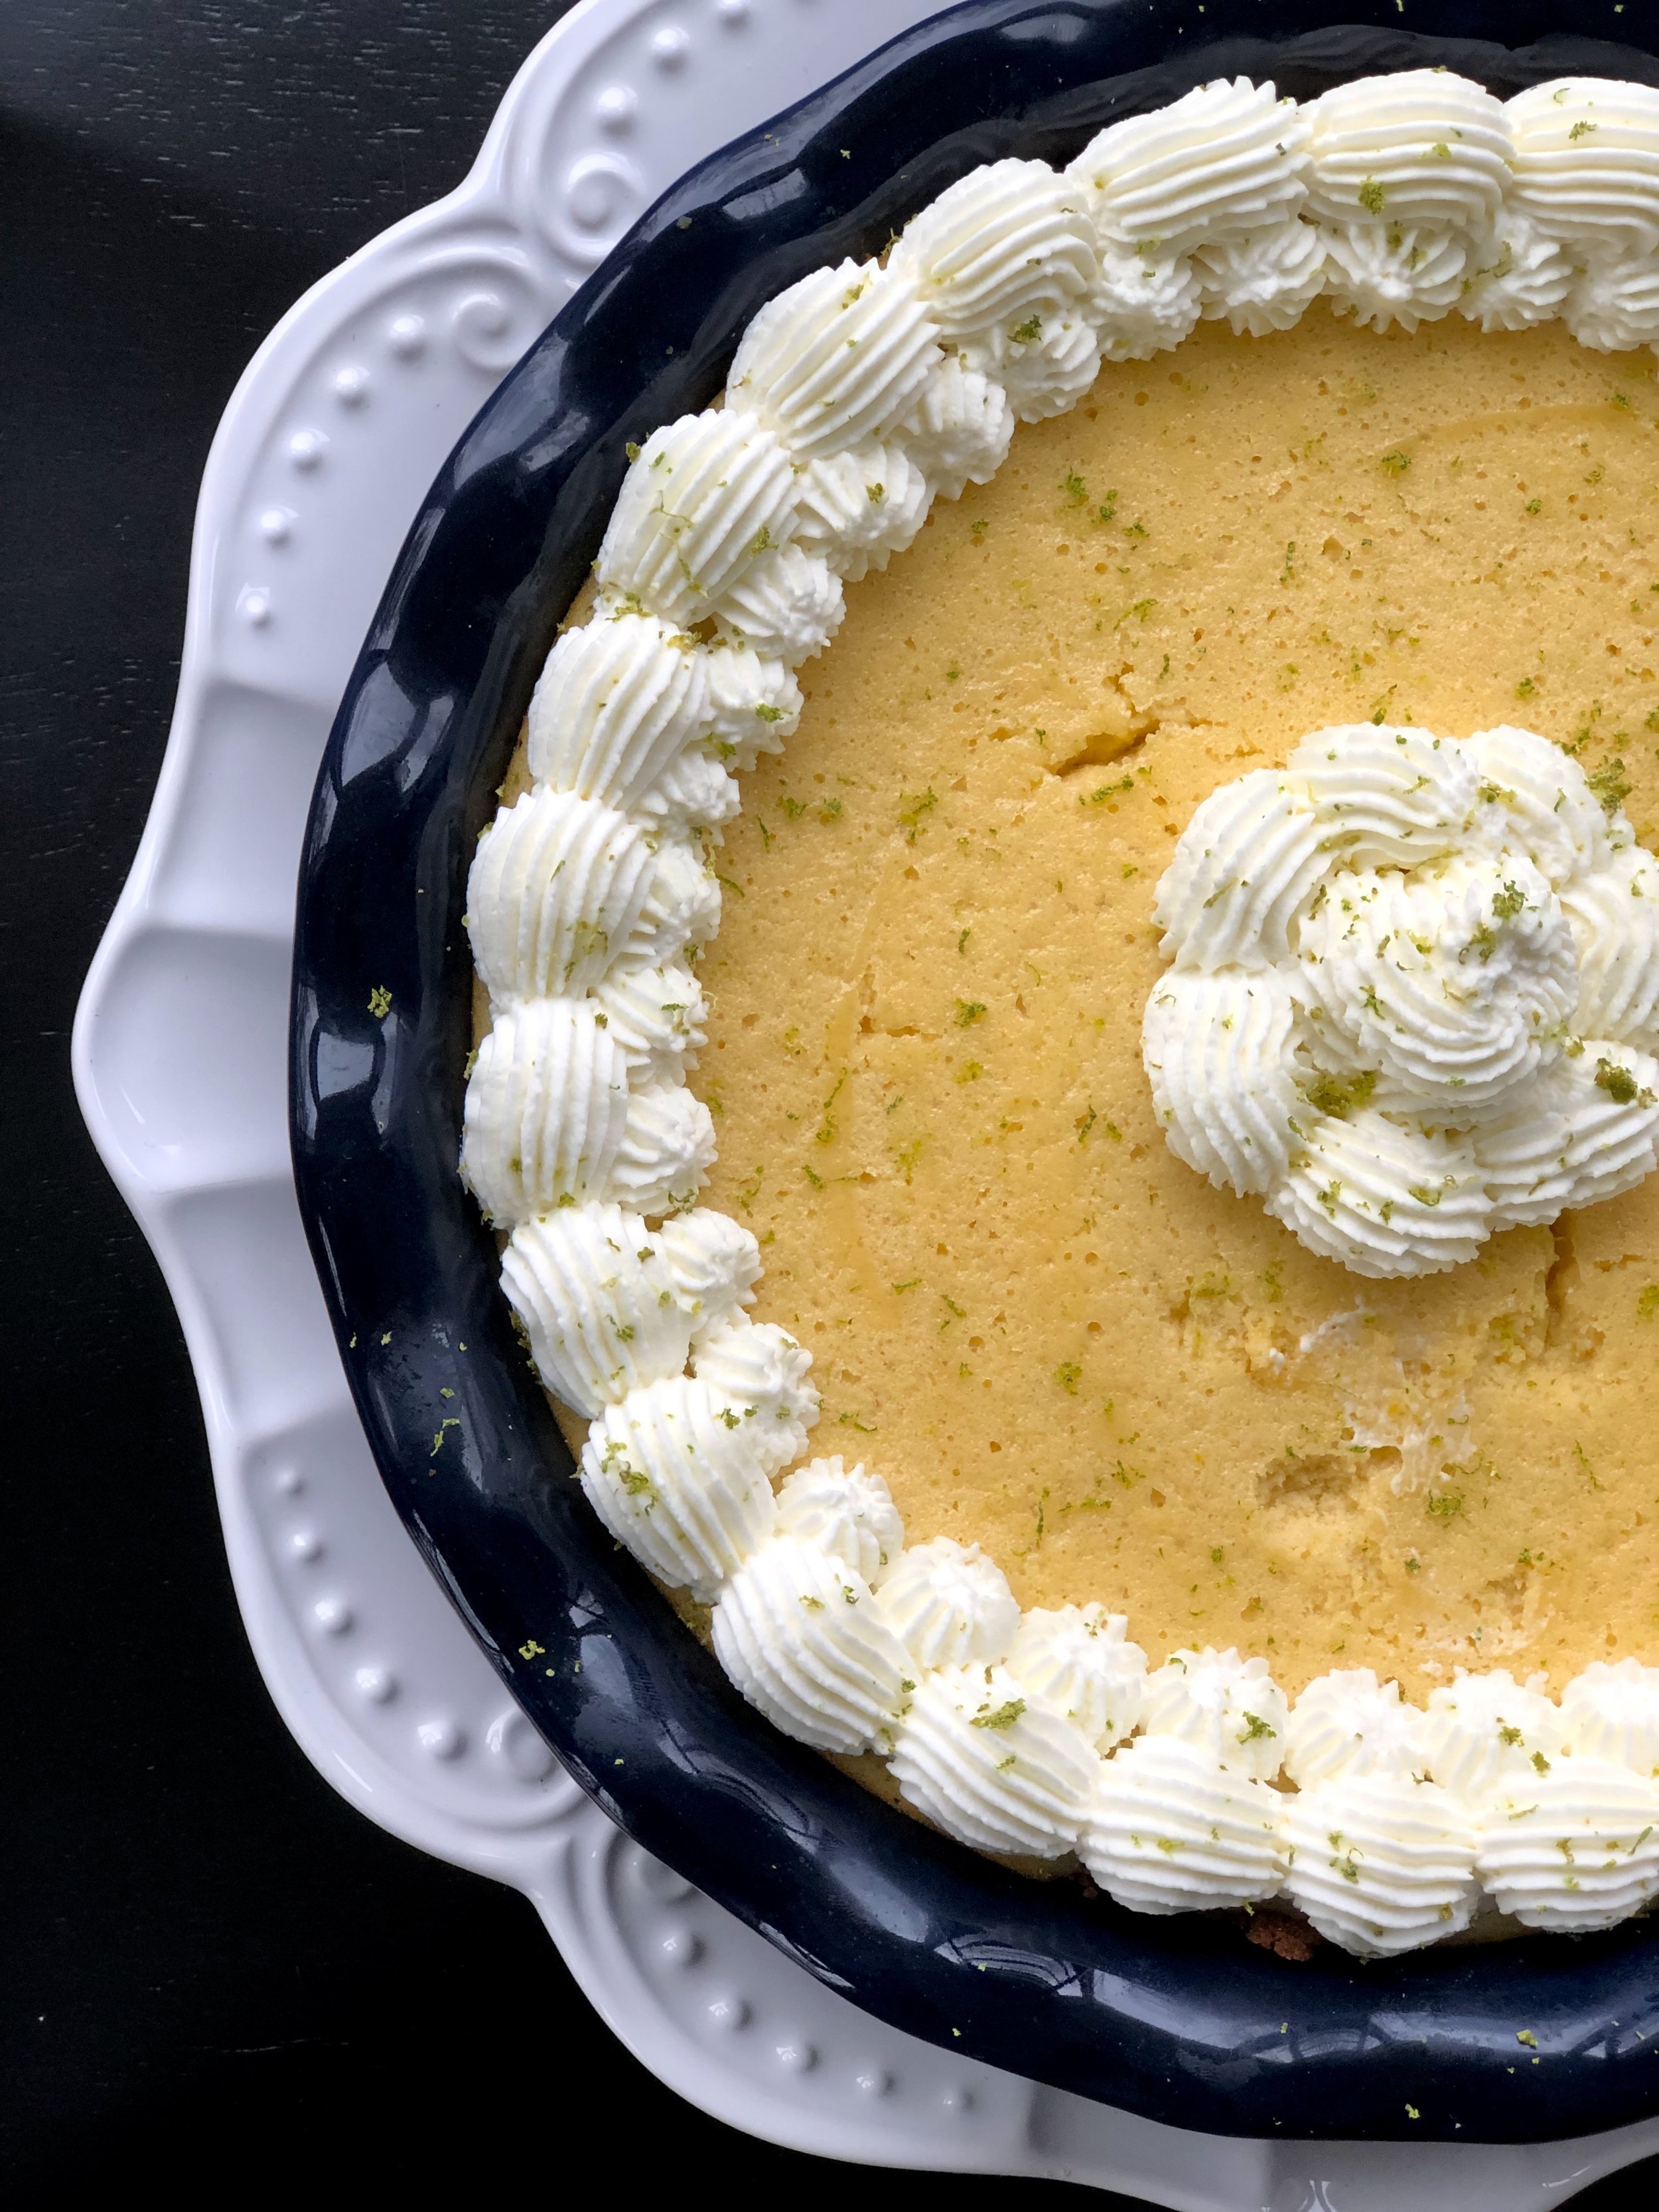
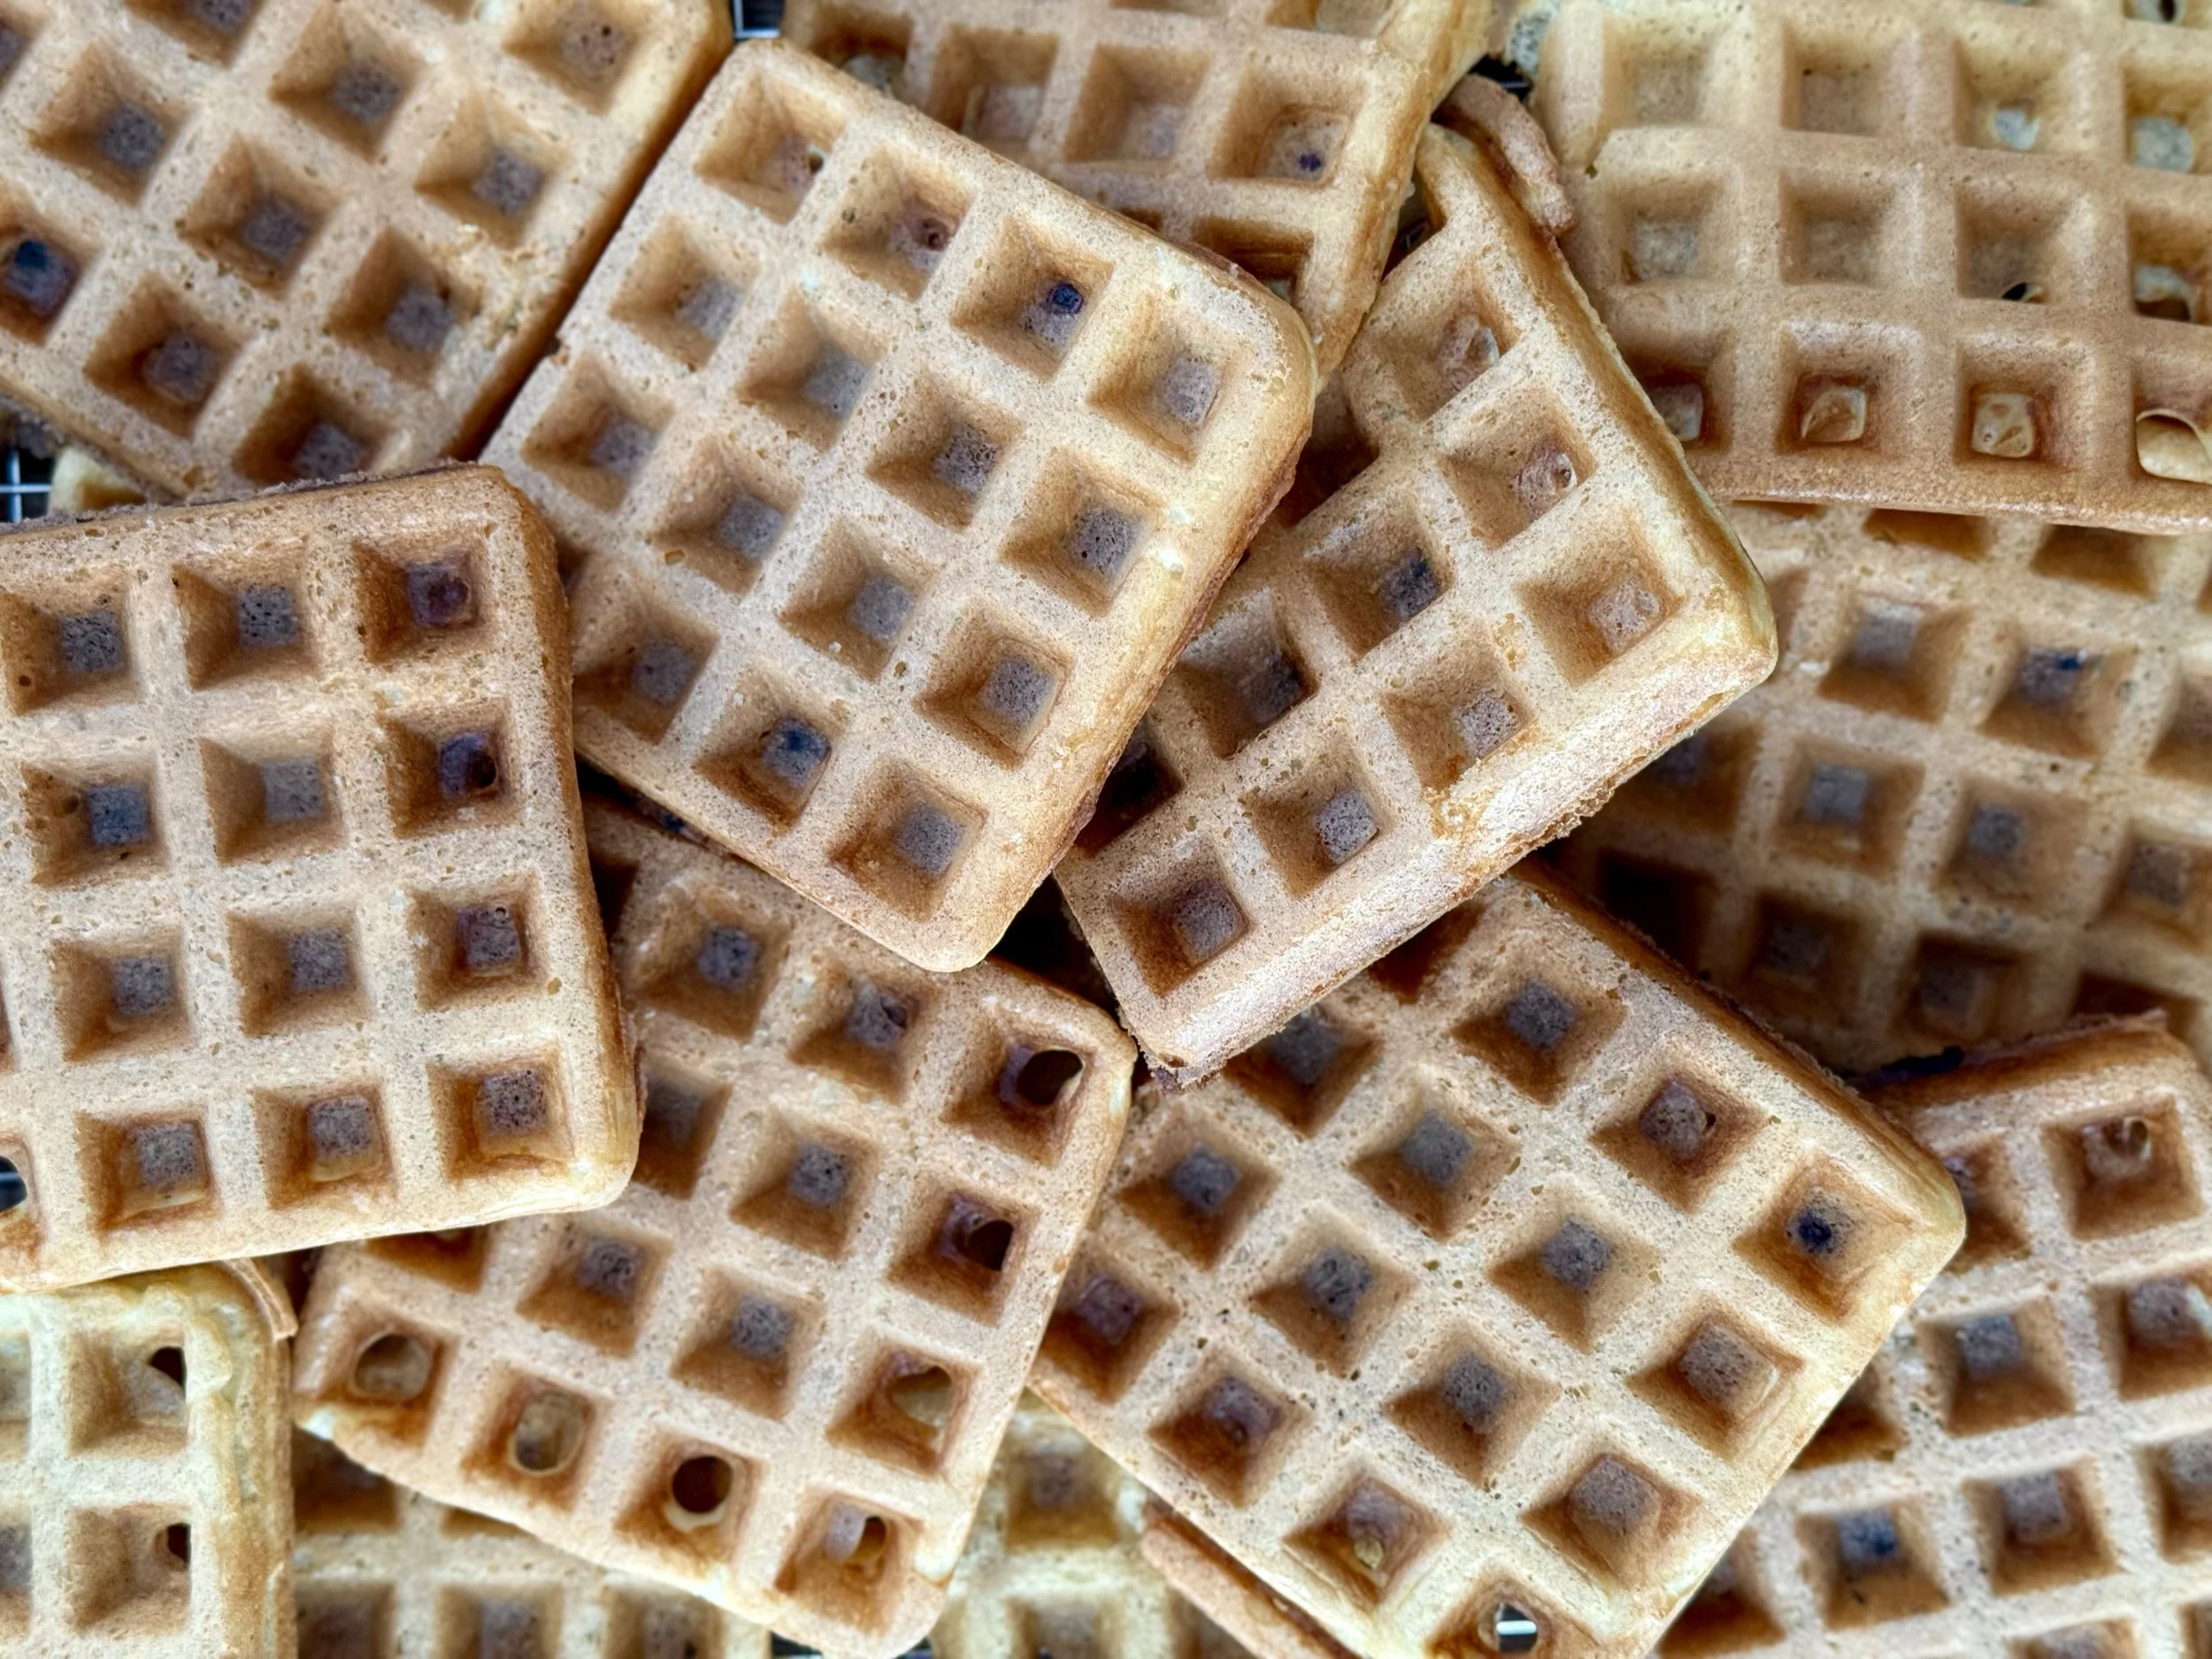
Favorite Blueberry Muffins

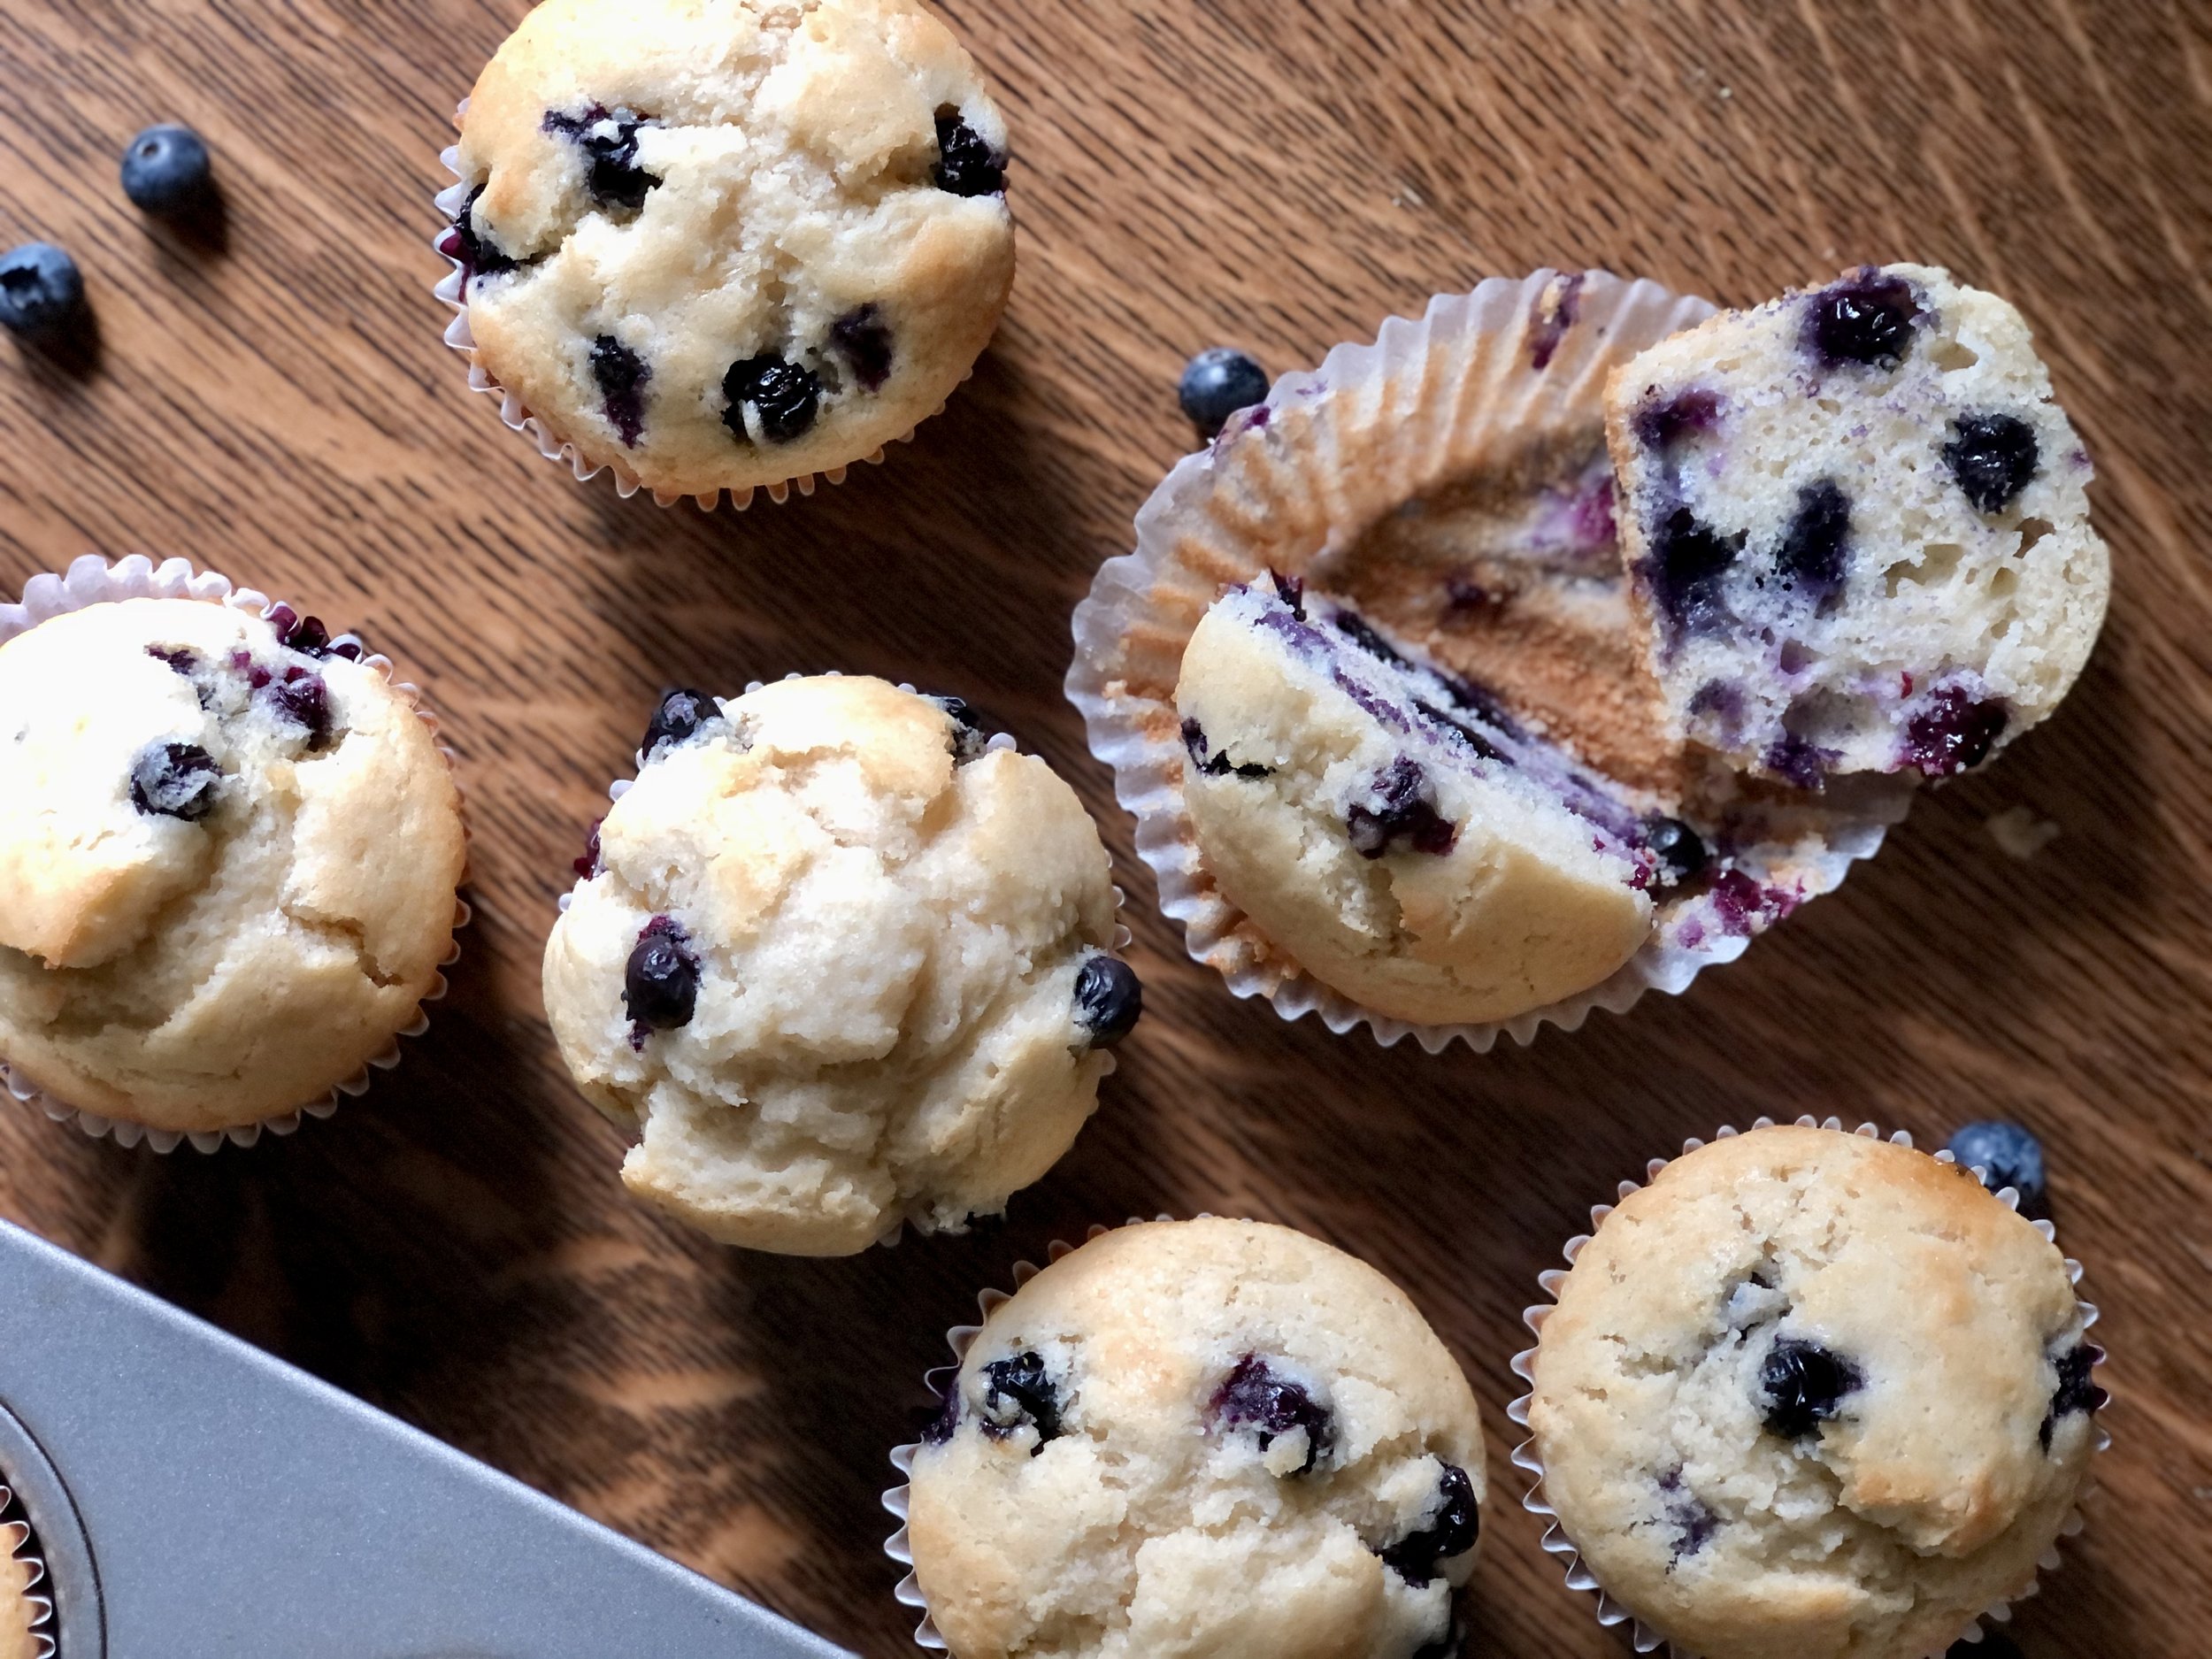
My favorite blueberry muffin recipe, right here! It is my go to, super easy recipe.

I love these because they only dirty one bowl and one measuring cup. In fact, even though I primarily use a scale for baking, this is one recipe I always use a measuring cup for some of the liquids because it’s so simple, and takes into consideration that eggs can vary in size while keeping liquids consistent. If you’re wondering what I mean, you’re just going to have to read the recipe below. :)

Read: Why You Should Use a Baking Scale

These muffins are also very versatile for making different kinds of muffins, chocolate chip, raspberry, almond poppyseed, and on and on. I really only use different muffin base recipes when they have elements that change the composition, like banana, pumpkin, peanut butter, etc.

My kids are little and muffins make for great snacks, breakfasts, lunches, or whenever! This recipe is also easy and quick enough for when they want to help, which tends to slow the process wayyyy down. Ah, I love my eager little helpers.

Use up some sourdough discard

These muffins are also fabulous for using up some sourdough discard. In fact, with my sourdough habit and my children’s love for muffins, I’ve probably been making this recipe 1-2 times per week recently! A blueberry muffin for you, and a lemon poppyseed muffin for you!

This post may contain affiliate links. If you make a purchase using these links, Jennyblogs may receive a small commission, at no extra cost to you. This helps to support Jennyblogs. Where possible, links are prioritized to small businesses and ethically and responsibly made items. For further information see the privacy policy. Grazie!

Recipe inspired by Inspired Taste


Favorite Blueberry Muffins

Makes about 12 muffins

Ingredients:

  • 2 cups / 240g all-purpose or pastry flour

  • 1/2 cup / 100g sugar

  • 1 Tbsp baking powder

  • 1/2 tsp salt

  • 1/2 cup / 113g oil

  • 1 egg

  • 2 tsp / 10g vanilla extract

  • about 1/2 cup / 119g milk

  • generous 1 cup fresh or frozen blueberries

  • up to 1/2 cup / about 100g sourdough discard, optional

Directions:

Oven 400°F / 205°C. Grease a 12 cup muffin pan or line with muffin liners.

  1. In a large bowl, whisk together flour, sugar, baking powder, and salt.

  2. In an at least 2 cup measuring cup, add oil, egg, and vanilla. Add milk until mixture reaches the 1 1/4 cups measure line, this should be around 1/2 cup of milk.

  3. Add milk mixture to dry ingredients along with sourdough discard if using, stirring until just combined. Gently fold in blueberries.

  4. Fill muffin cups almost all the way full. Bake in preheated oven for 15-20 minutes or until tops are springy, no longer wet looking, and/or a toothpick inserted into the center comes out clean.

Jenny’s notes:

  • If using frozen fruit, add to batter frozen, don’t thaw first. Muffins made with frozen fruit may need a couple minutes more in the oven than muffins made with fresh fruit.

  • If weighing ingredients or you don’t have a measuring cup handy, you can add the wet ingredients to another bowl instead, just add 1/2 cup / 119g milk.

  • Muffins make a great vessel for sourdough discard! I like using about 1/2 cup for a recipe this size, it’s a decent chunk out of my ever-growing discard jar, without the sourdough flavor being too strong. I’ve added 1 cup before, but at that point the sourdough flavor starts becoming more pronounced and you may start getting more than a dozen muffins.

  • Buttermilk can be substituted for the milk. Batter will be slightly thicker.

  • To jazz up the muffins, you can sprinkle the tops with coarse or granulated sugar before baking, if desired.

Favorite Blueberry Muffins
Yield 12
Author
Prep time
15 Min
Cook time
20 Min
Total time
35 Min

Favorite Blueberry Muffins

My favorite easy blueberry muffin recipe: Soft, tender muffins with pops of blueberry.
Cook modePrevent screen from turning off

Ingredients

Instructions

  1. Oven 400°F / 205°C. Grease a 12 cup muffin pan or line with muffin liners.
  2. In a large bowl, whisk together flour, sugar, baking powder, and salt.
  3. In an at least 2 cup measuring cup, add oil, egg, and vanilla. Add milk until mixture reaches the 1 1/4 cups measure line, this should be around 1/2 cup of milk.
  4. Add milk mixture to dry ingredients along with sourdough discard if using, stirring until just combined. Gently fold in blueberries.
  5. Fill muffin cups almost all the way full. Bake in preheated oven for 15-20 minutes or until tops are springy, no longer wet looking, and/or a toothpick inserted into the center comes out clean.

Notes

  • If using frozen fruit, add to batter frozen, don’t thaw first. Muffins made with frozen fruit may need a couple minutes more in the oven than muffins made with fresh fruit.
  • If weighing ingredients or you don’t have a measuring cup handy, you can add the wet ingredients to another bowl instead, just add 1/2 cup / 119g milk.
  • Muffins make a great vessel for sourdough discard! I like using about 1/2 cup for a recipe this size, it’s a decent chunk out of my ever-growing discard jar, without the sourdough flavor being too strong. I’ve added 1 cup before, but at that point the sourdough flavor starts becoming more pronounced and you may start getting more than a dozen muffins.
  • Buttermilk can be substituted for the milk. Batter will be slightly thicker.
  • To jazz up the muffins, you can sprinkle the tops with coarse or granulated  sugar before baking, if desired.

Nutrition Facts

Calories

224.88

Fat

10.62 g

Sat. Fat

1.09 g

Carbs

26.35 g

Fiber

2.6 g

Net carbs

23.74 g

Sugar

1.9 g

Protein

4.34 g

Sodium

251.77 mg

Cholesterol

14.86 mg

Nutritional information is approximate. Based on 1 muffin, including sourdough discard.

sourdough discard recipe, best ever blueberry muffins, favorite muffin base recipe
breakfast, dessert, bread
American
Did you make this recipe?
Tag @jennyblogsandbakes on instagram and hashtag it #jennyblogs

Healthier Chocolate Peanut Butter Bars

Last updated July 19, 2024

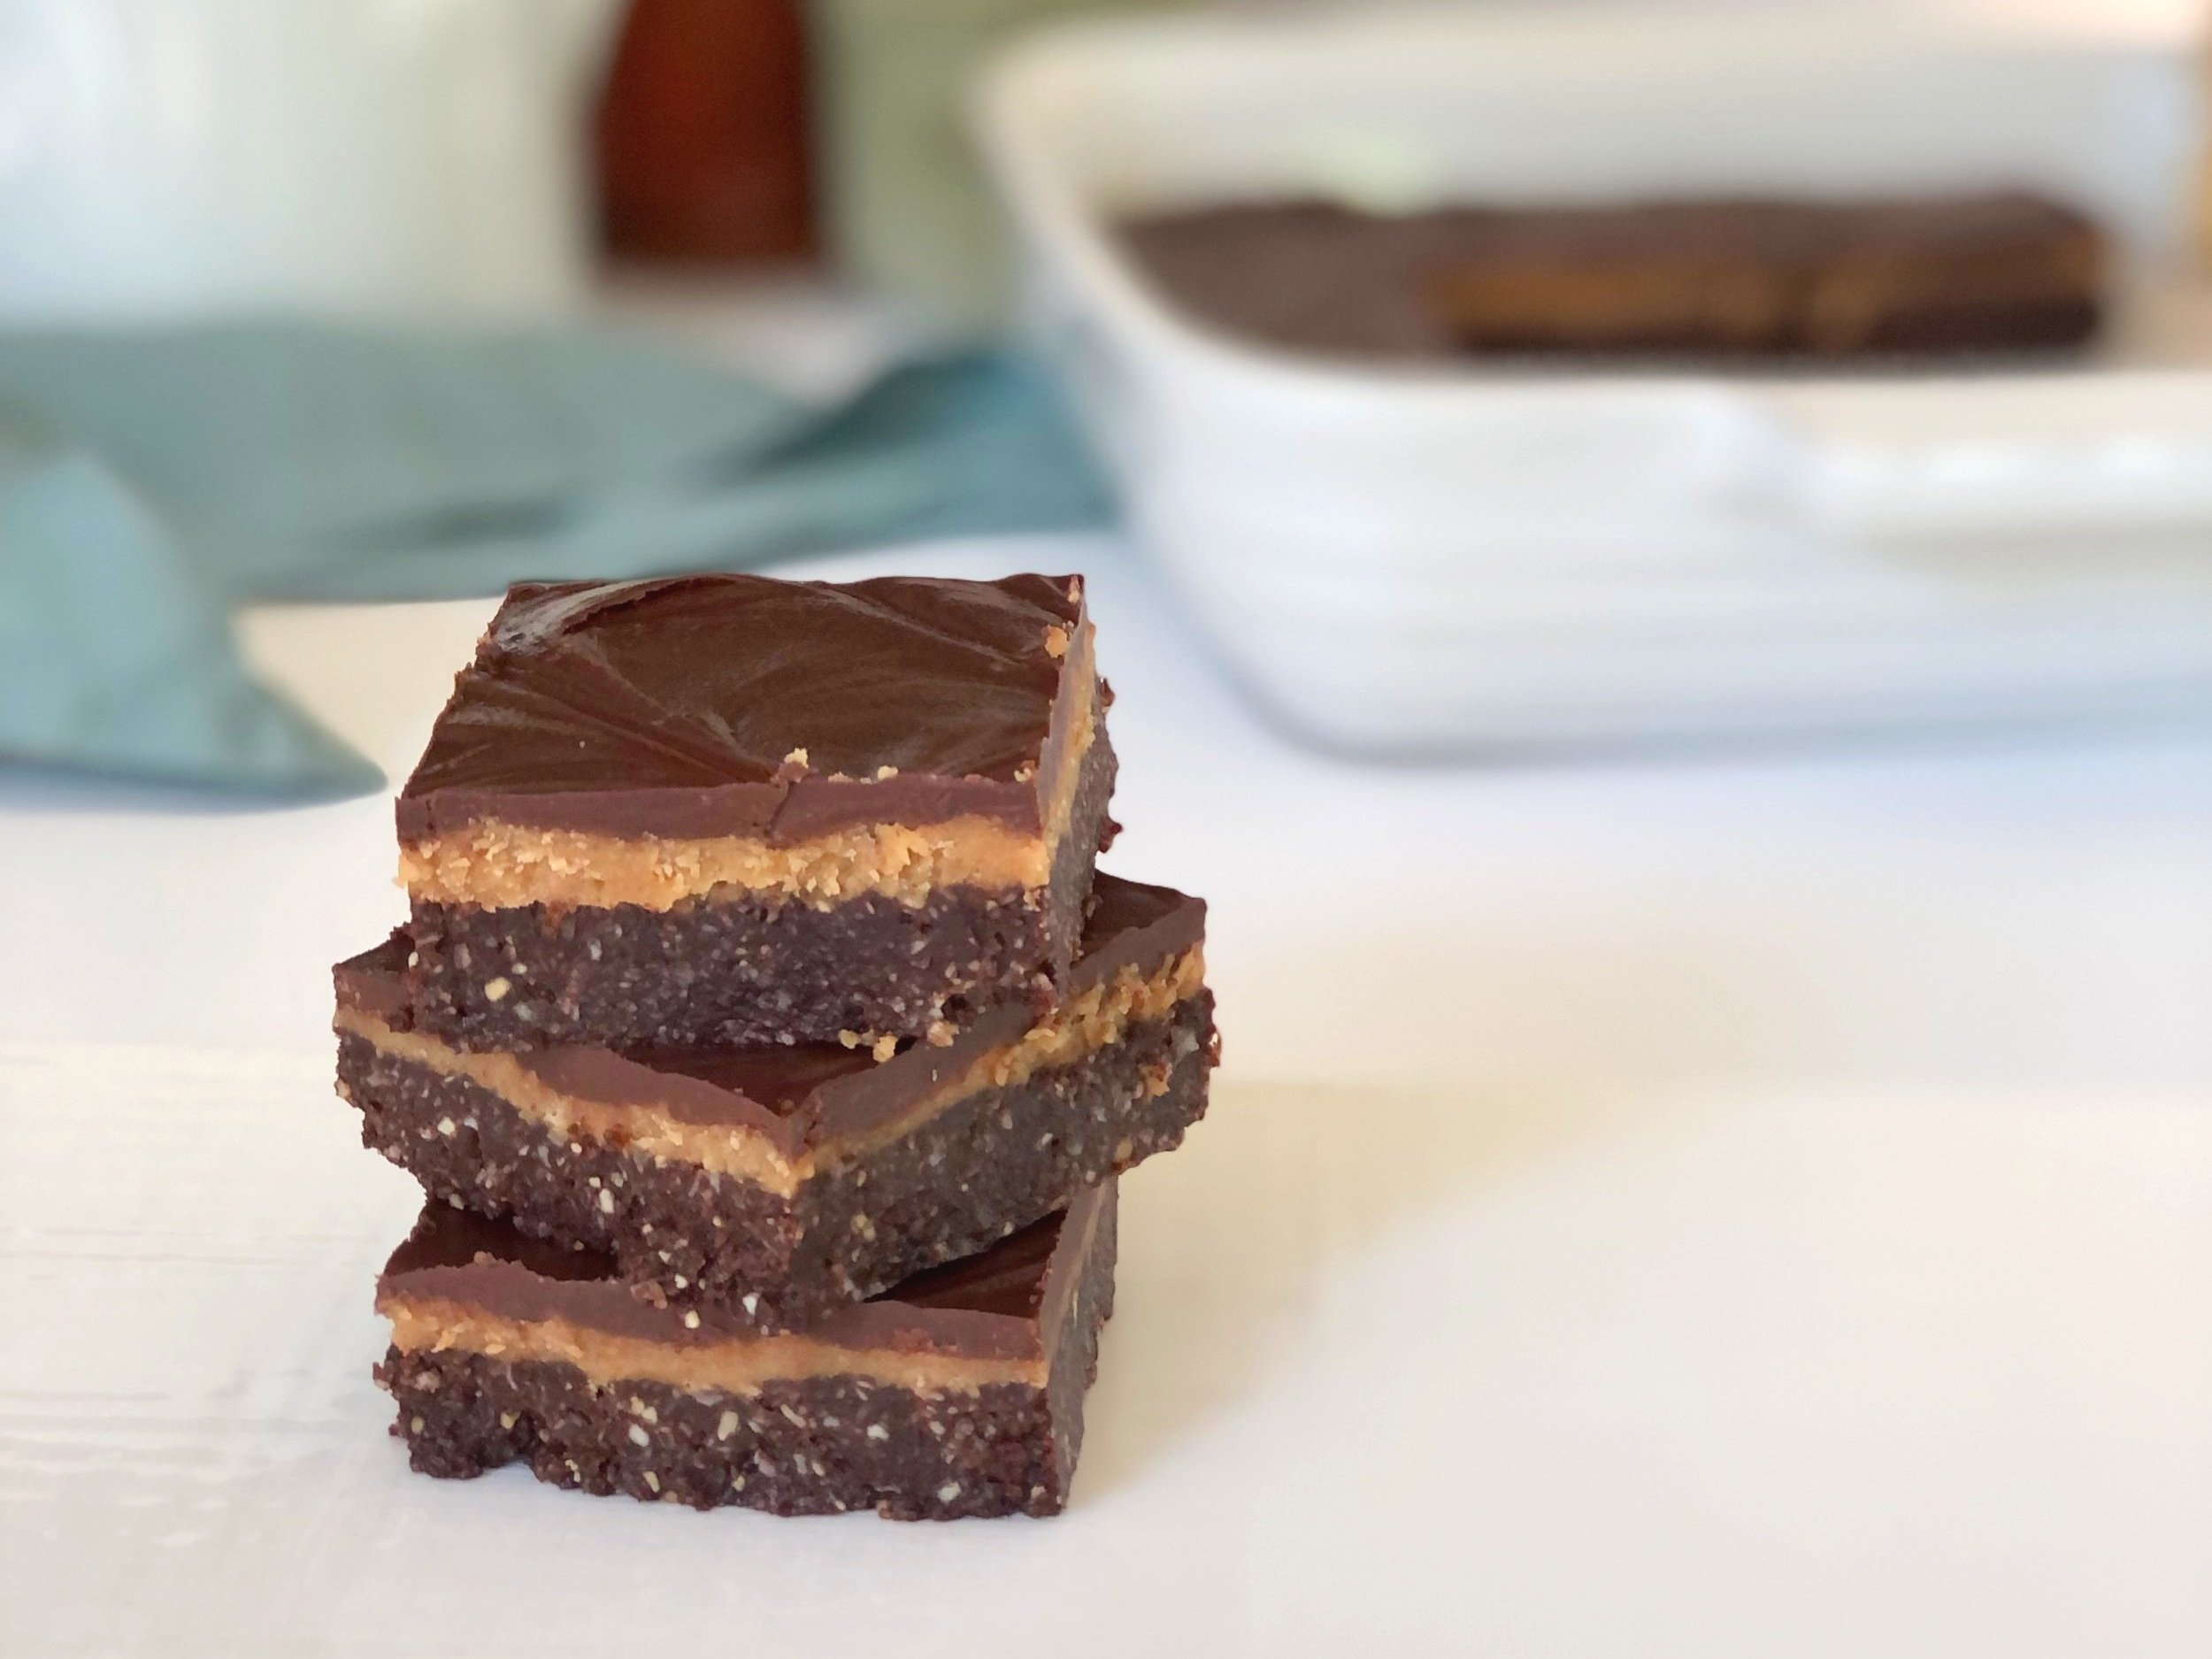
These Chocolate Peanut Butter Bars check a lot of boxes.

  • Delicious. These bars somehow bridge the gap between “coconut lovers” and “chocolate peanut butter lovers”, even for those who don’t normally love coconut, and those who don’t normally love peanut butter and chocolate together. I know, weird, but those people do exist and they’re some of my taste testers.

  • Healthier than most desserts. I would (and did) unabashedly eat these for breakfast. They’re full of nuts and coconut, and only use coconut oil, depending on which camp you fall in as far as viewing coconut oil as a good medium-chain fatty acid or simply another saturated fat.

  • No bake. Great for summer, if you don’t have an oven available to you, or simply don’t want to turn it on.

  • Easy. These can be ready in less than 30 minutes, quick and satisfying to whip up, with most of the work done in a food processor.

  • Satisfying. With the protein and fat content, these will keep you satisfied for longer. When you’re satisfied, you’re less likely to keep reaching for other unhealthy foods or overeating.

  • Gluten-free, vegan, dairy-free, egg-free, and almost refined sugar-free (there’s sugar in chocolate chips, which are in the chocolate topping.)

If those aren’t enough reasons to love these bars, I have one more. You don’t have to grease your baking dish! I know, that’s a little thing, but it’s a small kitchen task I don’t overly enjoy, and the fact that these bars slide ride out of an ungreased pan is a small yippee from me!

Another reason I like these, is because they don’t call for dates. Don’t get me wrong, I love dates, but it’s nice to have a healthy dessert recipe that doesn’t call for dates since so many do. I don’t always have dates on hand, and this way I can still whip up a healthier dessert/snack without waiting for my next grocery run. That makes this recipe’s ingredient list pretty close to being all pantry staples.

This post may contain affiliate links. If you make a purchase using these links, Jennyblogs may receive a small commission, at no extra cost to you. This helps to support Jennyblogs. Where possible, links are prioritized to small businesses, and American companies and products made in the USA for American readers. For further information see the privacy policy. Grazie!

Recipe inspired by Dani’s Healthy Eats


Healthier Chocolate Peanut Butter Bars

Serves about 16

Ingredients:

For the Chocolate Coconut Crust

  • 1 1/2 cups / 120g shredded unsweetened coconut

  • 6 Tbsp / 120g maple syrup

  • 6 Tbsp / 97g peanut butter

  • 6 Tbsp / 59g peanuts

  • 6 Tbsp / 38g cocoa powder

  • 5 Tbsp / 70g coconut oil

For the Peanut Butter Filling

  • 1/2 cup / 130g peanut butter

  • 1/4 cup / 81g maple syrup

  • 1/4 cup / 56g coconut oil

For the Chocolate Topping

  • 1 cup / 175g semi sweet or dark chocolate chips

  • 1 Tbsp / 14g coconut oil

Directions:

Ungreased 8x8 inch / 20x20 centimeter square baking dish

Make the Chocolate Coconut Crust

  1. Add all ingredients to a food processor; blend until smooth and mixture comes together in a soft dough-like ball.

  2. Press into pan and freeze while preparing filling.

Make the Peanut Butter Filling

  1. Add all filling ingredients to a medium bowl or food processor and mix until smooth. (It’s not necessary to clean food processor between mixing the crust and filling.)

  2. Remove crust from freezer and evenly spread filling over crust. Place back in freezer while preparing topping.

Make the Chocolate Topping

  1. In a small saucepan, combine chocolate and coconut oil. Melt over low heat, stirring frequently. Remove from heat when there are still a few tiny bits of chocolate; continue stirring until all is melted and smooth.

  2. Remove bars from freezer and spread topping evenly over filling. Cover and place in freezer or refrigerator to set, at least 30 minutes. Store covered in refrigerator.

Jenny’s Notes:

  • Different nut butters and nuts can be swapped out for the peanut butter and peanuts. Almond butter and almonds can be used, or cashews and cashew butter, or mix them up as you wish!

Healthier Chocolate Peanut Butter Bars
Yield 16
Author
Prep time
25 Min
Inactive time
30 Min
Total time
55 Min

Healthier Chocolate Peanut Butter Bars

Decadent, no-bake chocolate peanut butter bars with a chocolate coconut crust, peanut butter filling, and simple chocolate topping are deceivingly simple to make and satisfying to eat. Gluten-free, dairy-free, vegan, and almost refined sugar-free.
Cook modePrevent screen from turning off

Ingredients

For the Chocolate Coconut Crust
For the Peanut Butter Filling
For the Chocolate Topping

Instructions

Make the Chocolate Coconut Crust
  1. Ungreased 8x8 inch / 20x20 centimeter square baking dish
  2. Add all ingredients to a food processor; blend until smooth and mixture comes together in a soft dough-like ball.
  3. Press into pan and freeze while preparing filling.
Make the Peanut Butter Filling
  1. Add all filling ingredients to a medium bowl or food processor and mix until smooth. (It’s not necessary to clean food processor between mixing the crust and filling.)
  2. Remove crust from freezer and evenly spread filling over crust. Place back in freezer while preparing topping.
Make the Chocolate Topping
  1. In a small saucepan, combine chocolate and coconut oil. Melt over low heat, stirring frequently. Remove from heat when there are still a few tiny bits of chocolate; continue stirring until all is melted and smooth.
  2. Remove bars from freezer and spread topping evenly over filling. Cover and place in freezer or refrigerator to set, at least 30 minutes. Store covered in refrigerator.

Notes

  • Different nut butters and nuts can be swapped out for the peanut butter and peanuts. Almond butter and almonds can be used, or cashews and cashew butter, or mix them up as you wish!

Nutrition Facts

Calories

332.91

Fat

26.92 g

Sat. Fat

17.14 g

Carbs

21.81 g

Fiber

3.64 g

Net carbs

18.19 g

Sugar

13.5 g

Protein

6.06 g

Sodium

77.98 mg

Cholesterol

0.11 mg

Nutritional information is approximate. Based on 1 serving if cut into 16 pieces.

healthy coconut chocolate peanut butter bars, vegan, gluten free, dairy free, refined sugar free, no bake
dessert
American
Did you make this recipe?
Tag @jennyblogsandbakes on instagram and hashtag it #jennyblogs

Greek Pasta Salad

IMG_3827.jpg

It’s August. It’s hot. I’ve already made all the different classic versions of pasta salad and have moved on to making up my own versions. Hot dishes are out when hot weather is in!

Well, most of the time. I say this a bit sheepishly as I’m about to eat a big plate of aglio, olio, peperoncino pasta. That’s not only hot, it’s also lightly spicy. It’s about 100°F out and no, we don’t have air conditioning. Sometimes you just know what you want to eat (especially as a pregnant person) and that’s ok. At least, that’s what I keep telling myself. :D

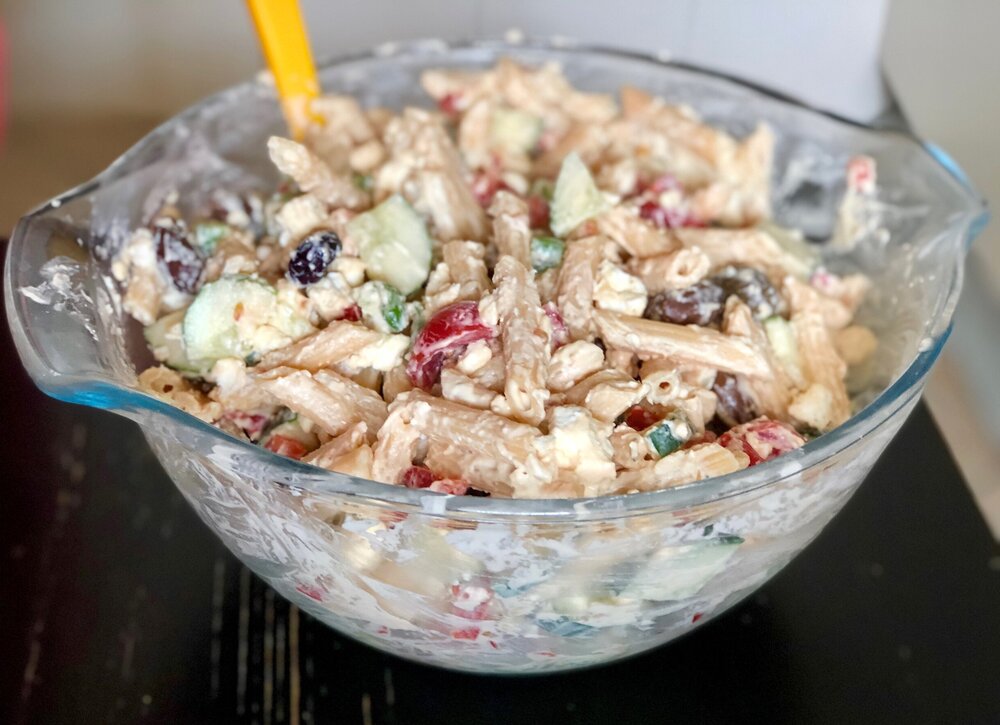
I’ve also been really into Greek everything. I’ve been making lots of Greek wraps, Greek salads, learned what a traditional Greek salad is, and made a 7+ layer Greek dip! I’ll have a recipe up for the Greek dip soon, it’s very easy to whip up and nutritious to boot! And if you hadn’t already noticed, today’s recipe is a Greek pasta salad! I actually saw a similar idea to this on Instagram recently and decided I needed to eat that. I noticed the recipe used a dressing with ingredients similar to what we’d call Italian dressing in America (oil, vinegar, basil, oregano, garlic, etc) and I decided I wanted to try a hummus dressing. And it was delicious! Hummus mixed with some plain yogurt makes for a creamy and wonderful twist to this pasta salad. You can make homemade hummus, or use whatever brand and flavor you prefer!

Enjoy, my friends, and stay cool!

This post may contain affiliate links. If you make a purchase using these links, Jennyblogs may receive a small commission, at no extra cost to you. This helps to support Jennyblogs. For further information see the privacy policy. Grazie!

A recipe by Jenny Nicole


Greek Pasta Salad

Serves 3-4

Adjustments.jpeg

Ingredients:

  • 8oz / 250g short pasta of choice, fusilli, penne, shells, etc.

  • 3/4 cup / 185g plain yogurt

  • 3/4 cup / 185g hummus, flavor of choice

  • 1 Tbsp / 14g red wine vinegar

  • 1/4 tsp dried oregano

  • 1/4 tsp dried basil

  • 1 cucumber, diced

  • 1/2 red or green bell pepper, diced

  • 1/2 cup / 90g pitted kalamata olives, sliced if large

  • 1 cup / 150g cherry tomatoes, halved or quartered

  • 2/3 cup / 100g crumbled feta cheese

  • salt and pepper, to taste

  • drizzle of extra virgin olive oil, for finishing

Directions:

  1. Cook pasta one minute less than according to directions, nicely al dente, drain and rinse in cold water to stop pasta from continuing to cook. Cool in fridge while you make dressing.

  2. In a large bowl, stir together yogurt, hummus, vinegar, and spices.

  3. Add pasta, all the chopped vegetables, and cheese; stir until everything is evenly coated in dressing. Taste and add salt and pepper, as needed.

  4. Refrigerate until chilled, at least 2 hours. The longer the pasta sits the more the flavors will meld and the sauce be absorbed by the pasta, creating the ideal pasta salad! Just before serving, drizzle with olive oil.

Jenny’s Notes:

  • If you have fresh herbs on hand, you can use about 1 tsp each of finely chopped fresh basil and fresh oregano!

  • The quantity of vegetables is really up to you and easy to adjust in simple recipes like this, measurements are approximate.

  • While you might think Greek yogurt would be better adapted to this “Greek” pasta salad, plain/soupier yogurt actually works better because as the pasta sits, it absorbs the dressing. If you use already thick Greek yogurt, the dressing will probably end up too thick. If Greek yogurt is all you have, you can simply add a few tablespoons of water or milk to thin up the dressing to your liking. This can also be done if you make/buy a particularly thick brand of hummus, or just want the dressing thinner anyway!

  • The photos you see in this post I actually used a gluten-free penne pasta made from red lentils and brown rice. I had never tried it before but it is an excellent pasta, I would never have known it’s gluten-free. Probably also because it was made by my favorite pasta brand here in Italy, Rummo. If you live here or can find it in the States, I highly recommend it! Although I think I’ve only seen it at World Market for way more than I pay here in Italy. Bummer.

Greek Pasta Salad
Yield 3-4
Author
Prep time
20 Min
Cook time
20 Min
Total time
40 Min

Greek Pasta Salad

A twist on the classic pasta salad with a creamy, herbed hummus dressing, vegetables, and Feta cheese.
Cook modePrevent screen from turning off

Ingredients

Instructions

  1. Cook pasta one minute less than according to directions, nicely al dente, drain and rinse in cold water to stop it from continuing to cook. Cool in fridge while you make dressing.
  2. In a large bowl, stir together yogurt, hummus, vinegar, and spices.
  3. Add pasta, all the chopped vegetables, and cheese; stir until everything is evenly coated in dressing.
  4. Refrigerate until chilled, at least 2 hours. The longer the pasta sits the more the flavors will meld and the sauce be absorbed by the pasta, creating the ideal pasta salad! Just before serving, drizzle with olive oil.

Notes

If you have fresh herbs on hand, use about 1 tsp each of finely chopped fresh basil and fresh oregano! The quantity of vegetables is really up to you and easy to adjust in simple recipes like this, measurements are approximate. While you might think Greek yogurt would be better adapted to this “Greek” pasta salad, plain/soupier yogurt actually works better because as the pasta sits, it absorbs the dressing. If you use already thick Greek yogurt, the dressing will probably end up too thick. If Greek yogurt is all you have, you can simply add a few tablespoons of water or milk to thin up the dressing to your liking. This can also be done if you make/buy a particularly thick brand of hummus, or just want the dressing thinner anyway!

Nutrition Facts

Calories

486.29

Fat

26.16 g

Sat. Fat

8.20 g

Carbs

46.18 g

Fiber

7.25 g

Net carbs

38.93 g

Sugar

8.71 g

Protein

18.81 g

Sodium

779.53 mg

Cholesterol

33.37 mg

Nutritional information is approximate; based on 3 servings.

Pasta salad, cold pasta, summer pasta, summer dish, Greek, hummus dressing
Pasta, Side dish
American
Did you make this recipe?
Tag @jennyblogsandbakes on instagram and hashtag it #jennyblogs
IMG_3831.jpg

Strawberry Shortcake

Last Updated August 18, 2024

This post may contain affiliate links. If you buy something using these links, Jennyblogs may receive a small commission, at no extra cost to you. This helps to support Jennyblogs. For further information see the privacy policy. Grazie!

Strawberry shortcake is a summer classic. All you need are juicy, ripe strawberries, shortcakes, which are really just biscuits with a bit of sugar added to them, and whipped cream. If you decided on adding some vanilla ice cream to the mix I don’t think anyone would be mad about it. I certainly wouldn’t be. Did I mention they’re really simple to make?

public.jpg

It’s so simple because the strawberries are the shining star and don’t need much dressing up. If you try and make this when strawberries are out of season, even if you can find them in the grocery store, it just won’t be the same. This is a dessert that calls for strawberries ripened under the summer sun, bursting with flavor.

Do you want to know a secret? Strawberry shortcakes will reach the pinnacle of their goodness if you are able to pick the strawberries yourself! Not only will you be the one choosing the juiciest berries, but you’ll KNOW they’re as fresh as they come! Plus, you’ll taste the fruits of your own hard work and it makes it that much sweeter. Literally. I loved going strawberry picking with my mom as a kid. Strawberry season in Michigan is always in beginning to mid summer, usually end of June or early July, and we’d come home with baskets full. Then I’d help my mom hull and slice them, keeping some for eating, some for making strawberry shortcake and other desserts, and some for freezing and making jam.

Eat strawberry shortcake for dessert, or breakfast, snack, lunch, and dinner. I mean, biscuits and fruit sounds like a balanced and great way to start off the morning! Plus you’ll want to eat them as much as you can while the strawberry season lasts. A great thing about these is that you can add as little or as much sugar as you want! See notes at bottom of recipe for some ideas.

Recipe from my mama with tweaks from moi.


Strawberry Shortcake

Serves: 8-10

Ingredients:

public.jpg

For the Macerated Strawberries

  • 4-5 cups strawberries, washed, hulled, and sliced

  • 3-4 Tbsp / 35-50g sugar or to taste

For the Shortcakes

  • 2 cups / 240g all-purpose flour

  • 1/4 cup / 50g sugar

  • 4 tsp / 19g baking powder

  • 1/2 tsp / 2g salt

  • 1/2 cup / 113g cold butter or scant 1/2 cup / 100g oil

  • 2/3 cup / 158g cold milk or buttermilk

For the Whipped Cream

  • 1 cup / 237g heavy whipping cream

  • 3-4 Tbsp / 35-50g sugar or to taste

  • 1 tsp / 4g vanilla extract

Directions:

Oven 450°F / 232°C. Have ready an ungreased baking sheet.

Make the Macerated Strawberries

  1. Place strawberries in a bowl, add sugar, and mash them a bit or a lot, as desired, with a fork or masher. Place in fridge while you prepare shortcakes.

Make the Shortcakes

  1. In a large bowl whisk together flour, sugar, baking powder, and salt.

  2. Cut in butter or oil until mixture resembles coarse crumbs.

  3. Make a well in center of flour mixture and pour in milk. Mix just until most of the flour is moistened, then turn mixture out onto a floured surface.

  4. Knead lightly, up to 10-12 times, until you have a soft but not too sticky dough. Don’t overwork or biscuits will be tough.

  5. Gently pat dough out into a circle about 1in / 2.5cm thick, checking to make sure underneath is still floured well and dough isn’t sticking.

  6. Using a biscuit cutter or a round glass 2-3in / 5-7cm in diameter, cut out as many biscuits as you can. Place biscuits on baking sheet. Collect dough scraps and reshape into a ball. Repeat patting into a circle and cutting until dough is used up, probably 2-3 times at most, depending on size of biscuit cutter.

  7. Bake biscuits in preheated oven for 10-12 minutes, or until risen and lightly golden brown.

Make the Whipped Cream

  1. In the bowl of a stand mixer fitted with whisk attachment or with a hand mixer, whip heavy cream until soft peaks form.

  2. Add sugar and vanilla and continue whipping until stiff peaks form.

Assembly

Slice biscuits open and spoon over strawberries and whipped cream.

Jenny’s Notes:

  • The sugar mixed in with the strawberries is traditional but not absolutely necessary. Although it helps soften the strawberries to lose their juice and create more of a soft sauce, I like it also without adding any sugar, because everything else in this recipe is already a bit sweet.

  • The biscuit dough might seem too soft at first, but the moment the baking powder starts working and it hits the floured surface it should become very manageable. Just be careful not to over work it, a little bit goes a long way.

  • When cutting biscuits, cut straight down, no twisting, or this can seal the edges and prevent a good rise. You can dip the biscuit cutter in some flour to help prevent any sticking.

  • If you place the biscuits next to each other on the baking sheet they can help each other “climb” up and achieve a nicer rise! I know this feels counterintuitive as so often things are supposed to be “spaced evenly apart”, but give it a try!

Strawberry Shortcake
Yield 8-10 servings
Author
Prep time
40 Min
Cook time
12 Min
Total time
52 Min

Strawberry Shortcake

Classic strawberry shortcake recipe handed down from my mama. Homemade biscuits, juicy strawberries, and fresh whipped cream assembled together in a summery dessert.
Cook modePrevent screen from turning off

Ingredients

For the Macerated Strawberries
For the Shortcakes
For the Whipped Cream

Instructions

Make the Macerated Strawberries
  1. Place strawberries in a bowl, add sugar, and mash them a bit or a lot, as desired, with a fork or masher. Place in fridge while you prepare the shortcakes.
Make the Shortcakes
  1. Preheat oven to 450°F / 232°C. Have ready an ungreased baking sheet.
  2. In a large bowl whisk together flour, sugar, baking powder, and salt.
  3. Cut in butter or oil until mixture resembles coarse crumbs.
  4. Make a well in center of flour mixture and pour in milk. Mix just until most of the flour is moistened, then turn mixture out onto a floured surface.
  5. Knead lightly, up to 10-12 times, until you have a soft but not too sticky dough. Don’t overwork or biscuits will be tough.
  6. Gently pat dough out into a circle about 1in / 2.5cm thick, checking to make sure underneath is still floured well and dough isn’t sticking.
  7. Using a biscuit cutter or a round glass 2-3in / 5-7cm in diameter, cut out as many biscuits as you can. Place biscuits on baking sheet. Collect dough scraps and reshape into a ball. Repeat patting into a circle and cutting until dough is used up, probably 2-3 times at most, depending on size of biscuit cutter.
  8. Bake biscuits in preheated oven for 10-12 minutes, or until risen and lightly golden brown.
Make the Whipped Cream
  1. In the bowl of a stand mixer fitted with whisk attachment or with a hand mixer, whip heavy cream until soft peaks form.
  2. Add sugar and vanilla and continue whipping until stiff peaks form.
Assembly
  1. Slice biscuits open and spoon over strawberries and whipped cream!

Notes

The sugar mixed in with the strawberries is traditional but not absolutely necessary. Although it helps soften the strawberries to lose their juice and create more of a soft sauce, I like it also without adding any sugar, because everything else in this recipe is already a bit sweet.The biscuit dough might seem too soft at first, but the moment the baking powder starts working and it hits the floured surface it should become very workable. Just be careful not to over work it, a little bit goes a long way.When cutting the biscuits, cut straight down, no twisting, or this can seal the edges and prevent a good rise. You can dip the biscuit cutter in some flour to help prevent any sticking. If you place the biscuits next to each other on the baking sheet they can help each other “climb” up and achieve a nicer rise!

Nutrition Facts

Calories

436.99

Fat

24.15 g

Sat. Fat

7.94 g

Carbs

51.65 g

Fiber

2.77 g

Net carbs

48.88 g

Sugar

24.49 g

Protein

5.28 g

Sodium

368.72 mg

Cholesterol

35.06 mg

Nutritional Information is approximate.

strawberry shortcakes, summer dessert, best traditional classic strawberry shortcake
dessert
American
Did you make this recipe?
Tag @jennyblogsandbakes on instagram and hashtag it #jennyblogs
public.jpg

Classic Rhubarb Custard Pie

IMG_1860.jpg

Last updated July 31, 2024

Nothings says summer like a rhubarb pie. Better yet, a rhubarb CUSTARD pie.

Rhubarb is always one of the first garden plants to grow each spring in Michigan, announcing that after a long, cold winter summer is indeed coming and didn’t get lost along the way after all. Rhubarb likes to grow so extensively in its short season that you don’t know what to do with all of it, until it withers in the approach of hotter weather and leaves you already looking forward to next year’s crop. Unless, of course, you planned ahead and froze some. But frozen rhubarb will never be like fresh, so make all the pie and hand pie, crisp, cake, syrup, and camel hair soup you can! I mean, er, rhubarb sauce…not camel hair soup. Hehe, who’d call it that??

IMG_1835.jpg

Do you want to know something really sad? I’ve never seen rhubarb in Italy, at least not in Florence. So for my international friends, I’m sorry if your area fails you and doesn’t grow rhubarb so you aren’t able to make this recipe. If there is rhubarb in Florence though, someone please tell me where to find it? So far everyone I’ve asked just said, “…what’s that?” This just goes to show my ignorance. Before moving to Italy I was trying to bake with all of the ingredients that aren’t readily available here, or at least what I figured wouldn’t be readily available. I should have been in a baking frenzy with rhubarb instead of things like Oreos. Because, no rhubarb and Oreos everywhere. There are even Oreo donuts in the grocery store bakery section…I’ve come so close to trying them during various weak moments.

Wherever you are in the world, be sure to bake or eat a rhubarb pie at the next chance. You won’t regret it and might inspire you to move to a part of the world where rhubarb is grown.

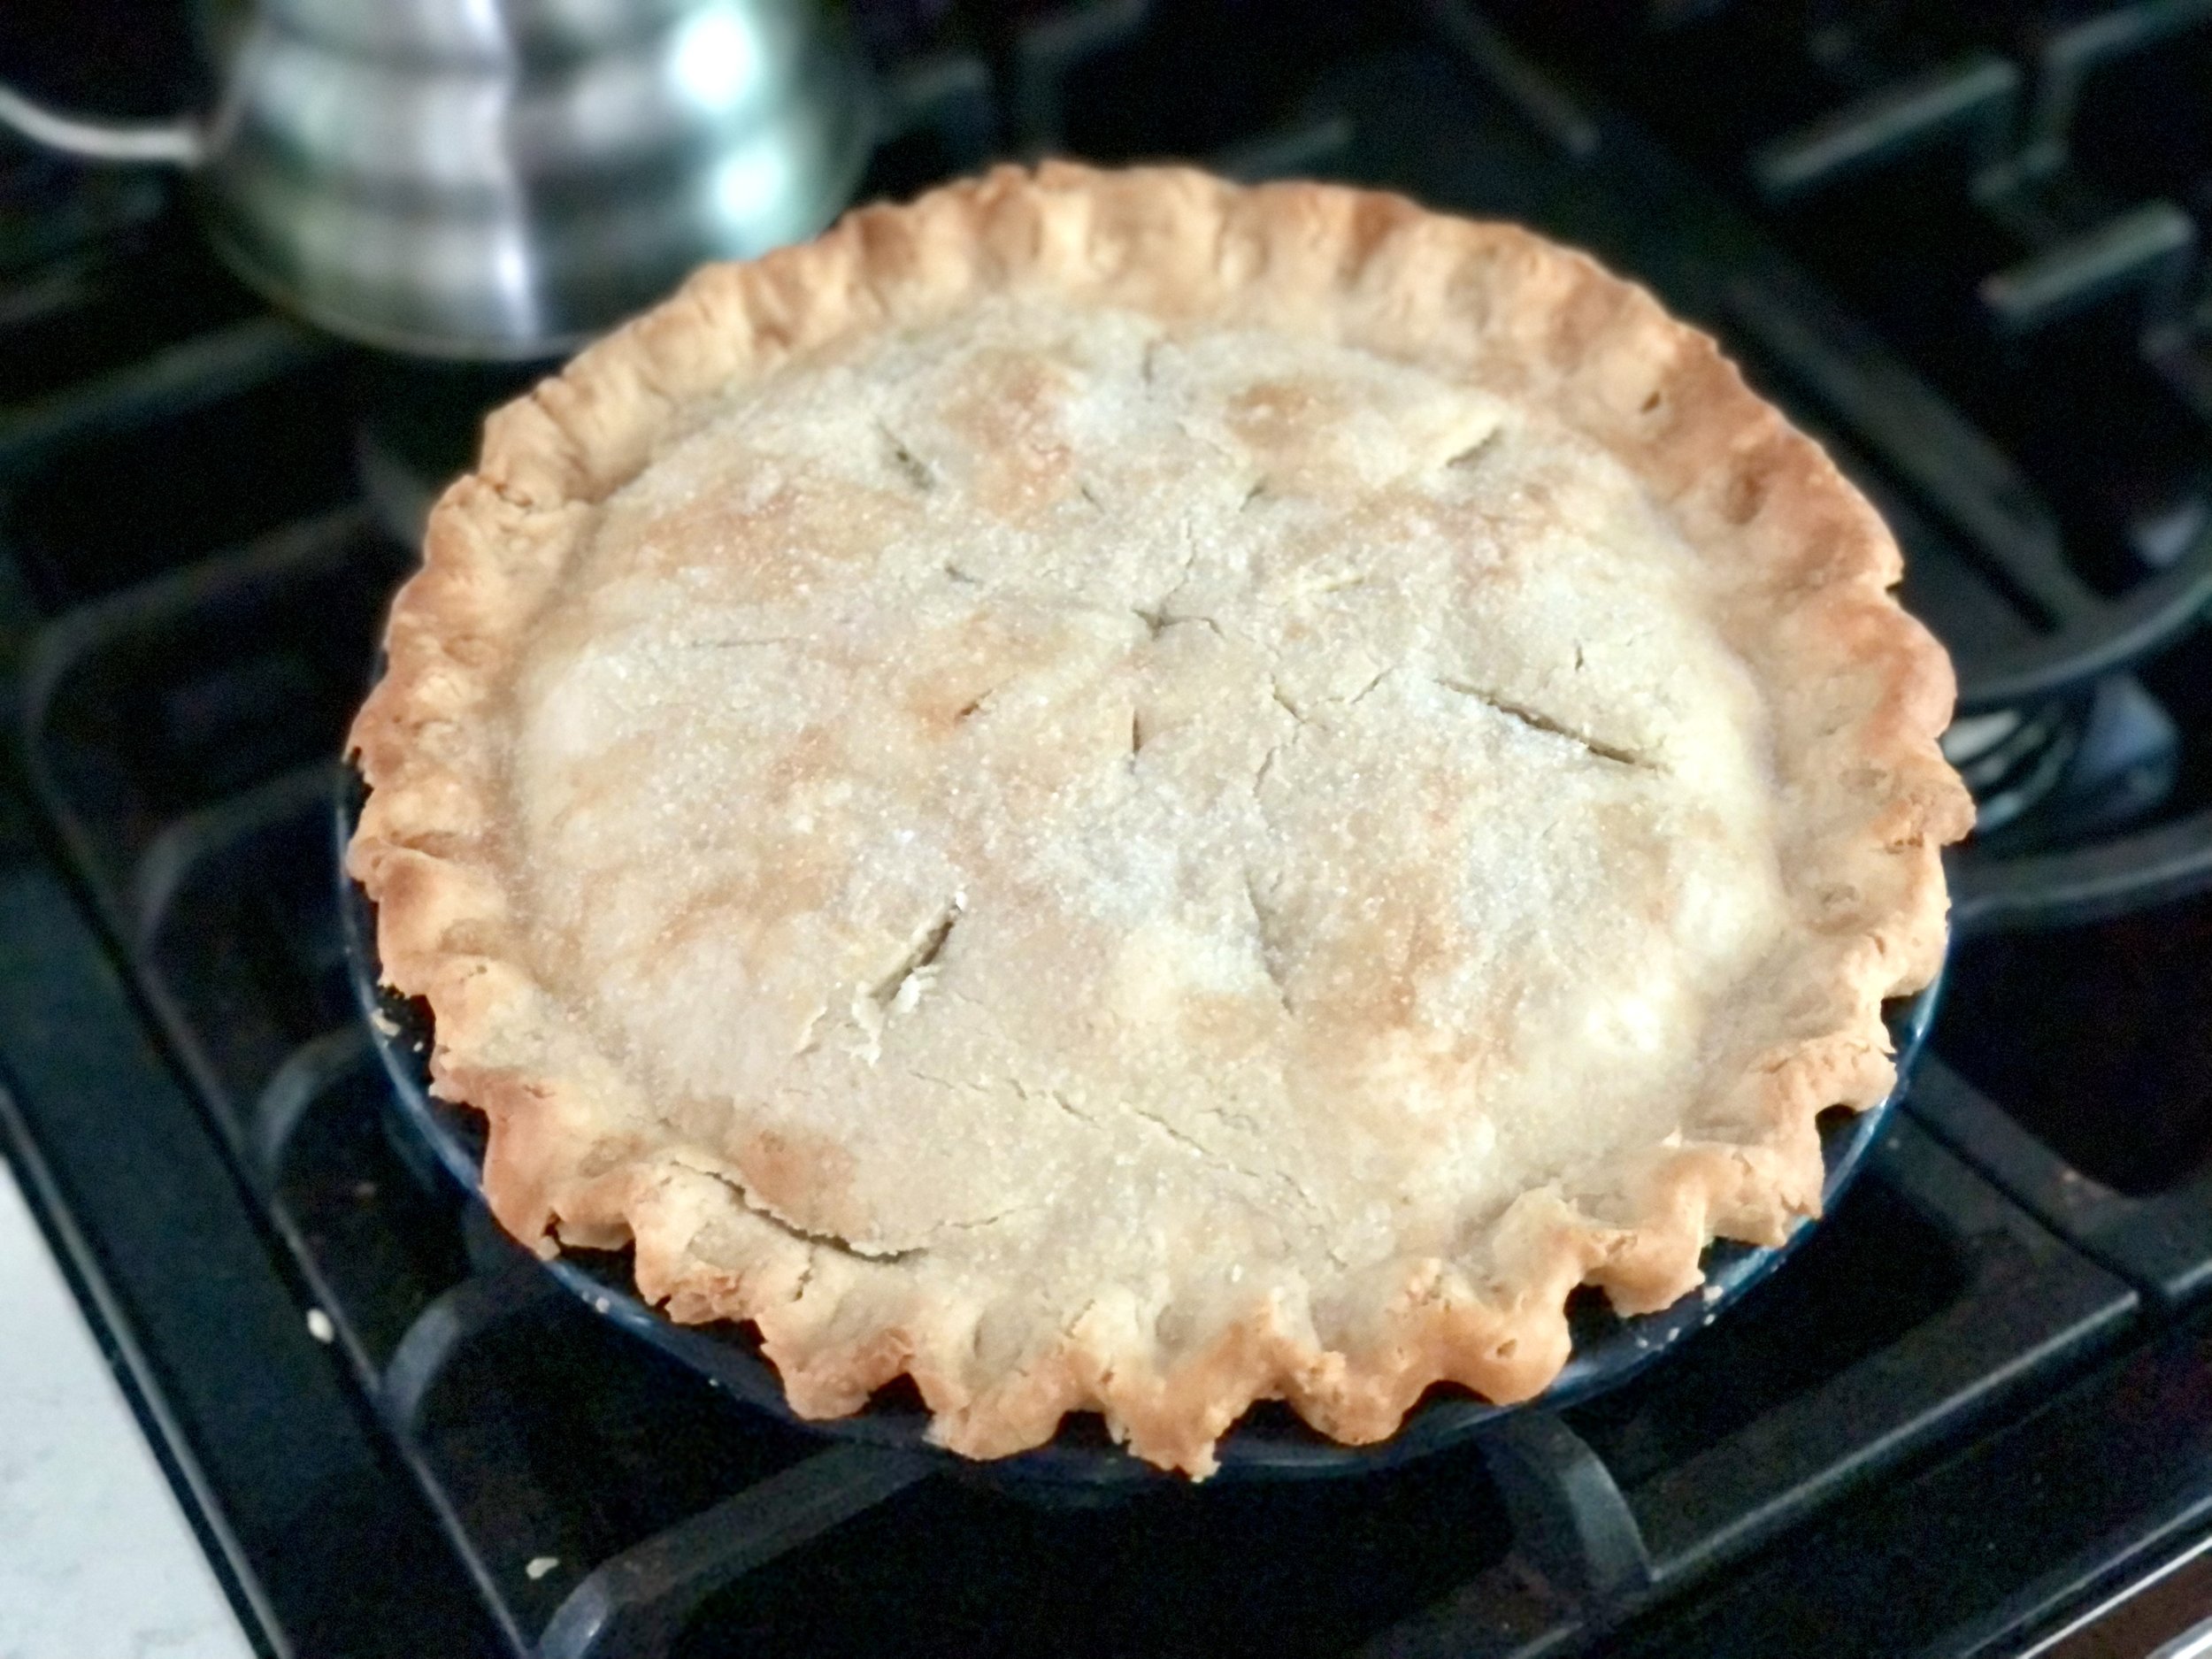
This recipe is the old-fashioned classic from my mama. The crust is one of my favorite traditional pie crust recipes, simple and can be made ahead of time if needed. It uses butter instead of shortening, which in my mind is a bit of a compromise between shortening or lard (which most people and bakeries use to make tender and flaky crusts but it’s also horrendous for your health and has no taste if it’s not artificially flavored.) and oil, which my mom has always used because oil can actually be good for you, although it makes for the trickiest to handle and often um, hardier pie crusts. So I use butter, which tastes wonderful and makes the crust easy enough to work with, even if it’s not as healthy as oil.

This post may contain affiliate links. If you make a purchase using these links, Jennyblogs may receive a small commission, at no extra cost to you. This helps to support Jennyblogs. Where possible, links are prioritized to mall businesses and ethically and responsibly made items. For further information see the privacy policy. Grazie!

Recipe from my Mama


Classic Rhubarb Custard Pie

Makes one 9in / 23cm pie, about 8 servings

Ingredients:

For the Crust

For the Rhubarb Custard Filling

  • 3 eggs

  • 3 Tbsp / 45g milk

  • 1 1/2 cups / 300g granulated sugar

  • 1/4 cup / 30g all-purpose flour

  • 3/4 tsp nutmeg

  • 4 cups fresh rhubarb, sliced into 1/2in / 1cm chunks

Directions:

Oven 400°F / 205°C. 8 or 9 inch pie dish. 

Make the Crust

IMG_4560.jpg
  1. Prepare pie crust per recipe instructions, refrigerate until needed.

Make the Rhubarb Custard Filling

  1. Blend eggs and milk together in a large bowl.

  2. Add the flour and nutmeg to the sugar then add to the egg mixture and beat well.

  3. Add in the rhubarb and mix to coat well.

  4. Pour into prepared pie crust and add top crust.

    For a classic top pie crust, place crust on top, cut off overhang, and crimp together the edges of the top and bottom crust to seal.

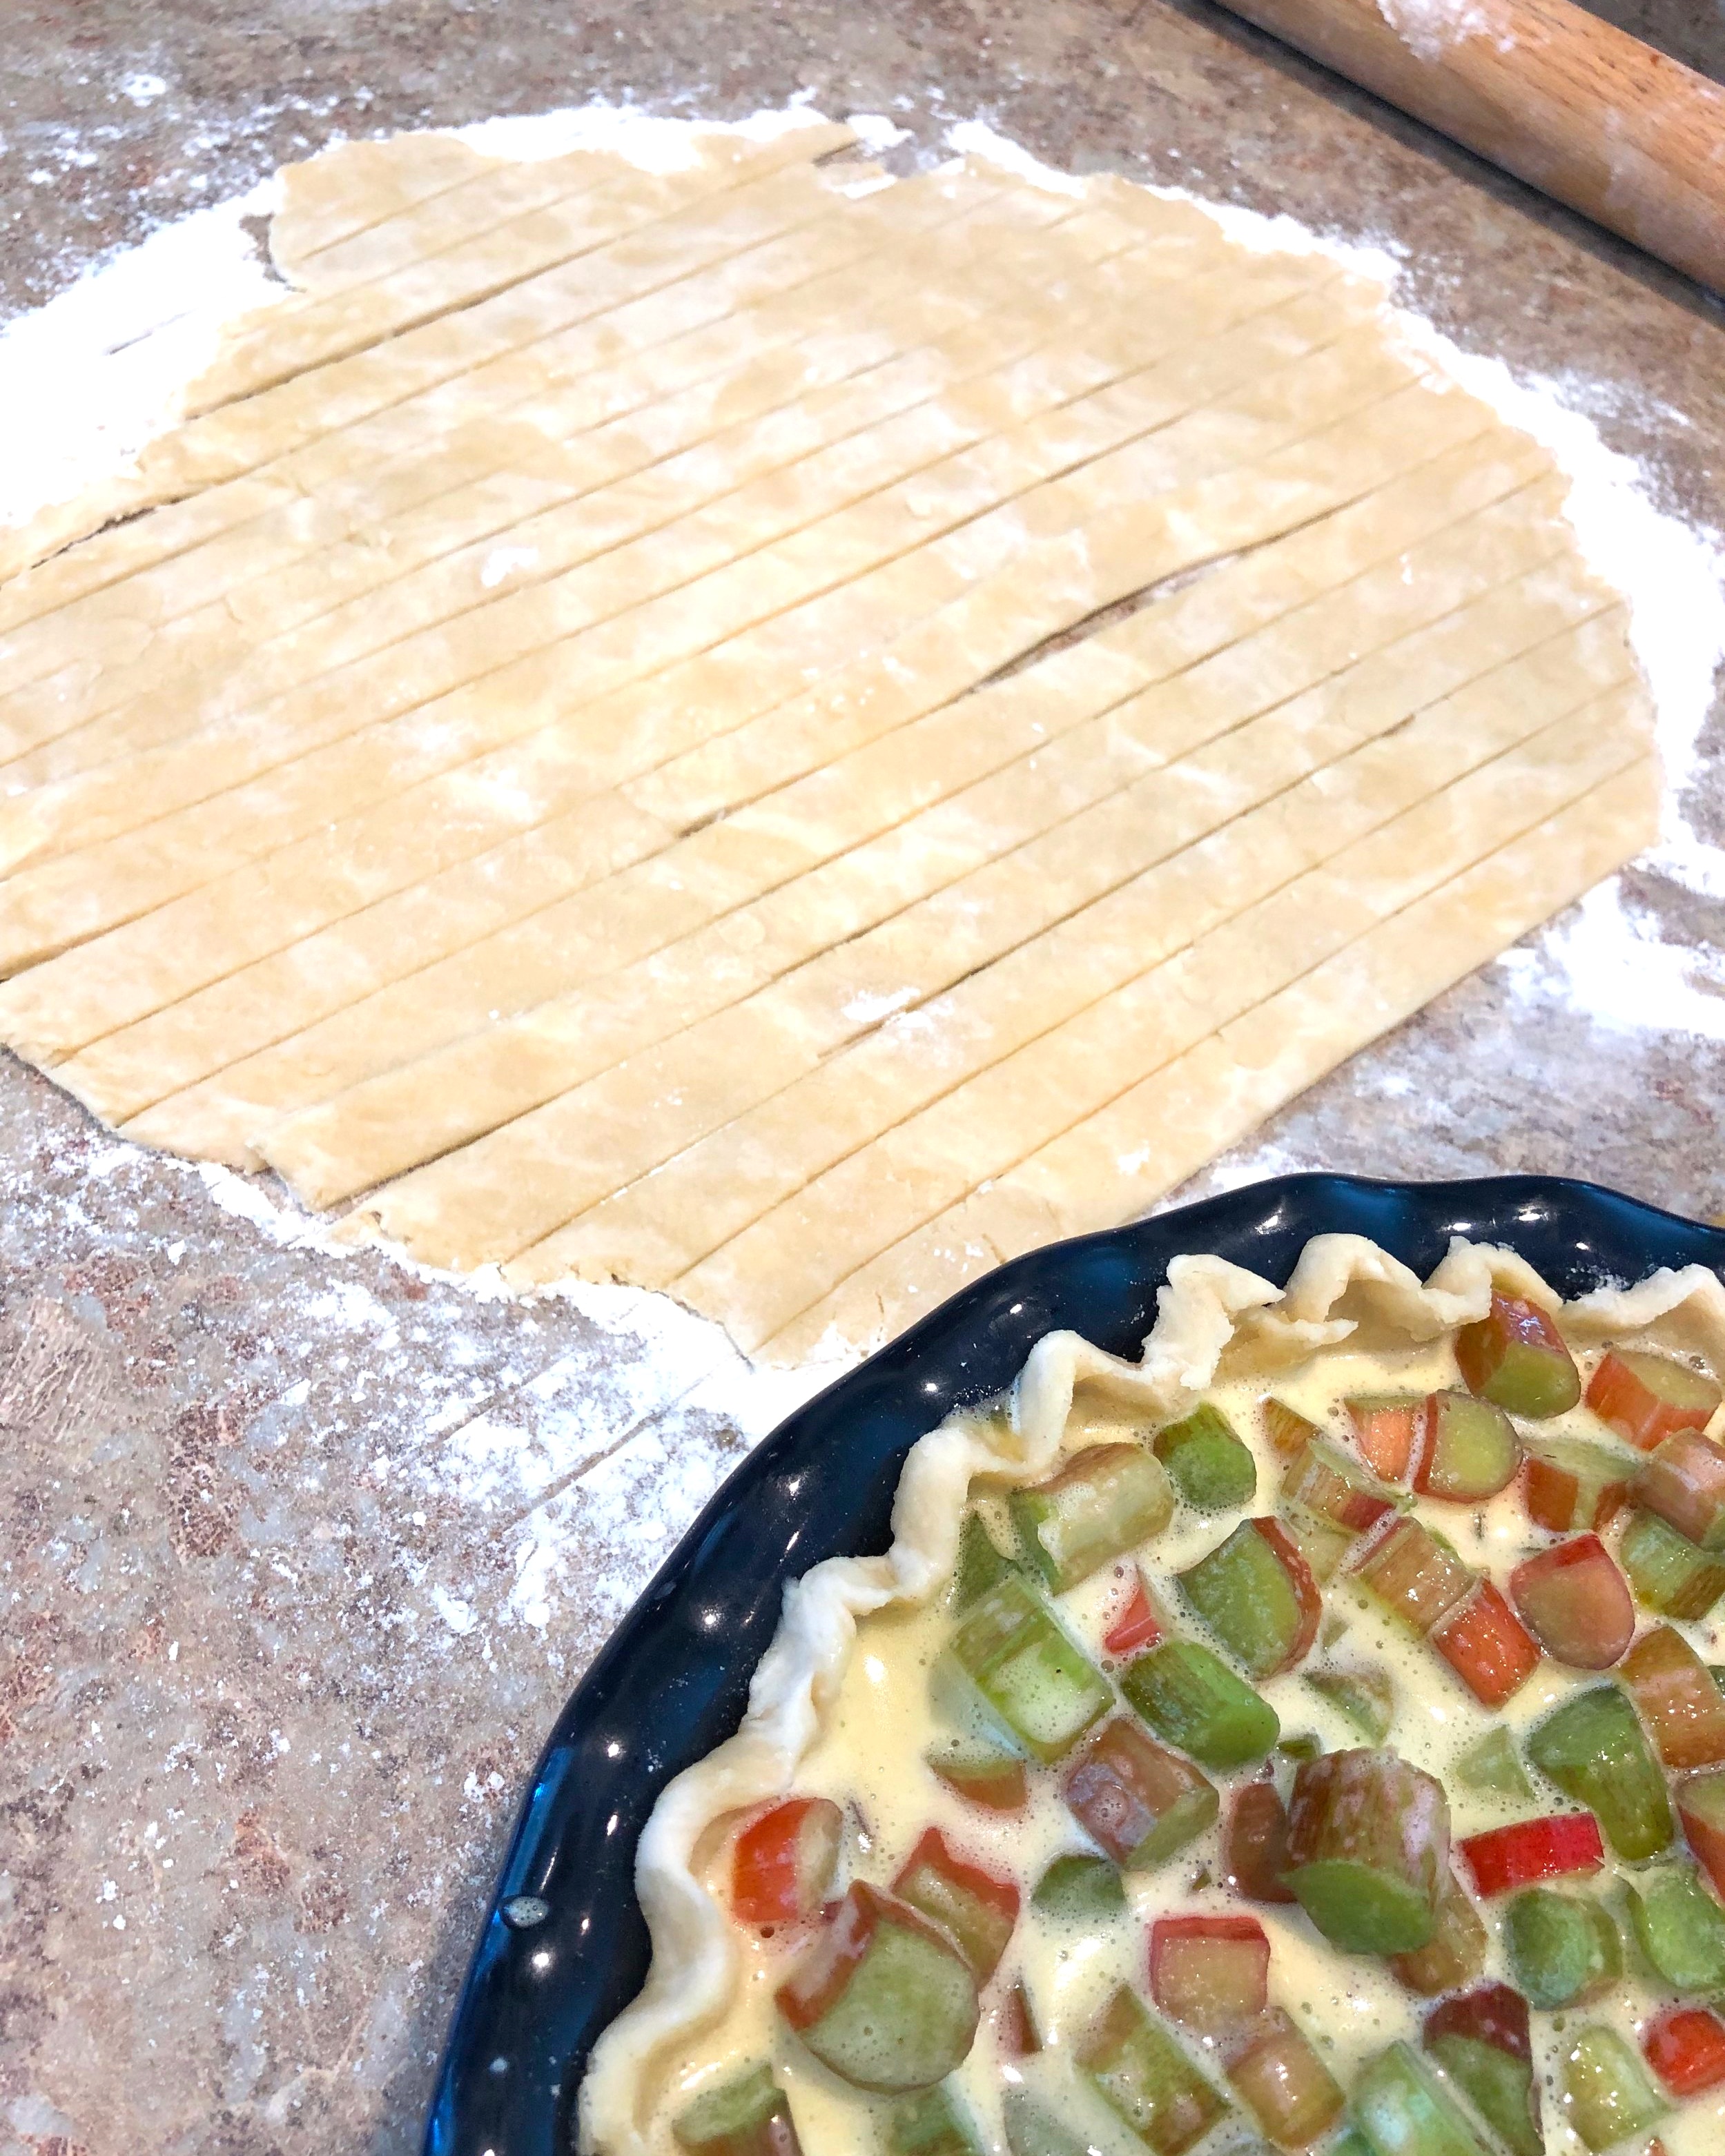
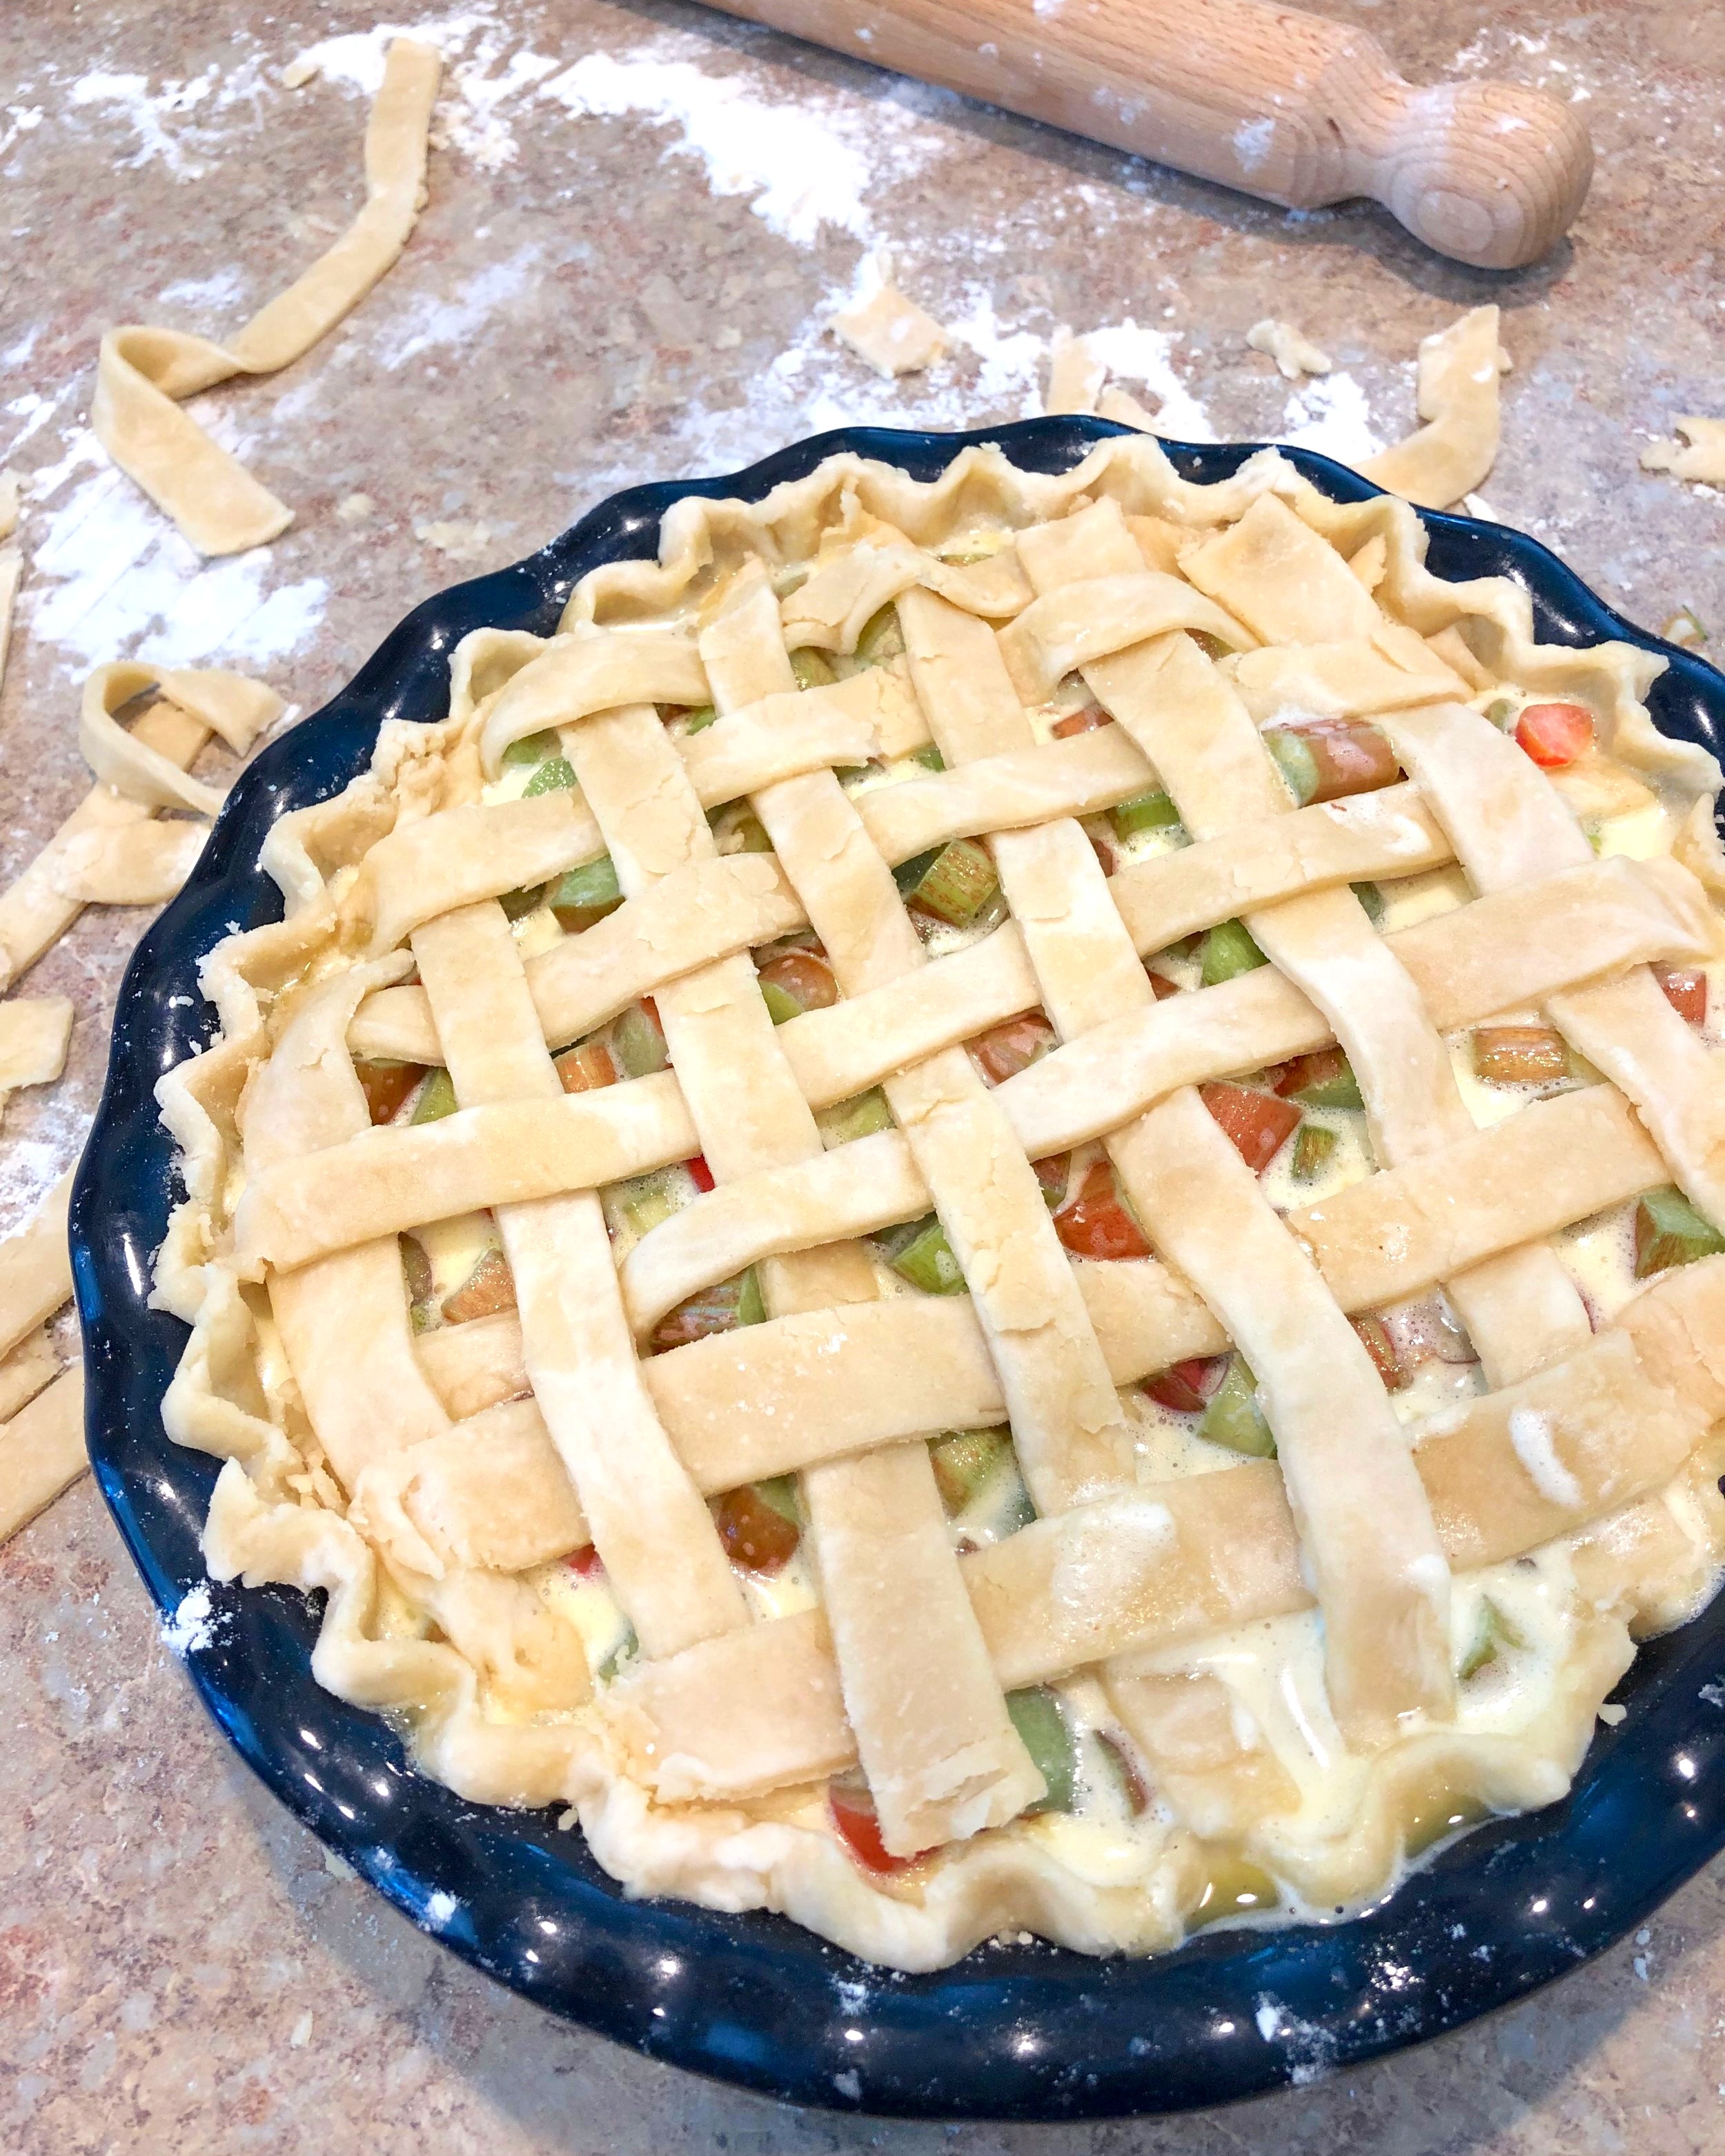
    For an interwoven lattice, start in the center of the pie and work outward, then repeat with the other half. Arrange half of the strips evenly spaced over the pie all in one direction, then flip every other strip back over itself, so half are now only covering half of the pie. Take a new strip and place it perpendicularly just in front of the folded strips. Unfold the folded strips so these ones now cover the new strip. The new strip should be under and over every other one. Working on that same half of the pie, fold back every other strip, all the ones that were NOT just folded. Take another new strip and place it evenly apart from the first perpendicular strip. Unfold the folded strips. Repeat folding back strips, placing new strip, and unfolding until you reach the edge of the pie. You may need to trim down the strips as you get closer to the edge. Repeat with other half of the pie.

    Sprinkle sugar on top, if desired.

  5. Bake pie in preheated oven for 50-60 minutes or until crust is golden brown and a knife inserted in center of pie confirms rhubarb is tender.

  6. Allow to cool completely before slicing and serving.

Jenny’s Notes:

  • If you make the crust and pie in the same day, you could make the filling while the crust is resting in the fridge for an hour or so before rolling out.

  • Instead of a traditional top pie crust or lattice you could add a streusel/crumble, delicious and definitely the easiest option of the three.

Rhubarb Custard Pie
Yield 8
Author
Prep time
1 H & 10 M
Cook time
1 Hour
Total time
2 H & 10 M

Rhubarb Custard Pie

Classic rhubarb custard pie recipe handed down from my mama. Homemade pie crust with the uniquely sweet and sour filling you can only get with rhubarb.
Cook modePrevent screen from turning off

Ingredients

For the Crust
For the Rhubarb Custard Filling

Instructions

Make the Crust
  1. Prepare pie crust per recipe instructions, refrigerate until needed.
Make the Rhubarb Custard Filling
  1. Oven 400°F / 205°C. 8 or 9 inch pie dish.
  2. Blend eggs and milk together in a large bowl.
  3. Add the flour and nutmeg to the sugar then add to the egg mixture and beat well.
  4. Add in the rhubarb and mix to coat well.
  5. Pour into prepared pie crust and add top crust.
  6. For a classic top pie crust, place crust on top, cut off overhang, and crimp together the edges of the top and bottom crust to seal. For an interwoven lattice, start in the center of the pie and work outward, then repeat with the other half. Arrange half of the strips evenly spaced over the pie all in one direction, then flip every other strip back over itself, so half are now only covering half of the pie. Take a new strip and place it perpendicularly just in front of the folded strips. Unfold the folded strips so these ones now cover the new strip. The new strip should be under and over every other one. Working on that same half of the pie, fold back every other strip, all the ones that were NOT just folded. Take another new strip and place it evenly apart from the first perpendicular strip. Unfold the folded strips. Repeat folding back strips, placing new strip, and unfolding until you reach the edge of the pie. You may need to trim down the strips as you get closer to the edge. Repeat with other half of the pie.
  7. Sprinkle sugar on top, if desired.
  8. Bake pie in preheated oven for 50-60 minutes or until crust is golden brown and a knife inserted in center of pie confirms rhubarb is tender.
  9. Allow to cool completely before slicing and serving.

Notes

If you make the crust and pie in the same day, you could make the filling while the crust is resting in the fridge for an hour or so before rolling out. Instead of a traditional top pie crust or lattice you could add a streusel/crumble, delicious and definitely the easiest option of the three.

Nutrition Facts

Calories

431.35

Fat

12.79 g

Sat. Fat

7.67 g

Carbs

74.08 g

Fiber

2.32 g

Net carbs

71.76 g

Sugar

38.25 g

Protein

6.18 g

Sodium

397.03 mg

Cholesterol

54.07 mg

Nutritional Information is approximate.

Rhubarb, custard, pie, all butter crust, oil pie crust, old fashioned
Dessert, Pie
American
Did you make this recipe?
Tag @jennyblogsandbakes on instagram and hashtag it #jennyblogs

Rhubarb Custard Pie made with an all oil crust


The Fluffiest Key Lime Pie with a Gingersnap Crust

2018-12-20 14.16.59.jpg

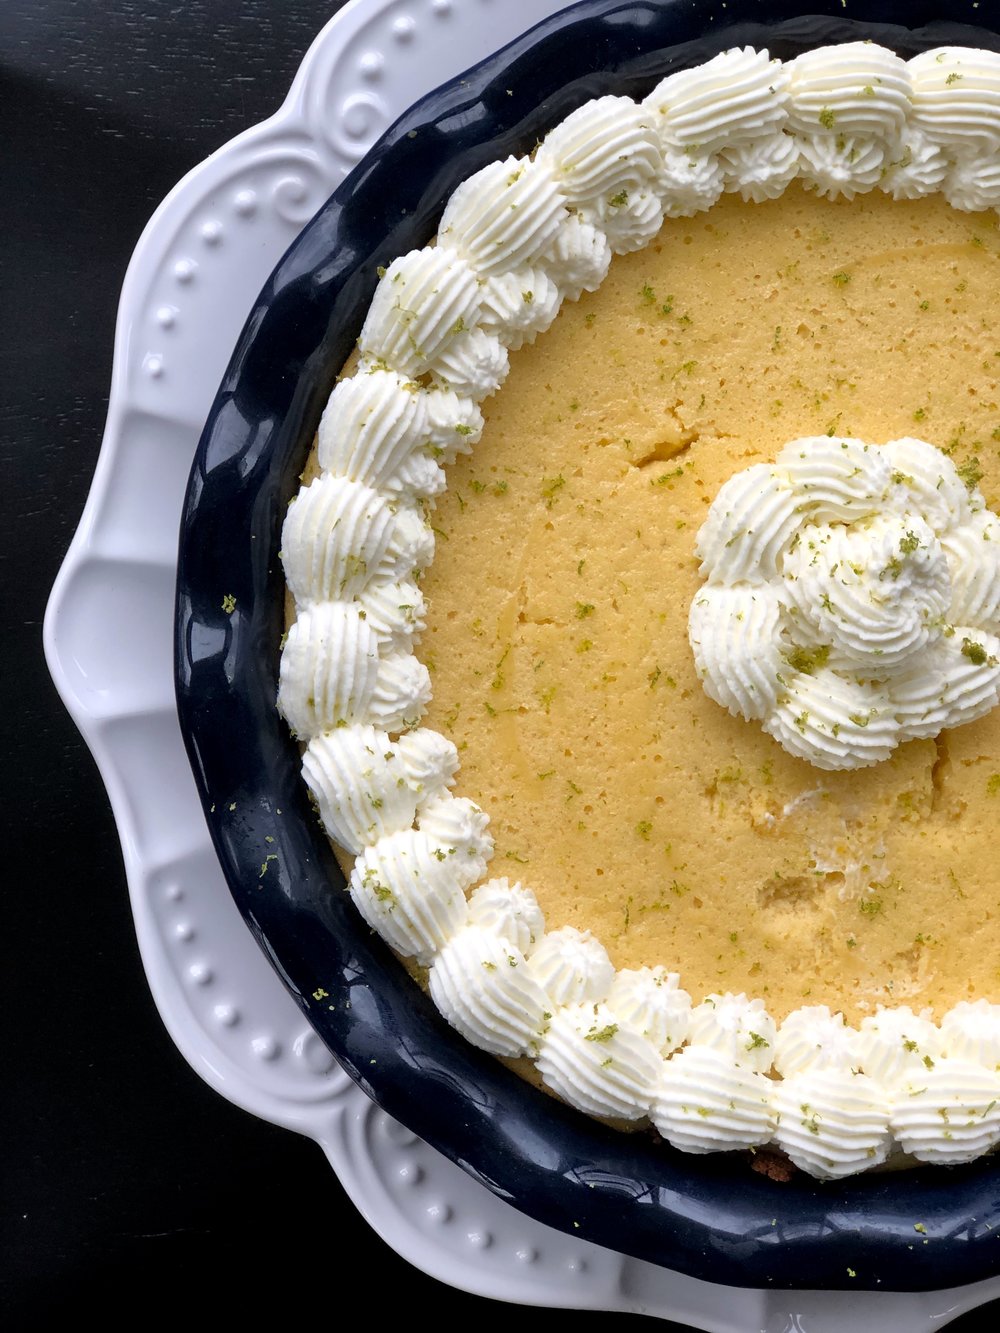
Fluffy? Isn’t key lime pie supposed to be creamy, custardy, silken? Yes! And this recipe is all of those things but with a special touch of fluffiness, thanks to our friends the egg whites. Whipped egg whites. It’s magical. And with Easter just around the corner, this is the perfect dessert to celebrate with! I even gave you two weeks time to plan ahead, aren't I nice?

I don’t know why I always want to make citrus desserts for Easter, maybe because it’s always in the spring. And in the spring everything is coming alive, the rebirth of nature, and calls for bright, happy citrus flavors. You can’t call citrus sad. And what is Easter but the celebration of the resurrection of Jesus, giving those who believe on Him new life? The celebration of rebirth. It all fits. Not to mention if you observe Lent, getting to eat what you gave up for 6 weeks is lovely.

And whether you have a big Easter meal planned or not, you’re going to want to make this pie. And if you’ve never made key lime pie before? This is not a bad place to start. Just be warned that other key lime pies after this one might be…tame.

This post may contain affiliate links. If you buy something using these links, Jennyblogs may receive a small commission, at no extra cost to you. This helps to support Jennyblogs. For further information see the privacy policy. Grazie!

Recipe adapted from the Williams-Sonoma cookbook Savoring America


The Fluffiest Key Lime Pie with a Gingersnap Crust

Serves 8-12

2018-12-20+14.27.07.jpg

Ingredients:

For the Gingersnap Crust

  • 28 gingersnaps broken into pieces, about 1 1/2in / 4cm in diameter (homemade or storebought)

  • 1/2 cup / 60g chopped pecans

  • 1 Tbsp / 15g chopped crystallized ginger

  • 1/8 tsp ground cinnamon

  • 1/4 cup / 57g butter, melted and cooled

For the Filling

  • 4 eggs, separated

  • 1/4 cup / 30g cornstarch

  • 1/2 cup / 100g sugar

  • 1 14oz can / 440g sweetened condensed milk, make it homemade here

  • 1/2 cup / 118g key lime juice

  • 2 Tbsp / 12g freshly grated key lime zest

  • 1/2 tsp cream of tartar

  • 1 tsp vanilla extract

For the Topping and Garnish

  • 1 cup / 237g heavy whipping cream

  • 1/3 cup / 42g confectioner’s sugar

  • 1/8 tsp almond extract

  • thin key lime slices or lime zest, optional

Directions:

Oven 350°F / 177°C. Lightly grease a 9in / 23cm pie dish.

Make the Gingersnap Crust

  1. In a food processor, combine the gingersnaps, pecans, ginger, and cinnamon. Pulse until everything is finely ground in crumbs. Add the butter and pulse briefly until the crumbs are evenly moistened.

  2. Press evenly into the bottom and up the sides of the prepared pie dish. Bake in the preheated oven for 10 minutes or until fragrant and lightly browned. (This can be hard to see because of the dark color of the gingersnaps.) Allow to cool.

Make the Filling

  1. In the bowl of a stand mixer fitted with the whisk attachment, beat 2 egg whites and the cream of tartar on high speed until soft peaks form and can hold their shape, about 1-2 minutes. Beat in the vanilla and scrape the egg whites into a small bowl; set aside.

  2. In the bowl of the stand mixer (no need to clean it), beat on medium-high speed the egg yolks, 2 remaining egg whites, cornstarch, sugar, and sweetened condensed milk until light and fluffy, about 5 minutes. Add lime juice and zest and beat until smooth.

  3. Gently fold 1/3 of the egg white mixture into the lime mixture to lighten. Add the rest of the egg whites and fold just until combined.

  4. Pour the filling into the cooled pie crust, smooth the top with a spatula. Bake until just firm, about 20 minutes. To test for firmness, jiggle the dish slightly. When the center jiggles just slightly, it’s ready.

  5. Cool completely, then cover and refrigerate for at least 4 hours or overnight.

Make the Topping

  1. In the bowl of a stand mixer, beat the heavy whipping cream on medium speed. As it starts to thicken (and will no longer splatter) increase the speed to high. Add the powdered sugar and almond extract. Continue beating until firm peaks form, about 2-4 minutes total.

  2. Spoon whipped cream over pie or use a piping bag and tips to decorate. Garnish with lime slices/and or zest. Serve immediately or refrigerate.

Jenny’s Notes:

  • The crust can be made without the pecans and/or ginger, if you’re like me and sometimes feel too lazy to chop things!

  • Freshly squeezed key lime juice is best, but if you’ve ever used real key limes you’ll know that getting half a cup can be a real labor of love. Those things can be tiny! Hand cramp hand cramp hand cramp. And just when you think you’re there, you realize you’ve only squeezed 1 Tbsp worth. So, I gladly buy bottled key lime juice.

  • If you can’t find fresh key limes or juice, use limes! And I suppose, lemons if you’re in a pinch. Lemon pies are good too! Same goes for the zest.

  • No food processor handy? Do it the old fashioned way and stick the cookies in a resealable plastic bag and whack and roll with a rolling pin. The pecans and ginger can be finely chopped by hand.

The Fluffiest Key Lime Pie with a Gingersnap Crust
Yield 8-12 servings
Author
Prep time
50 Min
Cook time
30 Min
Total time
1 H & 20 M

The Fluffiest Key Lime Pie with a Gingersnap Crust

Classic key lime pie with a twist. Tart filling made extra light and fluffy by whipping the egg whites, a spicy gingersnap crust, and fresh whipped cream.
Cook modePrevent screen from turning off

Ingredients

For the Gingersnap Crust
For the Filling
For the Topping and Garnish

Instructions

Make the Gingersnap Crust
  1. Oven 350°F / 177°C. Lightly greased 9in / 23cm pie dish.
  2. In a food processor, combine the gingersnaps, pecans, ginger, and cinnamon. Pulse until everything is finely ground in crumbs. Add the butter and pulse briefly until the crumbs are evenly moistened.
  3. Press evenly into the bottom and up the sides of the prepared pie dish. Bake in the preheated oven for 10 minutes or until fragrant and lightly browned. (This can be hard to see because of the dark color of the gingersnaps.) Allow to cool.
Make the Filling
  1. In the bowl of a stand mixer fitted with the whisk attachment, beat 2 egg whites and the cream of tartar on high speed until soft peaks form, about 1-2 minutes. Beat in the vanilla and scrape the egg whites into a small bowl; set aside.
  2. In the bowl of the stand mixer (don’t worry about cleaning it), beat on medium-high speed the egg yolks, 2 remaining egg whites, cornstarch, sugar, and sweetened condensed milk until light and fluffy, about 5 minutes. Add the lime juice and zest and beat until smooth.
  3. Gently fold 1/3 of the egg white mixture into the lime mixture to lighten. Add the rest of the egg whites and fold just until combined.
  4. Pour the filling into the cooled pie crust, smooth the top with a spatula. Bake until just firm, about 20 minutes. To test for firmness, jiggle the dish slightly. When the center jiggles just slightly, it’s ready.
  5. Cool completely, then cover and refrigerate for at least 4 hours or overnight.
Make the Topping
  1. In the bowl of a stand mixer, beat the heavy whipping cream on medium speed. As it starts to thicken (and will no longer splatter) increase the speed to high. Add the powdered sugar and almond extract. Continue beating until stiff peaks form, about 2-4 minutes total.
  2. Spoon whipped cream over pie or use a piping bag and tips to decorate. Garnish with lime slices/and or zest. Serve immediately or refrigerate.

Notes

The crust can be made without the pecans and/or ginger, if you’re like me and sometimes feel too lazy to chop things! Freshly squeezed key lime juice is best, but if you’ve ever used real key limes you’ll know that getting half a cup can be a real labor of love. Those things can be tiny! Hand cramp hand cramp hand cramp. And just when you think you’re there, you realize you’ve only squeezed 1 Tbsp worth. So, I gladly buy bottled key lime juice. If you can’t find fresh key limes or juice, use limes! And I suppose, lemons if you’re in a pinch. Lemon pies are good too! Same goes for the zest. No food processor handy? Do it the old fashioned way and stick the cookies in a resealable plastic bag and whack and roll with a rolling pin. The pecans and ginger can be finely chopped by hand.

Nutrition Facts

Calories

590.80

Fat

29.69 g

Sat. Fat

14.77 g

Carbs

76.33 g

Fiber

1.88 g

Net carbs

74.45 g

Sugar

55.81 g

Protein

8.28 g

Sodium

256.68 mg

Cholesterol

90.75 mg

Nutritional information is approximate. Based on 8 servings.

key lime pie, gingersnap crust, fluffy pie, whipped cream
Dessert, Pie
American
Did you make this recipe?
Tag @jennyblogsandbakes on instagram and hashtag it #jennyblogs
2018-12-20 14.14.52-2.jpg

Fresh Peach Cobbler

IMG_4958.jpg

Last Updated August 11, 2024

I was really tempted to write, The BEST peach cobbler, because, I've never met a better one, but titles with such descriptives usually drive me away.  I try to call it like it is, and this is a peach cobbler, if I know anything. I get a bit tired of seeing THE BEST everything, ya know? Only one can be right, and the rest are...full of themselves? Fudging? Just trying to get more clicks? All of the above?  

However, in my opinion, this is the best.  Why?  Because it's my mom's peach cobbler.  If you have the privilege of knowing my mom, then I need go no further.  However, if you don't, all you need to know is, she's the greatest, and she knows her way around the kitchen.  I think mom's are born knowing stuff like this.  

Summer is all about picking the fresh produce, eating it, baking with it, and canning with it so you can enjoy the bounty of summer even in the winter months.  Of course, nothing beats fresh food, so I think making as many fruity and vegetable-y dishes as you and your family and friends and neighbors and dog and strangers walking by can eat.  

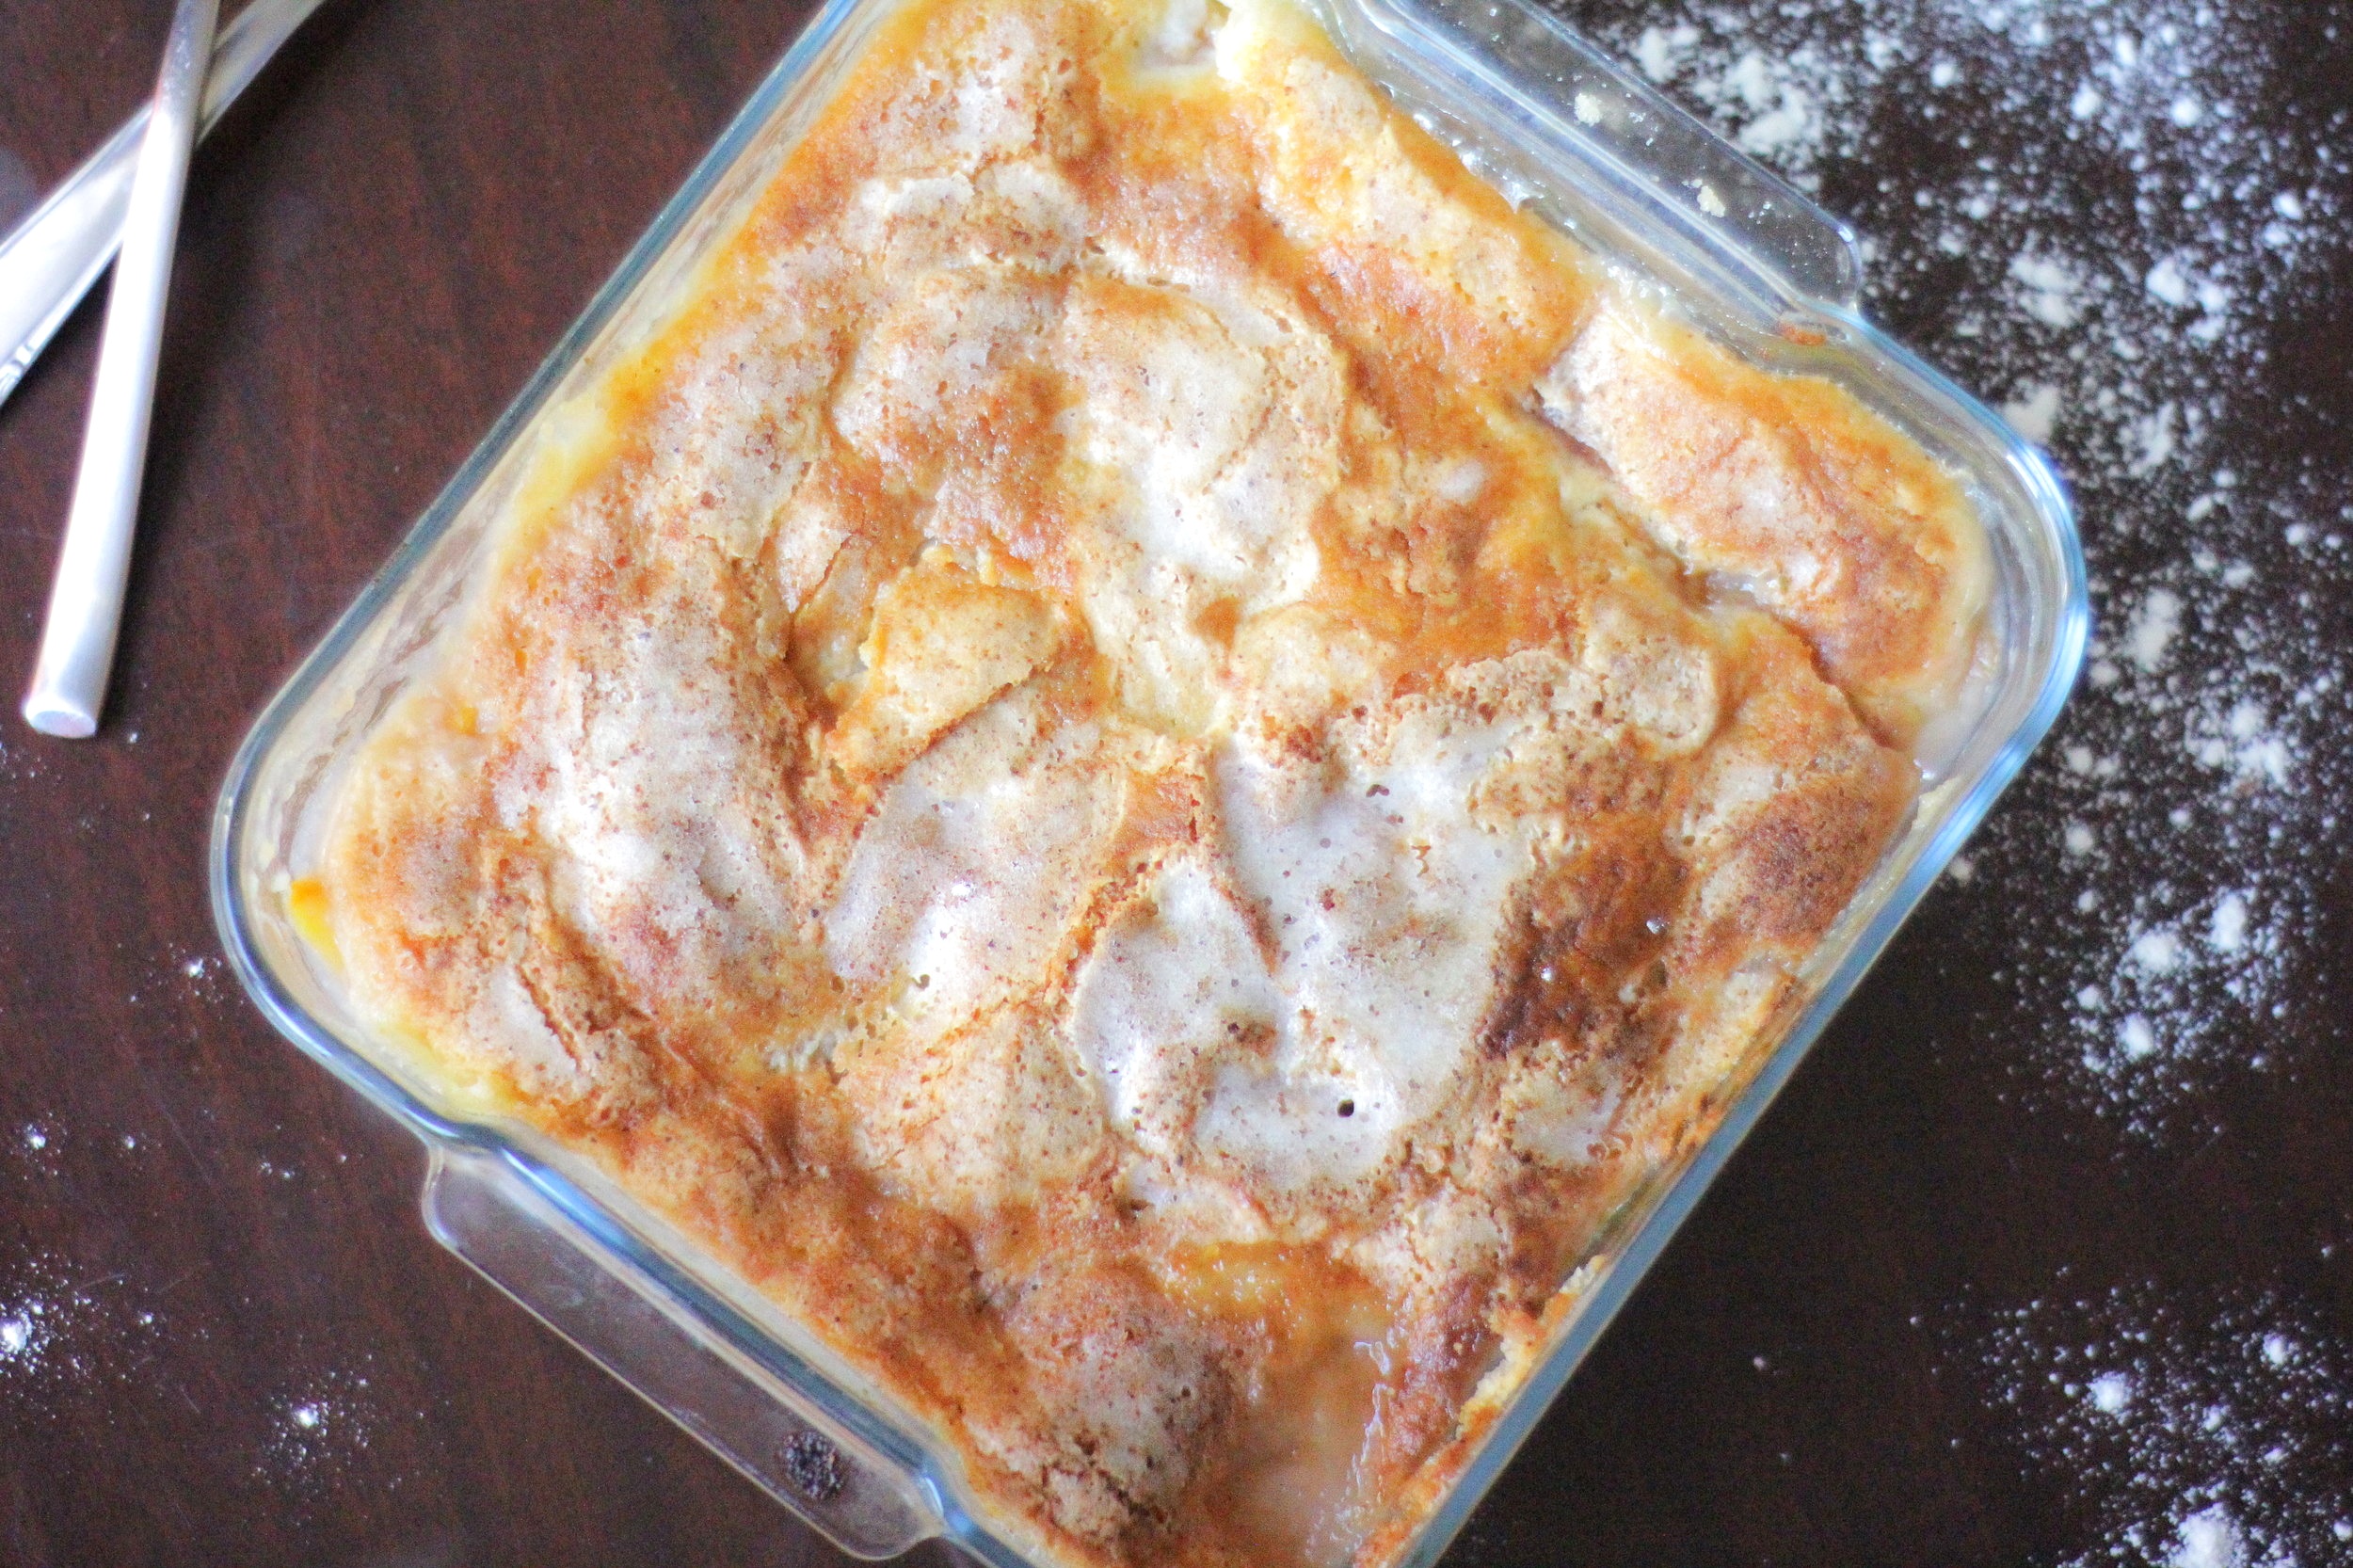
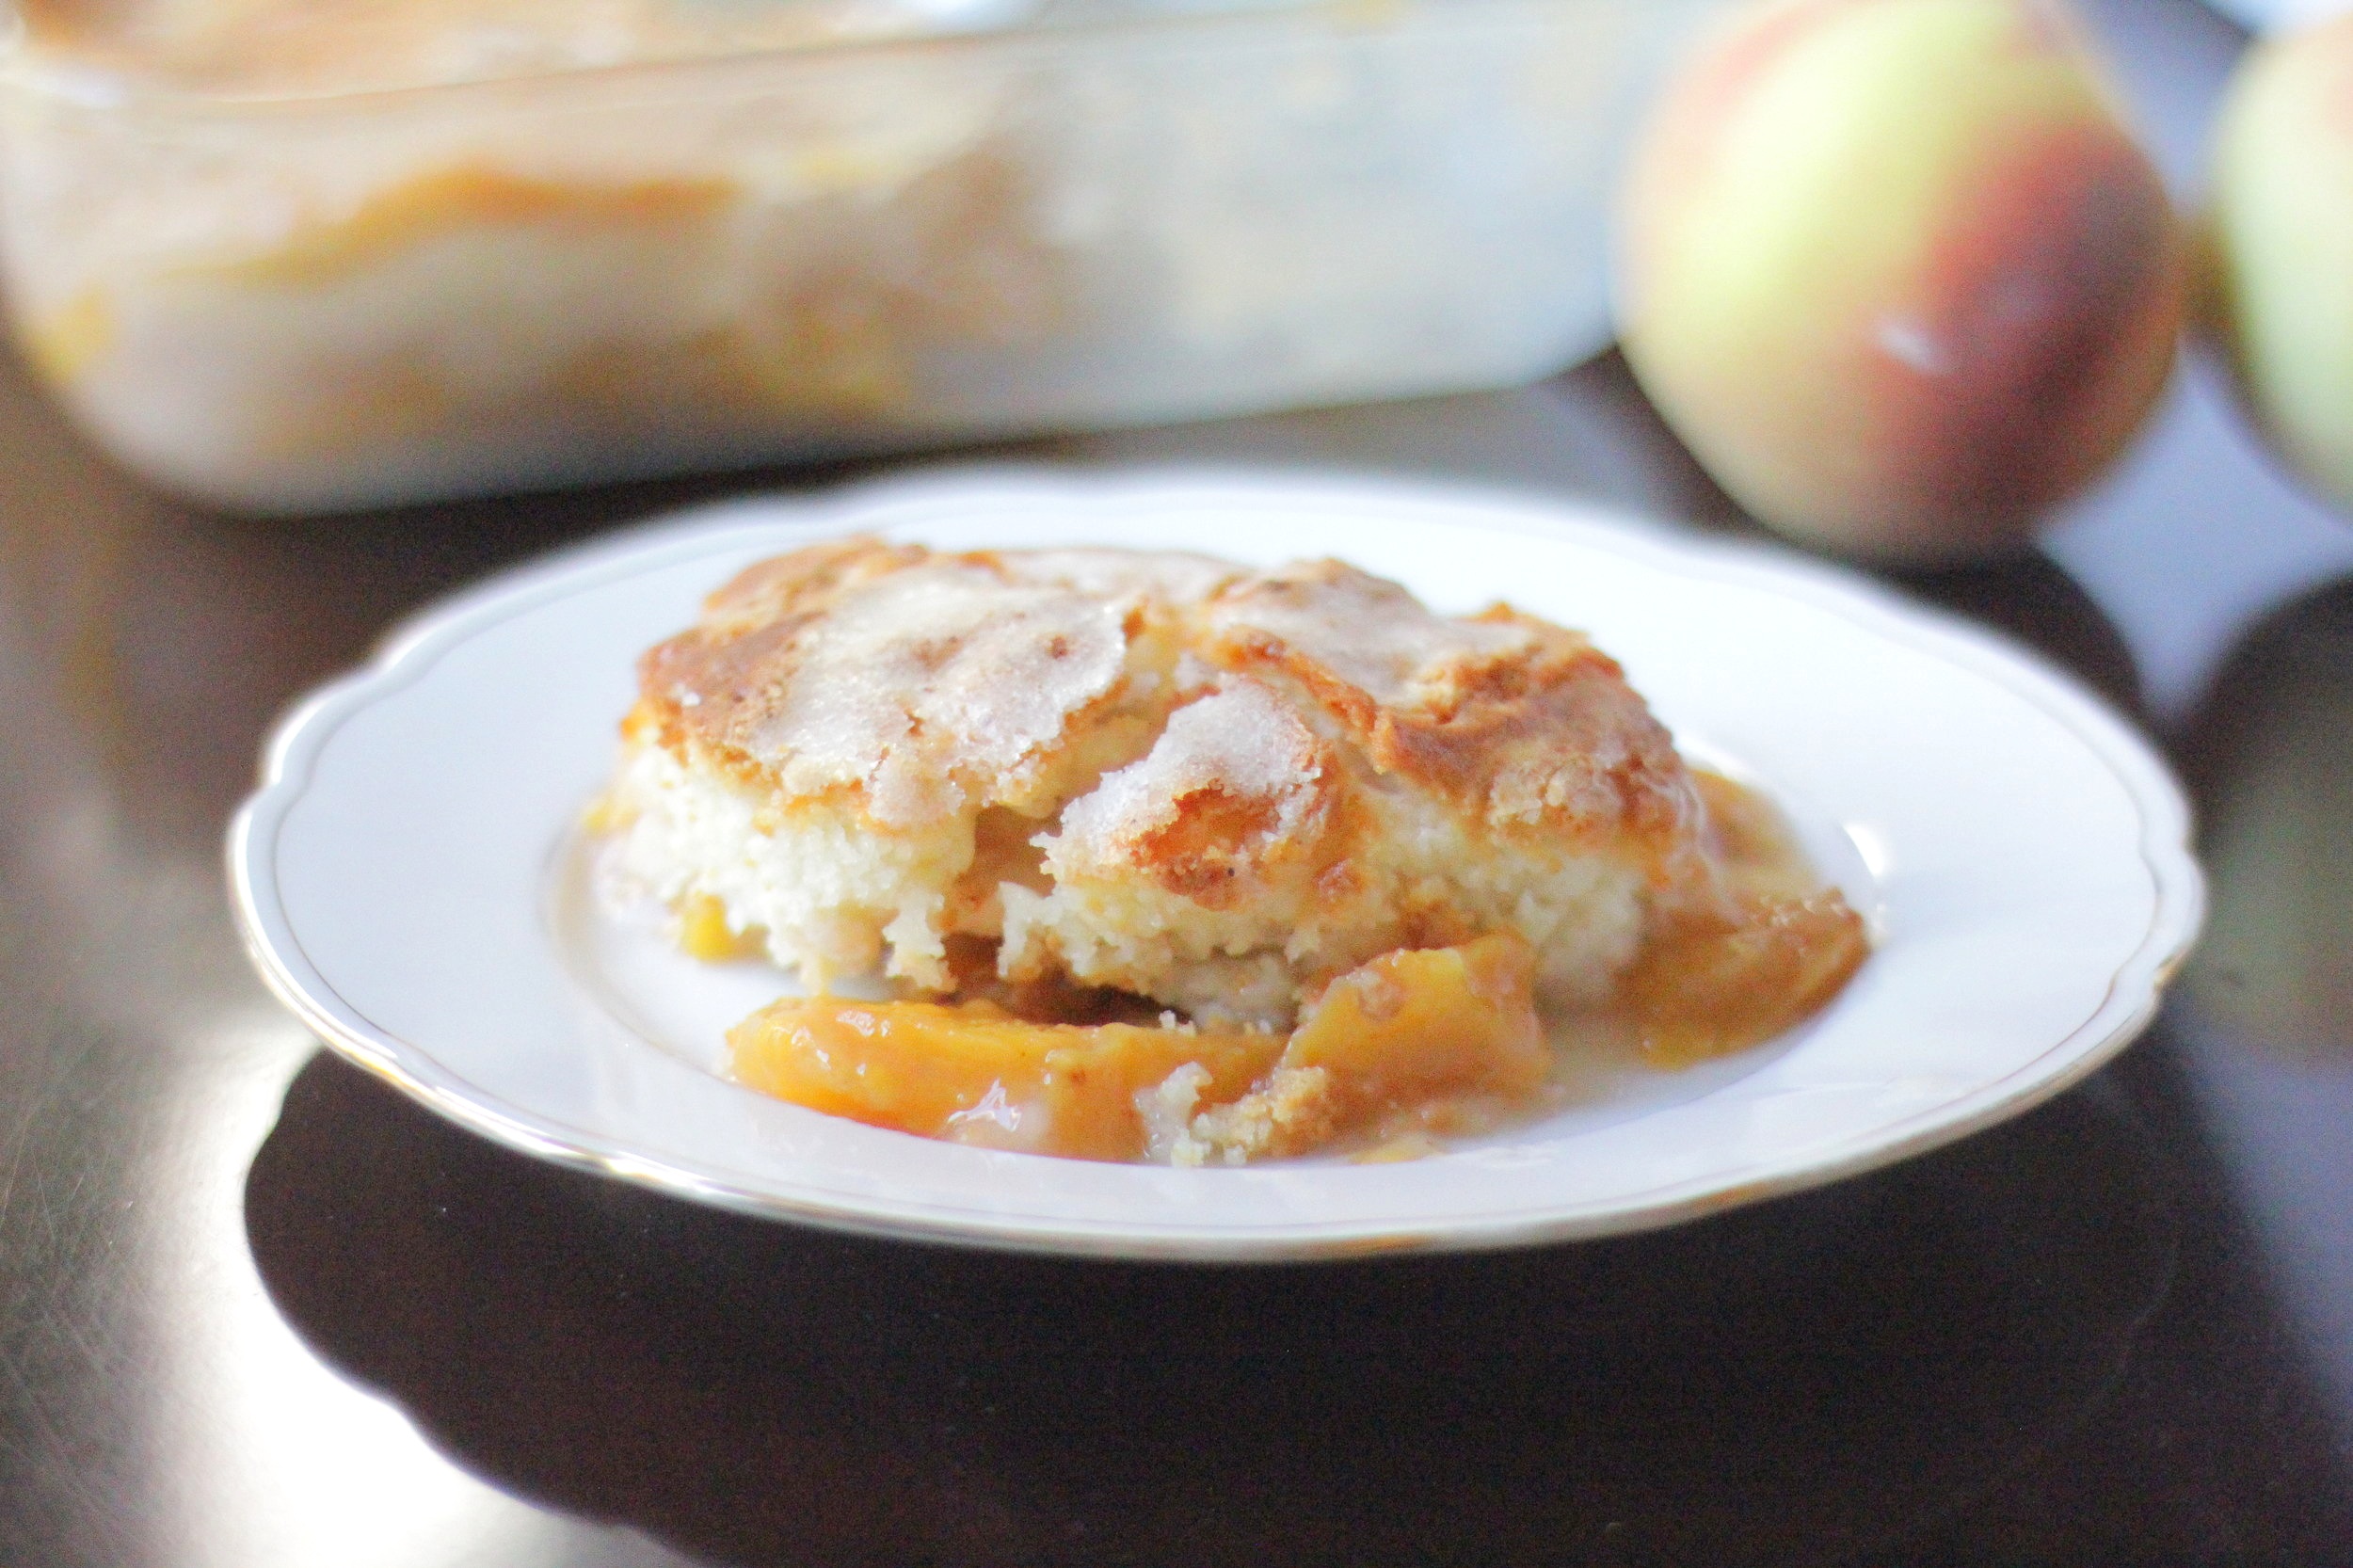
As a last adieu to summer, before the recipes start reflecting fall, here is the recipe for The. Best. Peach Cobbler.  In all its simplicity and flavors of summer.  

Tips for Blanching Peaches

The amount of time needed to blanch peaches largely depends on how ripe your fruit is. The more ripe, the less time it will need to be blanched.

  • For very ripe, even over-ripe peaches, blanch for 30-45 seconds. For more perfectly ripe peaches, about 1 minute is good.

  • Sightly under-ripe peaches, 1-2 minutes. Keep in mind that under-ripe peaches, no matter how well you blanch them, will be hard to peel.

A successful peach blanching has the peach skins slopping off easily, without the peach itself having gotten too mushy.

The best method for peeling and slicing blanched peaches that I learned from my mom is as follows: Slice peach in half, you can use your knife to gently pry one half of the peach off the pit. Then peel/slop off skin. Continue to slice into wedges. A ripe peach should come off the pit easily, but if it doesn’t, you can cut it into quarters while still attached to the pit. Smaller pieces will be easier to pry of the pit, if necessary.

This post may contain affiliate links. If you buy something using these links, Jennyblogs may receive a small commission, at no extra cost to you. This helps to support Jennyblogs. For further information see the privacy policy. Grazie!

Recipe from my mama, who has made this since I can remember.


Peach Cobbler

Serves about 6 

IMG_4943.jpg

Ingredients:

  • 4 large ripe peaches

  • 1/8 tsp nutmeg, for sprinkling, optional

  • 1 1/4 cups / 250g sugar

  • 3 Tbsp / 42g oil

  • 1/2 cup / 119g milk

  • 1 cup / 120g all-purpose flour

  • 1 tsp / 5g baking powder

  • dash of salt

  • 1 tsp / 3g cornstarch

  • 1 cup / 237g boiling water

Directions:

Oven 375°F / 190°C.     Ungreased 8x8in / 20x20cm baking dish.

Blanch the Peaches

IMG_4959.jpg
  1. Place a large pot of water on the stove and bring to a boil.  While waiting for water to boil, prepare a large bowl of cold/ice water.  

  2. Once water is boiling, carefully place all peaches into the water and blanch (cook briefly in boiling water) for about 1 minute.  Remove from water with a slotted spoon or tongs and immediately dunk in ice water to stop the cooking.  

  3. Peel and slice peaches; place in bottom of baking dish. Sprinkle with nutmeg.

Make the Cobbler

  1. In the bowl of a stand mixer, combine oil and  3/4 cup / 150g of the sugar.  Add milk, flour, baking powder, and salt.  Mix well. Mixture will be thin. Dollop the batter by spoonful over the peaches.

  2. In a small bowl, mix together the remaining 1/2 cup / 100g sugar with cornstarch.  Sprinkle evenly over batter in the baking dish.  

  3. Finally, pour boiling water over top.  Bake for 45-60 minutes, or until the sides are bubbling and the cobbler topping no longer looks doughy.  

  4. Serve warm with a dollop of vanilla ice cream, if desired.

IMG_4941.jpg

Jenny's Notes:

  • The amount of time needed to blanch peaches depends largely on how ripe they are. Very ripe peaches need just 30-45 seconds, perfectly ripe peaches need around 1 minute.

  • This recipe is adapted for a 8x8in pan, perfect for a small crowd. Or 1 person. But this is easily doubled for a 9x13in, and then there's enough to go around. Yay! If doubling, blanch the peaches in two batches if you don’t have a big enough pan.

  • Skin not coming easily off your peaches? Could be they weren't quite ripe enough. If they're mushy, could be your peaches were overripe or blanched slightly too long.

  • Have a different favorite fruit? Go ahead and use it in place of the peaches! This cobbler is very versatile.

  • You can use butter in place of oil. I learned from my mom to often use oil in the place of butter simply because of the healthier mono and poly unsaturated fats, versus the mostly saturated fats in butter. Just be aware of what kind of oil you use if you decide to go the "healthier" route, as not all oils are made equally.

Peach Cobbler
Yield 6 servings
Author
Prep time
45 Min
Cook time
1 Hour
Total time
1 H & 45 M

Peach Cobbler

A classic summer dessert bursting with fresh peaches and topped with a soft and sugary-crusted cobbler topping, all with a hint of nutmeg.
Cook modePrevent screen from turning off

Ingredients

Instructions

Blanch the Peaches
  1. Place a large pot of water on the stove and bring to a boil. While waiting for water to boil, prepare a large bowl of cold/ice water.
  2. Once water is boiling, carefully place all peaches into the water and blanch (cook briefly in boiling water) for about 1 minute. Remove from water with a slotted spoon or tongs and immediately dunk in ice water to stop the cooking.
  3. Peel and slice peaches; place in bottom of baking dish. Sprinkle with nutmeg.
Make the Cobbler
  1. In the bowl of a stand mixer, combine oil and 3/4 cup / 150g of the sugar. Add milk, flour, baking powder, and salt. Mix well. Mixture will be thin. Dollop the batter by spoonful over the peaches.
  2. In a small bowl, mix together the remaining 1/2 cup / 100g sugar with cornstarch. Sprinkle evenly over batter in the baking dish.
  3. Finally, pour boiling water over top. Bake for 45-60 minutes, or until the sides are bubbling and the cobbler topping no longer looks doughy.
  4. Serve warm with a dollop of vanilla ice cream, if desired.

Notes

  • The amount of time needed to blanch peaches depends largely on how ripe they are. Very ripe peaches need just 30-45 seconds, perfectly ripe peaches need around 1 minute.
  • This recipe is adapted for a 8x8in pan, perfect for a small crowd. Or 1 person. But this is easily doubled for a 9x13in, and then there's enough to go around. Yay! If doubling, blanch the peaches in two batches if you don’t have a big enough pan.
  • Skin not coming easily off your peaches? Could be they weren't quite ripe enough. If they're mushy, could be your peaches were overripe or blanched slightly too long.
  • Have a different favorite fruit? Go ahead and use it in place of the peaches! This cobbler is very versatile.
  • You can use butter in place of oil. I learned from my mom to often use oil in the place of butter simply because of the healthier mono and poly unsaturated fats, versus the mostly saturated fats in butter. Just be aware of what kind of oil you use if you decide to go the "healthier" route, as not all oils are made equally.

Nutrition Facts

Calories

352.11

Fat

7.68 g

Sat. Fat

0.63 g

Carbs

69.73 g

Fiber

2.30 g

Net carbs

67.43 g

Sugar

52.46 g

Protein

3.80 g

Sodium

125.34 mg

Cholesterol

0.99 mg

Nutritional information is approximate. Based on 6 servings.

peach cobbler, recipe, fresh peaches, the best peach cobbler, summer dessert, how to make peach cobbler, old-fashioned cobbler
Dessert
American
Did you make this recipe?
Tag @jennyblogsandbakes on instagram and hashtag it #jennyblogs
IMG_4952.jpg

Refrigerator Dill Pickles

Last Updated August 11, 2024

Summertime calls for watermelon, lemonade, ice cream, swimming, and cook outs.  And every quintessential cookout will have something to cook outside, usually meat and vegetables in some form.  (I know we're all thinking hamburgers, bratwursts, and hotdogs, but hey, there are some other weird traditions out there, too.)  And if you're cooking out, you're going to need buns and condiments.  And the best condiment award goes to....pickles!!

Not only does it have the best taste (opinion), but it stands alone.  As in, if you eat a pickle, no one will think twice.  But if we see you munching on a romaine lettuce leaf or slurping on a spoonful of ketchup, well, you might get some stares.  Of course, this is coming from someone who doesn't like hamburgers and once ate a romaine sandwich.  As in, onion, ketchup, mustard, and pickles sandwiched between to Romaine lettuce leaves.  Mmmmm.  Yeah, it was weird.  But I was so hungry, and hamburgers were the only option, I rather enjoyed it.  That's now on the worldwide webs.  Maybe I should change my heading to be: "Jenny, the girl who eats condiments like a main dish." Don't worry I won't, only you, my seven followers, are now privy to this information.  Haha.  

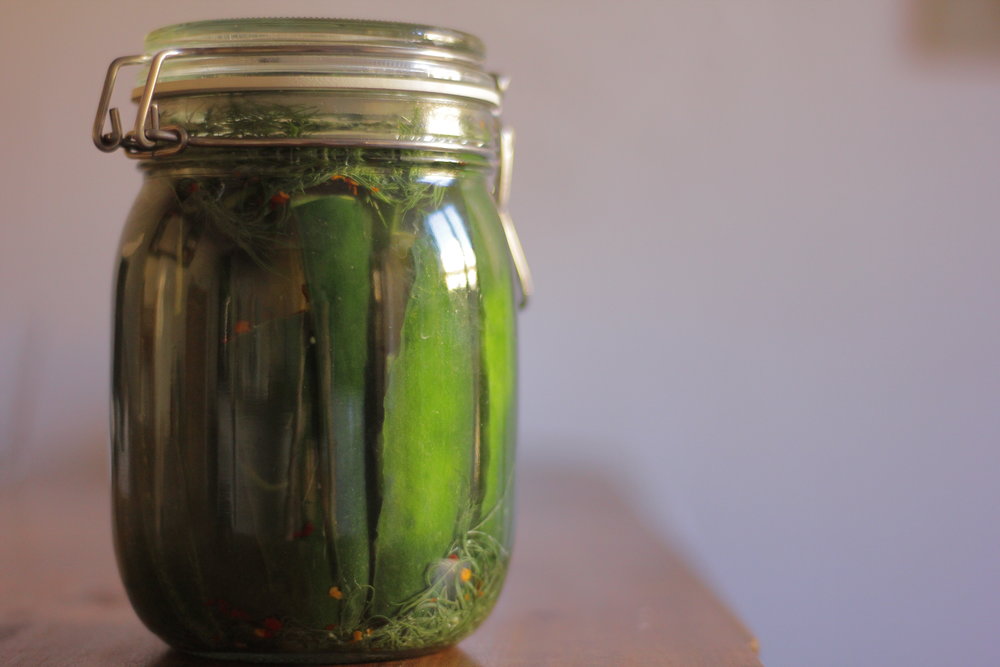
Back to pickles.  Now that we have remembered how great pickles are, did you know they are super easy to make at home?  Yes they are, and now you know that too.  Boil some water, throw some ingredients in a jar, chop up some cucumbers, stick them in the fridge, and voila!  Pickles.  

This post may contain affiliate links. If you buy something using these links, Jennyblogs may receive a small commission, at no extra cost to you. This helps to support Jennyblogs. For further information see the privacy policy. Grazie!

Recipe adapted from my mama


Refrigerator Dill Pickles

Makes about 24 spears/servings

Ingredients:

  • 3 1/2 cups / 830g water

  • 1 1/4 cups / 296g white vinegar

  • 1 Tbsp / 12g sugar

  • 1 Tbsp / 17g salt

  • 1 tsp / 2g turmeric, optional

  • 4 cups or about 2-3 large cucumbers, cut into slices, spears, or shape of choice

  • 2 cloves garlic

  • 2 heads fresh dill

  • 1 tsp red chili flakes, mustard seeds, or celery seeds, optional

Directions:

  1. Stir together water, vinegar, sugar, and salt in a large saucepan.  Place over medium-high heat and bring to a boil.  Remove from heat and allow to cool completely. 

  2. In a large glass jar or container, 4-quart or larger, arrange garlic, dill, cucumbers, and any spices you choose to use.  Pour the cooled liquid over the cucumbers, discarding or saving any leftover for another use.  Top with lid, sealing well, and refrigerate.  

  3. They will start to taste pickle-y the next day, but for optimum flavor refrigerate at least 3 days before consuming.  

Jenny's Notes:

  • I recommend making this recipe once as is to get an idea of the flavor profile, then play around to make it your own!

    1) If you like more bread & butter or sweet style pickles, up the sugar

    2) If you love dill, use more dill

    3) Add sliced onions or bell peppers

    4) Add more red pepper flakes or other hot pepper for more spice

    5) Really, add whatever suits your fancy. The garden is your playground.

  • The turmeric is for color, not so much flavor, to get that idyllic yellow pickle.  However, if you could care less about having a yellow pickle or don’t enjoy turmeric, leave it out!  I for one don't think the turmeric is very obvious in this recipe, but it's detectable if you really think about it.  

Refrigerator Dill Pickles
Yield 24
Author
Prep time
15 Min
Cook time
10 Min
Inactive time
72 Hour
Total time
72 H & 25 M

Refrigerator Dill Pickles

Classic dill pickles made in your refrigerator in just 3 days.
Cook modePrevent screen from turning off

Ingredients

Instructions

  1. Stir together water, vinegar, sugar, and salt in a large saucepan. Place over medium-high heat and bring to a boil. Remove from heat and allow to cool completely.
  2. In a large glass jar or container, 4-quart or larger, arrange garlic, dill, cucumbers, and any spices you choose to use. Pour the cooled liquid over the cucumbers, discarding or saving any leftover for another use. Top with lid, sealing well, and refrigerate.
  3. They will start to taste pickley the next day, but for optimum flavor refrigerate at least 3 days before consuming.

Notes

I recommend making this recipe once as is to get an idea of the flavor profile, then play around to make it your own! 1) If you like more bread & butter or sweet style pickles, up the sugar2) If you love dill, use more dill3) Add sliced onions or bell peppers4) Add more red pepper flakes or other hot pepper for more spice5) Really, add whatever suits your fancy. The garden is your playground.The turmeric is for color, not so much flavor, to get that idyllic yellow pickle. However, if you could care less about having a yellow pickle or don’t enjoy turmeric, leave it out! I for one don't think the turmeric is very obvious in this recipe, but it's detectable if you really think about it.

Nutrition Facts

Calories

10.04

Fat

0.04 g

Sat. Fat

0.01 g

Carbs

1.91 g

Fiber

0.20 g

Net carbs

1.72 g

Sugar

1.09 g

Protein

0.25 g

Sodium

276.95 mg

Cholesterol

0.00 mg

Nutritional information is approximate. Based on one pickle spear.

dill pickles, refrigerator pickles, homemade pickles
condiment, snack
American
Did you make this recipe?
Tag @jennyblogsandbakes on instagram and hashtag it #jennyblogs

Blackberry Banana Bread with Cinnamon Streusel

Last Updated July 10, 2024

Wild blackberries abound in Italy. 

Ok, that's a bit general, I have not been everywhere in Italy, but I can safely say that they are abundant in Florence and Cinque Terre.  I'm all for anything free and tasty, so I will always stop and pick a few when they are in reach. 

Most evenings I like to go for a "passeggiata," or stroll, usually along the Fiume (river) Arno, and there are lots of vines that grow down towards the river.  A fence conveniently kept me from clambering down and picking any, getting torn up by the thorns, and possibly dying in the pursuit, but that didn't stop a little nonna one evening from trying her best to reach through the fence and grab a few tasty morsels.  I admired her greatly. 

Along the hiking trails of Cinque Terre there was also a plethora, and they were perfectly placed along the trail for me to grab handfuls here and there, energy bursts for the 2 hour (solid uphill, both ways) trek!  Especially helpful since I had already eaten my packed lunch before we even started hiking...

Then there was that one time when a friend, who loves to do triathlon and ride his bike for millions of miles, said he had passed a huge group of blueberry bushes while riding up in the rolling hills of Tuscany.  So a group of us drove up to the spot, prepared with bags, open mouths, and welcoming stomachs.  A couple of us headed to the nearest loaded bush, and although my first thought was "those are strange looking blueberries", it didn't occur to me to stop and figure out what they were before picking or eating any.  They had been told to me as blueberries, therefore they must be.  So the first thing I do? Pop one in my mouth.  It was the single most sour/bitter thing I have ever had in my mouth.  And I like sour things, I like straight lemon juice and lemons.  But this had a pit and I was expecting a sweet blueberry.  I swiftly spit it out and we didn't pick or eat anymore.  For awhile after we were convinced it was nightshade, OH NO, and I thought I might die.  Not really, it wasn't.  But don't eat something in nature if you don't know what it is.  JENNY.  I'm looking at you.  

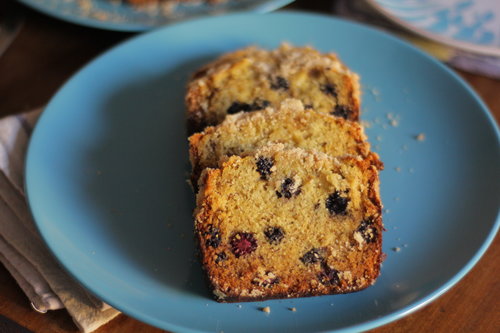
Another evening I took a different route for my passeggiata and passed tons of blackberry bushes.  They lined the road for quite a ways, and so I went back several times with friends to pick a couple bagfuls.  I gained a few battle scars from the prickers, some "ciao bella's" from people passing on the road probably wondering what is that weird girl doing climbing on the road guard half hidden/hanging from thorns in bushes, but most importantly, free berries.  And what do you do when you have too many blackberries to eat?  You bake with them, of course.  Delicious and tender banana bread with little bites of blackberries dispersed throughout topped with a sweet cinnamon streusel.  

*All photos of food in this post are credited to my friend, Bailey Shoemaker Guthrey. She’s a visual design natural!

This post may contain affiliate links. If you make a purchase using these links, Jennyblogs may receive a small commission, at no extra cost to you. This helps to support Jennyblogs. For further information see the privacy policy. Grazie!

Recipe by Jenny


Blackberry Banana Bread with Cinnamon Streusel

Ingredients:

For the Blackberry Banana Bread

  • 2 cups / 240g all-purpose flour

  • 1 tsp baking soda

  • 3/4 tsp salt

  • 3/4 cup / 150g sugar

  • 1/2 cup / 112g oil

  • 2 eggs

  • 2-3 large bananas, mashed, about 300g

  • 1 tsp vanilla

  • 1 1/4 cups / 181g blackberries

  For the Cinnamon Streusel

  • 3/4 cup / 90g all-purpose flour

  • 1/3 cup / 67g sugar

  • 1 tsp cinnamon

  • 3 Tbsp / 42g cold butter

Directions:

Oven 350°F / 177°C.  1 greased 9x5in / 23x13cm loaf pan.

Make the Blackberry Banana Bread

  1. In a medium bowl, whisk together flour, baking soda, and salt.

  2. In another large bowl, beat together sugar, oil, eggs, banana, and vanilla.  Add dry ingredients and stir until just combined.  Gently fold in blackberries. 

  3. Pour into prepared pan.

Make the Cinnamon Streusel

  1. In a medium bowl whisk together flour, sugar, and cinnamon.  Using a pastry cutter, a fork, or my preferred method, clean hands, add butter and mix until crumbles form, like coarse pebbles. 

  2. Sprinkle evenly over batter in pan and bake for 35-40 minutes, or until toothpick comes out almost clean.  

  3. Allow to cool in pan at least 10 minutes before removing to cool completely.

Jenny's Notes:

  • Feel free to substitute any type of berry for the blackberries!  Blueberries and raspberries are also delicious.   

  • This is a great recipe to use up sourdough discard. Use up to 100g and add in with the wet ingredients, proceed as instructed.

  • Bananas are always a bit of guess work to measure because recipes will give measurements without having any idea how big or small your bananas are. If you see a recipe with a measurement of 300g, like the one above, and that ended up being 2 + 7/16 of a banana, what are you going to do with the remaining 9/16 of that mushy banana? No worries, using a little more or less banana than called for shouldn’t yield anything other than delicious bread.  The more banana the more moist it will be, and also a touch heavier. Go too far and it will start becoming gummy.

Blackberry Banana Bread with Cinnamon Streusel
Yield 8-10
Author
Prep time
25 Min
Cook time
40 Min
Total time
1 H & 5 M

Blackberry Banana Bread with Cinnamon Streusel

Moist banana bread with little explosions of blackberries throughout and a sweet cinnamon streusel on top.

Ingredients

For the Blackberry Banana Bread
For the Cinnamon Streusel

Instructions

Make the Blackberry Banana Bread
  1. Oven 350°F / 177°C. 1 greased 9x5in / 23x13cm loaf pan.
  2. In a medium bowl, whisk together flour, baking soda, and salt.
  3. In another large bowl, beat together sugar, oil, eggs, banana, and vanilla. Add dry ingredients and stir until just combined. Gently fold in blackberries.
  4. Pour into prepared pan.
Make the Cinnamon Streusel
  1. In a medium bowl whisk together flour, sugar, and cinnamon. Using a pastry cutter, a fork, or my preferred method, clean hands, add butter and mix until crumbles form, like coarse pebbles.
  2. Sprinkle evenly over batter in pan and bake for 35-40 minutes, or until toothpick comes out almost clean.
  3. Allow to cool in pan at least 10 minutes before removing to cool completely.

Notes

Feel free to substitute any type of berry for the blackberries! Blueberries and raspberries are also delicious.

Nutrition Facts

Calories

474.54

Fat

20.00 g

Sat. Fat

4.11 g

Carbs

68.73 g

Fiber

2.39 g

Net carbs

66.34 g

Sugar

32.50 g

Protein

6.35 g

Sodium

428.44 mg

Cholesterol

57.79 mg

Nutritional information is approximate. Based on 8 servings.
banana bread, blackberry banana bread, cinnamon streusal, wild blackberries, blackberries in Italy, quick bread
Breads, breakfast
American
Did you make this recipe?
Tag @jennyblogsandbakes on instagram and hashtag it #jennyblogs