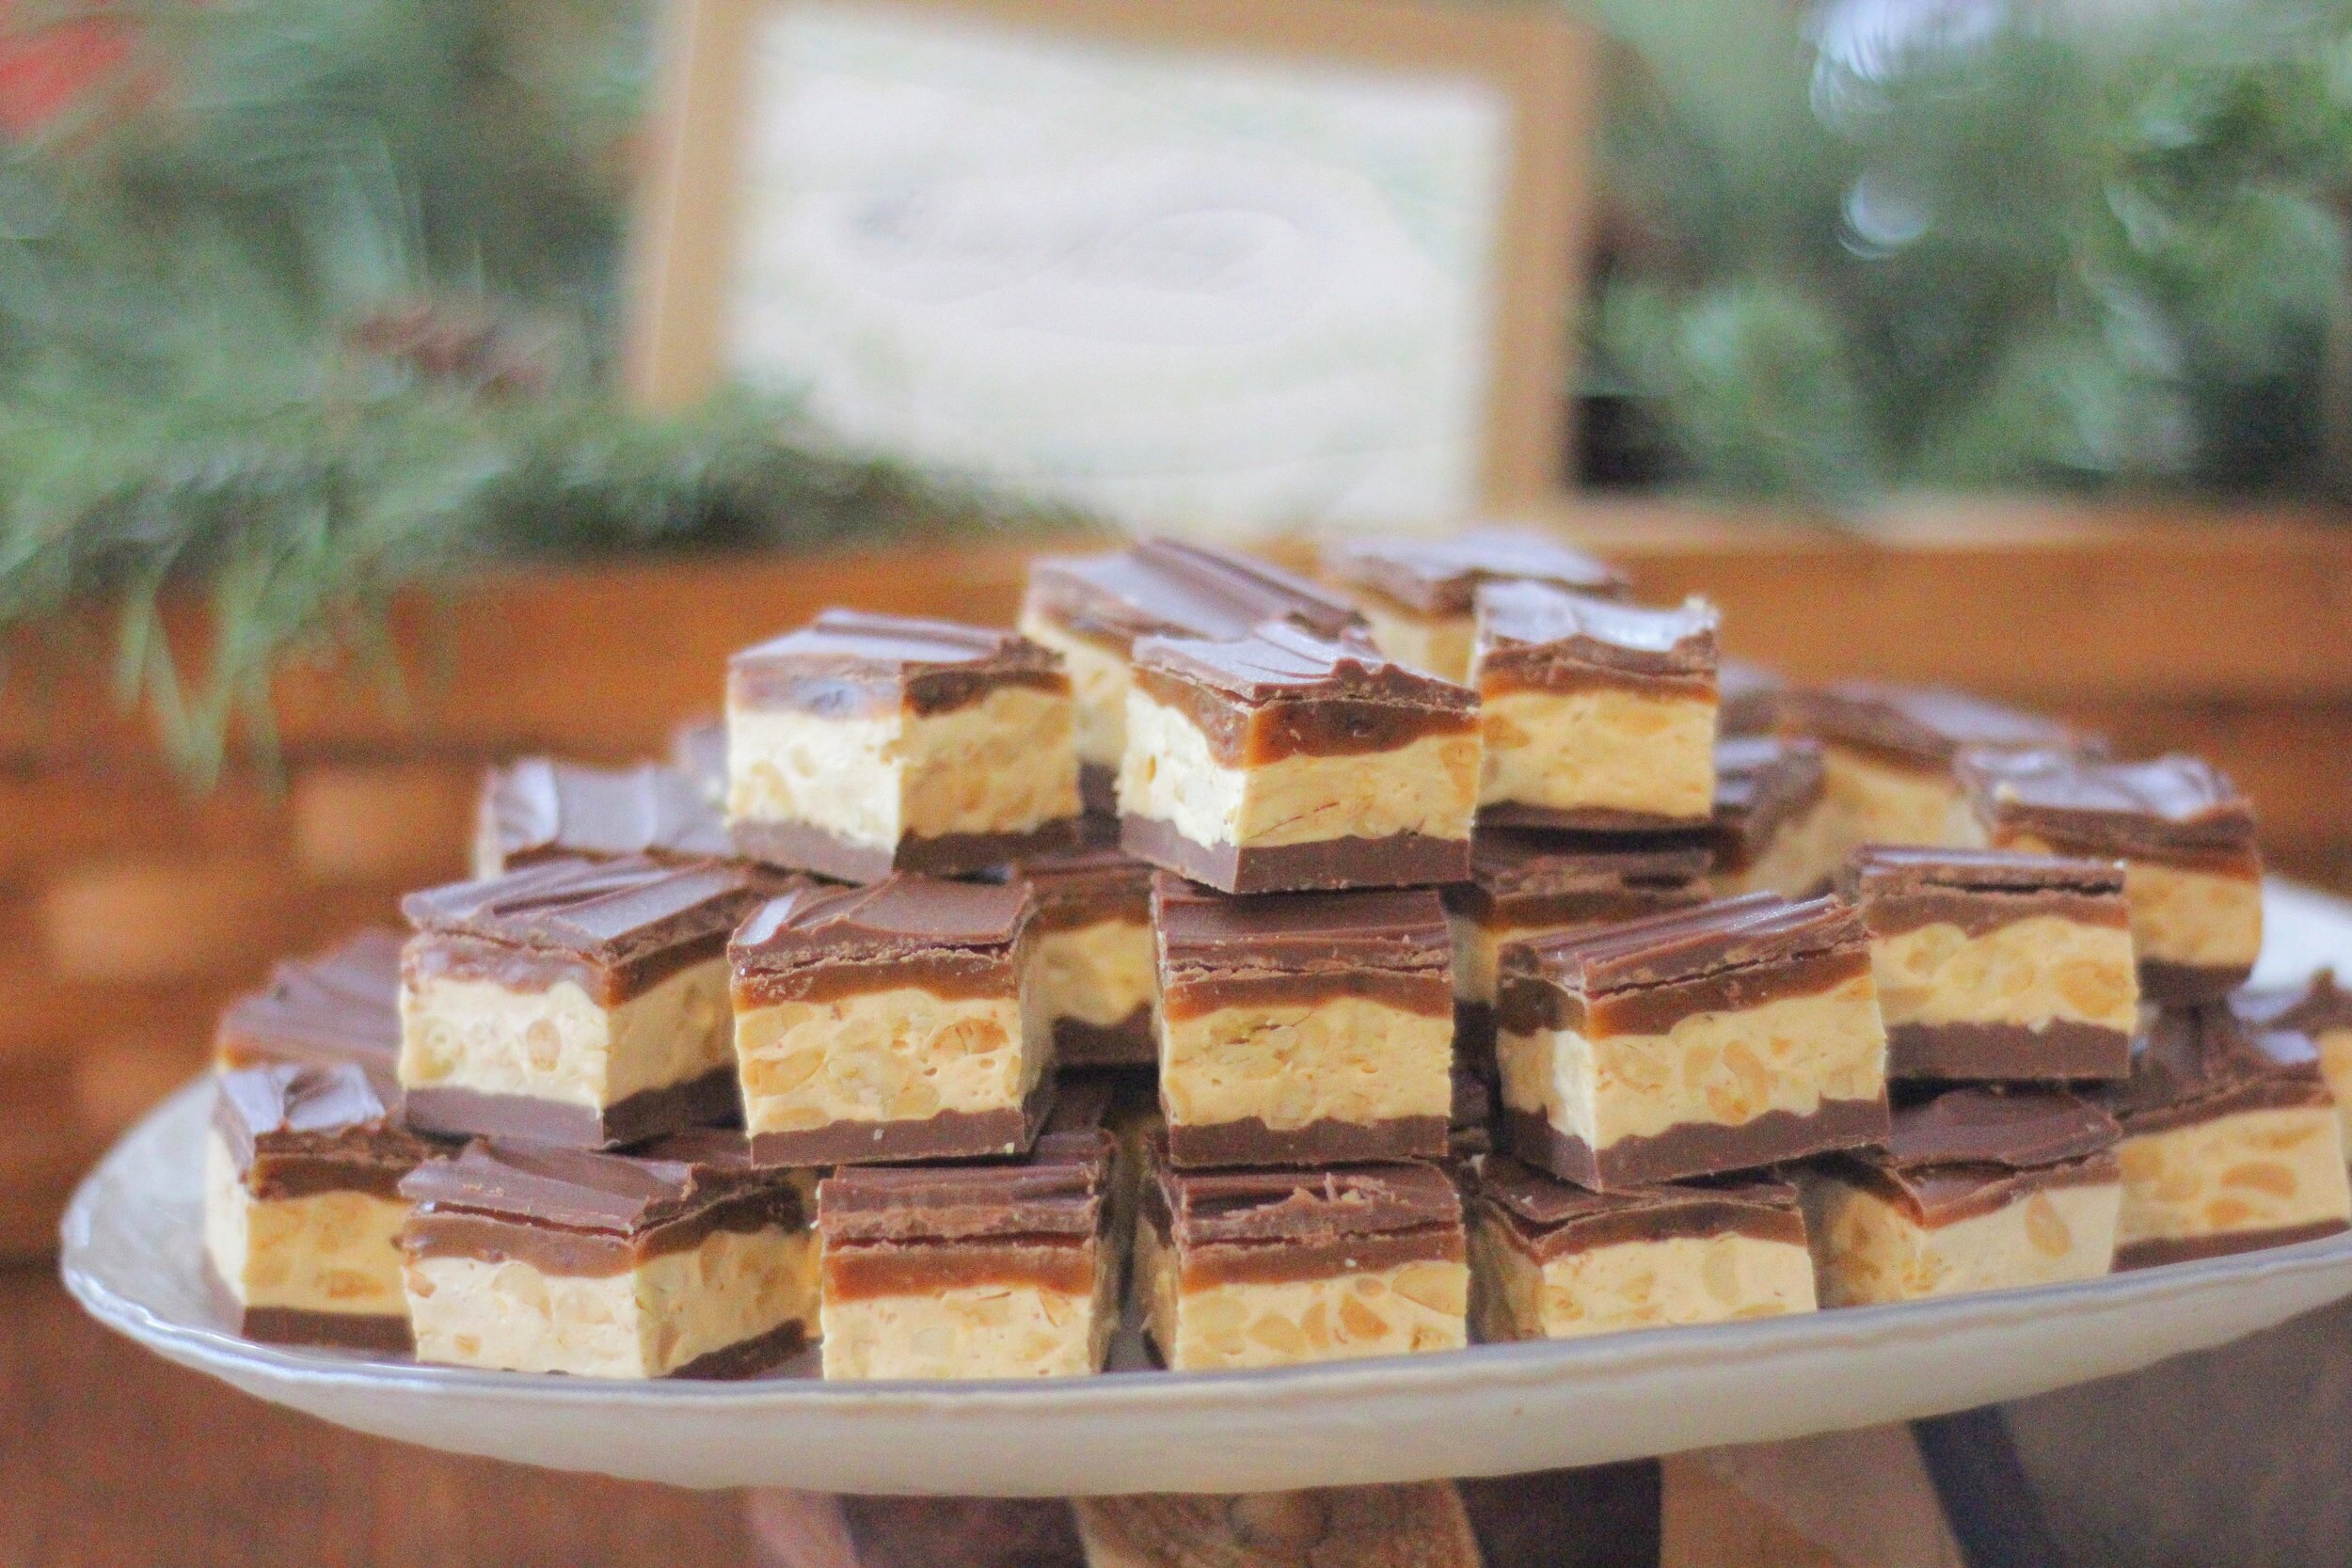
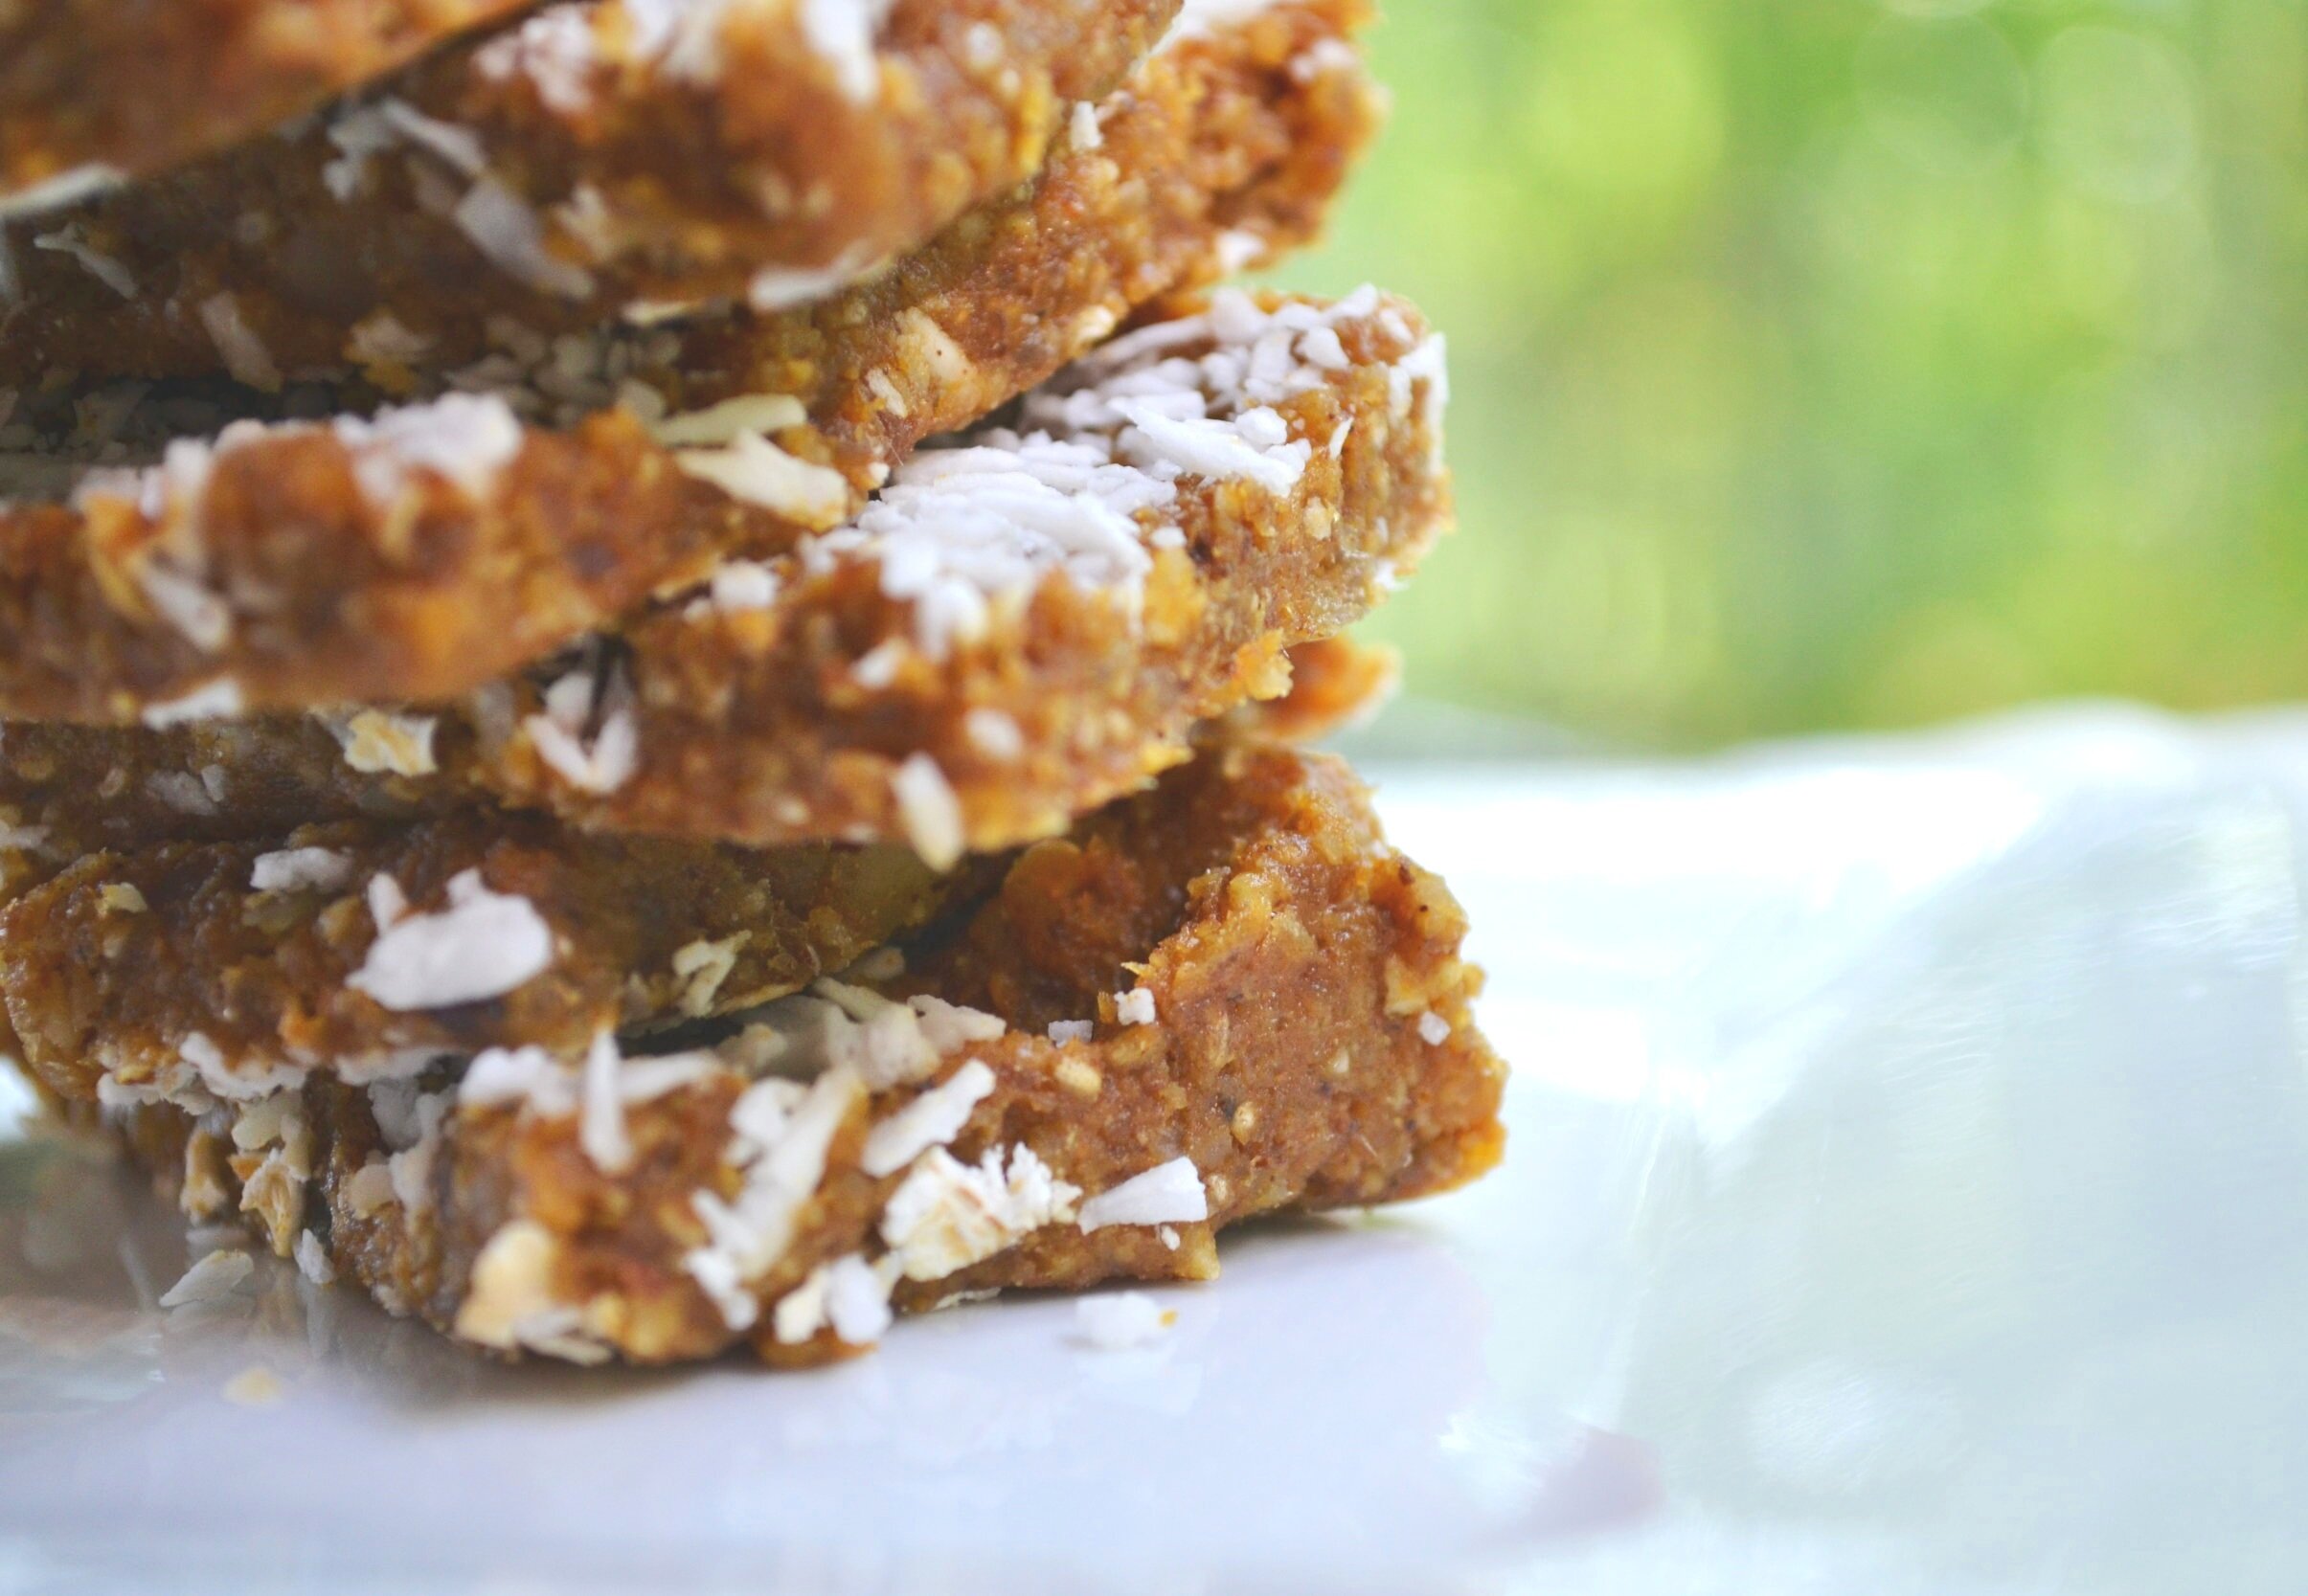
Peanut Butter Butterscotch Bars
/
Last updated: June 9, 2024
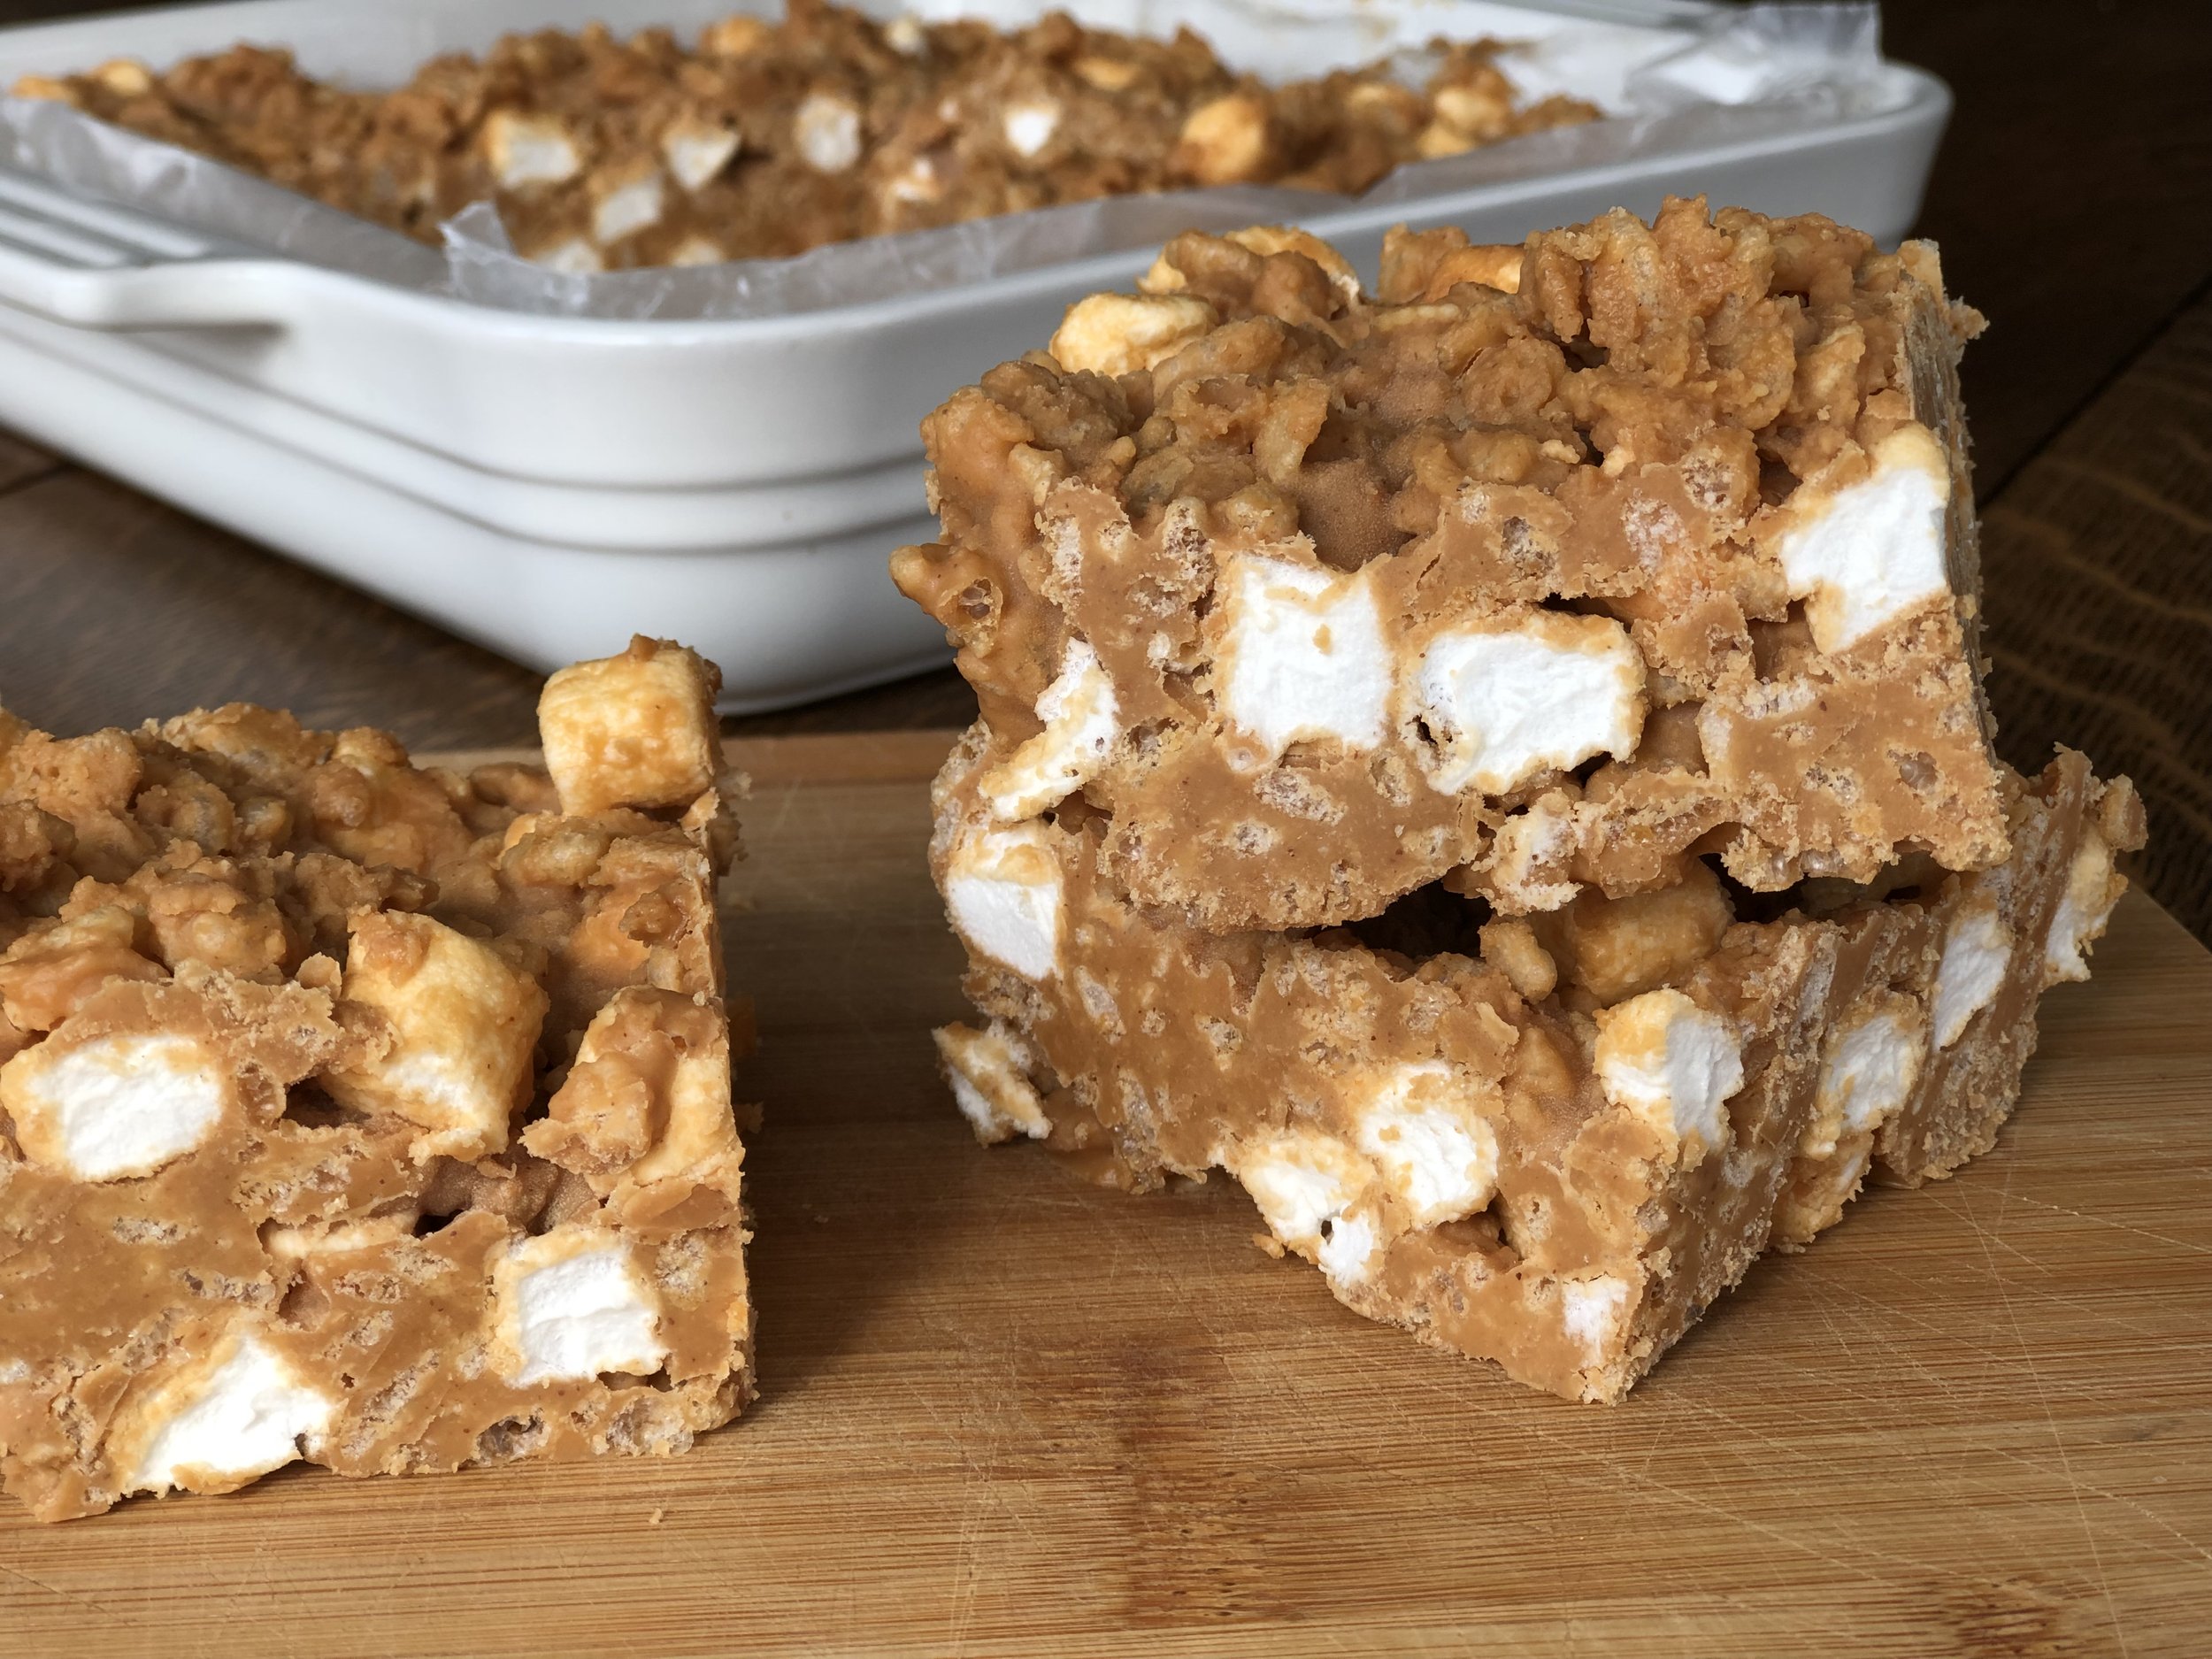
Peanut Butter Butterscotch Bars are similar to Rice Krispie Treats, but coated in peanut butter and butterscotch. Ohhhh yummmm.
The recipe calls for only 5 ingredients and takes all of 15 minutes to make! These Peanut Butter Butterscotch Bars and other butterscotch bars are often made around Christmastime, but I love making these in the summer, too, because this is a no-bake recipe and very quick for when you’d rather spend your time outside than inside baking.
I love butterscotch, but I didn’t often choose to bake or eat butterscotch desserts until recently because they often contain artificial coloring. While some still do, I was happy to find Aldi brand butterscotch chips use natural coloring!
This post may contain affiliate links. If you make a purchase using these links, Jennyblogs may receive a small commission, at no extra cost to you. This helps to support Jennyblogs. Where possible, links are prioritized to small businesses and ethically and responsibly made items. For further information see the privacy policy. Grazie!
Recipe by Jenny, inspired by the many other butterscotch no-bake desserts out there :)


Peanut Butter Butterscotch Bars
Makes 1 8x8inch pan, about 9-12 servings
Ingredients:
1 bag (about 10oz / 283g ) butterscotch chips
3/4 cup / 195g peanut butter
6 Tbsp / 85g butter
2 cups / 114g mini marshmallows
2 cups / 56g Rice Krispies
Directions:
8x8inch / 20x20cm pan lightly greased or lined with wax paper.

In a medium saucepan, melt butterscotch chips, peanut butter, and butter together. Stir until smooth.
Remove from heat and allow to cool for a few minutes.
Stir in marshmallows and Krispies.
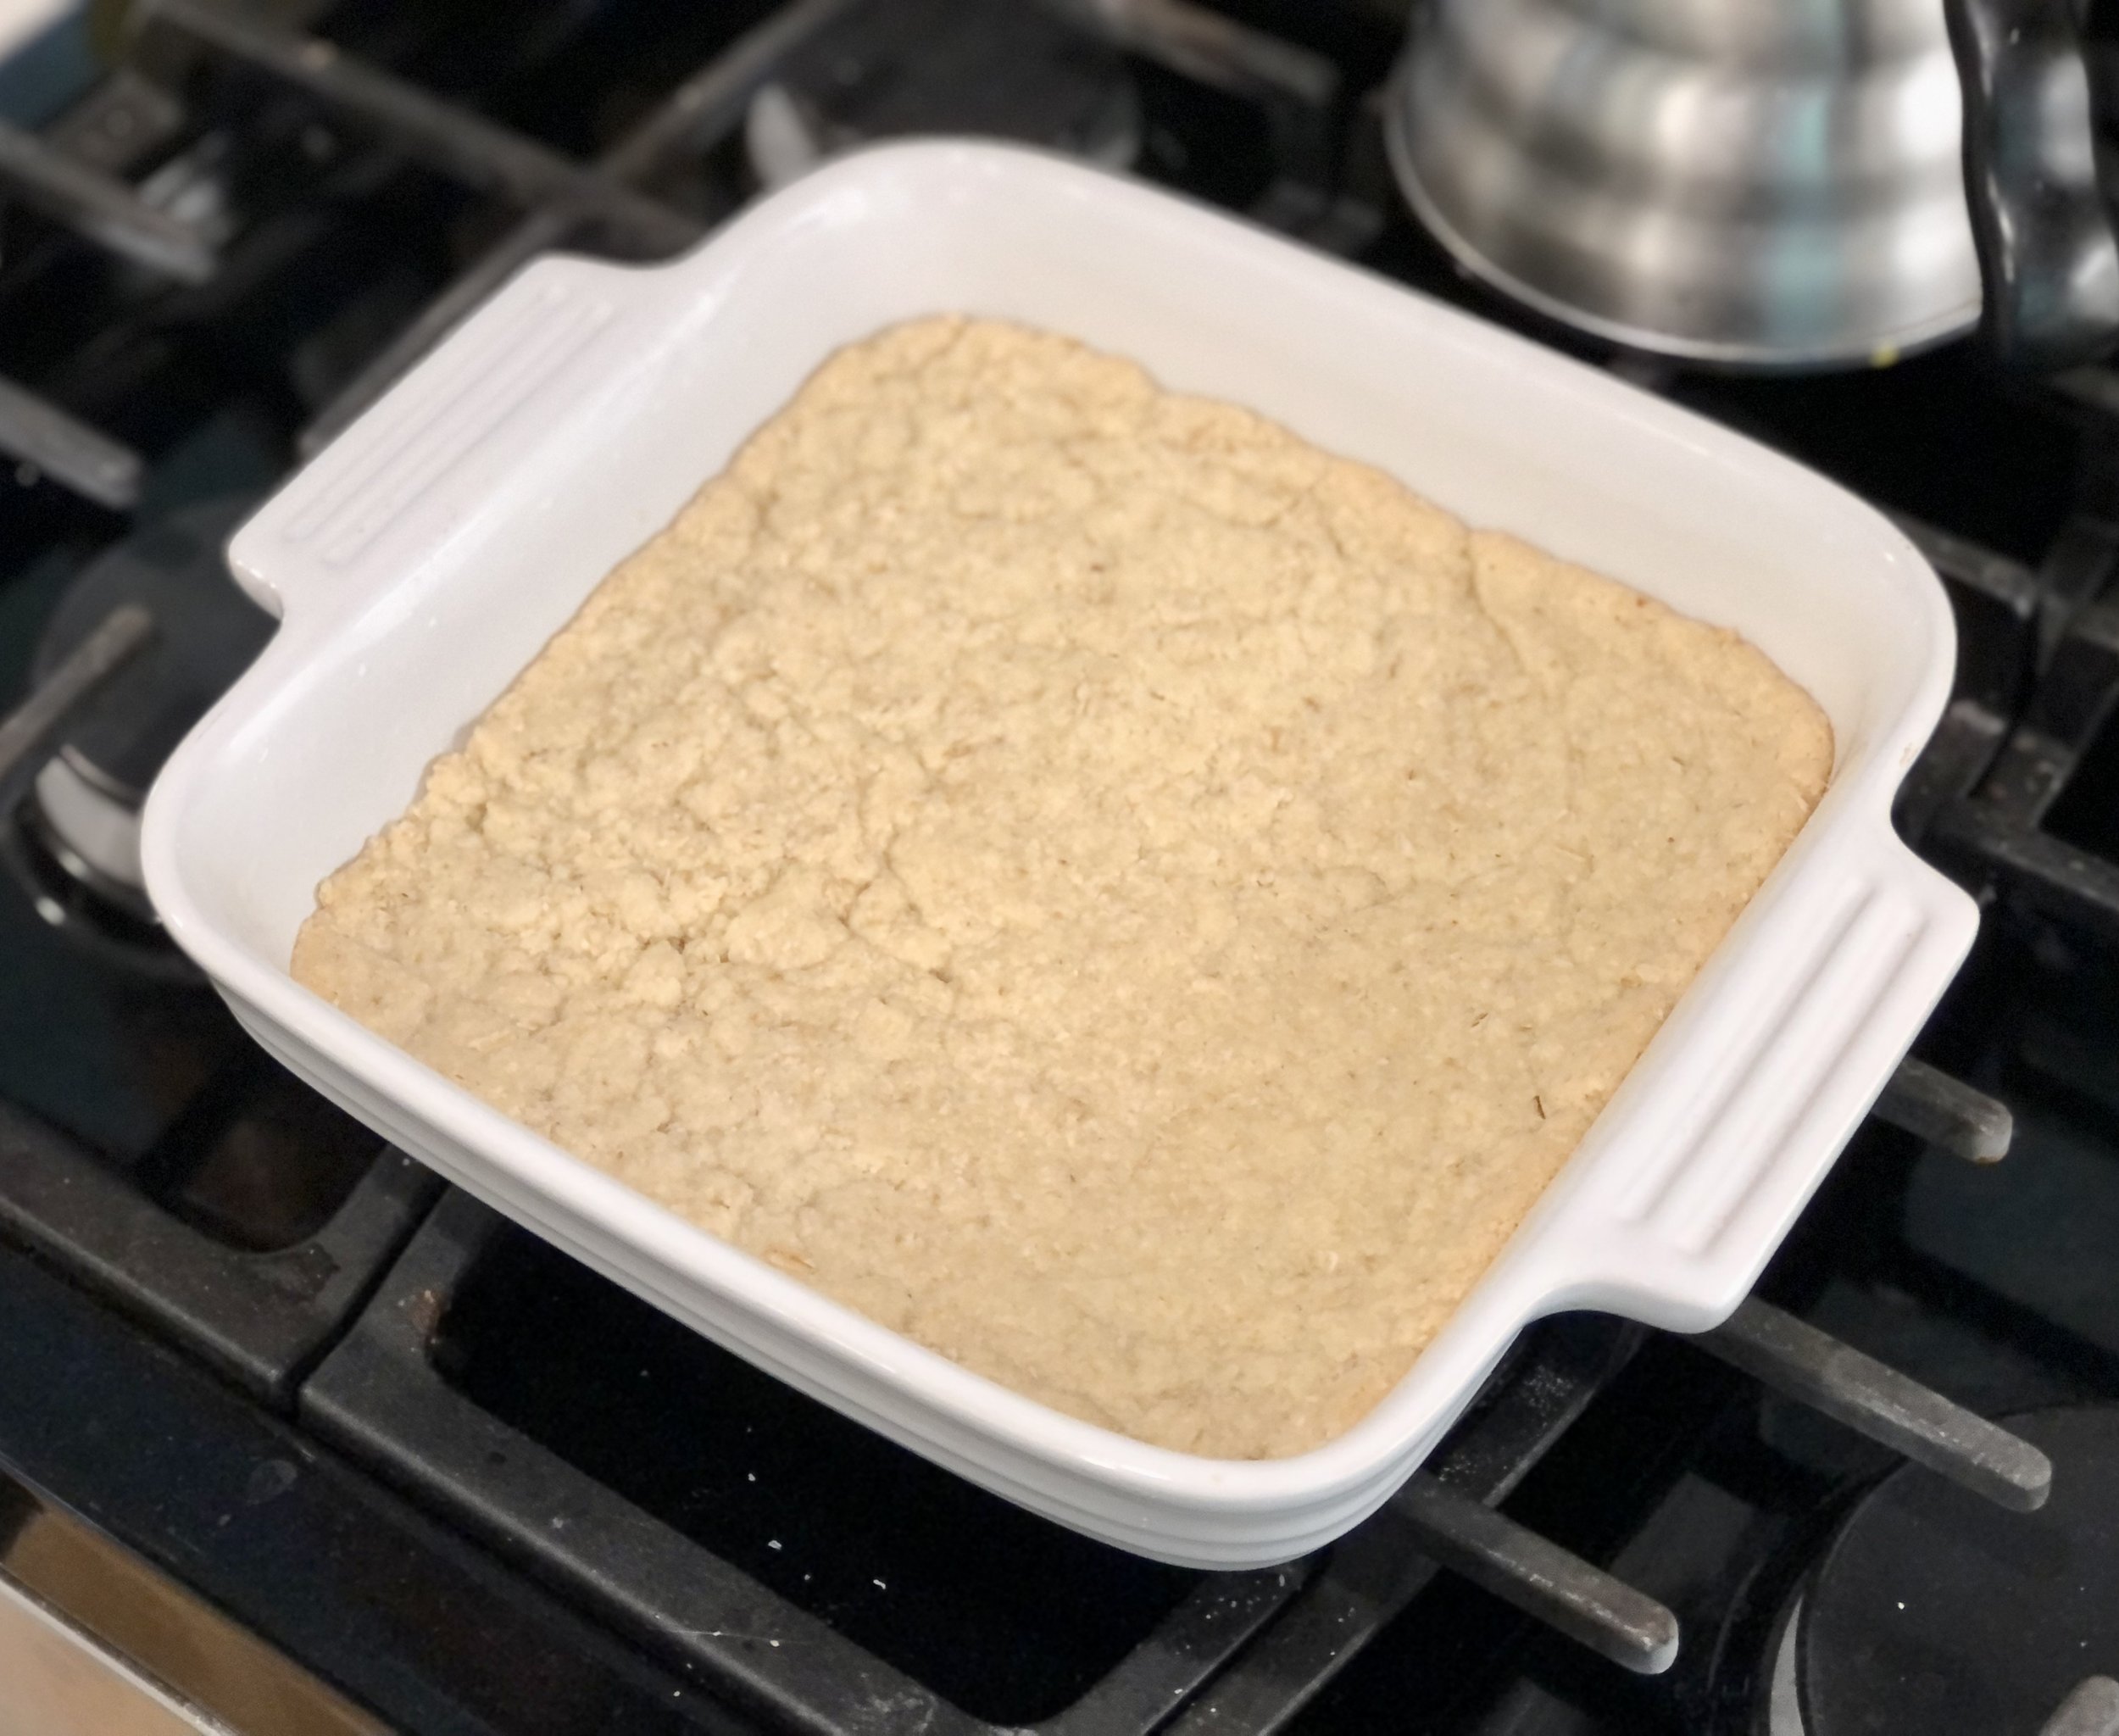
Spread into prepared pan and let set before slicing. Placing in the fridge can speed this process up.

Peanut Butter Butterscotch Bars
Ingredients
Instructions
- 8x8inch / 20x20cm pan lightly greased or lined with wax paper.
- In a medium saucepan, melt butterscotch chips, peanut butter, and butter together. Stir until smooth.
- Remove from heat and allow to cool for a few minutes.
- Stir in marshmallows and Krispies.
- Spread into prepared pan and let set before slicing. Placing in the fridge can speed this process up.
Nutrition Facts
Calories
255.7Fat
18.82 gSat. Fat
7.08 gCarbs
19.22 gFiber
1.06 gNet carbs
18.15 gSugar
9.37 gProtein
5.54 gSodium
195.21 mgCholesterol
20.36 mgNutritional information is approximate. Based on 1 piece if cut into 9 squares.


 Congo Bars")