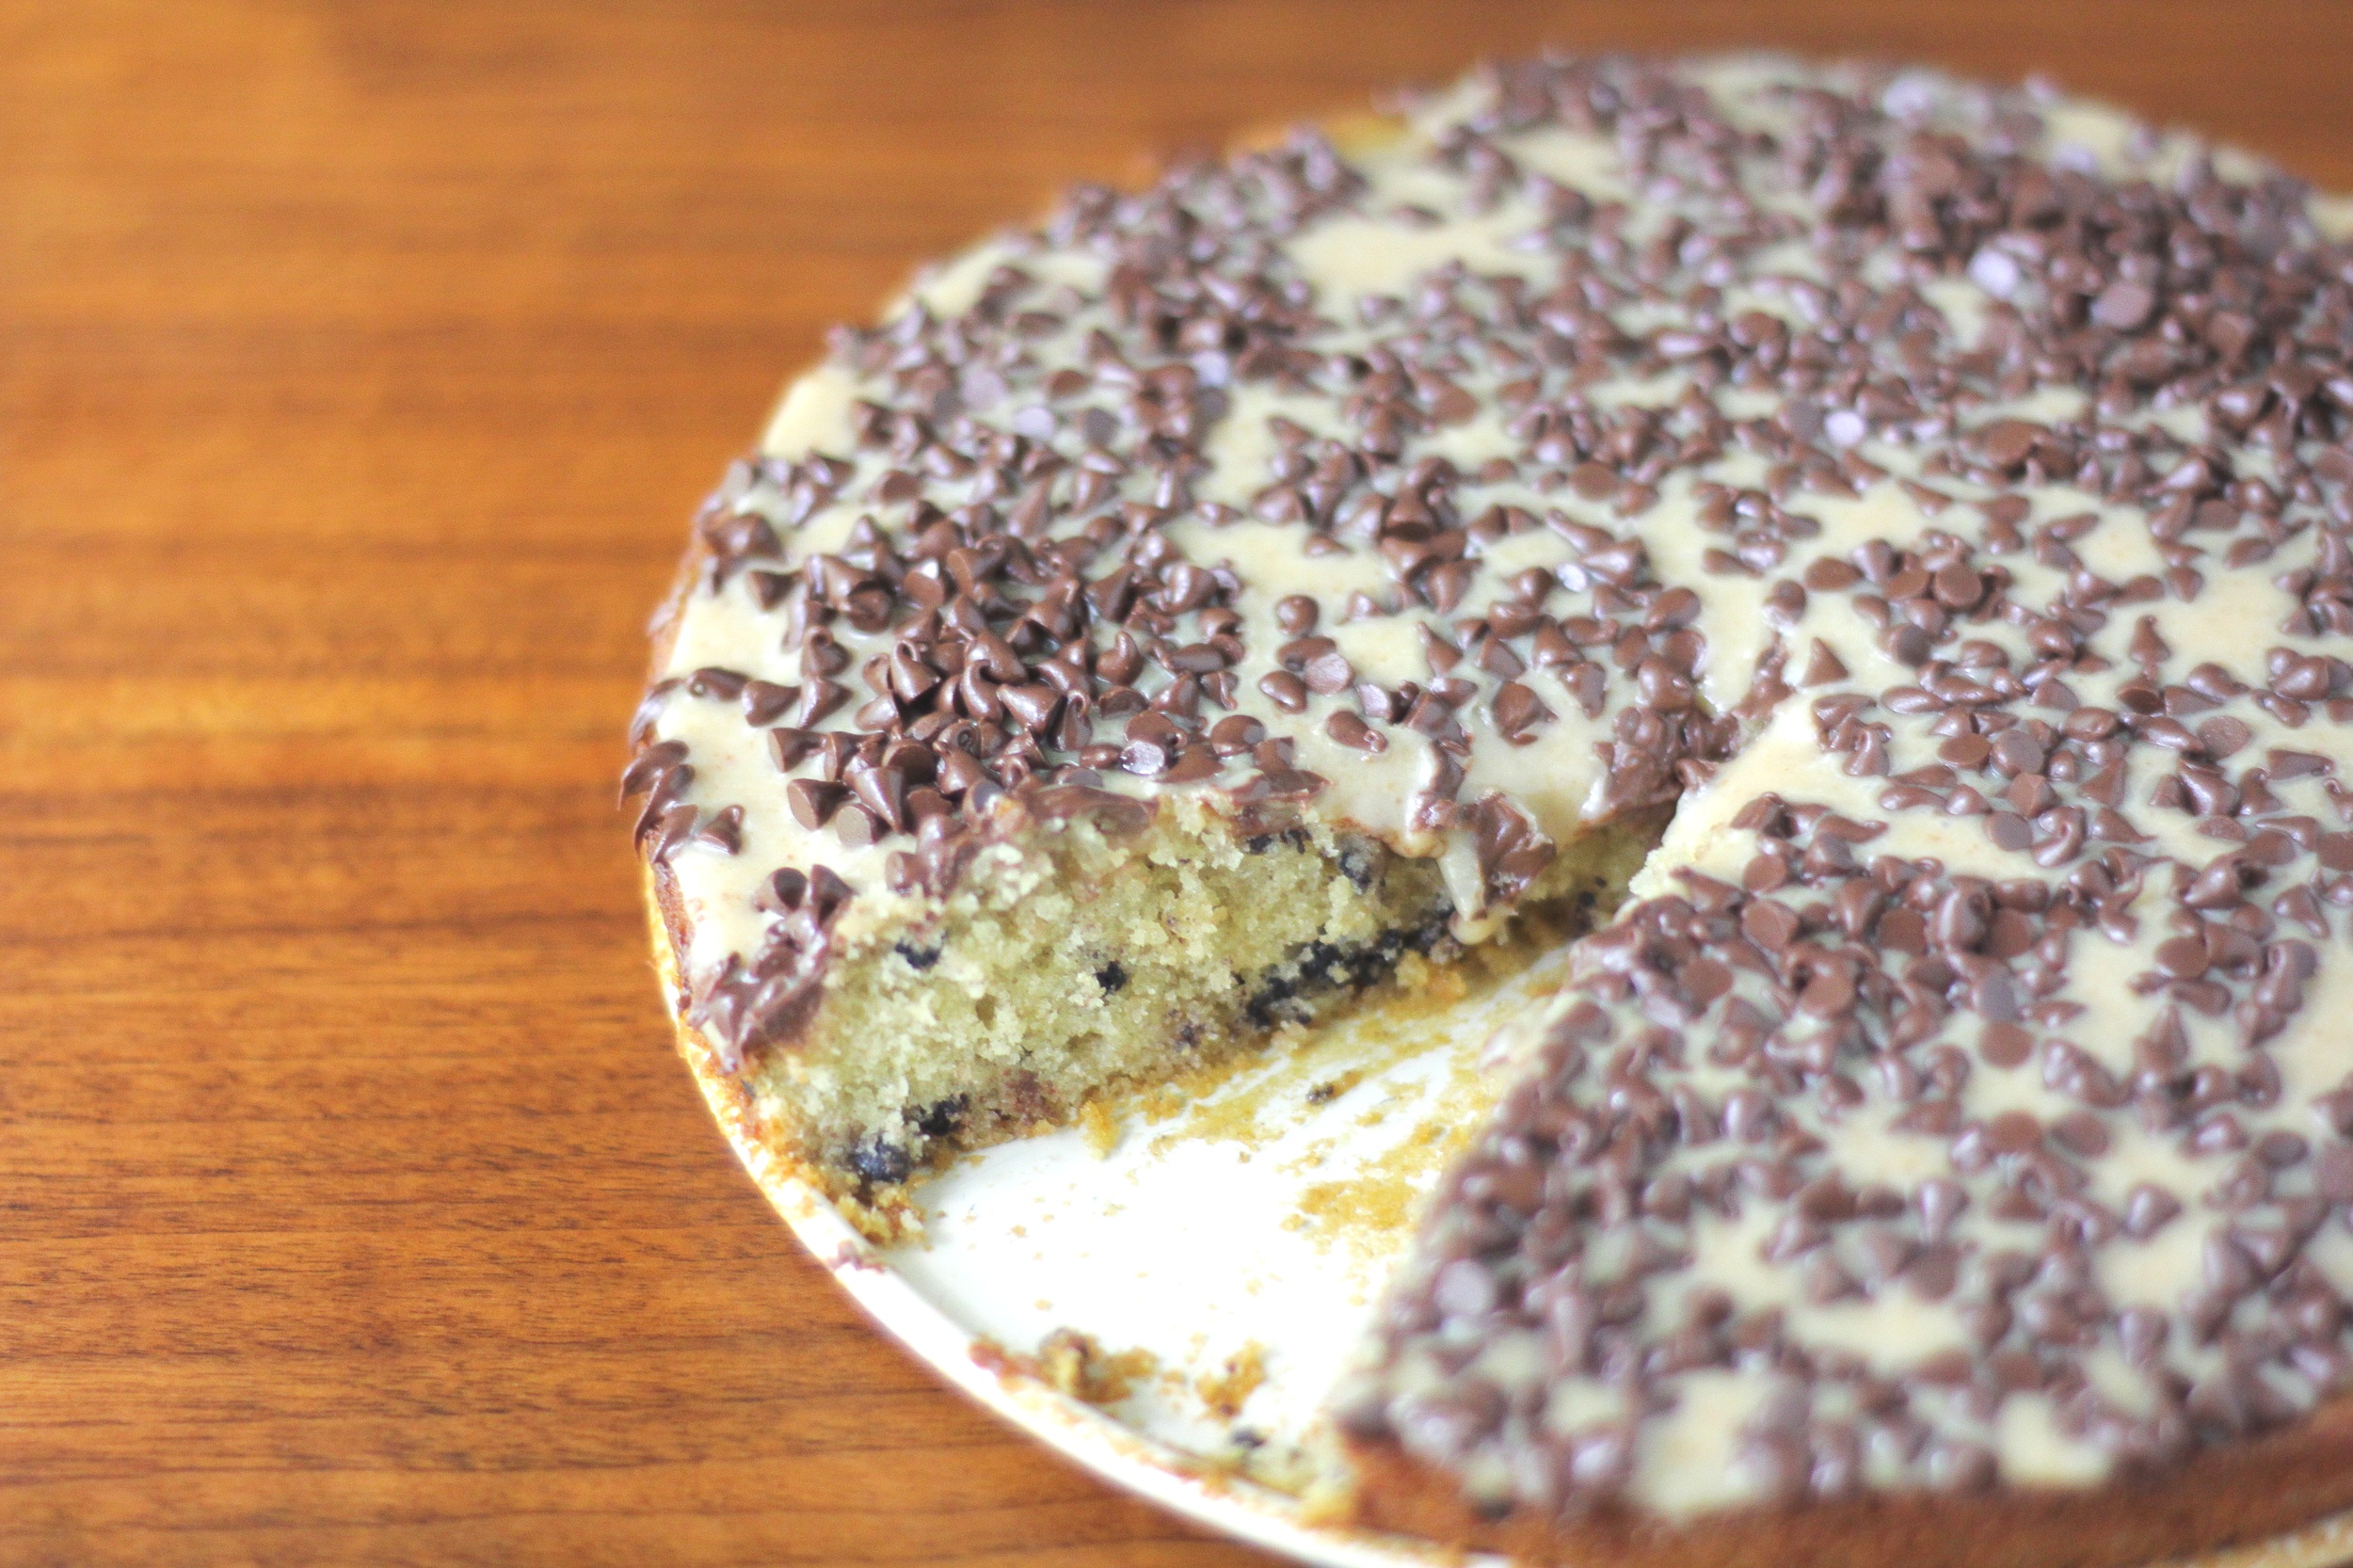
Healthy Chocolate Chip Banana Cookies
/Last updated September 27, 2024

What has chocolate and oats in it, tastes like a cookie, but is sneakily nutritious for you? These cookies! Yay for things that taste good and are healthy simultaneously. And don't forget fun to make! So many wins, I want to make these all over again. Instead, I shall have just as much fun writing out the recipe for you.
These cookies make an excellent on the go snack or breakfast. They’re easily gluten-free if you use certified GF oats, dairy-free (just make sure your chocolate chips don’t have any dairy hiding in them), and vegan if you use a flax or chia seed egg! See recipe notes for how to make a flax egg.
All of the sweetness in these cookies comes from dates and banana, with a boost from the chocolate chips.
This post may contain affiliate links. If you make a purchase using these links, Jennyblogs may receive a small commission, at no extra cost to you. This helps to support Jennyblogs. Where possible, links are prioritized to small businesses and ethically and responsibly made items. For further information see the privacy policy. Grazie!
Recipe adapted from Veggies Don't Bite


Chocolate Chip Banana Cookies
Makes about 30 cookies
Ingredients:

1 1/3 cups / 215g pitted dates (about 15 regular dates or 12 medjool)
1/4 cup / 60g almond milk (or milk of choice)
1/2 cup / 130g peanut butter
1 small / 80g very ripe banana, mashed
1 egg
1 1/2 tsp / 7g vanilla extract
1 cup / 80g rolled oats
1/2 tsp baking soda
1/2 tsp salt
2 cups / 340g semi-sweet chocolate chips
1/2 cup / 62g chopped pecans (optional)
Directions:
Preheat oven to 350°F / 177°C. Prepare 1 or 2 cookie sheets lined with parchment paper or silpat.
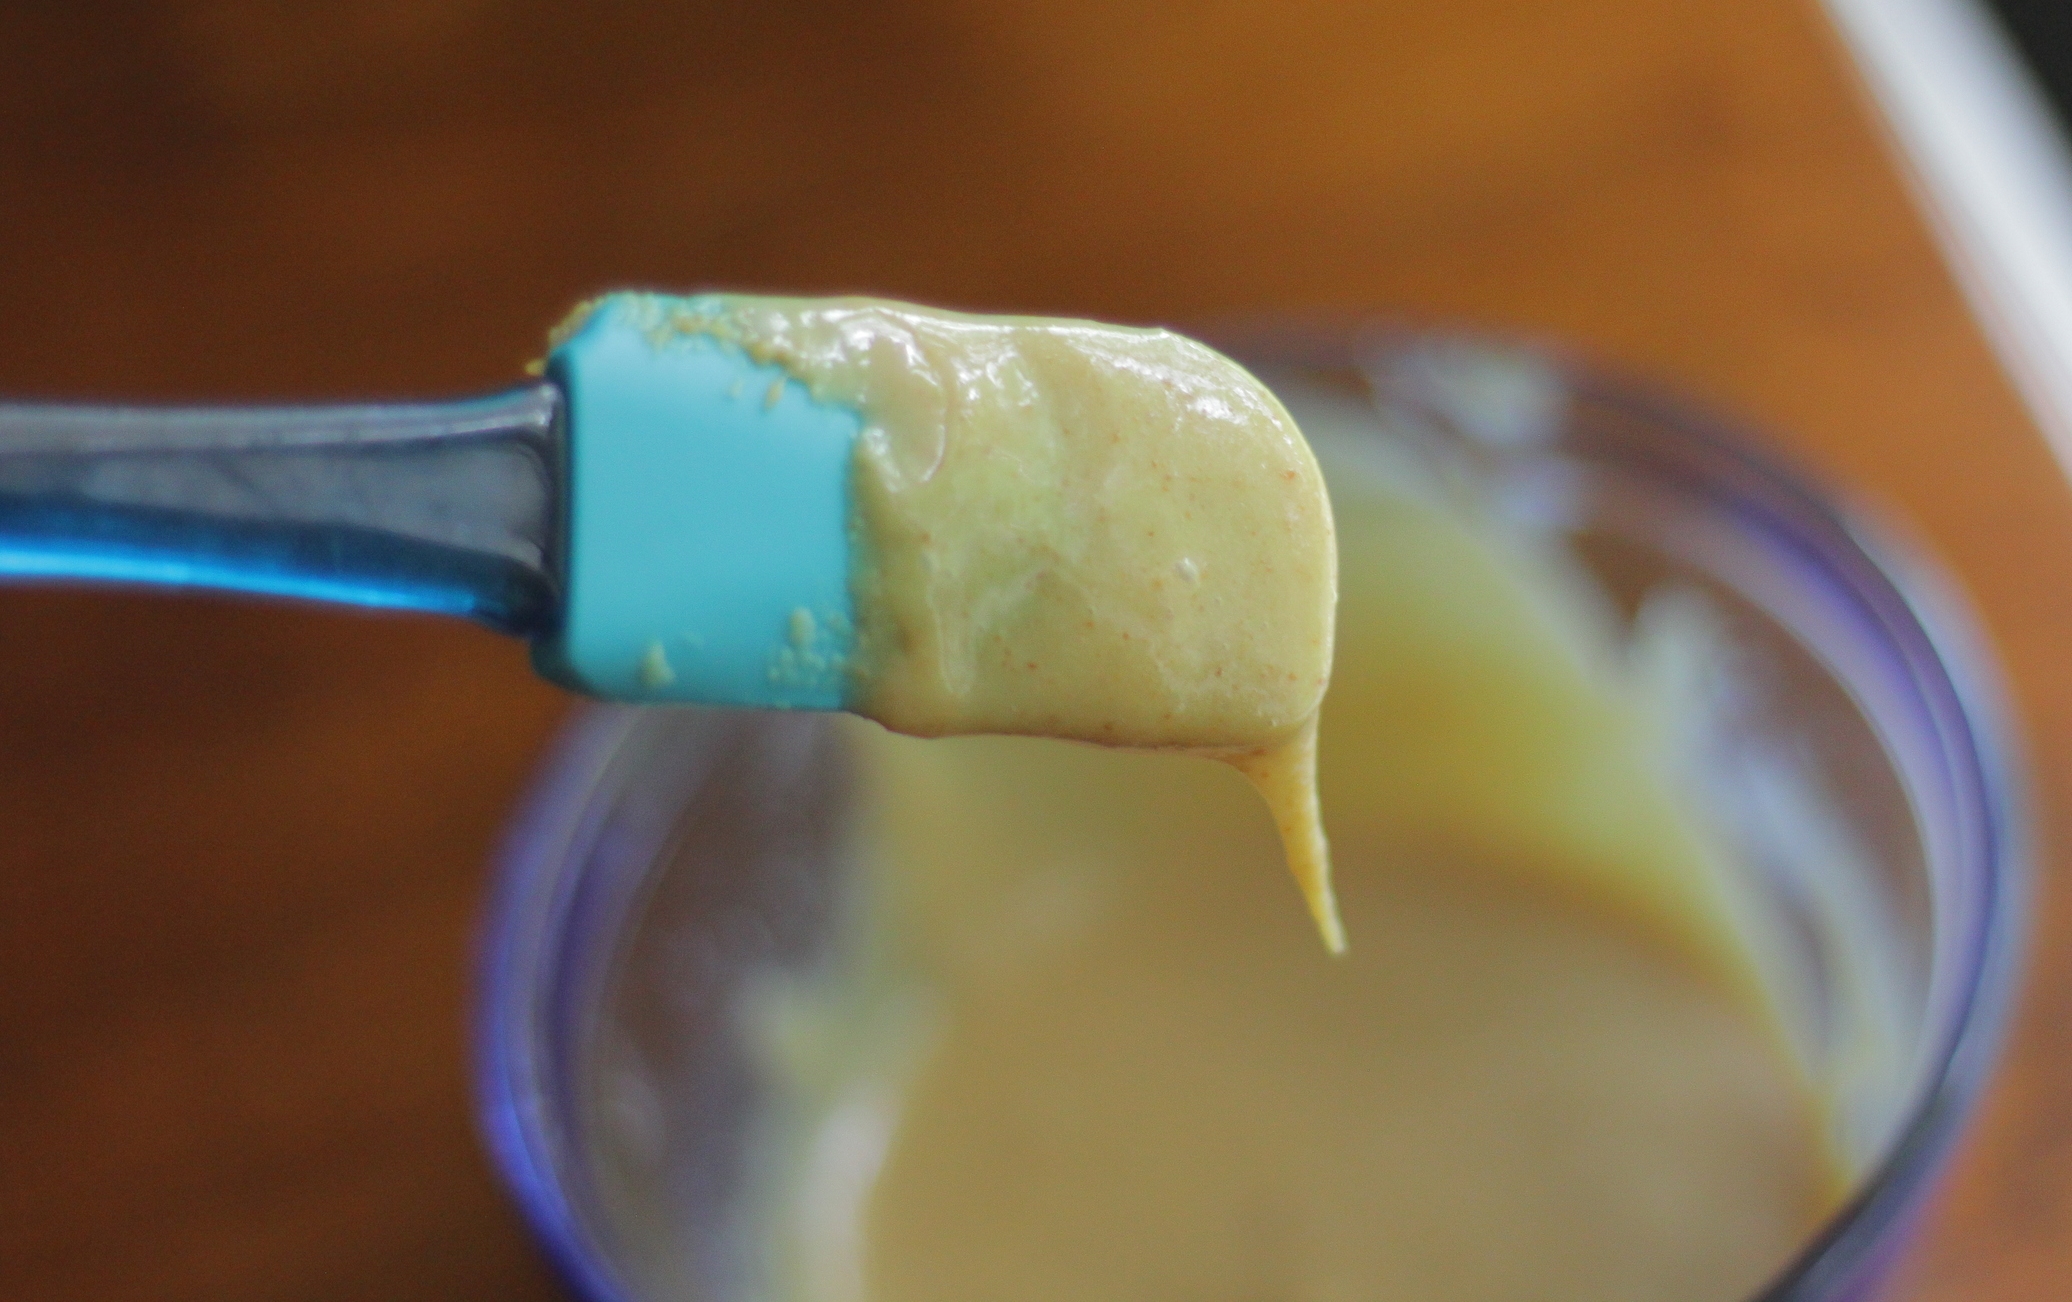
In a food processor, blend dates until very finely chopped. Slowly add milk and continue to blend until a smooth paste forms. (Be careful adding the milk as it may splatter; food processors aren’t always splatter proof.)
Add peanut butter, banana, egg, and vanilla to the date paste and mix well.
In a separate bowl whisk together oats, baking soda, and salt. Add to date mixture.
Stir in chocolate chips and pecans just until combined. Refrigerate dough for 15 minutes.
Drop by spoonful onto prepared cookie sheets and bake for 12-15 minutes until edges start to turn lightly golden. Allow cookies to cool and set a bit before removing from pan.
Jenny's Notes:
These can easily be made vegan, dairy and/or gluten-free: Make a flax egg instead of a normal egg by adding 1 Tbsp ground flax seeds to 3 Tbsp water, use vegan chocolate chips (usually this means just making sure there is no dairy), use certified GF oats and vanilla extract. Voila! Now anyone can eat these delicious morsels.

Healthy Chocolate Chip Banana Cookies
Ingredients
Instructions
- Preheat oven to 350°F / 177°C. Prepare 1 or 2 cookie sheets lined with parchment paper or silpat.
- In a food processor, blend dates until very finely chopped. Slowly add milk and continue to blend until a smooth paste forms. (Be careful adding the milk as it may splatter; food processors aren’t always splatter proof.)
- Add peanut butter, banana, egg, and vanilla to the date paste and mix well.
- In a separate bowl whisk together oats, baking soda, and salt. Add to date mixture.
- Stir in chocolate chips and pecans just until combined. Refrigerate dough for 15 minutes.
- Drop by spoonful onto prepared cookie sheets and bake for 12-15 minutes until edges start to turn lightly golden. Allow cookies to cool and set a bit before removing from pan.
Notes
These can easily be made vegan, dairy and/or gluten-free: Make a flax egg instead of a normal egg by adding 1 Tbsp ground flax seeds to 3 Tbsp water, use vegan chocolate chips (usually this means just making sure there is no dairy), use certified GF oats and vanilla extract. Voila! Now anyone can eat these delicious morsels.
Nutrition Facts
Calories
130.36Fat
7.42 gSat. Fat
2.64 gCarbs
16.47 gFiber
2.03 gNet carbs
14.43 gSugar
11.53 gProtein
2.39 gSodium
84.40 mgCholesterol
6.20 mgNutritional information is approximate; based on 30 serving, includes pecans.