July Newsletter
/Buon Agosto/Happy August!
July was a good month. A hot month. And so much has happened! Here are some snippets:

Say hello to my little friend, Cornetto con Nutella. McKayla's calling it like it is.
June 27th Rachel moved back home. At the end of June Rachel and her parents departed and moved all of her stuff back to the States. Goodbyes are never fun. But we made a fun night of her last night here, going out to a secret bakery at 3 am (bakeries that open only during the night and make the morning bake for some caffes, and if you know where to find them they will sell you piping hot cornetti, croissants, or sometimes donuts with your choice of jam, chocolate, creme, or Nutella filling, for only 1 euro each!), then stayed up until 5 am when they took a taxi to the airport.
Then proceeded the long process of cleaning and organizing the apartment, and going through all of the items left by previous tenants. I got to inherit some good household stuff, so that will help for when I move into my long-term apartment in October! (Dishes, silverware, and bedding? Yes please! 4 purses, numerous pillows, and a shelf of random medication? No thanks!)
Beth and Cyndie from Mississippi came for a week on July 14th. They are friends of Paul and Melinda, and they were here here during the perfect time to help us prepare for the Gallery Opening!
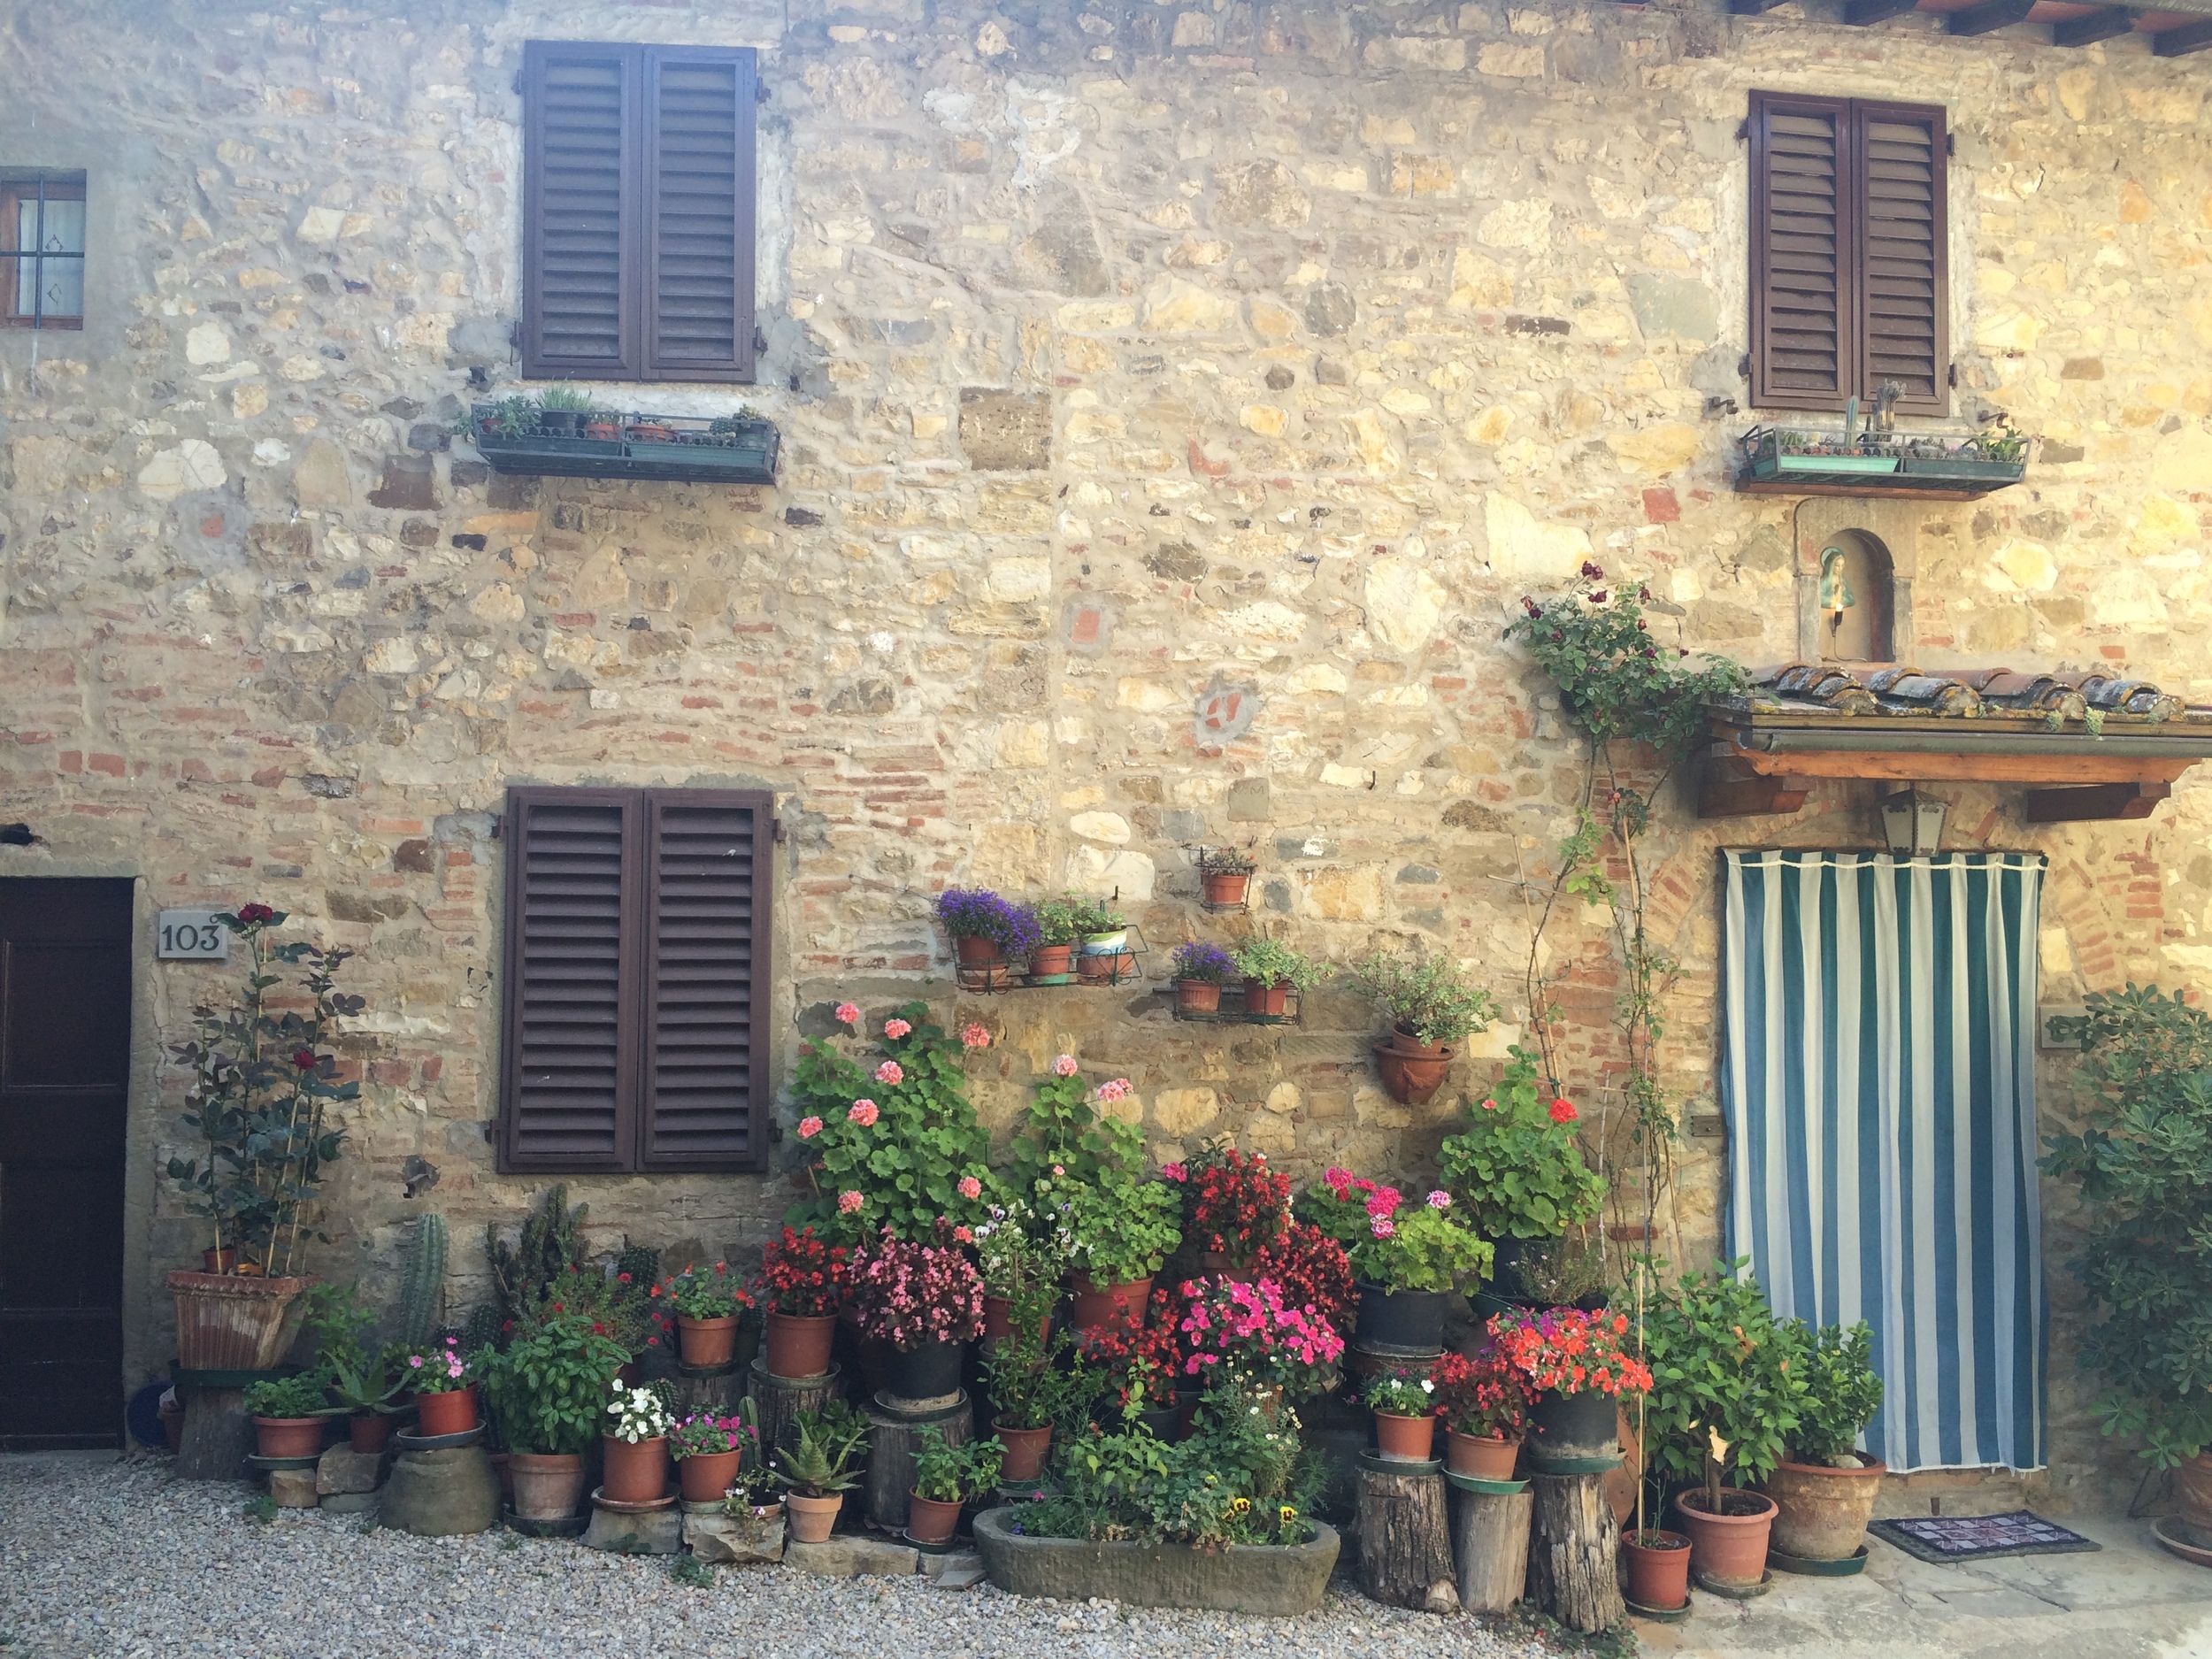
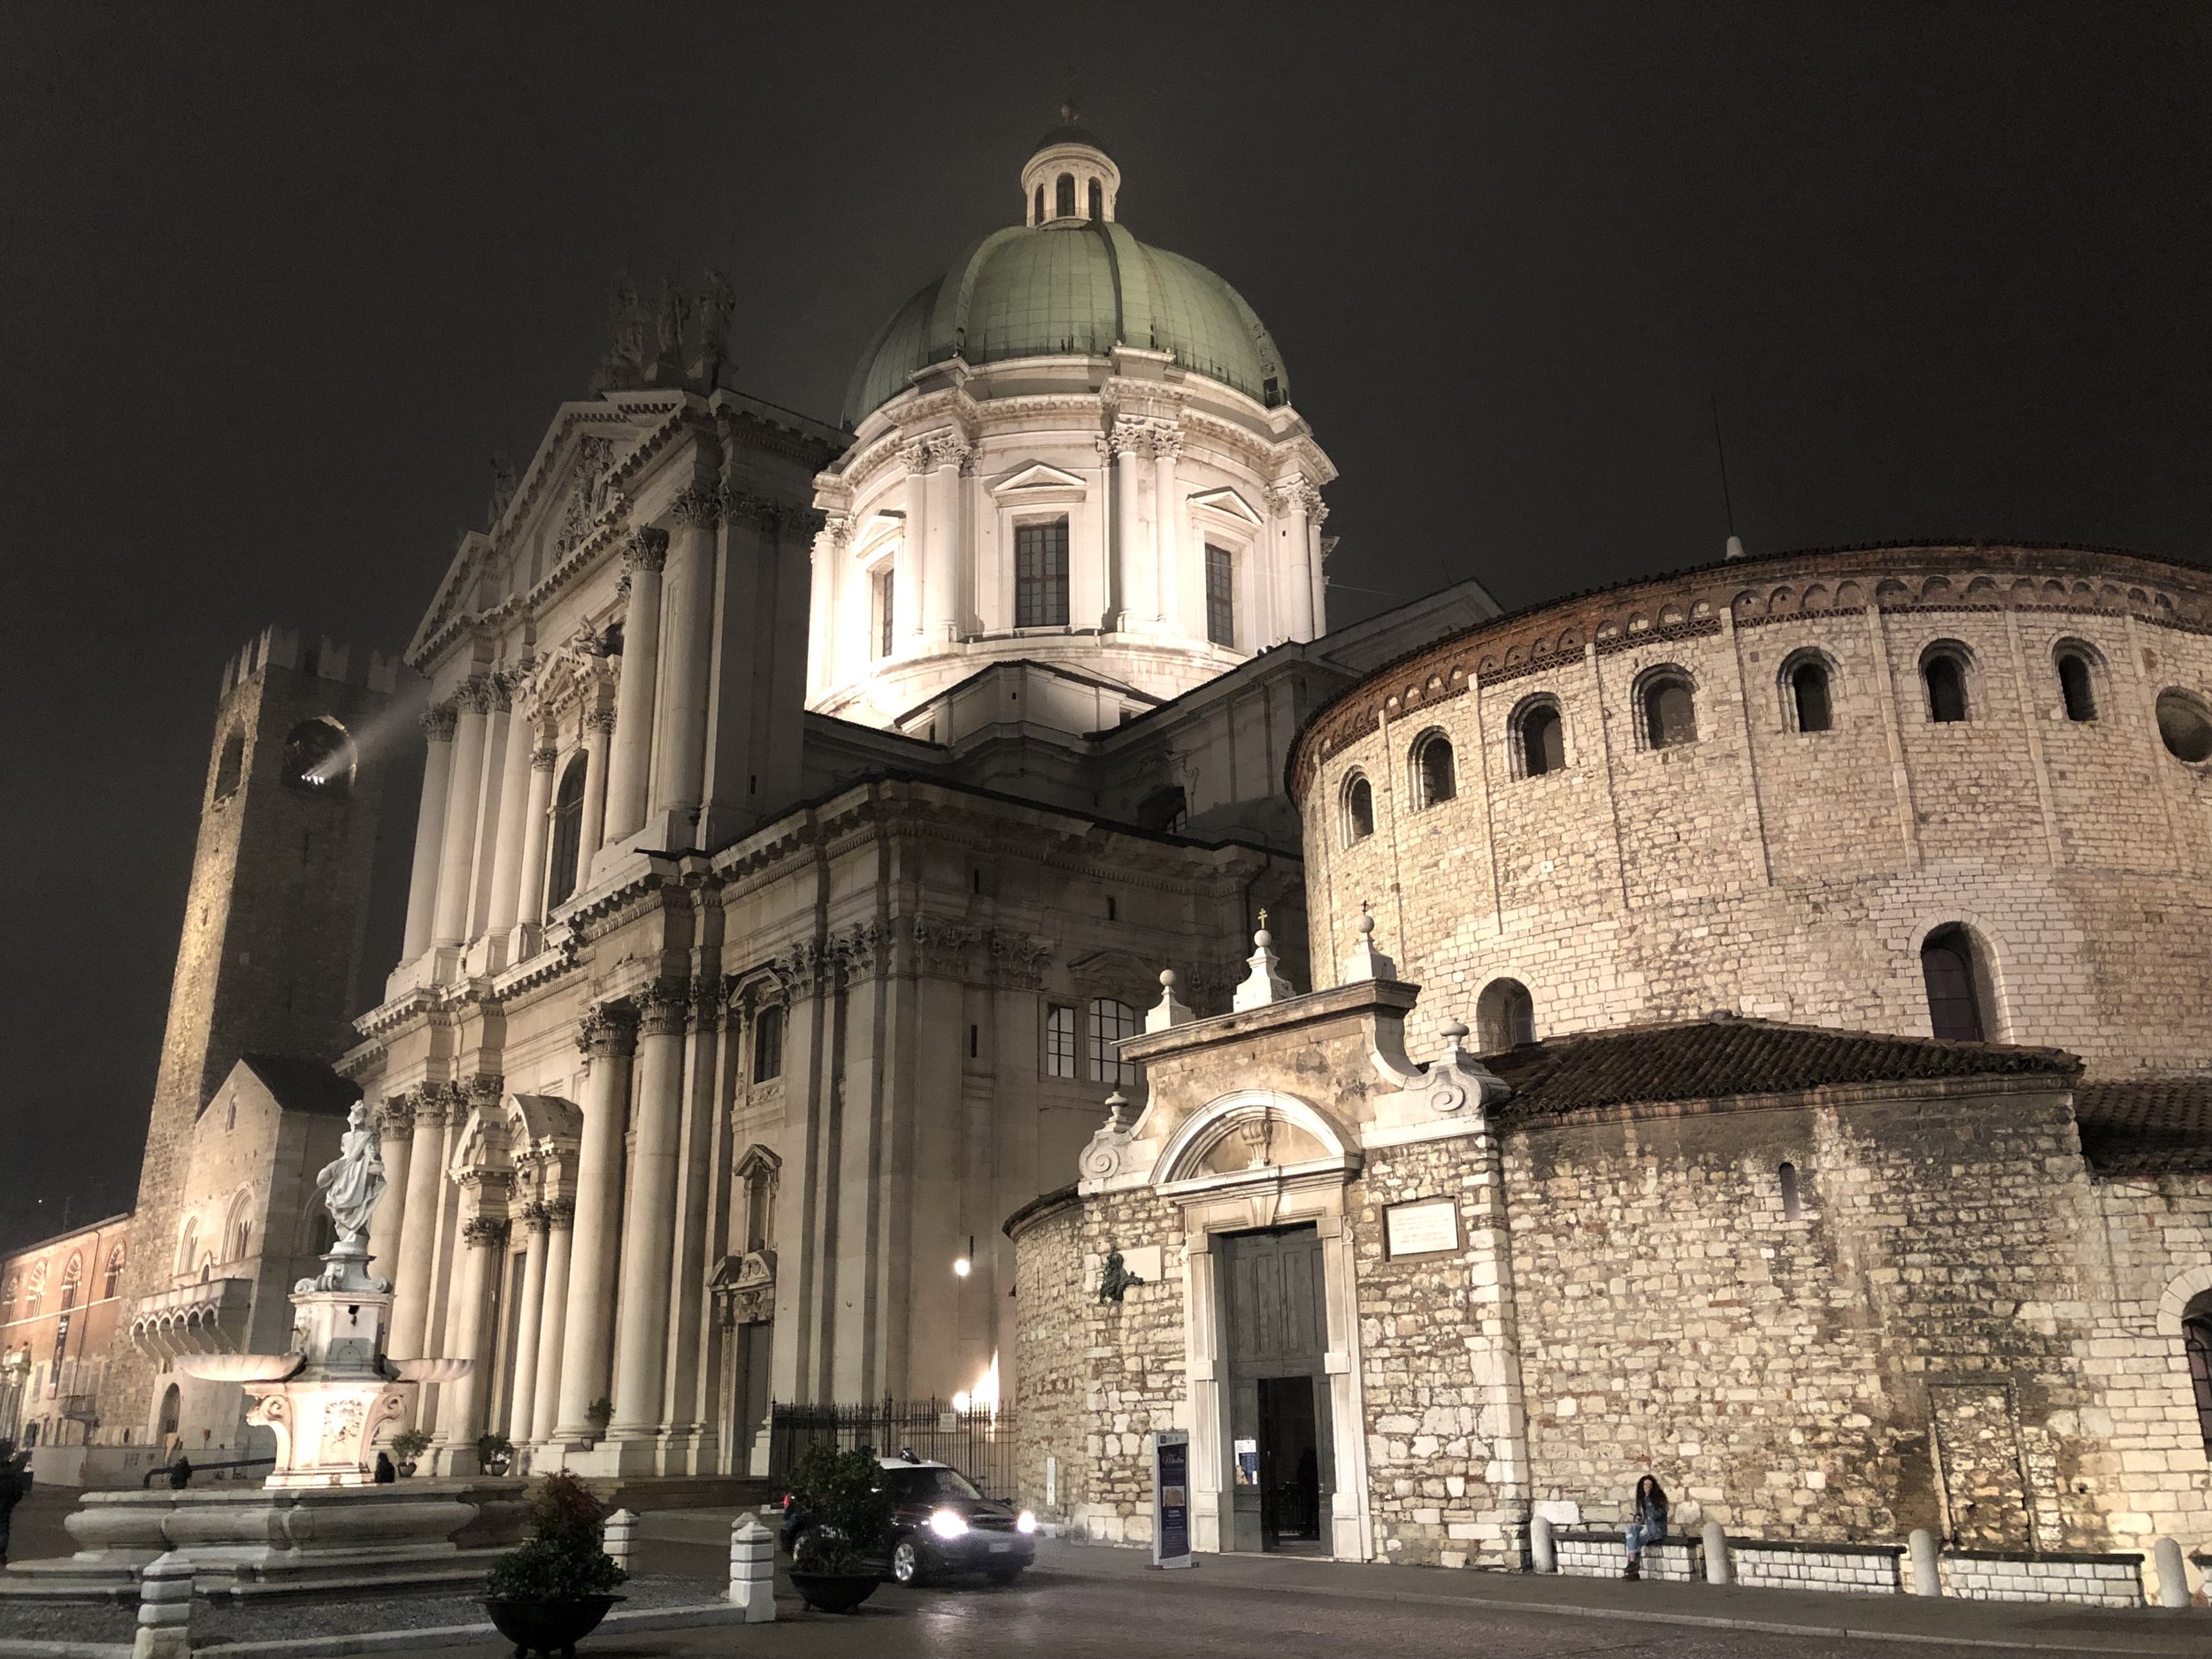
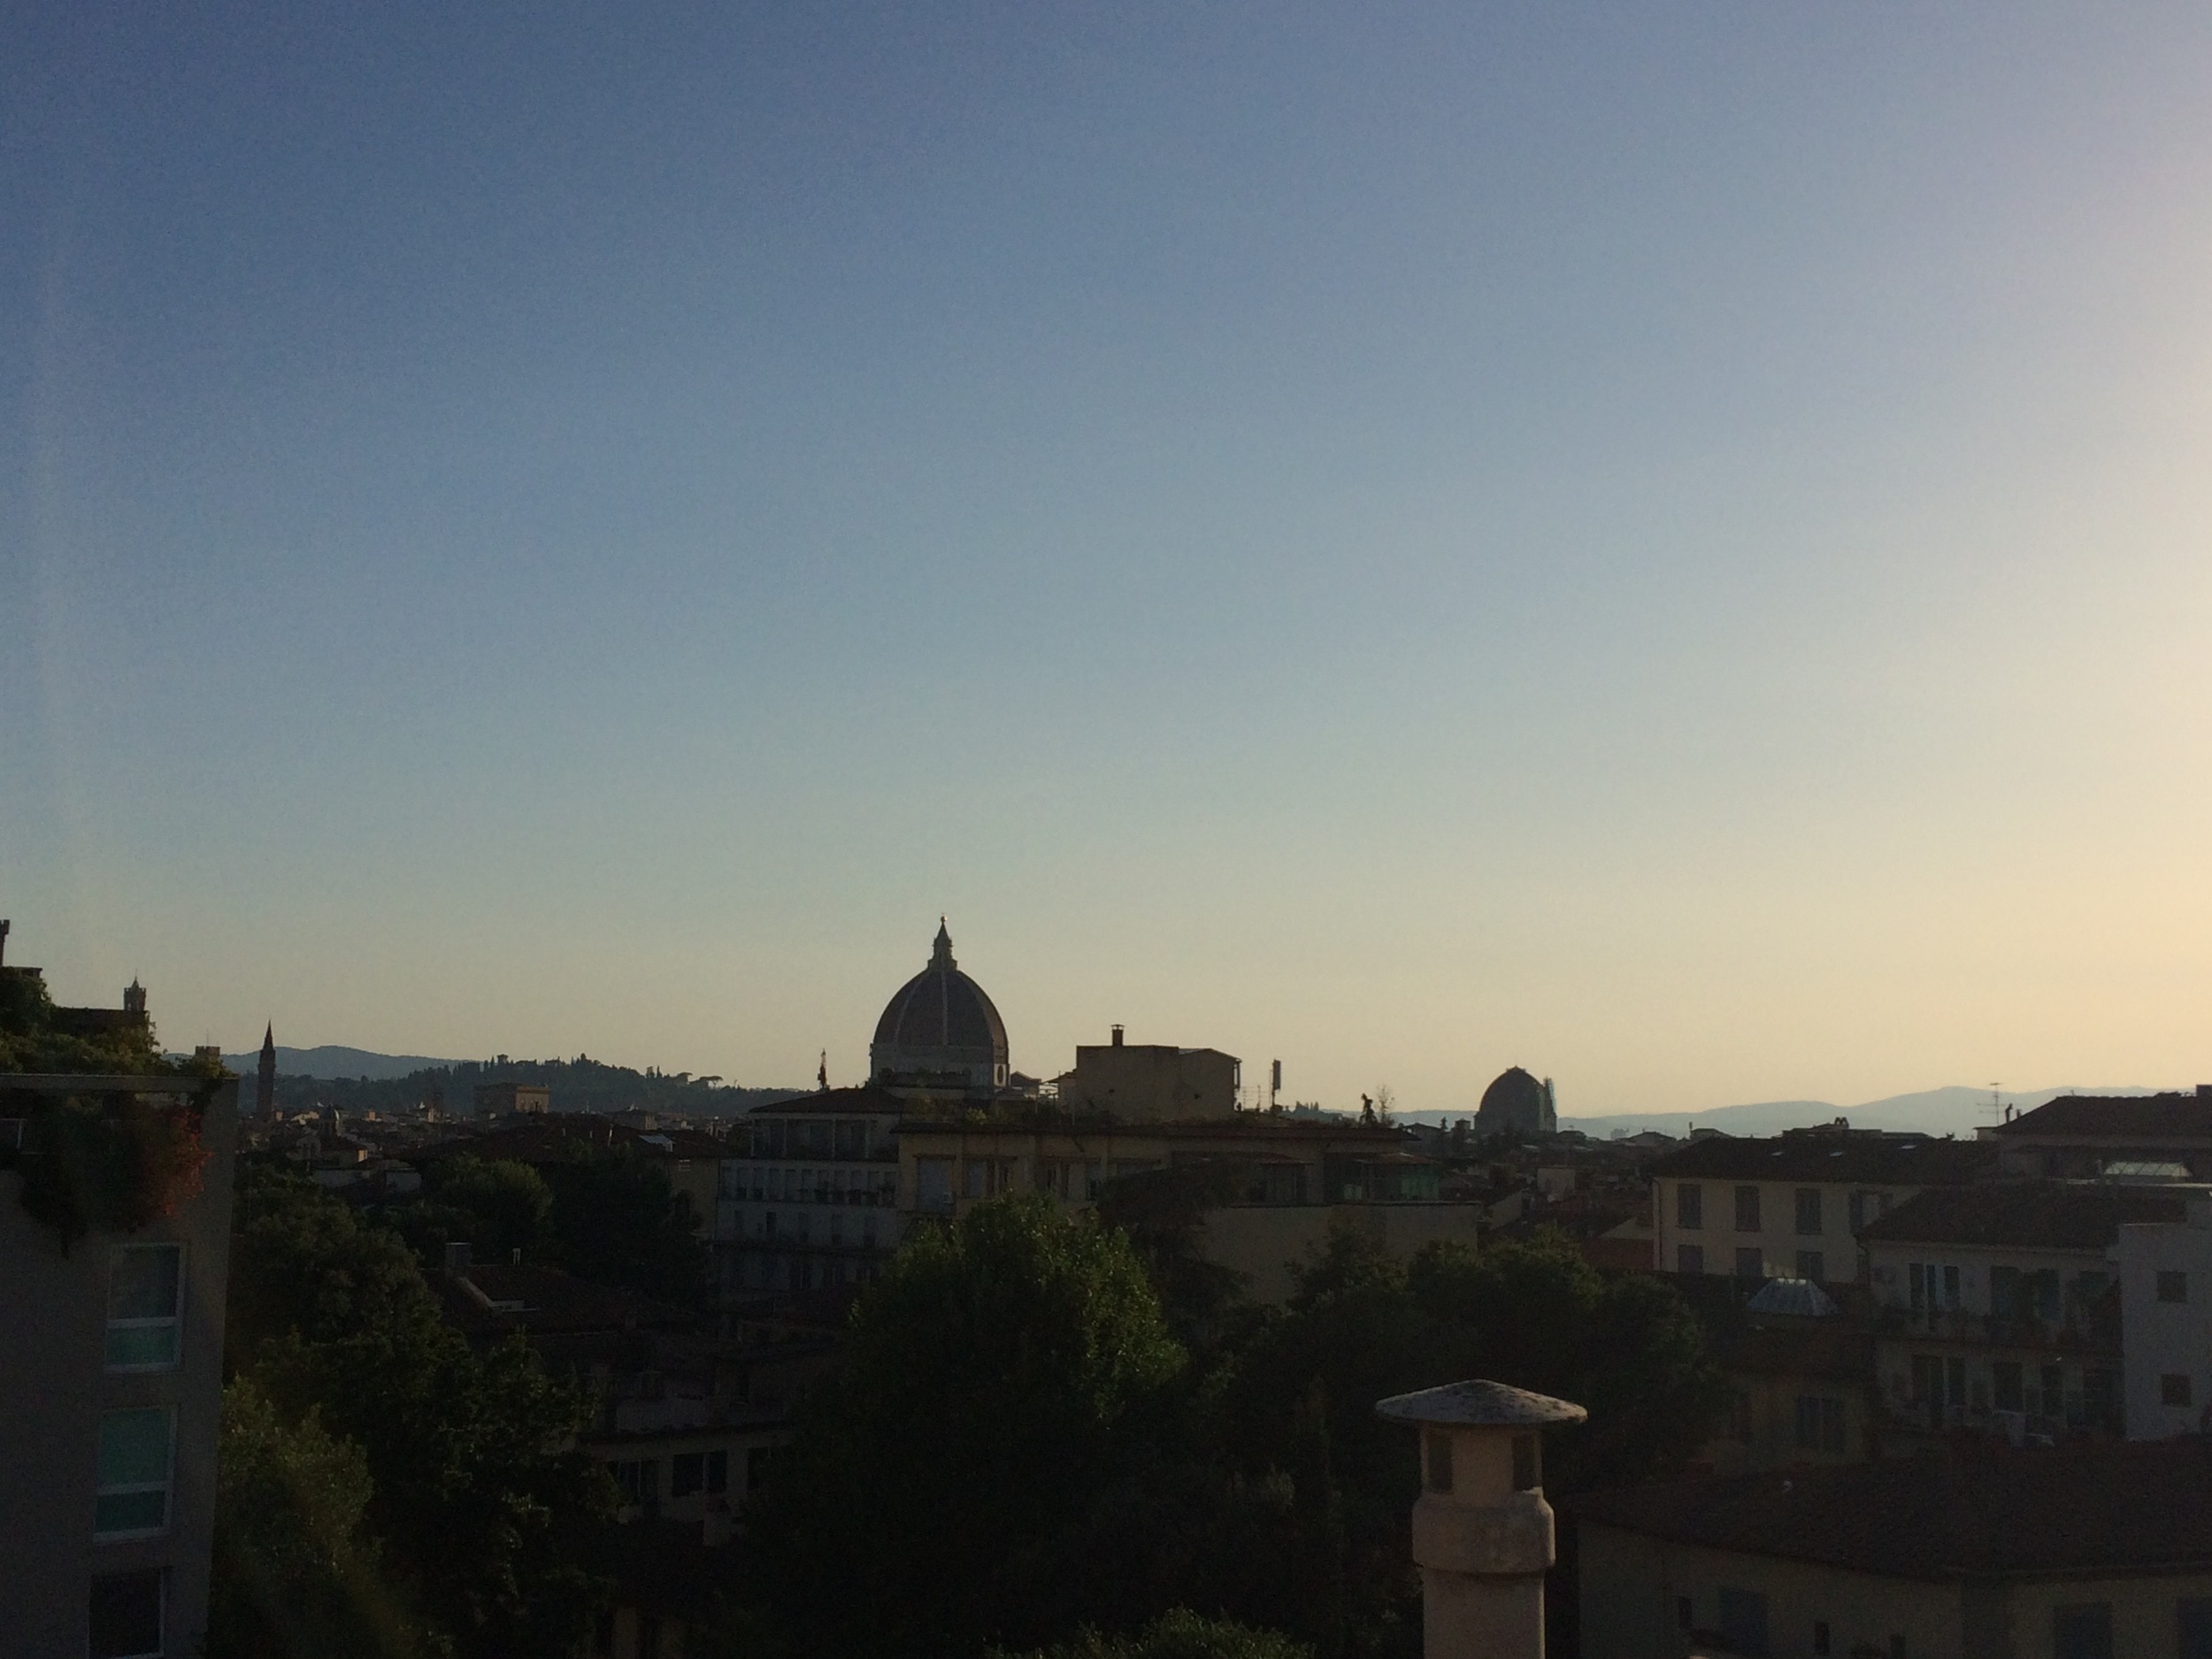
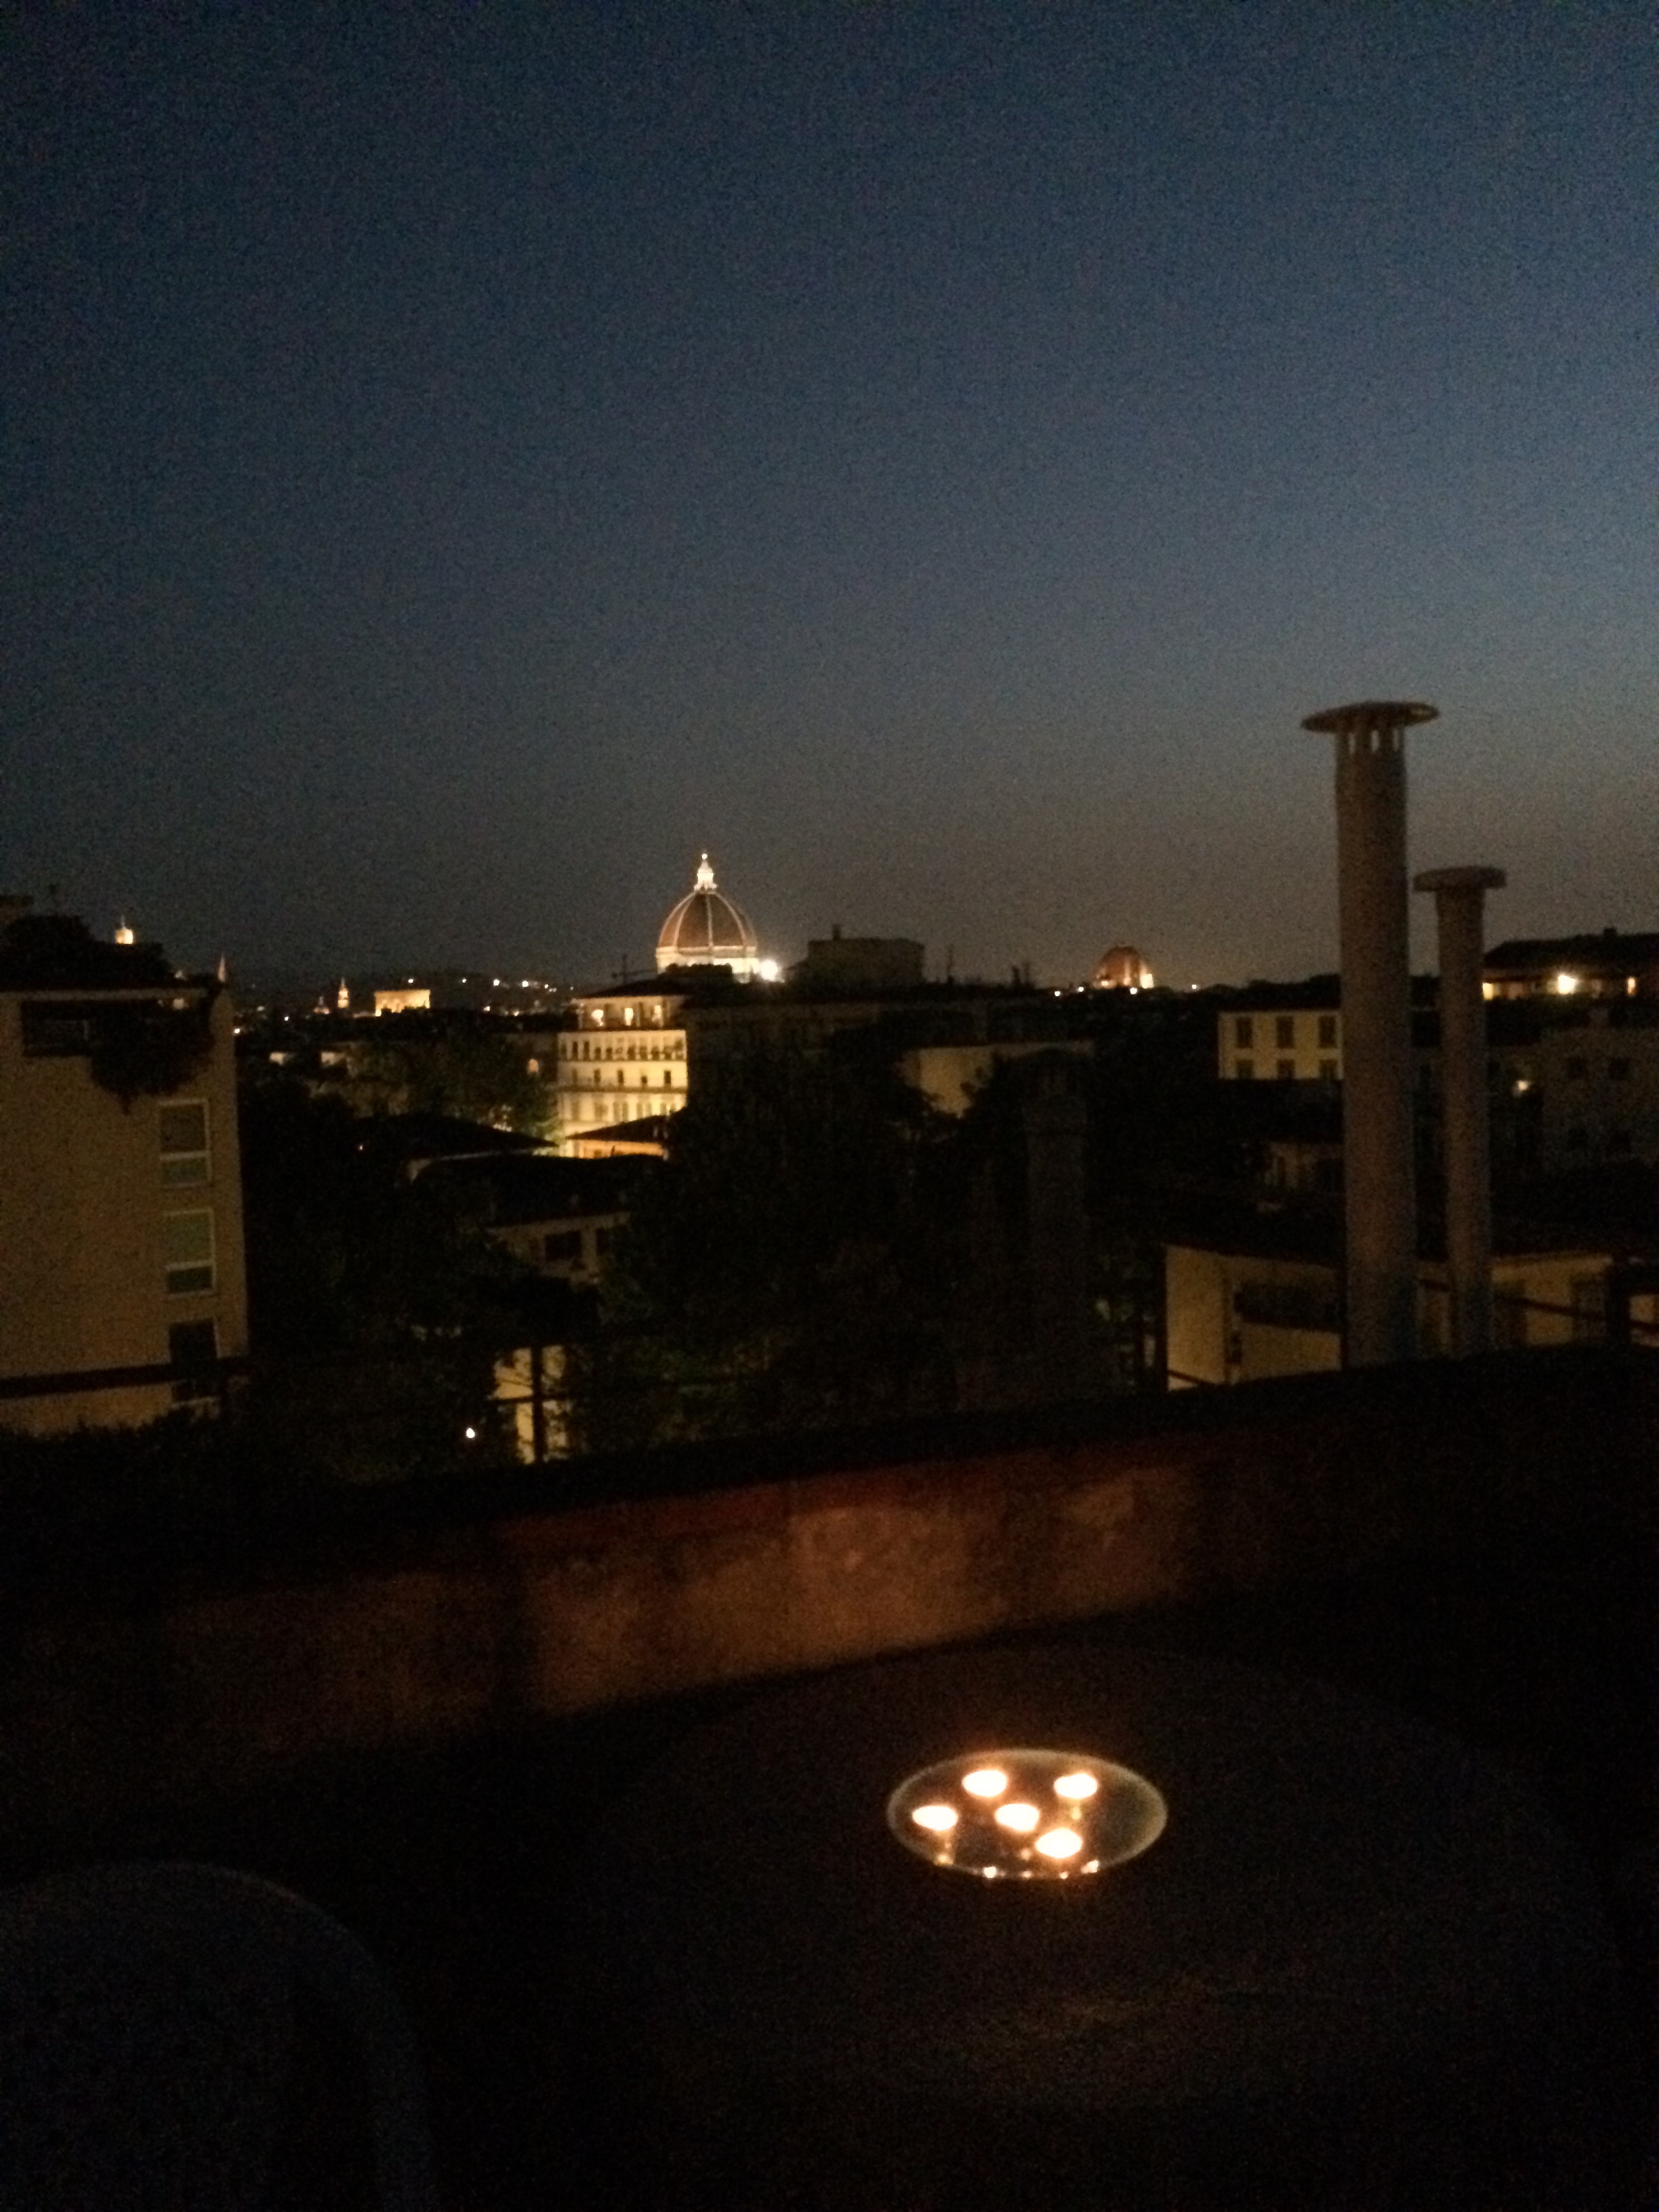
July 20th I moved out of Iacopo Nardi and into the Hand's second apartment. Sniff sniff. Paul and Melinda have 2 apartments right next door to each other, one for them and one for their 2 college-age daughters, Baleigh and McKayla, when they stay during the summers and holidays. Paul and Melinda are kind enough to let me stay in their girls' apartment for the next two months until I go home for Jeffrey and Rachel's wedding in October. Paul and I made numerous trips moving my stuff and all the Gallery 4 equipment that had been stored at Iacopo Nardi. Said goodbye to the gorgeous views from Iacopo Nardi's terrace, see below.

Bailey Shoemaker arrived July 19th and is visiting Gallery 4. Bailey is a graphic design artist, recent seminary graduate, and friend of Paul and Melinda who is staying in the girls' apartment also. We had a very cozy week with 4 girls in a technically 1 bedroom apartment before Baleigh and McKayla left to head back to college. Bailey and I got to share a trundle bed that first week, we got to be close friends fast. (Literally, hahaha) She's very cool.
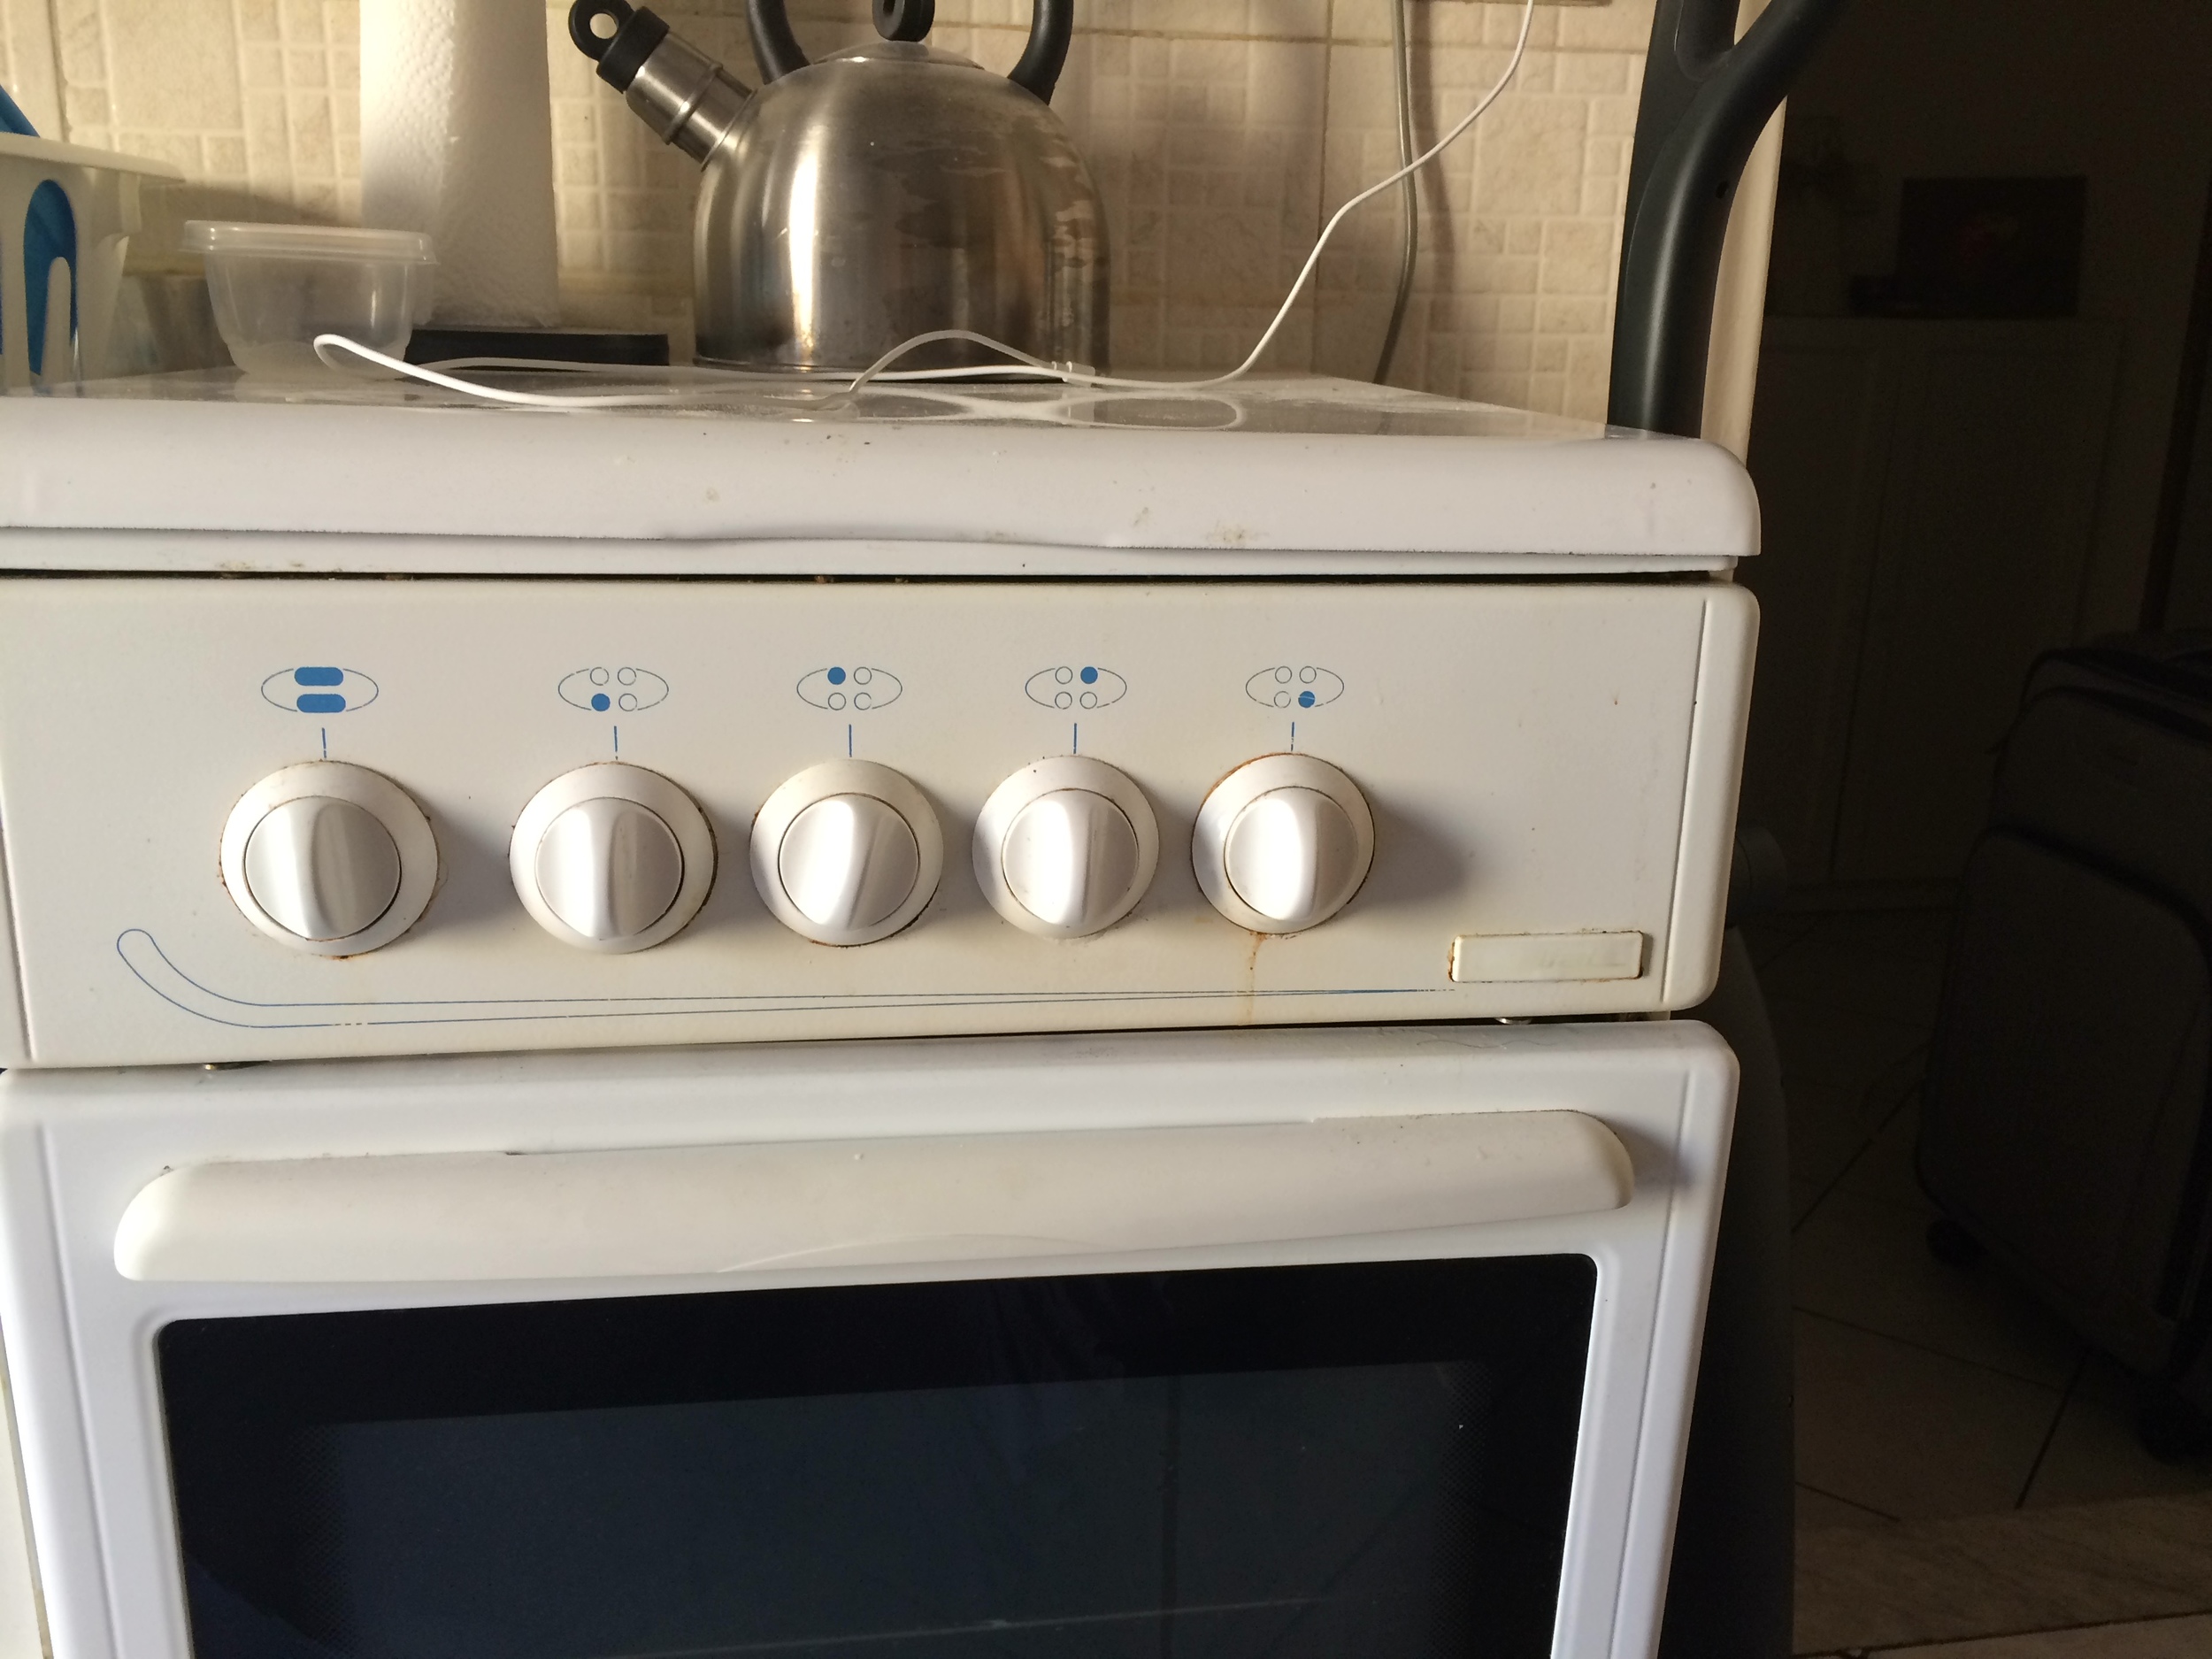
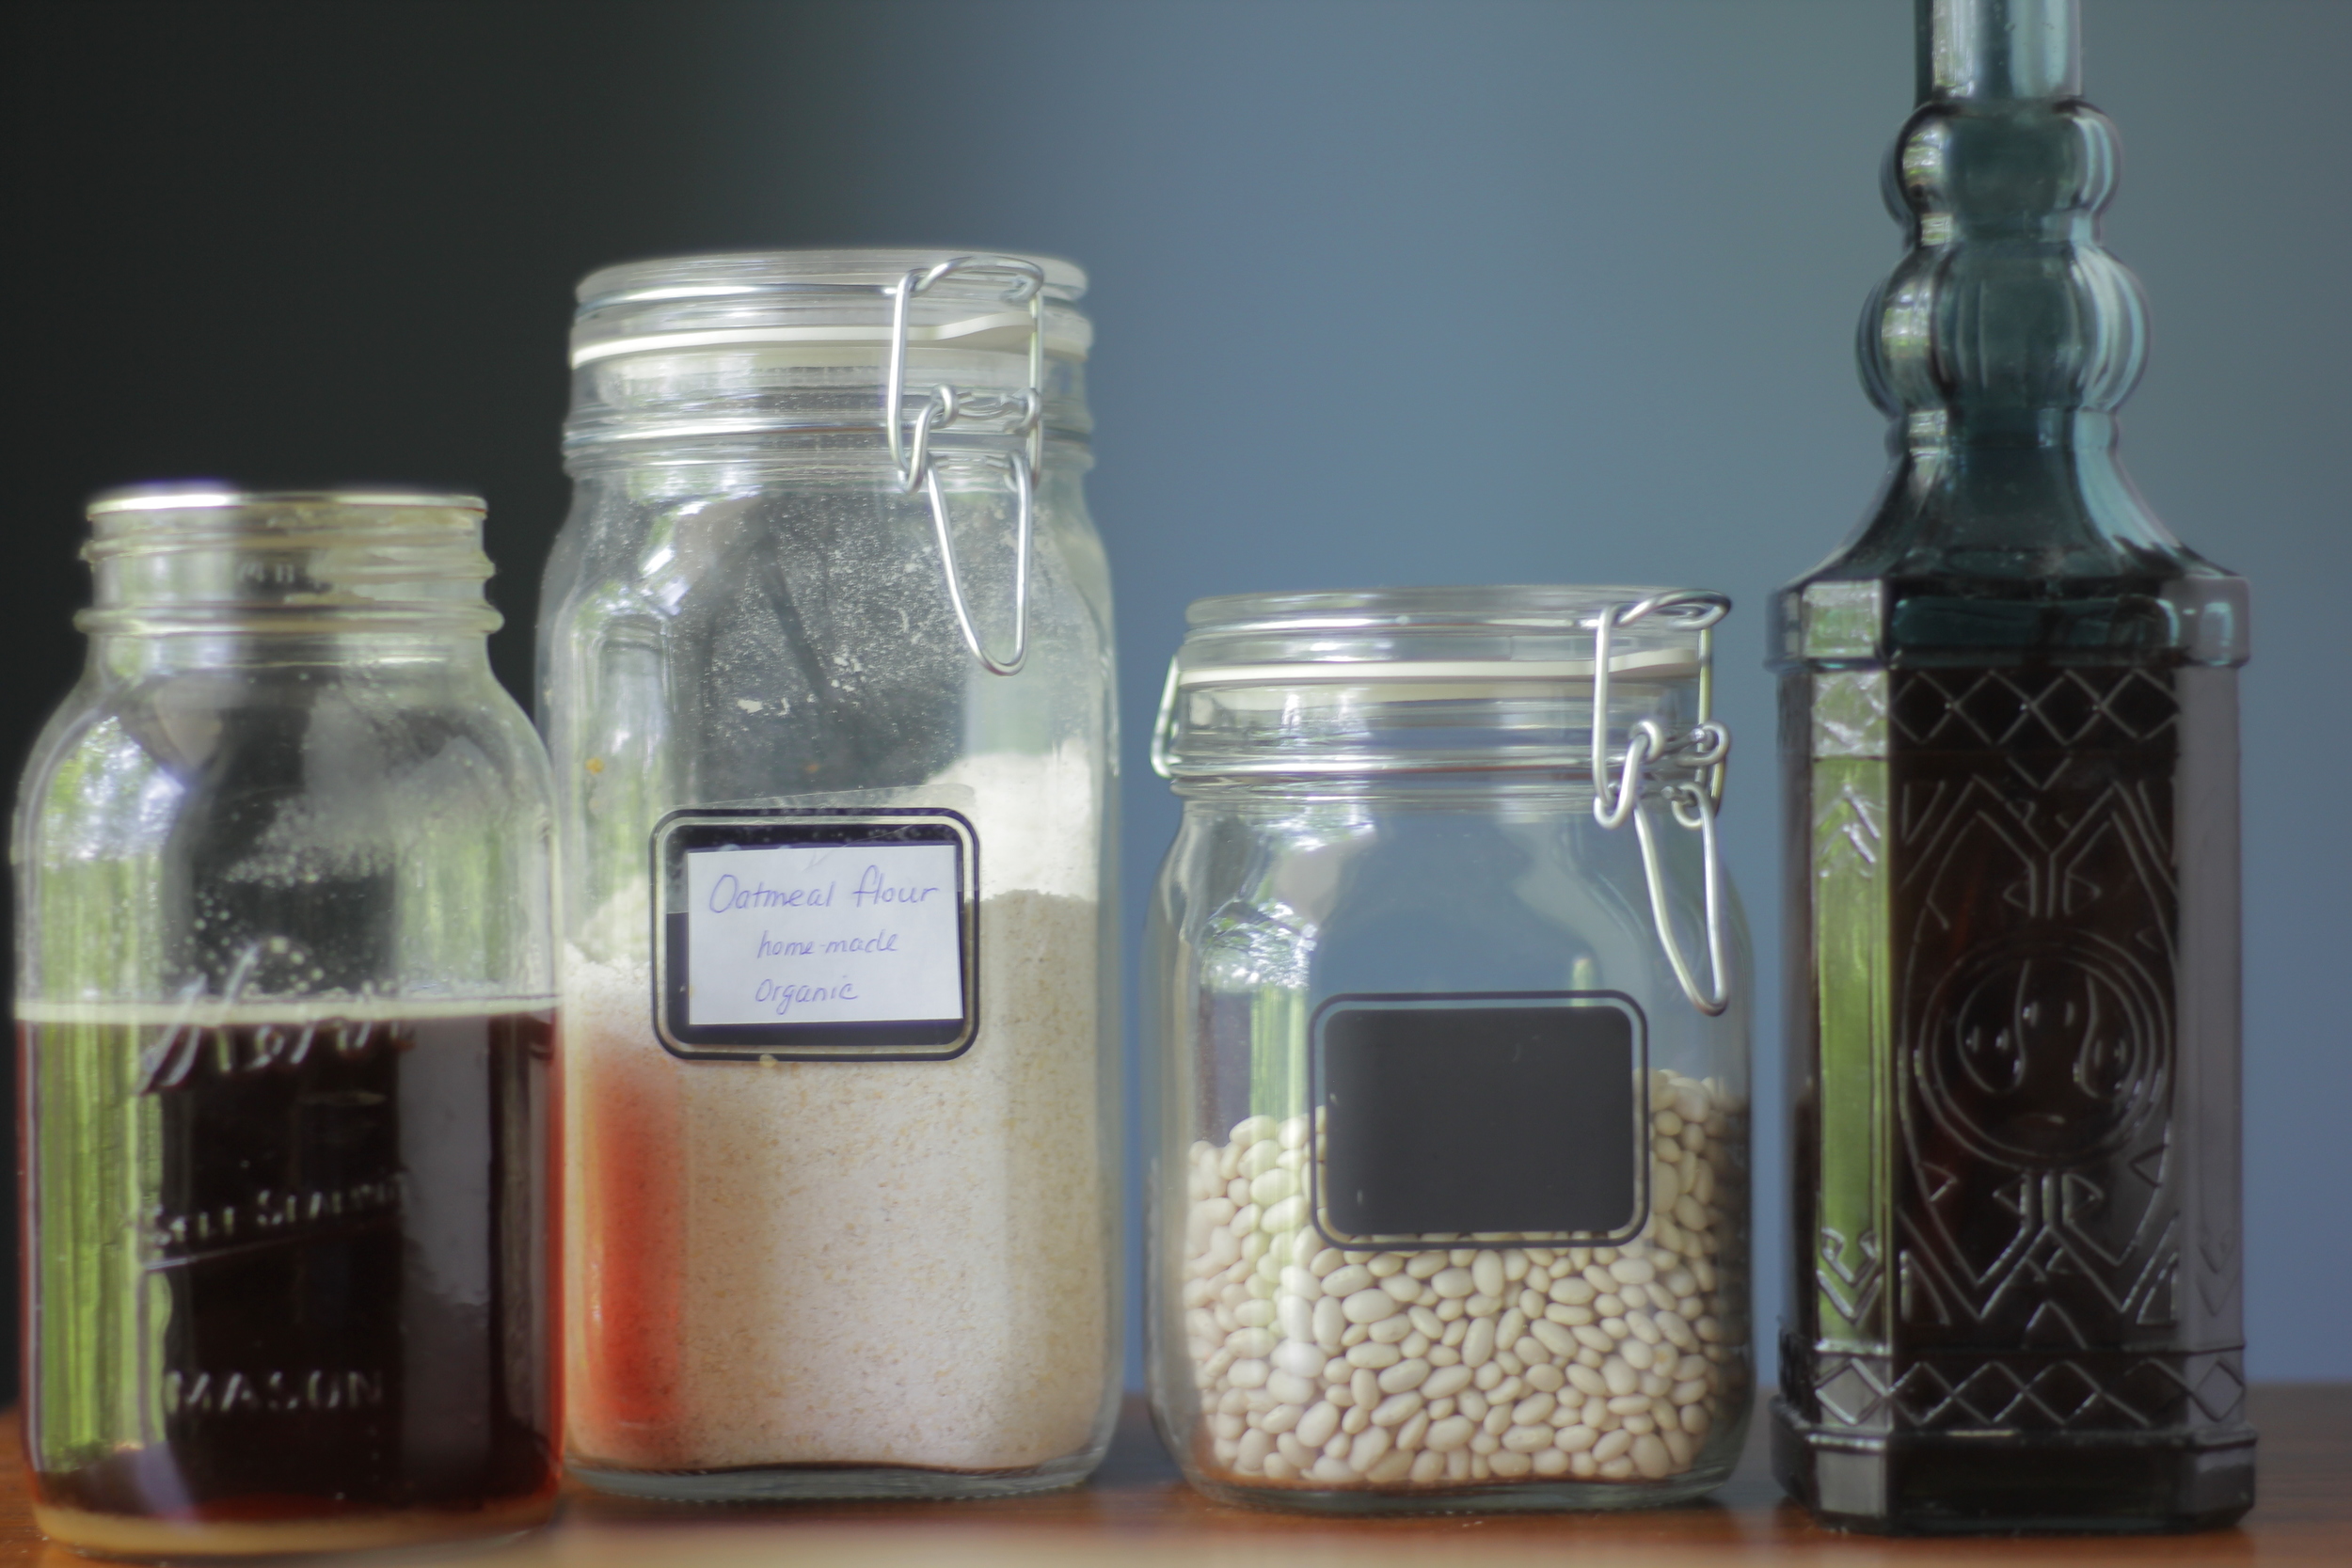
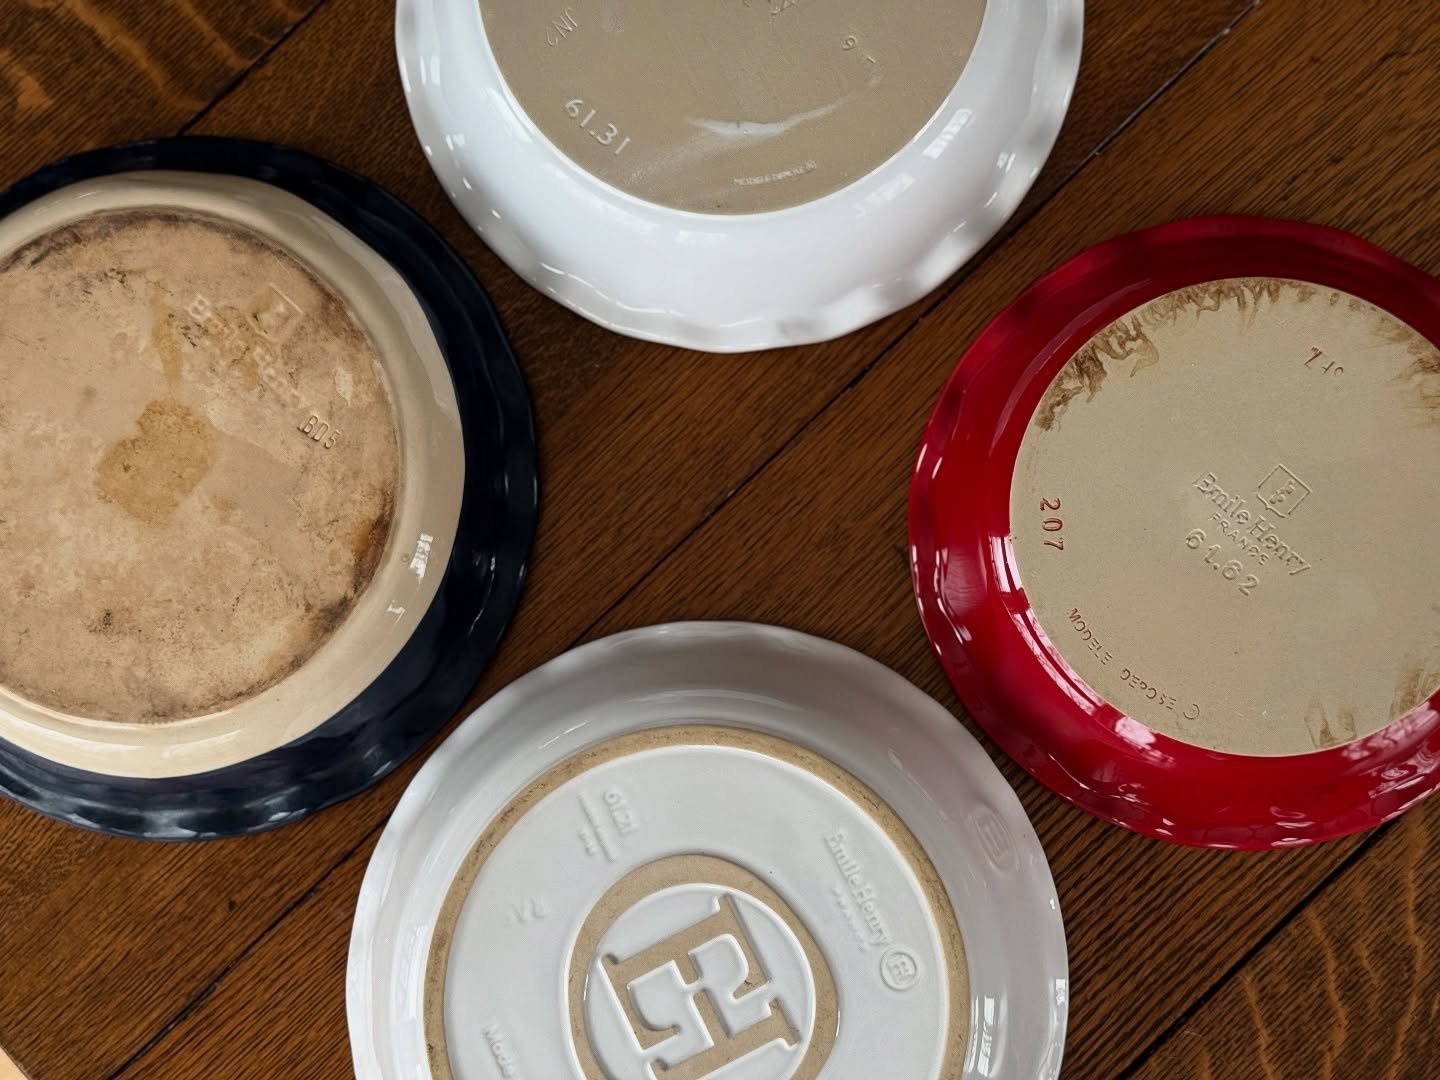
See that knob on the left? Yes. I'll have to adjust my recipes to say, "turn your oven on to two bars..."
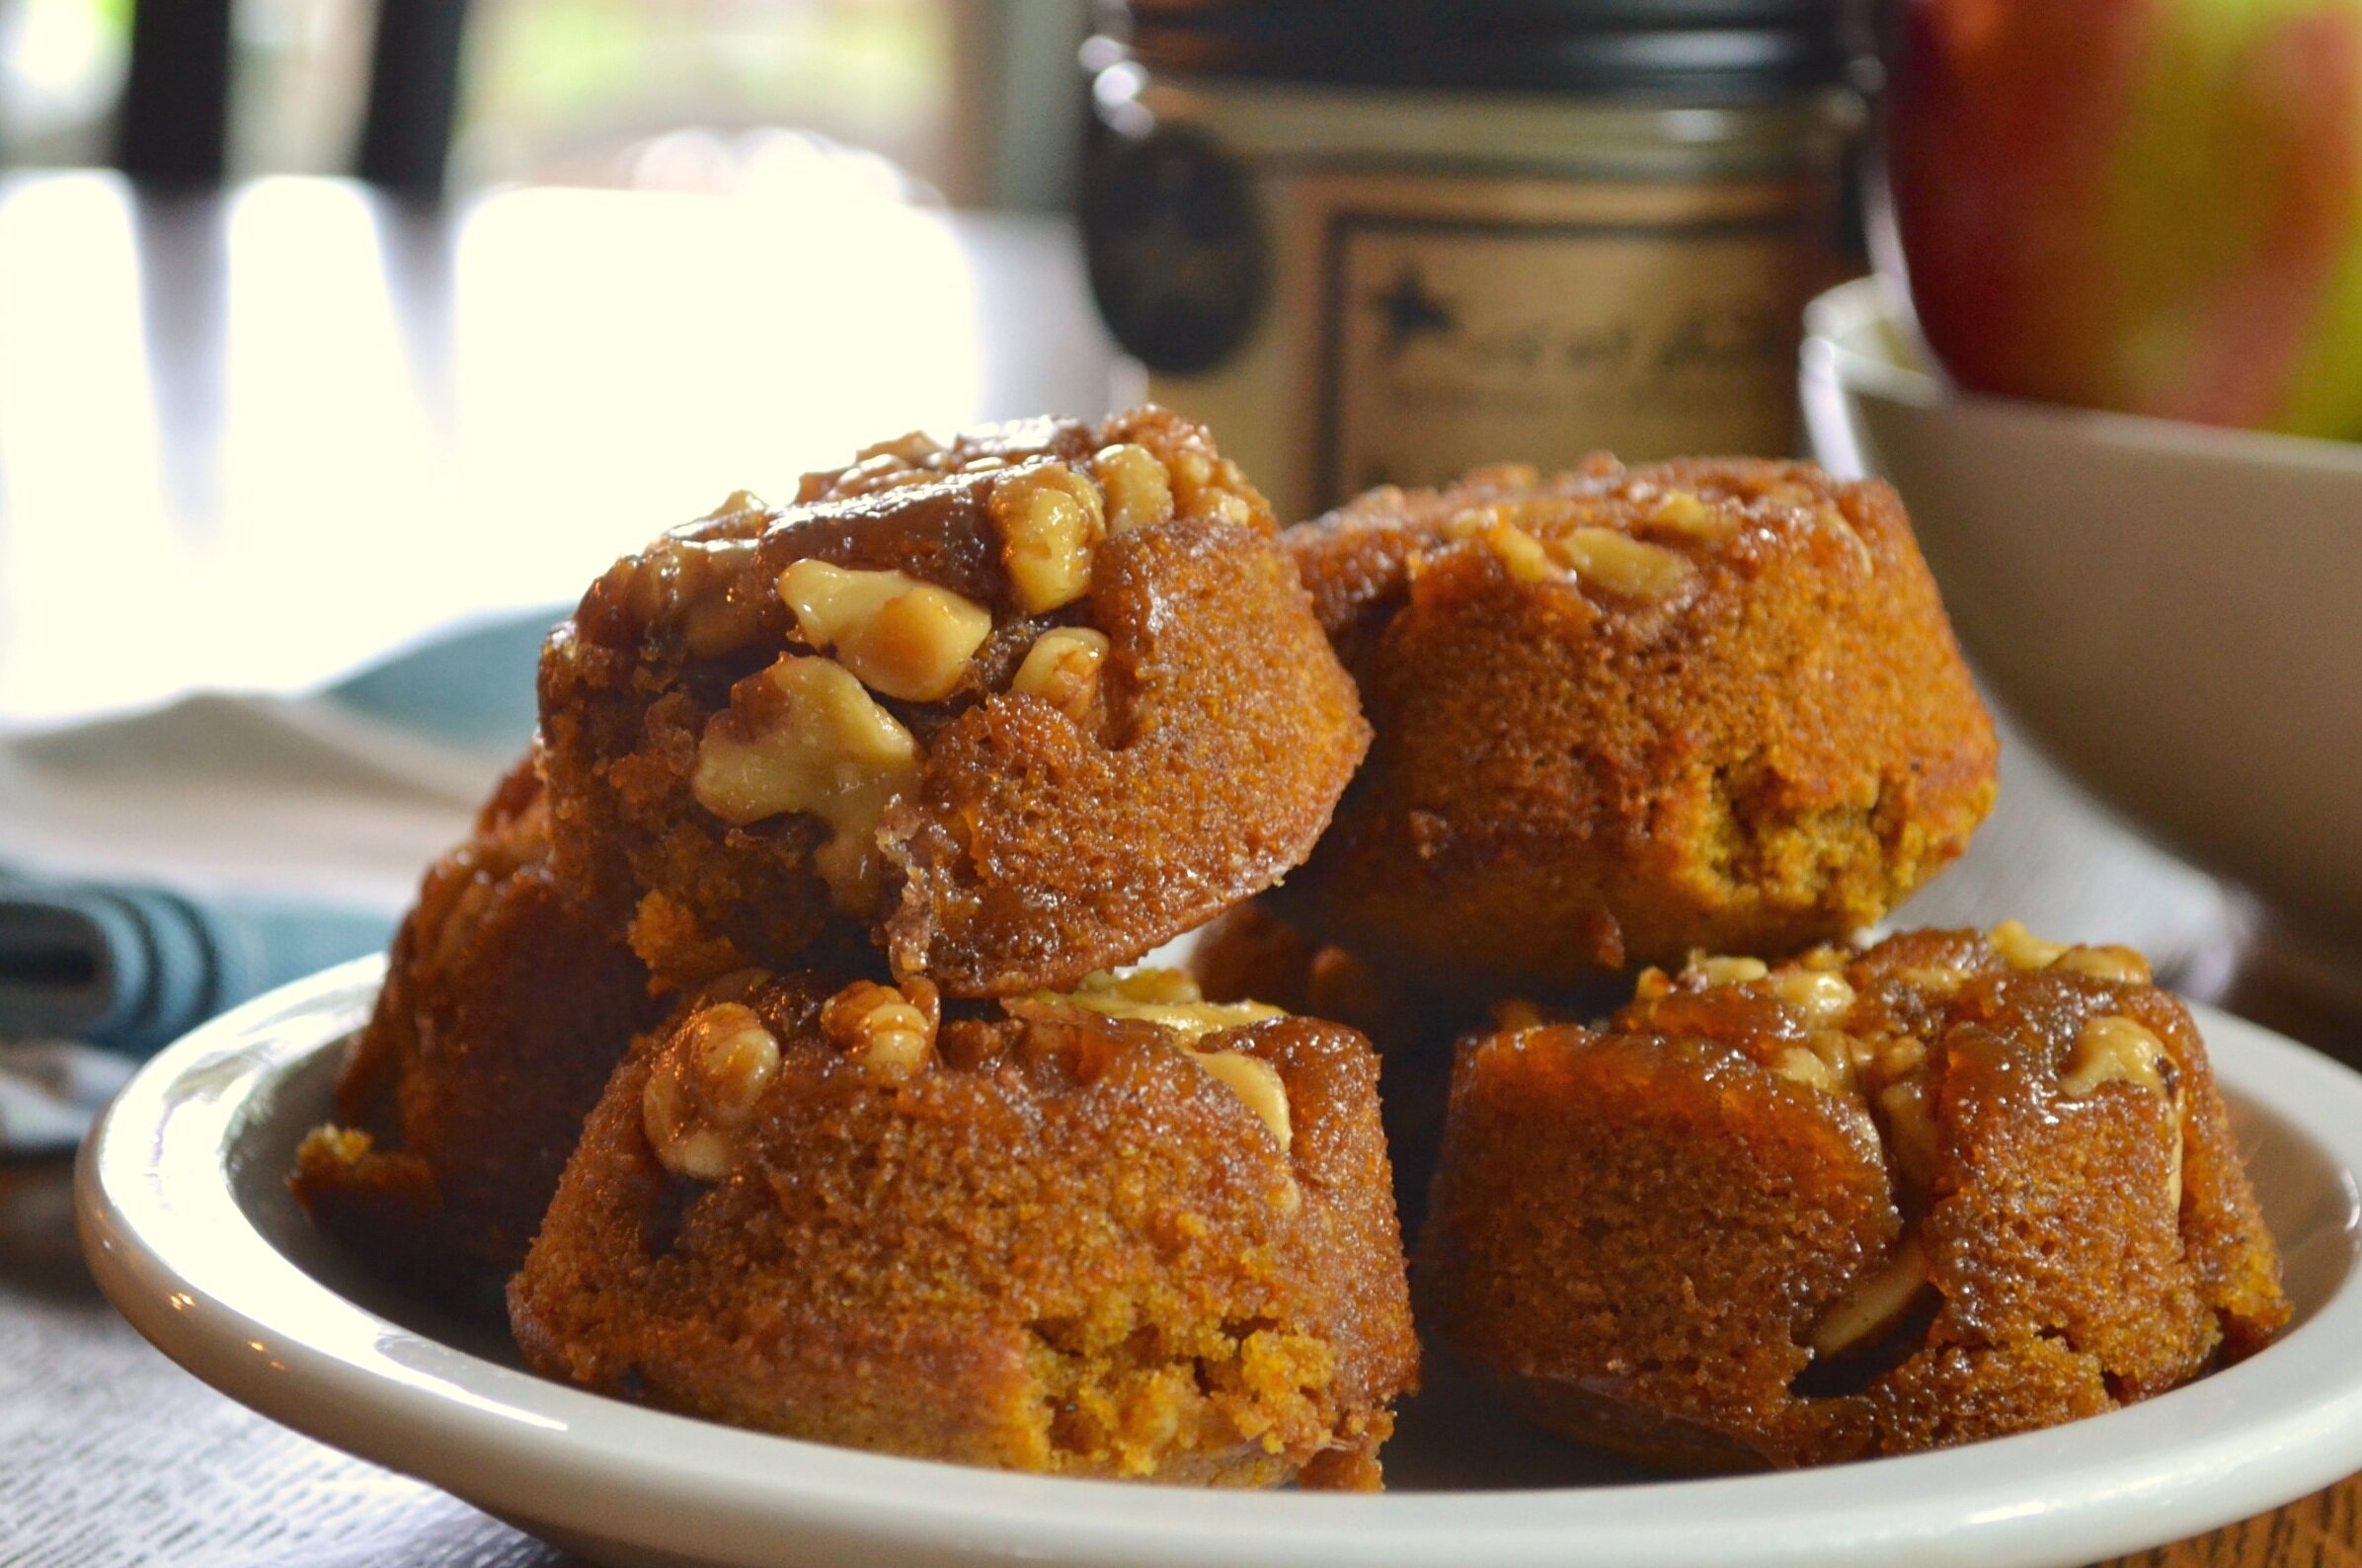
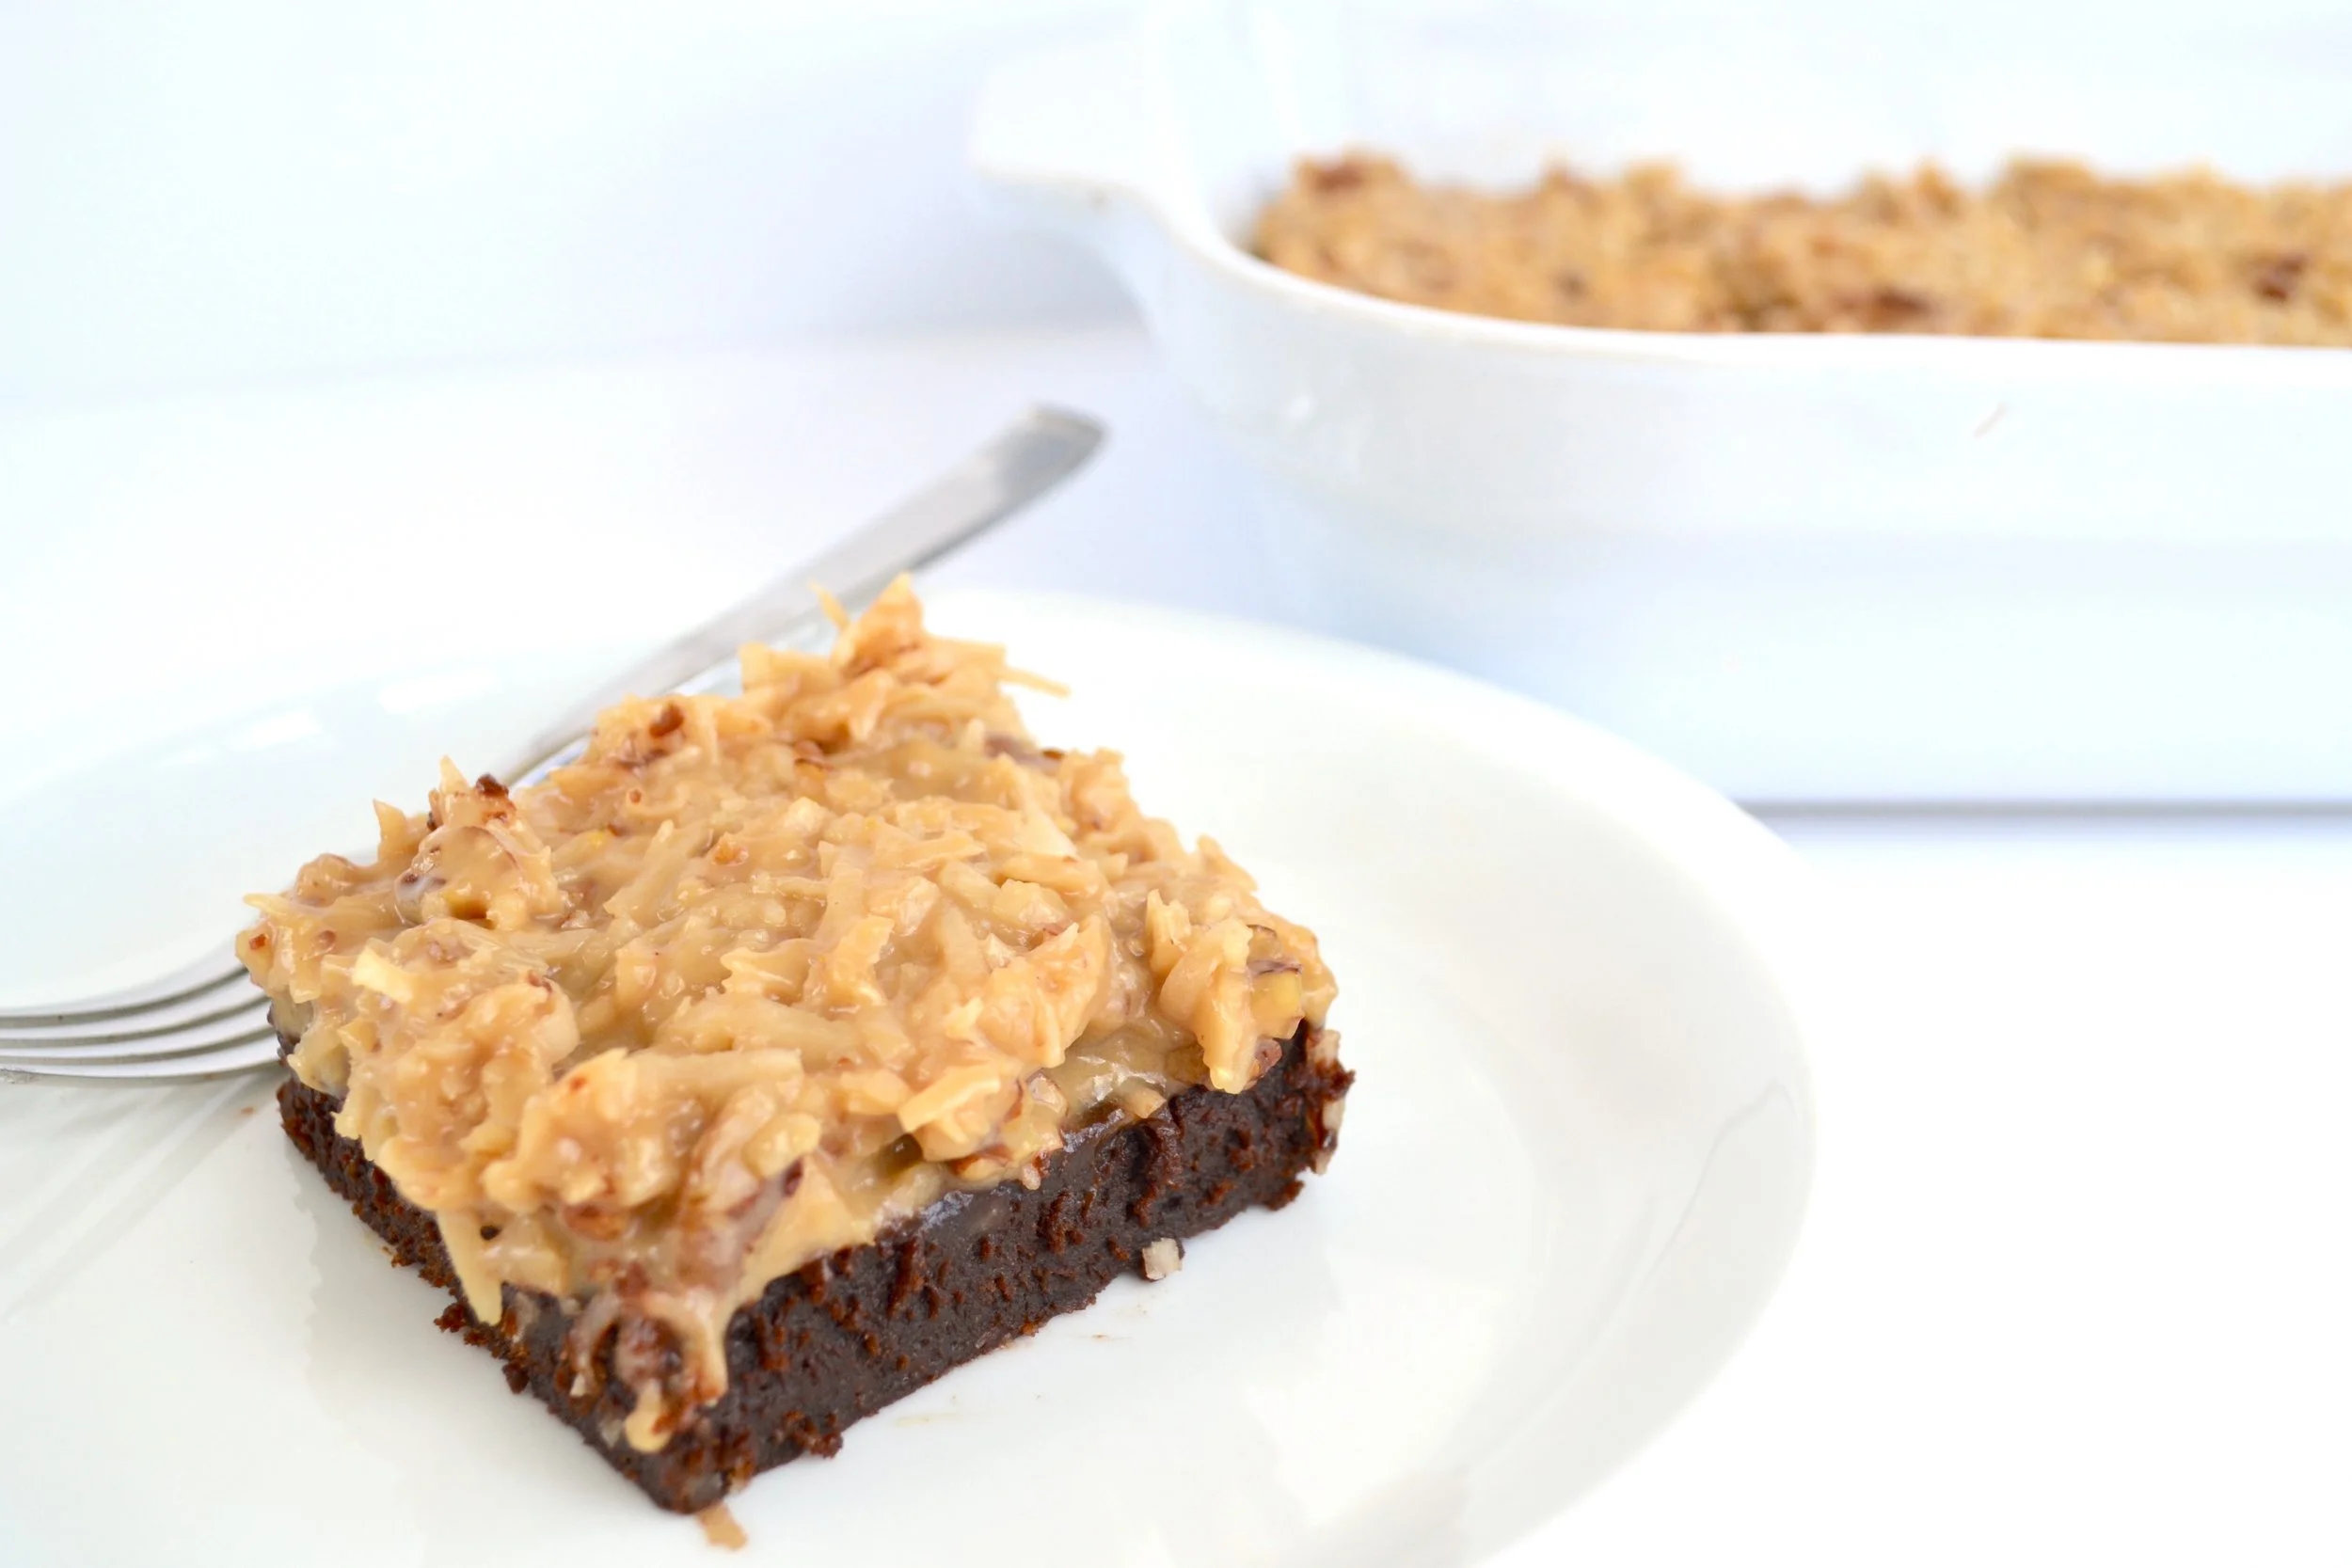
July 22nd we had our first Gallery Opening! Amongst all the packing up and moving, we were getting ready for our first gallery opening. I volunteered to bake mini brownies, cookies, and mini cupcakes...that was a bit ambitious of me in the midst of moving apartments and having no idea what the oven or baking conditions would be in my new living space! What was the first thing I unpacked? Not clothes, not a toothbrush, not my computer, but baking pans. I managed to fit in some baking and prep while still in Iacopo Nardi, where although not an ideal baking space, still familiar and comfortable! Ovens, baking ware, and kitchens are like people, you have to get to know them and their personalities. Little did I know that the oven in my new apartment has no numerical temperature gauge. Just a dial and your best guess. Porca Miseria, if I didn't love you so much, Italia, I would be shaking my fists in the air. So that was an entertaining ordeal trying to figure how far to turn the dial to get an approximate 350 Fahrenheit. My poor cupcakes were not amused and they let me know. The oven and I are getting on better terms, but let's just say we still give each other the wary eye. Hahaha.

Artwork by Jerrod Partridge
The Gallery opening went over very well! The Russian Art Academy let us use their dance studio to exhibit the art. We had a turnout of around 40 people, which we were pleasantly surprised and thankful for! Being in the heat of the summer, July and August are prime times for everyone to leave and head on holidays and to the sea, so we really didn't know if we should even expect anybody to show up, but we went forward trusting the Lord would bring people, and He did! We had refreshments and beverages and people got to mingle and talk with us and the artist, Jerrod Partridge. At 8:00 Paul spoke with the help of our translator, Natalie, sharing what Gallery 4 is about, the vision, the Gospel, and introduced Jerrod, who also spoke. I danced a short piece, and afterwards people got to mingle and eat some more, and ask questions! It was a success. The next two nights the Gallery was open for anyone who wanted to come and view the art or purchase it. We had good feedback from people, and some who wanted to know more about the Gospel and ask questions! For more pictures go to media.
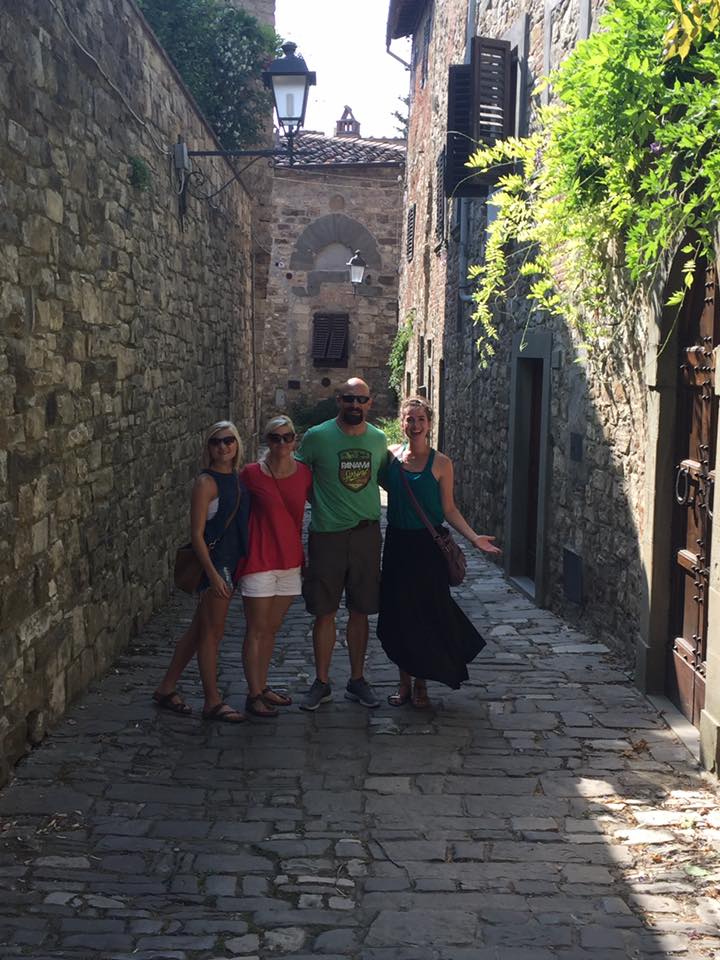
Baleigh (Hand), Melinda, Paul, and I in Montefioralle, Chianti, Italia
Baleigh and McKayla Hand left July 26th. It was sad to see two friends leave, but nice to have more space in the apartment. After the gallery opening things calmed back down and I could start re-settling in, unpack the necessities, and recoup after a crazy week.
And all the other things:
Getting to meet new friends and catch up with old ones, and see my Mosaico church family! I've started helping out in Sunday School, it's such a fascinatingly international church with people from the States, Italy, Australia, Canada, England, and all over.
Language learning is still a part of the everyday routine. Melinda, Bailey, and I have all started meeting with tandem language partners, where you meet with someone and "exchange" languages. It's very helpful, forces me to speak and get over the embarrassment factor, and listen and comprehend, which is hardest for me. We also use books for studying, I try and always think to myself in Italian, listen to and sing along with Italian music, and eavesdrop on any and all conversations I can get my ears on. My brain is constantly fatigued, but it is so fun and I enjoy it so much...most days. Some days I just want to curl into a ball and wish and pray myself into being fluent. Or receive the gift of tongues. Whichever.
The battle of finding a gallery space of our very own is still being fought. Paul is on the hunt and has looked at every space he can find. Between our budget, finding a space large enough, in a decent neighborhood and with a room big enough to teach ballet, the pickings are slim. Not to mention the spaces we have found and liked and bid on, even getting as far as about to sign the contracts, something has always gone wrong, changed, or fallen through. It's discouraging to say the least, but I can only hope that it is the Lord's sovereign design keeping us from getting any less than what He has for His purposes here. It is all a very complicated process, some spaces needed to be re-zoned and/or have bathrooms and showers added to be up to code for a dance studio, all ac units replaced, and other things costing several thousand euros or more. We have had a "commercialista" (business consultant) and an architect aside from our realtor helping us try and figure out the bureaucracy of things. Not everything here is sipping Chianti wine while eating pasta in the rolling hills of Tuscany with only the worry of where are you going to get gas for your vespa.
I now have my official paperwork from the Russian Art Academy to be able to apply for a student visa when I return to Michigan in September! The good news is that it was relatively simple to obtain, the bad news is that it cost more than I was expecting with commission fees.
Prayer:
That I would be able to find an apartment for my two roommates and I for when we arrive back in October. August is upon us, which also means everyone is going on vacation and I am having a hard time getting a hold of anyone at the immobiliare (real estate).
That the Lord would provide a Gallery Space. We have been looking long and hard, please pray for direction and encouragement and tranquillity while we wait on the Lord to show the way.
Praise! The Gallery Opening helped make very clear the intentions of Gallery 4, and more people are asking questions about what we are doing, are excited for the vision of using the arts to share the Gospel, and are asking questions about the Gospel!
Praise! I was able to buy my round-trip ticket from Traverse City to Florence for when I head back in October. And it was a very reasonable price! A round-trip ticket is another "document" I will need to show to the Italian consulate when I apply for my visa.
And always for the people, our friends and everyone we come into contact with, for their hearts, and for the love of Christ to be made known!
Thanks for reading, thanks for praying, thanks for supporting, it's a privilege to partner with you to pursue Christ and His Kingdom in Florence, Italy!