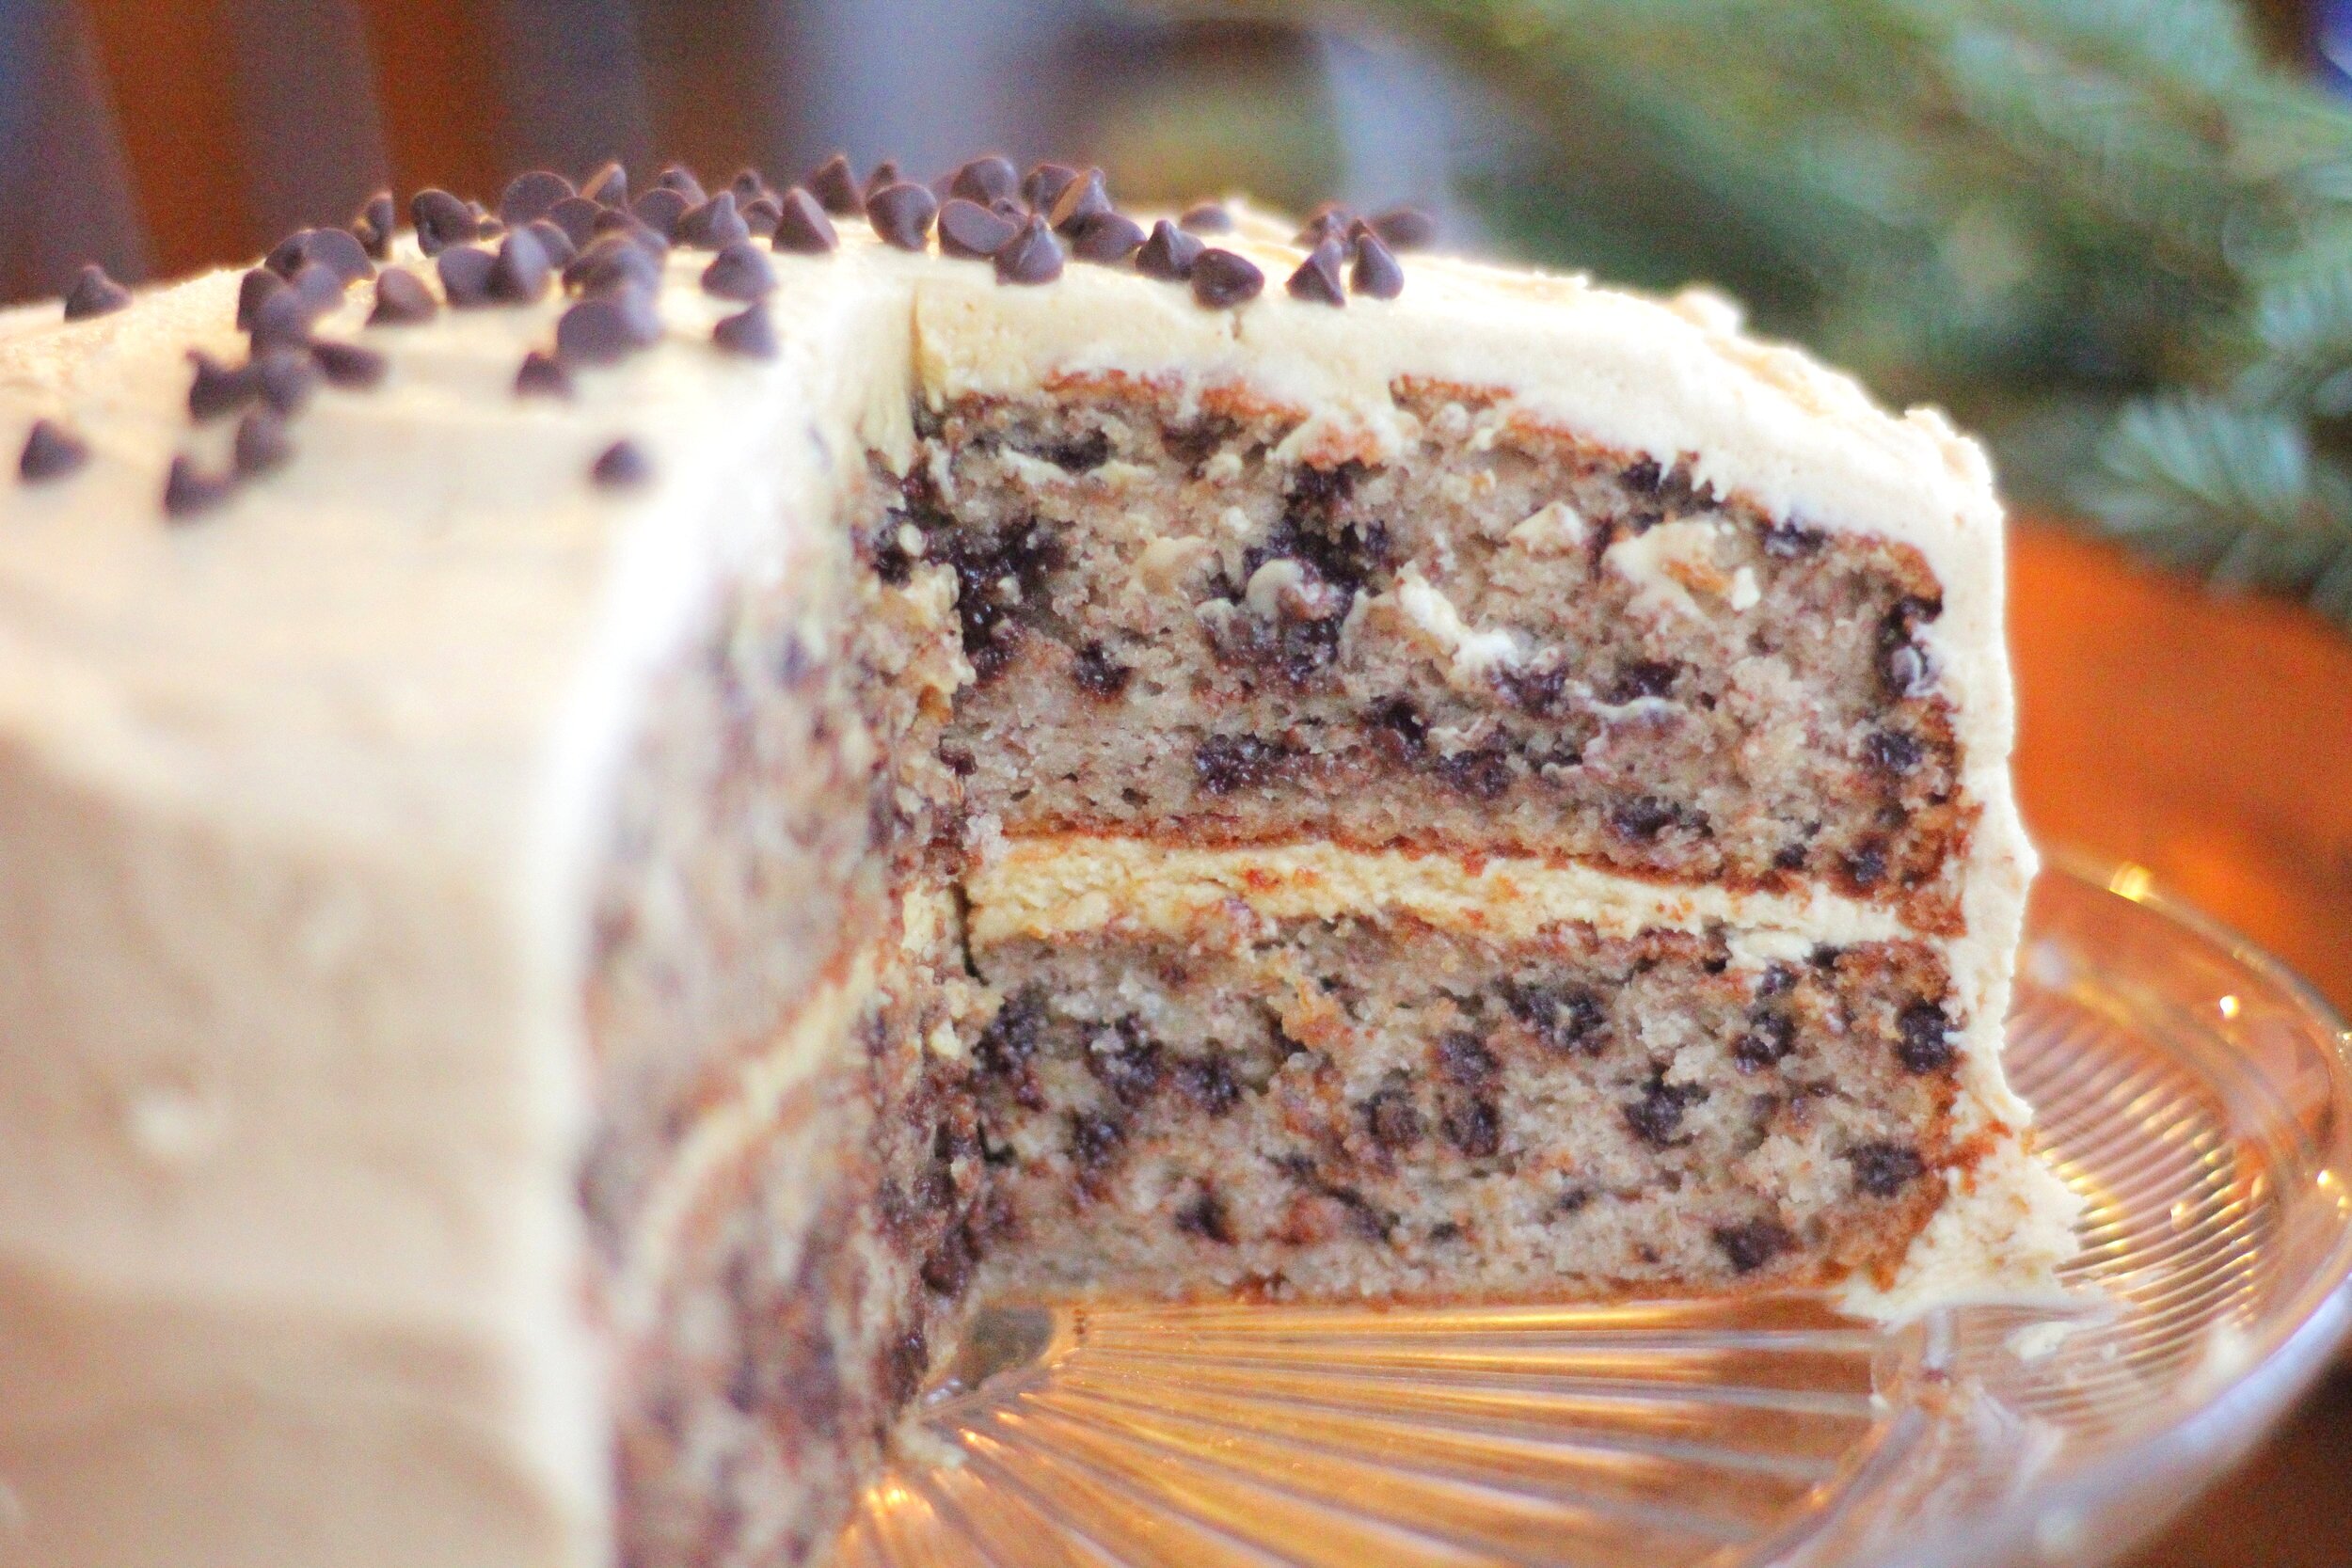
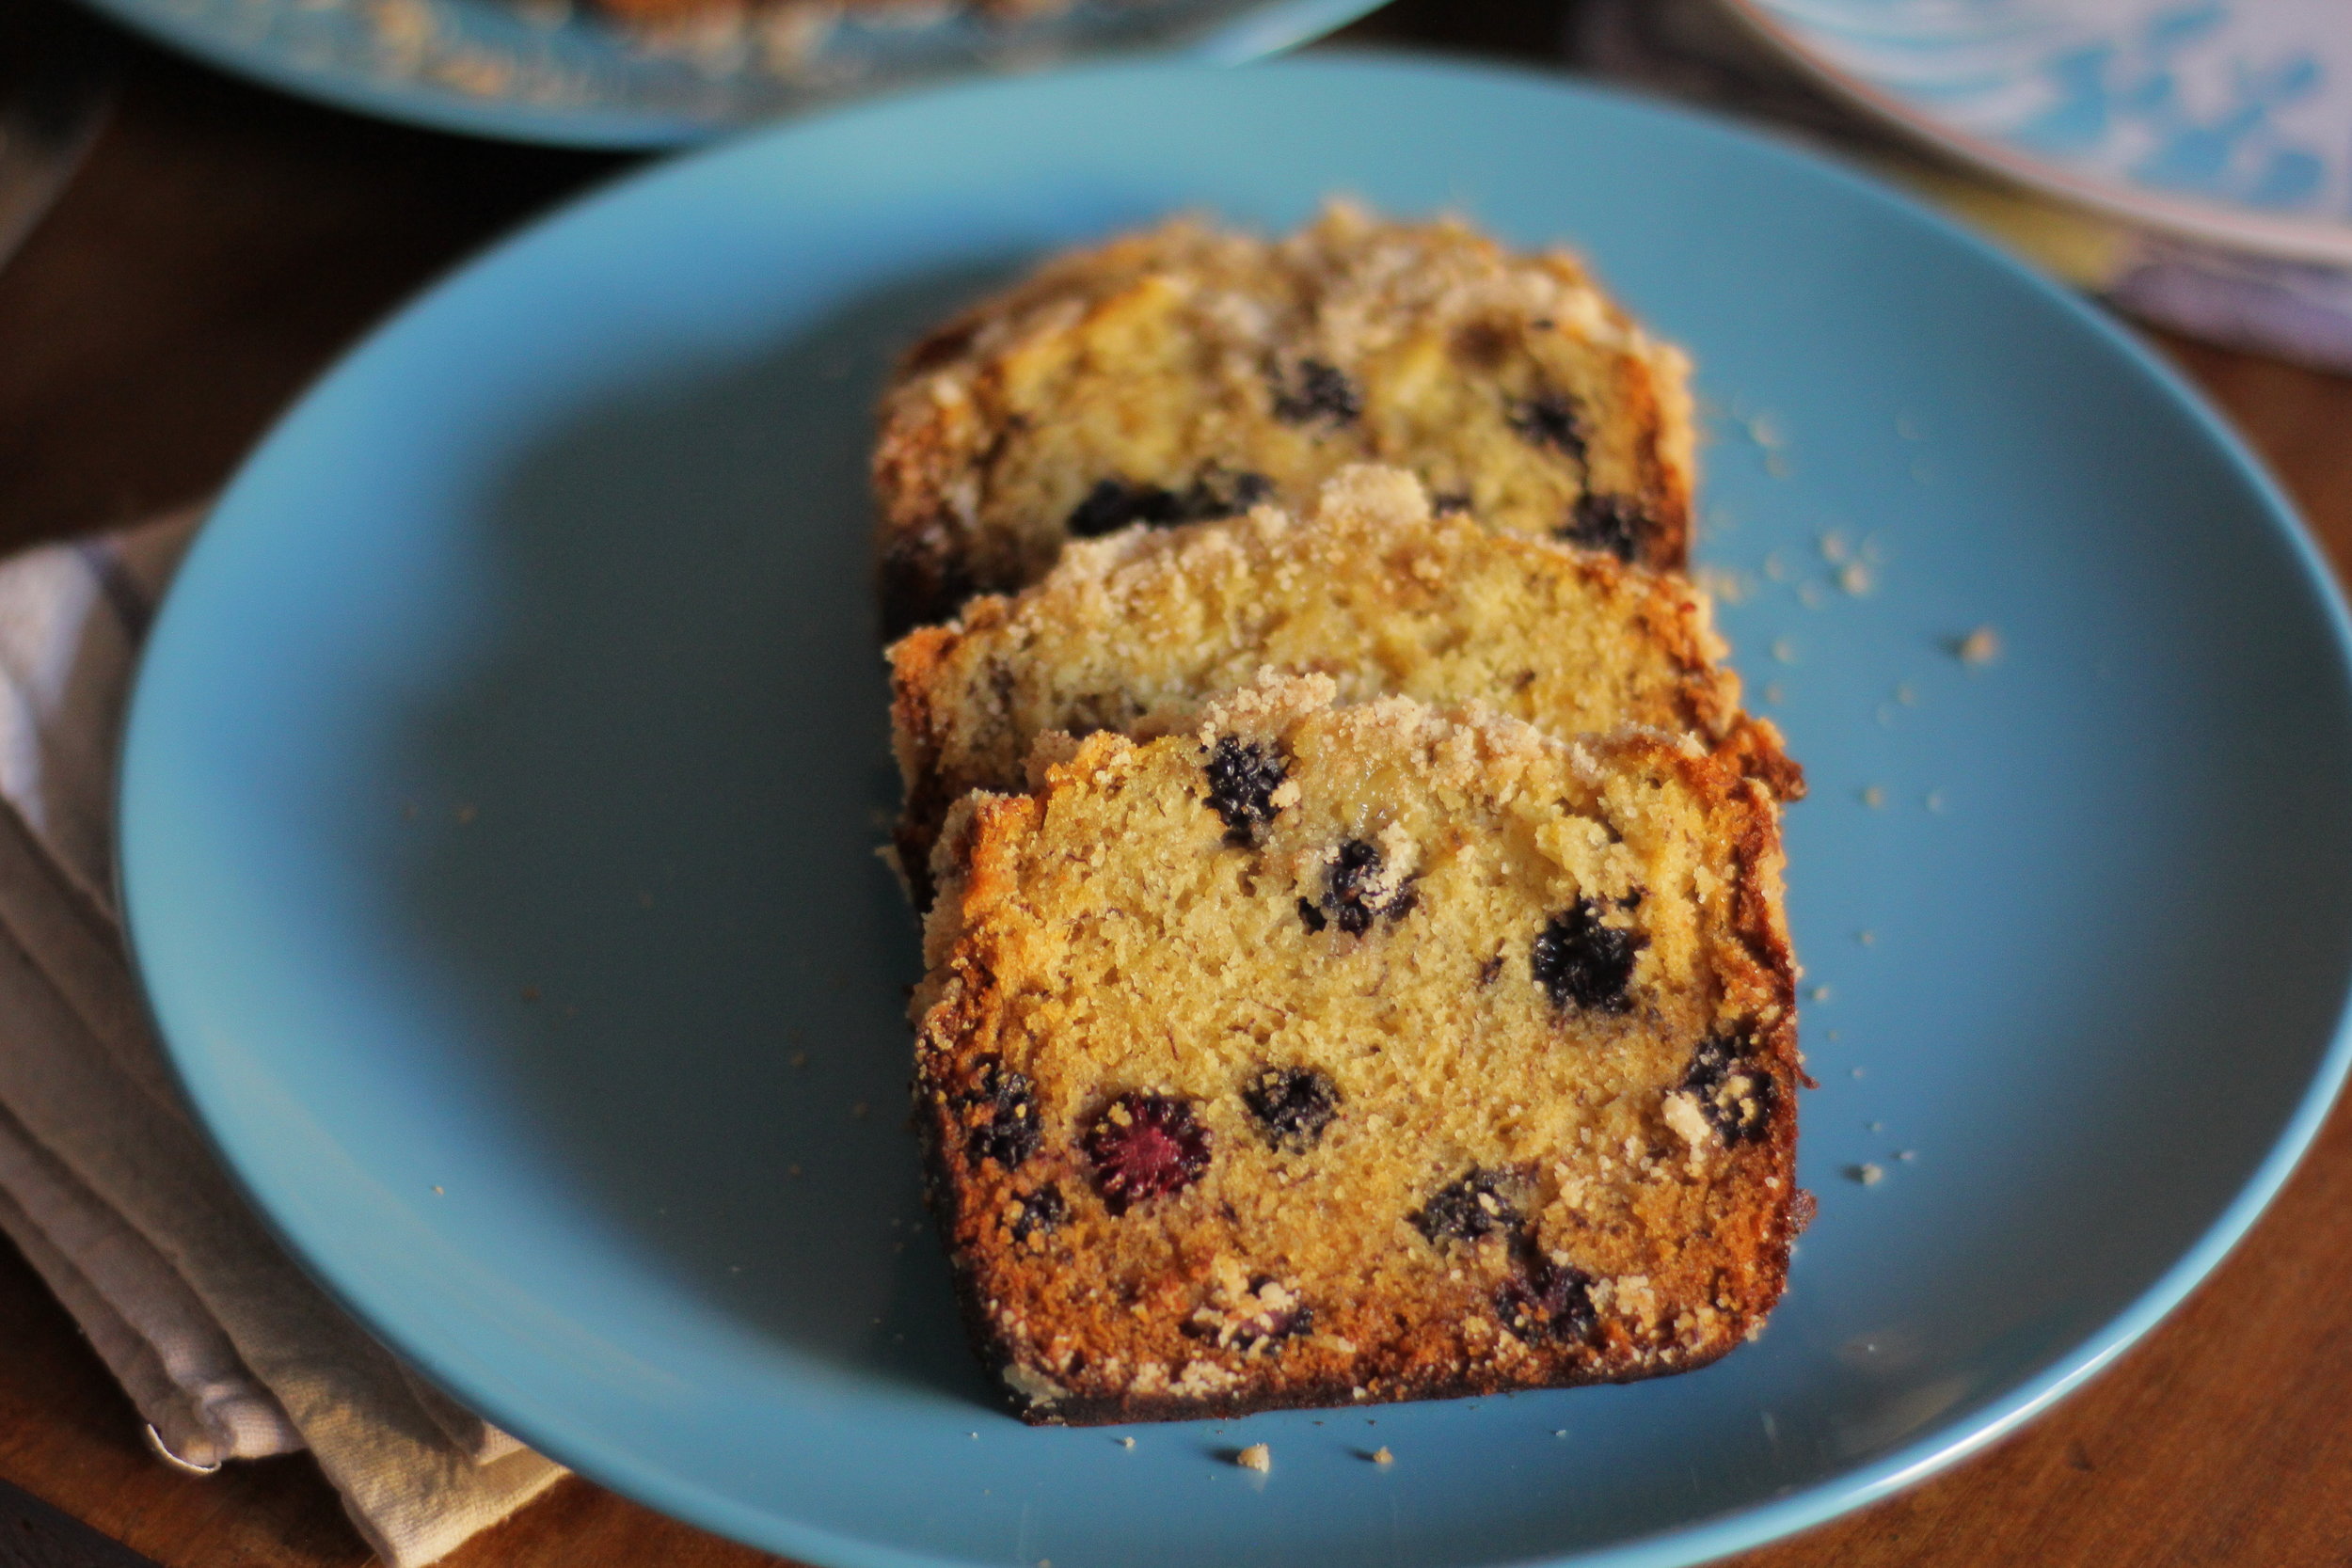
Banana Chocolate Chip Cake with Peanut Butter Frosting
/Last Updated August 4, 2024
It's almost Christmas!!! The most wonderful time of the year, filled with family, friends, delicious food, and cheery music. Wasn't that a wonderfully cliché sentence? Yes, but we hope it's true. I am fortunate enough to say that it is for me. I love all my family, I love Christmas music (I can't always vouch for it all being "good" music, but it lifts your spirit and you can mindlessly sing along while wearing a Santa hat and elf socks without anyone thinking twice), and we have an abundance of delicious food. So much food.
What is one to do when they have been indundated with rich holiday food? Take a break? No fun. Stand by the vegetable tray all night? Nah, I hear the conversation can get a little heated with those peppers. Chew gum? No, you need a compromise. Something that will satisfy, but not put you over like your great-aunt's cousin-once-removed on your dad's side triple chocolate cake with chocolate buttercream, ganache, whipped cream, sprinkles, drizzled with caramel and bonbons on top. Something more like a fruit based cake. Banana. With chocolate chips, because it is Christmas, and peanut butter because that makes the whole thing. The bow on top of the present. The icing on the cake...so very literally. Plus protein. It’s basically a health food, you guys.
This post may contain affiliate links. If you make a purchase using these links, Jennyblogs may receive a small commission, at no extra cost to you. This helps to support Jennyblogs. Where possible, links are prioritized to small businesses and ethically and responsibly made items. For further information see the privacy policy. Grazie!
Recipe adapted from Handle the Heat


Banana Chocolate Chip Cake with Peanut Butter Frosting
Makes 12-16 servings
Ingredients:
For the Banana Chocolate Chip Cake

2 1/2 cups / 300g all-purpose flour
1 1/2 tsp baking powder
3/4 baking soda
1 tsp cinnamon
1/2 tsp salt
3/4 cup / 168g oil
3/4 cup / 150g sugar
1/2 cup / 100g brown sugar
2 eggs
1 tsp vanilla extract
1/2 cup / 123g plain yogurt or sour cream
4 overripe bananas, mashed, to get roughly 1 1/3 cups / 400g mashed banana
1 cup / 170g mini chocolate chips
For the Peanut Butter Frosting
1 cup / 226g unsalted butter (2 sticks, 8 oz), room temperature
1 cup / 260g creamy peanut butter
1 tsp vanilla extract
pinch of salt
2 - 2 1/2 cups / 250-313g powdered sugar
Directions:
Oven preheated to 350°F / 177°C. Grease and flour two 8 or 9in / 20 or 23cm round cake pans.
Make the Banana Chocolate Chip Cake
In a medium bowl, whisk together flour, baking powder, baking soda, cinnamon, and salt. Set aside.
In the bowl of a stand mixer, beat together oil and sugars. Add vanilla and eggs; beat well.
Add 1/3 of the flour mixture to the egg mixture. Mix in yogurt. Add another third of flour mixture. Add bananas. Add final third of flour mixture. Fold in chocolate chips.
Pour and divide batter evenly between the two prepared pans.
Bake for 35-40 minutes, or until toothpick inserted in the center comes out clean. Allow to cool for about 10 minutes in the pans before flipping out onto cooling racks to cool completely.

Make the Peanut Butter Frosting
In the bowl of a stand mixer, beat butter and peanut butter together until light and fluffy. Add vanilla and salt. Add 2 cups of powdered sugar; add more as needed until frosting is thick enough to spread.
Assembly
Center one cake layer upside down on a cake stand or plate. Frost this layer within 1/4 inch of edge of cake.
Place second layer on top, and frost cake with remaining frosting. Sprinkle with additional chocolate chips, if desired.
Jenny's Notes:
I prefer to use organic yogurt instead of sour cream in recipes simply because it's healthier. I don’t always have plain yogurt on hand, so in those cases I use vanilla yogurt and reduce the sugar in the recipe by 1/3-1/2 cup, depending on the amount of yogurt called for. Feel free to use whatever you have on hand!

Banana Chocolate Chip Cake with Peanut Butter Frosting
Ingredients
Instructions
- Oven preheated to 350°F / 177°C. Grease and flour two 8 or 9in / 20 or 23cm round cake pans.
- In a medium bowl, whisk together flour, baking powder, baking soda, cinnamon, and salt. Set aside.
- In the bowl of a stand mixer, beat together oil and sugars. Add vanilla and eggs; beat well.
- Add 1/3 of the flour mixture to the egg mixture. Mix in yogurt. Add another third of flour mixture. Add bananas. Add final third of flour mixture. Fold in chocolate chips.
- Pour and divide batter evenly between the two prepared pans.
- Bake for 35-40 minutes, or until toothpick inserted in the center comes out clean. Allow to cool for about 10 minutes in the pans before flipping out onto cooling racks to cool completely.
- In the bowl of a stand mixer, beat butter and peanut butter together until light and fluffy. Add vanilla and salt. Add 2 cups of powdered sugar; add more as needed until frosting is thick enough to spread.
- Center one cake layer upside down on a cake stand or plate. Frost this layer within 1/4 inch of edge of cake.
- Place second layer on top, and frost cake with remaining frosting. Sprinkle with additional chocolate chips, if desired.
Notes
I prefer to use organic yogurt instead of sour cream in recipes simply because it's healthier. I don’t always have plain yogurt on hand, so in those cases I use vanilla yogurt and reduce the sugar in the recipe by 1/3-1/2 cup, depending on the amount of yogurt called for. Feel free to use whatever you have on hand!
Nutrition Facts
Calories
785.39Fat
45.52 gSat. Fat
15.55 gCarbs
88.21 gFiber
3.37 gNet carbs
84.84 gSugar
59.78 gProtein
10.55 gSodium
386.82 mgCholesterol
75.36 mgNutritional information is approximate. Based on 12 servings using the full 2 1/2 cups of powdered sugar for the frosting.