Lemon Raspberry Sweet Rolls
/Last Updated April 11, 2025
We all love a good cinnamon roll. The soft dough, warm-gooey-buttery-cinnamon filling, topped with a sweet glaze or cream cheese icing. The smell of fresh baked breads wafting from the kitchen and the warmth of bread in our tummy are especially comforting as the months turn colder.
Today, however, we are not making cinnamon rolls (that's old hat :) but lemon raspberry rolls. The tang of the lemon and raspberry paired with the sweet glaze is a match made for breakfast. Or anytime. Pair it with a cup of tea or coffee and you have all the incentive you need to get out of bed in the morning!
This post may contain affiliate links. If you make a purchase using these links, Jennyblogs may receive a small commission, at no extra cost to you. This helps to support Jennyblogs. Where possible, links are prioritized to small businesses and ethically and responsibly made items. For further information see the privacy policy. Grazie!


Recipe adapted from Joy the Baker
Lemon Raspberry Sweet Rolls
Makes 12 regular rolls or 8 jumbo

Ingredients:
For the Dough
1 cup / 237g warm milk (about 100°F / 38°C)
1/2 cup / 100g sugar
4 1/2 tsp / 14g active dry yeast
1/4 cup / 56g oil
2 eggs
Zest of 1 lemon
1/2 tsp salt
4 1/4 cups / 510g all-purpose flour + about 1/2 cup / 60g for kneading
For the Lemon Raspberry Filling
Generous 1 1/4 cups / 170g (1 6oz container) fresh or frozen raspberries (if using frozen do not thaw)
1/2 cup / 100g sugar
Zest of 1 lemon
2 tsp all-purpose flour
1/4 cup / 56g butter
For the Glaze
1 1/2 cups / 188g powdered sugar
3 Tbsp / 42g lemon juice
Directions:
Preheat oven to 400°F / 205°C. Grease a 9x13inch / 23x33cm rectangular baking dish.
Make the Dough
Pour milk into a large bowl. Add sugar and yeast and allow to sit for 7-10 minutes. Yeast should foam up a bit.
Add oil, eggs, zest, and salt. Add 4 1/4 cups of flour and mix until combined.
Flour a clean surface and turn out dough. Knead for about 8-10 minutes, sprinkling more flour on your work surface as needed. Dough should be soft and elastic by the end, so don't get too flour-happy. Alternately, knead in a stand mixer with dough hook attachment for 8-10 minutes, adding in flour as needed. The dough should stick only to bottom of bowl, not much to the sides.
Lightly grease or flour a large bowl (the bowl you mixed the dough in is fine) and place dough in bowl. Cover and place in a warm area to rise for about 1 1/2 hours or until doubled in size.
Make the Lemon Raspberry Filling

In a small saucepan melt butter and let simmer until it starts to brown. Remove from heat and cool slightly.
In a medium bowl lightly mix raspberries with sugar, zest, and flour. It's okay if raspberries get a little crushed.
Assemble the Rolls

When dough has risen, punch it down and turn out onto a lightly floured surface. Knead for about a minute, then roll into a large rectangle, about 10x20inch / 25x50cm.
Spread cooled butter over dough almost to edges; sprinkle evenly with raspberry mixture.
Starting from one of the longer sides, roll dough up, pinching dough together at the end to seal it.
Slice into 12 even pieces, or 8 for jumbo sized. Place rolls in prepared pan and cover with plastic wrap. Place in a warm area to rise for about an hour, or until puffed.
Bake for 20-22 minutes, until golden on top and centers no longer look doughy. Internal temperature should be about 185°F / 90°C of an outside roll.
Make the Glaze
In a small bowl whisk together powdered sugar and lemon juice. It should be thin enough to drizzle but not too liquidy. Add more powdered sugar or lemon juice as needed.
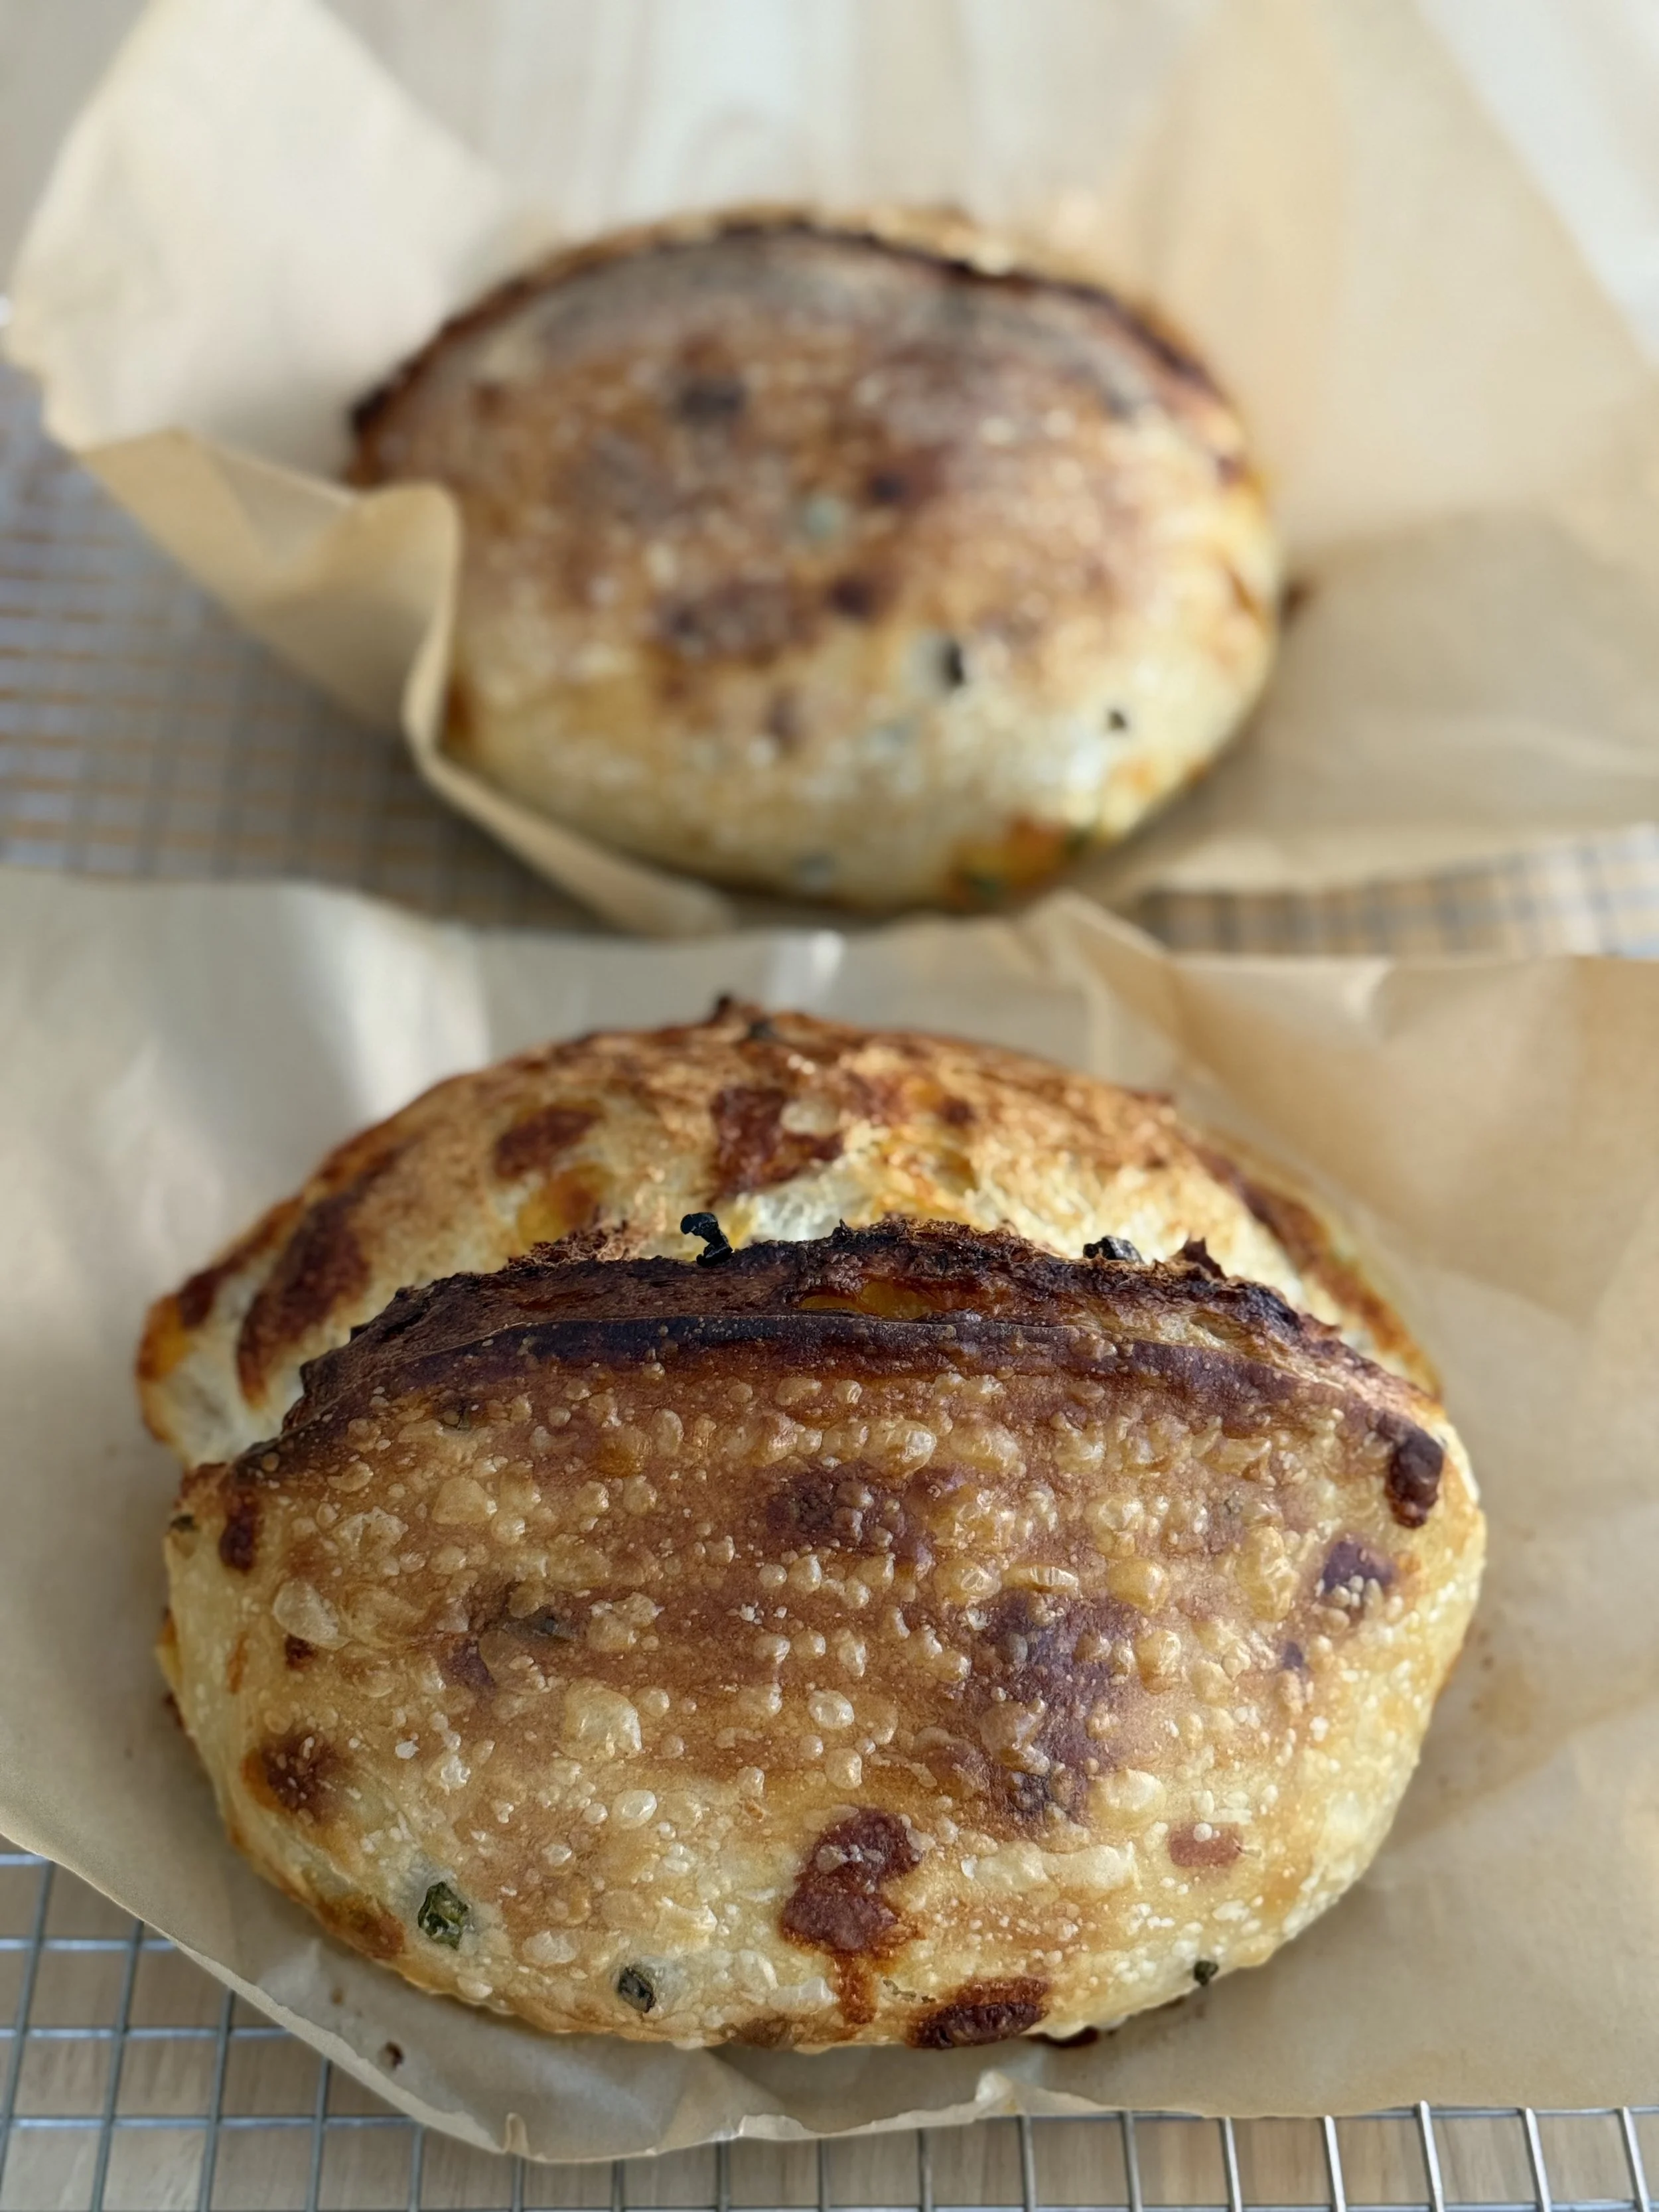
Drizzle warm rolls with glaze.
Jenny's Notes:
If you don't have a thermometer handy to know what 100 degrees is, simply warm until milk feels quite warm, but not hot.
You can freeze these rolls once you have sliced them and put them in the pan. Once removed from the freezer allow to thaw and proceed as normal.
When using a stand mixer to knead, I still recommend kneading it for a few minutes by hand afterwards. I find they are not always as thorough as kneading by hand and you want an even rise for your dough. I often to do it all by hand just because it’s therapeutic!

Lemon Raspberry Rolls
Ingredients
Instructions
- In a small saucepan over low heat, warm milk until it is about 100F / 38C. Pour milk into a large bowl. Add the sugar and yeast and allow to sit for 7-10 minutes. The yeast should foam up a bit.
- Add oil, eggs, zest, and salt. Add the 4 1/4 cups of flour and mix until combined.
- Flour a clean surface and turn out dough. Knead for about 8-10 minutes, sprinkling more flour on your work surface as needed. Dough should be soft and elastic by the end, so don't get too flour-happy. Alternately, you can use the bread hook on a stand mixer and knead for 8-10 minutes, adding in flour as needed. The dough should stick only to the bottom of the pan, not the sides.
- Lightly grease or flour a large bowl (the bowl you mixed the dough in is fine) and place dough in the bowl. Cover with a towel and place in a warm area to rise for about 1 1/2 hours or until doubled in size.
- In a small saucepan melt the butter and let simmer until it starts to brown. Remove from heat and cool slightly.
- In a medium bowl lightly mix raspberries with sugar, zest, and cornstarch. It's okay if the raspberries get a little crushed.
- Preheat oven to 400F / 205C. Grease a 9x13inch / 23x33cm rectangular baking dish.
- When the dough has risen, punch it down and turn out onto a lightly floured surface. Knead for about a minute, then roll into a large rectangle, about 10x20inch / 25x50cm.
- Spread cooled butter over dough almost to the edges, then sprinkle evenly with raspberry mixture.
- Starting from one of the longer sides, roll dough into a spiral, pinching the dough together at the end to seal it.
- Cut the log in quarters, then each quarter into 3 slices. Place the rolls in the prepared pan and cover lightly with plastic wrap or a damp towel. Place in a warm area to rise for about an hour, or until puffed
- Bake for 20-22 minutes, until golden on top and centers no longer look doughy. Internal temperature should be about 195F / 90C.
- In a small bowl whisk together powdered sugar and lemon juice. It should be thin enough to drizzle but not too liquidy. Add more powdered sugar or lemon juice as needed.
- Drizzle warm rolls with glaze.
Notes
If you don't have a thermometer handy to know what 100 degrees is, simply warm until the milk feels quite warm, but not hot. It'll be fine!You can freeze these rolls once you have sliced them and put them in the pan. Once removed from the freezer allow to thaw and proceed as normal. When using a stand mixer to knead, I still recommend kneading it for a few minutes by hand afterwards. I find they are not always as thorough as kneading by hand and you want an even rise for your dough.
Nutrition Facts
Calories
355.58Fat
6.43 gSat. Fat
0.88 gCarbs
68.26 gFiber
2.37 gNet carbs
65.89 gSugar
32.75 gProtein
6.77 gSodium
121.93 mgCholesterol
32.58 mgNutritional information is approximate. Based on 1 roll.