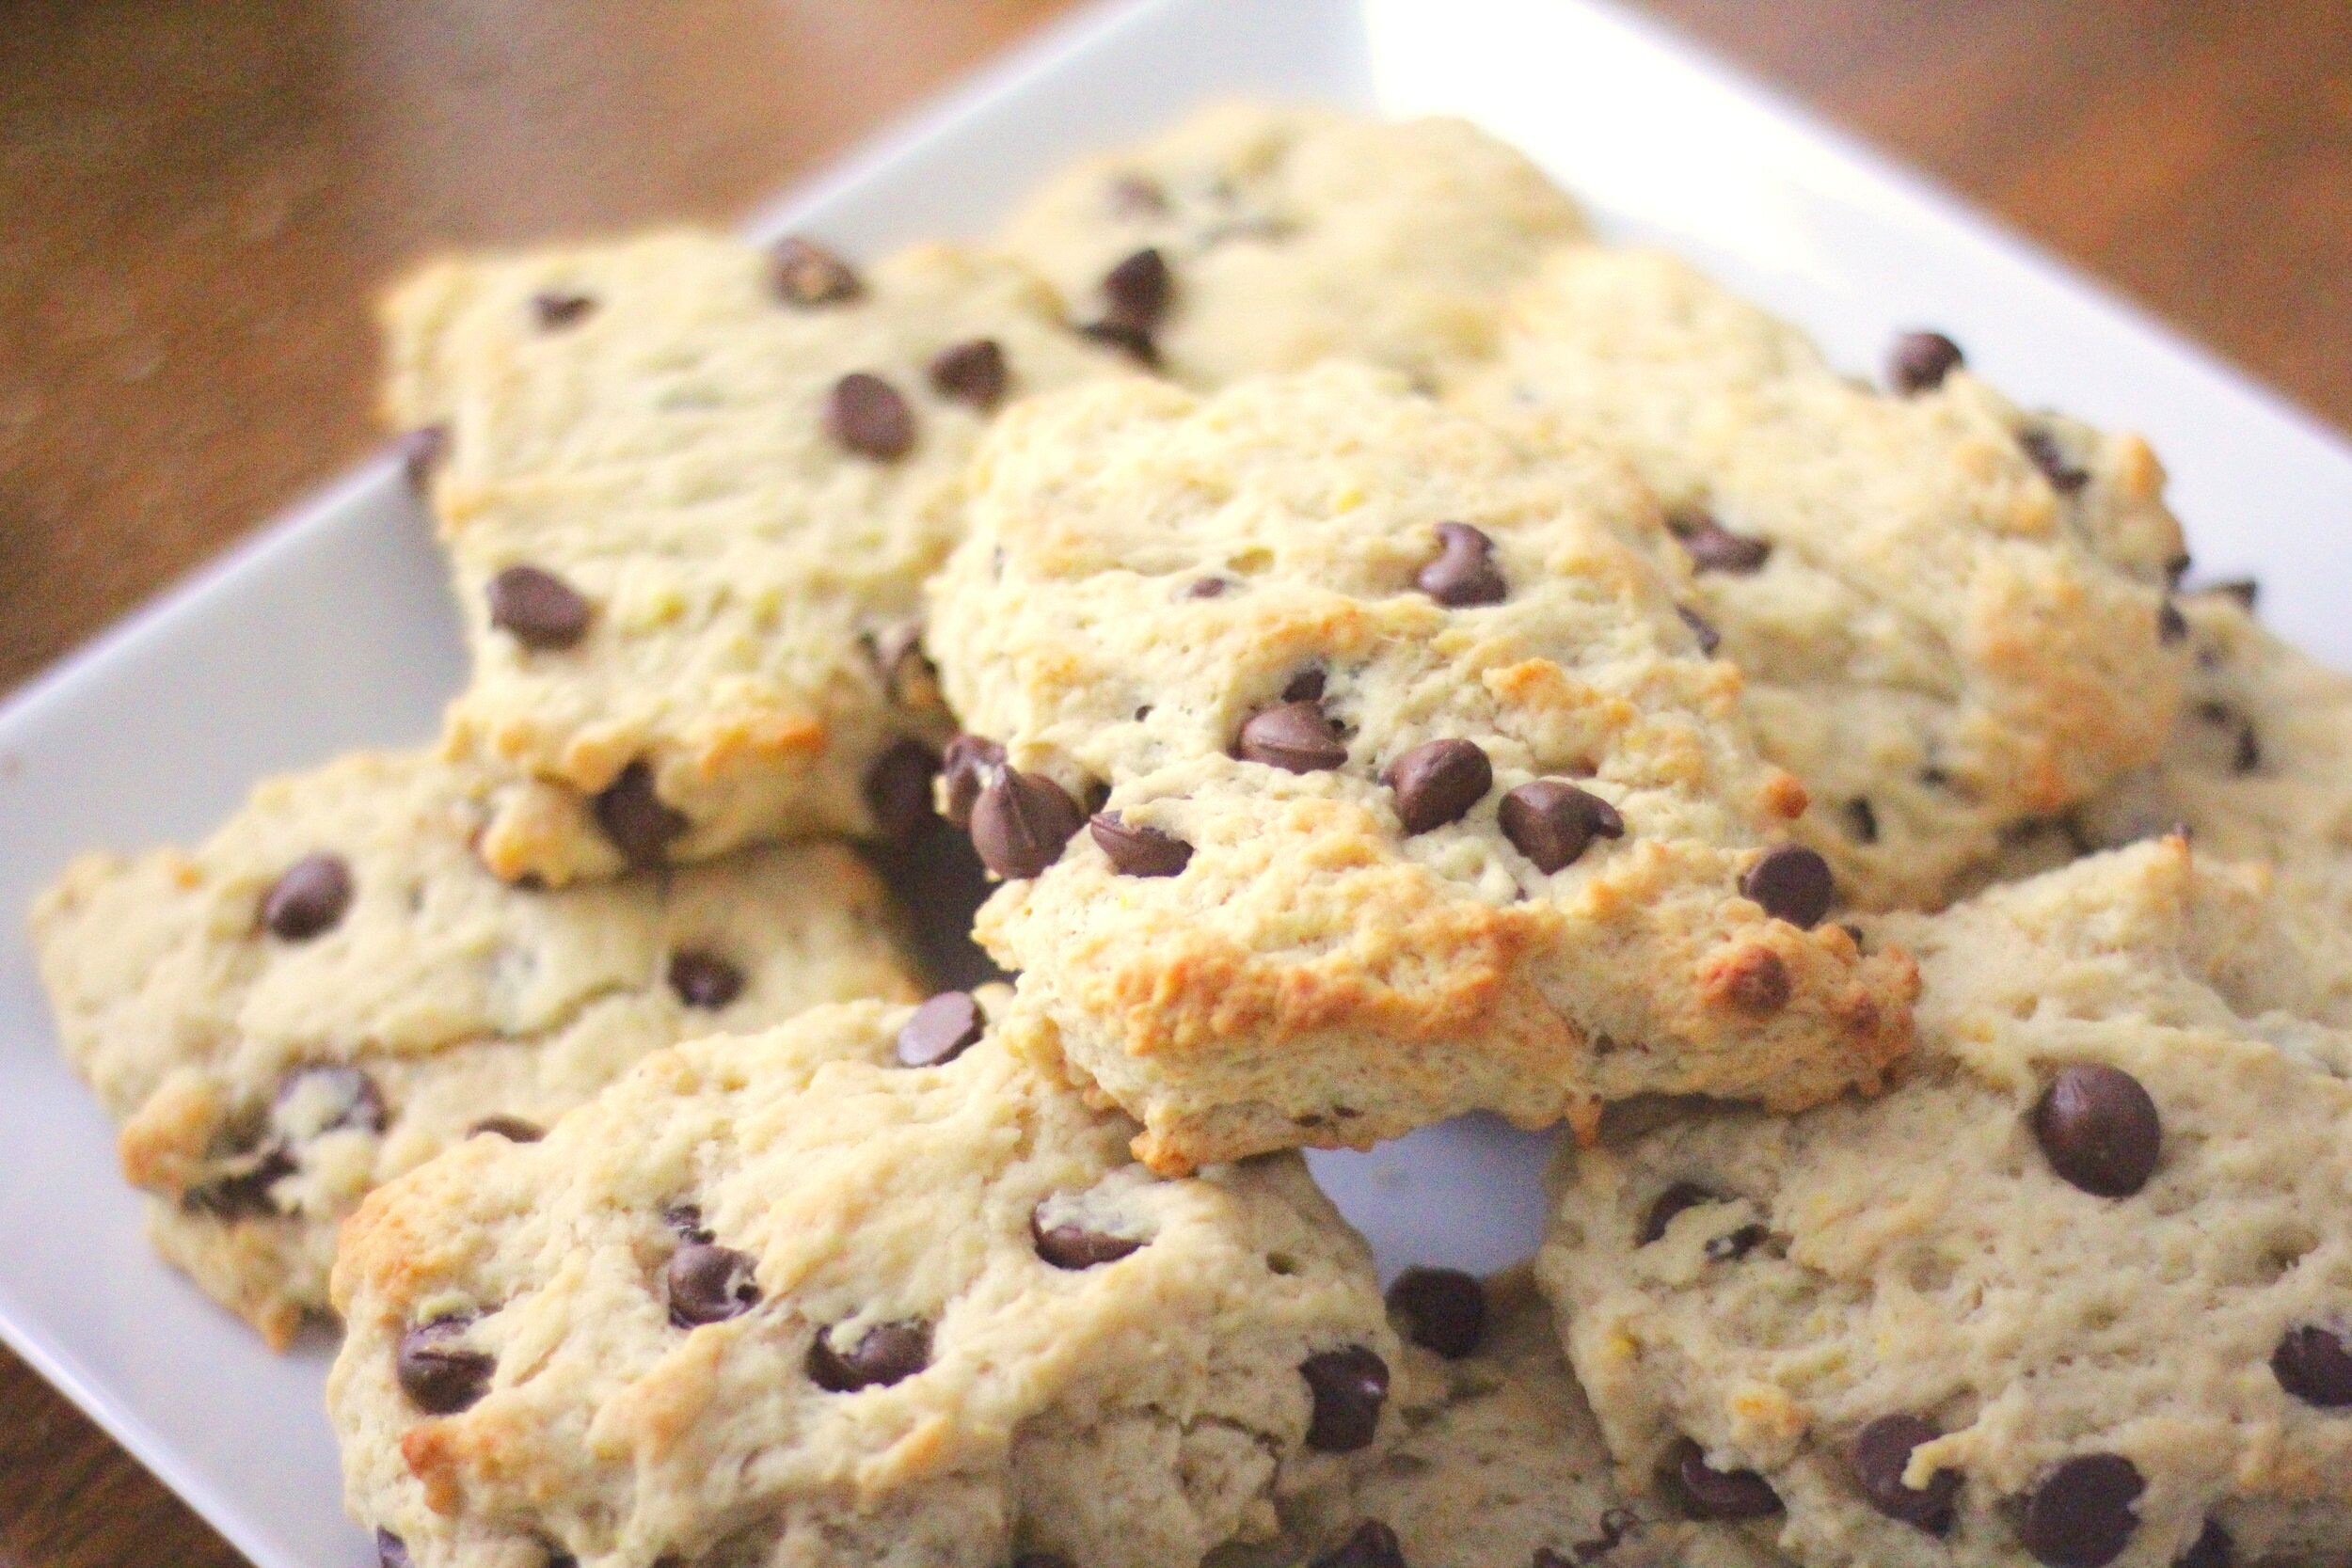
Orange Chocolate Chip Scones
/Last Updated August 5, 2024
Do you know what goes great with cold weather? Hot beverages, like tea and coffee.
And do you know which carbs goes best with tea and coffee? Scones.
That's not to say that scones are dry and should only be served with hot liquids to help re-salivate your mouth. If that's your past experience, then you need to find a new scone recipe or scone baker. I like the sound of that. Scone baker. Sconed baker. The scorned baker. Maybe not. Moving on. These scones are wonderful!! Light and flaky. Not too sweet, with a nice burst of citrusy orange that pairs beautifully with the bitterness of the chocolate.
January is for baking. Not dieting. (Whole30 I'm looking at you. In a very kind way. Maybe not.) Particularly breads, scones, cookies...winter and carbs are good buddies. Love handles are an awkward third wheel. But we get to wear big cozy sweaters and sit by fireplaces if we want to. I love winter. I love baking. I love these scones. Without further ado….
This post may contain affiliate links. If you make a purchase using these links, Jennyblogs may receive a small commission, at no extra cost to you. This helps to support Jennyblogs. Where possible, links are prioritized to small businesses and ethically and responsibly made items. For further information see the privacy policy. Grazie!
Recipe adapted from Joy the Baker


Orange Chocolate Chip Scones
Makes about 12 scones
Ingredients:

3 cups / 360g all-purpose flour
1/4 cup / 50g sugar
4 tsp orange zest
4 1/2 tsp baking powder
1/2 tsp baking soda
1 tsp salt
scant 3/4 cup / 150g oil
1 egg
3/4 cup / 180g buttermilk
1 cup / 170g chocolate chips or chunks
Directions:
Oven 425°F / 218°C. Baking sheet lined with parchment paper.

In a large bowl whisk together flour, sugar, zest, baking powder, baking soda, and salt. Add oil and mix until texture resembles coarse crumbs.
Whisk together egg and buttermilk. Add to dry mixture until evenly moistened but being careful not to overmix. Fold in chocolate chips.
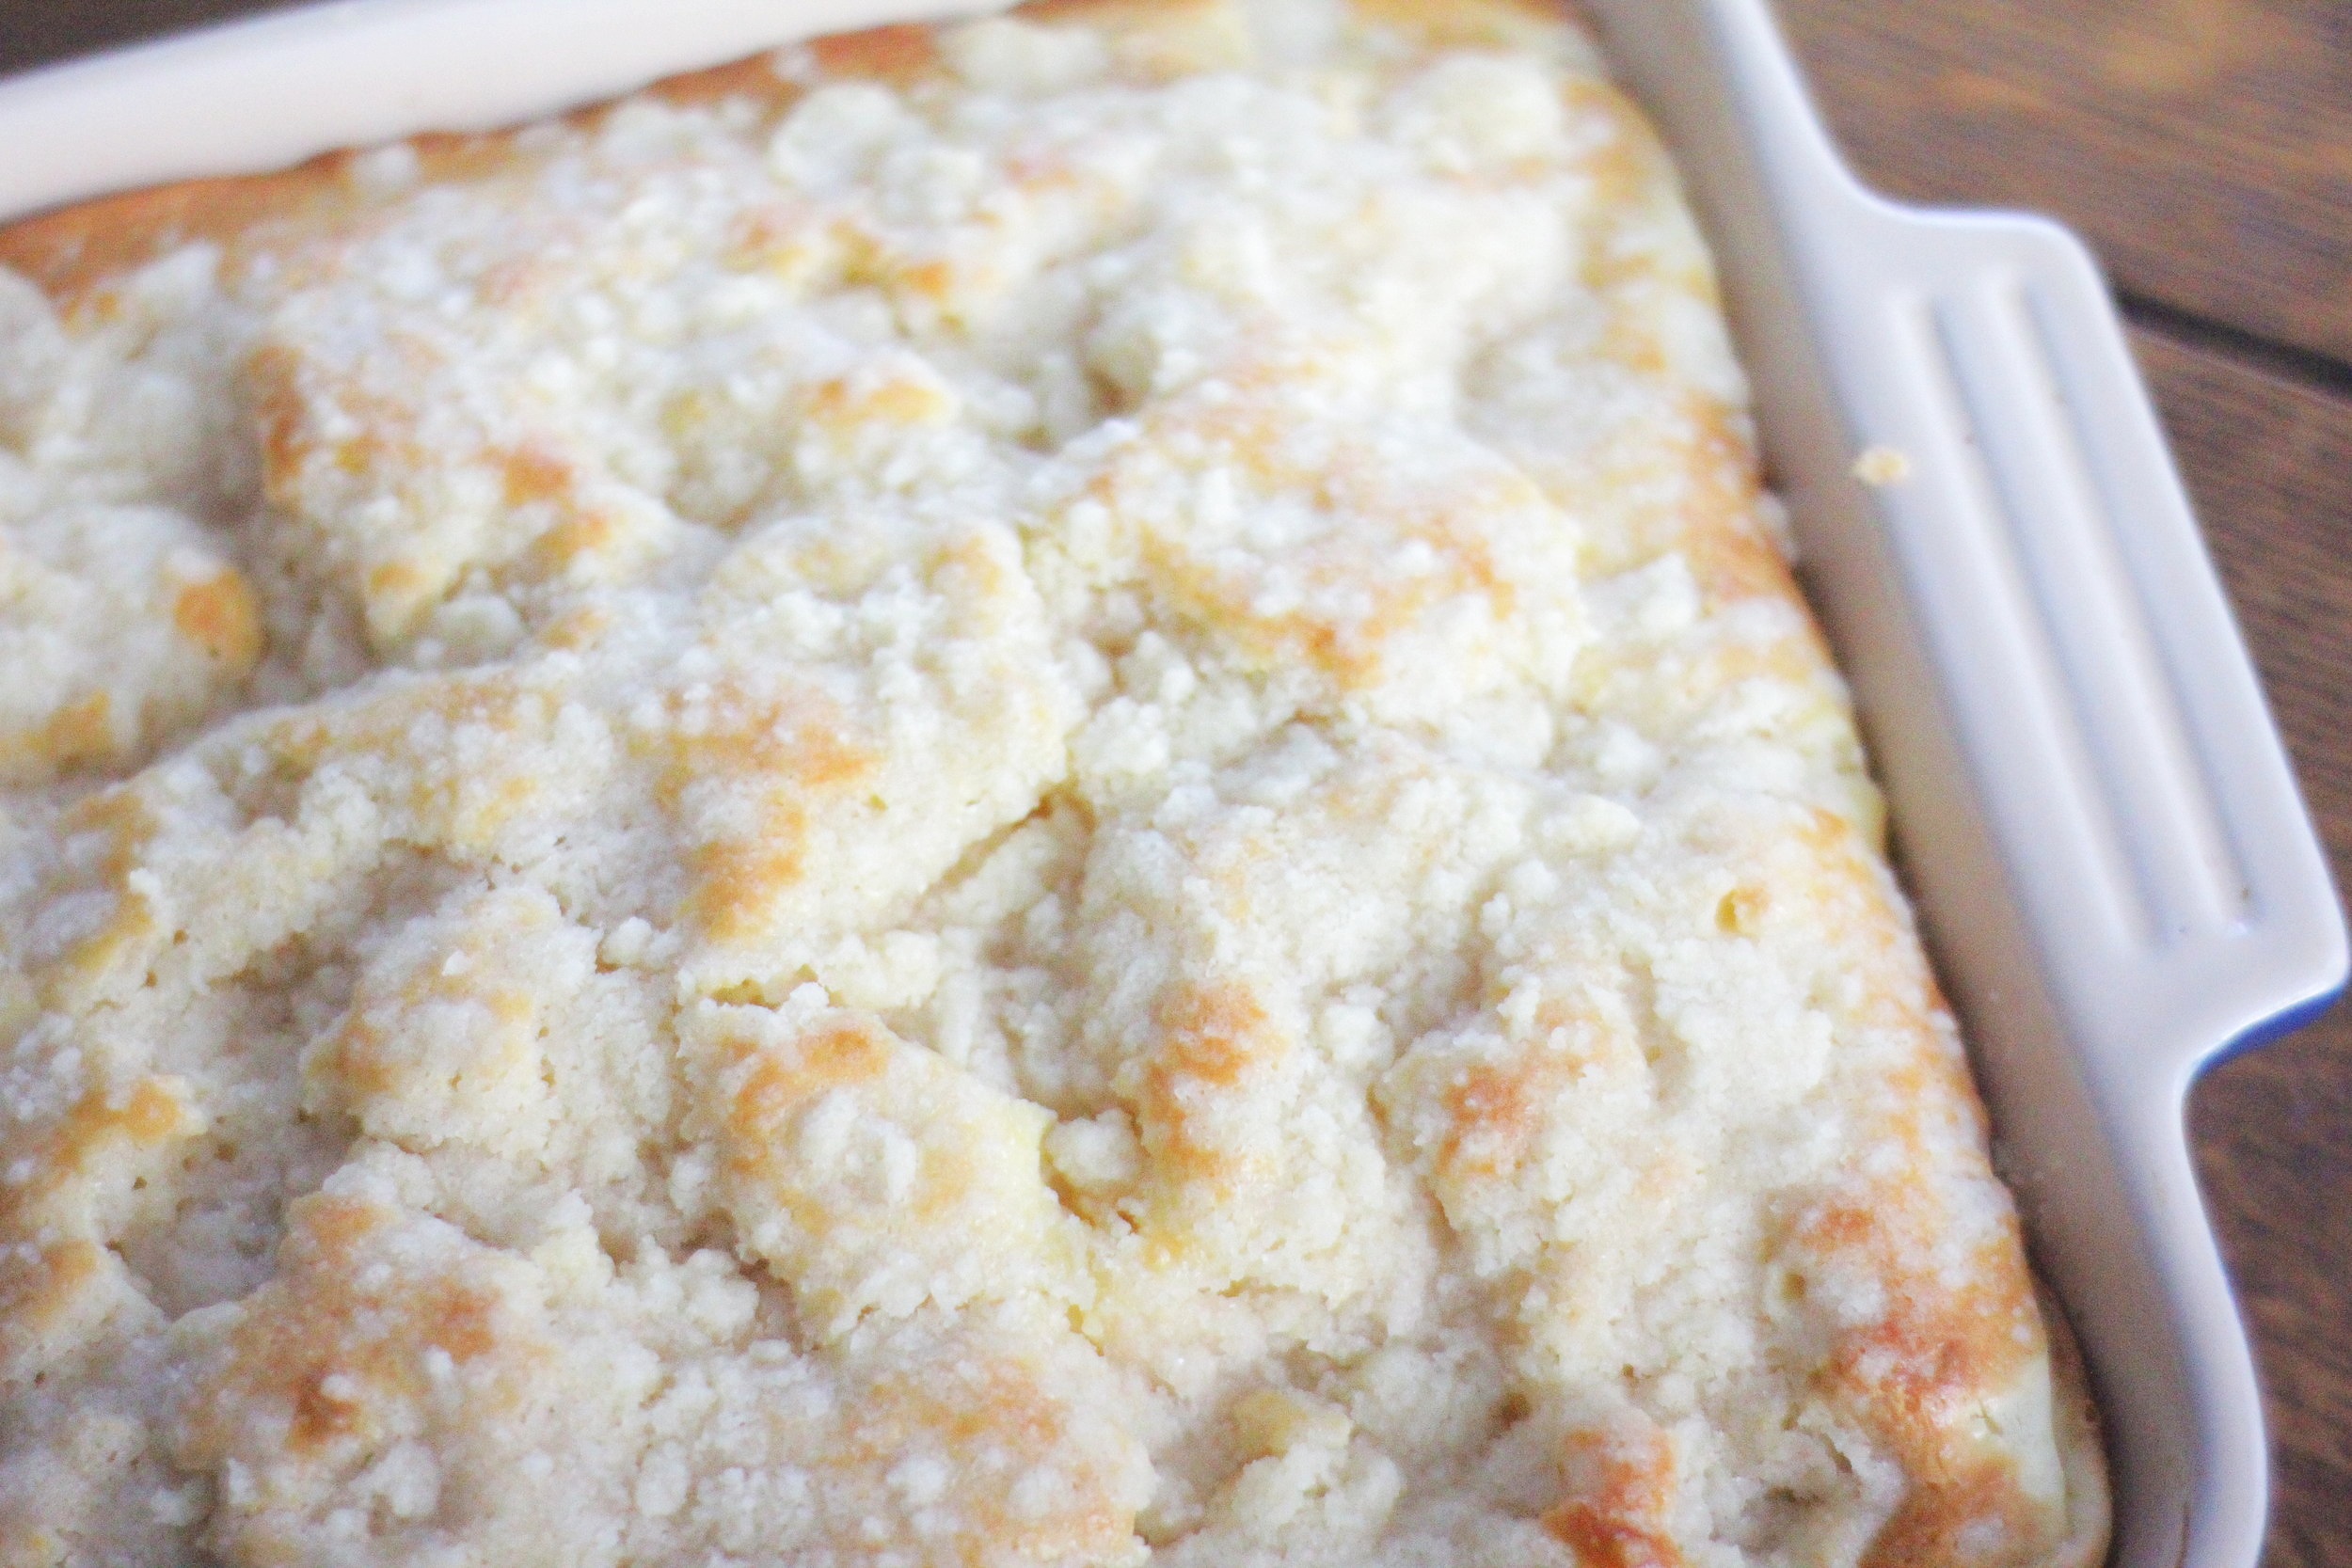
Turn dough out onto a lightly floured surface and knead for a few rounds, 12-14 times. Roll or pat out into a rectangle of about 1-inch thickness. Cut into 12 squares.
Place on prepared baking sheet and bake for 12-15 minutes, until scones no longer look doughy in the center and the bottoms are a light golden brown.
Best served same day, with tea and coffee and butter and jam, if you wish.
Jenny's Notes:
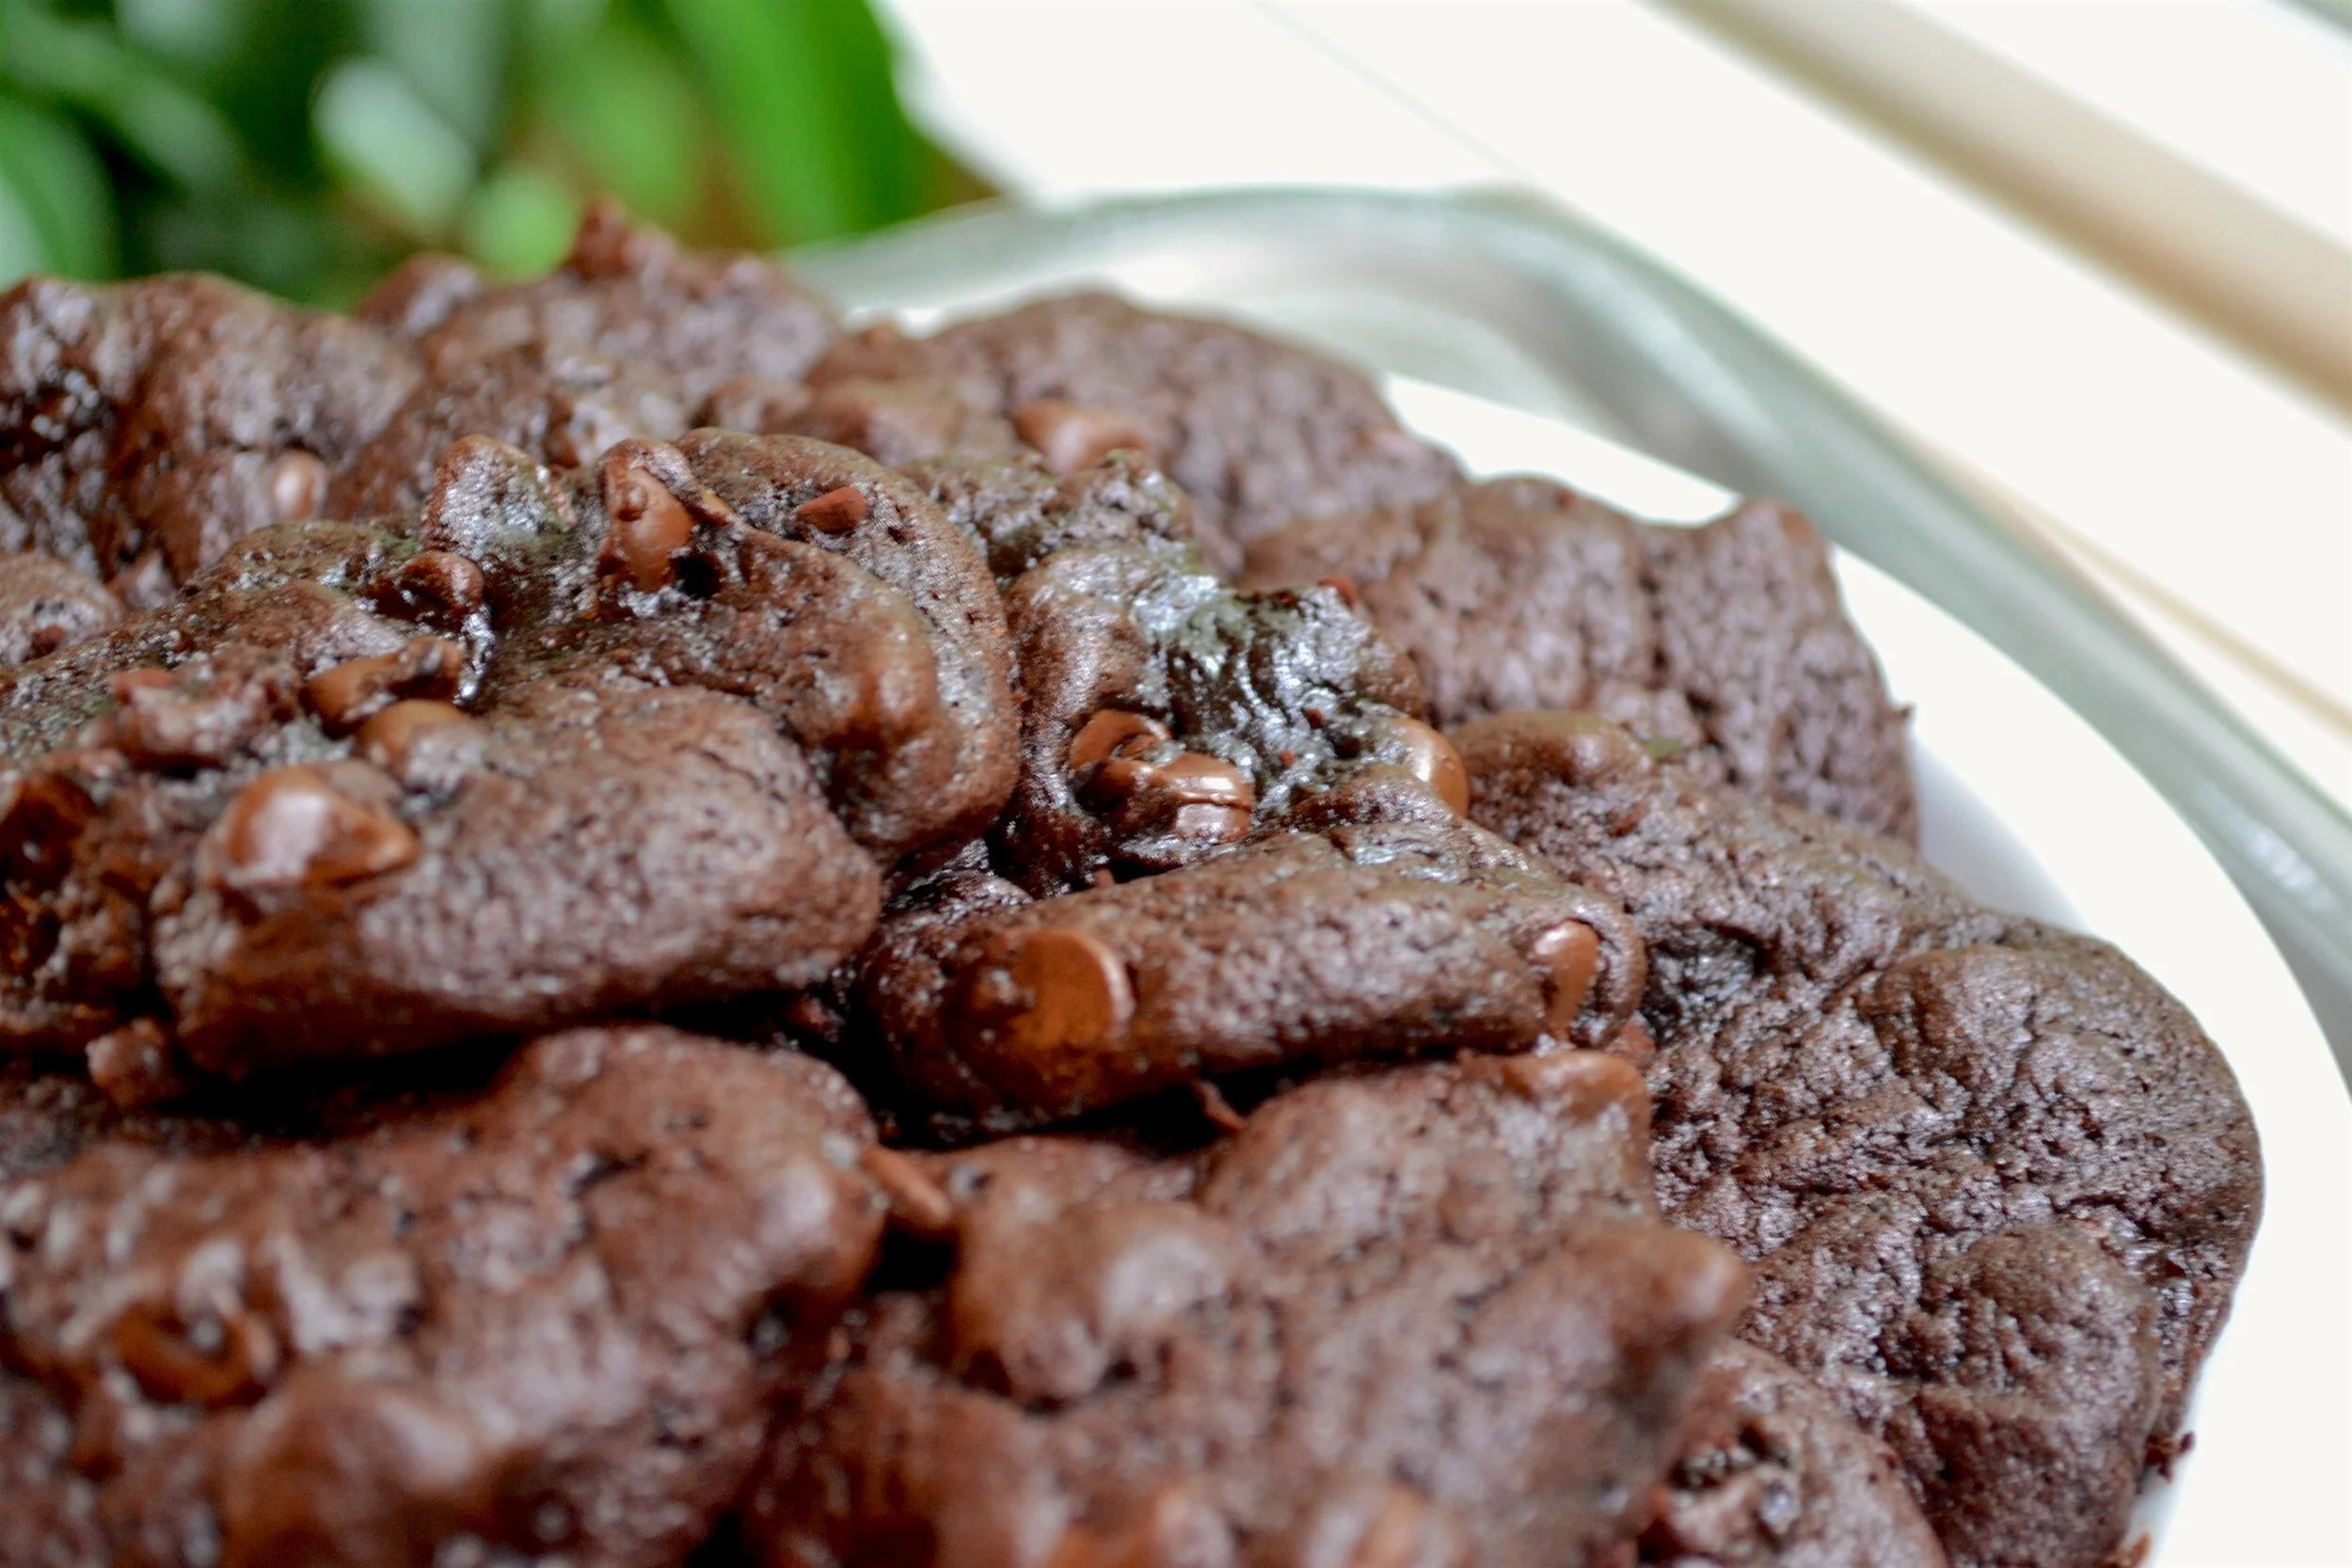
In place of chocolate chips you can also break up a chocolate bar. Last time I used a chocolate bar with hazelnuts in it for Orange Hazelnut Chocolate Chip Scones and it was scrumptious.
Scones are so great, and there are many different varieties and recipes for them. As long as they aren't too dry, I think they all have merit. In fact, I have several different scone recipes, this is just one of them. They are similar, but with slight differences that make each one valuable.

Orange Chocolate Chip Scones
Ingredients
Instructions
- Oven 425°F / 218°C. Baking sheet lined with parchment paper.
- In a large bowl whisk together flour, sugar, zest, baking powder, baking soda, and salt. Add oil and mix until texture resembles coarse crumbs.
- Whisk together egg and buttermilk. Add to dry mixture until evenly moistened but being careful not to overmix. Fold in chocolate chips.
- Turn dough out onto a lightly floured surface and knead for a few rounds, 12-14 times. Roll or pat out into a rectangle of about 1-inch thickness. Cut into 12 squares.
- Place on prepared baking sheet and bake for 12-15 minutes, until scones no longer look doughy in the center and the bottoms are a light golden brown.
- Best served same day, with tea and coffee and butter and jam, if you wish.
Notes
In place of chocolate chips you can also break up a chocolate bar. Last time I used a chocolate bar with hazelnuts in it for Orange Hazelnut Chocolate Chip Scones and it was scrumptious.
Nutrition Facts
Calories
317.34Fat
17.57 gSat. Fat
3.59 gCarbs
37.50 gFiber
1.72 gNet carbs
35.78 gSugar
12.69 gProtein
4.72 gSodium
465.72 mgCholesterol
16.10 mgNutritional information is approximate and based on 12 servings.