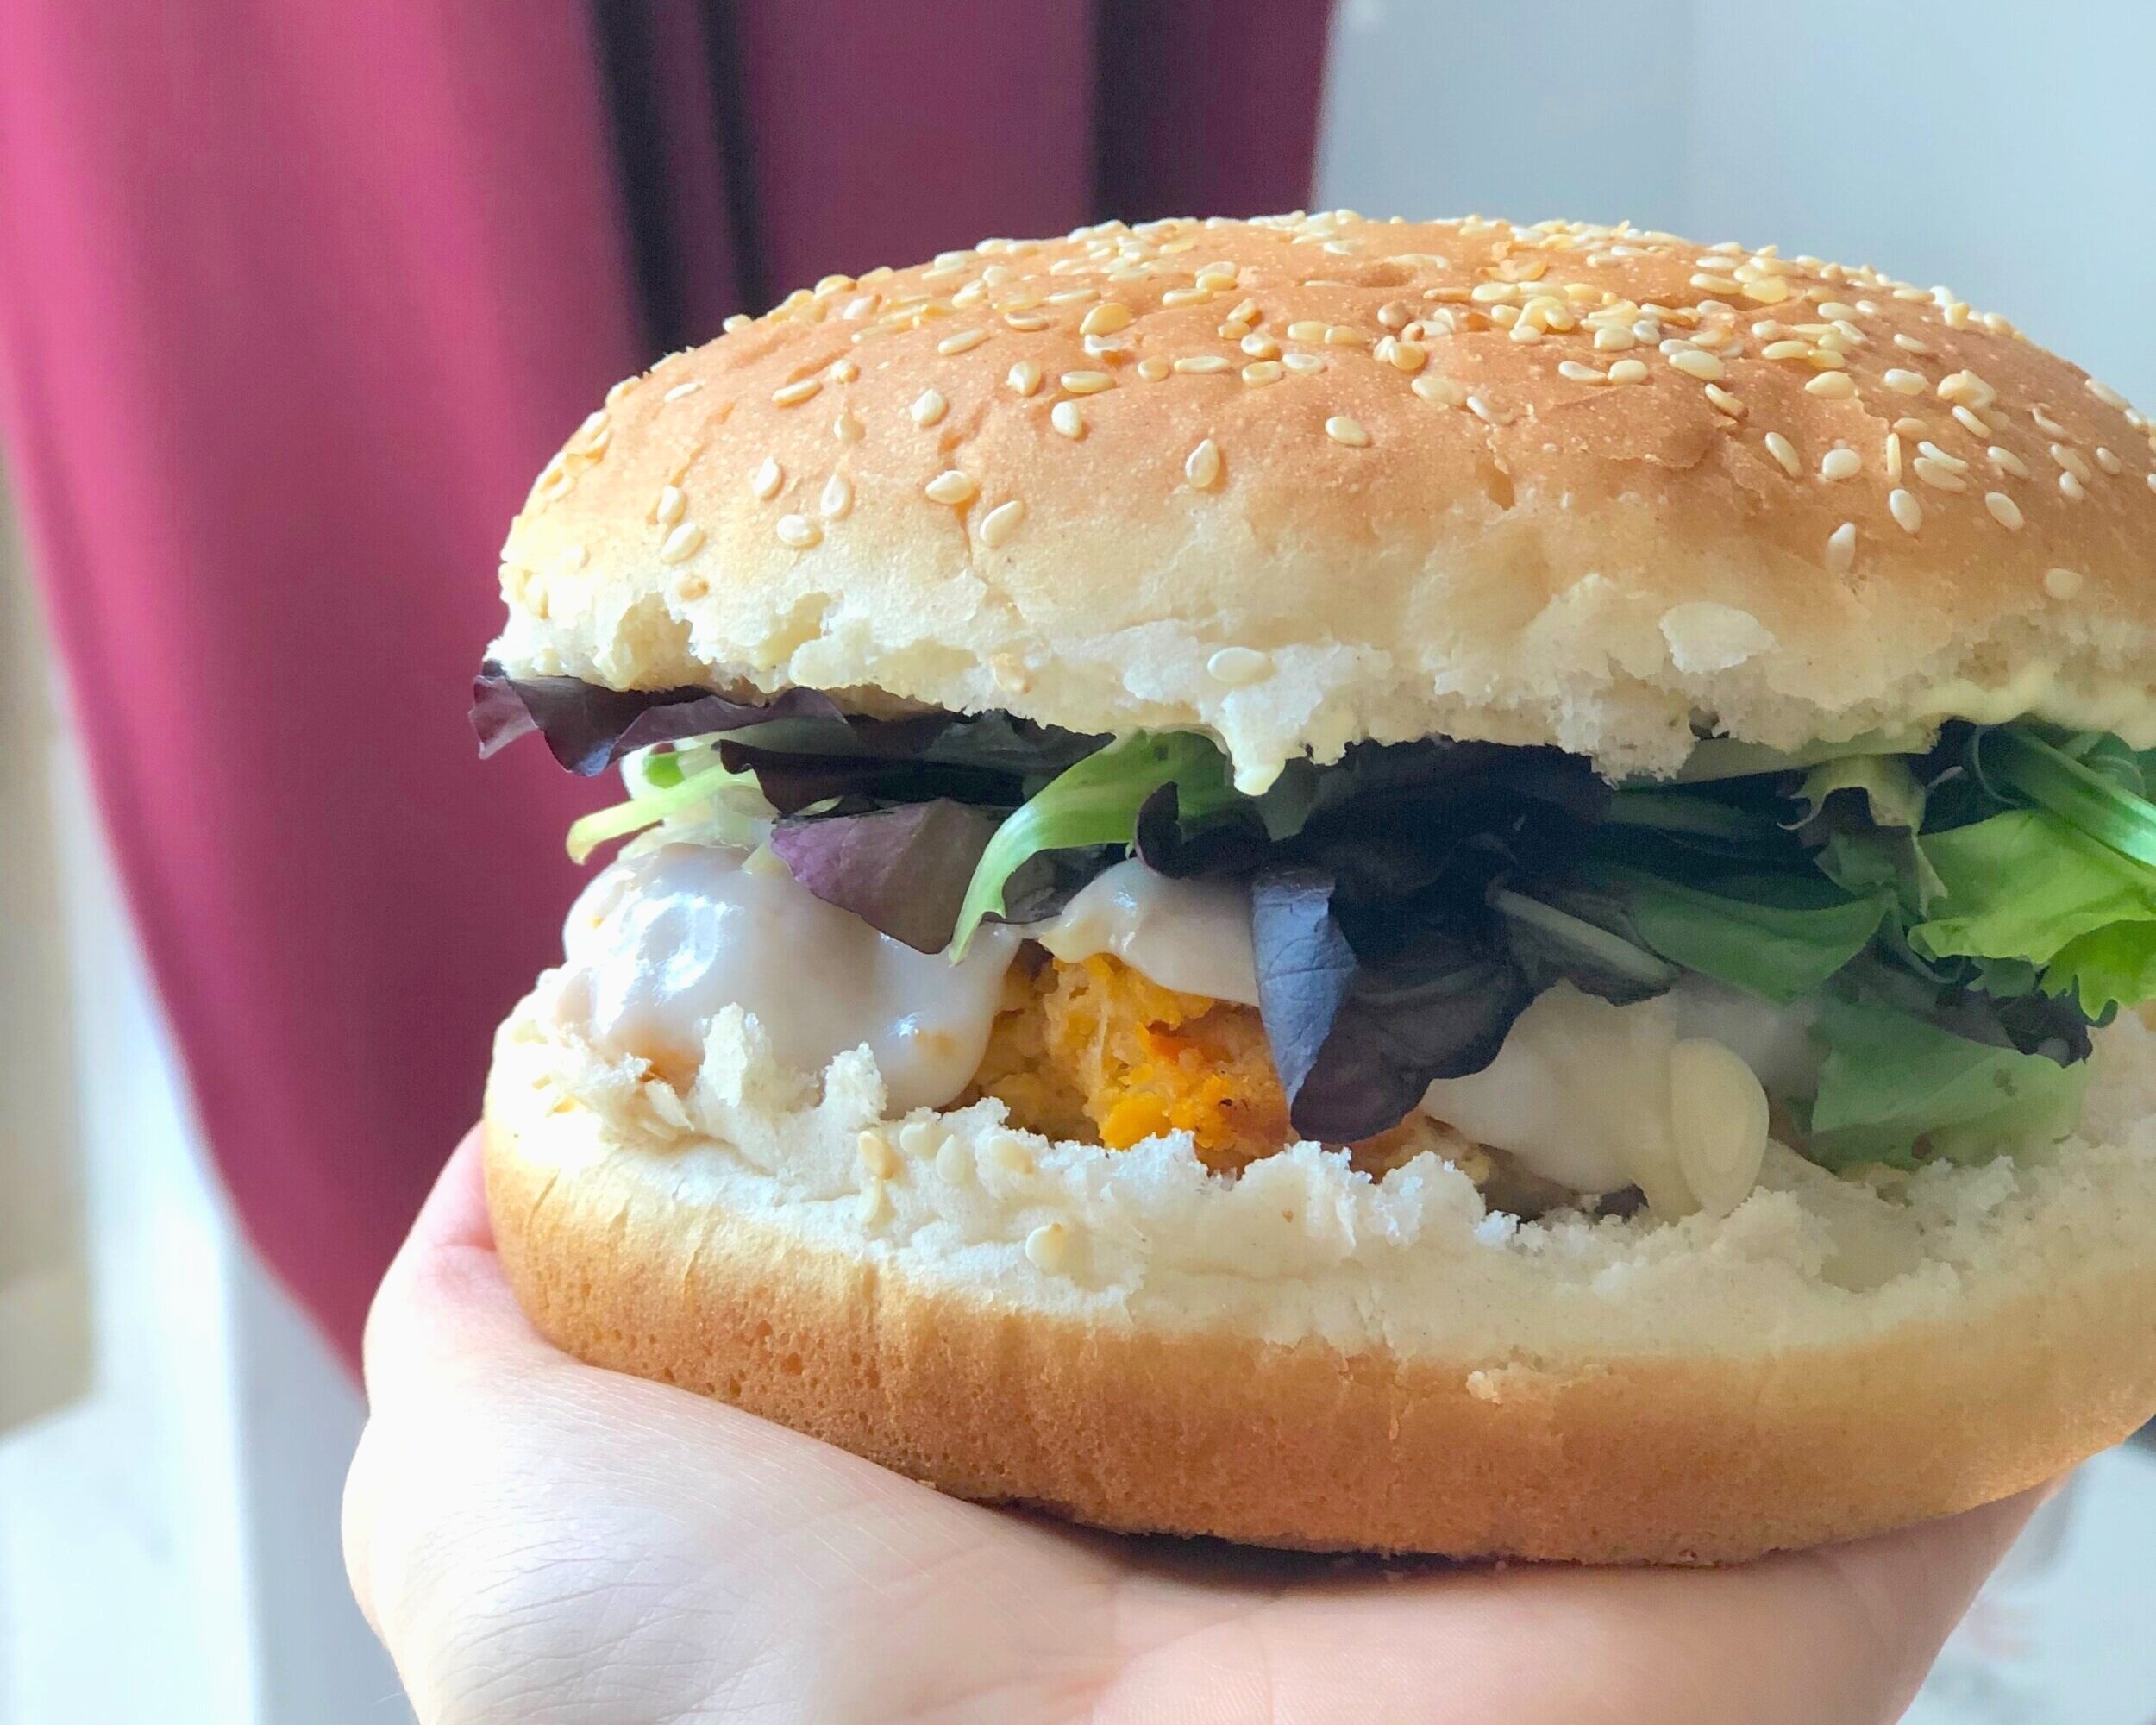
Whole Wheat Garlic Knots
/These whole wheat garlic knots are like your favorite garlic knots, but slightly healthified by adding whole wheat flour. You’re welcome.
I once spent two summers in NYC when I was a teenager, training with the American Ballet Theatre. My mom and I had great fun roaming around the streets of New York, trying NY bagels and pizza and walking miles for the free Lindt samples at the Lindt store. #dessert. We quickly discovered that NY pizza lives up to its name, and also that it is not the only star. You must get the garlic knots. And the best ones are at Ray’s Pizza, on 11th street. Buddy the Elf knows it. Except I may have read they closed. I’m really torn up about that. Such good memories, and guys, Buddy the Elf talks about it. How could they close?? How could they do that to me? I haven’t been able to support their business since 2008 but….such good memories. And if I had gone back to NYC since I would’ve eaten so many garlic knots! Alas. The world keeps turning, and there is this homemade recipe which is pretty durn good.
These knots are as good as any, and while the whole wheat flour might not be a part of the classic, I think it adds a wonderful nutty depth to the knots, as whole wheat flour does so well.
Want to lessen the garlic breath? Try Roasted Garlic Knots!
If there was a fault with garlic knots, it would be, well, the garlic. It’s what makes them. It’s also what makes them so dangerous. Fresh garlic, and so much. So good. So….smelly for the next 24 hours. But I discovered a trick to make these rolls a little less lethal. Normally you would bake the rolls, then slather them in the garlic butter. Instead, you can slather them with the garlic butter before baking, so they become roasted garlic knots. Also delicious, and may save your social interactions the next day. Somewhat.
The amount of garlic butter you use is also customizable. Really good, garlicky knots like you get in restaurants would probably be doused in a similar amount of garlic butter as the recipe below calls for, but if you want to lighten the load, you absolutely can. I often halve the garlic topping to keep it a bit lighter. Or, because of masks, social distancing, and generally staying home, you could also up the garlic…
Use up sourdough discard
If you are an avid sourdough baker, or at least, sourdough feeder, this recipe makes an excellent vessel for using up sourdough discard. Simply add discard to other ingredients before kneading (think 50-100g of starter) and continue as normal. Depending on how much starter you use, you will probably need to add a bit extra flour to the dough to ensure it’s not overly sticky.
So, an ode to Ray’s Pizza on 11th, that may no longer be in existence. May it Ray in Pizza. I mean, rest in peace.
This post may contain affiliate links. If you make a purchase using these links, Jennyblogs may receive a small commission, at no extra cost to you. This helps to support Jennyblogs. For further information see the privacy policy. Grazie!
Recipe adapted from Joy the Baker
Whole Wheat Garlic Knots
Makes 10 knots

Ingredients:
For the knots
2 1/4 tsp / 7g active dry yeast
2 tsp / 10g sugar
1 cup / 237g warm water (about 100°F / 38°C)
1 1/4 - 1 1/2 cups / 150-180g bread or all-purpose flour
1 cup / 130g whole wheat flour
2 Tbsp / 28g oil
1 tsp / 5g salt
For the Garlic Butter Mixture
4 cloves garlic, minced
1/4 cup / 56g melted butter, olive oil, or a mixture of both
1/4 cup chopped fresh parsley, optional
1 /2 tsp salt
Directions:
Make the Knots
Oven preheated to 400°F / 205°C. Line 1 or 2 baking sheets with parchment paper or silpat.
In a small bowl, combine yeast, sugar, and warm water; swirl to dissolve yeast and sugar. Let sit until frothy, about 5-10 minutes.
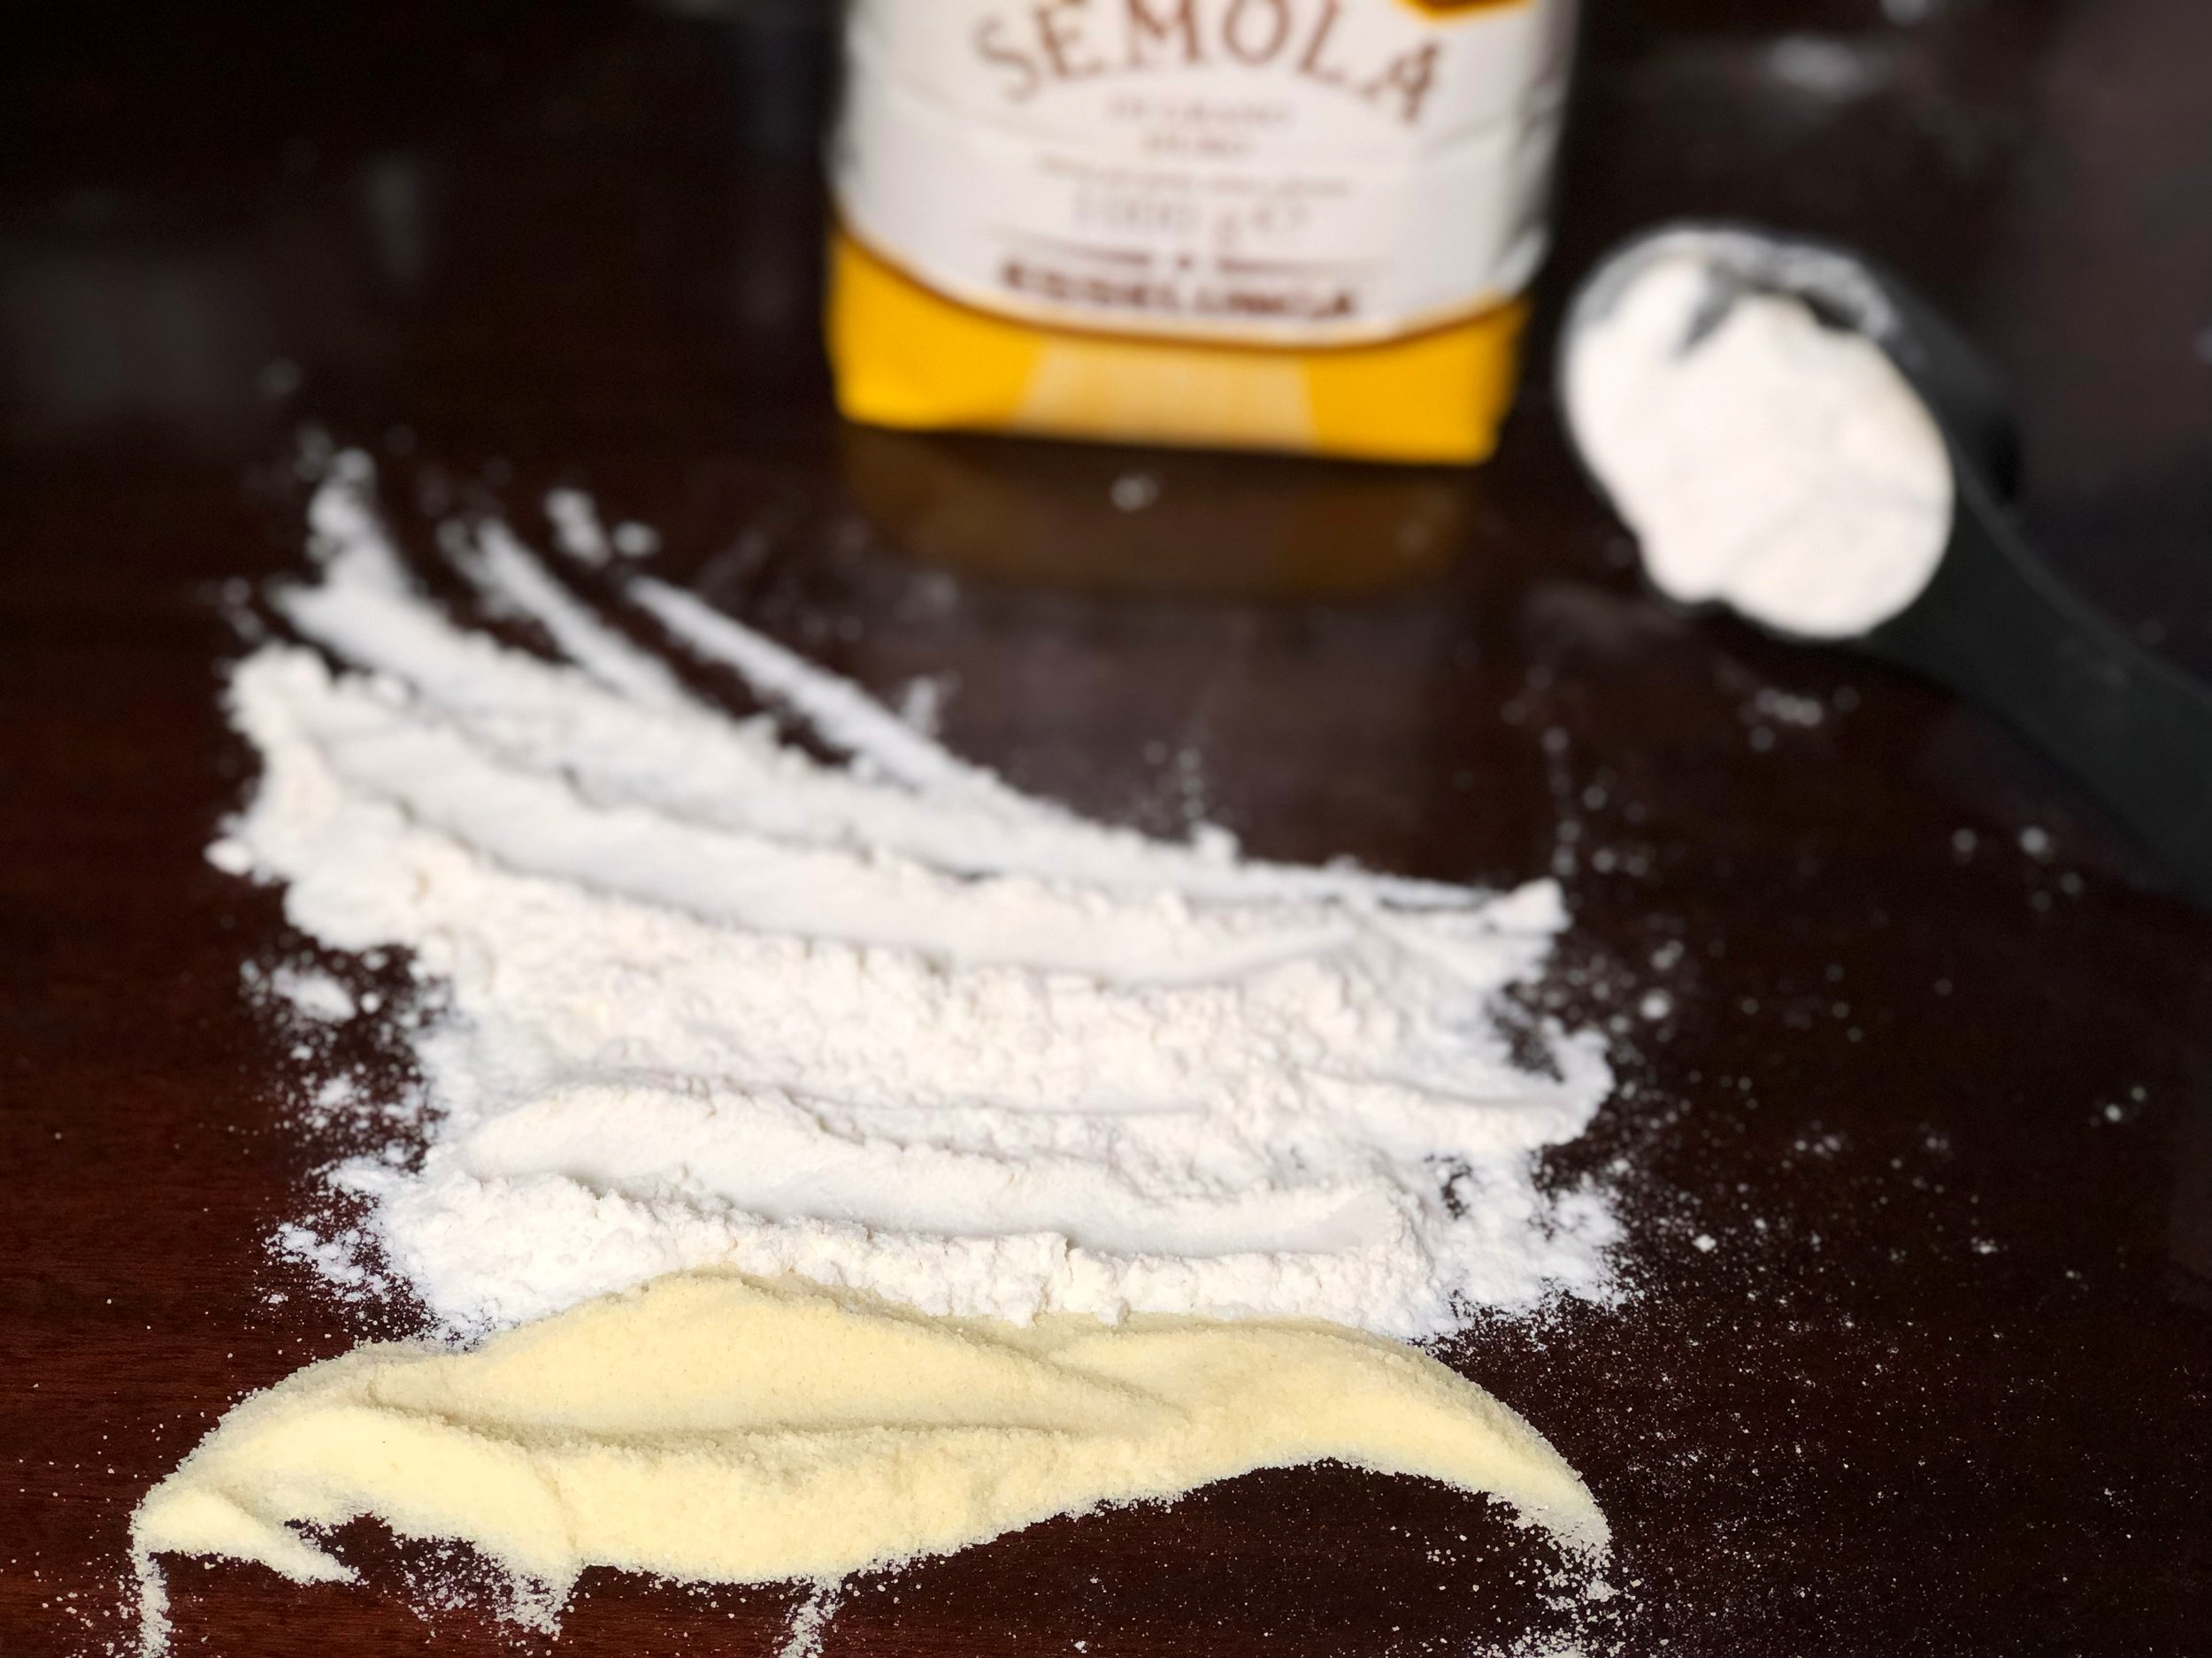
In a large bowl or bowl of a stand mixer fitted with the dough hook, mix 1 1/4 cups bread flour, whole wheat flour, oil, salt, and yeast mixture until combined. Dough should be pliable, not too stiff but also not sticky. Add remaining 1/4 cup bread flour if necessary.
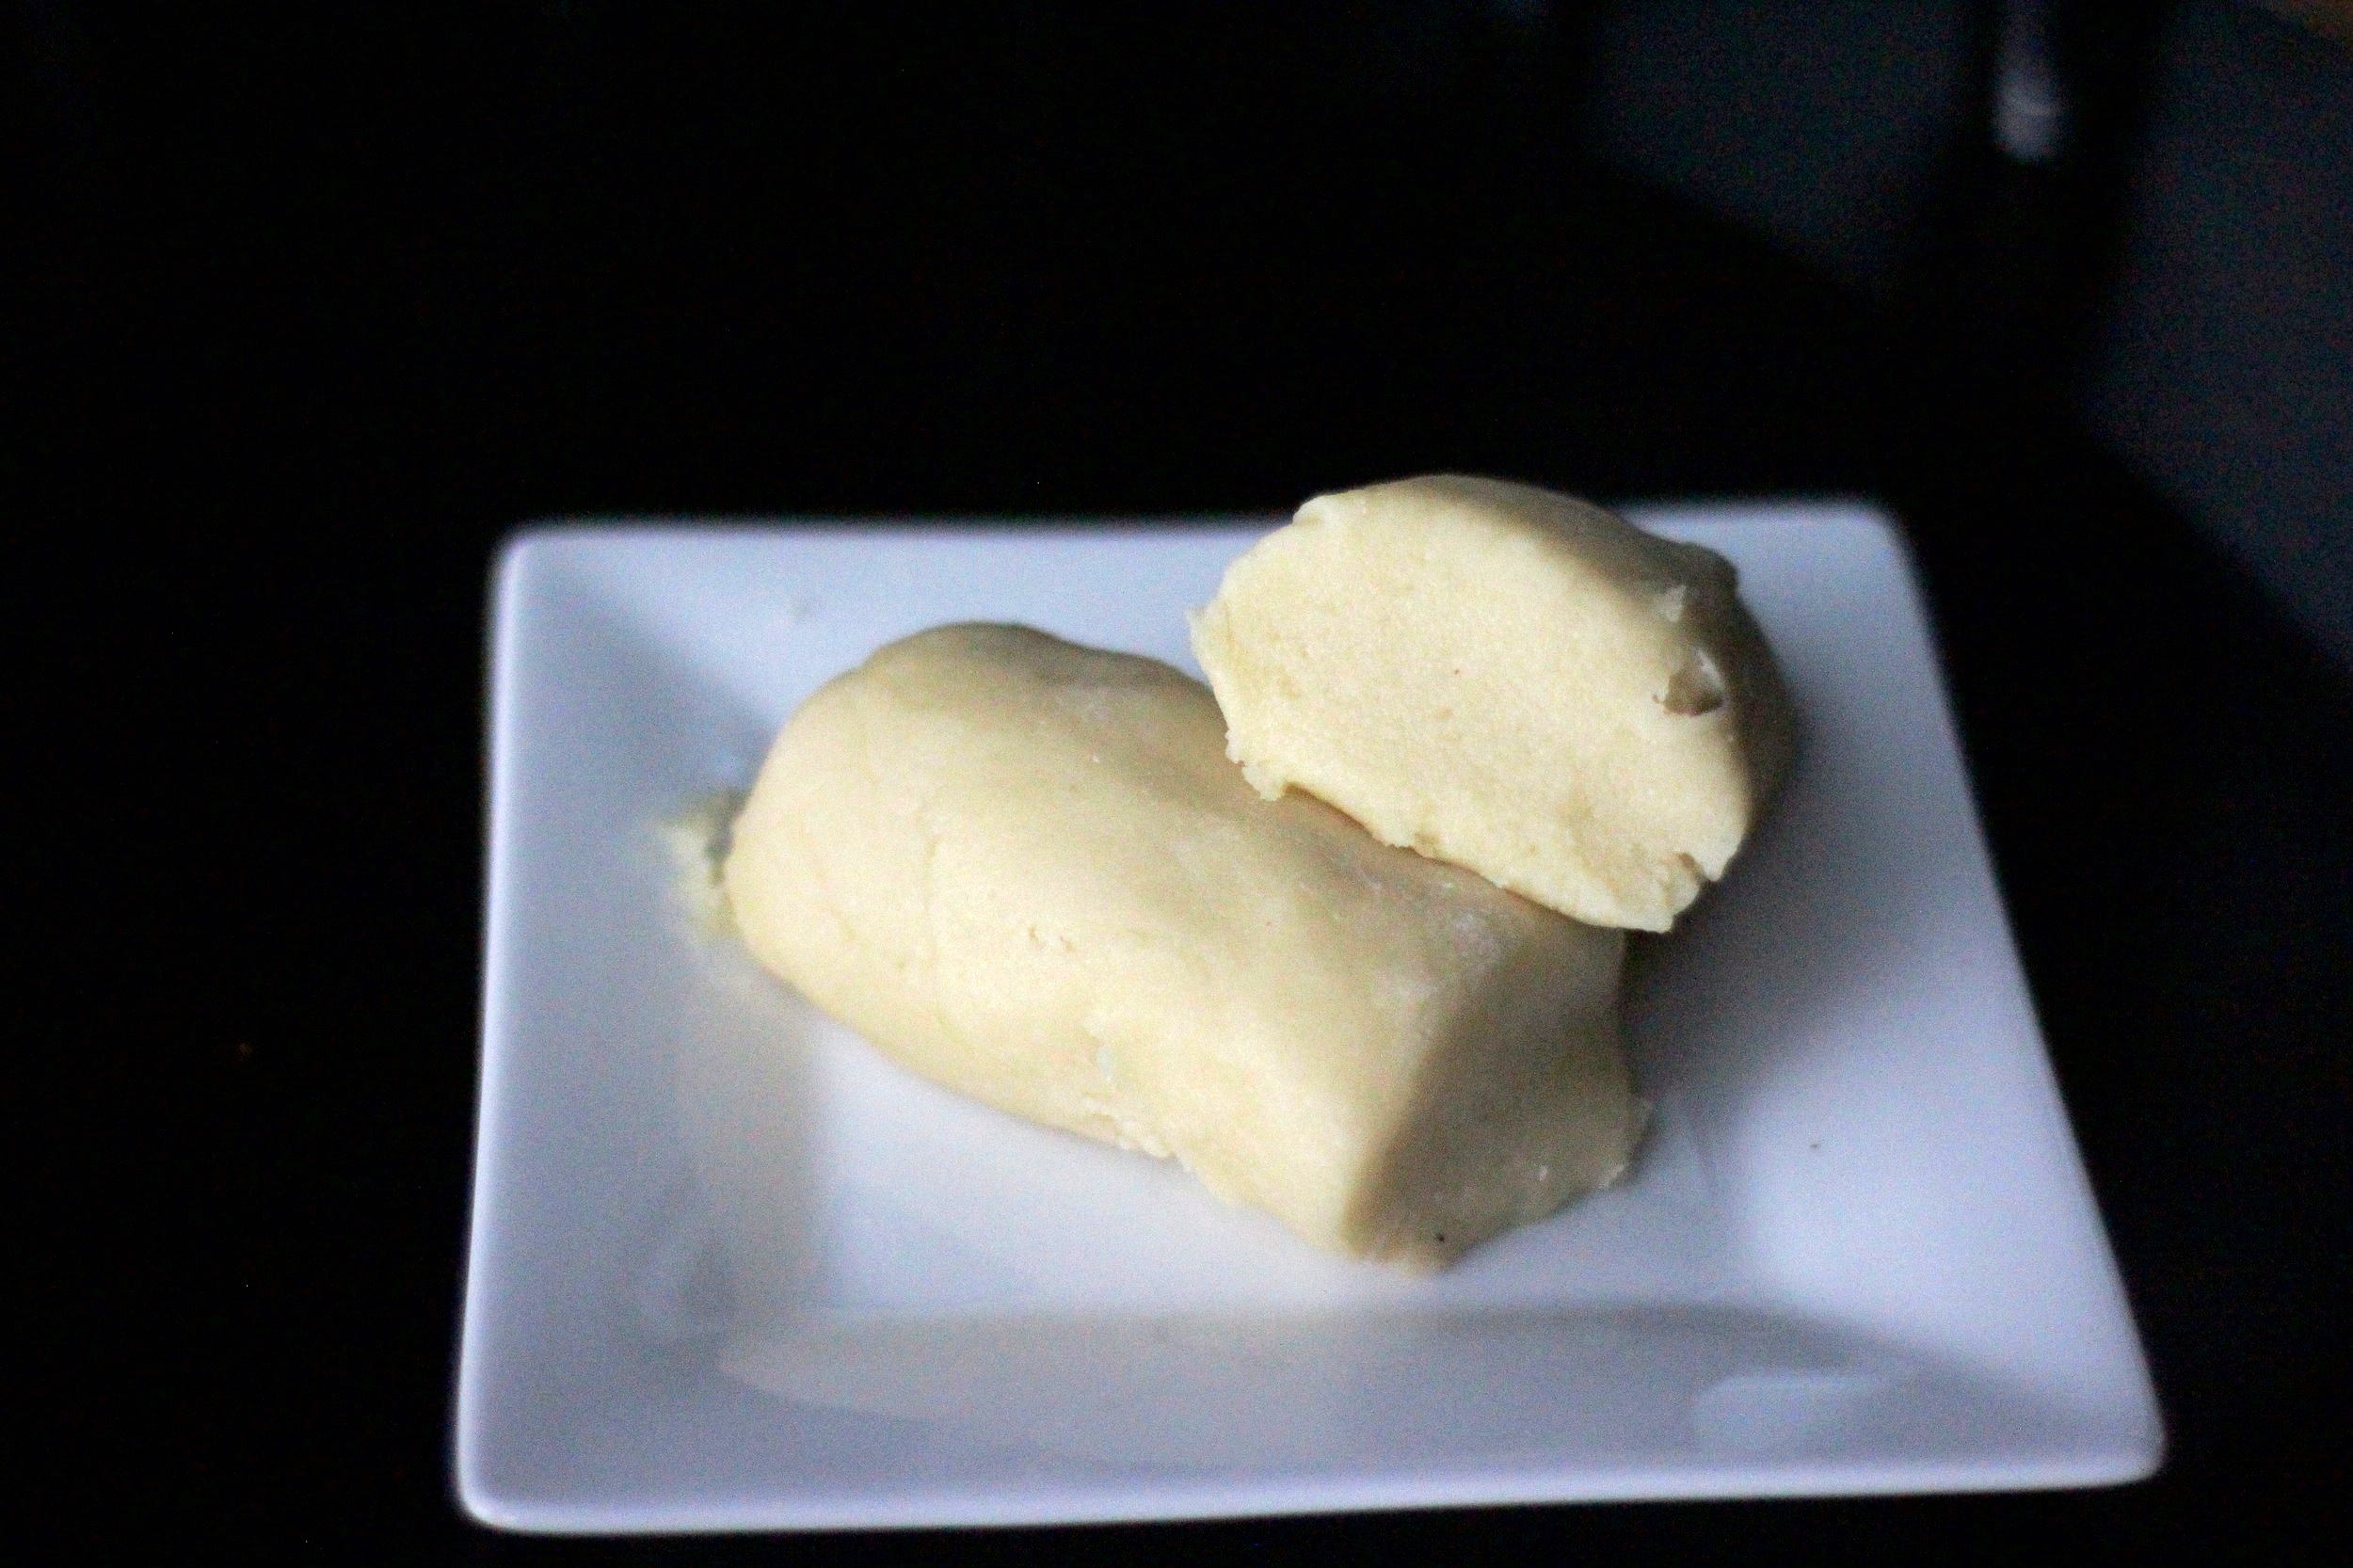
Knead dough with bread hook for about 7 minutes or by hand for 10 minutes until dough is smooth and elastic.
Grease a large bowl (can be the same bowl) and place dough in the bowl, flipping once to coat in oil. Cover with a kitchen towel or plastic wrap and allow to rise at room temperature for 1 hour, or until doubled in size.
On a lightly floured surface, roll dough out into a square, roughly 10x10in / 25x25cm. Slice into ten 1in / 2.5cm strips.
Take each strip and tie loosely in a knot; tuck the ends under. Place evenly spaced on baking sheet(s) and loosely cover with a kitchen towel or plastic wrap. Let rise in a warm place for about 30 minutes.
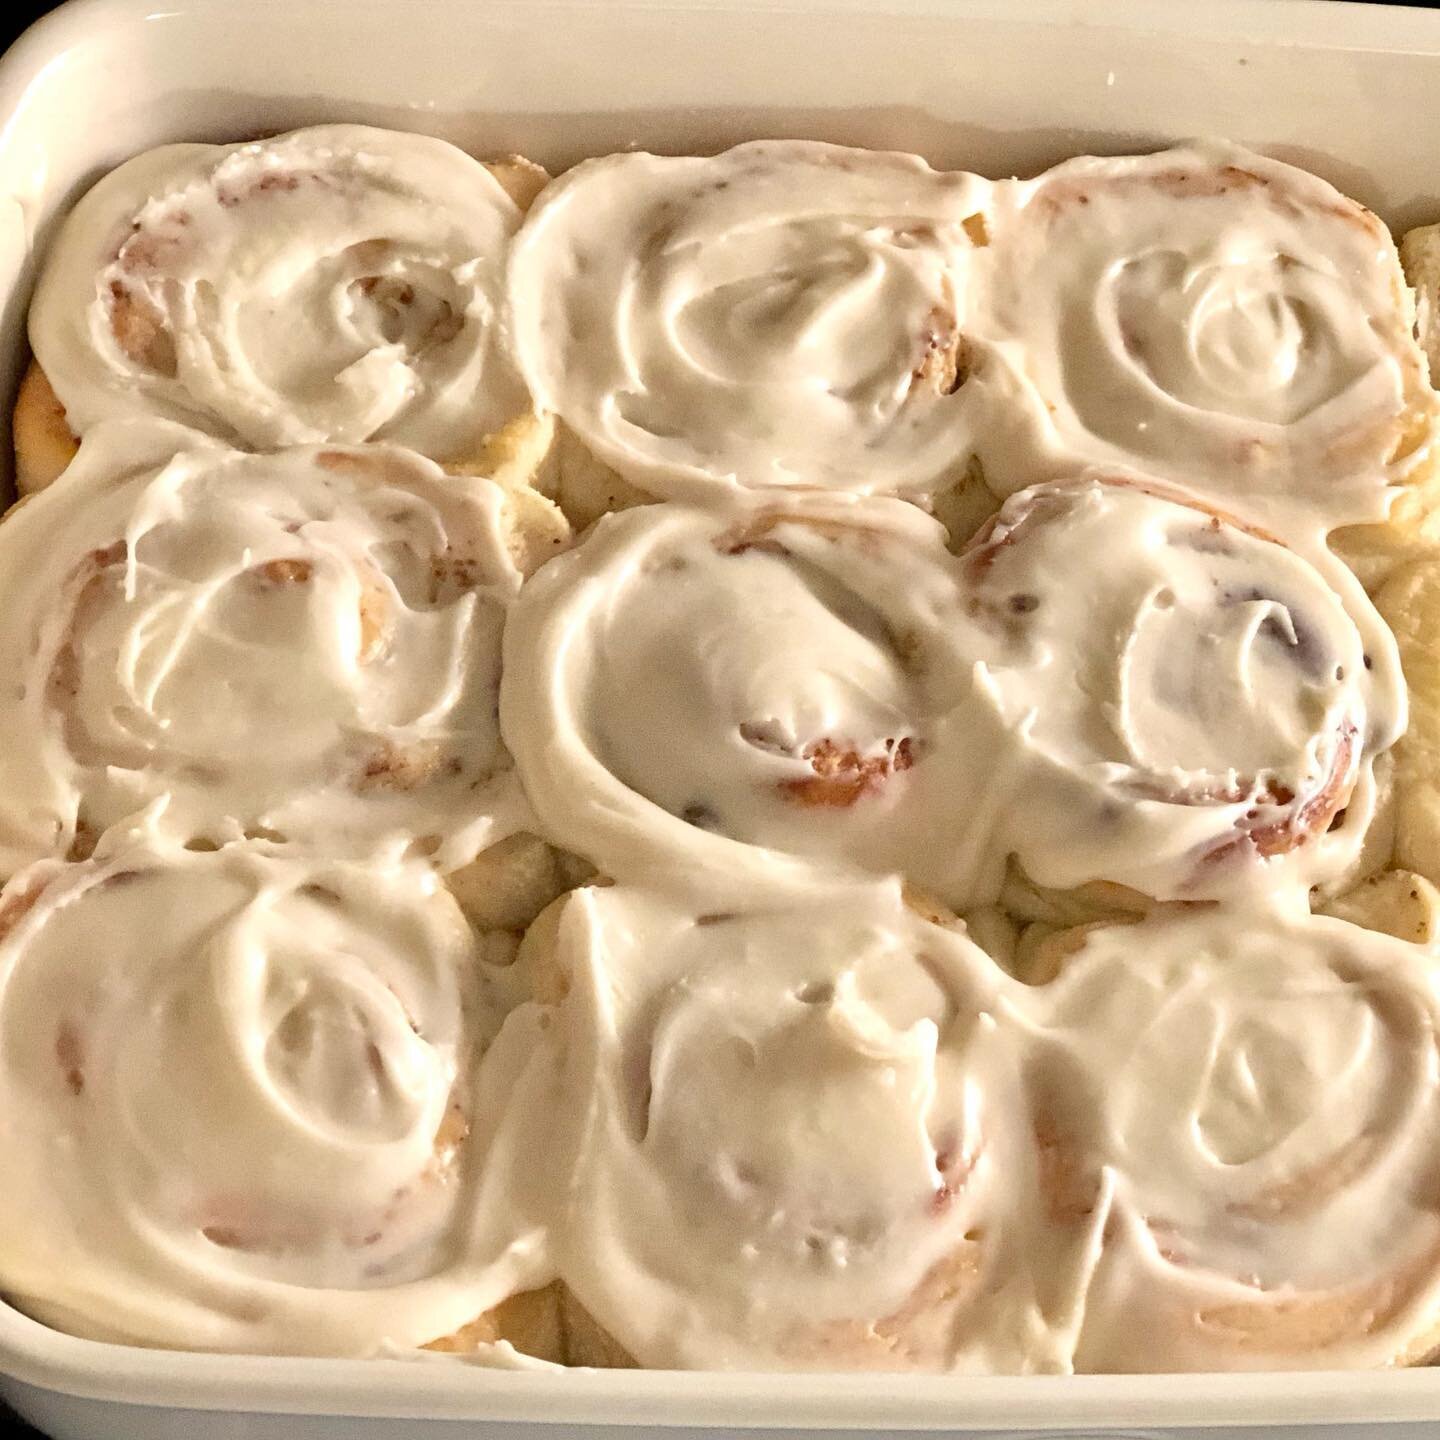
Bake in preheated oven for 15 to 18 minutes or until golden.
Make the Garlic Butter Mixture
Mix together all ingredients for garlic butter mixture.
As soon as rolls are done baking, either toss in garlic butter or brush over the rolls with a pastry brush.
Best if served warm.
Jenny’s Notes:
For Roasted Garlic Knots, brush rolls with garlic butter mixture before baking instead of after. Helps a bit with the garlic breath!
For a lighter, less garlicky roll, cut the garlic butter mixture in half. For extra garlicky rolls, use up to 6 garlic cloves!
The dough can be made a day ahead. Make and knead dough according to directions, and after placing dough in oiled bowl, place covered in fridge and allow to rise overnight. Bring dough to room temperature (or at least close) before rolling out.
You can use sourdough discard in this recipe. Add in with the flour and continue as in recipe, a bit more flour may be necessary to ensure your dough isn’t too sticky.
The above recipe can also be used as pizza dough. Likewise, you can also use your favorite pizza dough recipe (my mom used to buy pre-made pizza dough from Sam’s club to make easy breads and pizzas) and simply follow the recipe above for shaping and making the garlic butter.


Whole Wheat Garlic Knots
Ingredients
Instructions
- Oven preheated to 400°F / 205°C. Line 1 or 2 baking sheets with parchment paper or silpat.
- In a small bowl, combine yeast, sugar, and warm water; swirl to dissolve yeast and sugar. Let sit until frothy, about 5-10 minutes.
- In a large bowl or bowl of a stand mixer fitted with the dough hook, mix 1 1/4 cups bread flour, whole wheat flour, oil, salt, and yeast mixture until combined. Dough should be pliable, not too stiff but also not sticky. Add remaining 1/4 cup bread flour if necessary.
- Knead dough with bread hook for about 7 minutes or by hand for 10 minutes until dough is smooth and elastic.
- Grease a large bowl (can be the same bowl) and place dough in the bowl, flipping once to coat in oil. Cover with a kitchen towel or plastic wrap and allow to rise at room temperature for 1 hour, or until doubled in size.
- On a lightly floured surface, roll dough out into a square, roughly 10x10in / 25x25cm. Slice into ten 1in / 2.5cm strips.
- Take each strip and tie loosely in a knot; tuck the ends under. Place evenly spaced on baking sheet(s) and loosely cover with a kitchen towel or plastic wrap. Let rise in a warm place for about 30 minutes.
- Bake in preheated oven for 15 to 18 minutes or until golden.
- Mix together all ingredients for garlic butter mixture.
- As soon as rolls are done baking, either toss in garlic butter or brush over the rolls with a pastry brush.
- Best if served warm.
Notes:
- For Roasted Garlic Knots, brush rolls with garlic butter mixture before baking instead of after. Helps a bit with the garlic breath!
- For a lighter, less garlicky roll, cut the garlic butter mixture in half. For extra garlicky rolls, use up to 6 garlic cloves!
- The dough can be made a day ahead. Make and knead dough according to directions, and after placing dough in oiled bowl, place covered in fridge and allow to rise overnight. Bring dough to room temperature (or at least close) before rolling out.
- You can use sourdough discard in this recipe. Add in with the flour and continue as in recipe, a bit more flour may be necessary to ensure your dough isn’t too sticky.
- The above recipe can also be used as pizza dough. Likewise, you can also use your favorite pizza dough recipe (my mom used to buy pre-made pizza dough from Sam’s club to make easy breads and pizzas) and simply follow the recipe above for shaping and making the garlic butter.
Calories
185.79Fat (grams)
7.93Sat. Fat (grams)
3.14Carbs (grams)
20.38Fiber (grams)
2.13Net carbs
22.21Sugar (grams)
1.10Protein (grams)
4.01Sodium (milligrams)
232.51Cholesterol (grams)
12.04Nutritional information is approximate. Based on 1 knot.


%20Congo%20Bars&media=https://images.squarespace-cdn.com/content/v1/56c61656859fd03ce9b15cfa/1590006822555-DFPAIAUZ2XGNZTDXAAMM/ke17ZwdGBToddI8pDm48kEvcGQjHp4CeMpa-j2l7CG57gQa3H78H3Y0txjaiv_0fDoOvxcdMmMKkDsyUqMSsMWxHk725yiiHCCLfrh8O1z5QPOohDIaIeljMHgDF5CVlOqpeNLcJ80NK65_fV7S1Ueer31Nh2EV2eN5YzADigDBeIgYoldKUoAIbzWVYipbbsMZVQtdrWxaJTE-CAX0Uxw/Adjustments.jpg?format=500w)
 Congo Bars")