Living in Italy: Culture Shock?
/
Did you experience culture shock the first time you came to visit or live in Italy?
I wrote “culture shock” as a question in the title because this is something I occasionally chew on. Sometimes we tend to throw around words without thinking about what they actually mean, and after awhile some words start to lose their real meaning or their sharpness. I think one of those words, or phrases, is “culture shock.”
This phrase includes the word “shock.” Consider quickly the definition of shock which I just copy and pasted from the Merriam Webster Online Dictionary:
1a(1) : a sudden or violent mental or emotional disturbance. (2) : a disturbance in the equilibrium or permanence of something. b : something that causes such disturbance the loss came as a shock. c : a state of being so disturbed were in shock after they heard the news.
With this in mind, I think I can safely say that while we joke about culture shock, we use the term quite lightly. Of course, people differ with different mindsets, age, sensibilities, so different people may experience different levels of culture shock, but my goal with this blog wasn’t actually to dissect the term culture shock but more, what it’s like for an American in Italy. How different is life really? Is it shockingly different? Almost the same just a different language? Like one long vacation in Italy consisting of evening strolls and an overabundance of margherita pizza and Chianti Classico? I shall try to give you a little glimpse into what life in Italy is like.
So, IS it a shocker? Long answer short: No. I don’t think Italy, at least for me, was a culture shock. Especially for a tourist, student, it’s different and charming, but shocking? Nah. We’ve grown up hearing too much about Italy, Italian food, Italian people, that setting foot here on vacation or short term is more the realization of a dream than an unexpected shock. Actually digging your heels in, learning the language, and going through the motions it takes to live is when things become more…shocking. The “bella figura” peels away to reveal bitterness, disorganization, and corruption, unless you have enough money or power to avoid some of it, as human nature caters to the wealthy and powerful. Even myself as an American, though by no means rich, has a certain affluence that is catered to. That might sound awful, but it’s true. You’ll probably find these things out over a period of years instead of one day, so it still isn’t quite culture shock. You just…slowly come to terms with it.
I have experienced culture shock. Oh yes. If I wavered on whether Italy truly was shocking as some people think it is, I knew for sure it wasn’t for me after visiting Tunisia. I think I could also say Honduras, but I was only in Honduras for a couple weeks touring with my ballet company, and thus we had hosts who brought us in and took wonderful care of us. Lodging, food, transit, and translators were all provided, so the experience, while it remains treasured in my heart, is a far cry from real life in Honduras.
While I can say the same is almost true for my time in Tunisia, it still was a very different experience. My husband is from Tunisia and I went to visit/meet his family for the first time in 2018. I think anywhere in Africa or Asia would be shocking for me, honestly! No amount of pictures or stories or articles can prepare someone for such a different way of life. I cried more times in front of people than I cared to. It’s easy looking back and chiding myself for my reactions, but I was doing the best I could in a new culture, country, people, and language. And no, hardly anyone speaks English. While my in-laws took wonderful care of me, maybe too good care of me, everything was still veryyyy different and not understanding what is going on around you can be stressful. Add on being sick while I was there…well, that, for me, was a culture shock experience.
So now we come back to Italy and I say, no, this country is similar enough (or tries to be) to the way America and other first world countries operate that you can get by pretty well. Until you enter the web of bureaucracy. Then I suggest you get a panic bunker for your many meltdowns. I’m kidding. Kind of.


Some differences between life in America and Italy
Keep in mind these reflect my observances as someone who grew up in a smallish town in Michigan and who now lives in Florence. I have lived in the city center of Florence, in the city surroundings, and now live in a very small town outside of Florence.
Usually the best way I can think to summarize life in Italy is by saying it’s similar to life in the US, everything’s just a little bit harder and takes longer. For example:
Driving
While driving is driving, keep in mind that most cars in Italy are manual. Then getting from point A to point B generally takes longer than you would think, because it’s not a straight shot, especially when there are historic city centers nearby. This usually means driving in a wide arc around the city center to get where you need to be. Many roads in or around city centers are prohibited to say, non-residents or during the day. So your route could be different based on your status and time of day. Then, because that’s not enough, make sure you can drive legally! If you live here you probably will at some point become a resident. I know for sure for Americans and Canadians, that your driver’s license is valid for one year after you become a resident. After that you must attend driving school (which last I heard will run you around 1000euro) to get your Italian driver’s license. Unfortunately there is no international driving agreement between the US/Canada and Italy.
Parking
While we’re on the subject of cars here, parking can be a nightmare. It’s hard to understand where you can and can’t park, during what hours, and between what color lines. This is tight city living, not sprawling America. It’s often parallel parking, too, oh joy. I can’t tell you how many times I’ve seen parallel parked cars hit the cars around them multiple times before squeezing in, or bumpers literally touching while parked. Then there are those who park in the middle of the road, or around a round-about for lack of better options. You’d think they’d get a ticket. But if you try it, you will. Because that’s the Italian Murphy’s Law. Parking to grocery shop, while probably guaranteed, will often be a parking garage under the store where you may have to pay.
Grocery Shopping
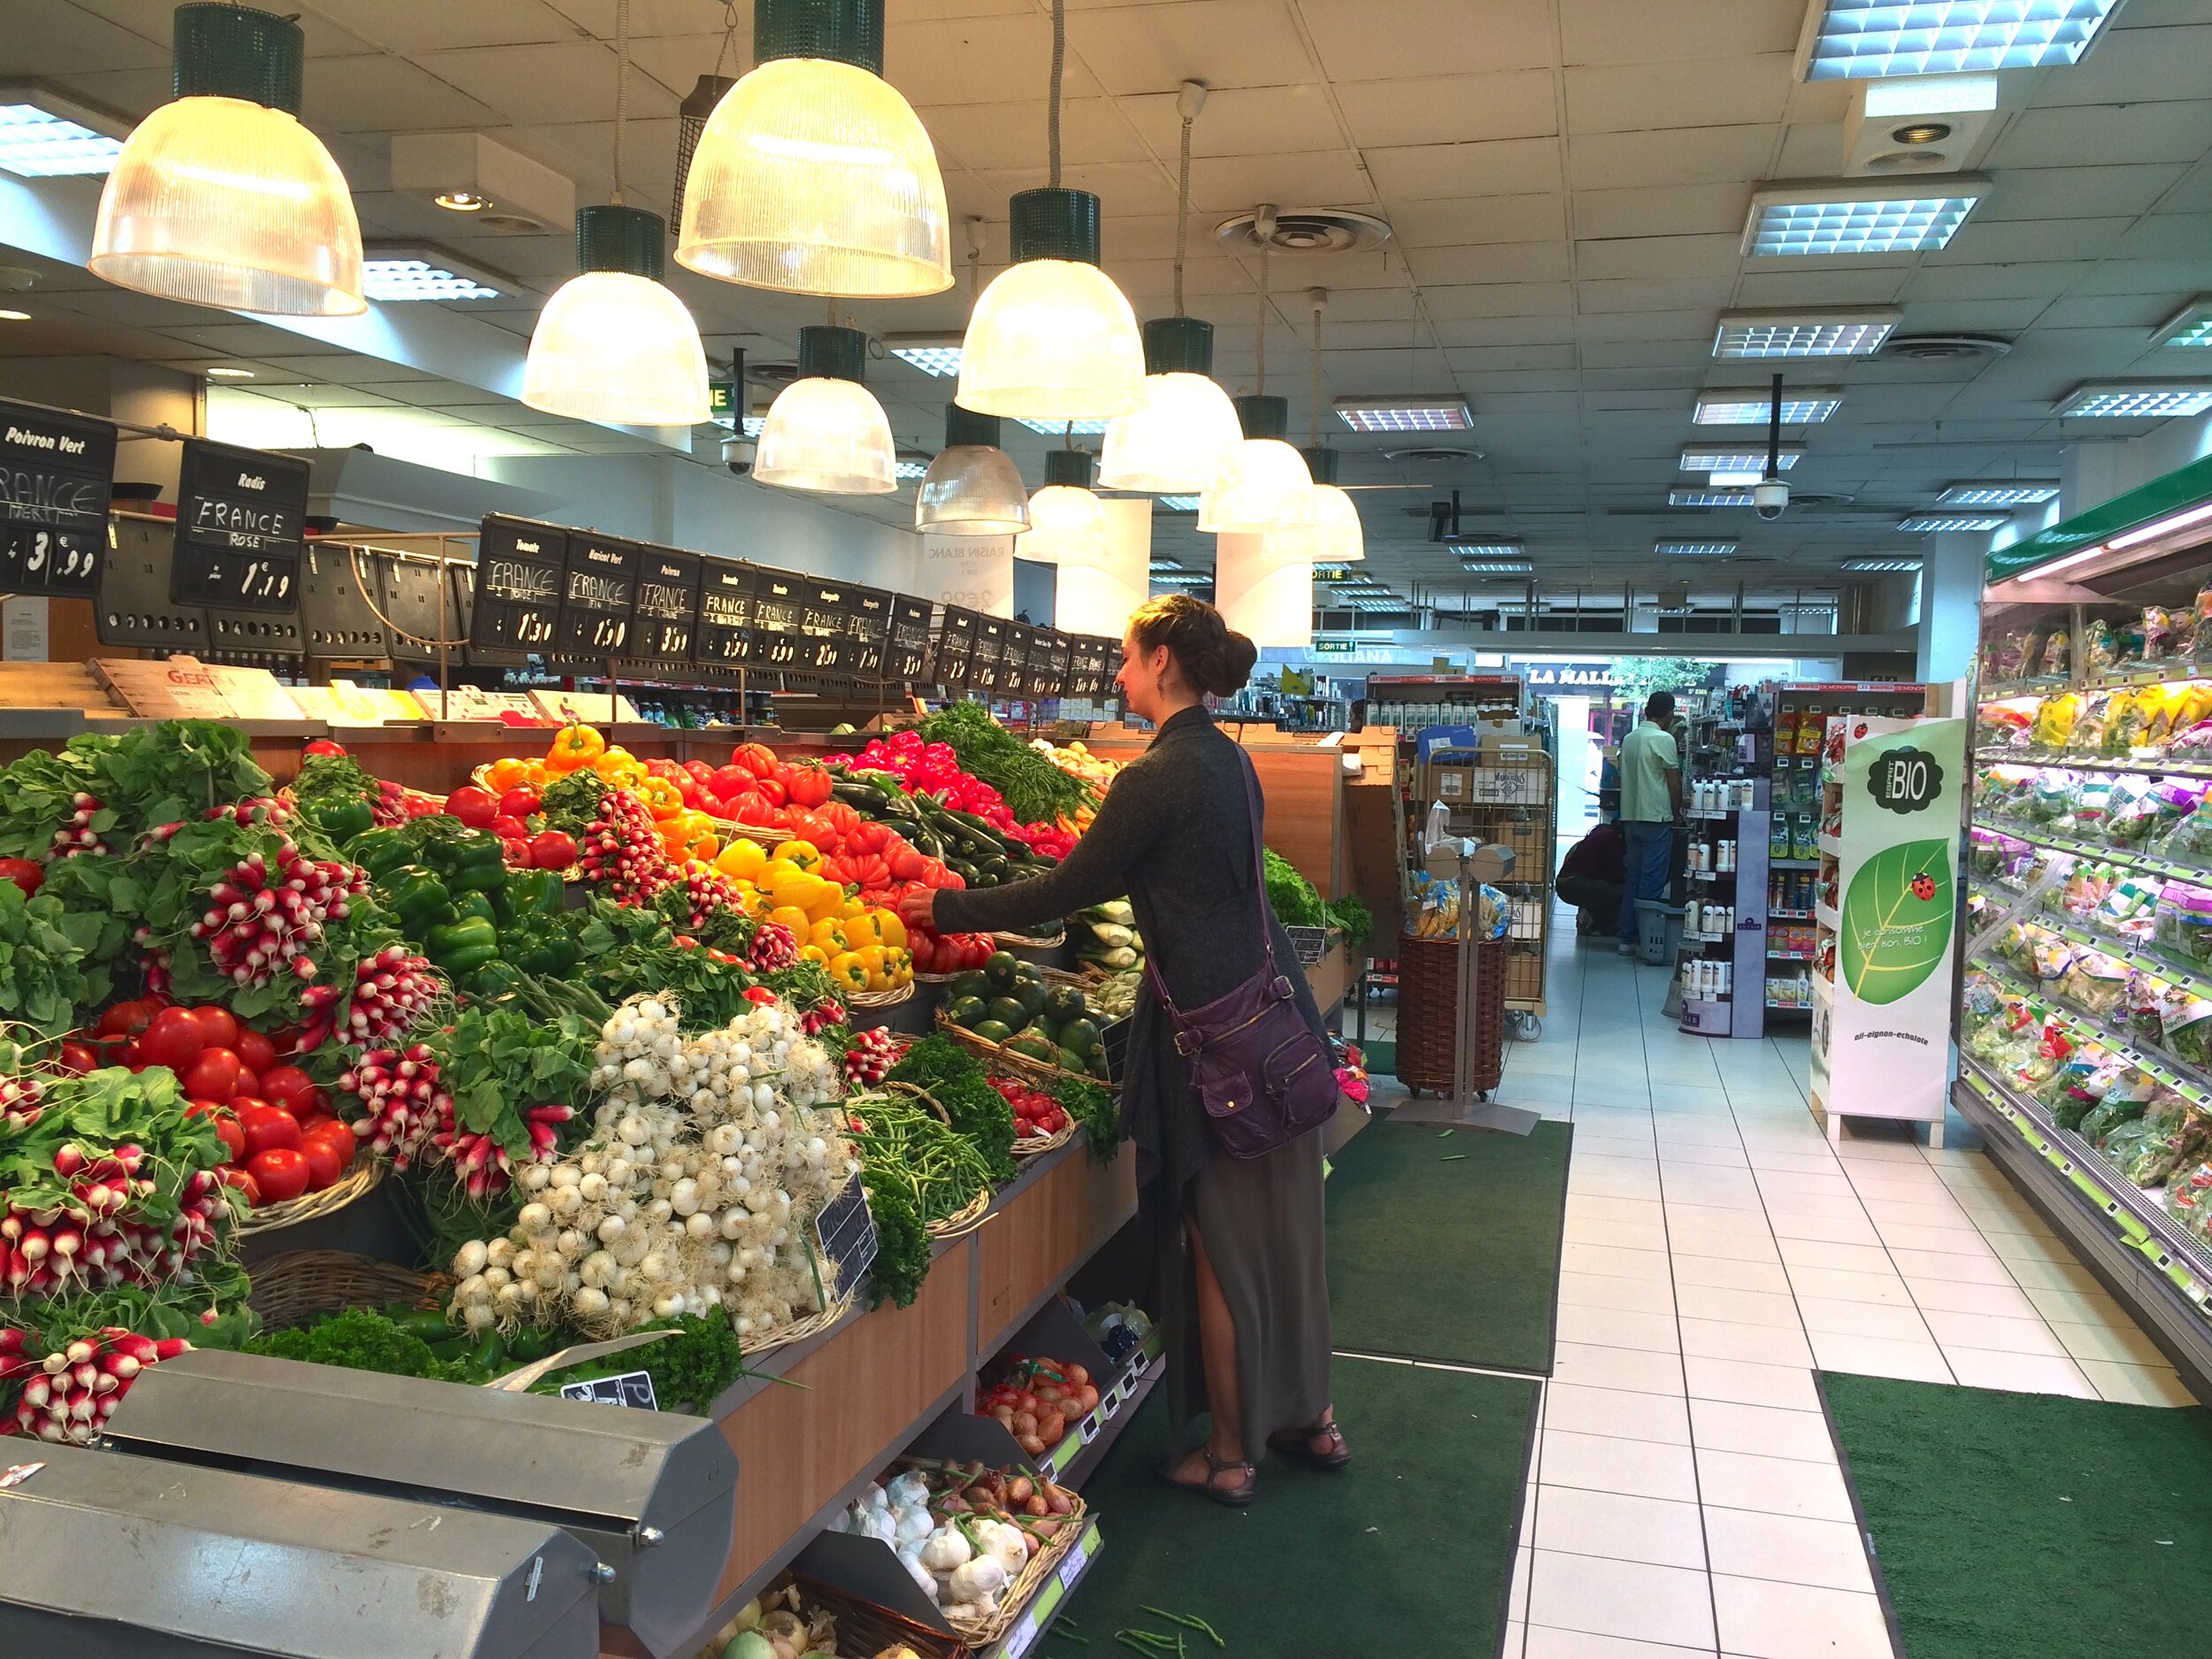
If you’re not fortunate enough or crazy enough to have a car, grocery shopping means only being able to buy what you can physically carry (or put on a bike) home. This often means grocery shopping more often, but that’s more the Italian way of life anyway. And it’s easier to stay on top of the fresh produce before it goes bad, only getting enough for a few days instead of a week or two. You can read more about grocery shopping in Italy by clicking here.
Bills
You have to pay bills in Italy, too, unfortunately. While you can pay online and even set up automatic bill pay, I personally don’t trust the companies enough to just say, “here, take my money every month!” As I note below, once an Italian company has your money, you’re unlikely to ever see any type of refund. So if there is ever anything you want to contest, it’s much easier to do so BEFORE you pay than after.
Any kind of rules/regulations
You hear one thing, you read another, you’re left confused. You ask someone who has authority on the matter, and they tell you what to do. Great. You do what they tell you, and you get told, no, that’s not how it works. “But I was told…” nope. Doesn’t matter. New person, new day, and they get to tell you what they want. It can be extremely frustrating, or entertaining. Depending on your mood and what it is. Viva l’Italia!
Hospitals/Healthcare
While the healthcare I was fortunate enough to have access to growing up was nothing short of great, I can’t say the same for what I’ve seen first hand and heard of in Italy. The public healthcare in Italy is cheap and accessible to all, even if you don’t have the correct documents to live here, they’re not going to turn you away. I’m currently pregnant as I write this, and haven’t and won’t pay a cent for the whole care I’ve received so far, except for supplements and vitamins recommended by my midwife. While this is great, I’ve also left some family and friends aghast in the States when I tell them all about my appointments and pregnancy care here. And my pregnancy experience compared to other scenarios I’ve seen is positively solid. I have too many stories to recount in this post about hospitals and the care here, but I will say this. If the care in America is excellent overall, but not accessible to everyone, and the care in Italy is accessible to everyone but if they don’t do anything for you, what good is it? There has to be some way to better these systems because it feels like I’ve lived in the two opposite lands of healthcare. Governments and politics, I tell you.
Size
Everything in Italy is smaller. The people, apartments, shops, restaurants, ovens, portion sizes, cars, bathrooms, fitting rooms….Some of these things are good, some just take getting used to.
I grew up with four brothers in a 5 bedroom house. By American standards in our area our house is probably average, maybe even small considering 7 people lived there. By Italian standards? It’s huge! I don’t think I know anyone who has more than a 3 bedroom apartment. Even then, 3 bedrooms? Wow, that’s luxury! What space! The biggest apartment I’ve lived in was with 2 roommates, 2 bedrooms, and it was about 90 sq meters, so about 900 square feet? That was a big apartment, and we enjoyed hosting because of all our space.
Visiting public restrooms is always fun. They’re hard to find, and often you have to hunt down a bar or someplace where you can buy a coffee or quick drink just so you can use the bathroom. The tiny bathroom. Then good luck figuring out how to flush the toilet. Hint, it could be a handle, a button, on the toilet, on the wall, a pull string from the ceiling, or even a peddle. No, it’s probably not automatic. And make sure you figure it out before the light, which may be automatic, goes out on you and doesn’t want to turn on again. My favorite was the bathroom that used to be upstairs at La Rinascente. Now, Rinascente is an upscale department store, so you’d think their bathrooms would be nice? Better than most, but clearly their architects were at a loss with what to do with the space. One of the two rooms had the toilet in such a tight corner that it was not possible to sit down forward facing with the wall right there. There were just a few inches between the front of the toilet and the wall. Unless you would like to swing one leg over the toilet and do a semi-split, the only option was side-straddle. Fun.
Fitting rooms are also entertaining. I highly suggest trying on a larger size rather than smaller first so you don’t have any problems trying to remove the article of clothing. Even removing something that fit perfectly usually leaves me hitting at least 3 walls of the fitting room before getting back in my own clothes. To anyone nearby, they would probably think I’m being mauled by a tiger in there with all the thunks, bangs, and curtain rustling. Extra fun when you’re 8 months pregnant and belly practically spans the width of the room just standing still.
Punctuality
As an American you probably are punctual and consider it rude if you show up late. I know a lot of Americans who do run late, but it’s usually a matter of minutes and often there is the “I’m on my way, I’m so sorry!” text. In Italy it is all but expected to show up late to things, at least casual encounters.
My church states that it starts at 11:00am. It usually starts closer to 11:15-11:30 because they know everyone shows up late anyway.
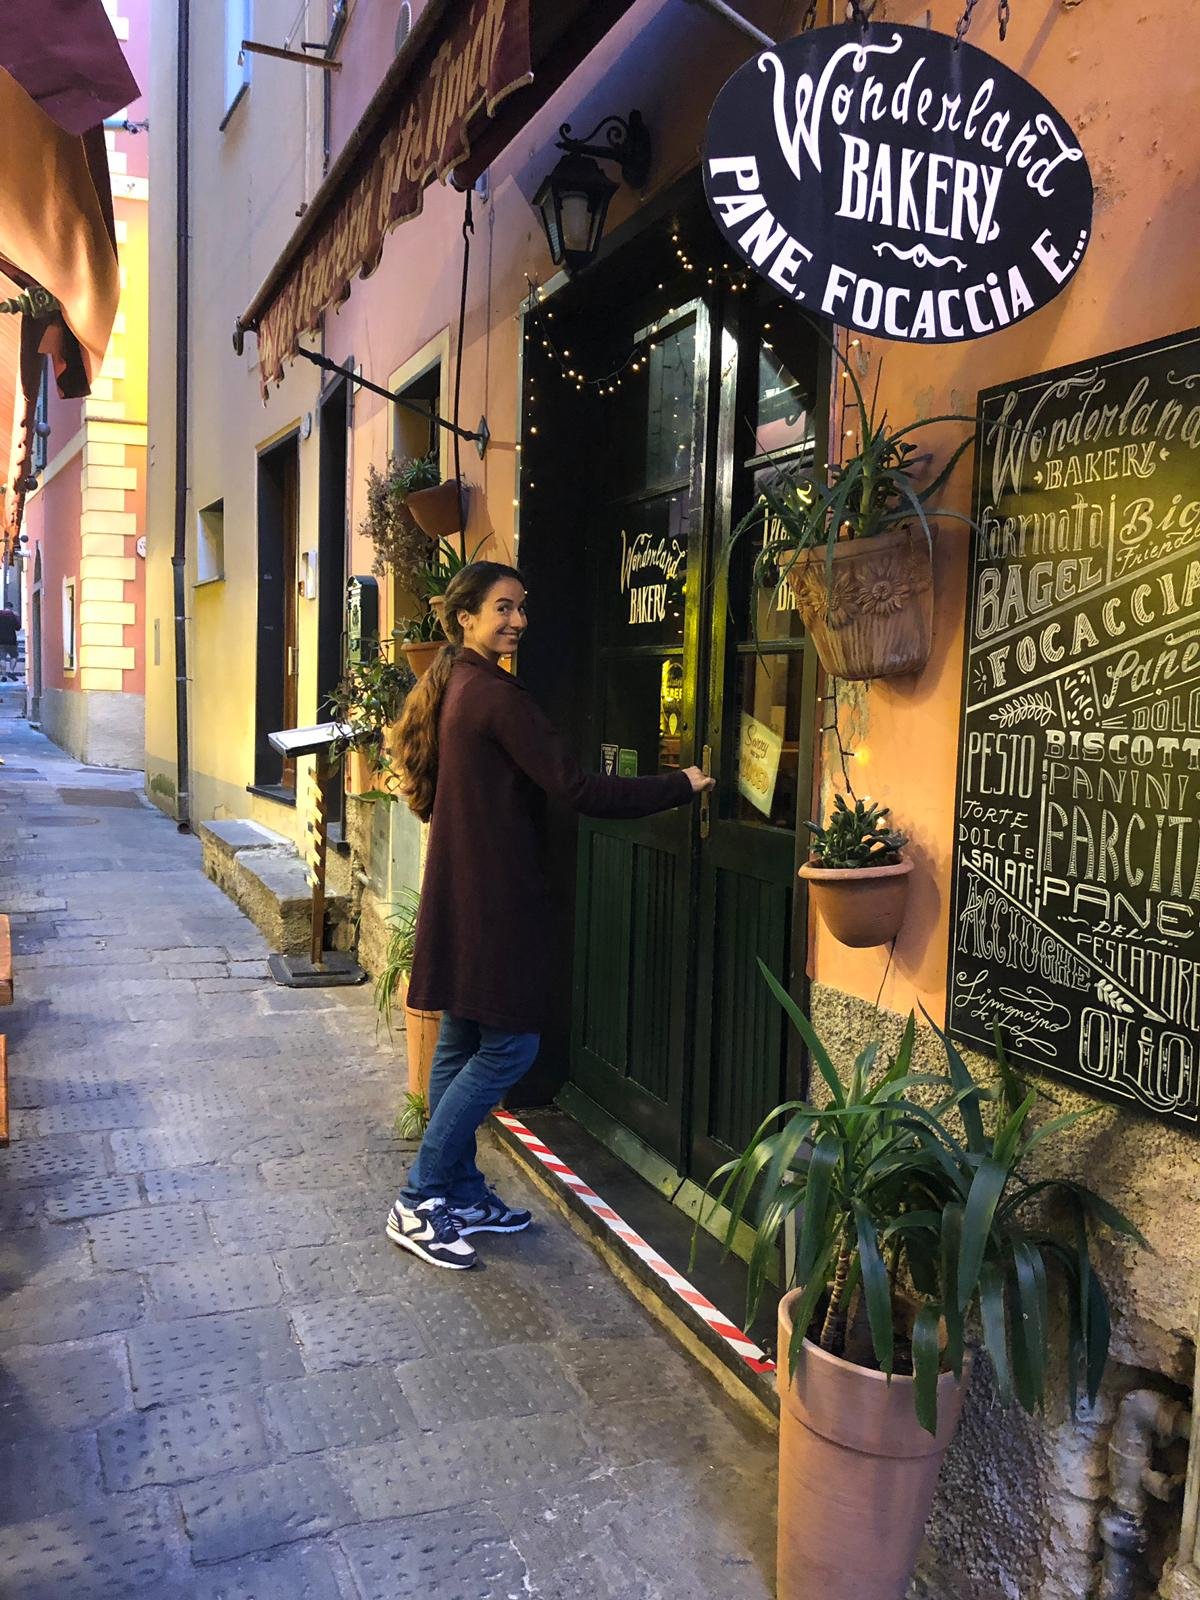
If a store has its hours as opening at 10am, don’t bother arriving before 10:10. The person opening the gate and unlocking the door will probably be there around 10:08 and if they see you waiting there, to deflect their tardiness, will make some statement about “you know we don’t open until 10” or be a bit abrupt with you because you stressed them out by arriving “early.” Ha.
Store hours
Speaking of store hours, Americans come from a 24/7 culture. Grocery stores, pharmacies, restaurants, hospitals, are all open, just waiting for your midnight run. In Italy you have to plan ahead. Many shops are closed during the afternoon between 1pm and 4pmish, close around 8pm in the evening, are only open for the evening hours on Mondays, and only the morning hours on Saturday. Many restaurants aren’t open at all on Mondays. Almost everything is closed on Sunday. Even the big grocery stores close between 8 and 9 pm and some close on Sundays around 1pm. Any holidays often mean stores close, even grocery stores, or at the very least modify their store hours. So make sure you dinner planned in advance! I once was at an emergency room where their reception closed at 4pm. Haha.
Then there are all the government offices that usually are open for a only few hours a day Mon-Fri. Which makes any bureaucratic process a pain.
Add on top of this that the hours on Google maps and official websites are usually not updated or can’t keep up with how often the hours are adjusted on a whim. If they even have hours listed. This has only worsened with the constant changing of Covid-19 hours and openings to where I have all but given up trying to look up hours anywhere but on the building itself.
Illness
This one gets talked about a lot by Americans, because we find it so entertaining. Italians tend to believe a lot more in what I’ll call circumstantial illness rather than illness being transmitted by bacteria/germs. Maybe this is also the wider European/Mediterranean culture, because my husband also tends to believe some of these, while I laugh. Or maybe he’s just lived in Italy too long and is part Italian. Reasons you get sick in Italy:
Going outside with wet hair, especially when it’s NOT summer.
Sleeping with wet hair.
There was a draft.
Air conditioning.
A fan blowing on you.
Sudden changes in temperature.
Not covering your neck/wearing a scarf if it’s below 70°F / 21°C.
Eating something out of date.
Not washing vegetables six times if you’re pregnant.
While I may not start believing these reasons whole heartedly, the level of concern/judgment shown me in public from strangers has caused me to change some of my habits. Mainly going outside with wet hair, as most of the other ones are more easily avoidable or done in the privacy of my own home. I have never owned a hair dryer but I started using one religiously at the gym, as does every other Italian. Men, too, according to my husband. I don’t think I’ve ever seen my dad or brothers use a hair dryer, but hey, sometimes Italian men have really fabulous hair so who am I to judge?
Customer Service
The ol’ “the customer is always right” does NOT rule in Italy. There is often fine print you should make sure to read or policies and rules that you should pore over before ever attempting to have any interaction with any store or service beyond handing over money. Returns, exchanges, refunds, complaints, or basically anything that involves the business handing you back money, will probably not go down well. Either Italian customer service hasn’t learned or doesn’t care that a happy customer is one who will bring many more customers to you. Maybe it doesn’t affect them because so many operate in this way. I might as well keep going back to the place with indifferent customer service and pay less than go somewhere else and get indifferent customer service and pay more, no?
I’m not implying that there are a bunch of awful people working in customer service. Unfortunately there is a common theme of disorganization that leaves everyone involved dissatisfied and ornery. If a company treats a customer unfairly, the customer is going to be understandably upset. If the then unhappy customer goes to rant and complain to employees of the company, when it isn’t the employee’s fault, this upsets the employee. The employees that are now dealing with numerous angry customers then become jaded and treat customers poorly. Do you see a bit of the vicious cycle? This is my attempt to explain what I observe on a daily basis in this beautiful, but unfortunately unorganized country. I can tell you, when there is some interaction with a smiling and helpful person, it is always so refreshing and I often leave wishing I could offer that person a coffee or gelato or maybe be my new best friend? A few anecdotes below before I move on in case you want some of my real life examples:
On phone companies: I used to have phone service through the company TIM. In Italy, most people have a phone plan which is debited monthly from your phone’s credit. One day I received a text message, something about some game that had been activated on my phone for 5euro a week. Weird? I haven’t activated anything on my phone! I followed the link to deactivate this service, except that there wasn’t anything for deactivation. I waited a week, kept an eye on my phone credit, didn’t notice any unusual money being deducted. I waited another week, nothing. I figured it must be some scam, because after all, people can’t just access your phone credit and activate anything they want without your consent, right?! Wrong. After the third week I noticed that 10euros were now missing from my phone credit. I promptly called the TIM service line and tried explaining the situation, wanting my 10euros back. I was told that because I didn’t notify them within two weeks, unfortunately they couldn’t refund me. What? Money wasn’t taken out within two weeks. This was unacceptable to me so I insisted, trying to explain more thoroughly the situation as the lady kept cutting me off and interrupting, never letting me finish. Our lovely conversation ended by her continually talking over me, raising her voice so she was yelling, then hanging up on me while I was still talking as she had yet to hear all what I was trying to explain. I switched phone companies. What did I learn about this encounter? Phone companies DO allow in these third parties to access your number, sending you text messages to activate services, and as I experienced, they can activate them on your phone even without your consent. So, if you have a plan in Italy make sure to ask how to block these third party scammers, which involves sending a text message to a certain number to block them. The good news is, since being with a new phone company, I haven’t had anyone outright steal money from my phone credit.
On simple clothing returns/exchanges: I once bought a sweater online, on sale. When it arrived it was too big. I took it into the store, because an in store exchange is a whole lot easier than sending back a package and reordering it. I had read online their return/exchange policies, so knew this was possible. I explained to the saleslady that I would like to exchange this sweater for the smaller size, which they had in store. She tried to explain to me that I will have to pay the difference. What difference, sorry? I’m exchanging the exact same sweater, just a different size. Said sweater was no longer on sale, so she was trying to get me to pay the difference. I’ve worked in sales and exchanged goods before, and hadn’t heard of this before? I felt like I was explaining their store policies to her, and she finally went to get her manager, who confirmed what I said. I would like to give this lady the benefit of the doubt, maybe she was new? Regardless, maybe not a good idea to stand there and argue with a customer if you’re not sure.
On bureaucracy: The first time I applied for my marriage based “permesso” or permission to stay in Italy, I needed a whole slew of documents to bring with me to the questura. One of these documents (idoneità alloggiativa) itself needed a whole slew of documents, to be brought and applied for at another government office. Once we brought in all the necessary paperwork, we were told it would take 90-120 days to get this document. My appointment to go to the questura was in about 90 days, so while I was hoping it would be ready in time so I don’t have to go BACK to the questura (average wait time at the questura is 4-5 hours, my record is 8), I knew that it probably wouldn’t be. On the bright side, I was assured that the questura realizes it takes time to procure this, so at least they wouldn’t give me a hassle for not having it ready. Shortly before my questura appointment and when 90 days had passed, we tried calling the office to see if my document was ready to be picked up. After calling multiple times over several days, finally someone answered the phone. The lady responded to our inquiry by saying that whoever told us 90 days was wrong, it takes a FULL 120 days for this document to be ready. But we were told….? Nope, it’s not ready. My appointment for the questura comes, I submit everything except that one missing document. Once 120 days passed, my husband called again and was informed it was ready. I went out to the office to pick it up since the only 3 hours they are open is while he is at work. I tell the lady at the desk what I need to pick up, “ah the one that’s been ready since May 15th?” May 15th?! It’s now June, and my questura appointment was May 19th. It had been ready since BEFORE my questura appointment. So when we called the first time, it had been ready when the lady insisted it wasn’t. Oh, and I wasn’t allowed to pick it up, despite it being for me and my permesso, because it was in my husband’s name. Bummer, because it takes about 1.5 hours in public transport for me to reach this office. The lady said my husband would need to fill out the delegation form and give me a form of his ID to pick it up. It would be nice to know these things before coming all the way out here, ya know? She said I already had this form, they gave it to us when we applied for this document. I looked in my folder which had all pertinent information and paperwork given us for this document, and confirmed what I already knew, we had neither been given nor told about this form. Well, they’re supposed to give it you, she says. The ironic thing in all this is actually two things. First, we were told that they are supposed to contact us when this document is ready. Second, when my husband later asked why we were told the second time it takes 120 days and the document wasn’t ready when in fact it WAS, the only reason the lady could come up with was that someone wanted to play a practical joke on us…welcome to Italy, friends!
Modesty
This is a bit of an interesting one to talk about, especially since most media consumed by the world comes out of America and the world tends to think we are fun, fast, and loose people. They’re not wrong when they look at the US as a whole, but are we more so than say, the French, Italians, etc? Probably not. But as an American in Italy, and getting attention because it’s assumed I’m easy, I’m here trying to help give Americans a more respectable name. Italians/Europeans just seem more comfortable with their bodies in general, in many circumstances. I’m a conservative and modest person by faith and also somewhat by nature, and still am shocked by what I see girls wearing around, especially summertime. I’m sure it’s that way in the US as well, but I’ve been gone a few years and styles seem to be edging closer and closer to uh, nudity? You can only cut material so small. Bathing suits and beaches are another matter. I seriously contemplate why some people don’t just walk around naked? Oh, wait, they do! Crowded public beach right next to the water, with men and boys all around, women sunbathing topless on their backs.
I learned a good bit about Italian modesty in the women’s locker room at the gym. Italians have no qualms about standing for long periods of time stark naked and chatting up their neighbors, relatives, or complete strangers., blow drying their hair, doing their makeup. And doing all kinds of grooming operations that I usually prefer to do with no one else around. Blowdryers don’t blow dry just heads, but the WHOLE body. Sometimes I’m left wondering if I really want to use that blow dryer next to my own head after they’re done. I don’t mean to imply that all of these things are wrong, but speaking as an American, it definitely takes some getting used to!


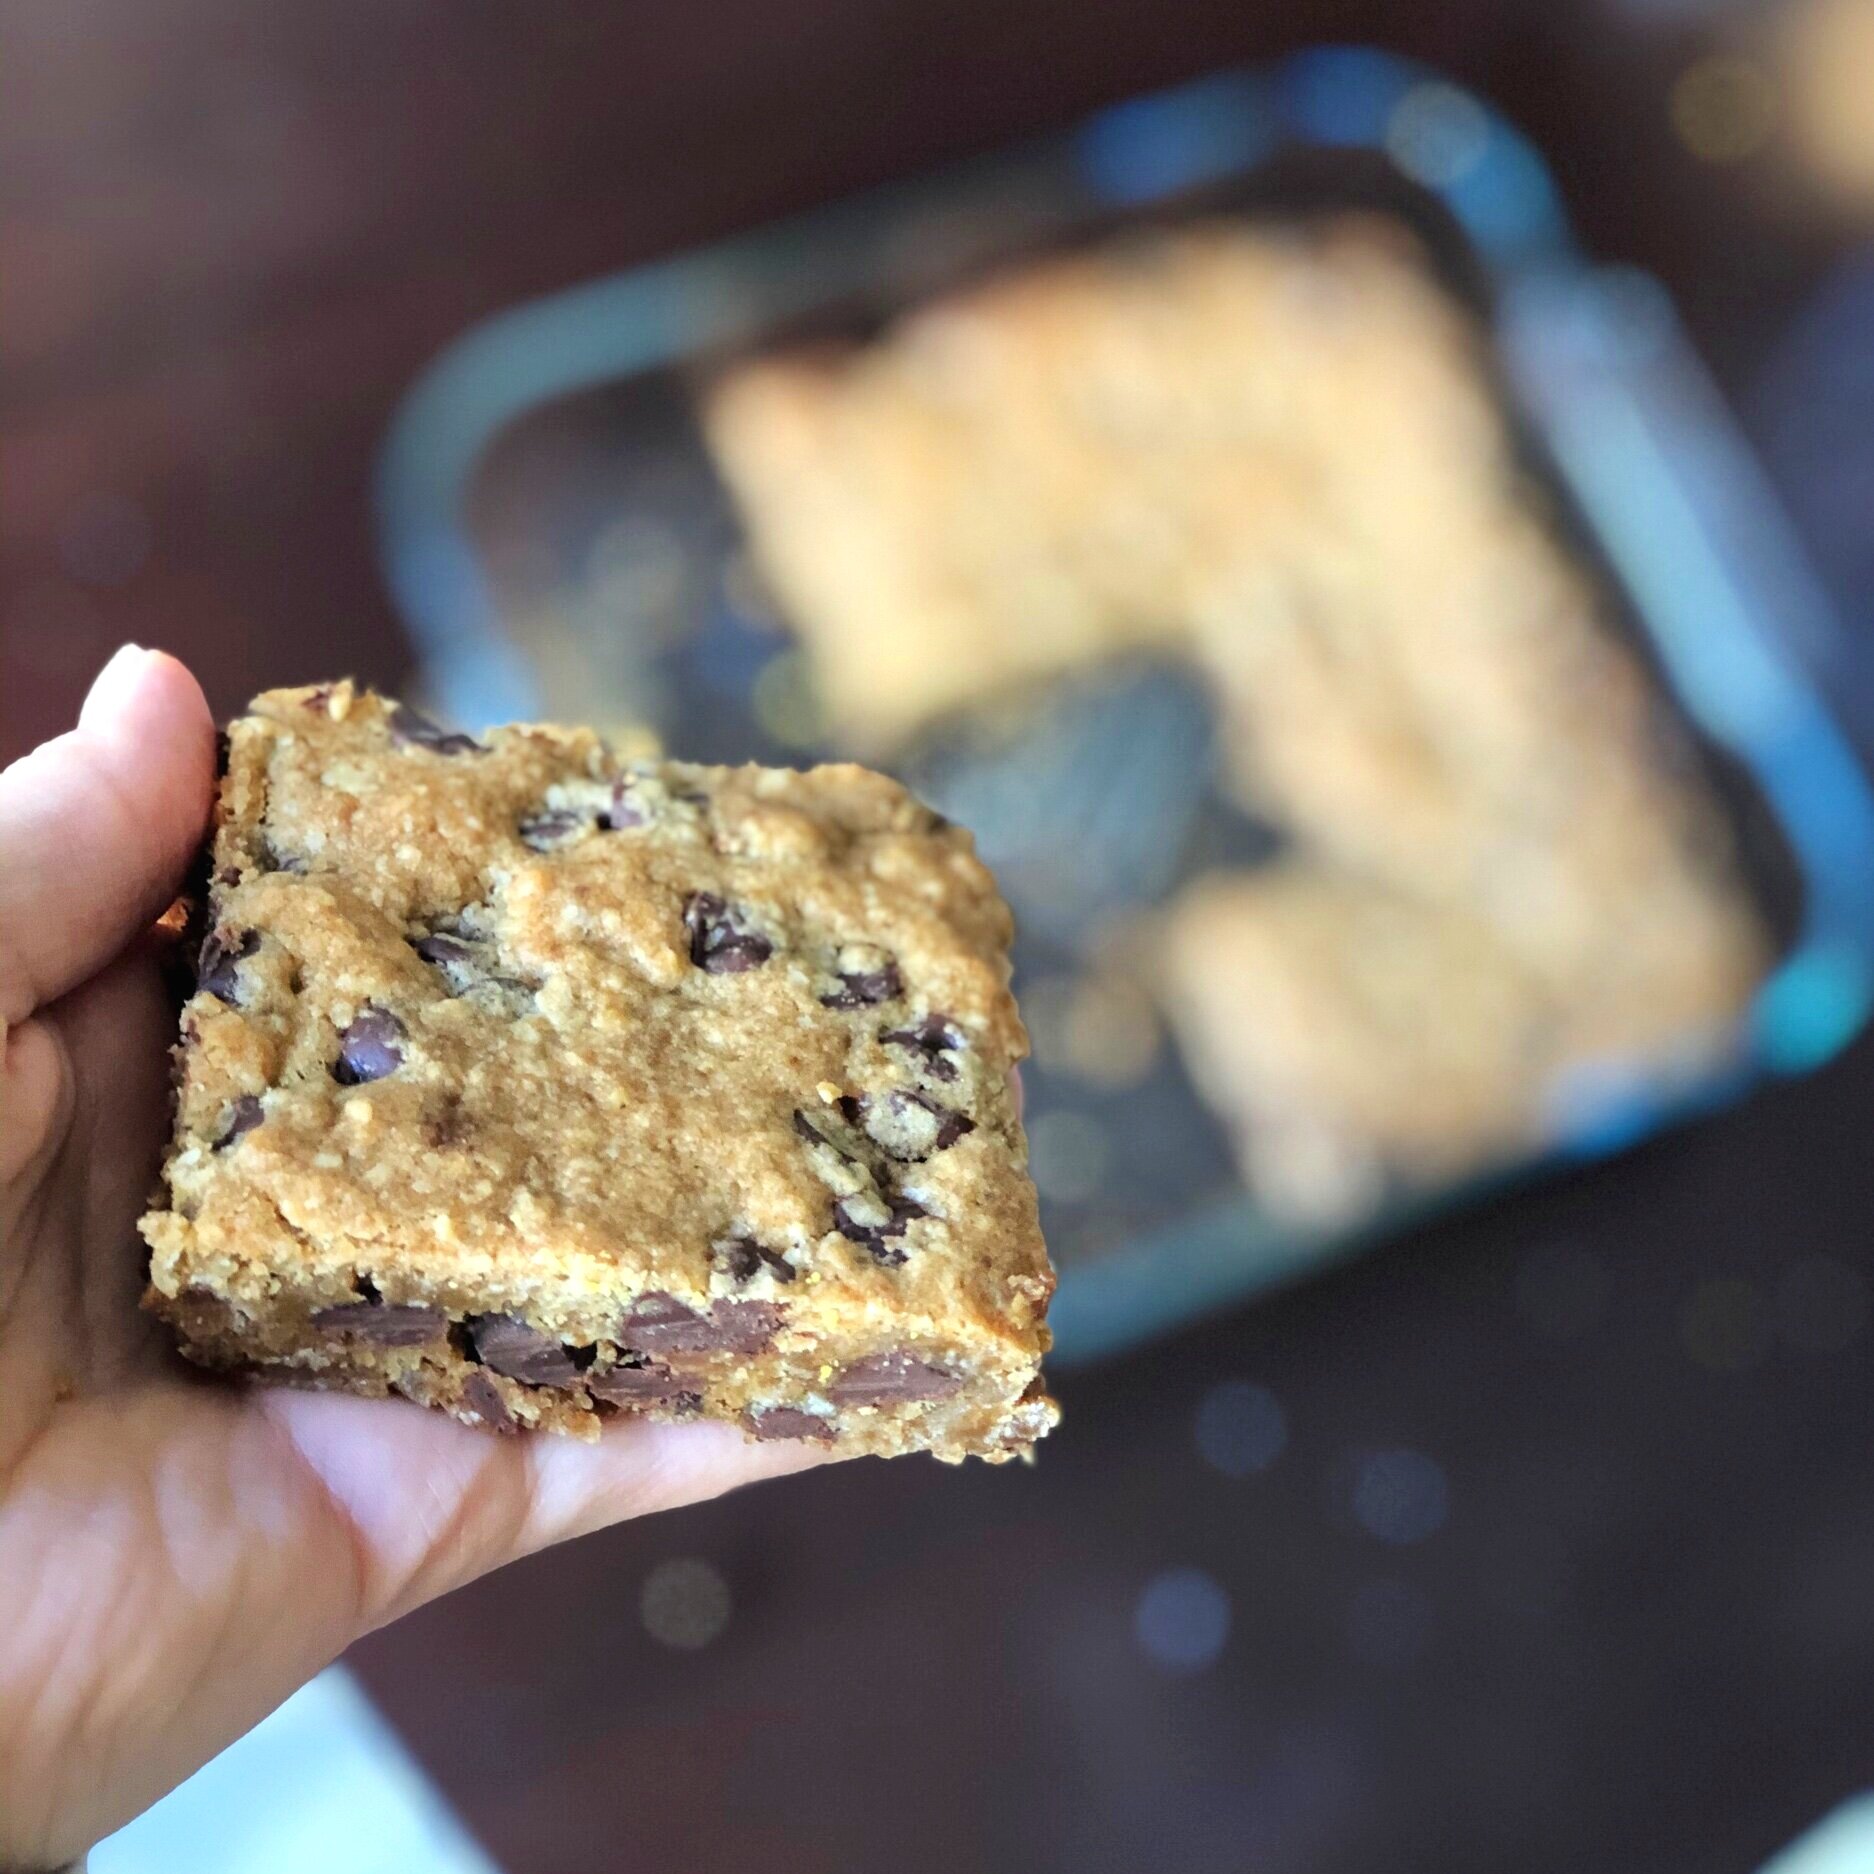

 Congo Bars")