
Overnight Bagels
/Last Updated August 18, 2024

Bagels. Who doesn’t love them? Especially toasted with cream cheese or butter melting on top. Everyone has their favorite bagel, where to get them and how to eat them, whether that’s the chewy and dense boiled variety or the slightly lighter and more modern steamed versions, plain or everything, toasted with cream cheese, eaten plain, or eaten as a sandwich.
One of my favorite bagel memories is from New York City where I spent two summers training with the American Ballet Theatre when I was a teenager. On the weekends my mom and I would go on adventures exploring the city, usually walking an average of 15 miles a day and thus needing sustenance. I remember particularly well one morning passing a bagel shop and a few minutes later exiting with a freshly toasted bagel smothered in cream cheese and wrapped in tinfoil. So simple, so inexpensive, and I still think of that bagel as one of the best I’ve ever had. So I guess you could say I’m a NYC bagel girl, but to be fair, I don’t think I’ve had any (at least not-from-a-hotel-breakfast-bar bagels) in any of the major cities famed for bagels, such as Philadelphia, Chicago, Boston, or Los Angeles. And I’ve been to all those cities! Too bad I didn’t know they had amazing bagels or I would’ve done a trial and comparison. Ah well, just have to go back I guess!
I am blogging this bagel recipe which involves an overnight ferment and boiling, because I think IT’S SO YUMMY. I’m not going to tout this recipe as the bagel recipe to end all bagel recipes, because frankly, I’m not into that kind of marketing and I believe there are other valid methods and types of bagel recipes out there. This recipe comes from Peter Reinhart’s book The Breadmaker’s Apprentice, and as he says, this is a bagel for the ages. And he knows what he’s talking about, so you should try this recipe. You can buy the cookbook by clinking on the link to the right!

Don’t let the overnight ferment or multi-step process scare you, it’s really quite fun and not nearly as tricky as I had always imagined making bagels to be. You will need to clear some space in your fridge and in your schedule, but if I can do it in my tiny Italian kitchen with my tiny toaster-sized oven, so can you, wherever you are baking! I recommend reading the recipe through once or twice before making a game plan. (As you should with every recipe!)
What follows is a slightly modified version of Peter Reinhart’s recipe. The ingredients are basically identical but the instructions I have rewritten in my own words and in places slightly changed or modified to accommodate tips and tricks that worked really well for me and might work for you, too!

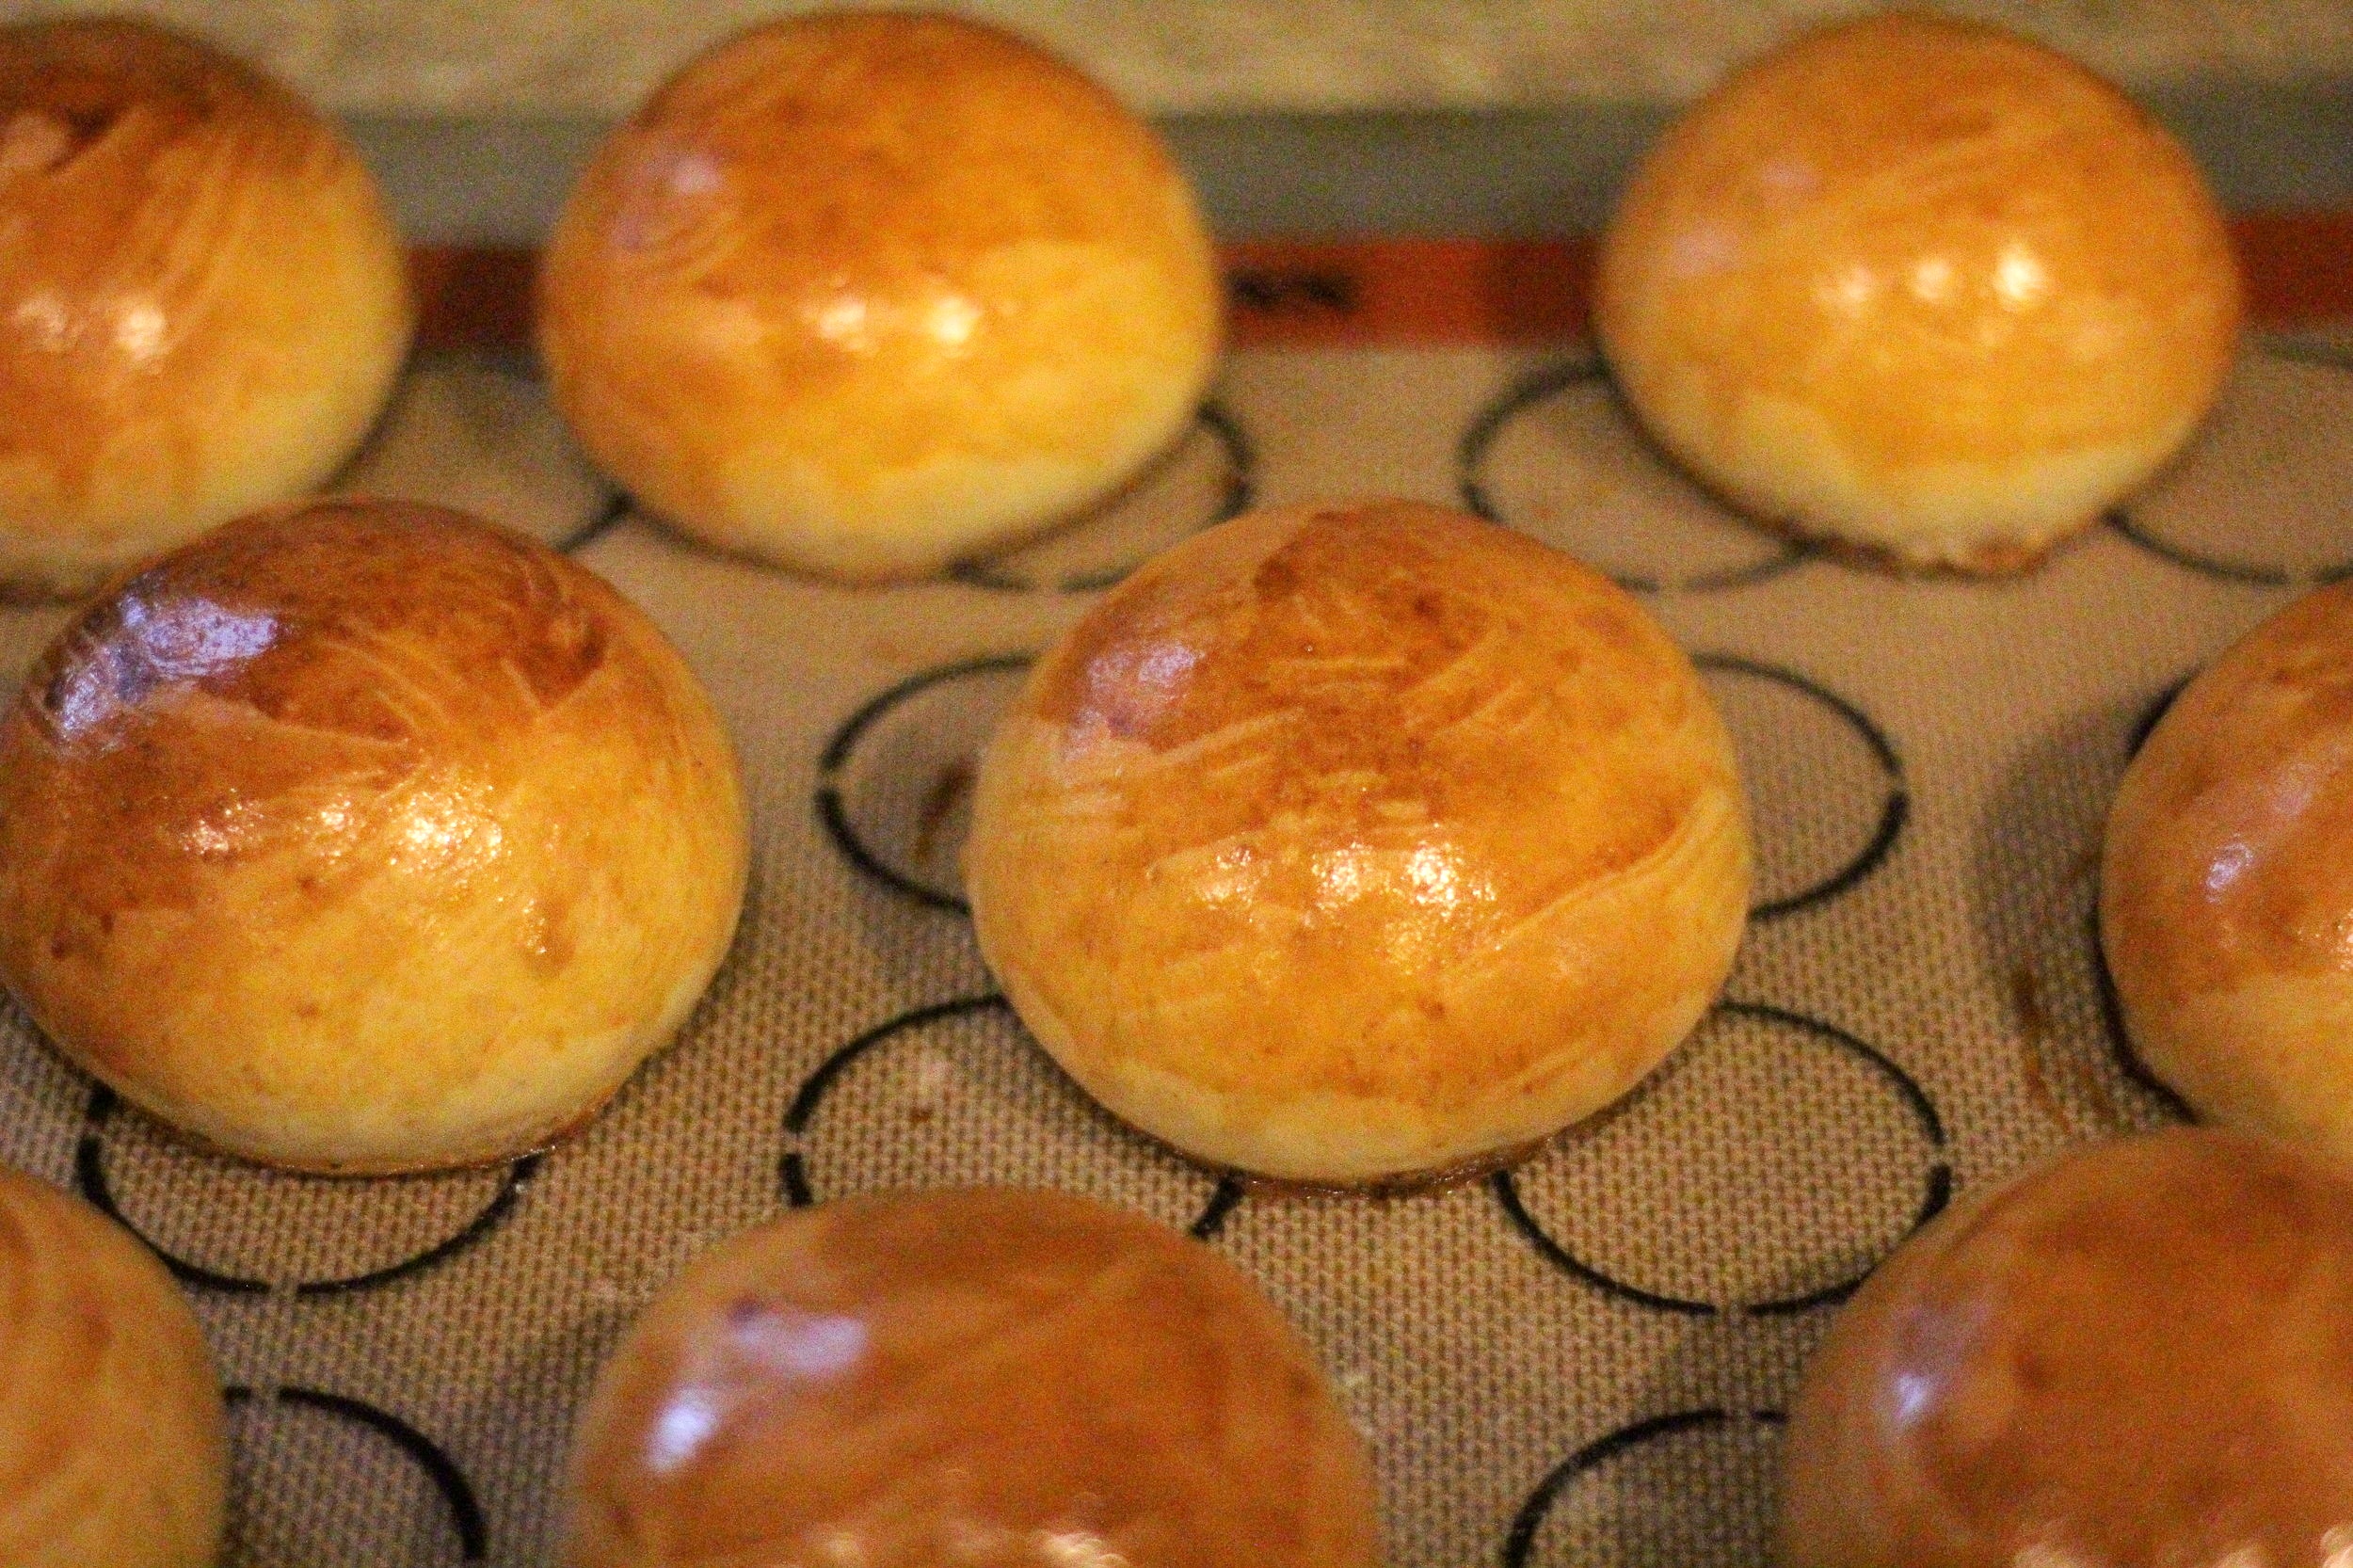
parmesan, sesame, and everything bagels
Side note if you need bagels TODAY: While this recipe is called “Overnight Bagels”, it can also be made without the overnight ferment. I do recommend the overnight ferment for flavor and just because it’s nice to split up the multiple steps of bagel making, however…we might not always have the patience to wait that long for fresh, hot, chewy bagels…this has definitely happened to me during this 2020 quarantine. I wanted bagels today! Not tomorrow! And I hadn’t planned ahead.
So, instead of an overnight ferment, once the bagels are shaped, let them rise in a warm place for about an hour, or until noticeably swelled. Keep any eye on them as you don’t want them to overaise. This can cause them to deflate when they are boiled. Proceed with recipe as normal.
This post may contain affiliate links. If you make a purchase using these links, Jennyblogs may receive a small commission, at no extra cost to you. This helps to support Jennyblogs. Where possible, links are prioritized to small businesses and ethically and responsibly made items. For further information see the privacy policy. Grazie!


Overnight Bagels
Makes 12 big or 24 small bagels
Ingredients:
For the Sponge
1 tsp / 3g instant yeast
4 cups / 510g bread flour
2 1/2 cups / 567g water
For the Dough
1/2 tsp / 1.5g instant yeast
3 3/4 cups / 482g bread flour
2 3/4 tsp / 20g salt
2 tsp / 9.5g malt powder OR flavoring of choice: 1 Tbsp / 14g dark or light malt syrup, honey, or dark or light brown sugar
For Boiling the Bagels
1 Tbsp / 14g baking soda, optional, or malt syrup or honey
a large pot of water, the wider the pot the better
cornmeal or semolina, for dusting
Toppings, any or all of the following
sesame seeds
poppy seeds
salt flakes
rehydrated minced garlic
rehydrated minced onion
parmesan cheese
Directions:
DAY 1
Line 2 sheet pans with parchment paper and grease well.
Make the Sponge
In the bowl of a stand mixer or large bowl, stir yeast into flour. Add water and stir just until a sticky dough has formed, similar to pancake batter.
Cover bowl with plastic wrap and let sit at room temperature for about 2 hours, or until very bubbly and active. It should be about twice the size and collapse when bowl is tapped on countertop.
Make the Dough


Once sponge is ready, add next measurement of yeast and mix on low speed with dough hook or by hand with a spoon. Next, add 3 cups / 383g of the next measurement of flour, salt, and malt powder / flavoring of choice. Stir on low speed for about 3 minutes, or with a spoon until a mostly homogeneous ball is formed. Slowly add remaining 3/4 cup / 99g flour to stiffen dough a bit.
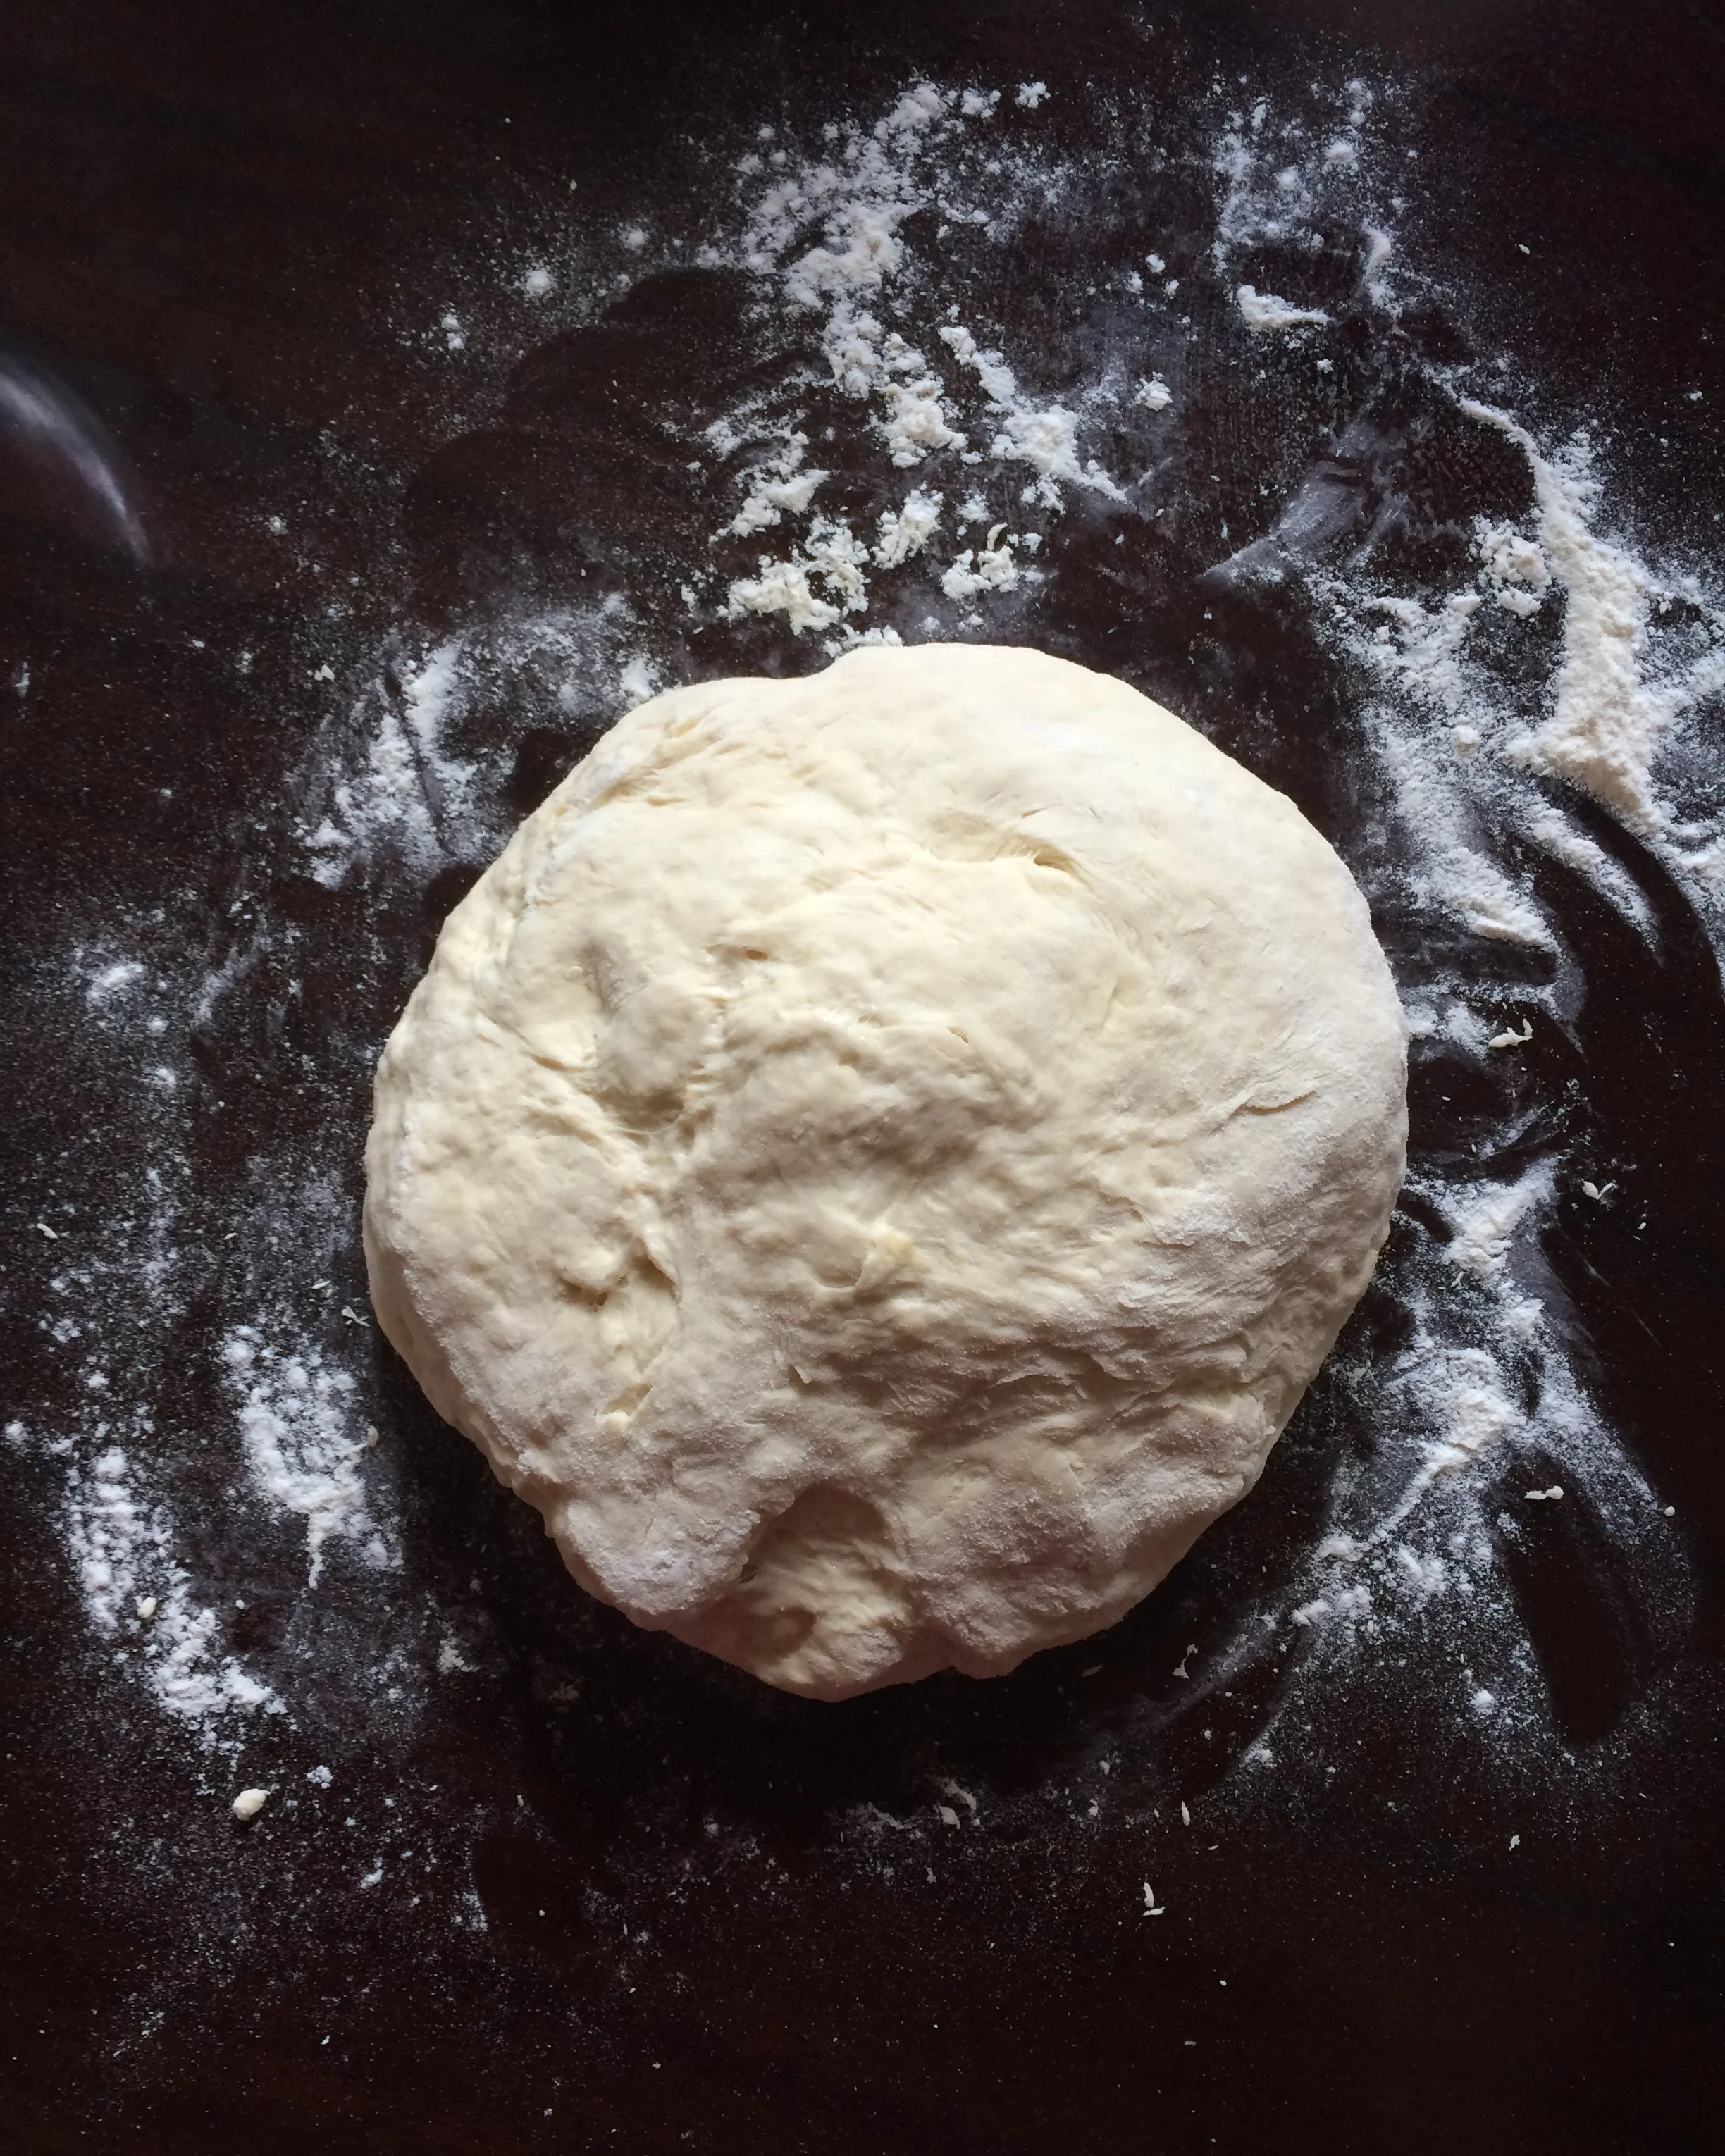
Knead dough on medium-low speed for about 6 minutes or turn dough out onto a lightly floured surface and knead by hand for about 10 minutes. Dough should be smooth and firm yet pliable, not sticky, with all flour worked in. If it seems too dry or there is excess flour throughout, add a few drops of water until desired consistency is reached. Likewise if it’s too sticky, add in a bit of flour until correct stiffness is reached. At this point the dough should pass the windowpane test. (Stretch a small piece of dough between your thumbs and forefingers; if enough gluten has developed through kneading the dough should stretch thin where you can see light coming through. If it breaks before you can stretch it thin, knead another few minutes and try again.)
Weigh and Shape Dough

Weigh dough and divide weight by the number of bagels you wish to make: If making mini bagels, divide weight by 24; if making regular bagels, divide weight by 12. This will give the goal weight for each dough ball you are about to make. For example, the weight of my dough the last time I made these was 1,566g. 1,566g divided by 12 for regular bagels = about 130g each. Or, 1,566g divided by 24 for mini bagels = about 65g each.
Once you have a goal weight for the dough balls, divide dough in half, then keep dividing the halves and quarters until you have 12 or 24 dough chunks. Weigh each chunk and add or subtract a bit of dough until they are all within about 5g of the goal weight. Roll each dough chunk under your palm with a cupped hand in a circular motion, guiding with outer edge of your palm, until you have a nice ball. It works best to roll them on a surface with little to no flour. This way the dough sticks slightly to the surface as you move in a circular motion and pulls and creates surface tension.
Place dough balls on a lightly floured surface and cover with a damp towel. Allow to rest for approximately 20 minutes.
Shape each dough ball into bagel form by poking your thumb through the center of the ball and rotating your thumb around the inside of the hole or lassoing it a few times around your thumb, until the hole is about 2 1/2 in / 6 cm for regular bagels or 1 1/2 in / 4 cm for mini. Aim to stretch the bagel as evenly as possible, avoiding a thick and thin side so you won’t end up with lopsided bagels. Alternately, you can roll the doll ball into an 8 in / 20 cm long rope, wrap it around your knuckles with the seam on the under side, then rock the seam on the counter until sealed.
Place shaped bagels onto greased baking sheets about 2 inches apart. Mist with spray oil or rub on oil, then slip each sheet into a clean, food-grade plastic bag or cover with plastic wrap.
Place bagels in fridge to rise overnight. They are best if used the next day, but can be kept up to three days in the fridge.
DAY 2
Boil the Bagels

Test to see if bagels are ready to be boiled by removing one carefully from fridge and placing in a bowl of cool or tepid water. If bagel floats within 10 seconds, it’s ready. Immediately return bagel to covered baking sheet in fridge while you ready the water.
If bagel does not float within 10 seconds, either return it to the fridge and repeat float test every couple hours until bagels are ready, or remove both sheets of bagels from fridge and let raise at room temperature, repeating float test every 10 to 20 minutes until a bagel passes. Return them to the fridge once they are ready so they don’t over-rise. The stiffness of the dough, your house temperature, and your fridge temperature will all impact when the bagels are ready to be boiled.
If your bagels have over-risen (you can tell if they collapse when you gently handle them or if they overly deflate when boiled) or they have stuck to the pan, transfer them as carefully as you can to another better-oiled parchment lined baking sheet. Let rise at room temperature for another 15-20 minutes or until they pass float test again. Return them to the fridge once they are ready.
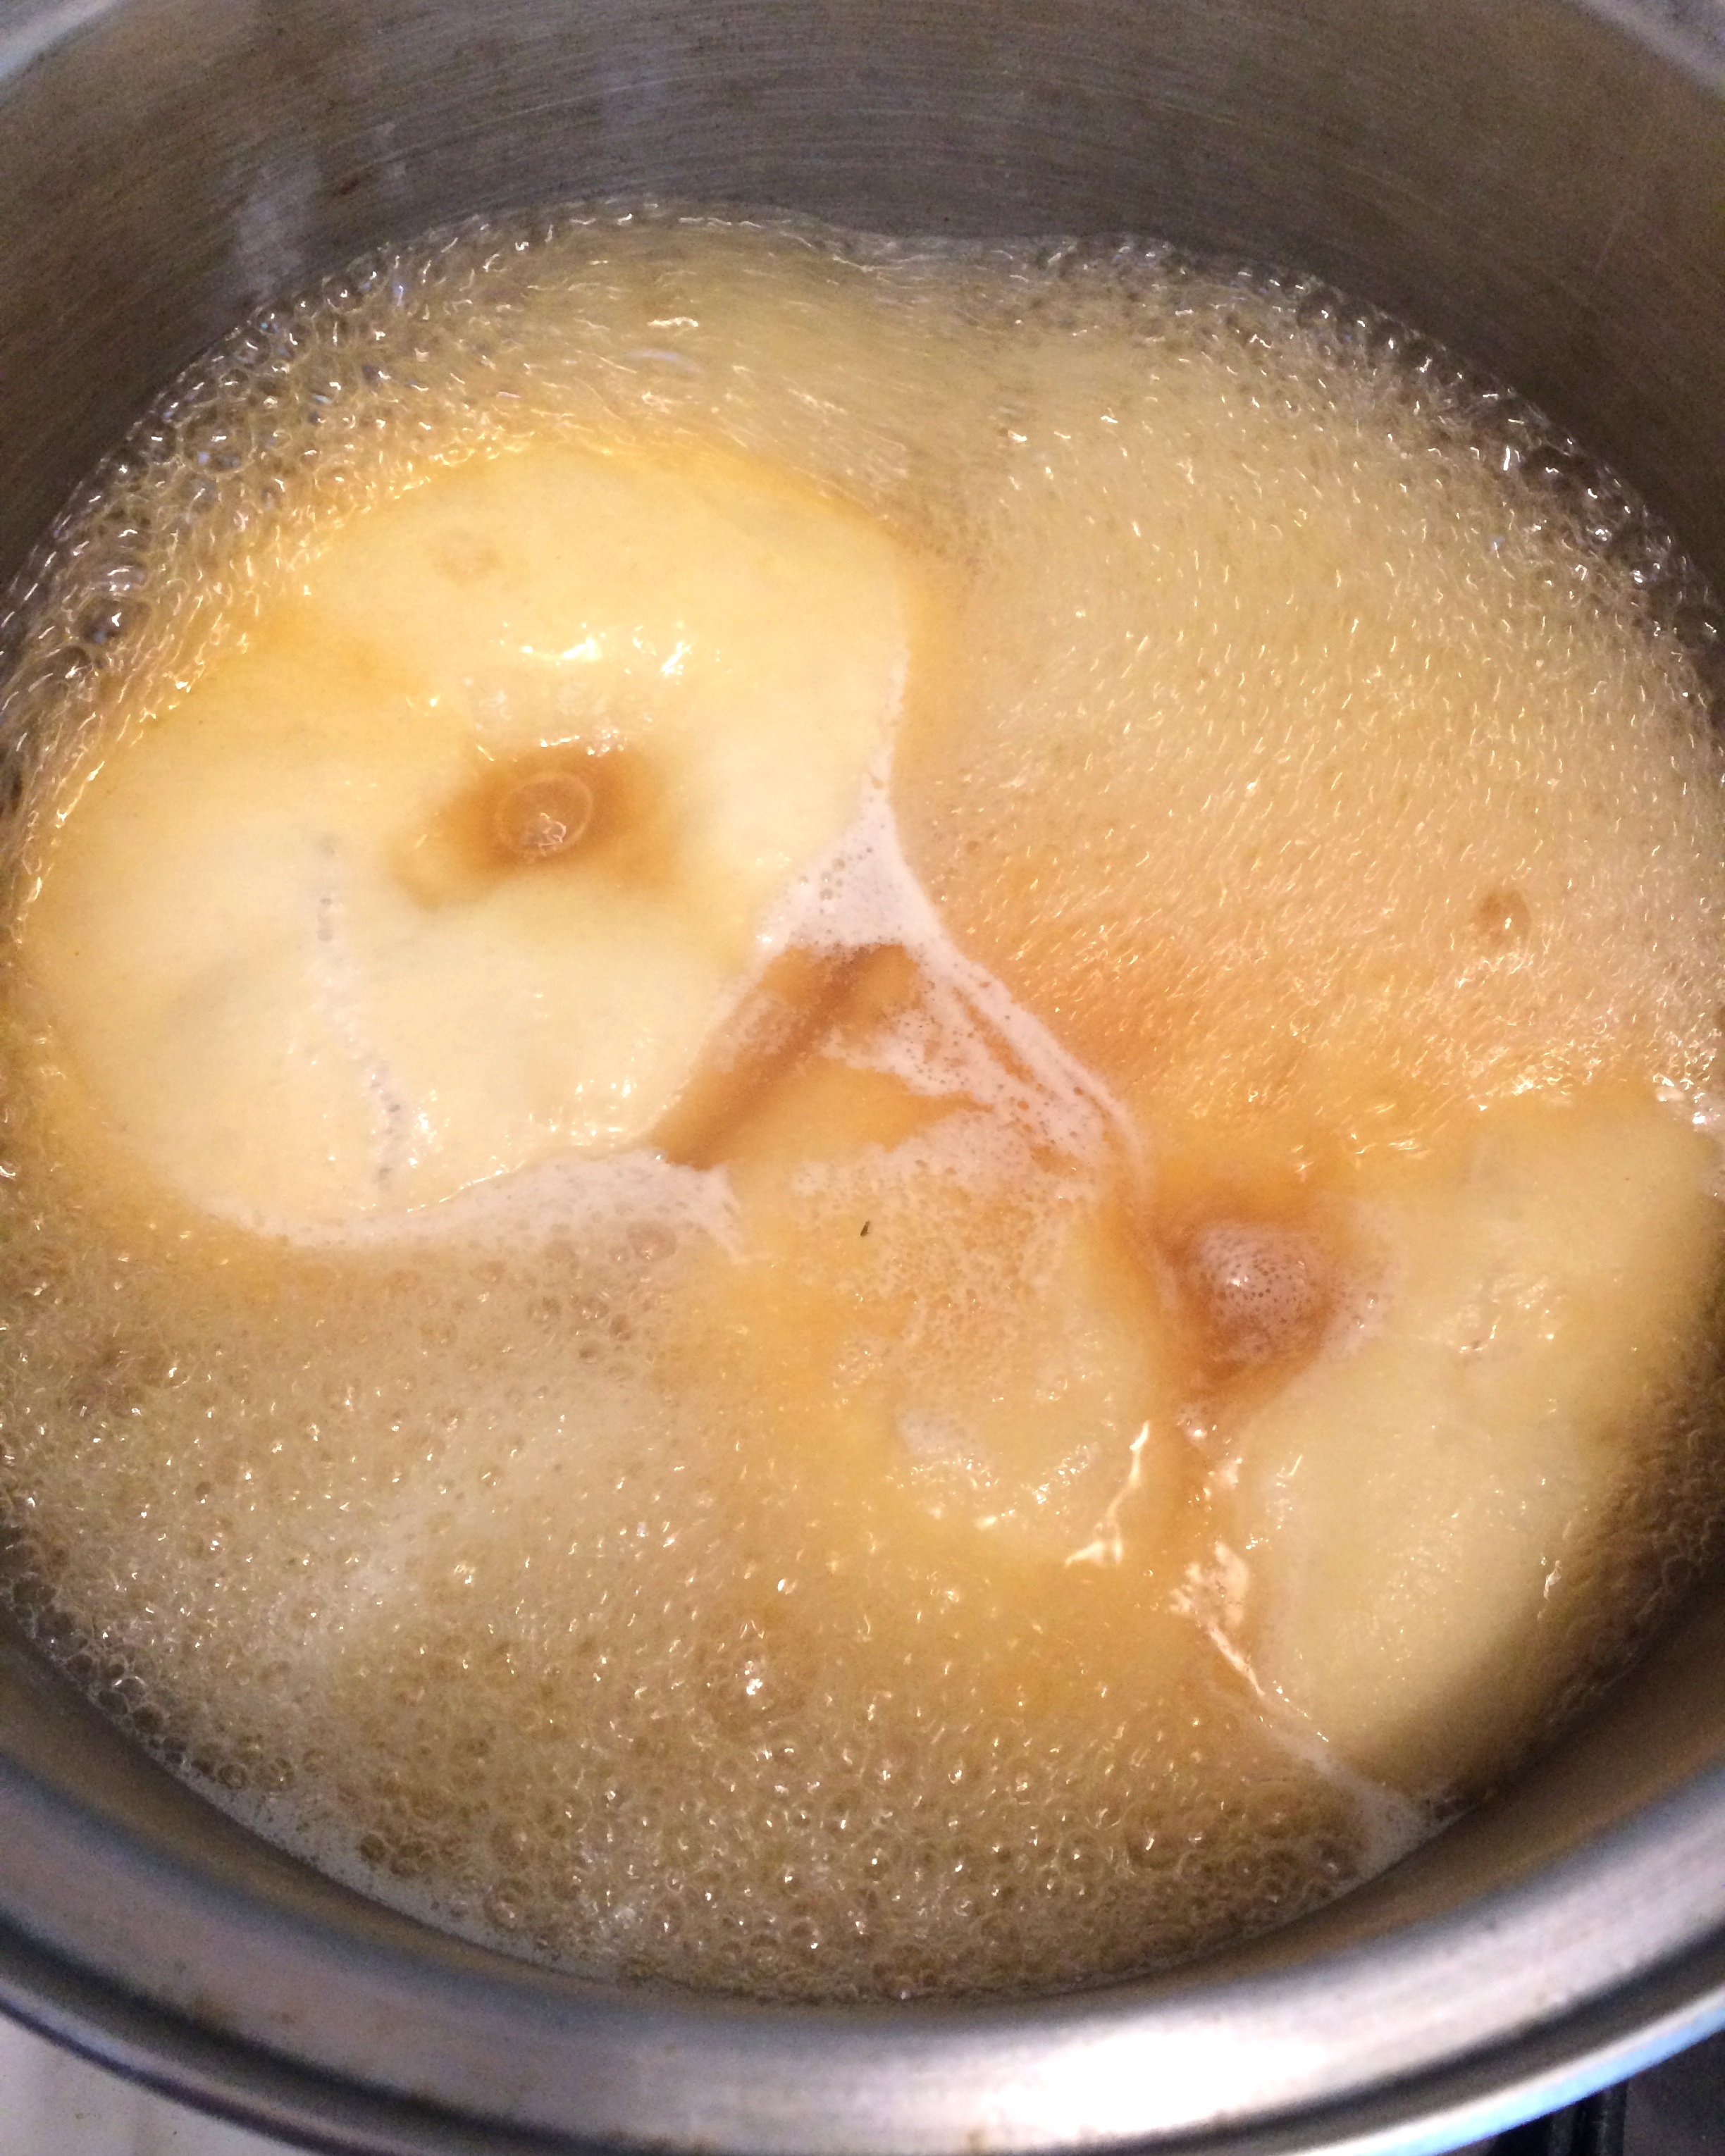
When bagels are just about ready, place the large pot of water on the stove and bring to a boil, then add baking soda, if using. Have a skimmer or slotted spoon ready nearby. Preheat oven to 500°F / 260°C and place two racks in the middle of the oven.
Remove one sheet of bagels from fridge and gently slide 3-4 into boiling water, or however many can fit comfortably side to side. Boil for 30 seconds to 1 minute on one side, then flip each bagel and boil for another 30 seconds to 1 minute. Bagels boiled for 1 minute on each side will be chewier than those boiled for only 30 seconds on each side.
While bagels are boiling, sprinkle the same parchment lined baking sheet with cornmeal or semolina.
When it’s time to remove bagels, use the slotted spoon and place them back on the baking sheet now sprinkled with cornmeal. Add toppings immediately while the bagels are still wet. Repeat with second sheet of bagels.
Bake the Bagels
Place both baking sheets of bagels in the preheated oven. Bake for 7 minutes, then switch the pans on the racks and rotate each 180 degrees to bake the bagels as evenly as possible.
After you switch and rotate, lower oven temperature to 450°F / 232°C and bake for another 7-8 minutes, or until light golden brown.
Remove from oven and allow bagels to cool for 15 minutes before devouring.
Jenny’s Notes:
To keep scale clean while weighing dough, place the now-empty bowl (no need to clean it) and press tare. You can also use a piece of plastic wrap over the scale and tare if needed.
I love lassoing the bagels while shaping them! Fast, fun, and effective. Not as big a fan of the rope and seal version, I thought it took longer and the finishing ring was not as symmetrical. Try out both versions to find which works best for you!
I found it best to make the dough in the evening and boil and bake the bagels in the morning or they over-rose, but I believe this is mostly due to my not-cold-enough fridge. If you have a cold and well functioning fridge, you should be fine to make and bake the bagels at your leisure!
Chewy bagels are my favorite, and thus I boil bagels for the full minute on each side. I have found, though, that beyond 1 minute on each side can cause the outside of the bagels to cook too much. This means when they are baked this outer baked “shell” doesn’t allow the bagels to reach their full rise and may result in flatter bagels.
When baking the bagels, know your oven. If you have hot spots or a small oven, you can choose to bake one sheet of bagels at a time. Since my oven is small, I baked the first sheet of bagels while I was boiling the second sheet, and simply rotated the pan 180 degrees after the first 7 minutes.

Overnight Bagels
Ingredients
Instructions
- In the bowl of a stand mixer or large bowl, stir yeast into flour. Add water and stir just until a sticky dough has formed, similar to pancake batter.
- Cover bowl with plastic wrap and let sit at room temperature for about 2 hours, or until very bubbly and active. It should be about twice the size and collapse when bowl is tapped on countertop.
- Once sponge is ready, add next measurement of yeast and mix on low speed with dough hook or by hand with a spoon. Next, add 3 cups / 383g of the next measurement of flour, salt, and malt powder / flavoring of choice. Stir on low speed for about 3 minutes, or with a spoon until a mostly homogeneous ball is formed. Slowly add remaining 3/4 cup / 99g flour to stiffen dough a bit.
- Knead dough on medium-low speed for about 6 minutes or turn dough out onto a lightly floured surface and knead by hand for about 10 minutes. Dough should be smooth and firm yet pliable, not sticky, with all flour worked in. If it seems too dry or there is excess flour throughout, add a few drops of water until desired consistency is reached. Likewise if it’s too sticky, add in a bit of flour until correct stiffness is reached. At this point the dough should pass the windowpane test. (Stretch a small piece of dough between your thumbs and forefingers; if enough gluten has developed through kneading the dough should stretch thin where you can see light coming through. If it breaks before you can stretch it thin, knead another few minutes and try again.)
- Line 2 sheet pans with parchment paper and grease well.
- Weigh dough and divide weight by the number of bagels you wish to make: If making mini bagels, divide weight by 24; if making regular bagels, divide weight by 12. This will give the goal weight for each dough ball you are about to make. For example, the weight of my dough the last time I made these was 1,566g. 1,566g divided by 12 for regular bagels = about 130g each. Or, 1,566g divided by 24 for mini bagels = about 65g each.
- Once you have a goal weight for the dough balls, divide dough in half, then keep dividing the halves and quarters until you have 12 or 24 dough chunks. Weigh each chunk and add or subtract a bit of dough until they are all within about 5g of the goal weight. Roll each dough chunk under your palm with a cupped hand in a circular motion, guiding with outer edge of your palm, until you have a nice ball. It works best to roll them on a surface with little to no flour. This way the dough sticks slightly to the surface as you move in a circular motion and pulls and creates surface tension.
- Place dough balls on a lightly floured surface and cover with a damp towel. Allow to rest for approximately 20 minutes.
- Shape each dough ball into bagel form by poking your thumb through the center of the ball and rotating your thumb around the inside of the hole or lassoing it a few times around your thumb, until the hole is about 2 1/2 in / 6 cm for regular bagels or 1 1/2 in / 4 cm for mini. Aim to stretch the bagel as evenly as possible, avoiding a thick and thin side so you won’t end up with lopsided bagels. Alternately, you can roll the doll ball into an 8 in / 20 cm long rope, wrap it around your knuckles with the seam on the under side, then rock the seam on the counter until sealed.
- Place shaped bagels onto greased baking sheets about 2 inches apart. Mist with spray oil or rub on oil, then slip each sheet into a clean, food-grade plastic bag or cover with plastic wrap.
- Place bagels in fridge to rise overnight. They are best if used the next day, but can be kept up to three days in the fridge.
- Test to see if bagels are ready to be boiled by removing one carefully from fridge and placing in a bowl of cool or tepid water. If bagel floats within 10 seconds, it’s ready. Immediately return bagel to covered baking sheet in fridge while you ready the water.
- If bagel does not float within 10 seconds, either return it to the fridge and repeat float test every couple hours until bagels are ready, or remove both sheets of bagels from fridge and let raise at room temperature, repeating float test every 10 to 20 minutes until a bagel passes. Return them to the fridge once they are ready so they don’t over-rise. The stiffness of the dough, your house temperature, and your fridge temperature will all impact when the bagels are ready to be boiled.
- If your bagels have over-risen (you can tell if they collapse when you gently handle them or if they overly deflate when boiled) or they have stuck to the pan, transfer them as carefully as you can to another better-oiled parchment lined baking sheet. Let rise at room temperature for another 15-20 minutes or until they pass float test again. Return them to the fridge once they are ready.
- When bagels are just about ready, place the large pot of water on the stove and bring to a boil, then add baking soda, if using. Have a skimmer or slotted spoon ready nearby. Preheat oven to 500°F / 260°C and place two racks in the middle of the oven.
- Remove one sheet of bagels from fridge and gently slide 3-4 into boiling water, or however many can fit comfortably side to side. Boil for 30 seconds to 1 minute on one side, then flip each bagel and boil for another 30 seconds to 1 minute. Bagels boiled for 1 minute on each side will be chewier than those boiled for only 30 seconds on each side.
- While bagels are boiling, sprinkle the same parchment lined baking sheet with cornmeal or semolina.
- When it’s time to remove bagels, use the slotted spoon and place them back on the baking sheet now sprinkled with cornmeal. Add toppings immediately while the bagels are still wet. Repeat with second sheet of bagels.
- Place both baking sheets of bagels in the preheated oven. Bake for 7 minutes, then switch the pans on the racks and rotate each 180 degrees to bake the bagels as evenly as possible.
- After you switch and rotate, lower oven temperature to 450°F / 232°C and bake for another 7-8 minutes, or until light golden brown.
- Remove from oven and allow bagels to cool for 15 minutes before devouring.
Notes
- To keep scale clean while weighing dough, place the now-empty bowl (no need to clean it) and press tare. You can also use a piece of plastic wrap over the scale and tare if needed.
- I love lassoing the bagels while shaping them! Fast, fun, and effective. Not as big a fan of the rope and seal version, I thought it took longer and the finishing ring was not as symmetrical. Try out both versions to find which works best for you!
- I found it best to make the dough in the evening and boil and bake the bagels in the morning or they over-rose, but I believe this is mostly due to my not-cold-enough fridge. If you have a cold and well functioning fridge, you should be fine to make and bake the bagels at your leisure!
- Chewy bagels are my favorite, and thus I boil bagels for the full minute on each side. I have found, though, that beyond 1 minute on each side can cause the outside of the bagels to cook too much. This means when they are baked this outer baked “shell” doesn’t allow the bagels to reach their full rise and may result in flatter bagels.
- When baking the bagels, know your oven. If you have hot spots or a small oven, you can choose to bake one sheet of bagels at a time. Since my oven is small, I baked the first sheet of bagels while I was boiling the second sheet, and simply rotated the pan 180 degrees after the first 7 minutes.
Nutrition Facts
Calories
303.74Fat
1.50 gSat. Fat
0.22 gCarbs
60.82 gFiber
2.14 gNet carbs
58.68 gSugar
0.83 gProtein
10.16 gSodium
1017.73 mgCholesterol
0.00 mgNutritional Info is Approximate. Based on 1 large bagel.


")


