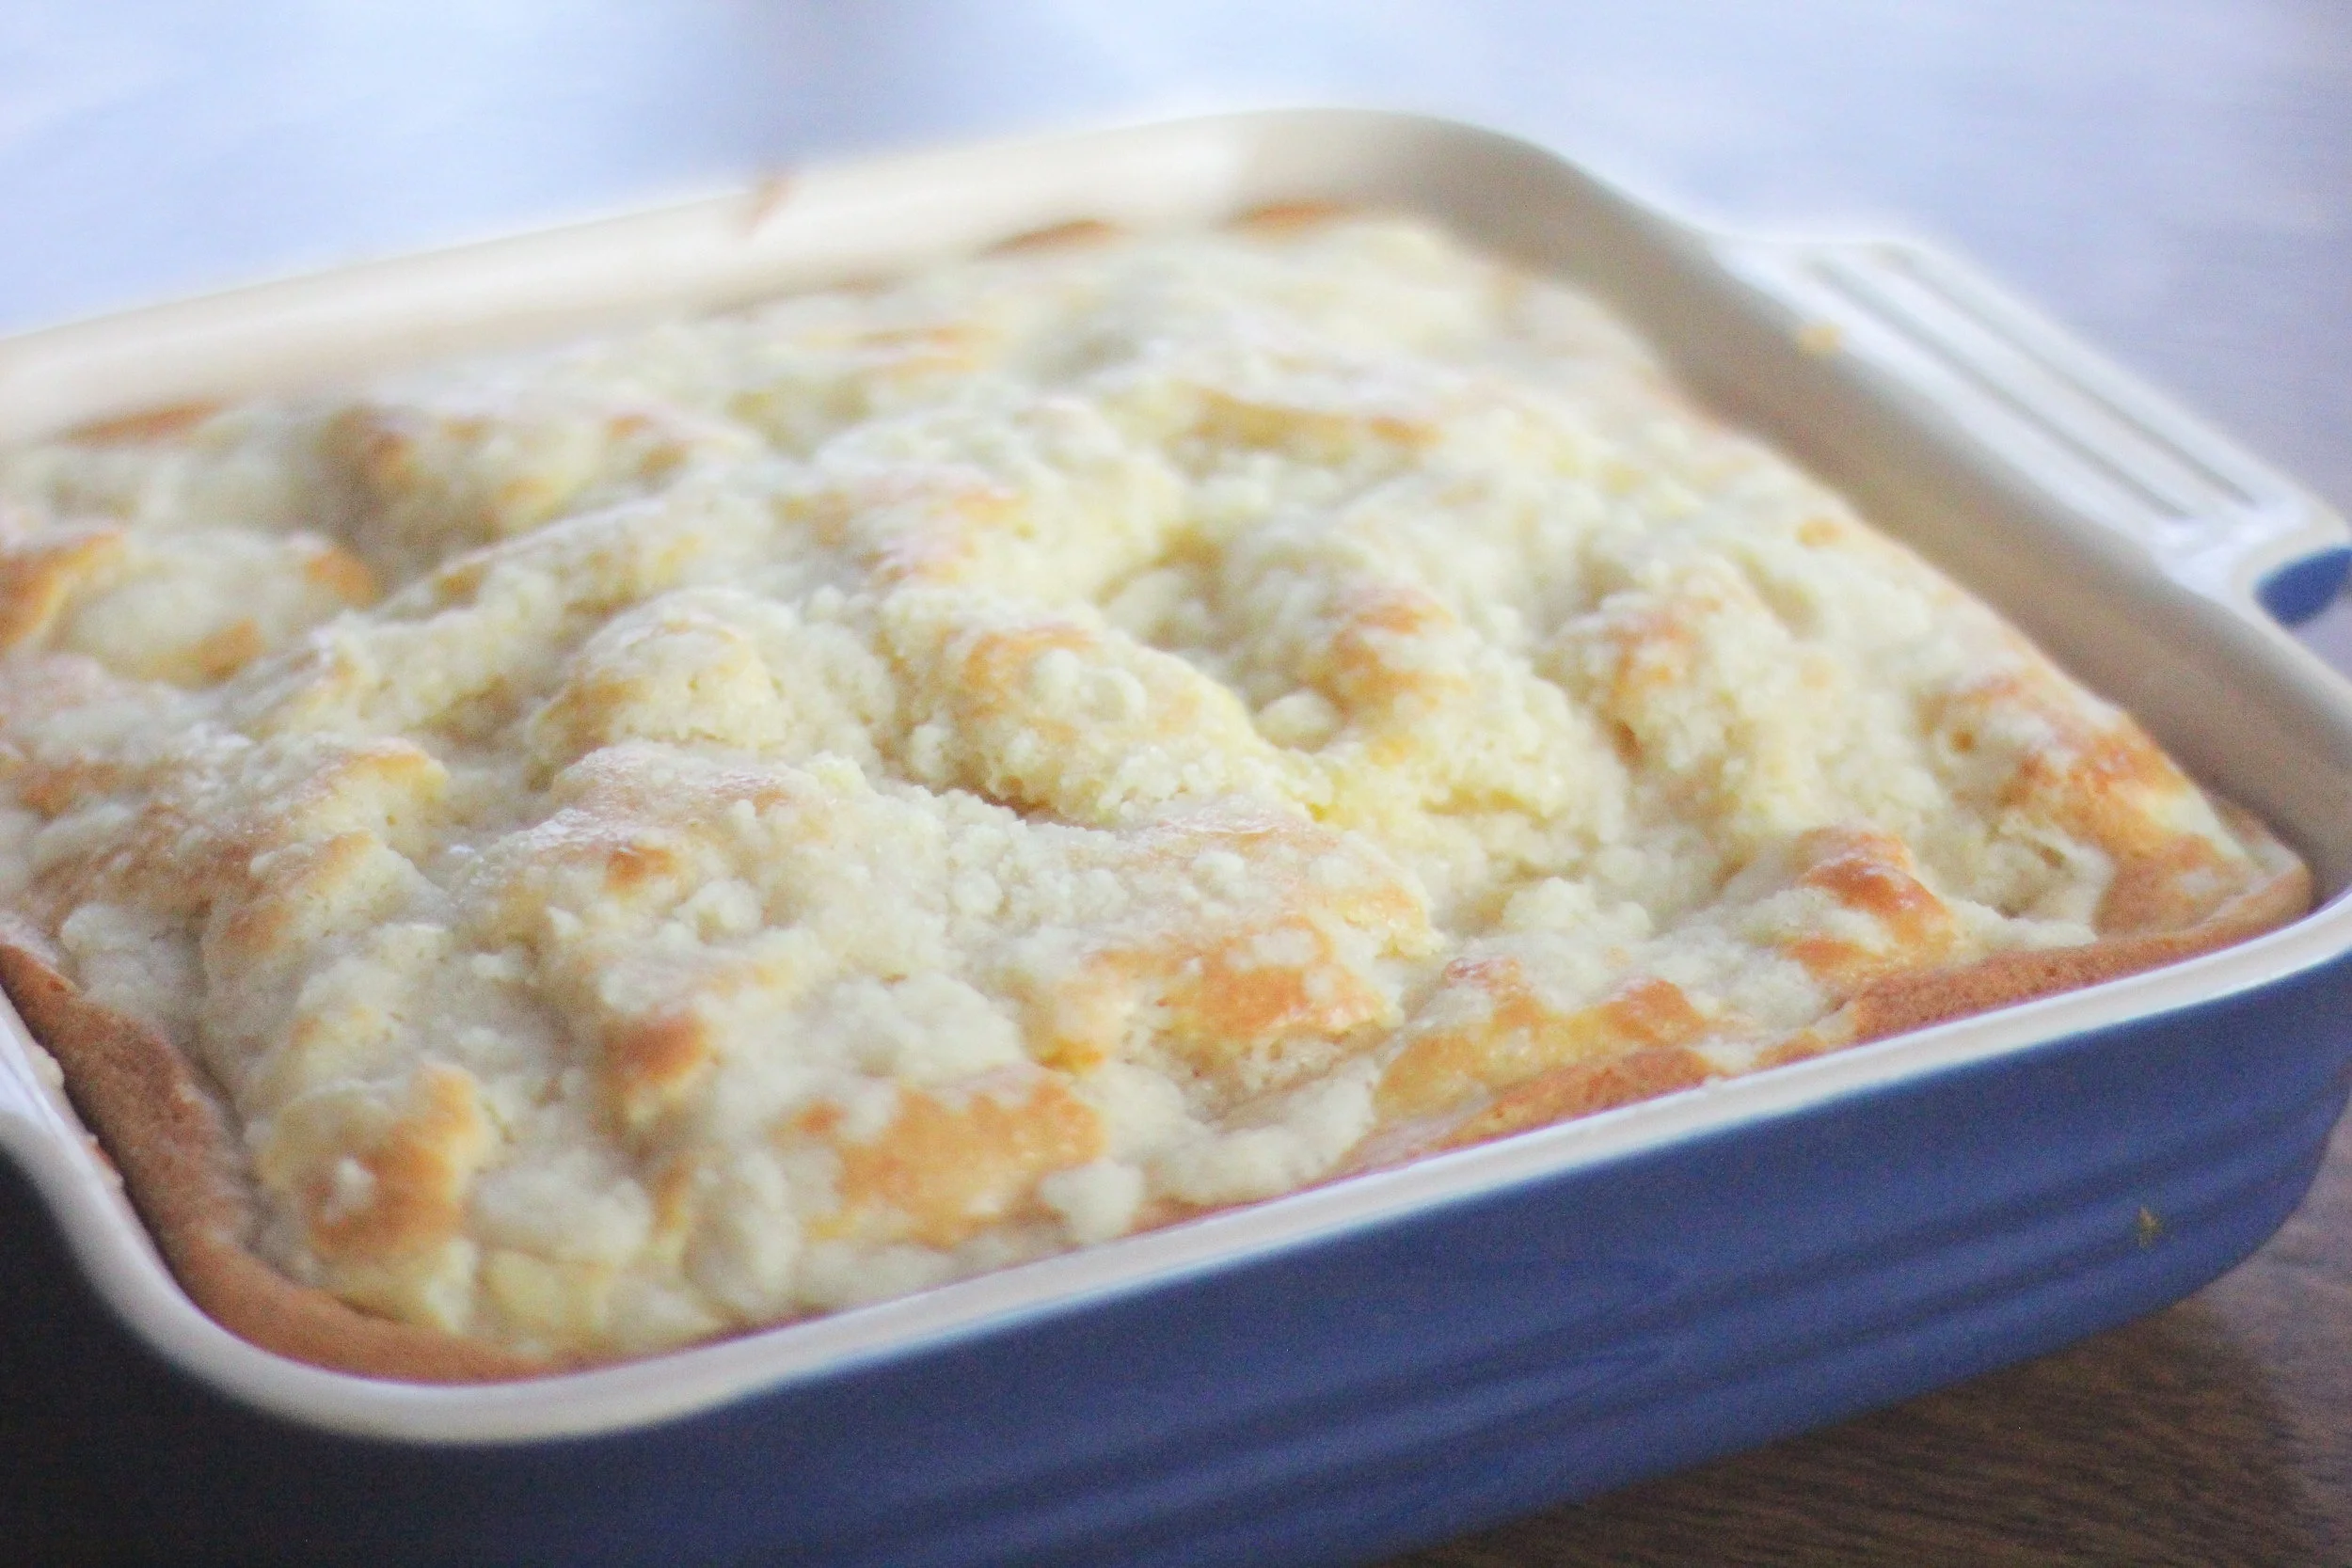
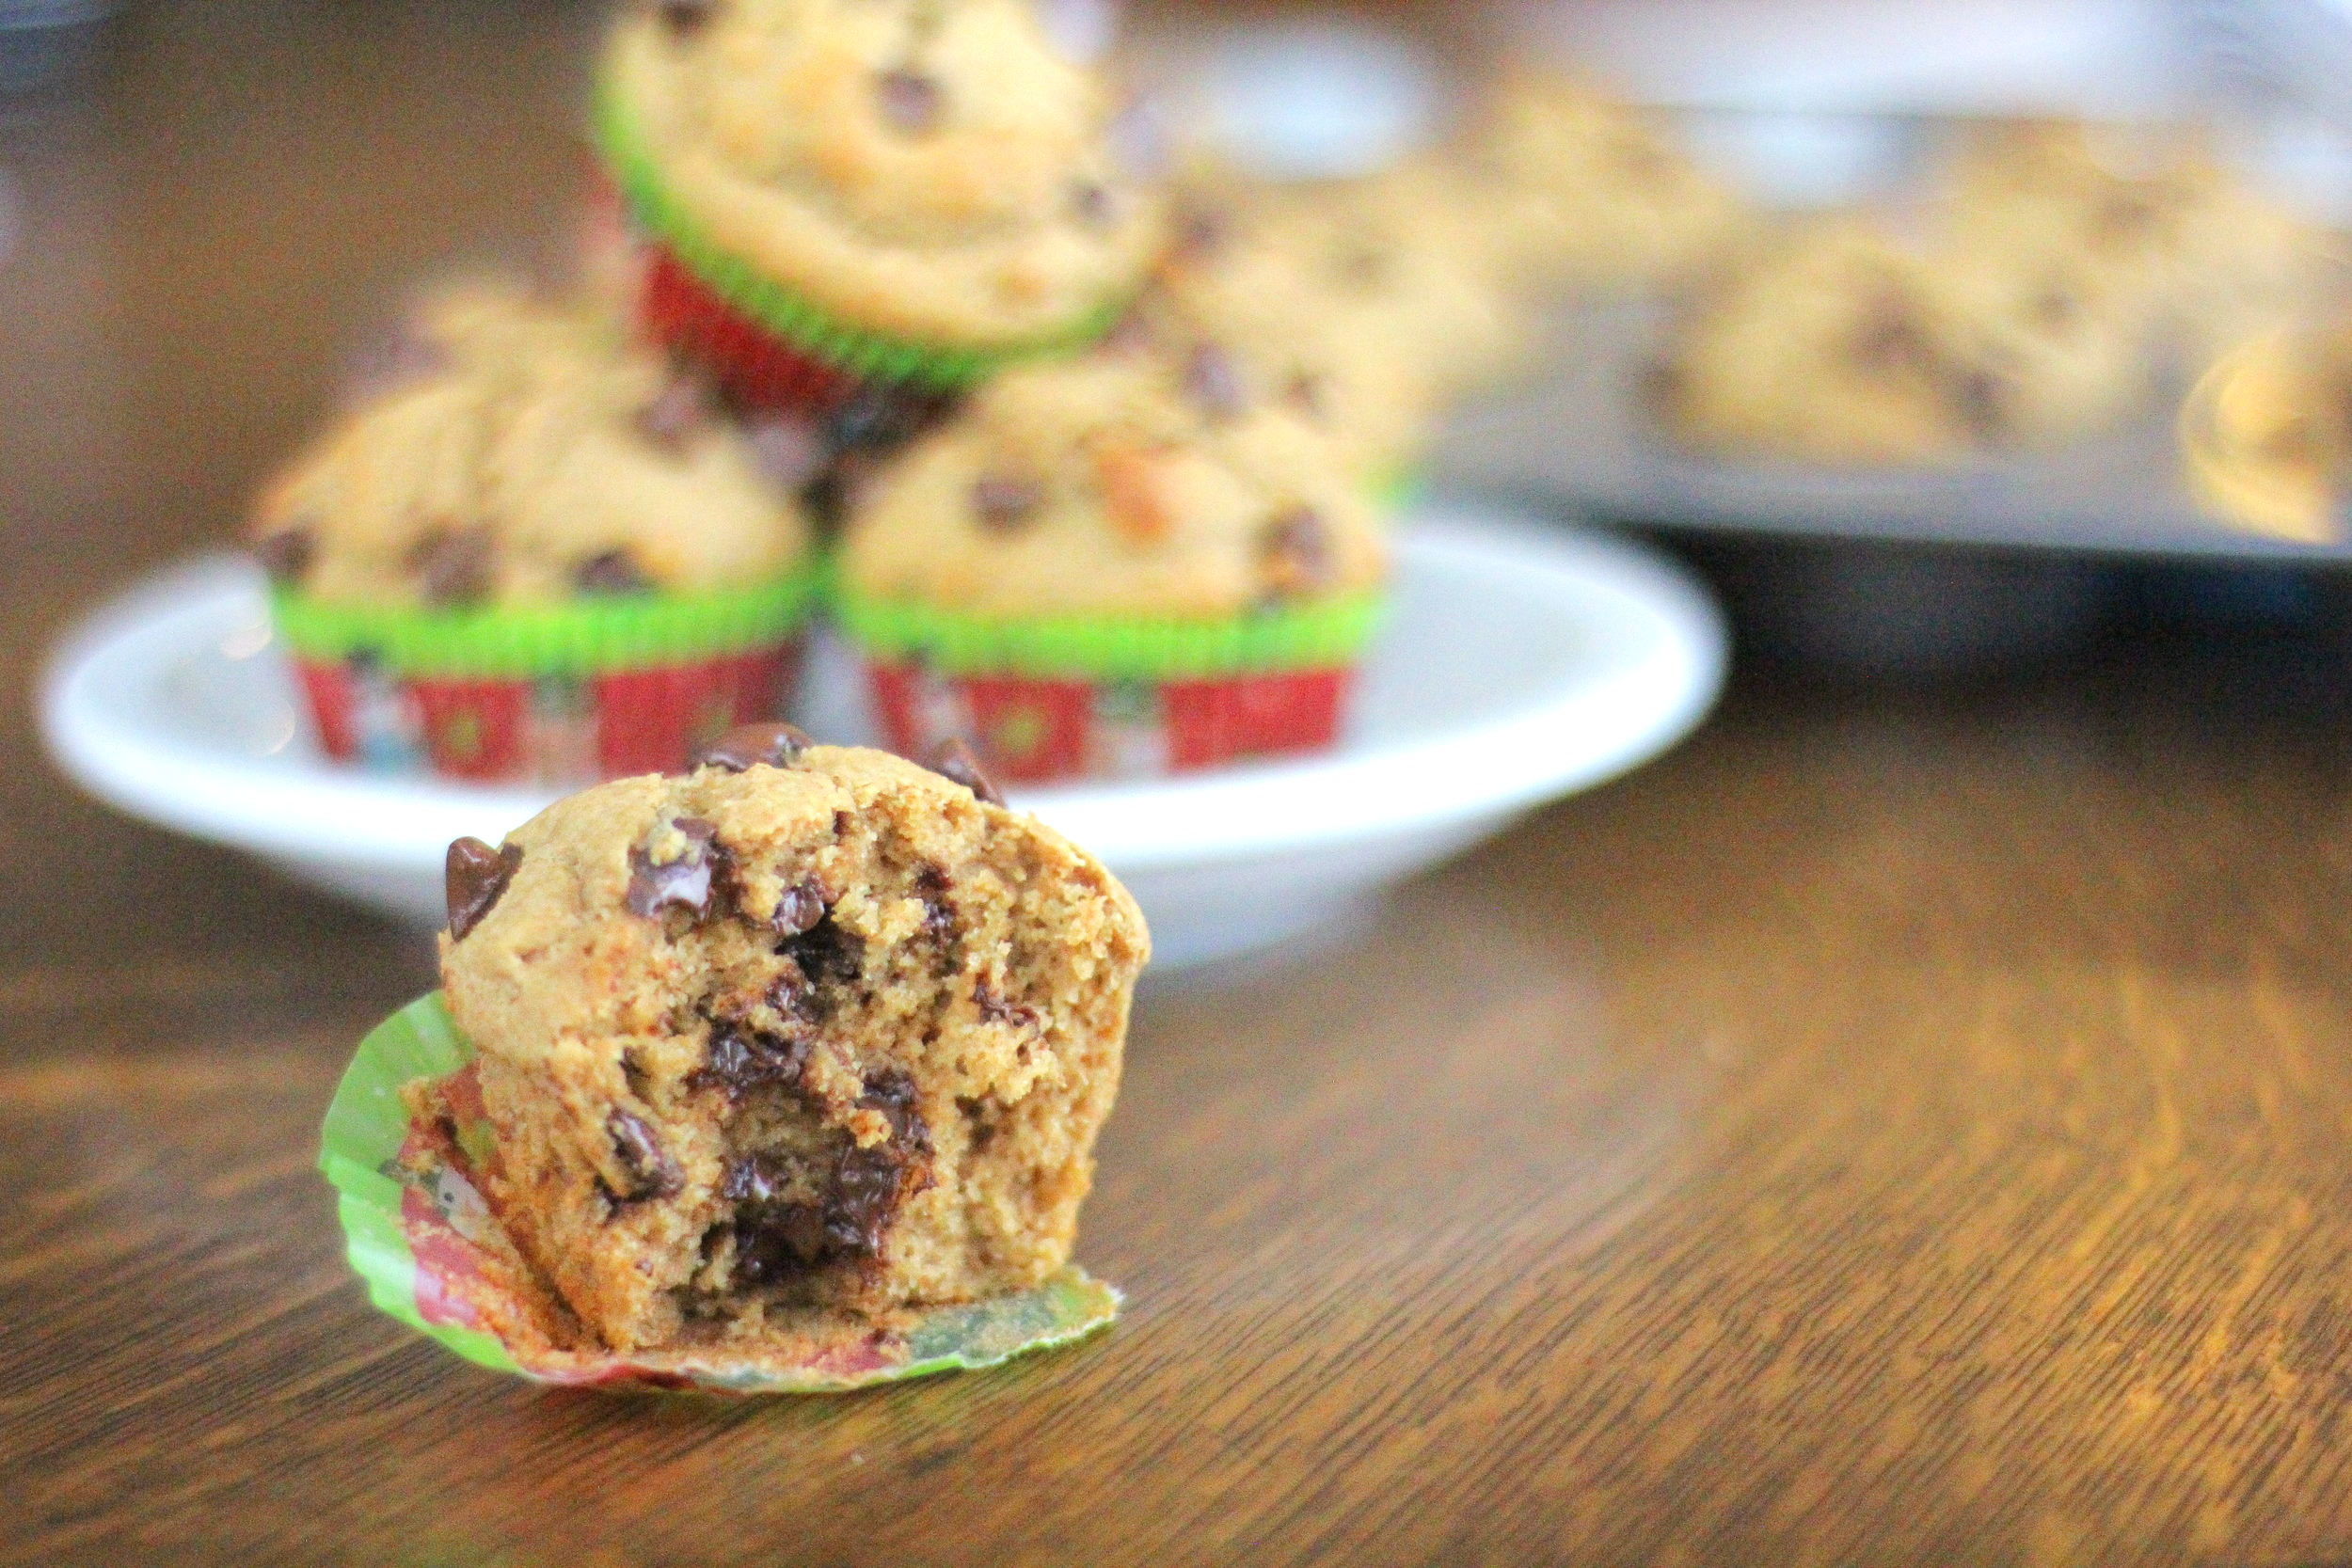
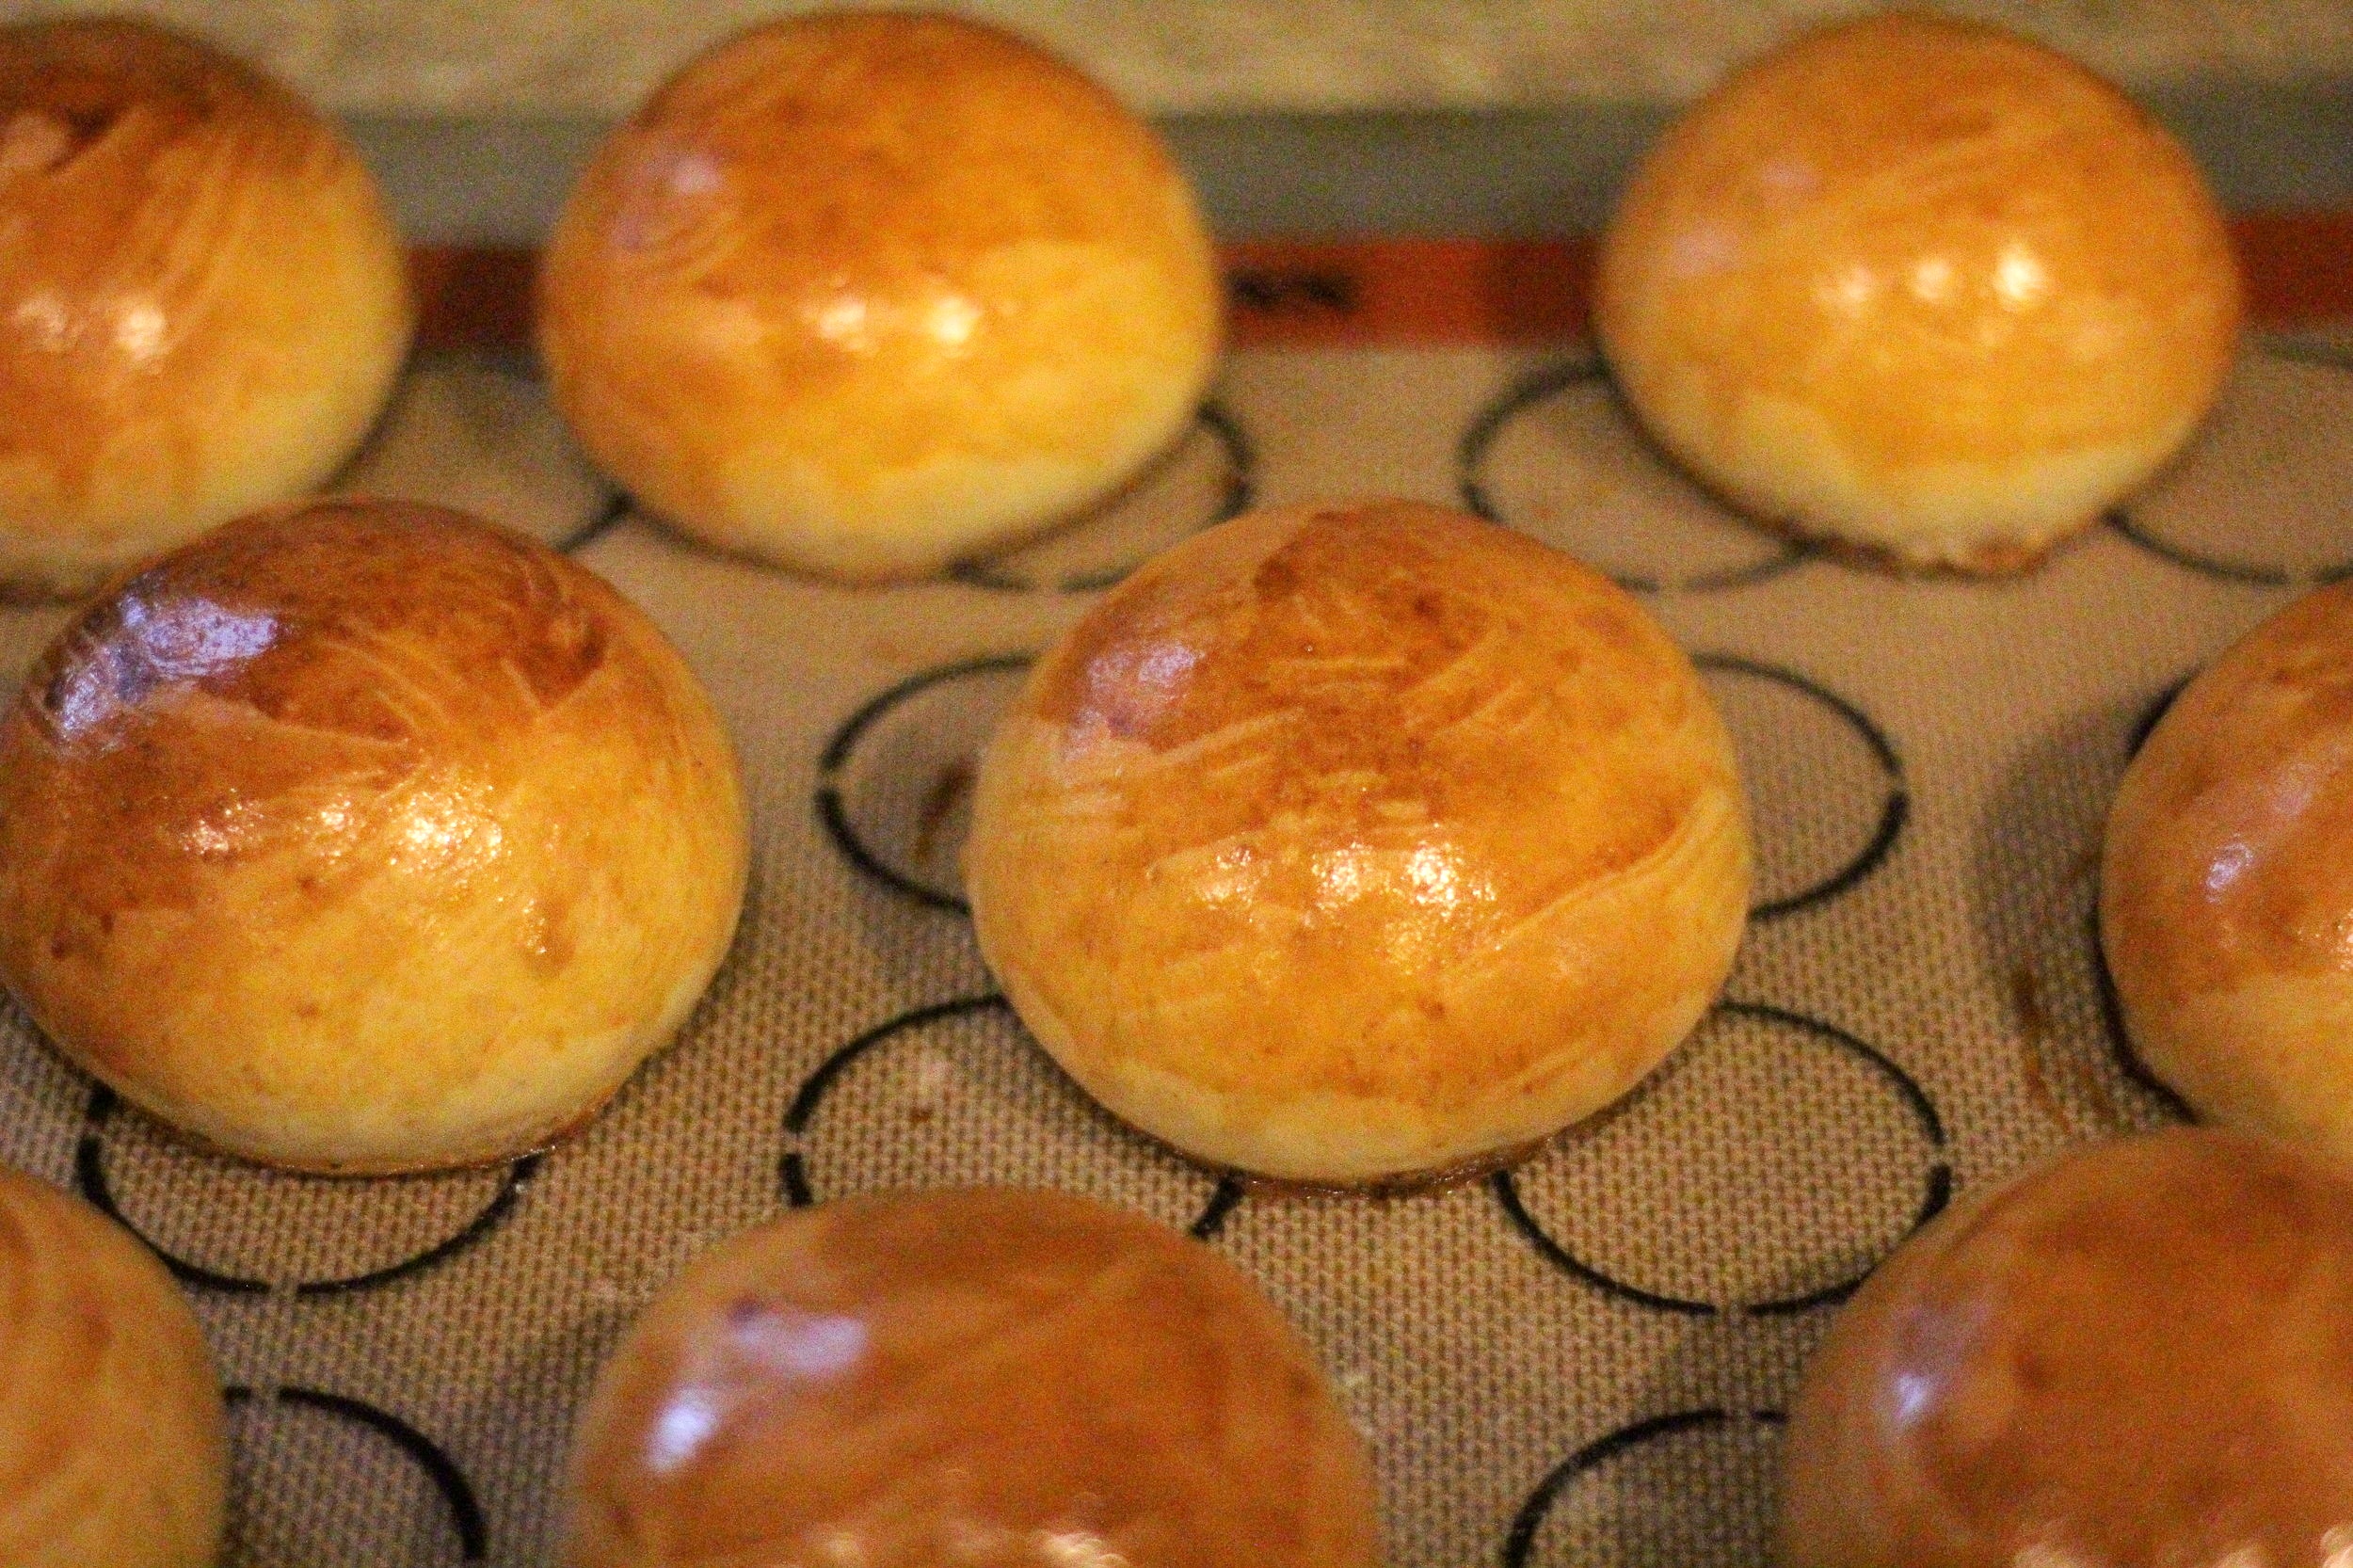
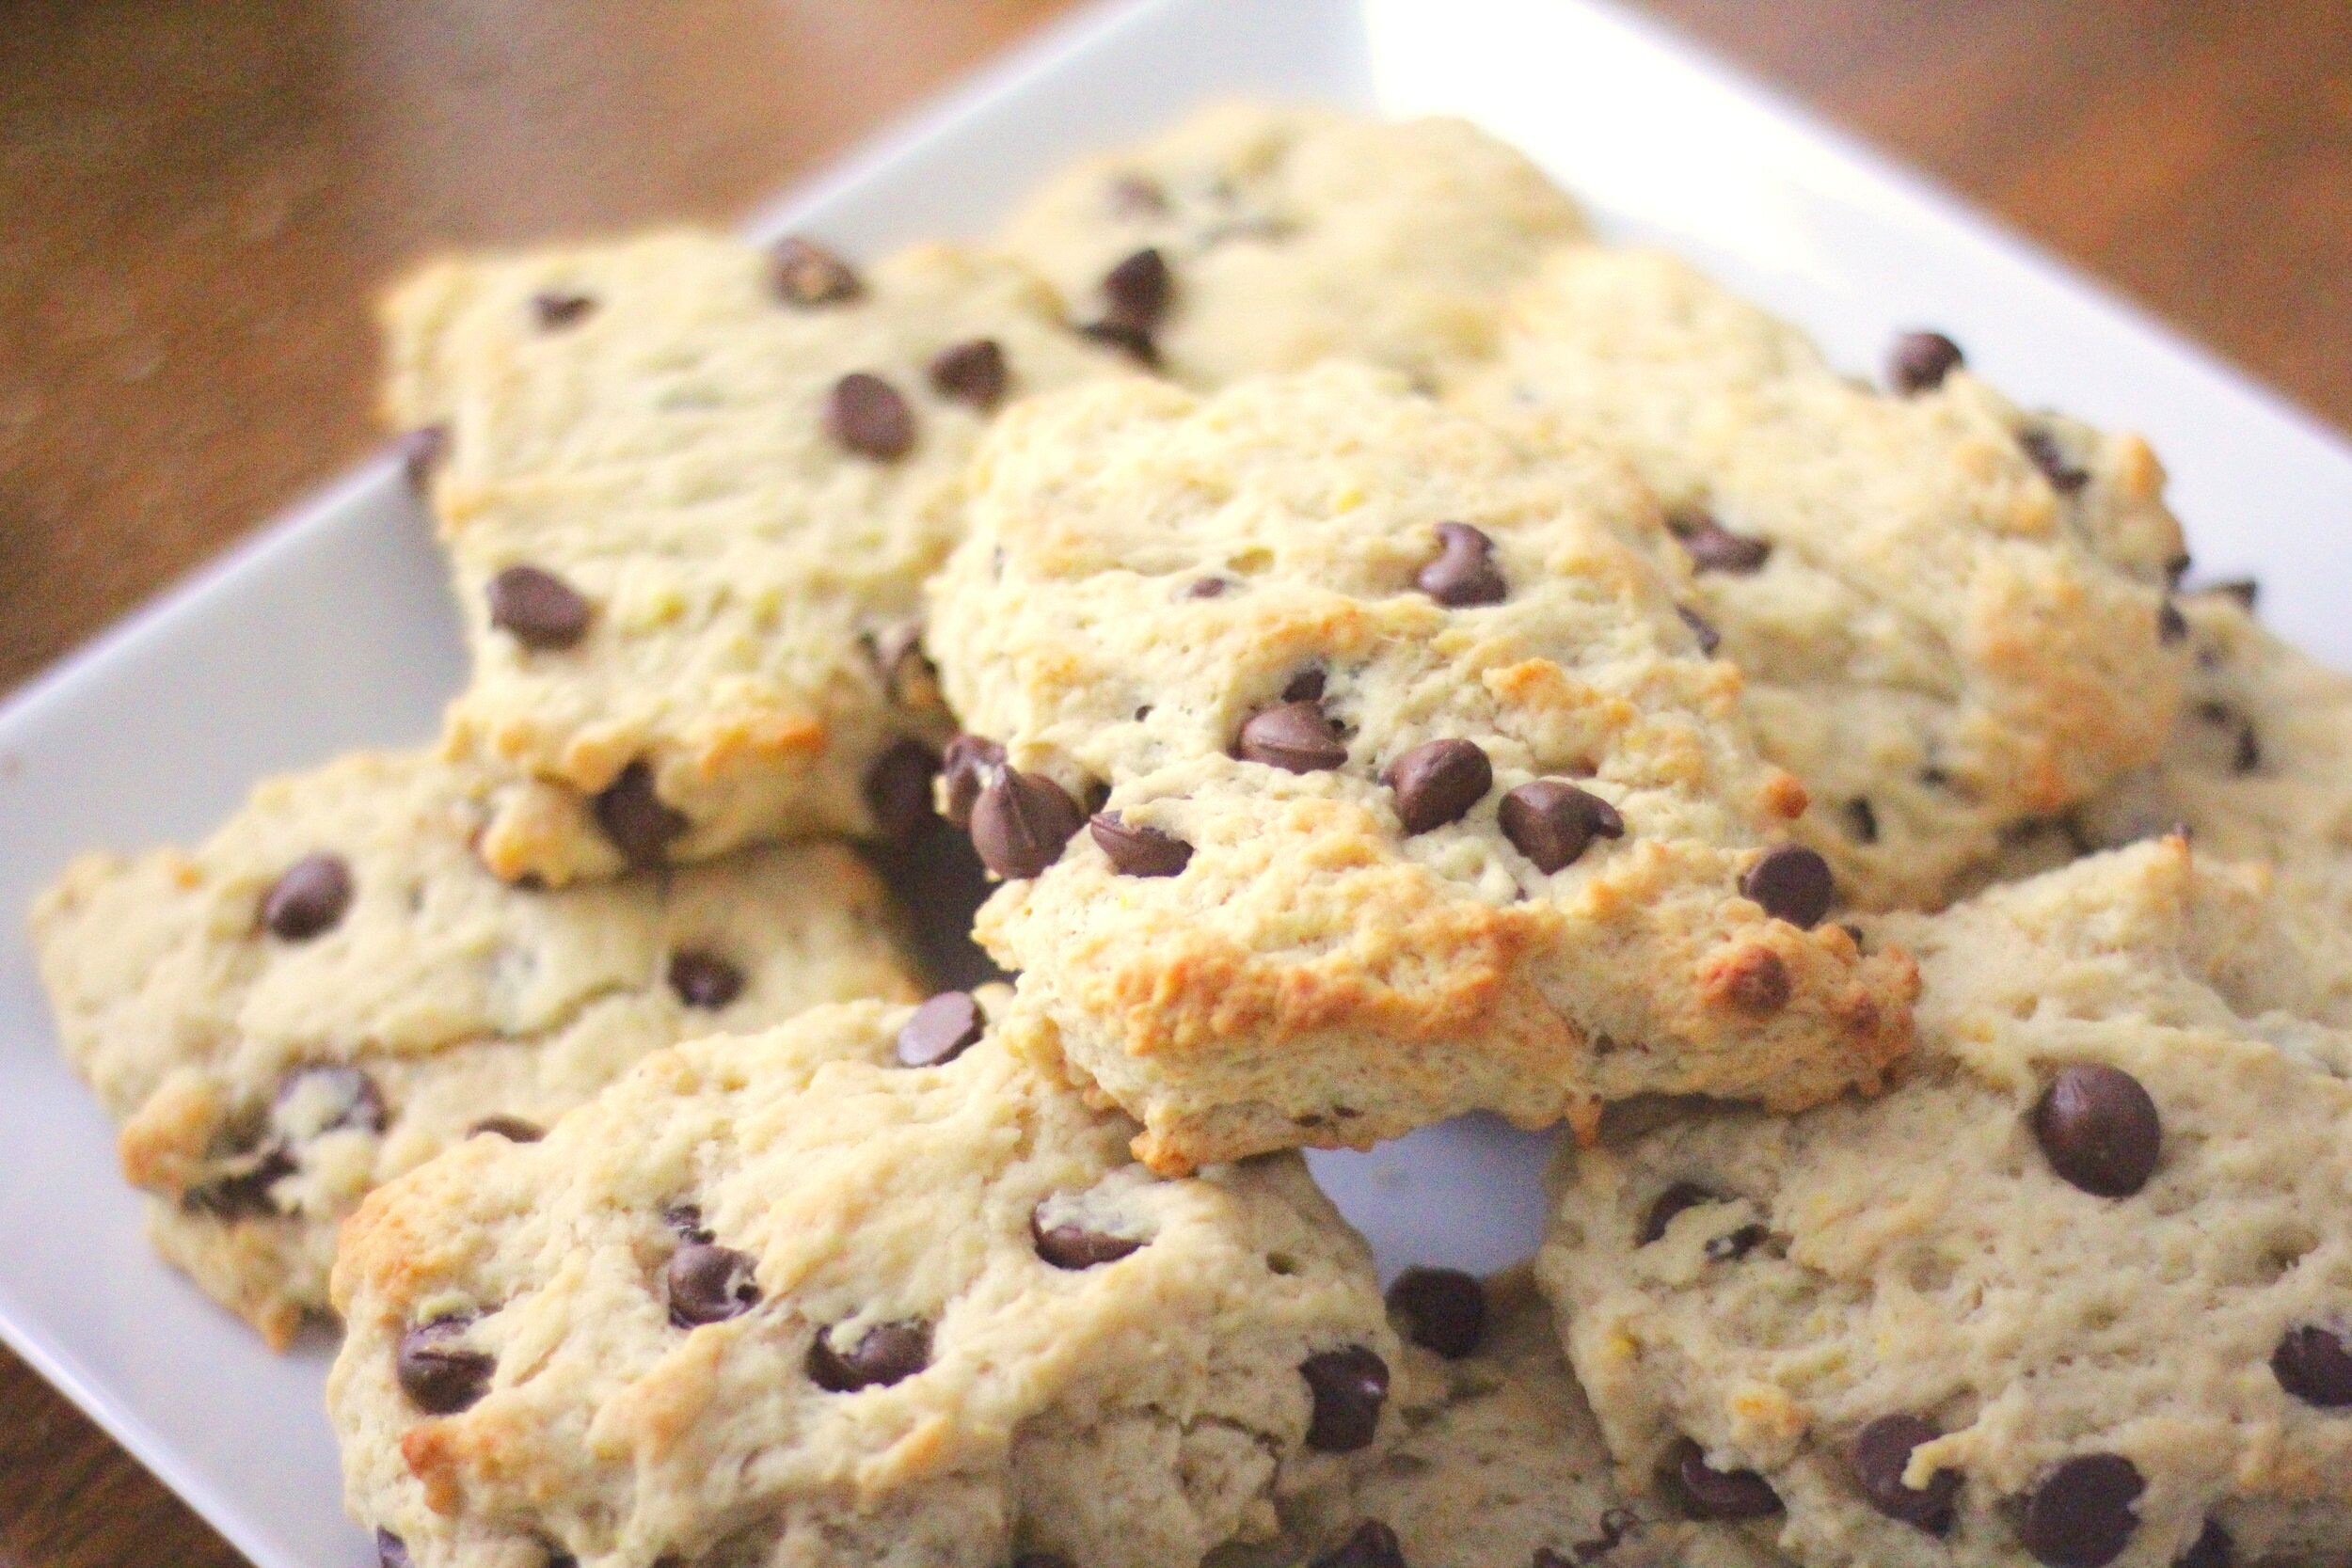
Chocolate Chip Brioche Rolls
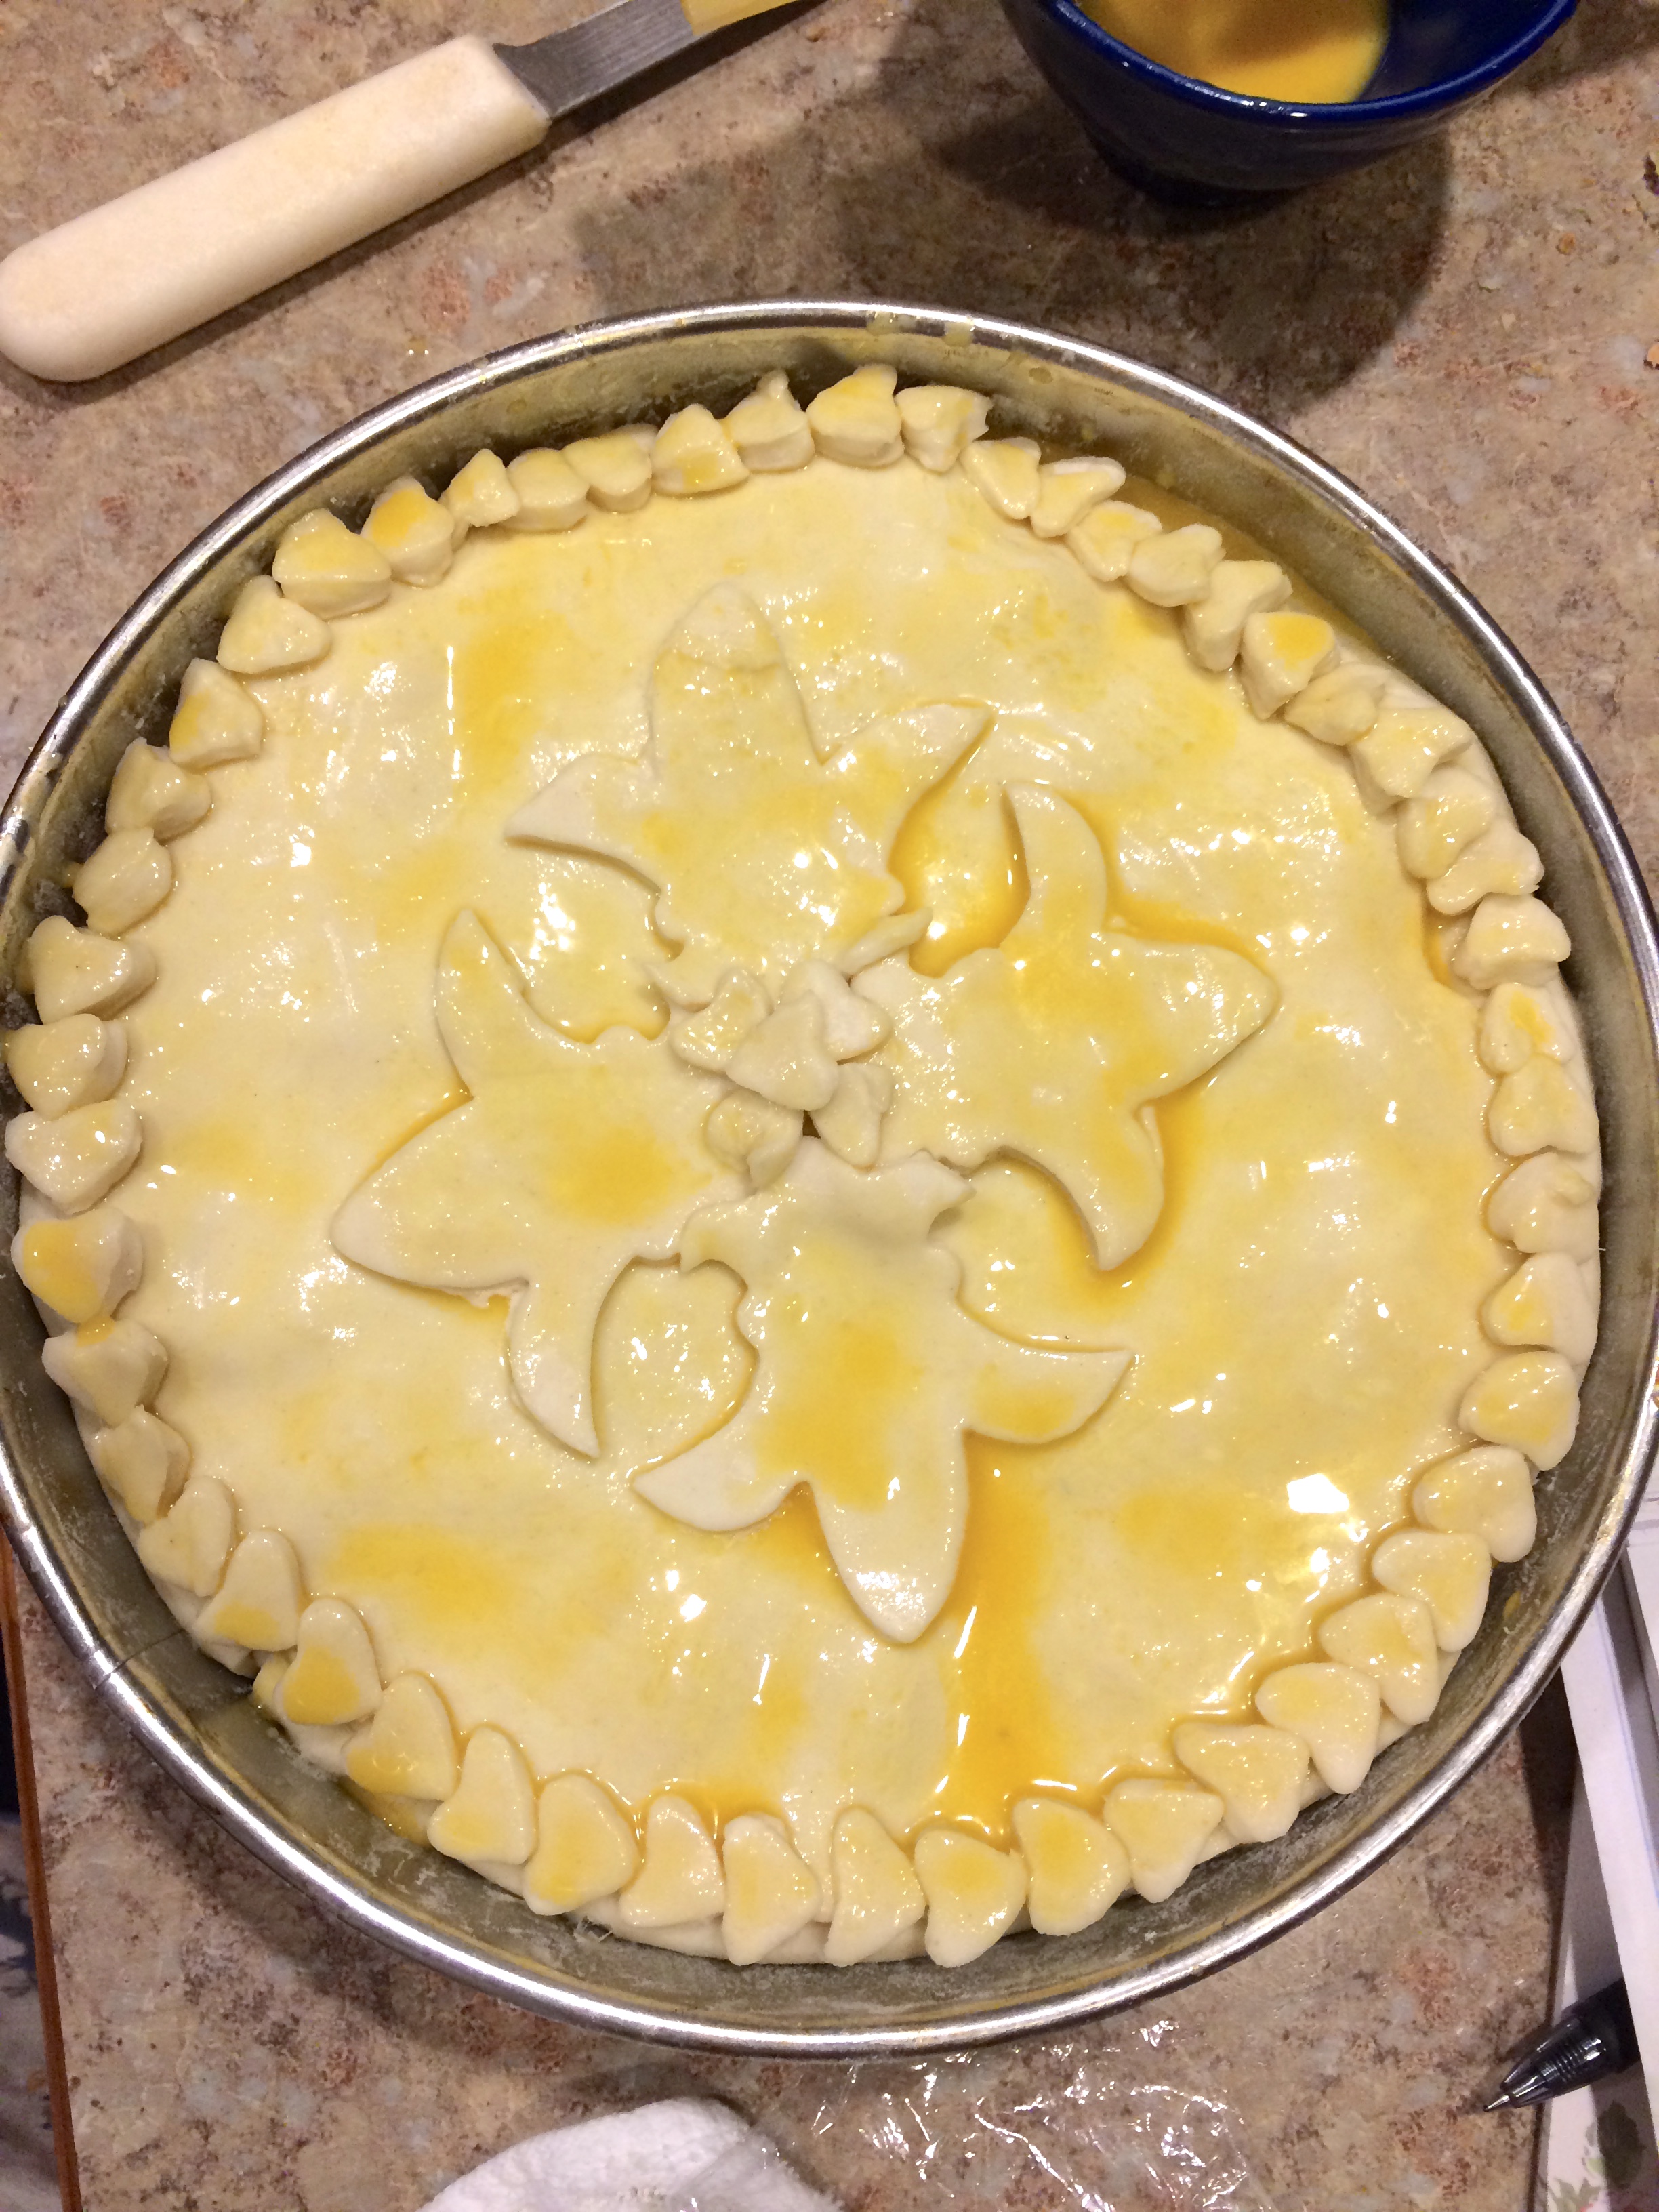
/But why are they so golden? Many thanks to butter and egg wash.
Last Updated August 11, 2024
I've been thinking about you a lot recently. How sweet you are, how tender you are, how you like to butter me up. Yeah, you're a little soft, but I love that about you. I wake up in the morning hoping you'll want to meet me for coffee. Will you, brioche? Please say yes. Before life hardens you and you become like a rock. But if not, how about your friend? He looks yummy, too - Oh hey. Welcome to my blog! Yep, I'm writing a recipe about brioche, mmm hmmm. No, I was not talking to the brioche. Just eating. Nom nom nom. See? Delicious. Yep. Believe me and make these, and you'll be talking to your brioche, too.
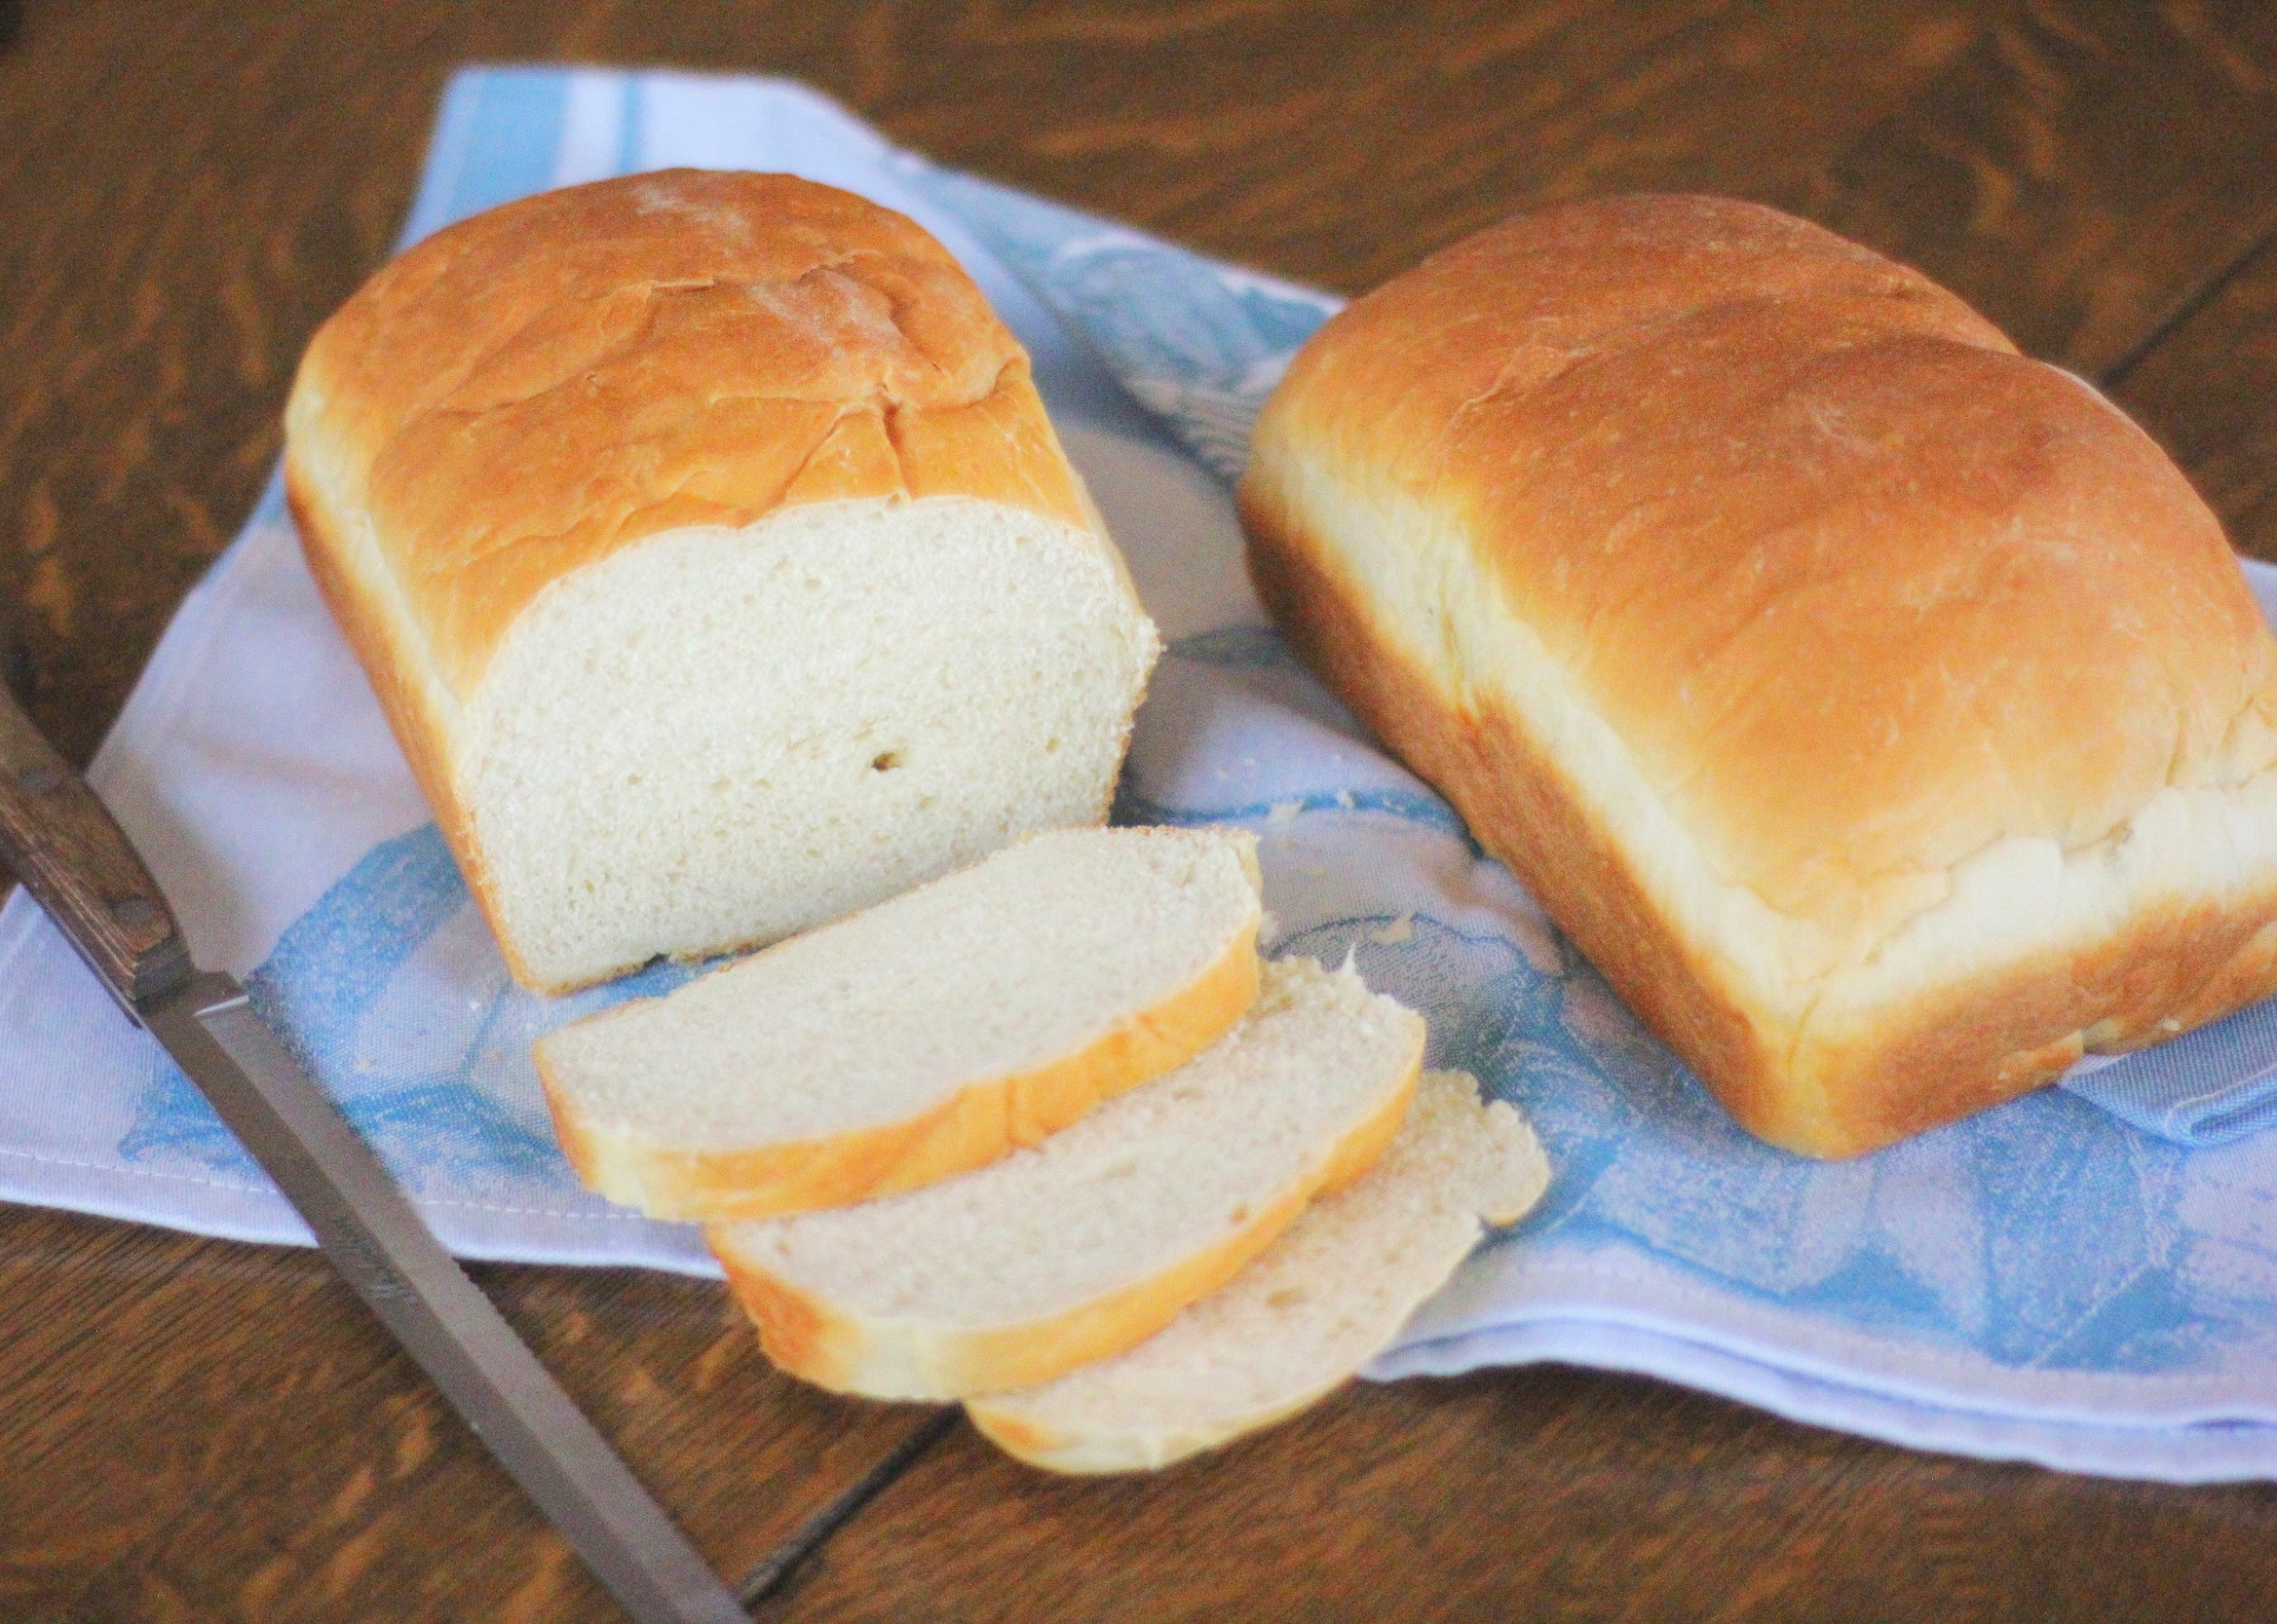
Brioche is a yeasted, enriched bread or bun. By enriched I mean, rich in butter, with help from sugar and eggs. The amount of butter in the recipe for brioche must be equal to or more than 20% of the flour weight, but can go up to 100%. I like to think of brioche in three categories, as called by Peter Reinhart:
Poor man's brioche - consisting of at least 20% butter
Middle-class brioche - consisting of around 50% butter
Rich man's brioche - consisting of 50-80% butter, or on rare occasion, more!
To find the butter percentage, divide the weight of the butter by the weight of the flour and multiply by 100.
Butter weight / flour weight x 100 = Butter percentage
For example, let's take the recipe below, which calls for 6 Tbsp butter or 85g by weight, divided by 2 1/2 cups flour or 300g by weight, which equals 0.28. Multiply 0.28 by 100 and you get 28. Thus the butter percentage is 28 percent in this recipe. Poor man's brioche!
85 / 300 x 100 = 28
If the words ratio, weight, percentage make you glaze over, stay with me. It can be confusing at first, but understanding these concepts can really enhance your baking experience. Think of it as the key that unlocks all recipes and links them together. Instead of blindly following a recipe, always secretly wondering what will happen if you omit an egg, use baking soda instead of baking powder, add less flour or sugar than called for, formulas such as this can help you compare recipes across the board. You’ll start to notice similarities, how textures are affected by the ratio of liquids to flour, fat to flour, etc. Ok, so baking soda vs. baking powder is more in the realm of science, but also helpful! Science and math, who knew?
Are we done yet? No, on to the poor man's brioche!
This post may contain affiliate links. If you make a purchase using these links, Jennyblogs may receive a small commission, at no extra cost to you. This helps to support Jennyblogs. Where possible, links are prioritized to small businesses and ethically and responsibly made items. For further information see the privacy policy. Grazie!
Recipe adapted from Soup Addict


Chocolate Chip Brioche Rolls
Makes 12 rolls
Ingredients:

2 1/2 cups / 300g all-purpose flour
2 tsp / 6g instant yeast
1/3 cup / 67g sugar
1 1/2 tsp / 11g salt
1/2 cup / 118g milk
1/2 cup / 118g buttermilk or sour milk
6 Tbsp / 85g butter, room temperature
2 eggs
1 1/3 cup / 234g chocolate chips or chunks
Directions:
Oven 350°F / 177°C. Line a baking sheet with parchment paper or silicone mat.
In the bowl of a stand mixer fitted with the paddle, mix together flour, yeast, sugar, and salt.
In a small saucepan heat milk and buttermilk until about 105°F / 40°C. Add to flour mixture and mix until well combined.
With the mixer running, add butter and allow to mix until fully immersed. Add 1 egg.
Switch to the dough hook and knead on medium speed for 6-8 minutes, until the dough no longer sticks to the sides of the bowl and starts to make a slapping sound against the bowl. If the dough is still clinging to the sides, add a touch more flour until it no longer sticks.
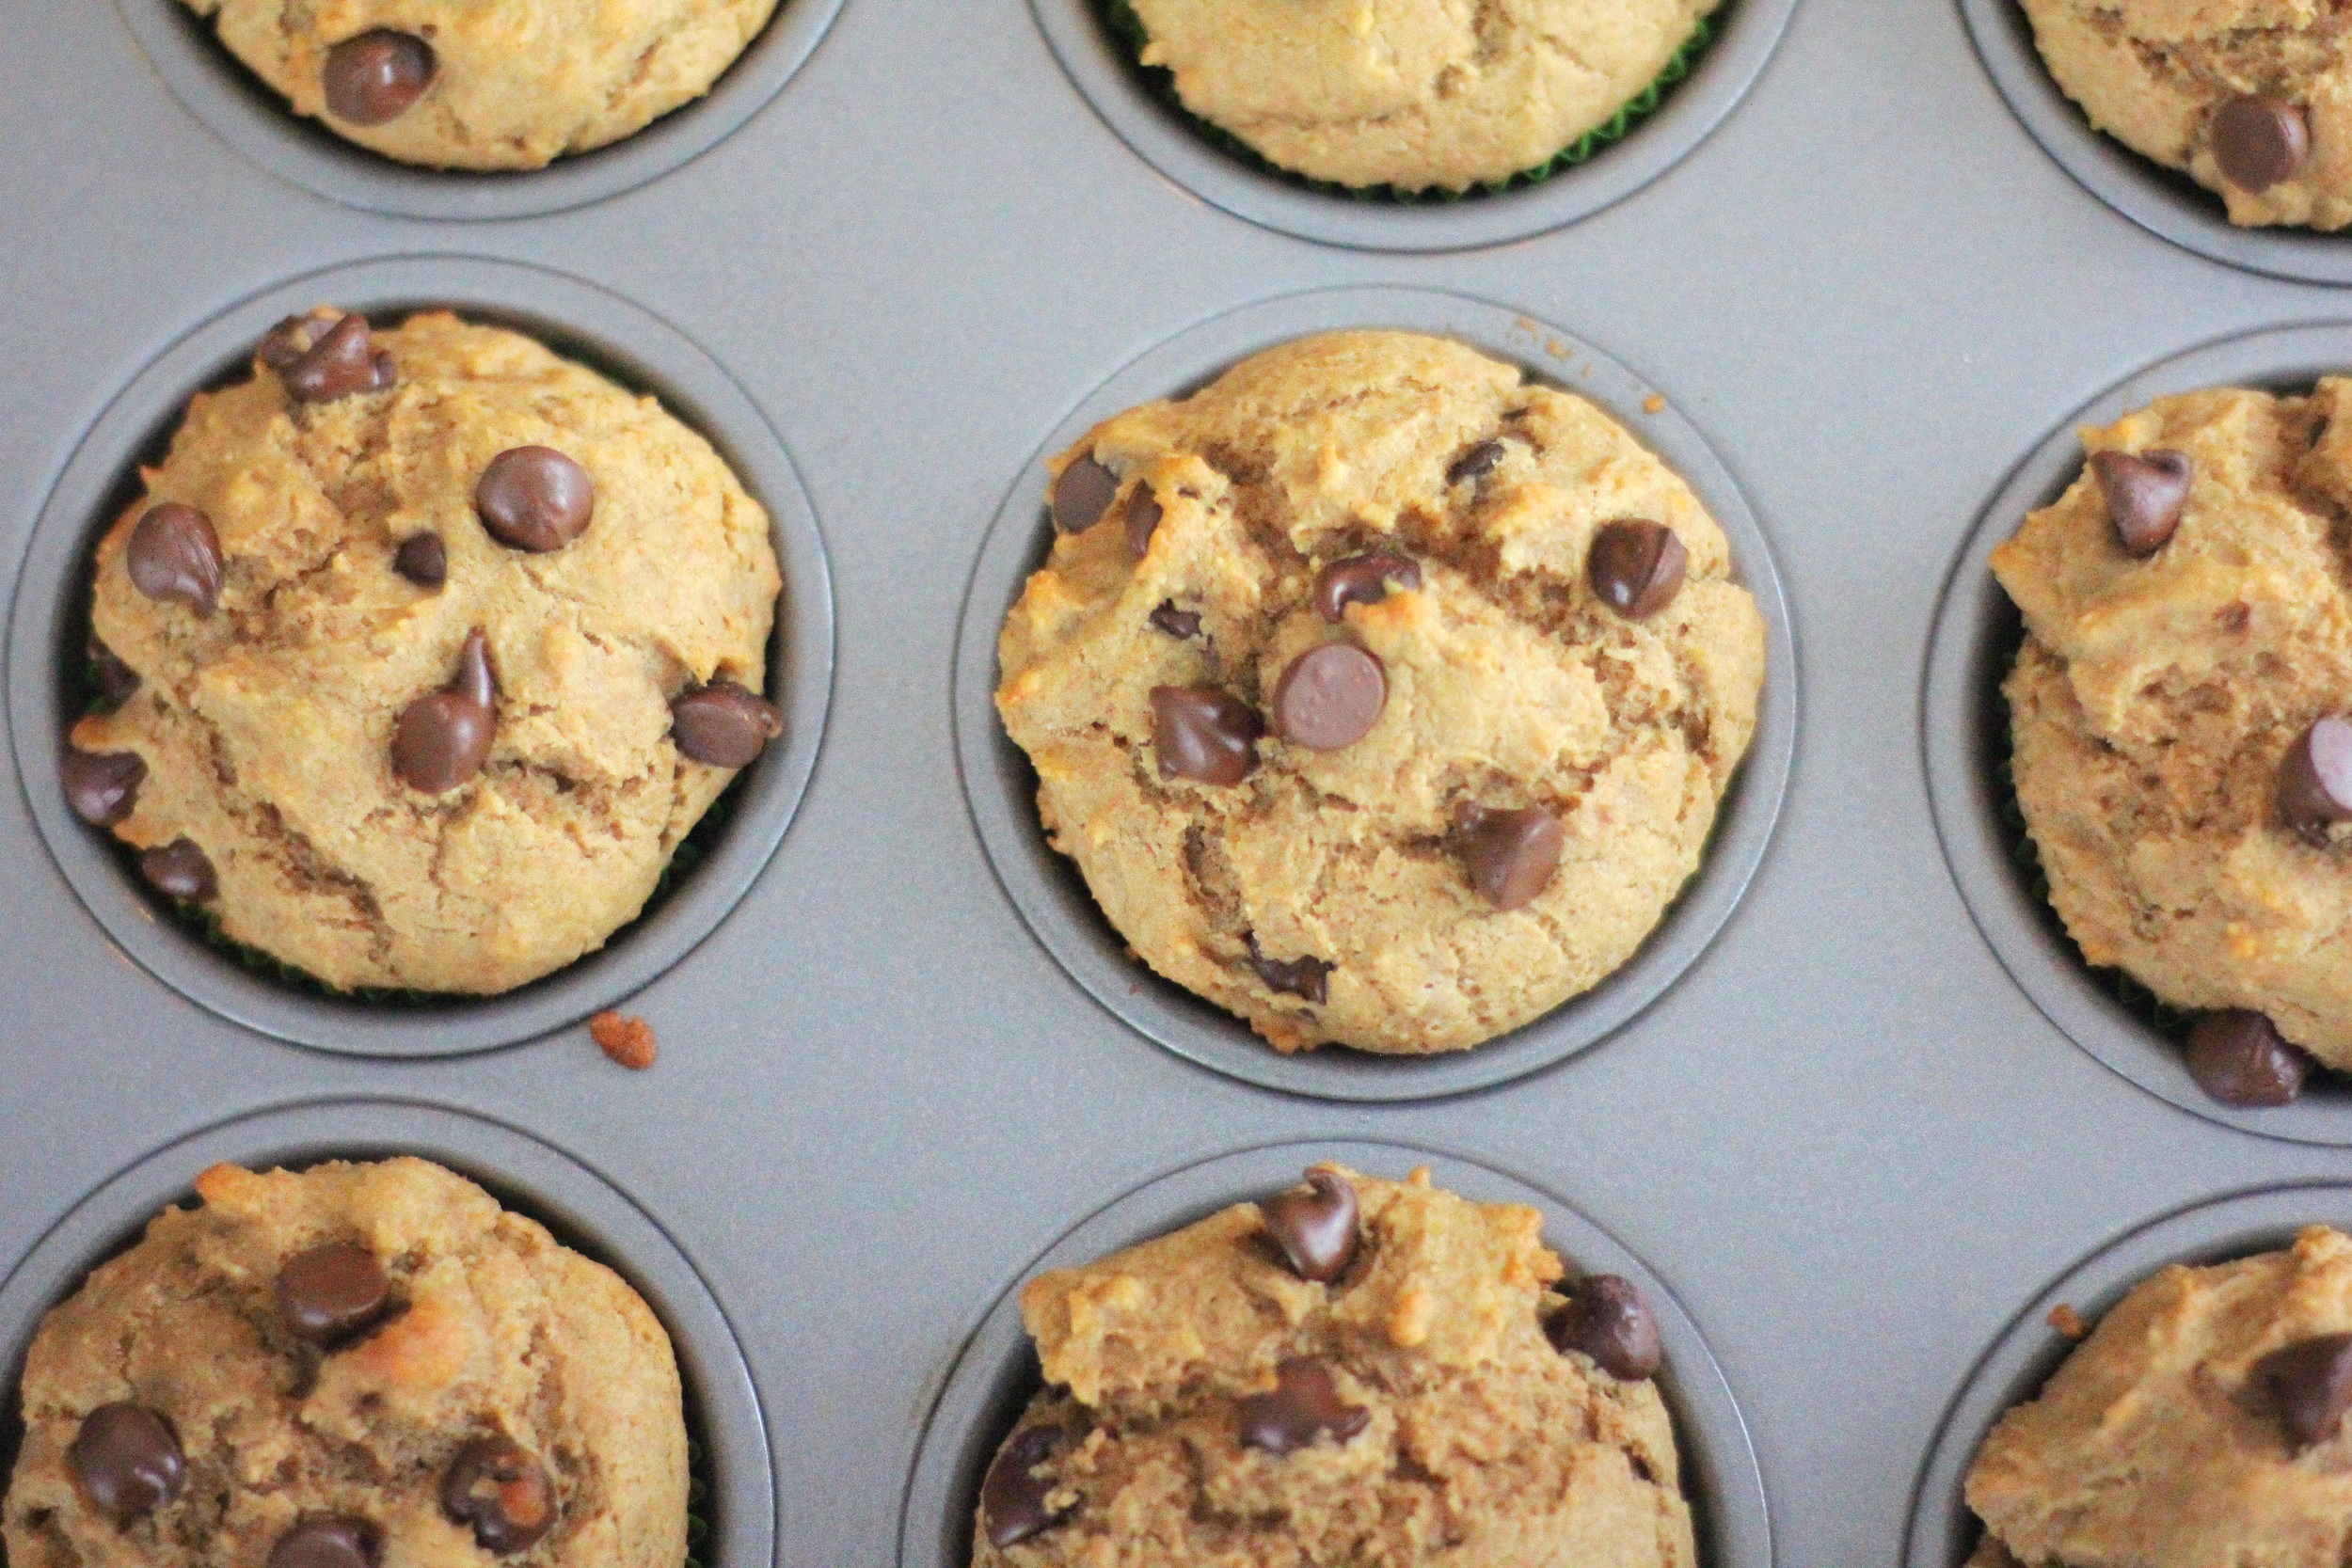
Mix in chocolate chips just long enough to incorporate.
Transfer dough to a large oiled bowl. Flip dough so that both sides are now oiled. Cover with a towel or plastic wrap and allow to ferment in a warm place for about 1 1/2 hours, or until doubled in size.
Place dough on a lightly floured surface and divide into 12 equal pieces. Roll each piece into a ball and place evenly spaced on the prepared baking sheet.
Beat second egg with 1 tablespoon of water. Use a pastry brush or your fingers to brush each dough well with egg wash. Cover with a towel or plastic wrap and allow to rise for about 1 hour, or until puffed.
Bake for 25-30 minutes, or until golden brown and internal temperature reads about 180°F / 82°C.
Jenny's Notes:
If you don’t have buttermilk or sour milk, you can make your own sour milk by adding 1 Tbsp lemon juice or vinegar per 1 cup milk.
After you've made the dough, you can place the dough in the fridge before the first or second ferment. That way the ferment will happen slowly in the fridge, and you can shape or bake the rolls the next day. Allow the dough to come to room temperature before rolling or baking, then continue as instructed.
Use any leftover egg wash for another baking venture or omelette!

Chocolate Chip Brioche Rolls
Ingredients
Instructions
- Oven 350°F / 177°C. Line a baking sheet with parchment paper or silicone mat.
- In the bowl of a stand mixer fitted with the paddle, mix together flour, yeast, sugar, and salt.
- In a small saucepan heat milk and buttermilk until about 105°F / 40°C. Add to flour mixture and mix until well combined.
- With the mixer running, add butter and allow to mix until fully immersed. Add 1 egg.
- Switch to the dough hook and knead on medium speed for 6-8 minutes, until the dough no longer sticks to the sides of the bowl and starts to make a slapping sound against the bowl. If the dough is still clinging to the sides, add a touch more flour until it no longer sticks.
- Mix in chocolate chips just long enough to incorporate.
- Transfer dough to a large oiled bowl. Flip the dough so that both sides are now oiled. Cover with a towel or plastic wrap and allow to ferment in a warm place for about 1 1/2 hours, or until doubled in size.
- Place dough on a lightly floured surface and divide into 12 equal pieces. Roll each piece into a ball and place evenly spaced on the prepared baking sheet.
- Beat the second egg with 1 tablespoon of water. Use a pastry brush or your fingers to brush each dough well with egg wash. Cover with a towel or plastic wrap and allow to rise for about 1 hour, or until puffed.
- Bake for 25-30 minutes, or until golden brown and internal temperature reads about 180°F / 82°C.
Notes
If you don’t have buttermilk or sour milk, you can make your own sour milk by adding 1 Tbsp lemon juice or vinegar per 1 cup milk. After you've made the dough, you can place the dough in the fridge before the first or second ferment. That way the ferment will happen slowly in the fridge, and you can shape or bake the rolls the next day. Allow the dough to come to room temperature before rolling or baking, then continue as instructed.Use any leftover egg wash for another baking venture or omelette!
Nutrition Facts
Calories
265.01Fat
12.95 gSat. Fat
7.58 gCarbs
34.61 gFiber
1.96 gNet carbs
32.65 gSugar
13.04 gProtein
5.38 gSodium
439.38 mgCholesterol
47.41 mgNutritional information is approximate.


")


")